Ah, nothing beats roasting to death in an inhospitable wasteland. Except perhaps collecting all the hidden Waddle Dees and secrets you can find there as your body slowly gives out to the unbearable heat and clogging dust. Something like that.
Let's have a look at where all the secrets are hidden in World Five of Kirby and the Forgotten Land!
Subscribe to Nintendo Life on YouTube845k
World 5 - Originull Wasteland
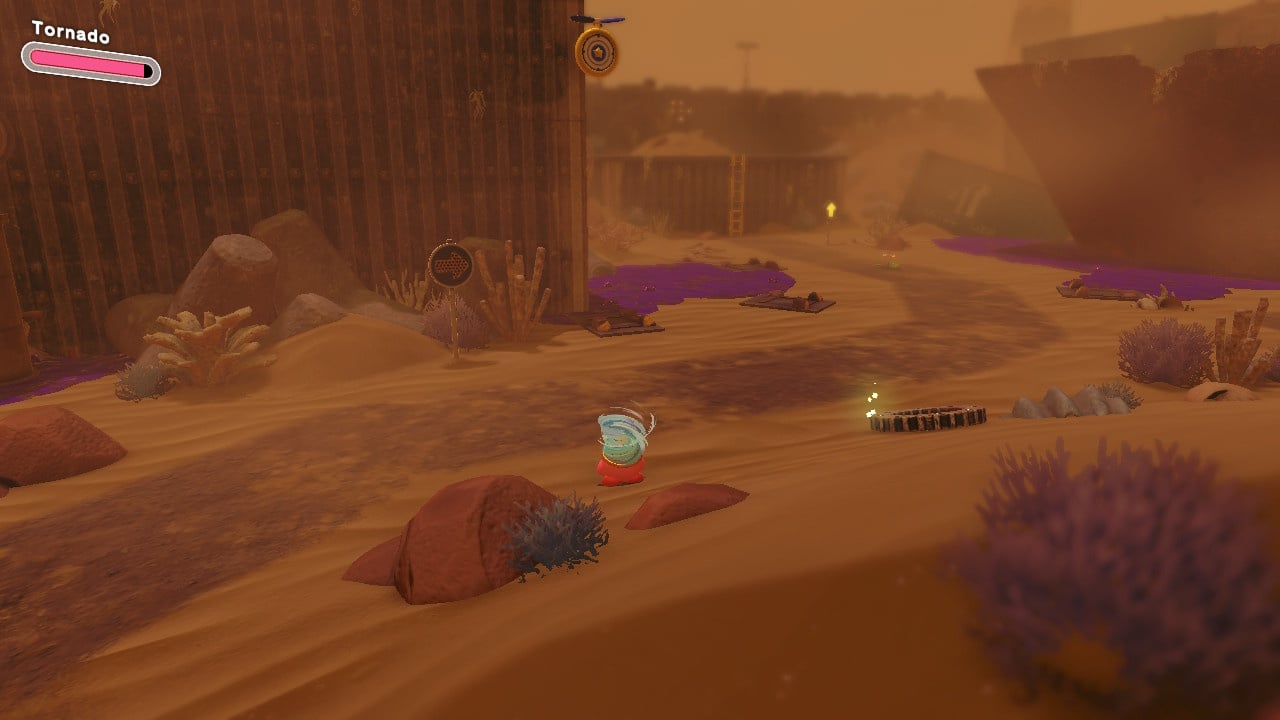
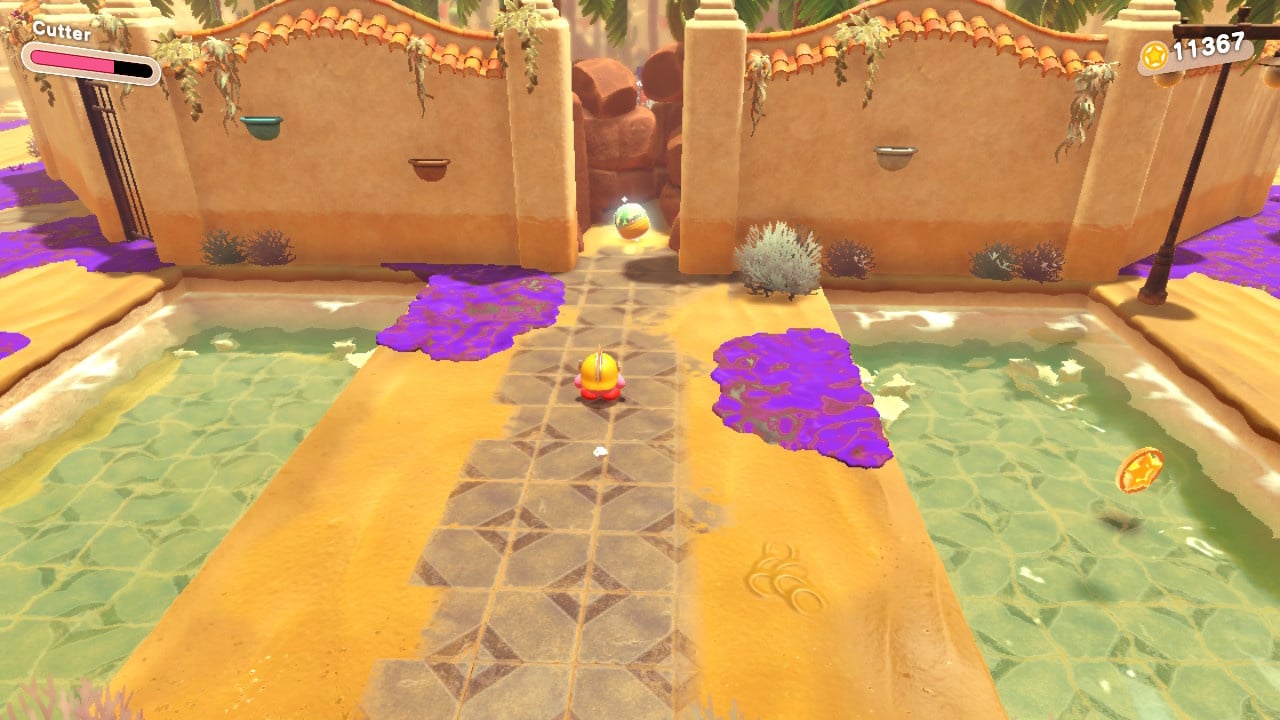
5-1 The Wastes Where Life Began
Missions
- Clear The Stage
- Save The Hidden Waddle Dees
- Shoot 3 Flying Targets
- Defeat The Lost Squishy
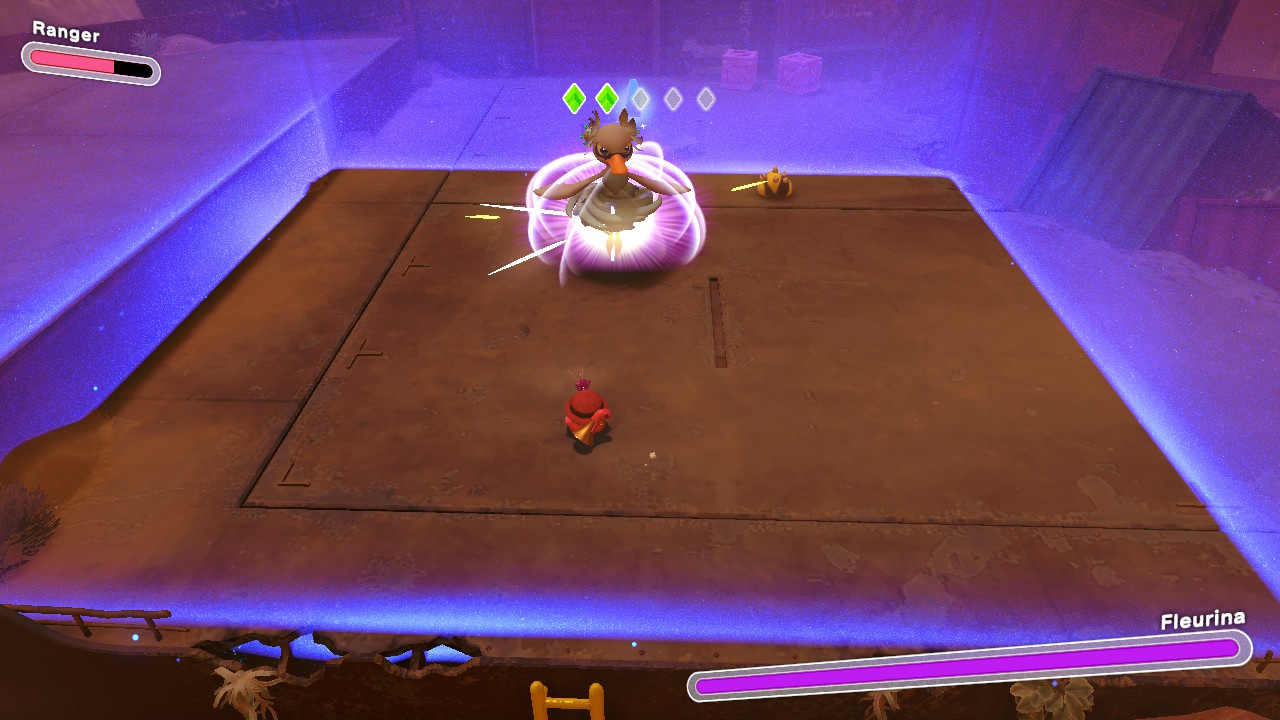
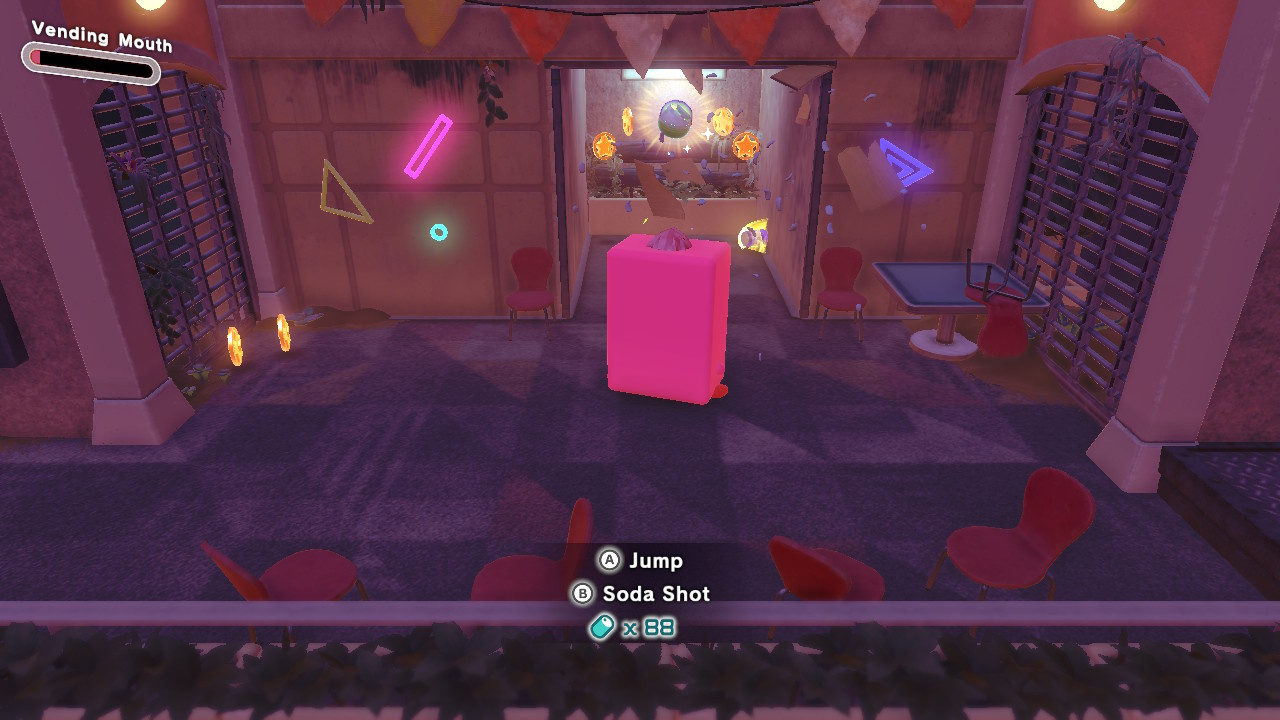
- Defeat Fleurina Using Ring Mouth
Save The Hidden Waddle Dees
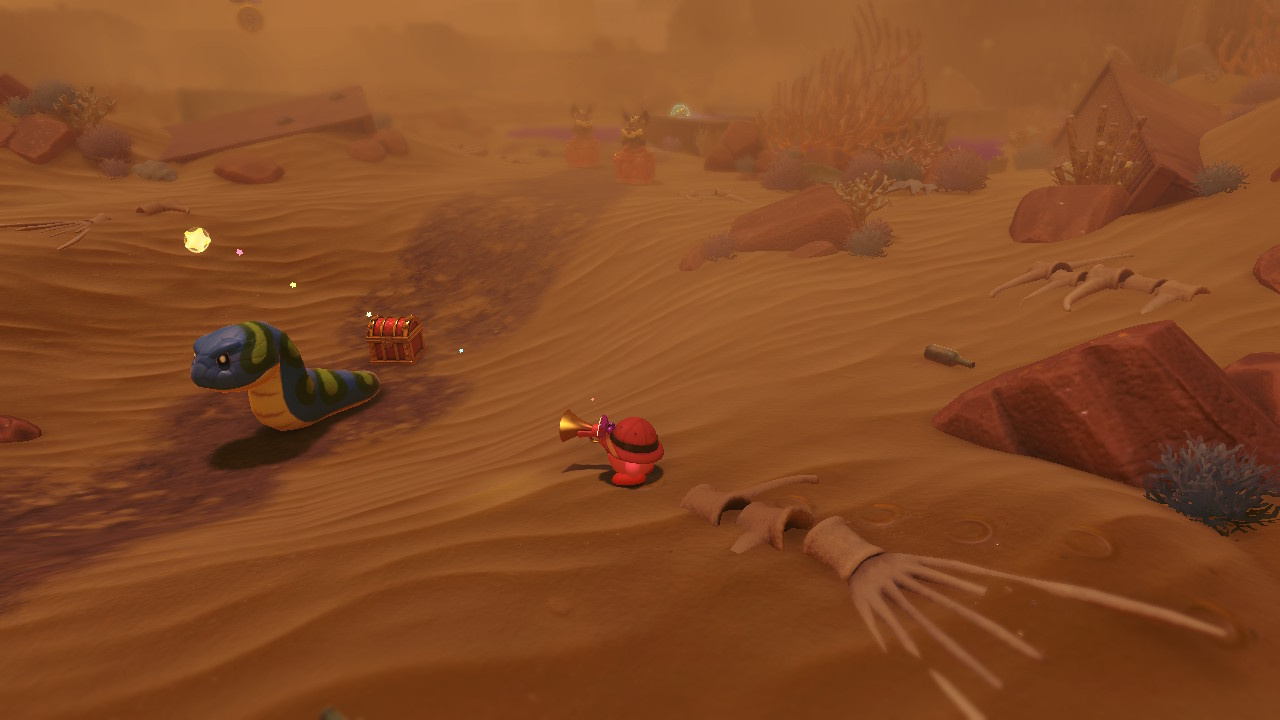
#1 The first of three Waddle Dees in this stage and you'll need to search around for five green coin fragments to unlock the cage to this little guy. The first piece is behind a snake sat right in the centre of the path as the level begins.
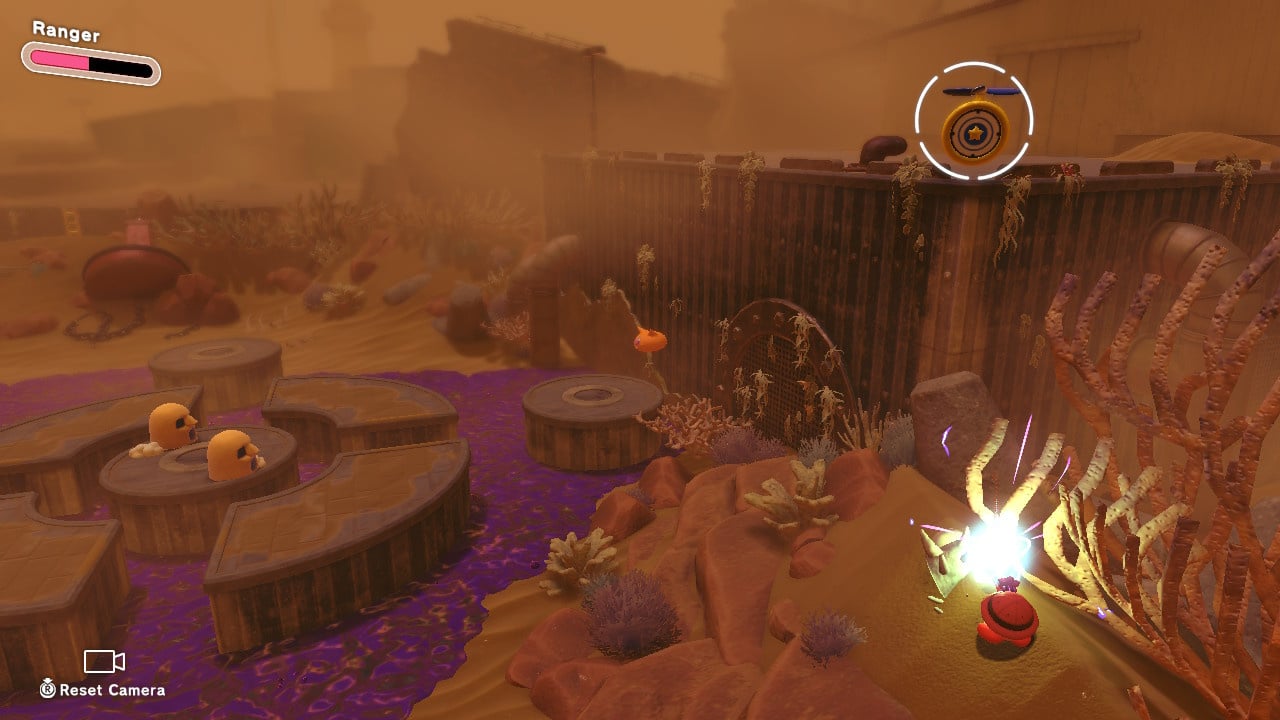
The second piece can be found over to the right side of the starting area by hitting switches in sequence on the circular platforms, as pictured below.
Now move on to the right a little further and take on Fleurina in order to earn the next piece.
Over to the left of the opening area now and we need to activate the fans using either Ring Mouth mode or Fleurina's wind ability. Activate all three to reveal this piece.
The final piece of the puzzle is partially buried in a chest, use Ring Mouth mode to blow the sand away and gain access. Now head back to where you fought Fleurina and grab your prize.
#2 In the second area of the level you need to use Ring Mouth to blow over the tower we've pictured below so that it falls onto the large cracked piece of ground and reveals a chest with this Waddle Dee inside.
#3 Another identical pillar needs to be blown onto a second cracked patch of ground here to uncover a secret door. Head in here and quickly jump across the platforms to dodge falling towers. The second last set of towers are stuck in place by a sandbank. Blow the sand away to have them fall and nab this Waddle Dee from behind them!
Shoot Three Flying Targets
#1 Right in the centre of the first area, hovering above a shipping crate. Use ranger mode to shoot this down.

#2 On a crate up high to the left as you make your way to the first area's warp star.
#3 To the far right of the area over where the switch puzzle for the green coin piece is located.
Defeat The Lost Squishy
This little yella fella is hiding right over to the left of the first area, just beside the windmill puzzle. He's on a shipping crate with some food items, simply attack him to complete this mission.
![2022032015121000 S[1]](https://images.nintendolife.com/3b5ea5ab501cb/2022032015121000-s1.large.jpg)
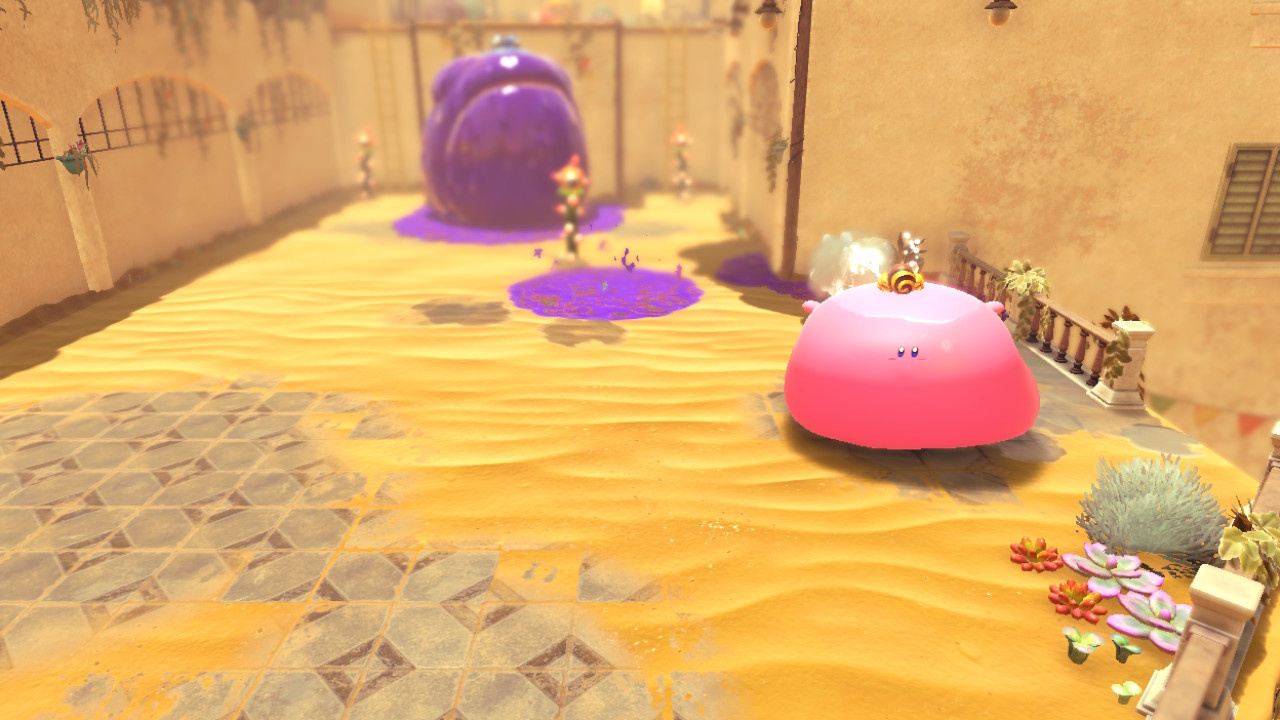
Defeat Fleurina Using Ring Mouth
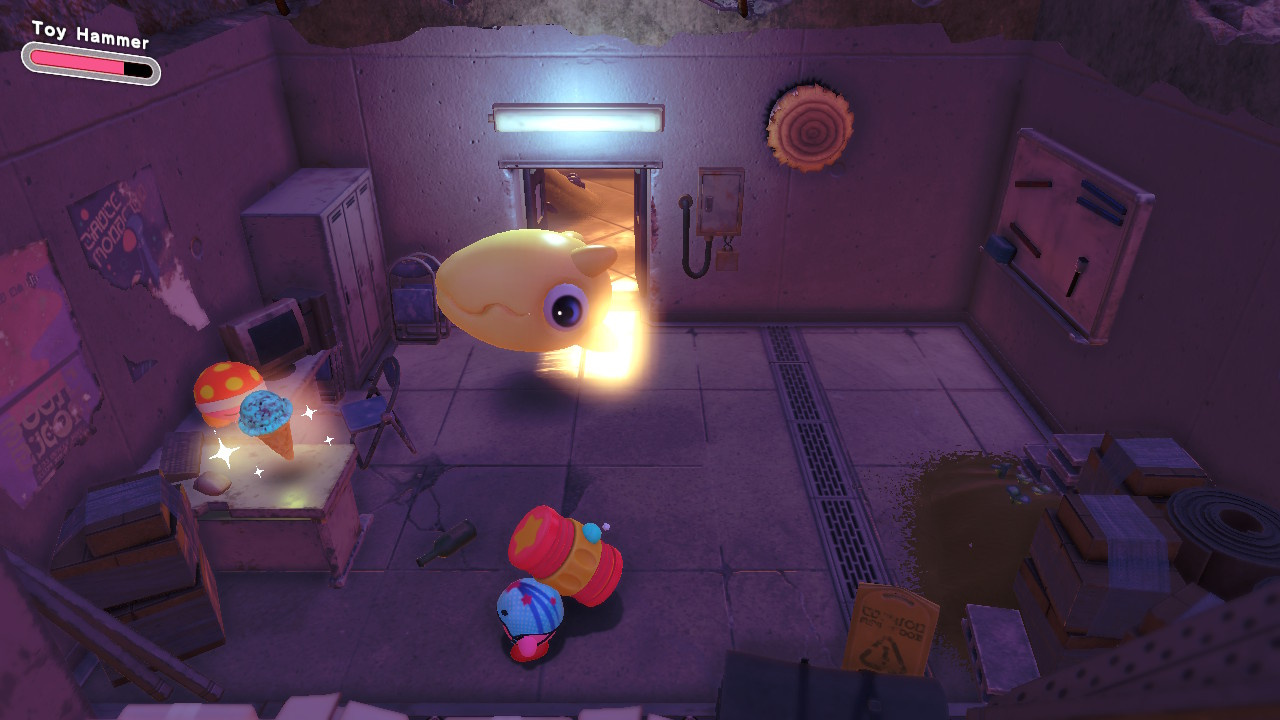
An easy one this as Ring Mouth does big damage. Simply grab the metal ring before entering the battle then waddle over and teach this windy diva some manners. However, you won't be able to just head up the steps to the arena due to your unusual shape so just jump onto the pillars on the right to make an alternate route up, as pictured below.
Collectible Figurines
#1 Right after the Fleurina fight you'll find this one hovering around.
![2022032014242600 S[1]](https://images.nintendolife.com/8cd9385390d8d/2022032014242600-s1.large.jpg)
#2 In a chest to the right of the second area, just right where you blow one of the towers over. Use Ring Mouth to blow away the sand that has partially buried it.
#3 In the secret area where you pick up Waddle Dee #3, you'll find this collectible on one of the platforms you jump to.
![2022032014382800 S[1]](https://images.nintendolife.com/6b596dc9ee4dd/2022032014382800-s1.large.jpg)
5-2 Searching The Oasis
Missions
- Clear The Stage
- Save The Hidden Waddle Dees
- Take A Nap By The Secret Pool
- Defeat 2 Poison Croakoms
- Diligent Digging In the Secret Room
Save The Hidden Waddle Dees
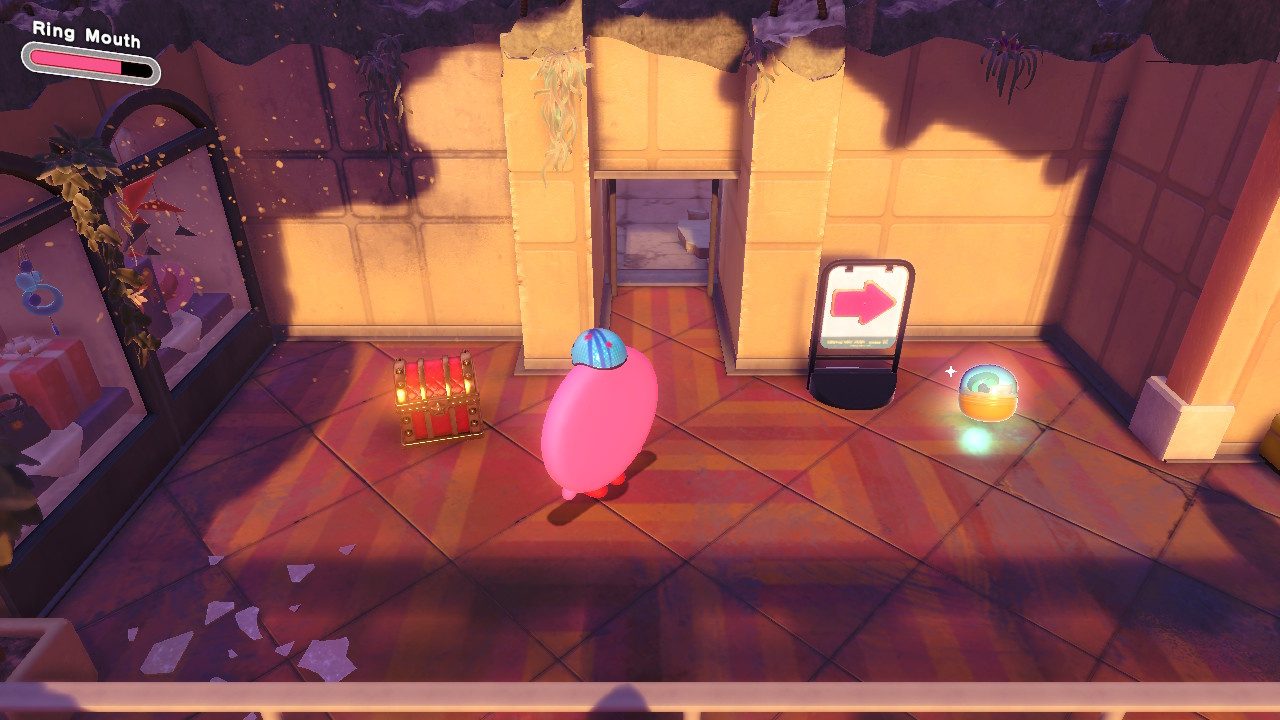
#1 At the start of the level as you venture around the rotating walled area, look out for a snake with a grassy patch behind him. Take him out and head in here to find a secret pool area containing this first Waddle Dee.
#2 In the far right corner of the area shown below you'll find a ladder heading up. At the top you'll see this next little guy in a cage on the middle platform.
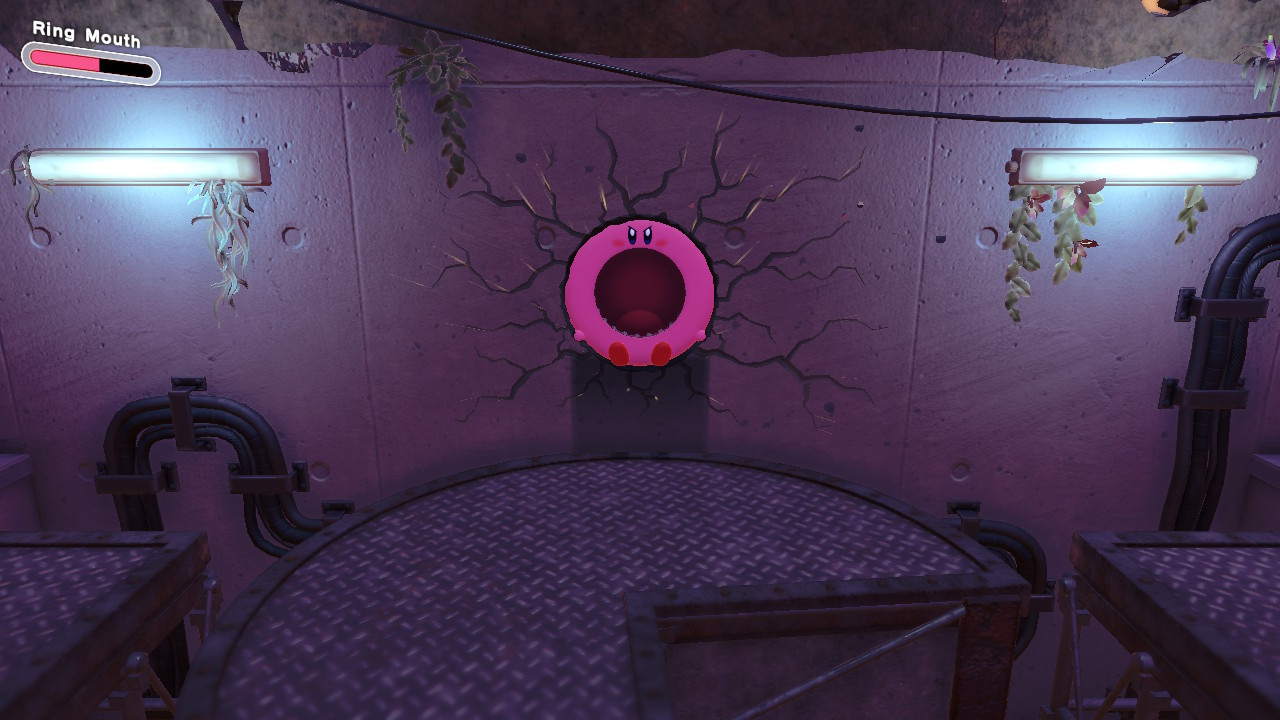
#3 From where you just picked up the last Waddle Dee, drop down into the pool area through the hole revealed by using Mouthful Mode on the metal sphere. Now follow along here to reach another Mouthful Mode section featuring a pipe. Time your jumps in pipe form to ensure you clear the ramp at the end and barrel through the wall to reach this next one.
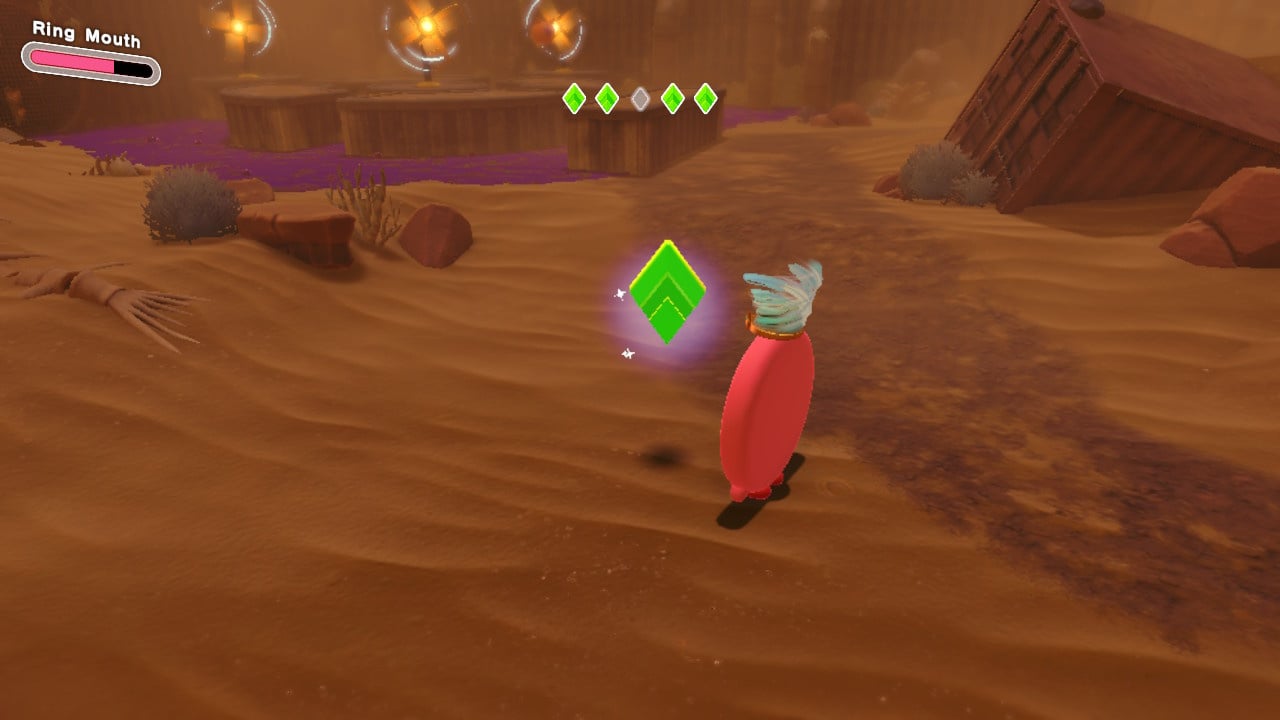
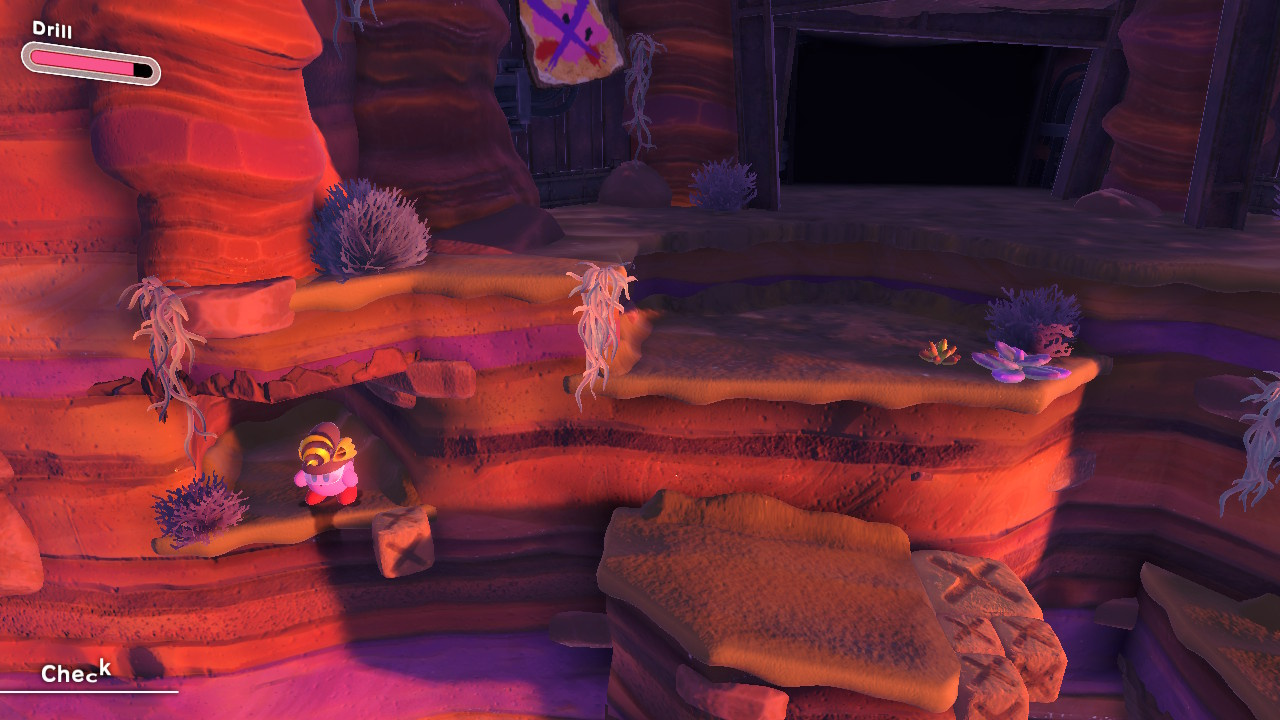
#4 In the area shown below you'll need to use the water pipe to fill Kirby up then defeat the poison Croakom. Once done, head over to the far right to clear the patch of poison from the yellow fencing. Now snag the drill ability from the nearby foe and dig underneath the fence.
Now head on into this area and you'll need to collect five green coin pieces by quickly digging along the platforms. Each green piece is inside a mound on the moving sections and you'll need to work somewhat quickly as these sections are moving offscreen.
#5 Defeat the poison Croakom in the area shown below by raising up the water pipe up via the switch around the corner, as we've detailed in our pictures here. Blast water at the Croakom now to take him out and reveal this next Waddle Dee behind where the enemy was sat.
Take A Nap By The Secret Pool
Back where you picked up your first Waddle Dee you'll notice a little sleepy enemy at the poolside. Suck him up to copy his ability and then let Kirby drift off to sleep in order to complete this mission.
Defeat 2 Poison Croakoms
Take out the two Croakoms in the water pipe section of the level to complete this one easily.
Diligent Digging In The Secret Room
Make sure to dig every single hole in the moving platforms during this sequence.
Collectible Figurines
#1 This first one is behind a snake enemy right at the start of the level.
#2 This one's sat in the open to the left of a circular patch of poison.

#3 In the area where you raised up the water pipe platform, clean off the patch of poison on the right side of the ground to reveal this collectible.
5-3 Alivel Mall (Staff Side)
Missions
- Clear The Stage
- Save The Hidden Waddle Dees
- Taste Test 3 Kinds Of Ice-Cream
- Defeat Wild Bonkers With The Cutter Ability
- Fit Through All Holes Using Mouthful Modes
Save The Hidden Waddle Dees
#1 The first of our Waddle Dees in this area is hidden behind the O-shape found in a wall early on in the level. In order to open this hidden zone, as becomes a theme in this area, we'll need to find a Mouthful Mode object that fits the bill and allows you to squeeze into the shape.
What we wanna do, then, is move into the next room and activate the big old bomb block to the right hand side, this will reveal an O-Ring that you can now use to wobble back and jump into the wall. Easy.
#2 This time we want to fit into the rectangle shape, as seen below. Keep on moving past the hole in the wall into the next room and head to the right where you'll find a rope to cut with an attack. Drop down now and you'll find yourself in a room with a vending machine. Grab it (making sure to shoot the cardboard boxes behind for a secret prize) and teleport back up to squeeze into hole in the wall and nab your pal.
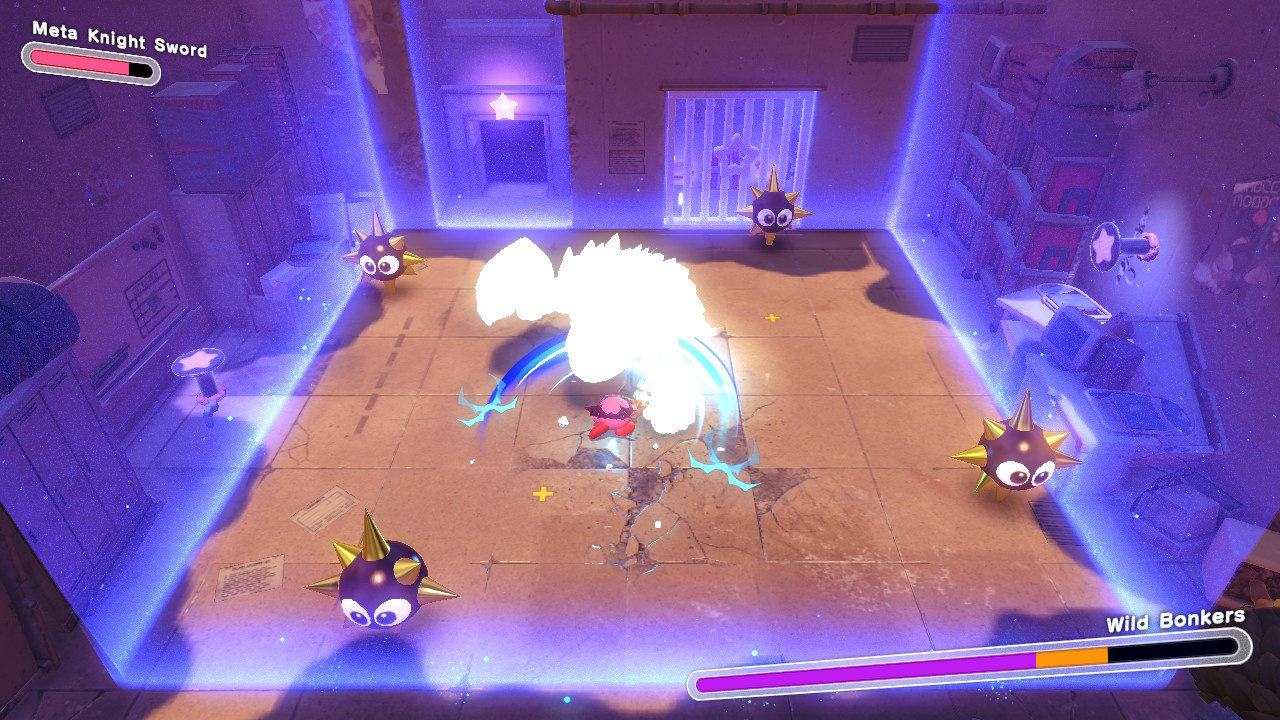
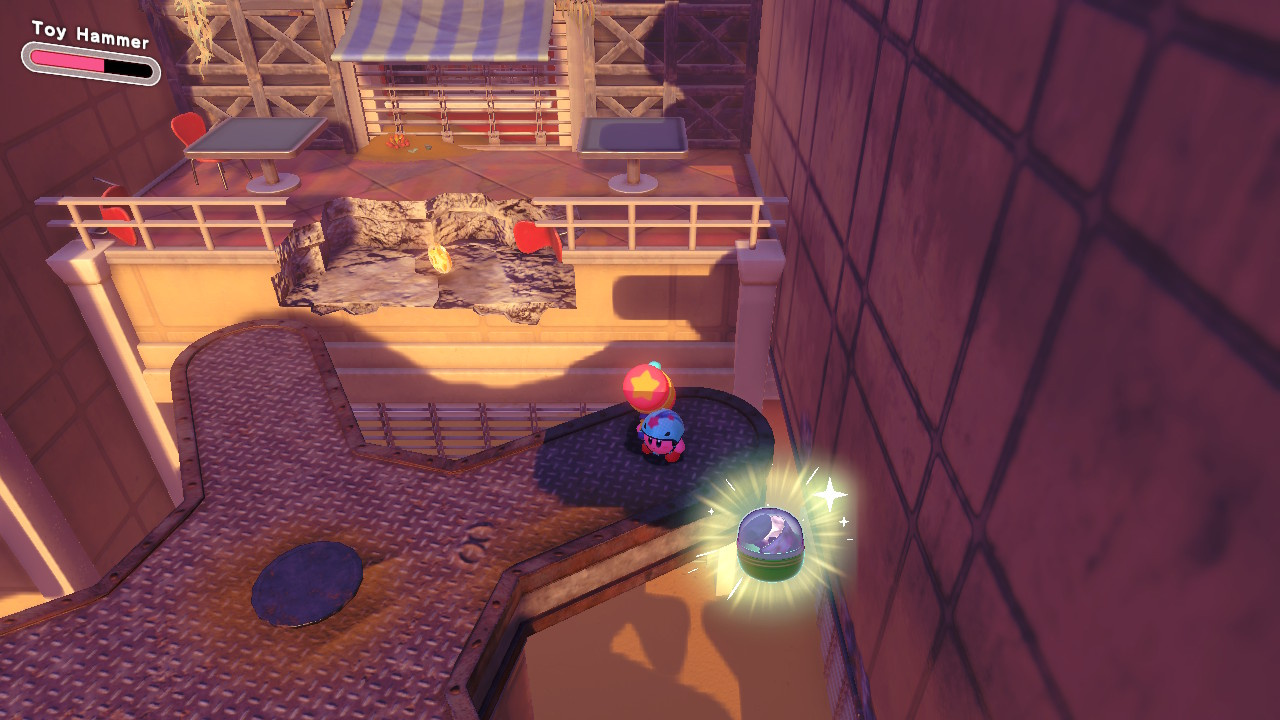
#3 Much more straightforward this one. Simply defeat Wild Bonkers when he shows up in the level (through the star door in the little shuttered room) and the cage containing this little guy will float into your arms.
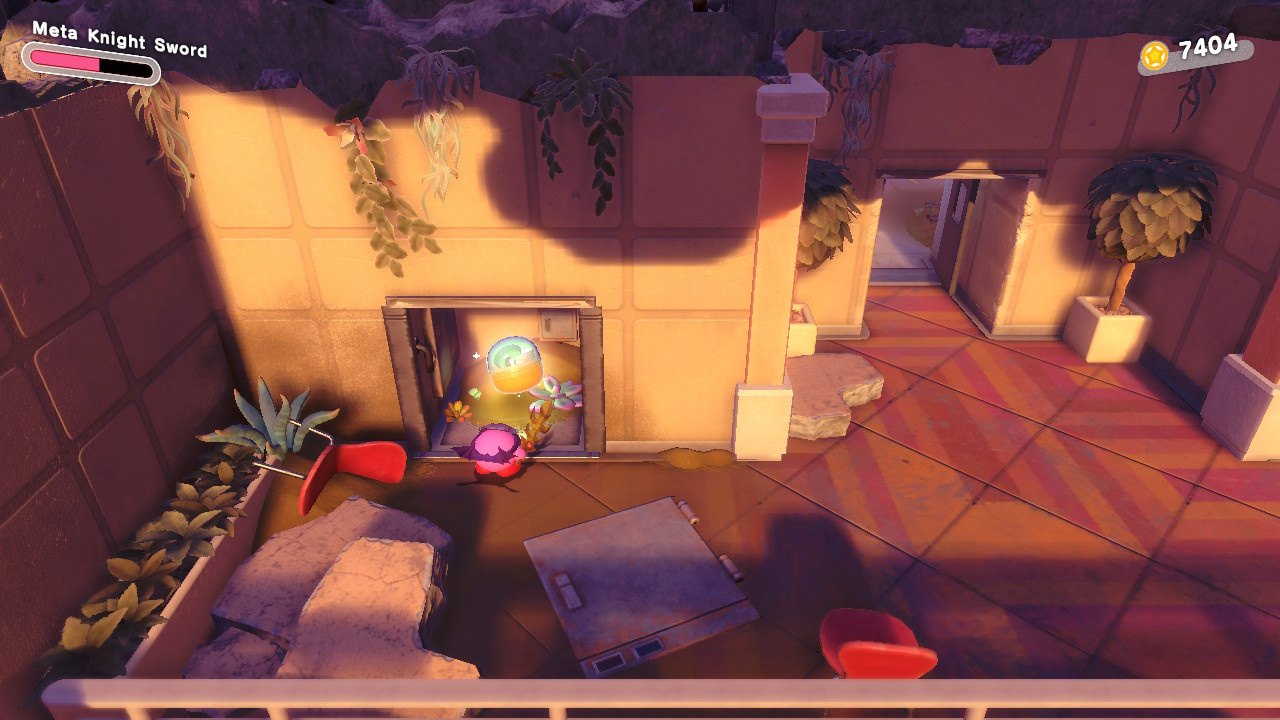
#4 This time we're gonna clear some boxes out of the way to reveal a room, as pictured below, then smack the wooden switch in here with the mallet you (hopefully) took from Wild Bonkers to break the clock in the corridor outside. NAUGHTY KIRBY! Now use the ring from the broken clock to blow some serious air and remove a bunch of sand from a partially buried treasure chest to reveal Waddle Dee #4.
#5 The last one in this level, stay in your O-ring form from the last Waddle Dee and head out into the big room that ends the stage. Go over to the circular hole to the right past the moving platforms, jump into it to break the wall down and reveal a water pipe.
Now, fill Kirby up and wobble over to the hole in the floor at the start of the room, jump in here and the ground will give way, dropping you down to your final Waddle Dee.
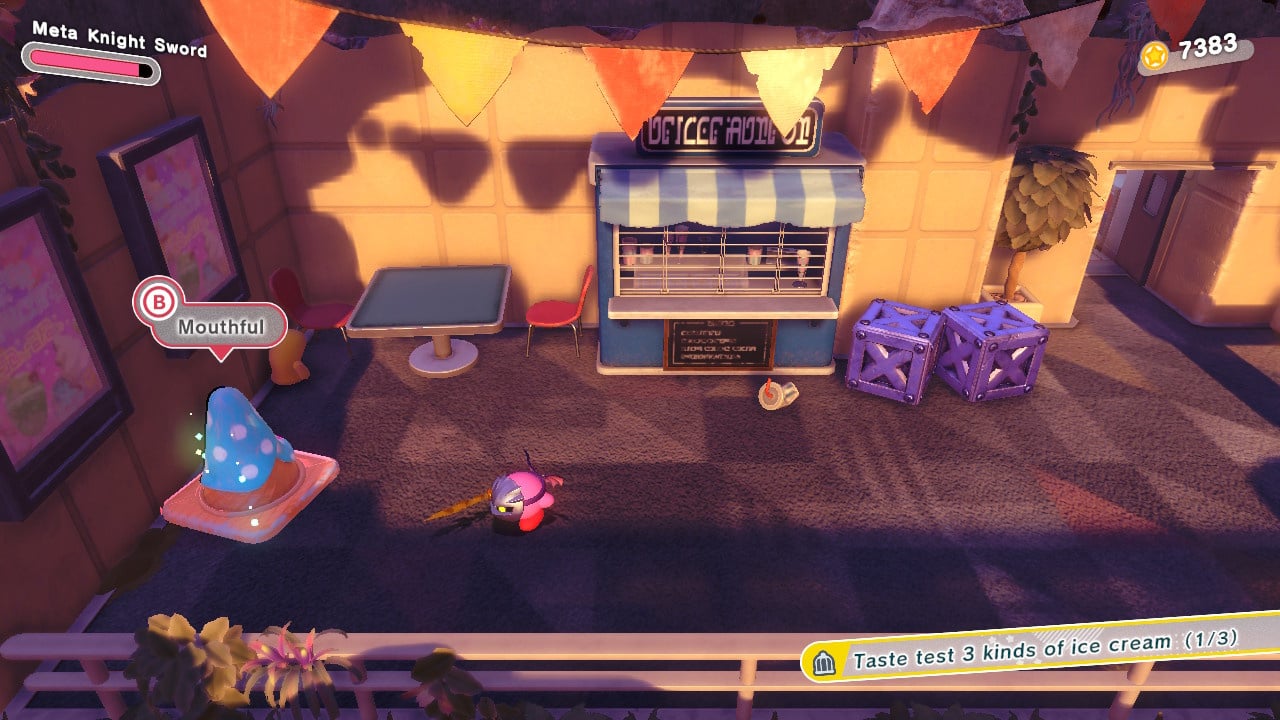
Taste Test 3 Kinds Of Ice-Cream
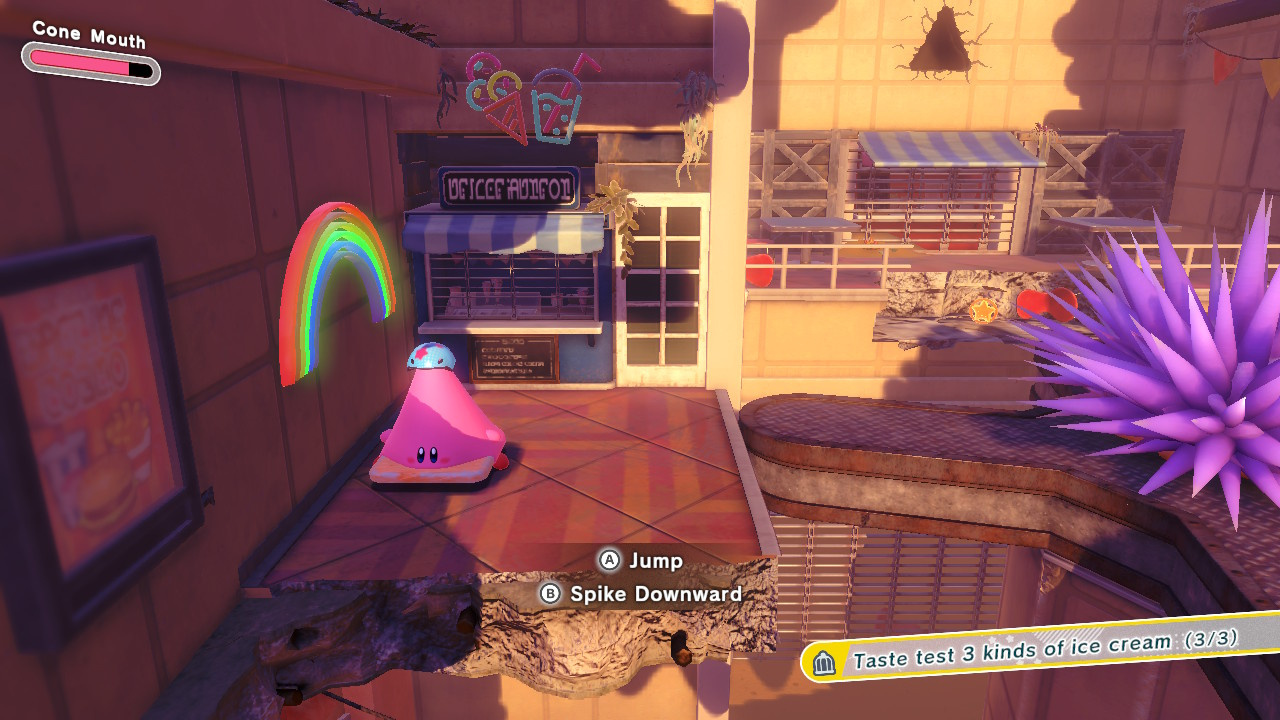
#1 The first delicious frozen treat is located on a table right beside the first Mouthful Mode cone object in the level, as pictured.
#2 After the Wild Bonkers fight you'll knock some cardboard boxes out of the way to enter a secret room where you break a clock. The next ice cream is in here, and it looks delicious.
#3 On the left side of the large room with the moving platforms that finishes up the level, smash all the boxes up and you'll find this one hiding right beside the cone shape you use to exit the stage.
Defeat Wild Bonkers With The Cutter Ability
An easy one this. Simply grab the cutter ability off a nearby foe and jump into this miniboss battle to earn a victory and complete the mission.
Fit Through All Holes Using Mouthful Modes
If you've followed our level guide here you'll have completed this one by the time you're done with the stage, having squeezed into every shape and rescued every Waddle Dee. Good job!
Collectible Figurines
#1 Behind some boxes to the left side in the room with the bomb block!
#2 In the secret space right behind the vending machine, simply shoot those boxes outta the way.
#3 When in O-Ring form after you've broken the clock, blow the piles of dust you see scattered around to find this one just beside the chest containing a Waddle Dee.
#4 Sat in the open on a rotating platform in the final room of the level.
5-4 Moonlight Canyon
Missions
- Clear Stage
- Save The Hidden Waddle Dees
- Remove 3 Wanted Posters
- Clear The Secret Room Without Falling
- Find The Treasure Hiding By Cactus Triplets
Save The Hidden Waddle Dees
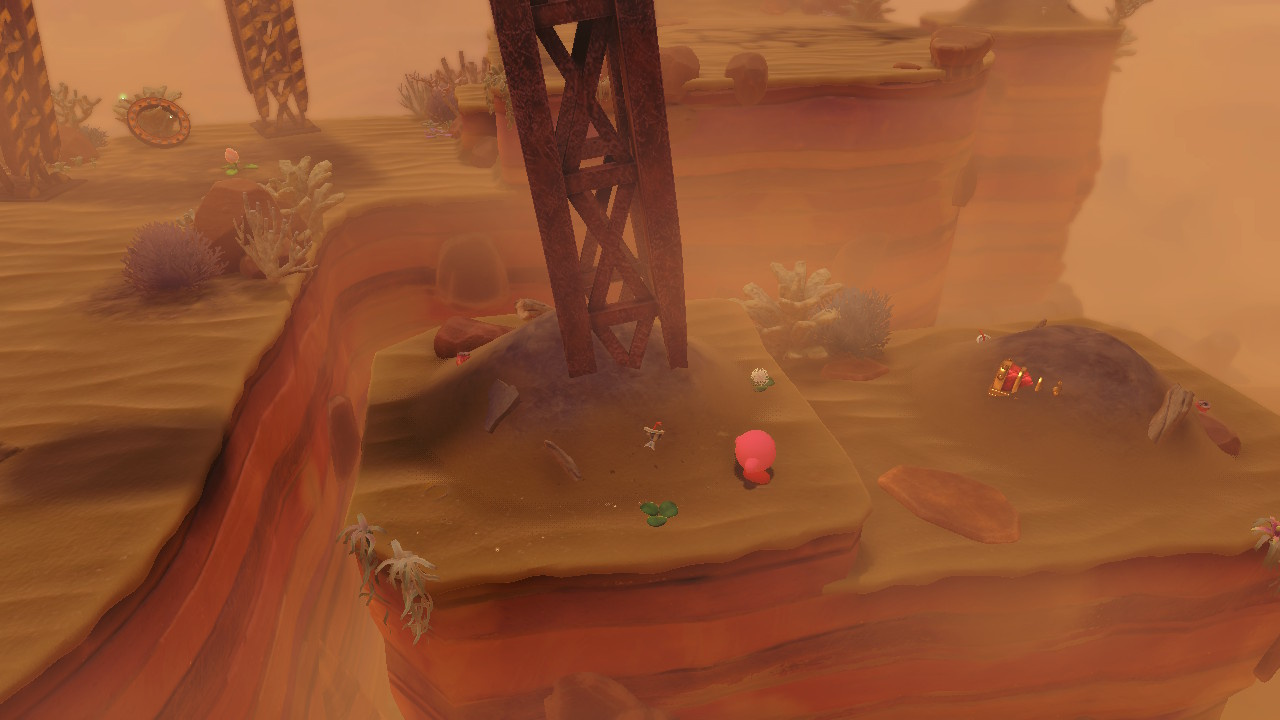
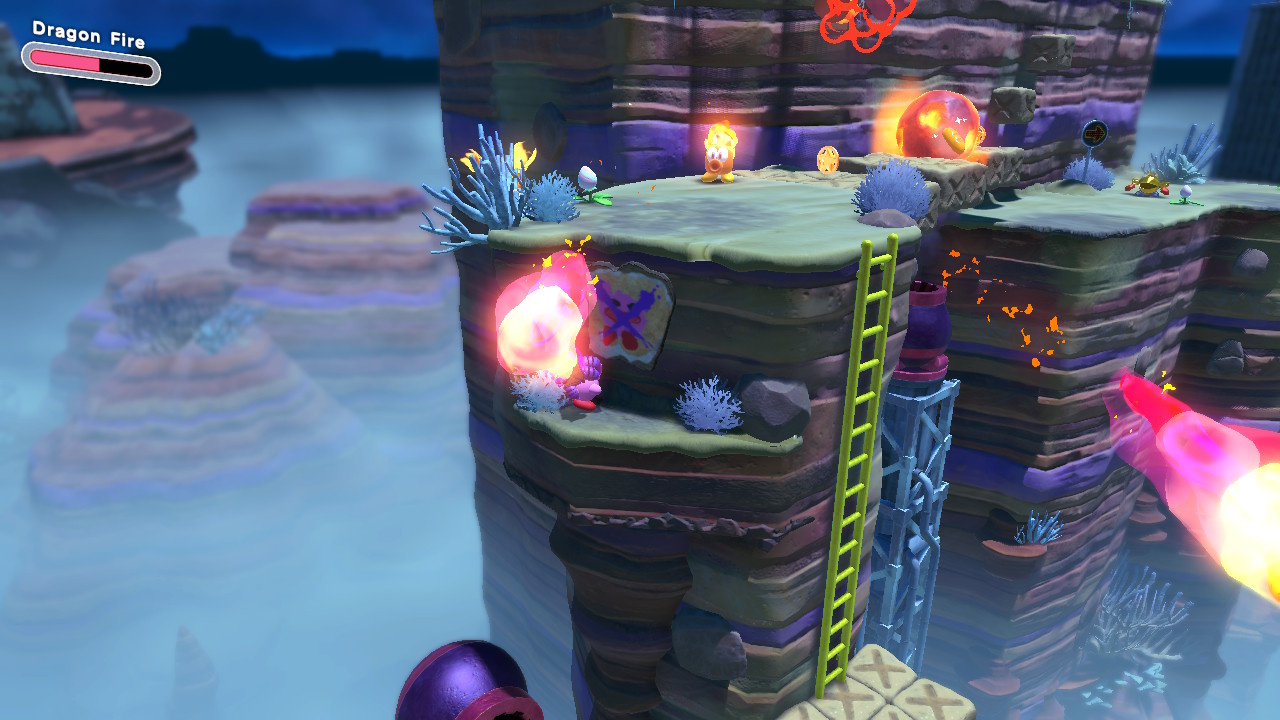
#1 In the darkened bulb section of the level you'll come to a platform with four fire-shooting cannons. Head to the second cannon on your right and go around it to find a path leading off to the right. Down here you'll see a solar panel that you'll need to charge up by illuminating Kirby to reveal some steps up to this first little fella.
#2 At the end of the section with falling pillars in the darkened bulb area you'll light up a solar panel that's over on the left side of the screen, this raises a platform to the exit with a Waddle Dee sat upon it.
#3 In the second area of the level now and you'll come to a section of crumbling blocks, manoeuvre along these and then move towards the screen when you come to the fire cannon at the end to find this Waddle Dee hidden just out of view.
#4 This next one is up some crumbling blocks very close to where you found your last Waddle Dee. Head up to the area above with a lift that you can use Mouthful Mode to control. Hit the switch on the left then move along and jump into the doorway on the right.
Now you're in a secret area where you need to ride another lift with mouthful mode, dodging the spikes and picking up coins, then jump out and run along the top platform to the Waddle Dee. Look out for sleepy little guys up here too as touching one will slow you right down to a crawl, resulting in you falling through the crumbling floor!
#5 Right at the end of the gliding section a large rock will tumble into your path with two holes in it, take the right one with the red ring inside to find the final Waddle Dee of this level.
Remove 3 Wanted Posters
#1 To the left of the main entrance at the start of the level.
#2 After you've raised the platform with the second solar panel, take a left off the platform before you exit the area to find this one hanging up in a hidden nook.

#3 During the collapsing platforms section you'll find this one down to the left side of a ladder climb, as pictured below.
Clear The Secret Room Without Falling
Manage to ride the lift in Mouthful Mode and run along the top platform to the Waddle Dee without falling through the crumbling ground to earn this one.
Find The Treasure Hiding By Cactus Triplets
Right at the end of the level this one. Head behind the golden Waddle Dee cage and you'll see three cactus huddled together. Hit the sparkling spot here to reveal a chest containing some coins.
Collectible Figurines
#1 Under a crumbling block to the right-hand side of the opening climb of the level.

#2 Head over to the base of the fallen pillar that smashes right through a chunk of ground in the area shown below and you'll activate a hidden platform that takes you to this one.
#3 Right at the end of the level you'll find this one hidden in a nook on the right behind some wooden crates.
5-5 Collector In The Secret Valley
Missions
- Clear Stage
- Hit 3 Of Sillydillo's Homemade Kirbys
- Defeat Sillydillo With The Hammer Ability
- Clear Within 2:00
- Clear Without Taking Damage
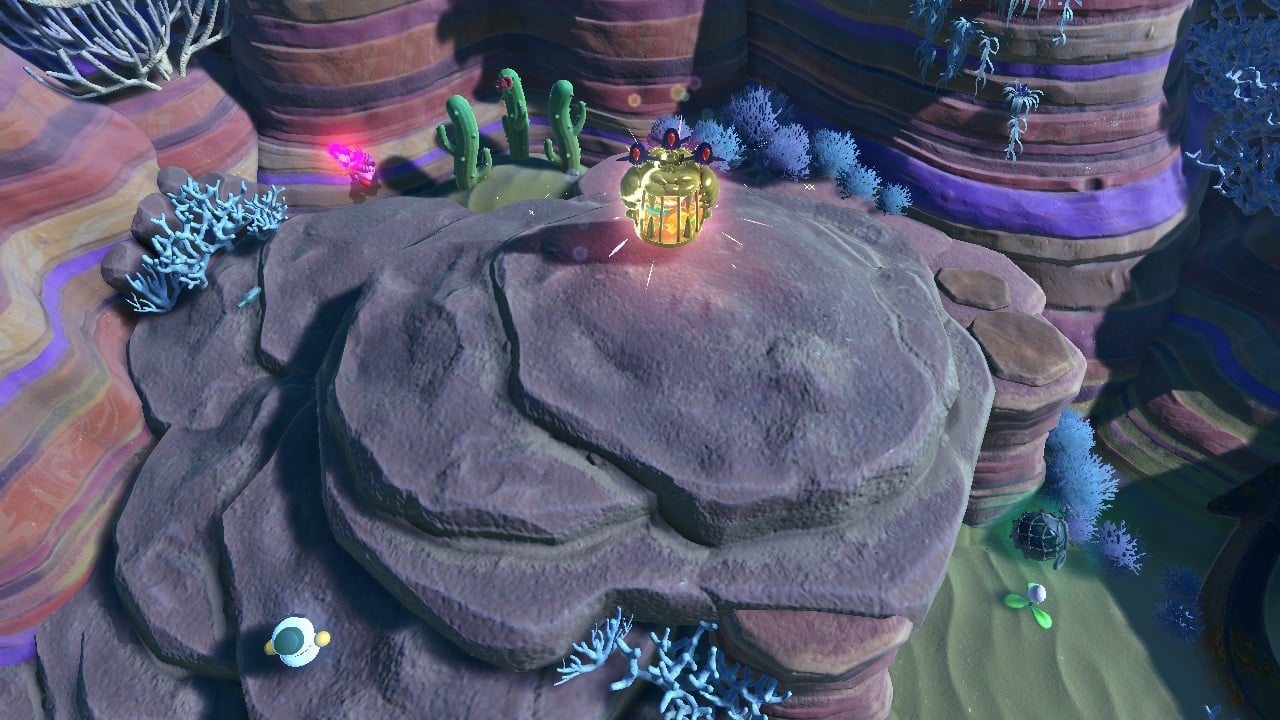
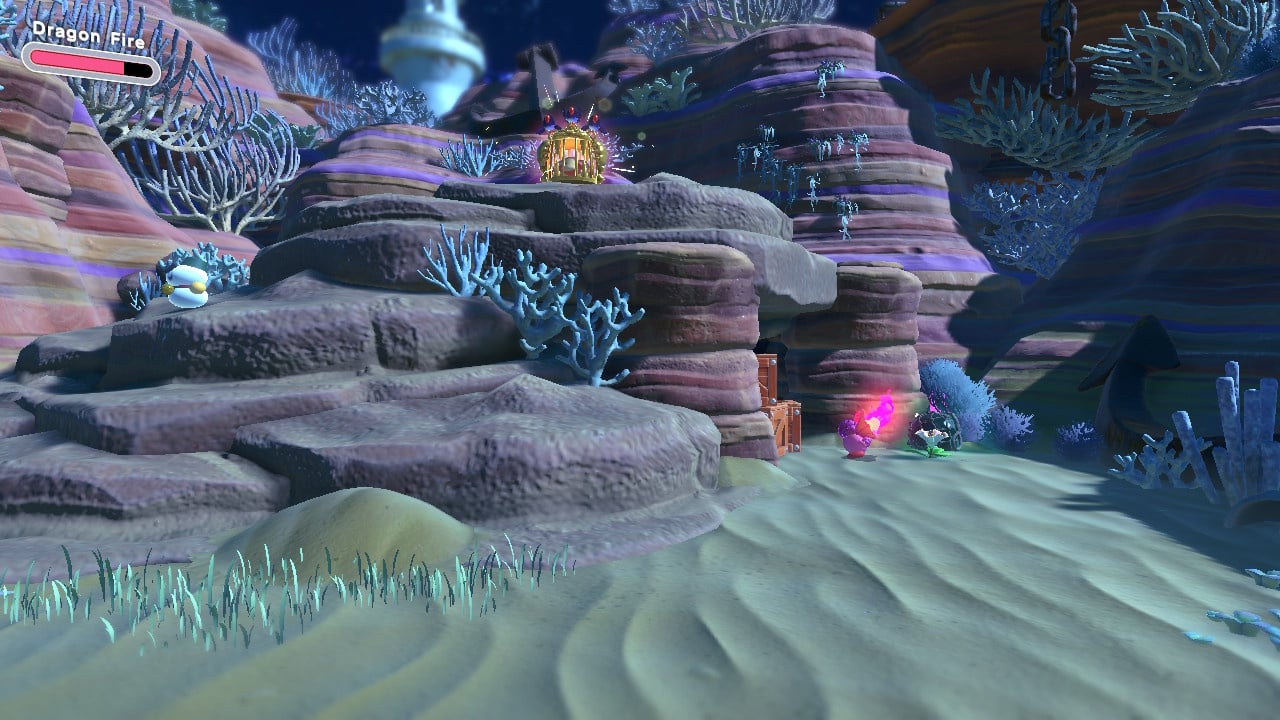
The final stage of World 5 and it's time to get down and dirty in a boss battle against the ever-so-slightly crazy Sillydillo. There are a few different phases to this one, and it's definitely the most challenging fight so far.
With regards to the missions here, well they're all quite self-explanatory. Hit three of the stuffed Kirbys hanging from the ceiling during the first phase of the fight and make sure you have your hammer ability upgraded as much as possible in order to make short work of him when attempting that challenge.
Obviously getting him down in under 2:00 is gonna take an upgraded ability too and we went with good old Dragon Fire here, blasting him with purple energy to knock his health down ultra-fast. Good luck!
Originull Wasteland Starries (Star-Crossed World)
If you've got the Nintendo Switch 2 Edition of the game, the Star-Crossed World 'remixes' of these stages are now available to play. Check out our guide to find all the Starries in Originull Wasteland.