Welcome to Nintendo Life's Kirby and the Forgotten Land boss guides. Here we'll be running you through each and every one of the main bosses for the game and how we went about defeating them.
As you progress through the main campaign you will come across miniboss encounters against Wild Edge, Fleurina, Wild Bonkers and a few more but for the most part these small-scale encounters are very similar in terms of how your enemy attacks and present little problem to successfully pass. As such, we've decided to focus on the main end of world boss battles for these guides, the larger scale showdowns that comprise multiple phases.
Subscribe to Nintendo Life on YouTube844k
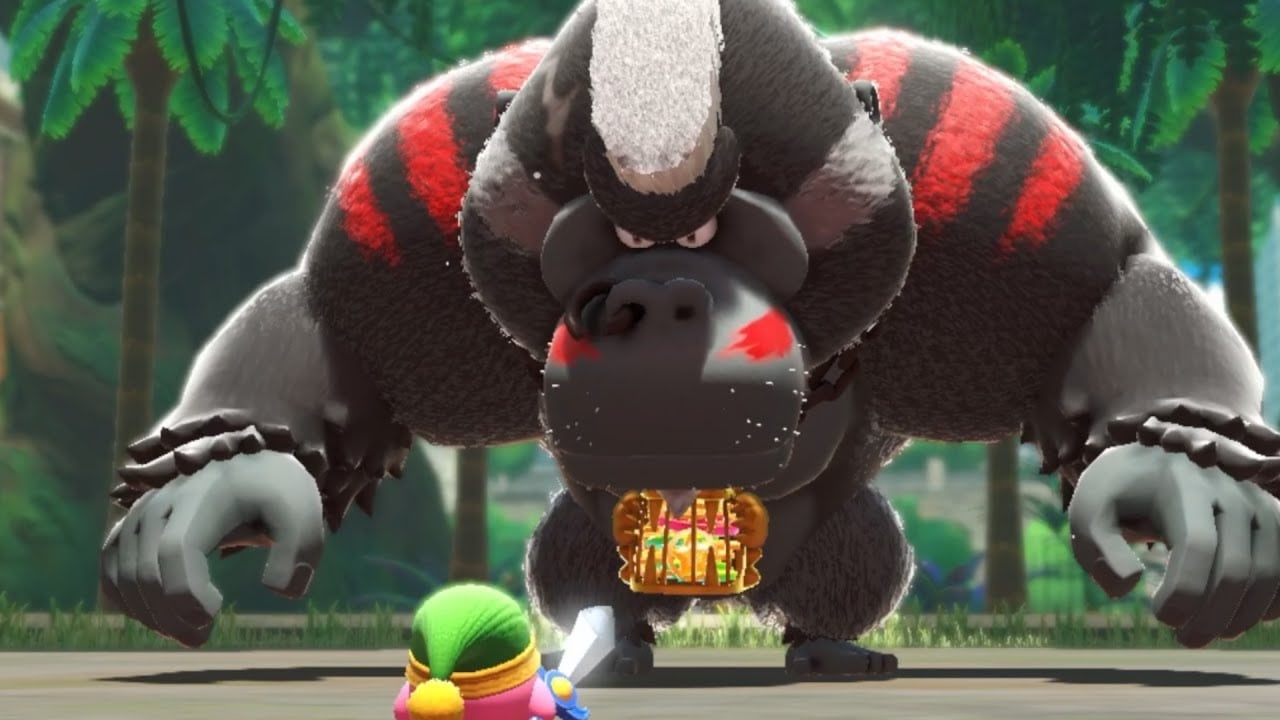
So, let's kick off with the game's first main boss - Gorimondo!

Kirby and the Forgotten Land - Gorimondo Boss Guide
Gorimondo Boss Battle Missions
- Clear The Area
- Clear Within 2:00
- Slip Through Gorimondo's Legs
- Defeat Gorimondo With The Sword Copy Ability
- Clear Without Taking Any Damage
This final stage of World One is a short trip up to the boss area where you'll face off against Gorimondo. There are no Waddle Dees as such to collect here but you'll need to complete the missions above to 100% clear the area and get your rewards.
Gorimondo may look like one great big brute but, in reality, he's a little bit of a pushover really. We defeated him first time by sucking up the stars he drops as he throws tarmac and swipes his arms and then switched it up to the sword ability for our second run.
Phase One
His attacks early on consist of chucking lumps of scenery which are easily avoidable and break up on impact with the ground. Grab the stars to chuck back at him as they appear if that's how you're attacking him. He'll also perform big slow swipes that can be easily jumped over and leave a trail of stars in their wake.
Phase Two
Gorimondo will eventually beat his chest in frustration and move into phase two where he has another attack, a slow-moving spin that sees him move around the arena, ending with a nice long period where he reorients himself, allowing you to get stuck in for some smacks. There's also a foot stomp here that produces a small area of effect damage wave that's easy to avoid by staying back or jumping.
Slipping in between his legs to complete that specific mission is as simple as just running clear through them as you attack (you'll spend most of your time close to his legs when doing this one with a sword) and, as long as you're reasonably quick reaching the actual battle, clearing things under 2:00 should a breeze.
This is an easy intro to the game's big boss battles that shouldn't take you long to clear. Good luck!
This guide is part of our Kirby and the Forgotten Land Walkthrough Guide, which covers every world in the game (Natural Plains, Everbay Coast, Wondaria Remains, Winter Horns, Originull Wasteland, and Redgar Forbidden Lands, plus the post-game areas — SPOILERS!! — where you'll find all Leon Soul pieces throughout The Isolated Isles in Forgo Plains, Forgo Bay, Forgo Park, Forgo Horns, Forgo Wasteland, and Forgo Zone).
We also detail Every Waddle Dee Location, every Copy Ability Blueprint Location, and how to beat every boss in the game (so that's Gorimondo, Tropic Woods, Clawroline, King Dedede, Sillydillo, Forgo Dedede, Leongar, Fecto Forgo, and finally Fecto Elfilis, plus the post-game bosses — SPOILERS!! — Phantom Gorimondo, Phantom Tropic Woods, Phantom Clawroline, Phantom King Dedede, Phantom Sillydillo, Forgo Dedede, Forgo Leongar, and Morpho Knight).
There's also our full list of Kirby And The Forgotten Land Present Codes which will get you bonus in-game goodies if you input them at Waddle Dee-liveries.
And finally if you're looking to pick up the game, you'll want to check Where To Buy Kirby And The Forgotten Land On Switch.


Comments 0
Wow, no comments yet... why not be the first?
Leave A Comment
Hold on there, you need to login to post a comment...