Welcome to Nintendo Life's Kirby and the Forgotten Land walkthrough guide! In these guides we'll take you through every world and show you where to find every last Waddle Dee, figurine and other collectible, plus how to defeat every boss in the game.
Let's kick things off in Natural Plains and get busy finding all the secrets this first area's got hiding within it so we can clear every mission and max our Waddle Dee count.
Subscribe to Nintendo Life on YouTube847k
World 1 - Natural Plains
1-1 Downtown Grassland Missions
- Clear Stage
- Save All Hidden Waddle Dees
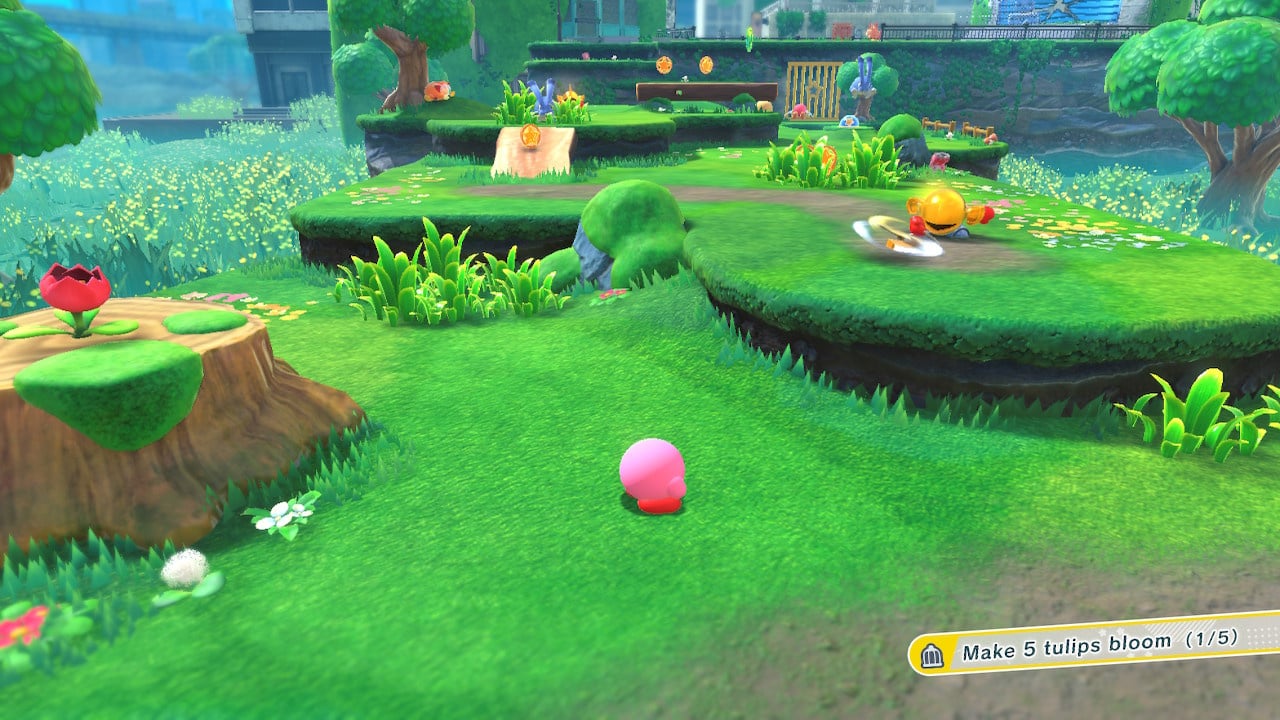
- Make 5 Tulips Bloom
- Break The Metal Shutter
- Ride the Spewing Water Up To The Balcony
Save All Hidden Waddle Dees
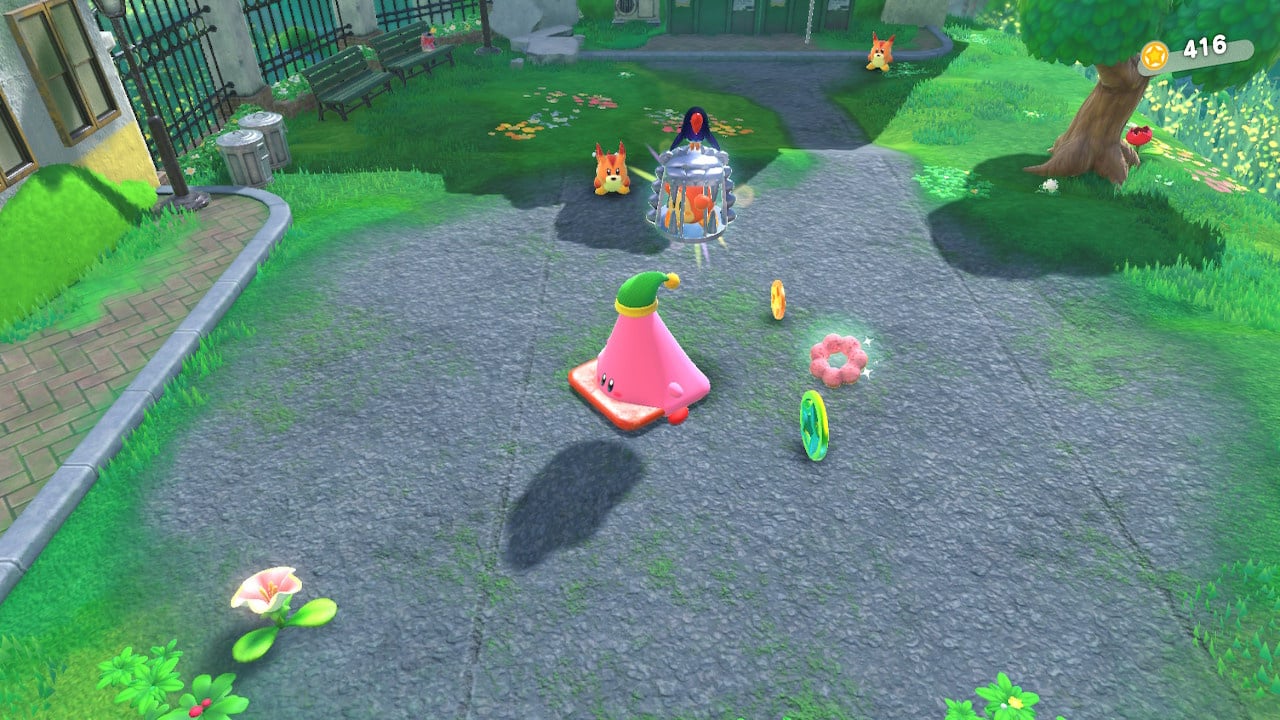
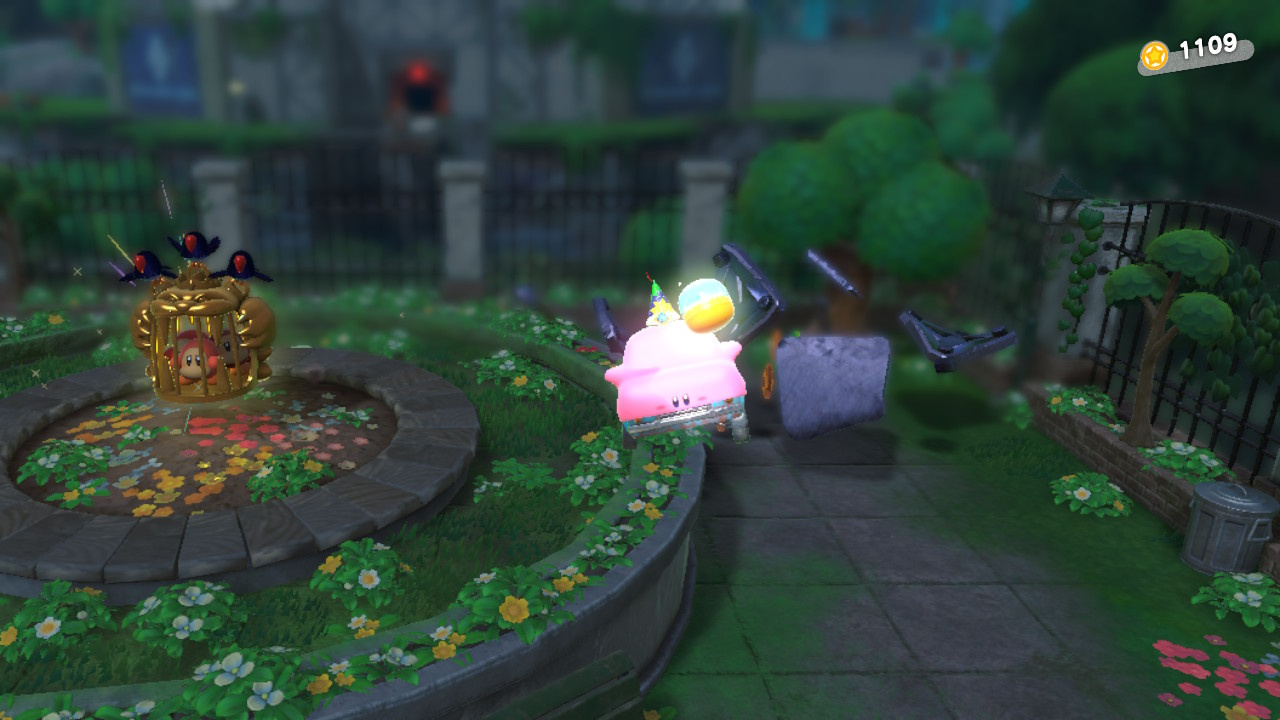
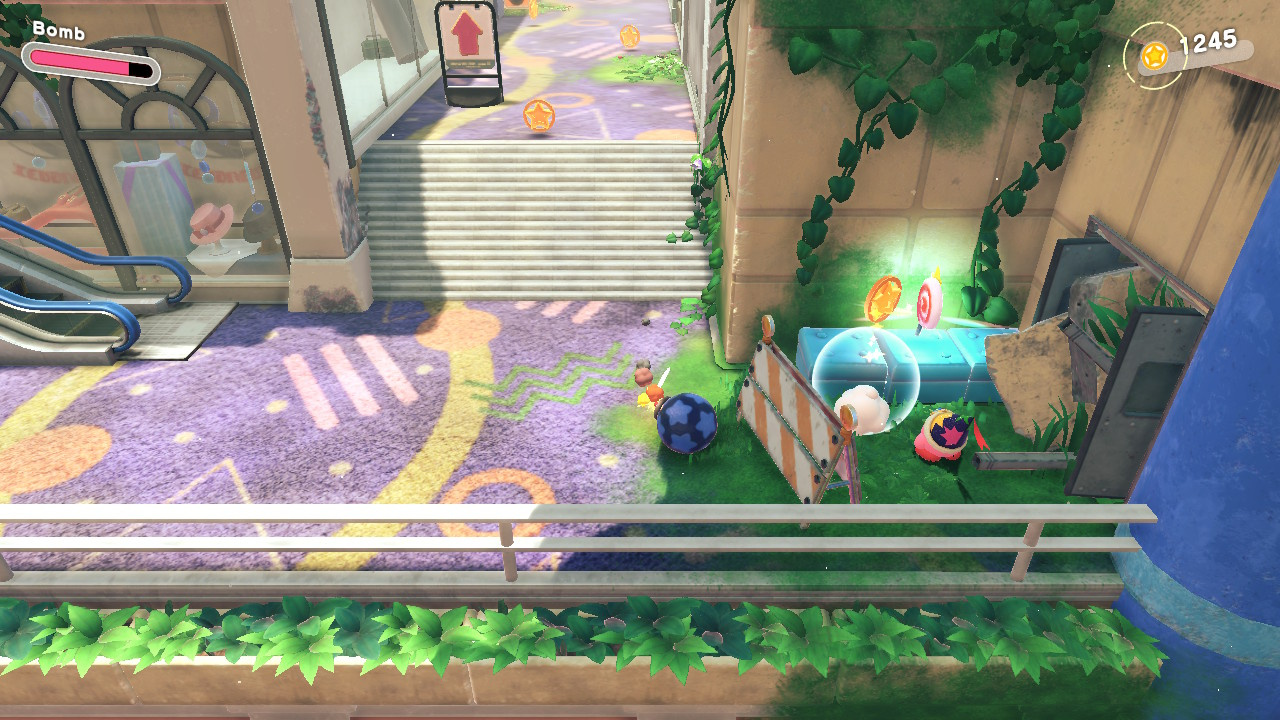
1. Your first Waddle Dee can be rescued by taking on the mini-boss Wild Edge in a brief and easy fight. Choose whether to use bomb or cutter ability (or the stars he drops) to battle him then run over to the cage to free your Waddle Dee pal once this simple battle is complete.
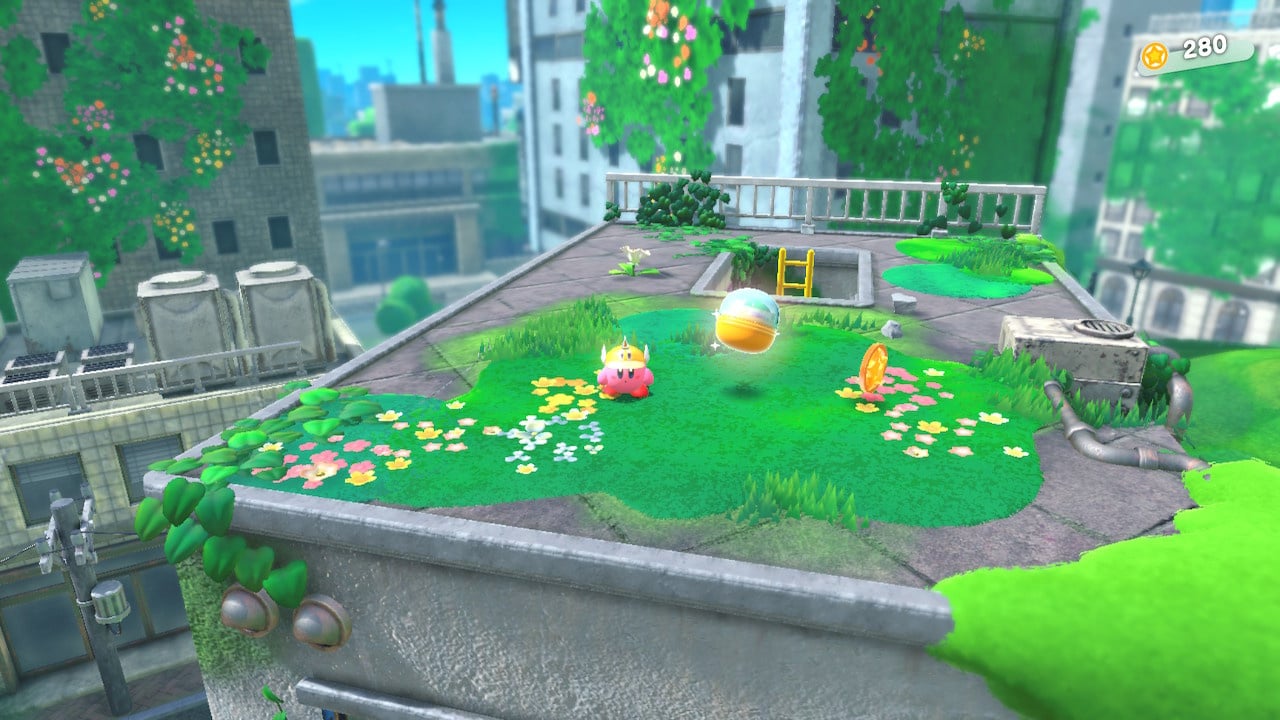
2. To the right of the area shown below you'll climb some steps up to a metal sphere that Kirby can use his Mouthful Mode on. Initiate Mouthful mode then wiggle the left thumbstick around to open the sphere and reveal this next Waddle Dee!
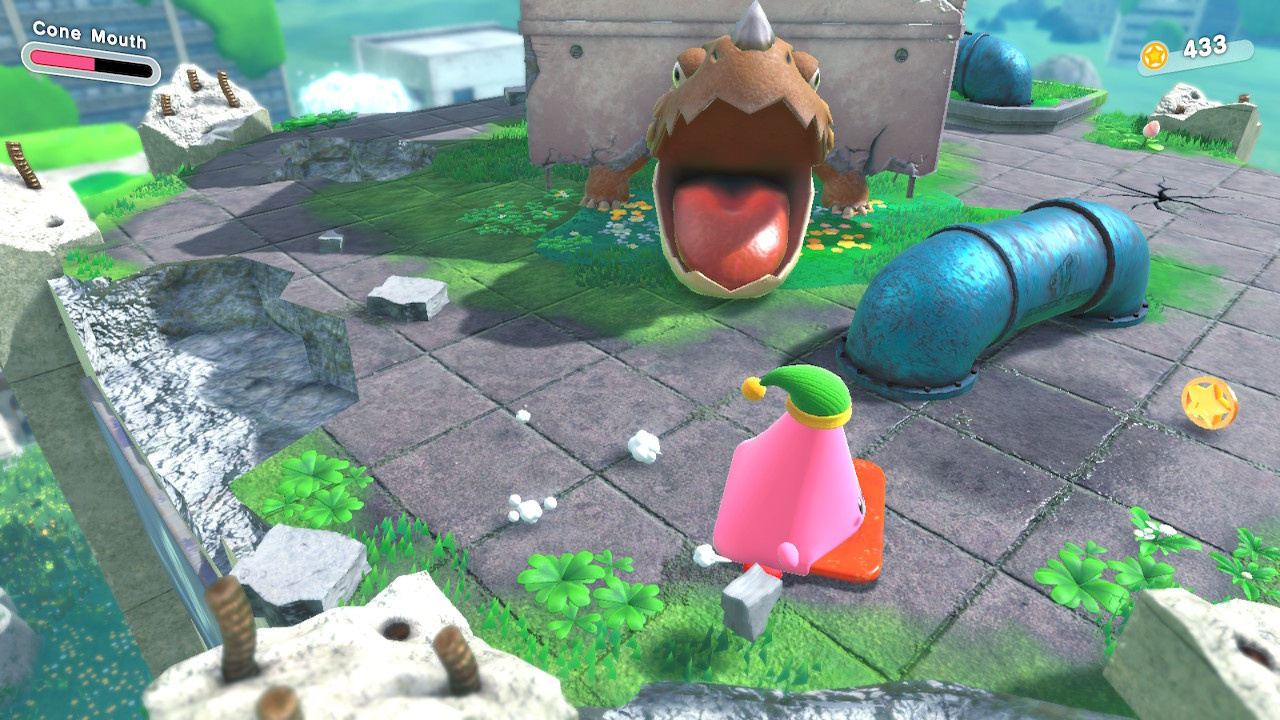
3. Kill the first large turtle you come across by using Mouthful Mode to turn into a cone and then jump attack the concrete block on its back. Doing so will reveal this next Waddle Dee.
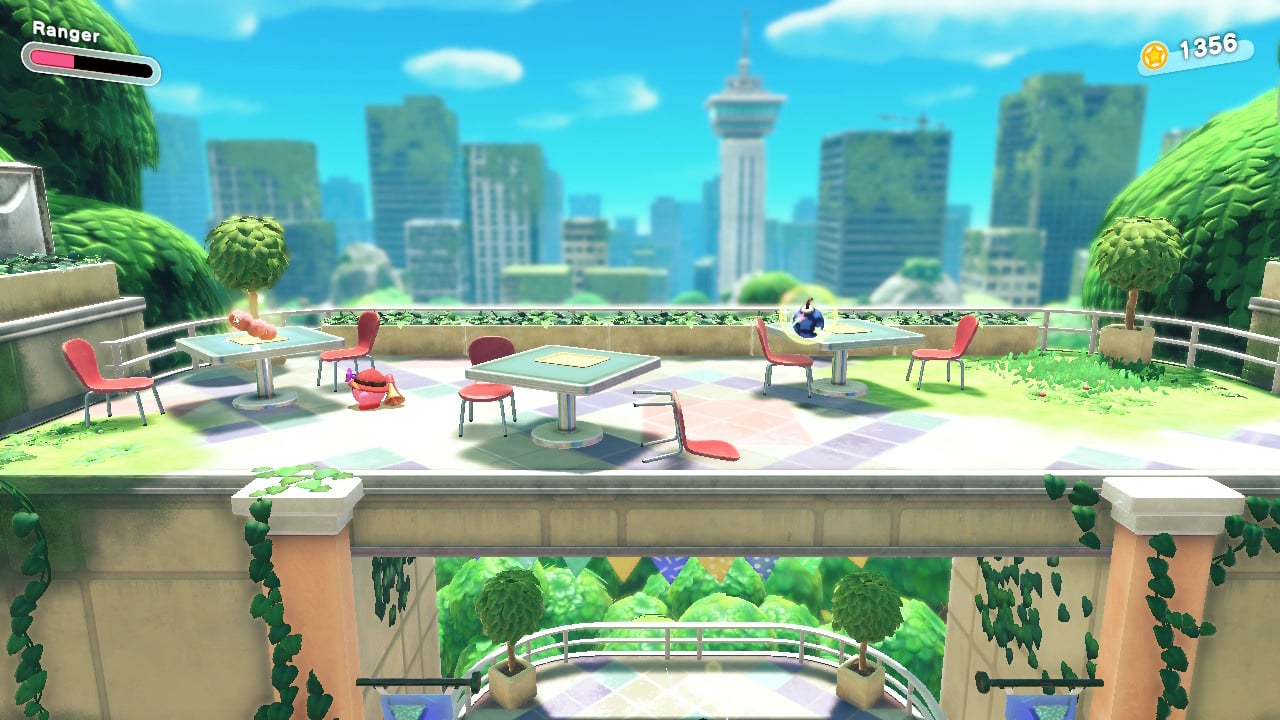
4. Our final Waddle Dees for this first stage is trapped inside the boss turtle you'll meet right at the end of the level. Use Cone mode to open the cracked holes in the ground to avoid his attacks, manoeuvre behind the blue pipes at the sides of the arena and then ride the geyser from the burst water pip up to a platform on his right hand side. From here jump down and stab attack him to break the block on his back and rescue these final Waddle Dees.
Make 5 Tulips Bloom
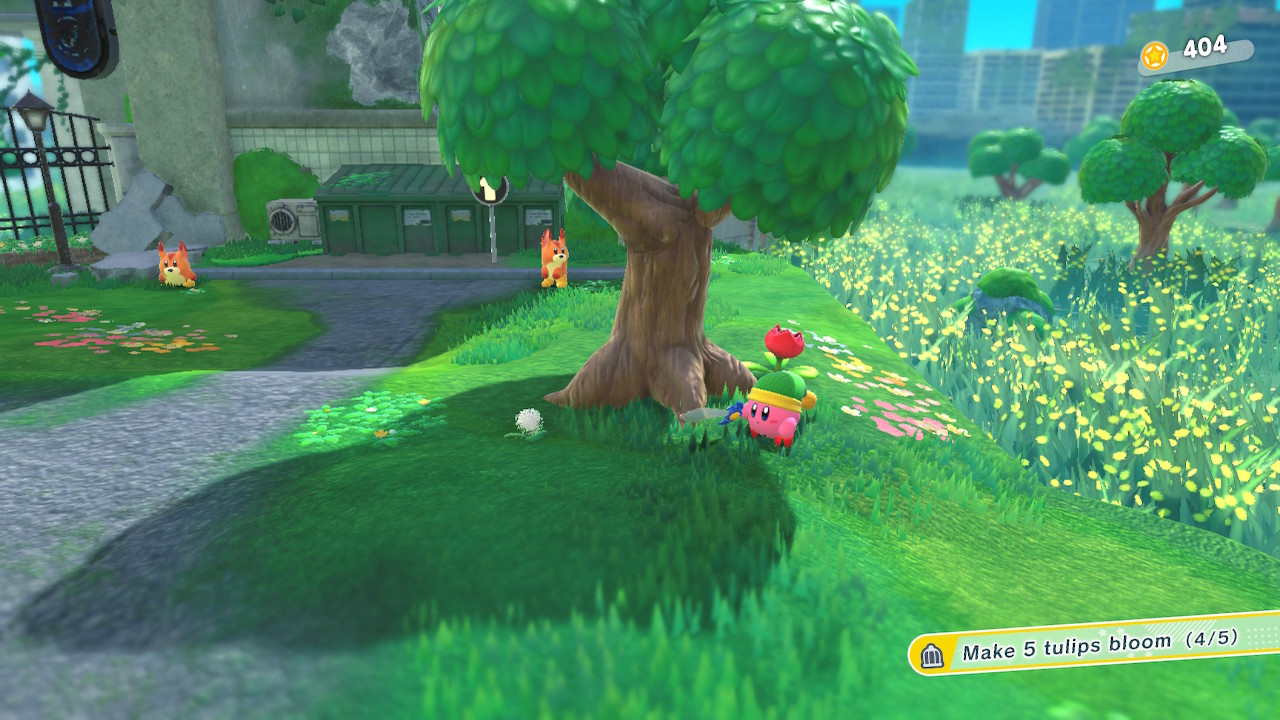
1. Your first tulip is on a tree stump to your left at the opening of the level, it's easy to spot!
2. Your second tulip can be found by using the switch to open the door to the slice of cake, as shown below. Gobble up the cake (it's delicious btw) then walk left through the hidden tunnel here to nab tulip #2.
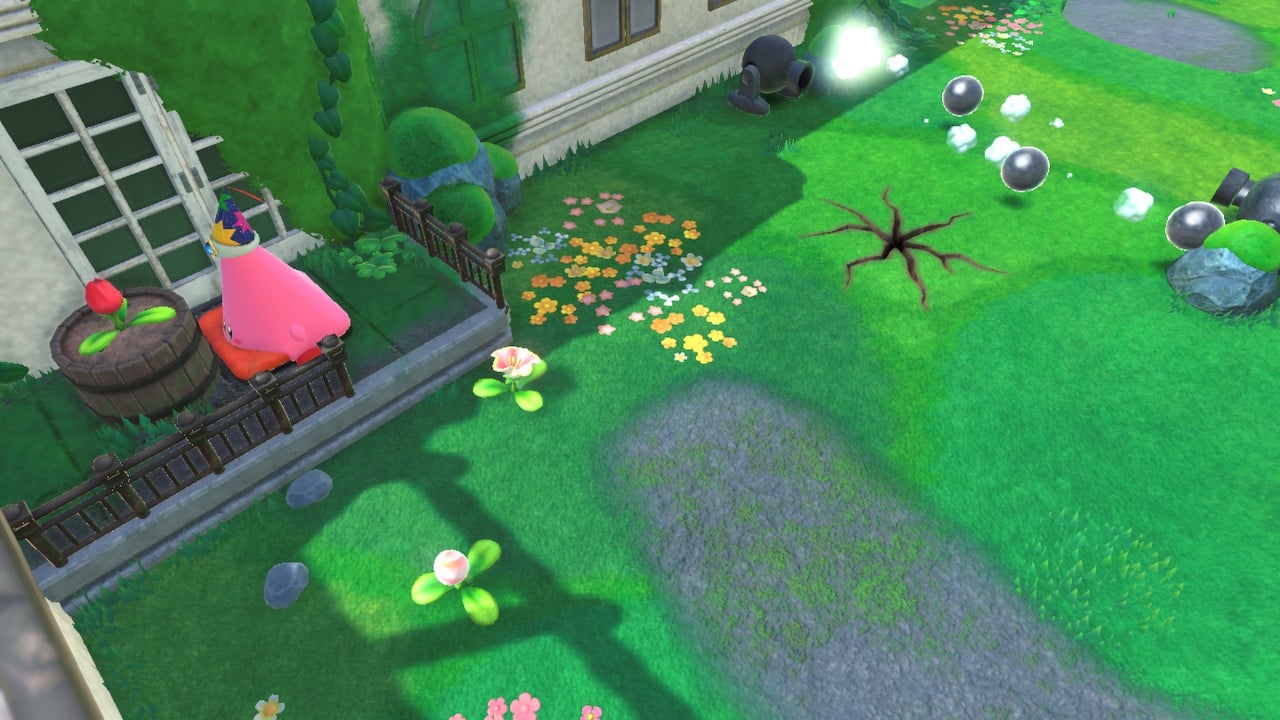
3. You'll find this one sat on a wooden barrel to the left side of the screen where the second bull in the level rampages towards you.
4. Take a look up to the right hand side of the screen in the area where you encounter the first turtle in this stage and you'll see this next tulip nestled beside a tree.
5. This last tulip is hidden behind the final rampaging bull that you'll encounter in this stage. Let the bull charge you, dodge out of its way and nab this one from the nook.
Break The Metal Shutter
Easy this one, you'll do it as part of the natural progression of the level by assuming vending machine form and shooting soda cans at this large metal barrier to clear a path forward.
Ride the Spewing Water Up To The Balcony
As pictured below, you can use cone mouth mode to burst a blue water pipe that's located on your right hand side as you move through the level. Burst the pipe and ride the geyser up to this hidden platform.

Collectible Figurines
There are three figurines to grab during this first area.
1. Up on top of the roof of the garage with the breakable metal shutter.
2. Ride the spewing water up to the balcony and then jump down and destroy the tower of metal crates in order to reveal this one.

3. You'll find this one on the platform above the turtle boss at the end of the level.

1-2 Through The Tunnel Missions
- Clear Stage
- Save All Hidden Waddle Dees
- Find The Secret Room
- Light 4 Lantern Switches
- Remove The Wanted Poster
Save All The Hidden Waddle Dees
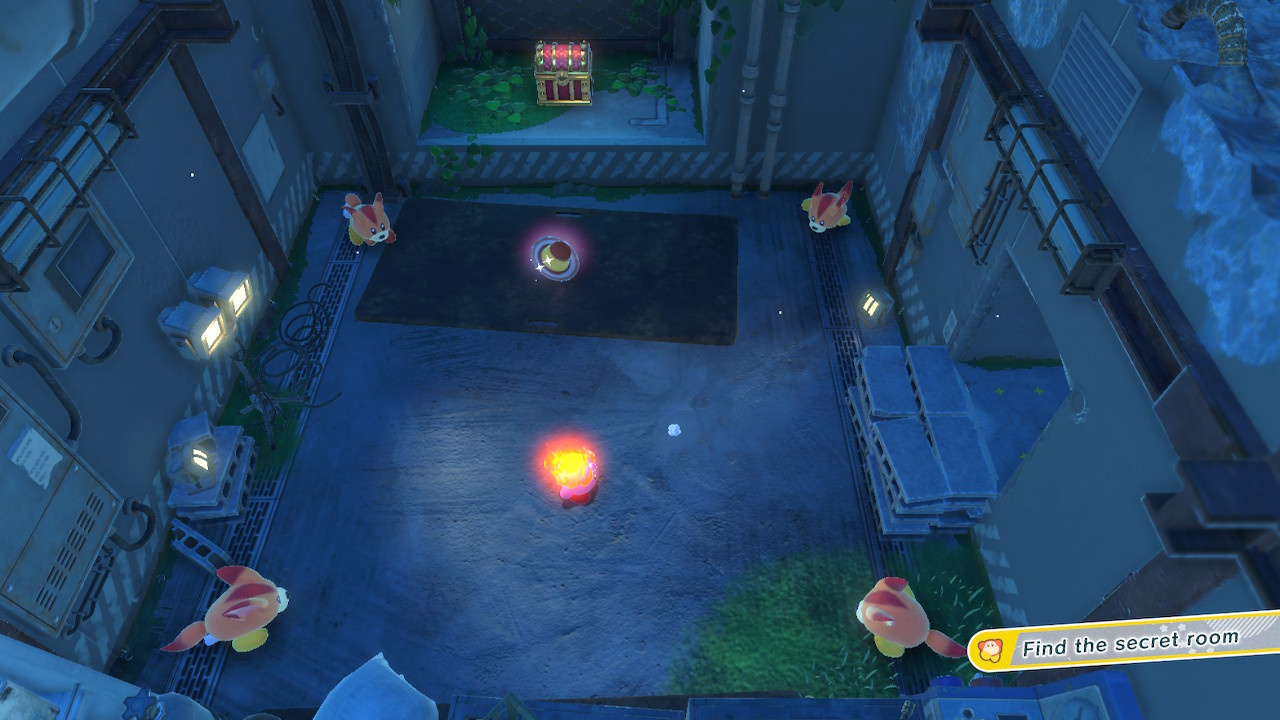
1. Use Mouthful Mode to take control of the round metal sphere, as pictured below, waggle your thumbstick around and set off a chain reaction that destroys the wall to your immediate left. Enter the hidden room here and fight four enemies. Once you've defeated your foes head over to the treasure chest to free this first Waddle Dee.
2. At the star door we've pictured below, climb up the A/C units to the door's right and up onto the path above. Head left until you come to the bomb brick up here then detonate it in order to blow out the wall of blocks below where you'll find this next one.
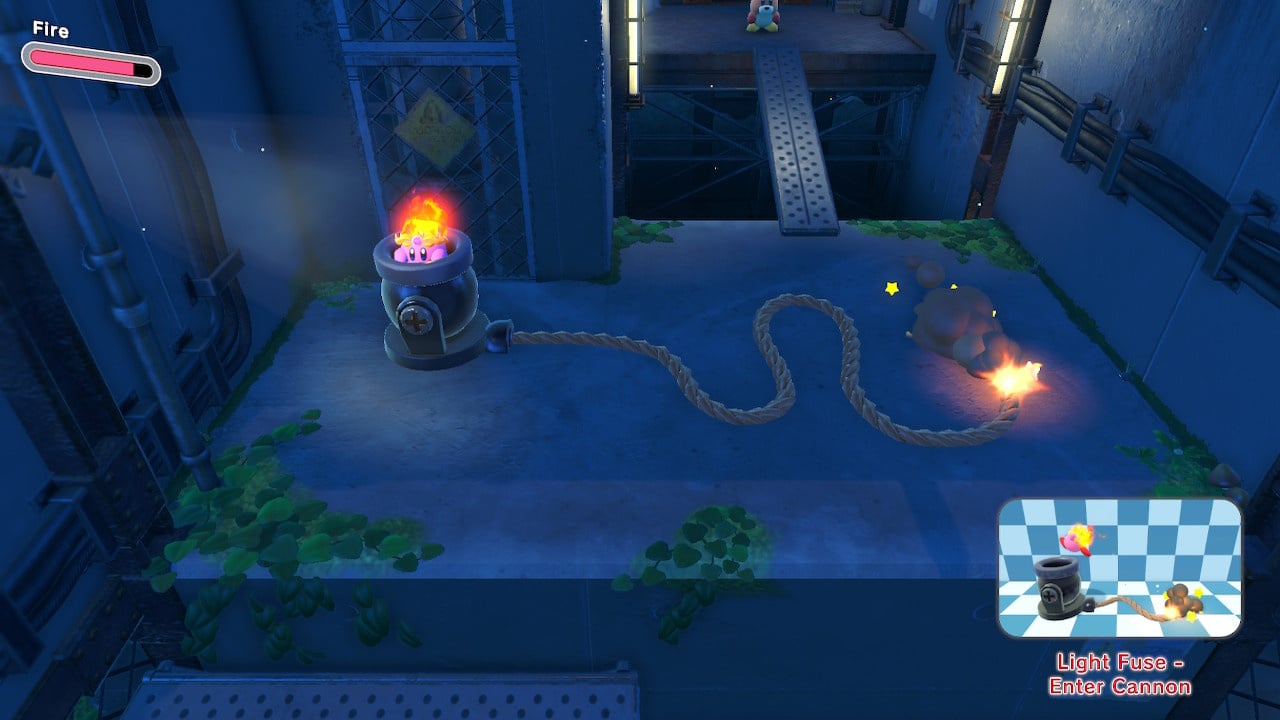
3. Light the fuse for the area's first cannon and hop in to get sent rocketing up towards this next one.
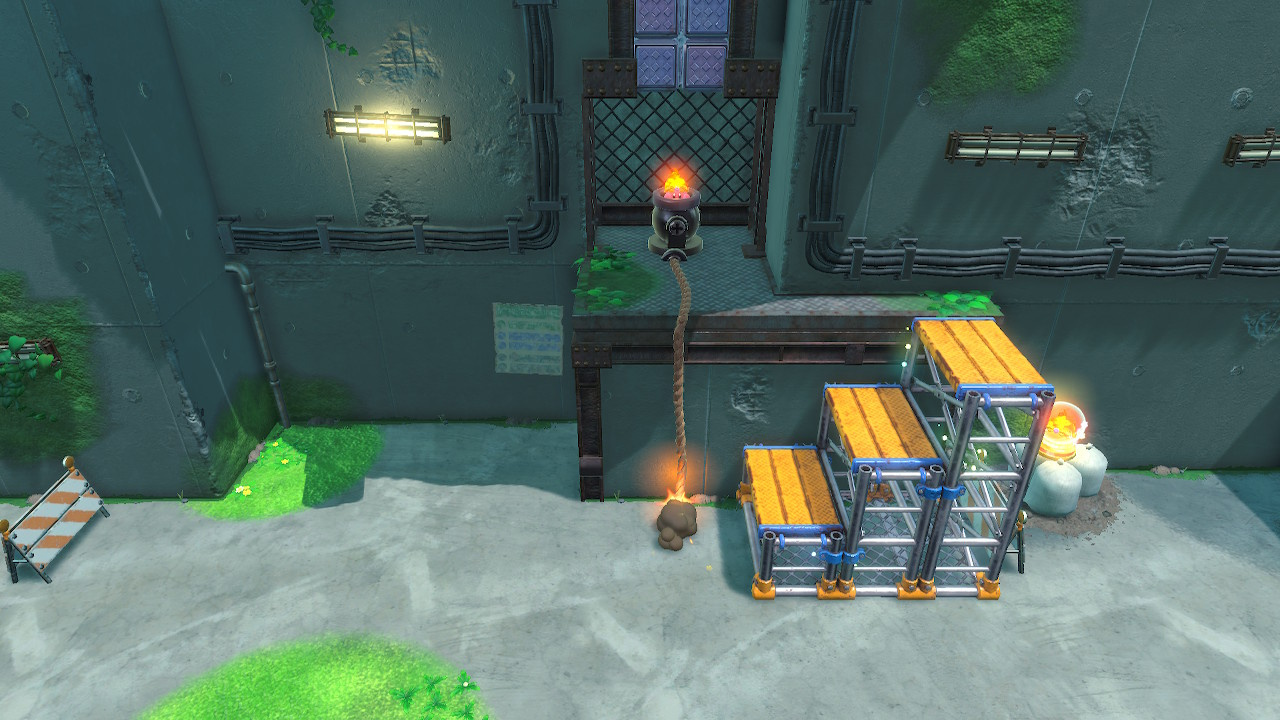
4. This final Waddle Dee is gained by jumping into the area's next cannon once you've lit its fuse. Be careful here not to place your stairs over the fuse before lighting it as the flame will extinguish upon contact with the step frame.
Find The Secret Room
As detailed above, taking control of the area's first round metallic object and wiggling it around will set off a reaction that opens up a room to your left (this is the same secret area in which you'll find your first Waddle Dee)
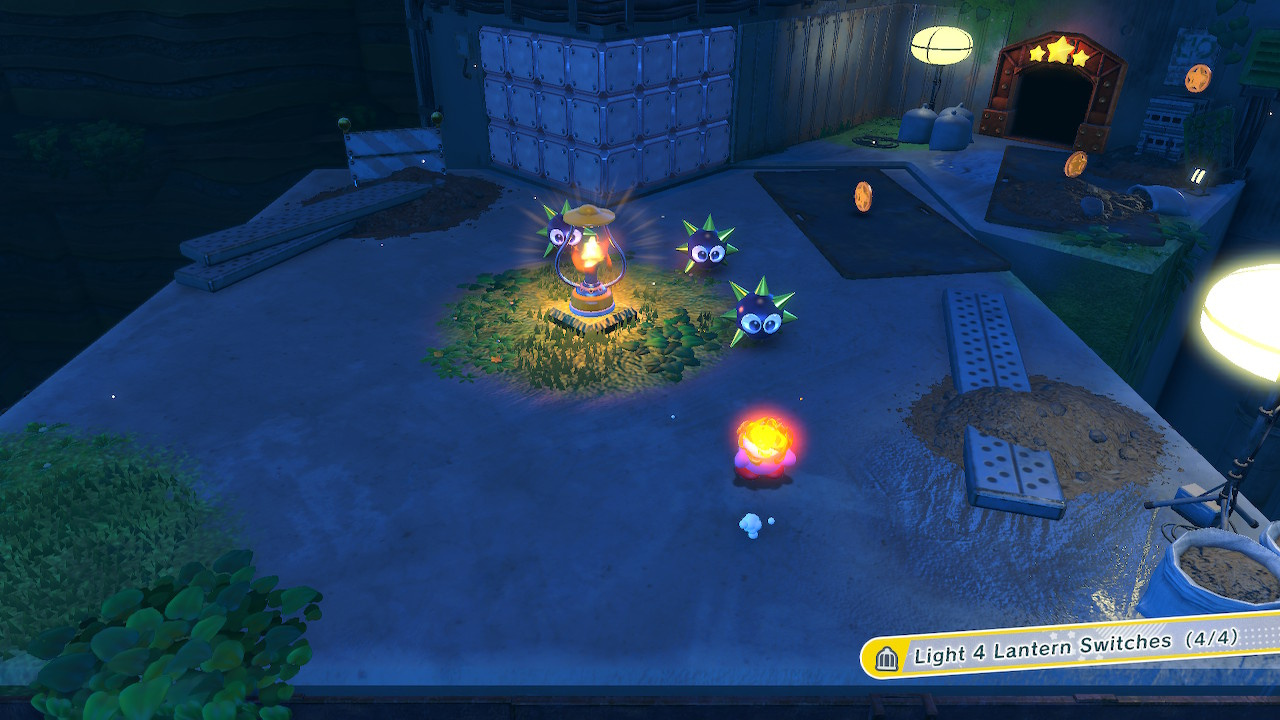
Light 4 Lantern Switches
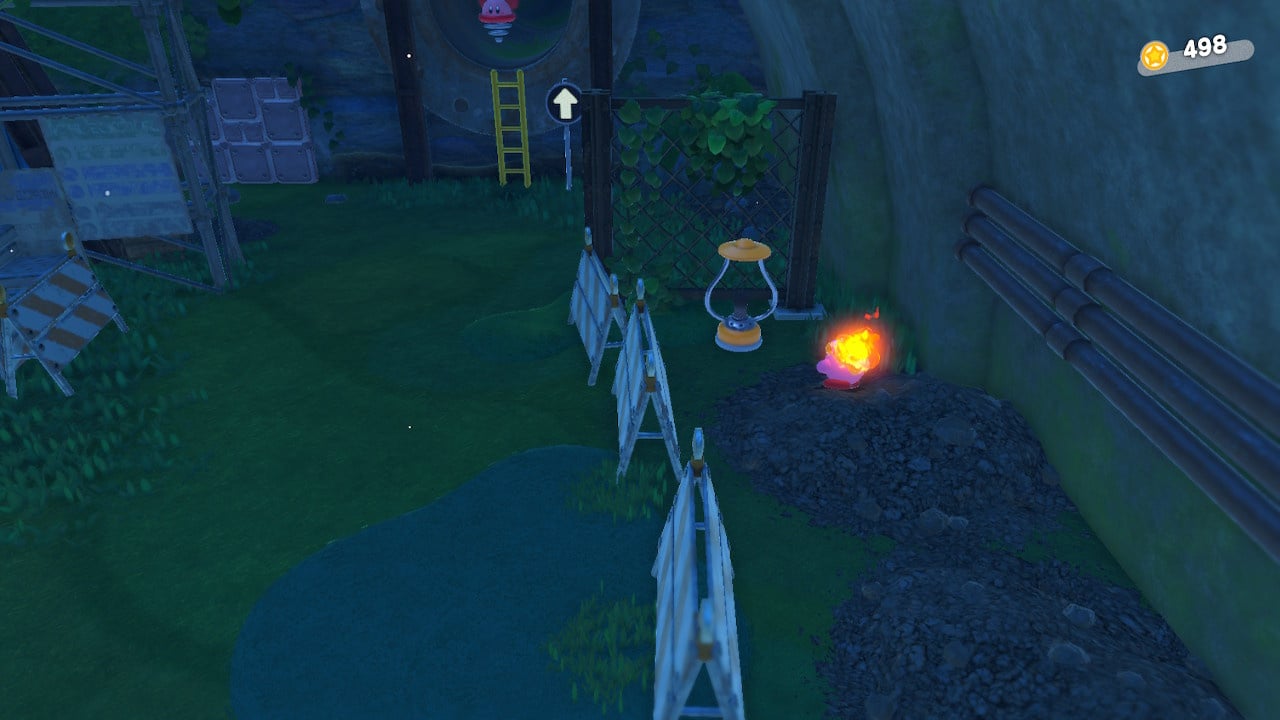
1.The first lantern switch is at the very beginning of the stage on the right hand side of the screen behind some barricades as pictured below.
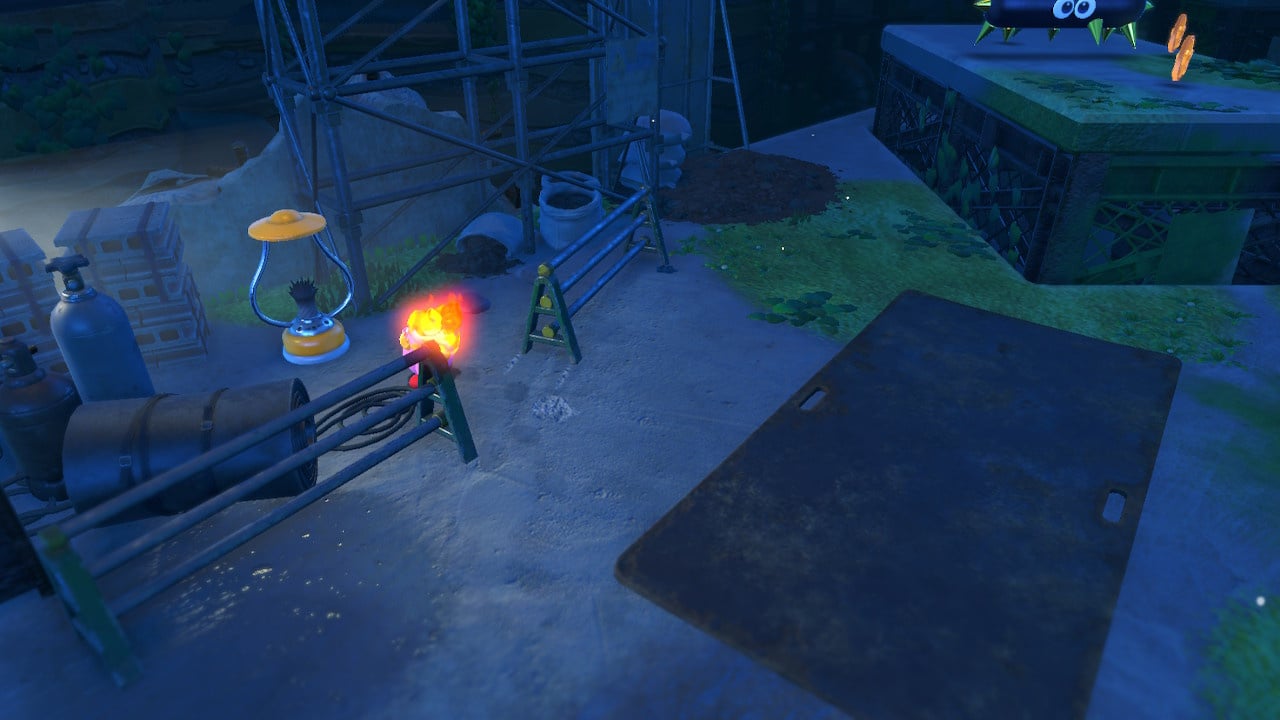
2. Sat to the left beside some barricades just before you come to the area's first moving platform.
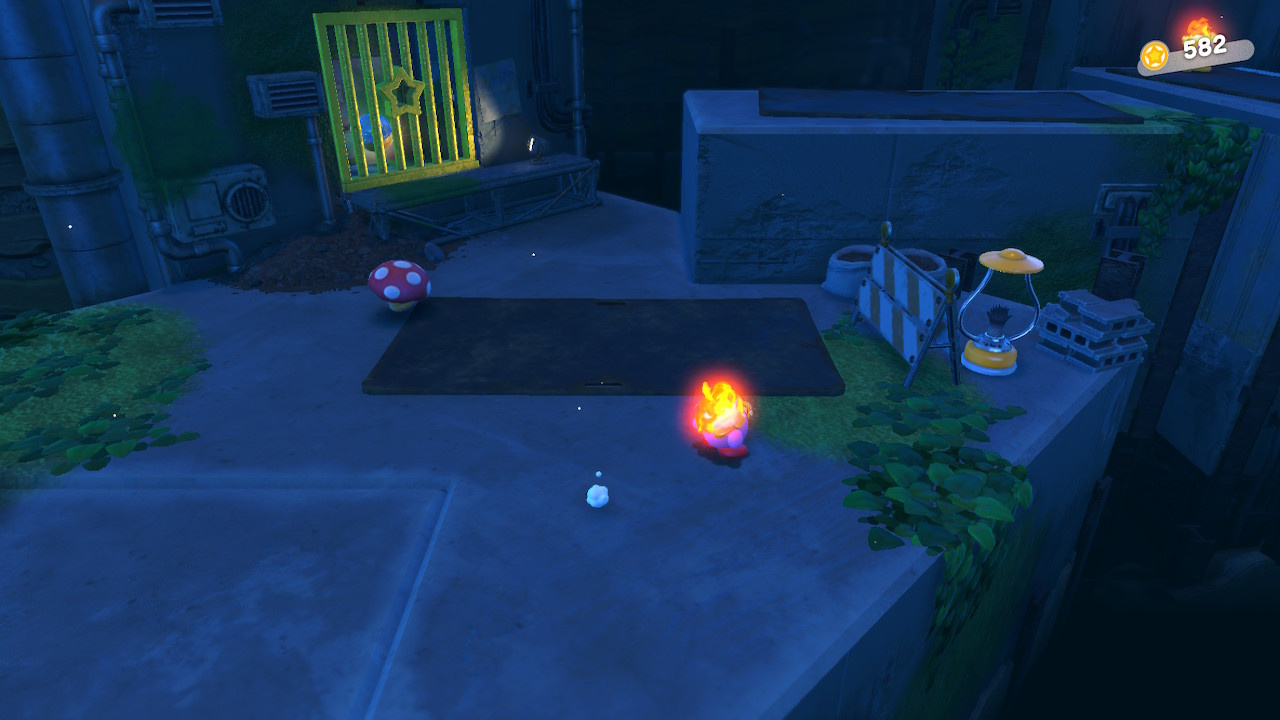
3. To the right just as you approach the large yellow star gate as shown below.
4. Sat in the middle of a circling bunch of spiky foes as we've pictured for you below.
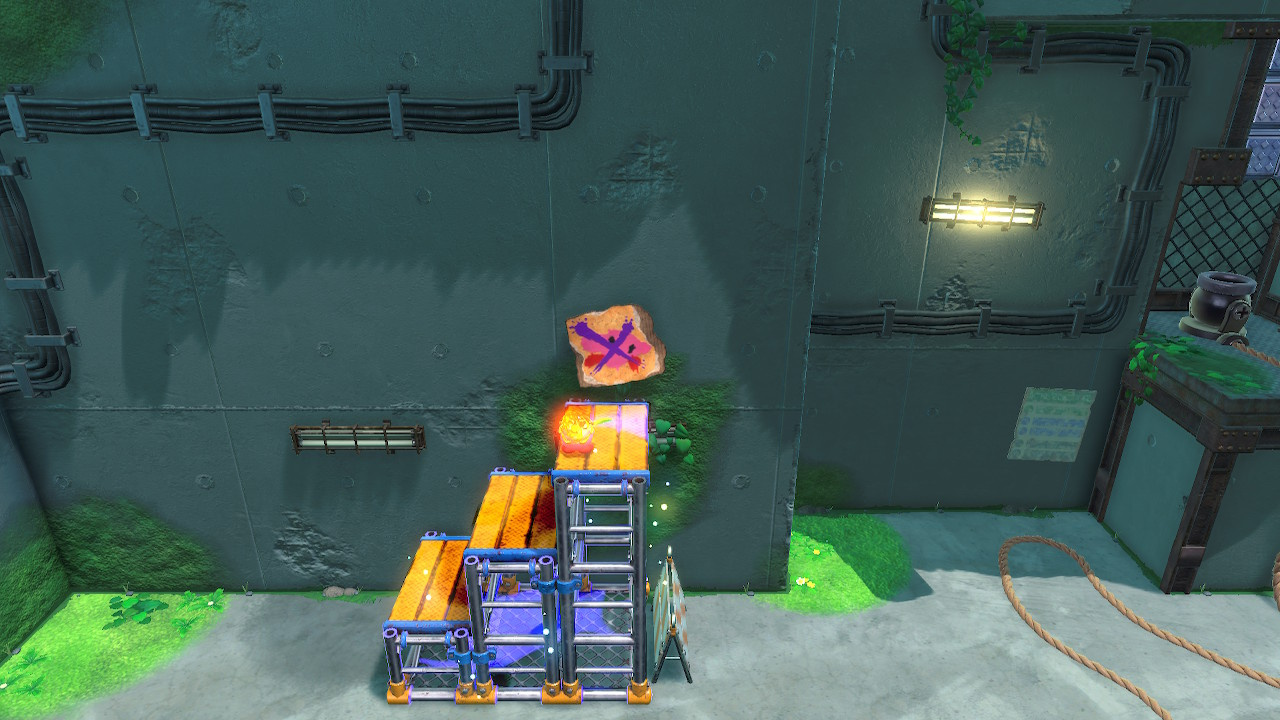
Remove The Wanted Poster
In the area where you'll use Mouthful Mode on the set of steps, shuffle over to the poster we've pictured below and then use the steps to climb up and destroy it.
Collectible Figurines
1. Open the golden gate pictured below by climbing up the A/C units to its left side to reach a switch. Jump through the opened gate to nab this first figurine.
2. Use the steps to reach the bomb block shown below. Detonate it to clear the wall and grab figurine number two.

1-3 Rocky Rollin' Road Missions
- Clear Stage
- Save The Hidden Waddle Dees
- Find The Side Road While Going Uphill
- Eat Snacks Off 3 Tree Stumps
- Drive Without Falling Off The Edge
Save The Hidden Waddle Dees
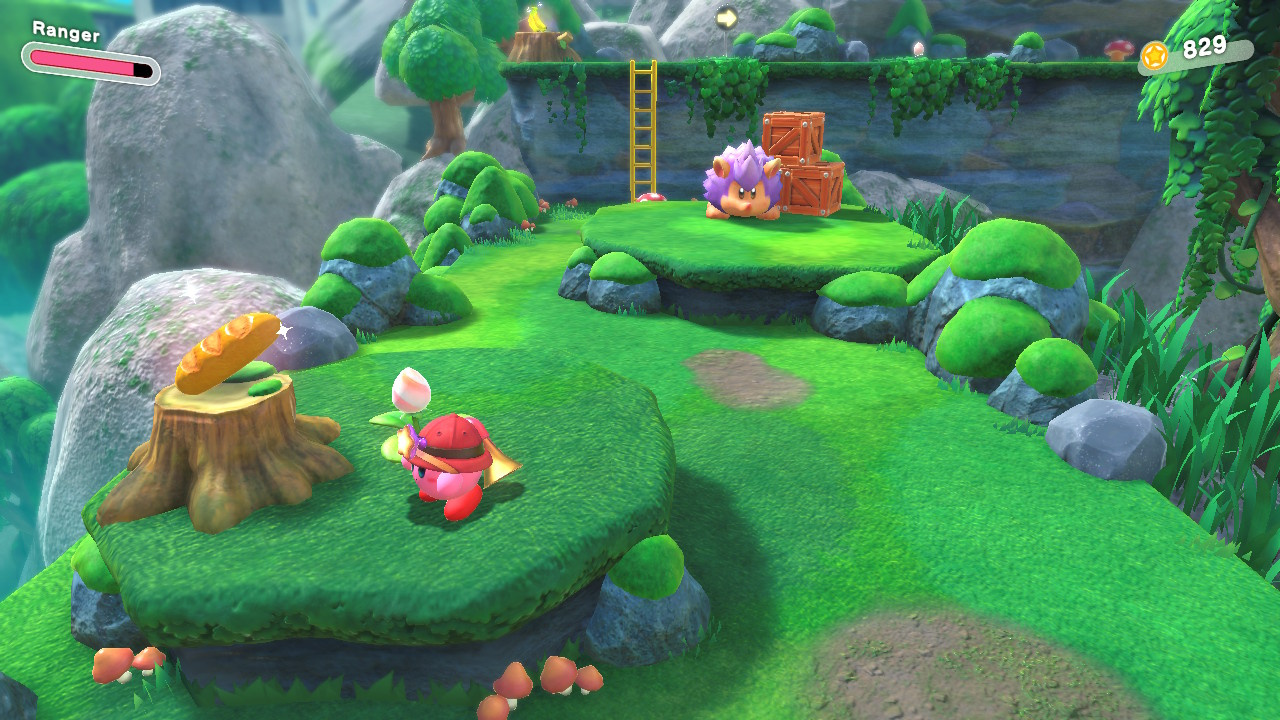
1. The first Waddle Dee in this area is found by shooting the example target the first time you use the charged ranger shot ability. As pictured below, shoot the target floating in front of the tree to blow open a wall directly under the falling boulders and reveal this little guy.
2. During the target shooting minigame in the first secret area (which we've shown how to access below) you need to shoot all of the targets before they reach the bottom of the screen and disappear. Doing so will reveal a chest containing this next Waddle Dee.
3. Outrun the boulder that's chasing you during this sequence and make sure to jump on the switch located at the bottom of the hill once you reach the end of the chase to reveal this next one sat on a bench to the left.
4. During the car sequence in this area, drive the car around the elevated platform and use boost and jump to crash through the side of the building pictured below to rescue this final pal.
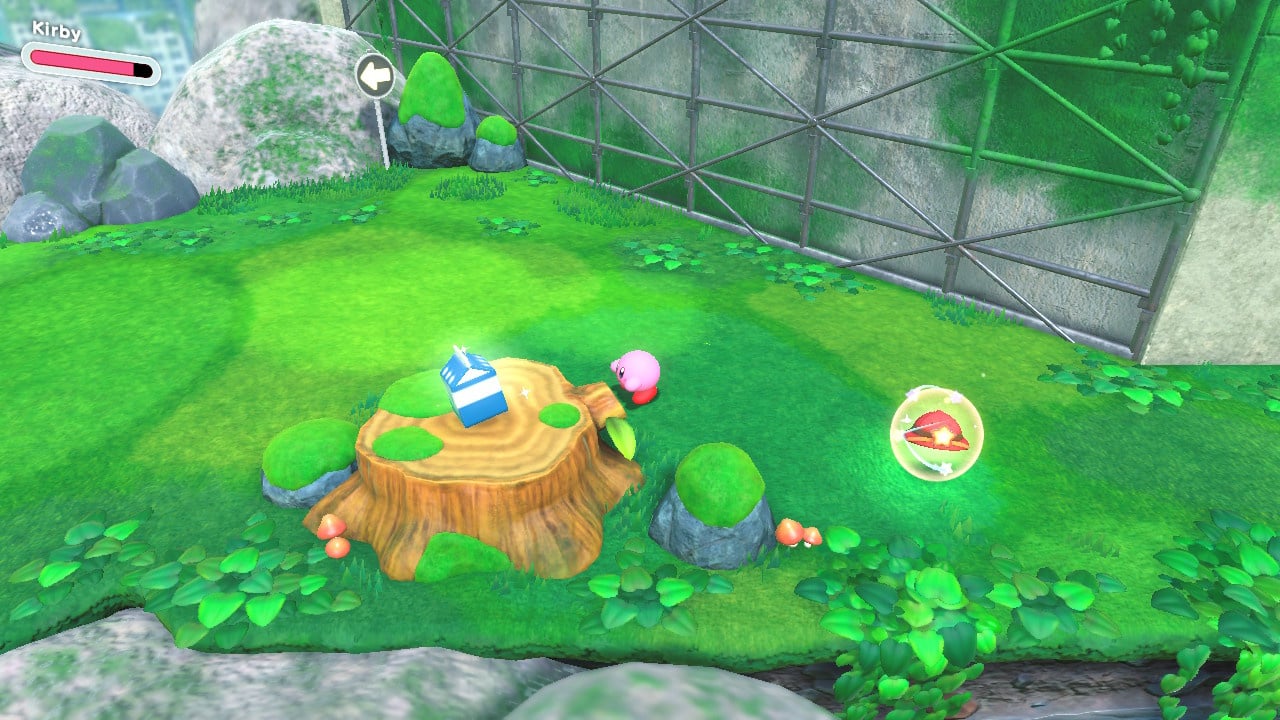
Eat Snacks Off Three Tree Stumps
1. 
2. 
3. 
Find The Side Road While Going Uphill
This sneakily hidden path is around halfway up the hill pictured below where you need to dodge oncoming boulders. Follow the trail of coins to the red coin and head into the right to find a ladder leading to this area.
Drive Without Falling Off The Edge
Pretty straightforward this one. Drive your Kirby car without falling off any edges and you'll reveal this mission has been completed just as you reach the level's end.
Collectible Figurines
1. You'll find this one inside the metal sphere pictured below. The sphere is located in the secret area up the ladder that you'll enter to complete the Side Road mission that we've detailed above. Once here, simply waggle the left thumbstick in Mouthful Mode to open the sphere and reveal your prize.
2. This figurine is hidden in some metal crates on the left of the area where the level ends.
1-4 A Trip To Alivel Mall Missions
- Clear Stage
- Save The Hidden Waddle Dees
- Eat 4 Doughnuts
- Eat Invisible Candy
- Navigate Mall Without Getting Lost
Save The Hidden Waddle Dees
1. You'll find this little fella up a ladder to the left hand side of the corridor you run up as soon as you've eaten the invincible candy. Take the ladder to the upper floor, jump to the right side and head down to nab him.
2. Once you reach the squared conveyor area below you'll need to get to the ladder in the top left corner by smashing the burning barrels out of your way. Take the ladder to a switch which releases this Waddle Dee onto the conveyor belts below you.
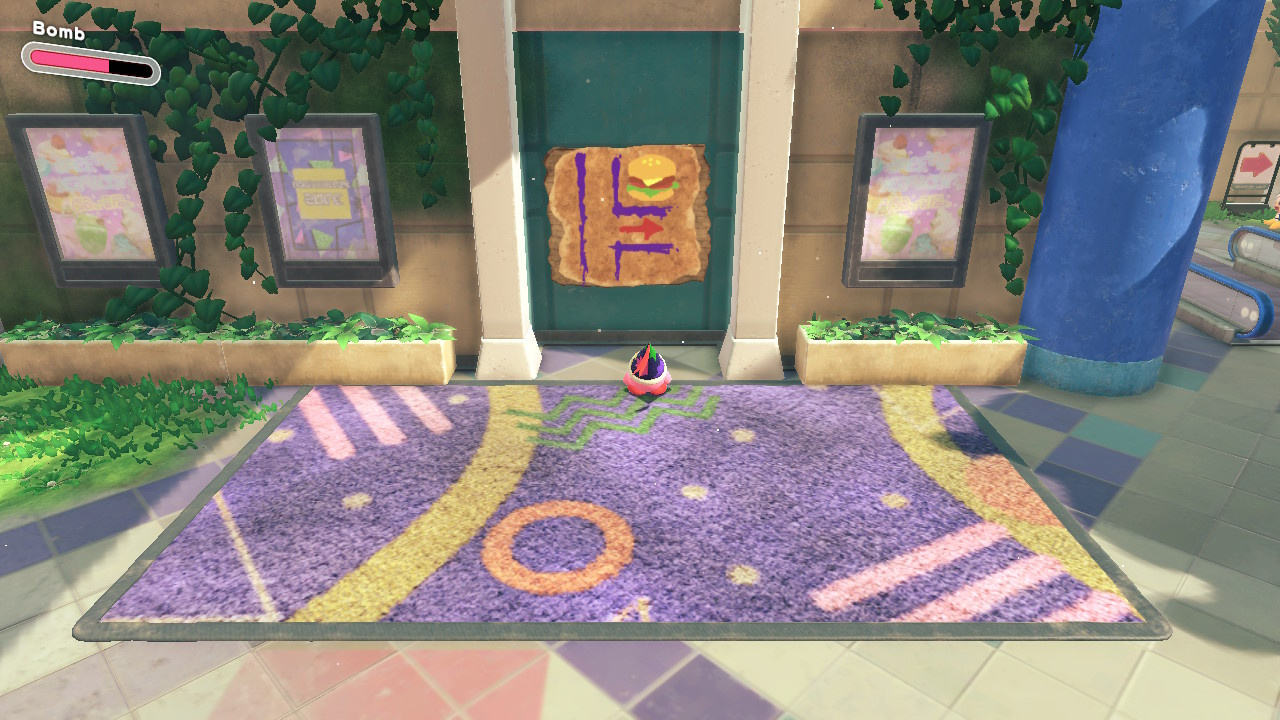
3. Take the right off the corridor BEFORE the burger joint - as shown in the map you'll uncover behind one of the level's Mouthful Mode lockers - in order to reach an area full of tables of food, a few enemies and a chest containing this Waddle Dee.
4. Take the left before the SECOND pie joint, not the first one, as shown on another locker map, in order to reach this area where you'll find the Waddle Dee hiding in the middle chest of three.

Eat 4 Doughnuts
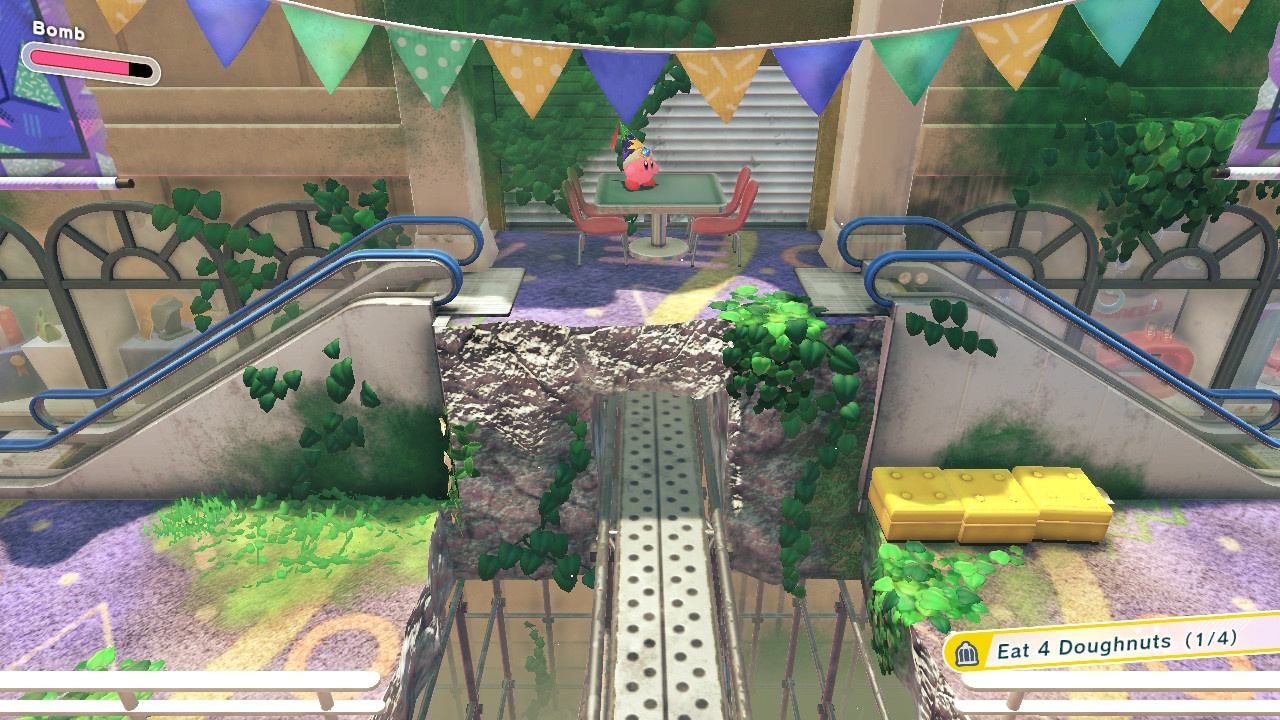
1. The first doughnut is on the table pictured below situated above a destructible section of wall where you'll find the area's first collectible figurine.
2. Towards the bottom right of the squared conveyor belt area you'll see a shiny spot, move over it to reveal this yummy treat.

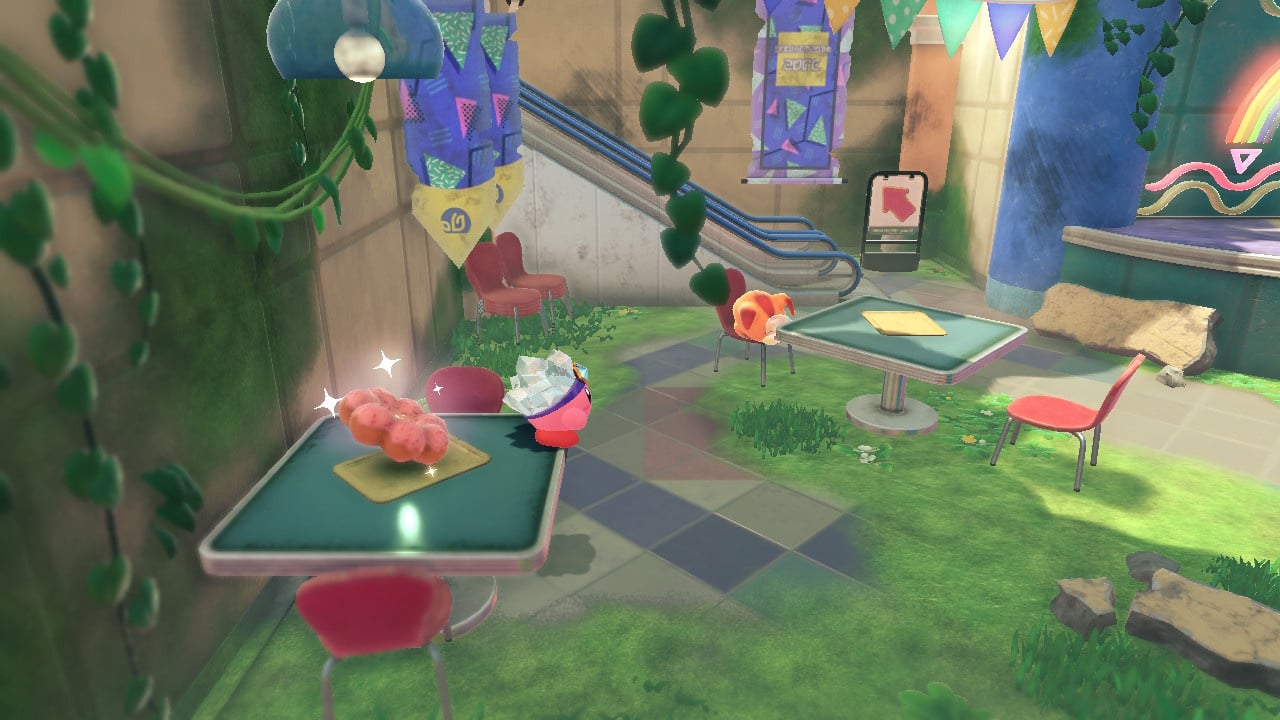
3. You'll find this one in the same place you found the 3rd Waddle Dee, taking the left at the second pie shop and heading over to the table at the very left of this area.
4. Right at the very end of the level before you grab the golden cage of Waddle Dees, climb the ladder to the right hand side to find this treat sat on a table.
Eat Invisible Candy
You can't miss this brightly coloured lollipop at the far right of a long corridor. Snap it from the table for some invincibility funtimes.
Navigate The Mall Without Getting Lost
As you progress through the mall you'll find a few sets of lockers that can be swallowed up and tossed using Mouthful Mode. Tossing these lockers reveals maps showing an arrow and a certain type of shop. Follow the directions on these maps, for example taking the turn off before the pie shop or the burger place, in order to navigate the level without getting lost!
Collectible Figurines
1. As shown below, you can destroy the patch of wall at this platform in order to reveal your first figurine in the mall.
2. You'll arrive at the large conveyor belt shown below and will have a limited time to destroy all the cardboard boxes moving along it before they fall offscreen. Your next collectible is in the third box that travels down the furthest belt to the right side. Be quick or miss it!
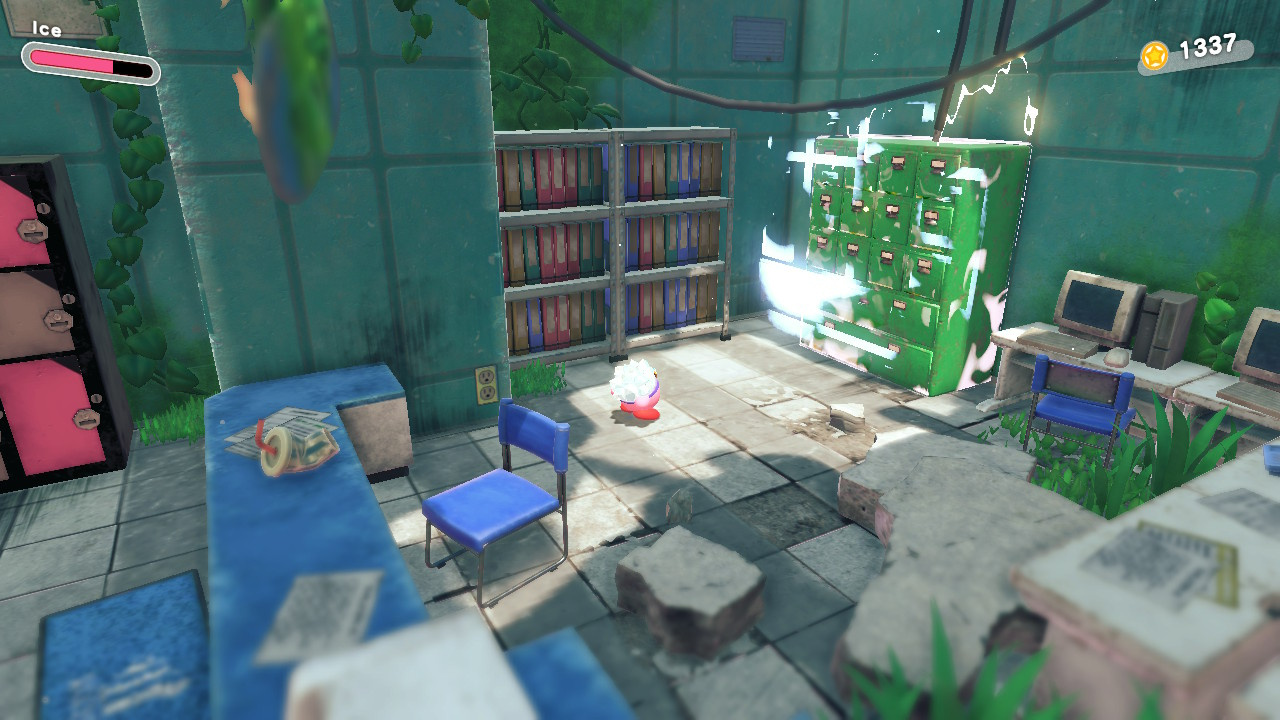
3. Using Mouthful Mode to pull down the green cabinet in the little area that we've pictured here reveals a secret room. In here you'll find one cardboard box to destroy for your final figurine pickup in the area.
1-5 The Brawl At The Mall Missions
- Clear The Area
- Clear Within 2:00
- Slip Through Gorimondo's Legs
- Defeat Gorimondo With The Sword Copy Ability
- Clear Without Taking Any Damage
This final stage of World One is a short trip up to the boss area where you'll face off against Gorimondo. There are no Waddle Dees as such to collect here but you'll need to complete the missions above to 100% clear the area and get your rewards.
These missions are pretty self-explanatory this time around with no searching for hidden objects required. Simply blast through the area as quickly as you can and get to Gorimondo for the end-of-level fight.
Check out our boss fight guide below for tips on how to defeat Gorimondo:
Natural Plains Starries (Star-Crossed World)
If you've got the Nintendo Switch 2 Edition of the game, the Star-Crossed World 'remixes' of these stages are now available to play. Check out our guide to find all the Starries in Natural Plains.
This guide is part of our Kirby and the Forgotten Land Walkthrough Guide, which covers every world in the game (Natural Plains, Everbay Coast, Wondaria Remains, Winter Horns, Originull Wasteland, and Redgar Forbidden Lands, plus the post-game areas — SPOILERS!! — where you'll find all Leon Soul pieces throughout The Isolated Isles in Forgo Plains, Forgo Bay, Forgo Park, Forgo Horns, Forgo Wasteland, and Forgo Zone).
We also detail Every Waddle Dee Location, every Copy Ability Blueprint Location, and how to beat every boss in the game (so that's Gorimondo, Tropic Woods, Clawroline, King Dedede, Sillydillo, Forgo Dedede, Leongar, Fecto Forgo, and finally Fecto Elfilis, plus the post-game bosses — SPOILERS!! — Phantom Gorimondo, Phantom Tropic Woods, Phantom Clawroline, Phantom King Dedede, Phantom Sillydillo, Forgo Dedede, Forgo Leongar, and Morpho Knight).
There's also our full list of Kirby And The Forgotten Land Present Codes which will get you bonus in-game goodies if you input them at Waddle Dee-liveries.
And finally if you're looking to pick up the game, you'll want to check Where To Buy Kirby And The Forgotten Land On Switch.


Comments 1
"Navigate The Mall Without Getting Lost"
In the second picture there is a piece that is missing. if you jump over the counter on the right there is a second mouth full item which will reveal a hidden room. Inside that room is the missing piece of the picture.
Show Comments
Leave A Comment
Hold on there, you need to login to post a comment...