The last campaign world proper in Kirby and the Forgotten Land and things are heating up in this red hot Volcanic region.
Let's carefully poke around in the lava and fire for hidden Waddle Dees and collectibles as we complete every level mission and face off against the final boss rush!
Subscribe to Nintendo Life on YouTube847k
World 6 - Redgar Forbidden Lands
6-1 Enter The Fiery Forbidden Lands
Missions
- Clear Stage
- Save The Hidden Waddle Dees
- Defeat 2 Lookout Awoofies
- Find The Secret Passage
- Use Water To Destroy 7 Falling Lava Balls
Save The Hidden Waddle Dees
#1 You'll need to collect five green coin pieces in the early section that sees meteors hit areas of the ground and make them sink. Be reasonably quick here and smash open all the blue crates you see to grab the necessary sparklies.
#2 This one is to the far right of the sliding platform section that has you digging around with the mining ability. Dig under the fence to the right of the screen to nab it.
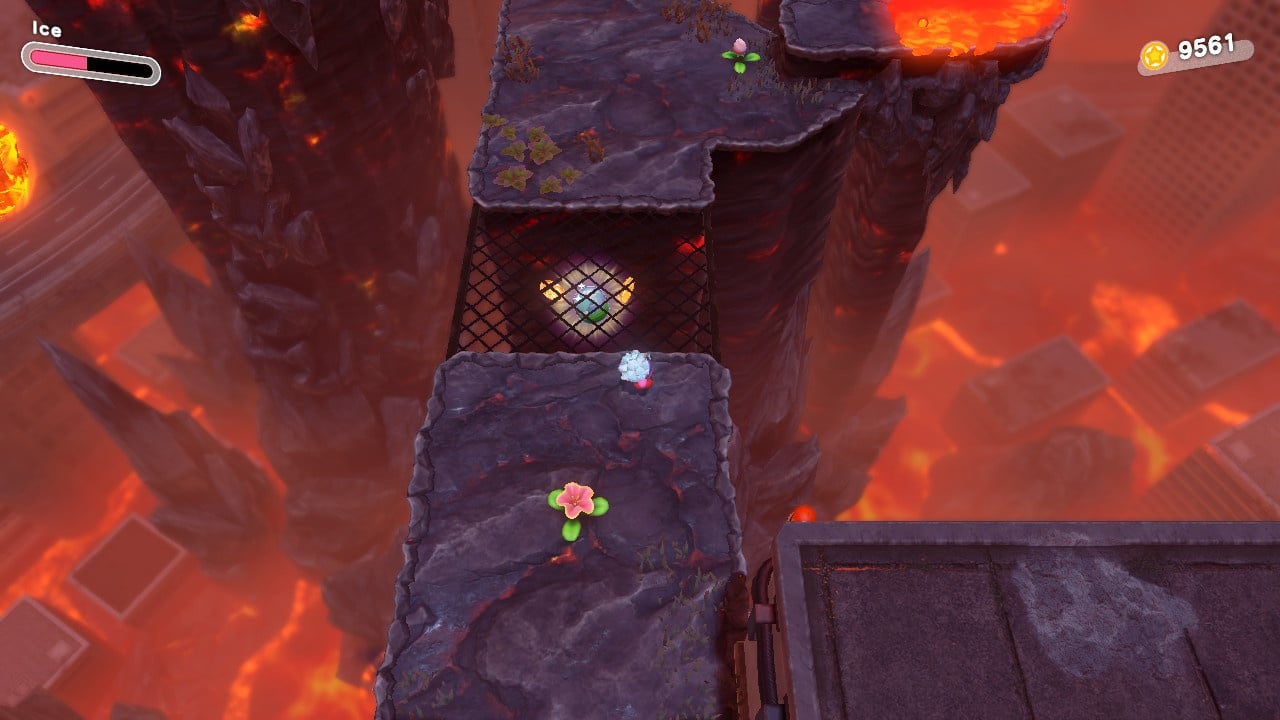
#3 As you make your way tentatively across the thin ledge section of the level watch out for a meteor strike that causes a large part of the background rockface to start descending. Hang around long enough and it'll sink completely, revealing a door to a secret area.
Jump in here and you'll find a platform with dig spots on it, dig them all up before the platform sinks to grab all the orange coin pieces and earn your Waddle Dee. Oh, and start digging to the lower right side of the platform first as this part sinks below the lava first!
#4 To the right at the very end of the water-spewing Mouthful Mode section, you'll need to dig under the fence once again to liberate this little guy.
Defeat 2 Lookout Awoofies
Both of these doggos can be found early on in the level, stood proud atop a couple of wooden lookout towers. Simply use the nearby scenery, as indicated below, to get some elevation then hover up and take care of them to complete this mission.
Find The Secret Passage
In the area shown below, just as you reach the top of the sliding platforms section, head around to the left to find a secret passage leading to a ladder that brings you to a secret area. Exciting!
Use Water To Destroy 7 Falling Lava Balls
You'll need to be quick in this section that sees Kirby fill up with water and race across an area that's being bombarded with fiery meteors. Take all the meteors out with your water spray before they explode on impact to complete this one.
Collectible Figurines
#1 On the second sinking platform in the first area you'll need to hit the blue switch to reveal this one.
#2 As you make your way across the side-scrolling lava's edge section you'll come across three bulls in a nook just waiting to charge you. Take them out and head up the stairs behind to nab this one.
#3 As soon as you pick up the level's 3rd Waddle Dee after hoovering up the orange coin segments, head to the right of the screen through the little tunnel to grab this one.
#4 This one can be found in a chest in the level's secret area, the directions to which can be found above!
6-2 Conquer The Inferno Road
Missions
- Clear Stage
- Save The Hidden Waddle Dees
- Steal Two Of The Beasts' Meaty Meals
- Make All The Windmill Switches Spin
- Use Crash To Defeat Wild Frosty
Save The Hidden Waddle Dees
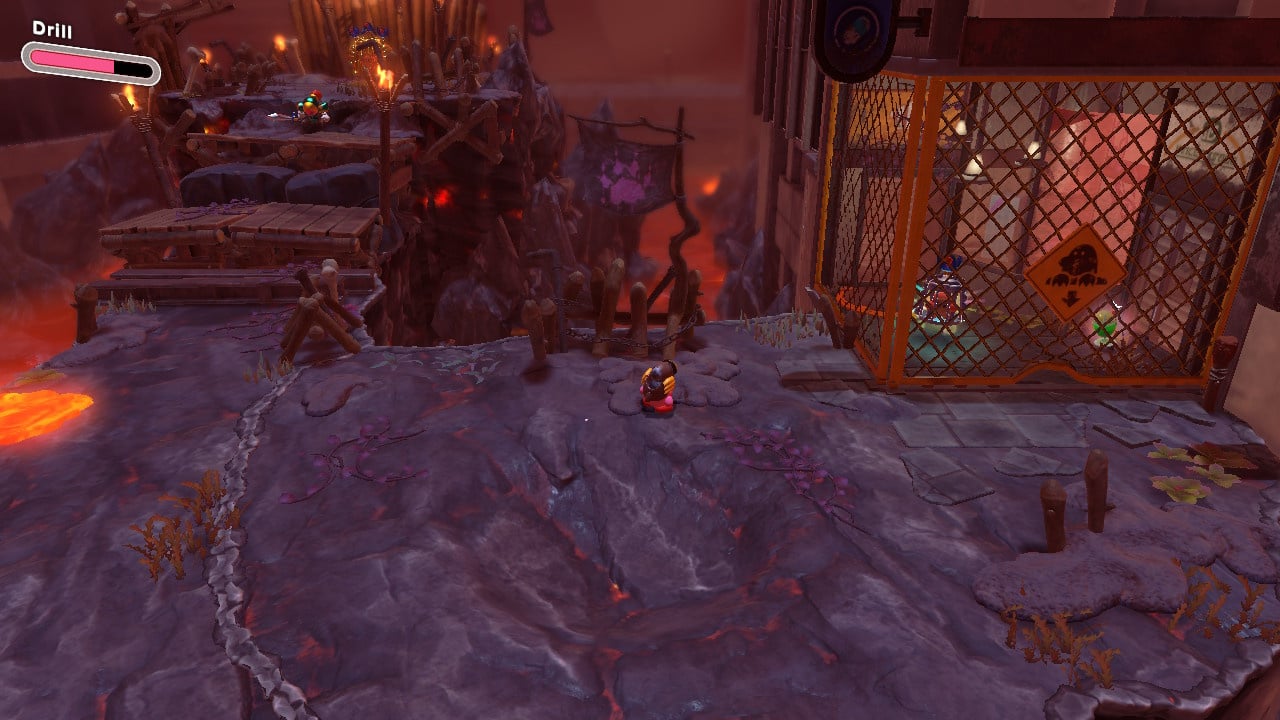
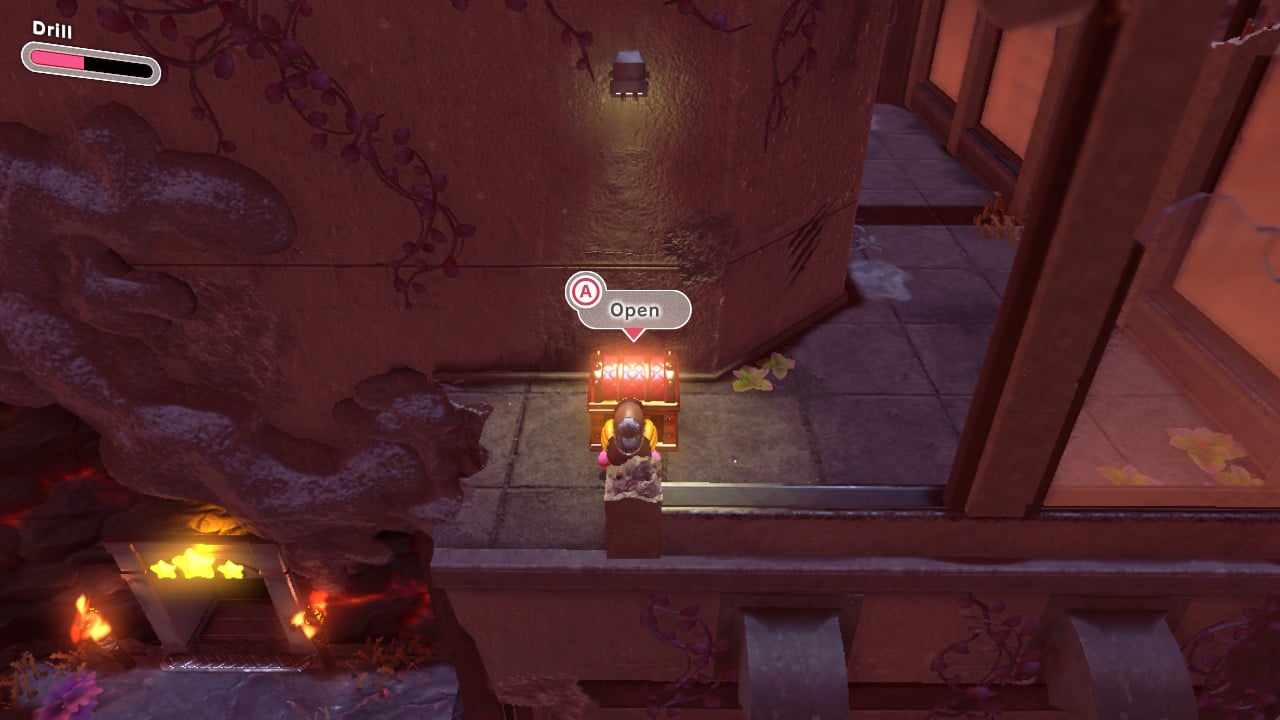
#1 This first one is locked in a cage that you'll need to pass by then track back to, jumping up into the little tunnel, as shown below and heading in to hit a blue switch that reveals a ladder down to your target.
#2 After the Wild Frosty Fight, use your ice skating ability to skate over the lava on the left side and then jump across to the roof on the right where you can gain access to the Waddle Dee by skating over the fiery blocks then attacking them to fall through.
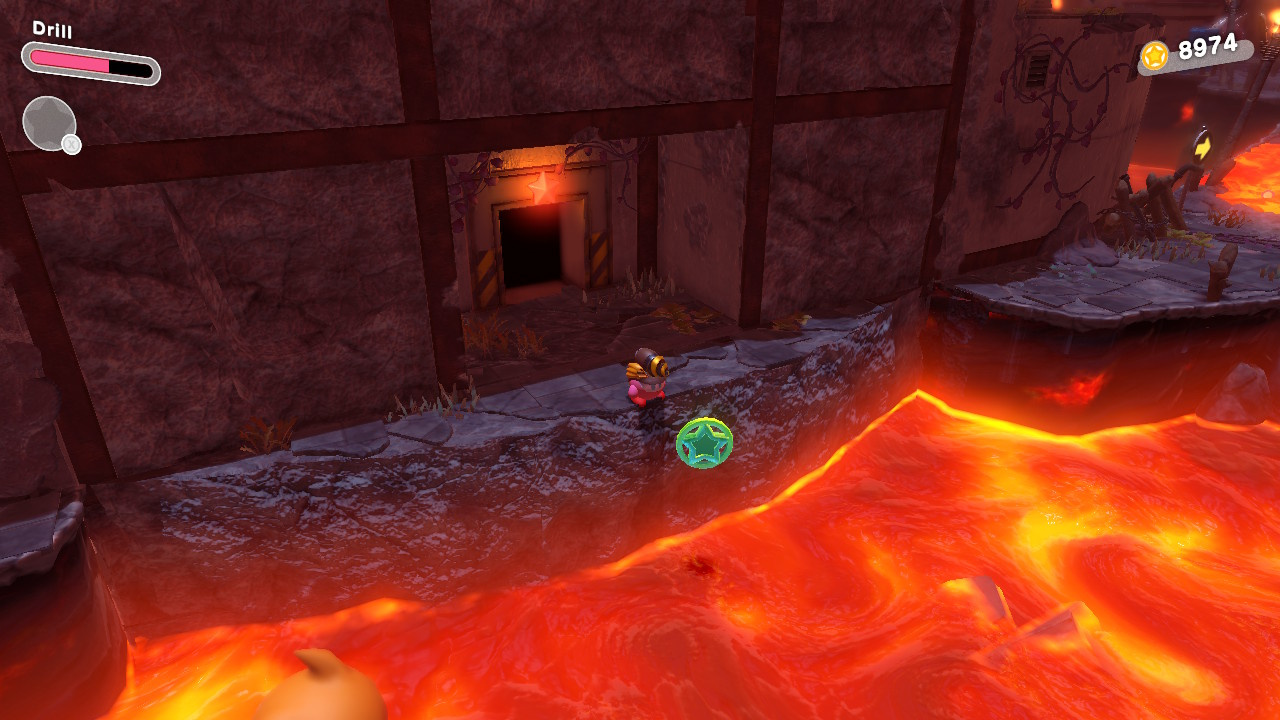
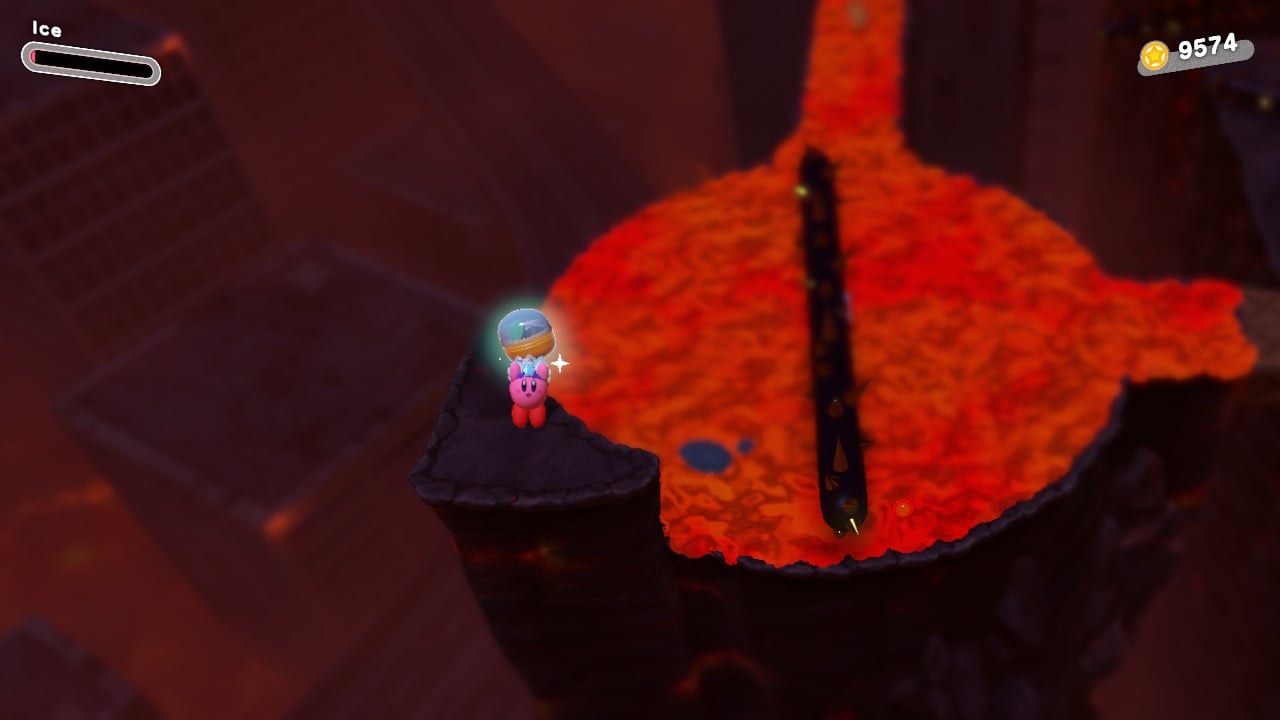
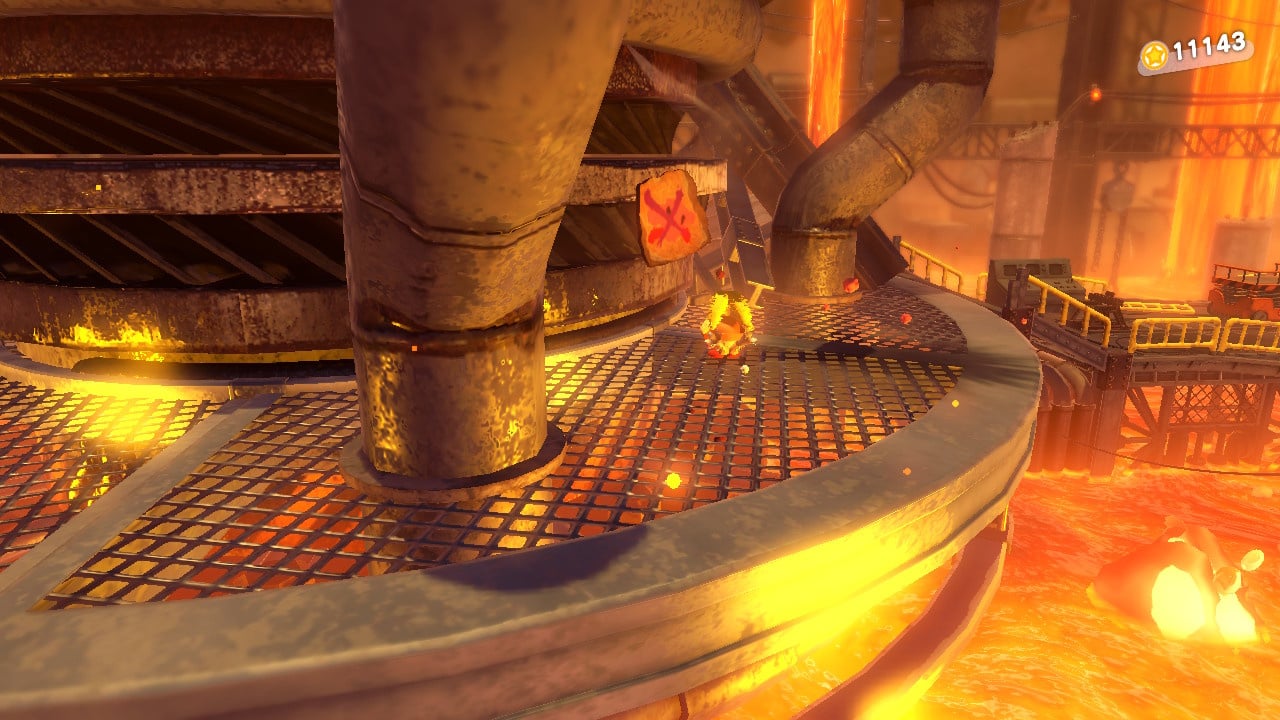
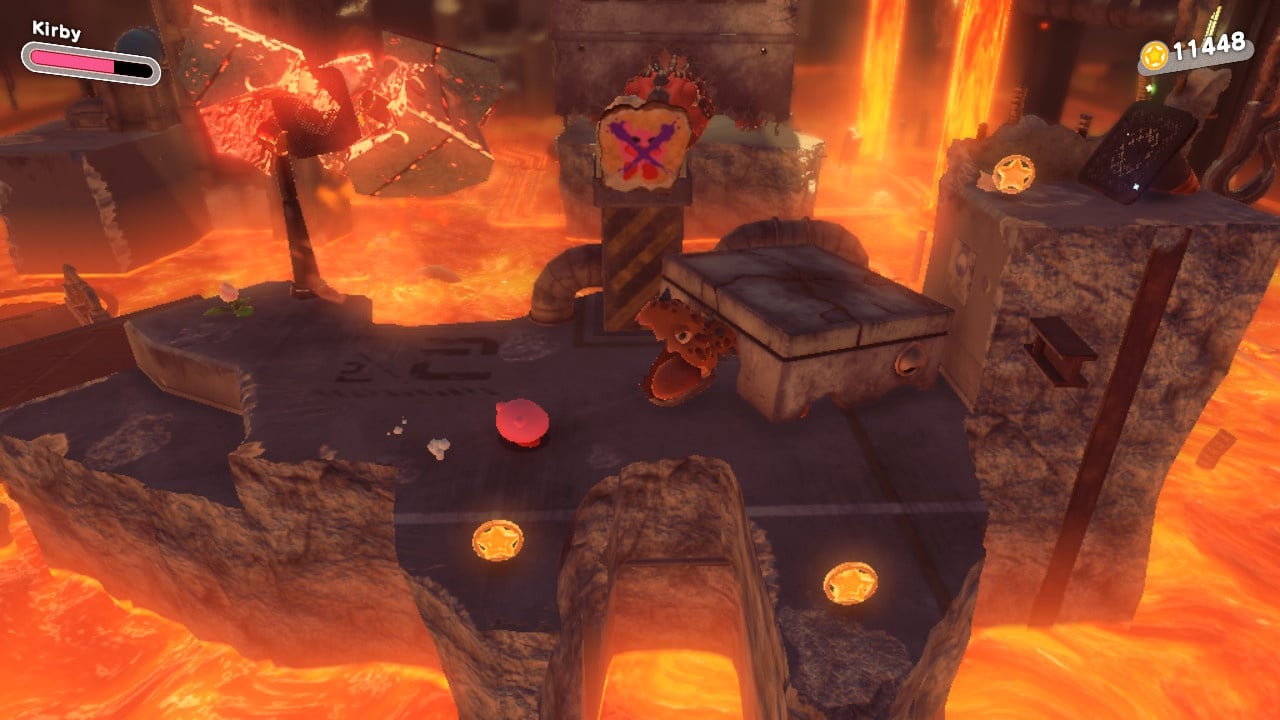
#3 Cross the lava bridge that we've picture below to grab the cone ability, head back across and destroy the cracked area to reveal a doorway. Head on in here.
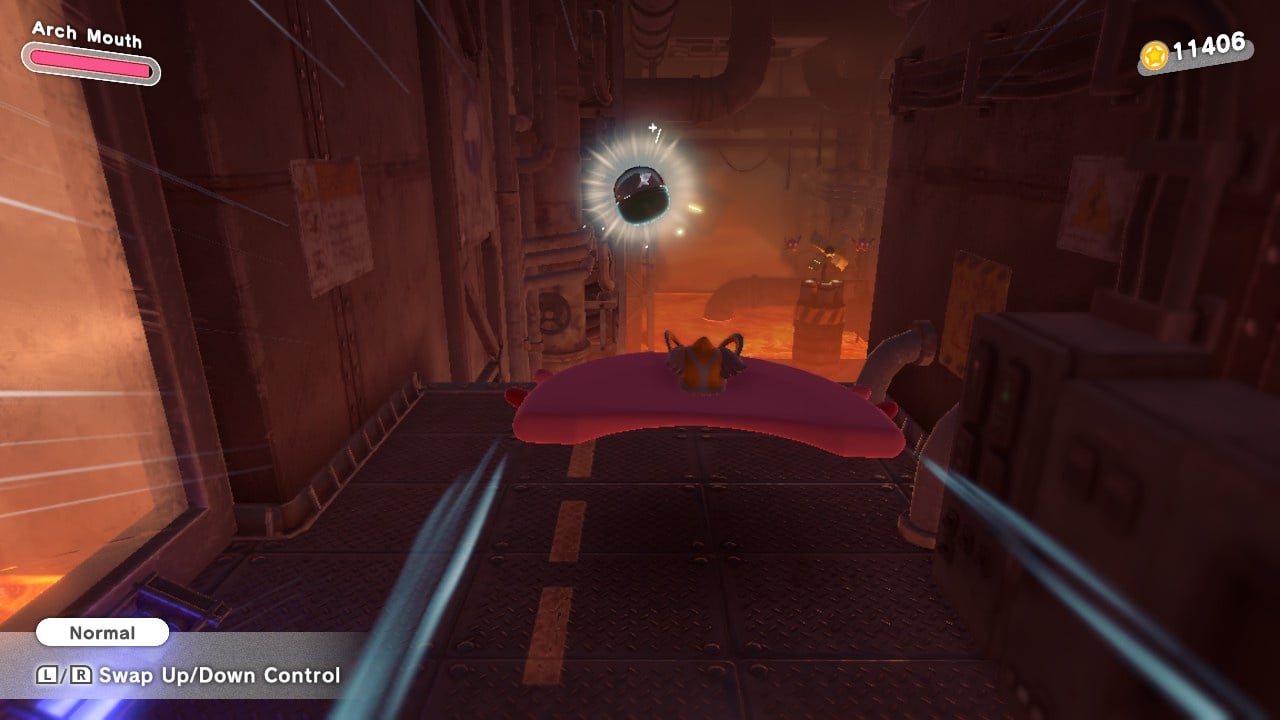
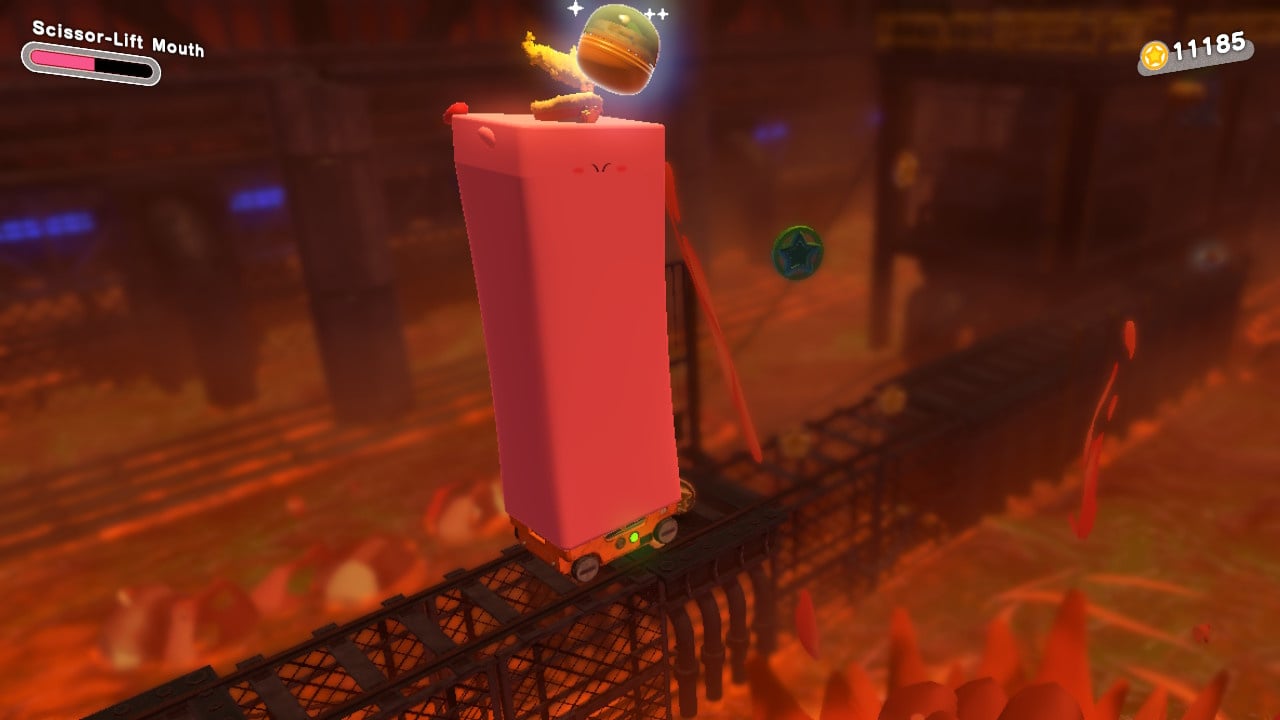
Now you need to use Mouthful Mode on the metal sphere, lockers and lift in quick succession in order to reach the Waddle Dee before the timer runs out.
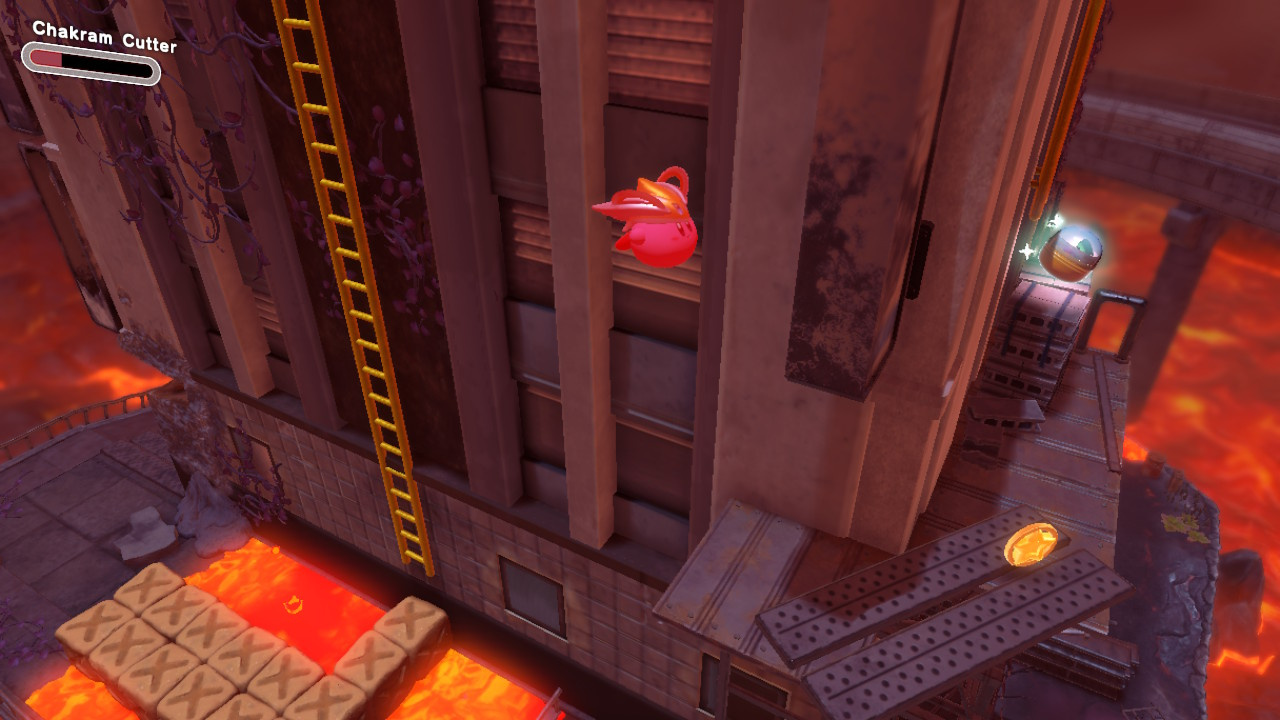
#4 Drop down the open shaft to the right of the ladder here to nab this one then hover back up and out again.
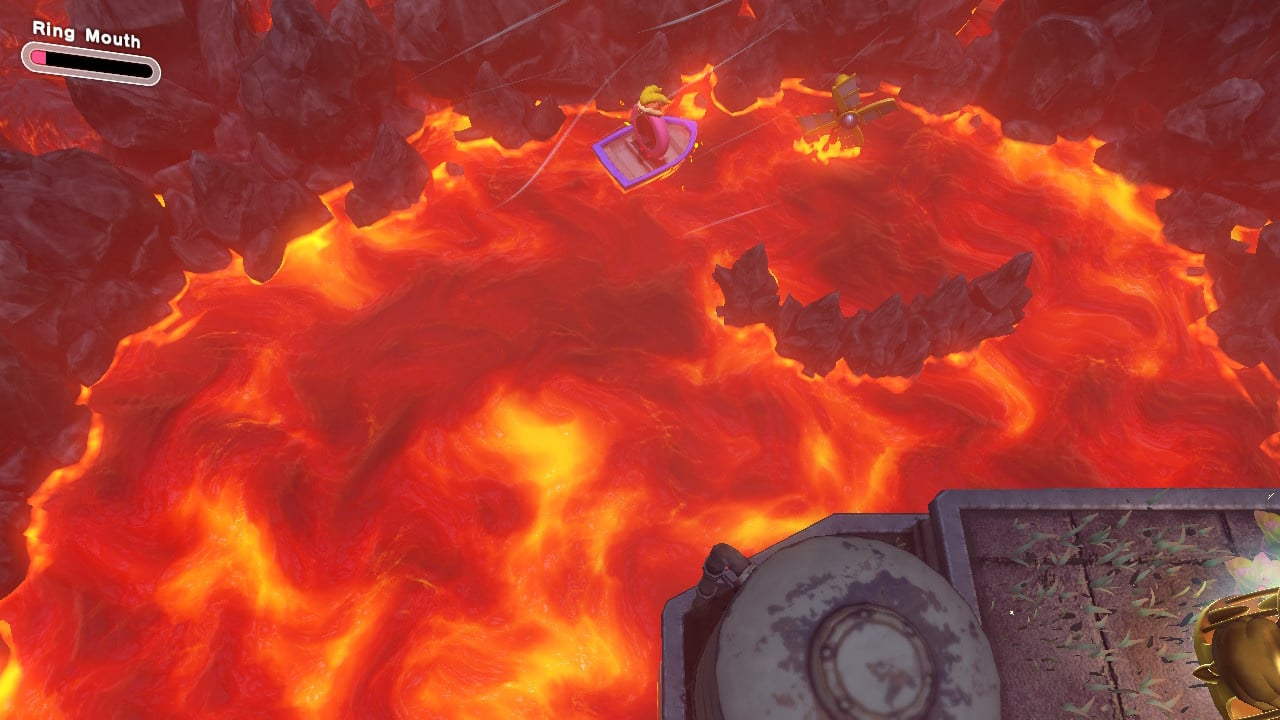
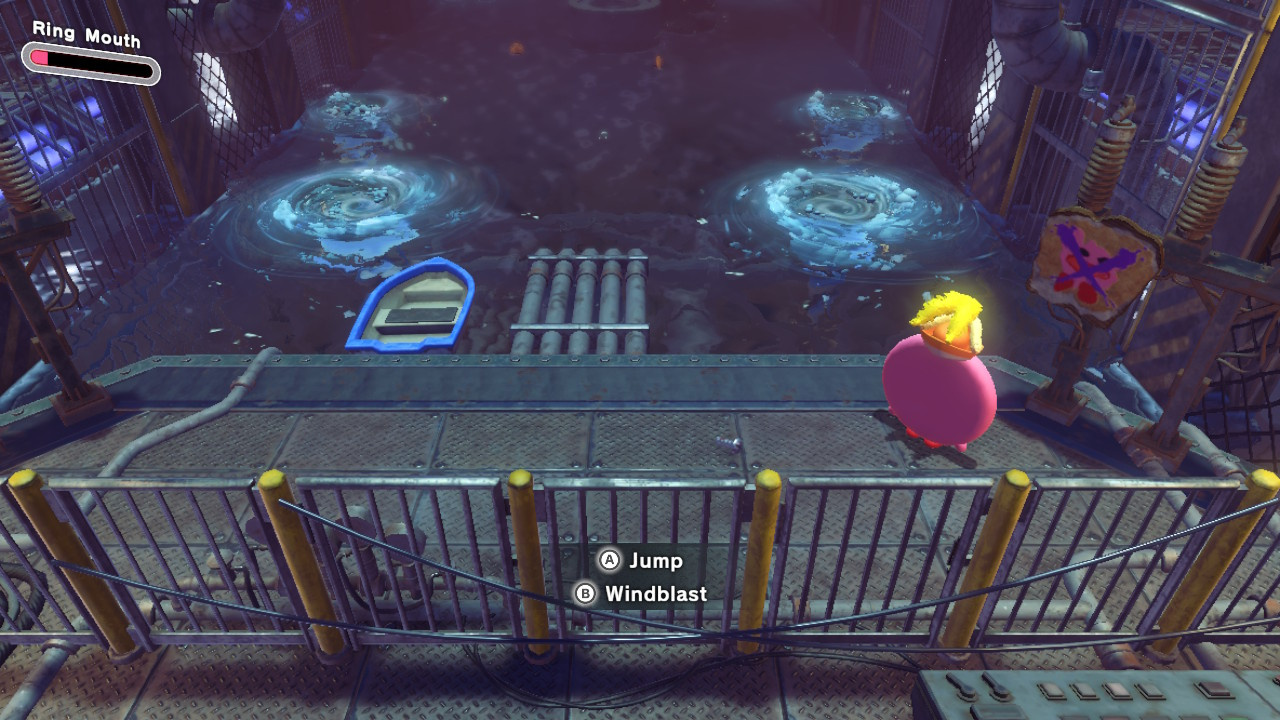
#5 First grab the broken piece of sign then use your wind ability to activate all of the windmill switches, raising a platform in the lava below. Now jump down to the boat and sail over to grab this little guy.
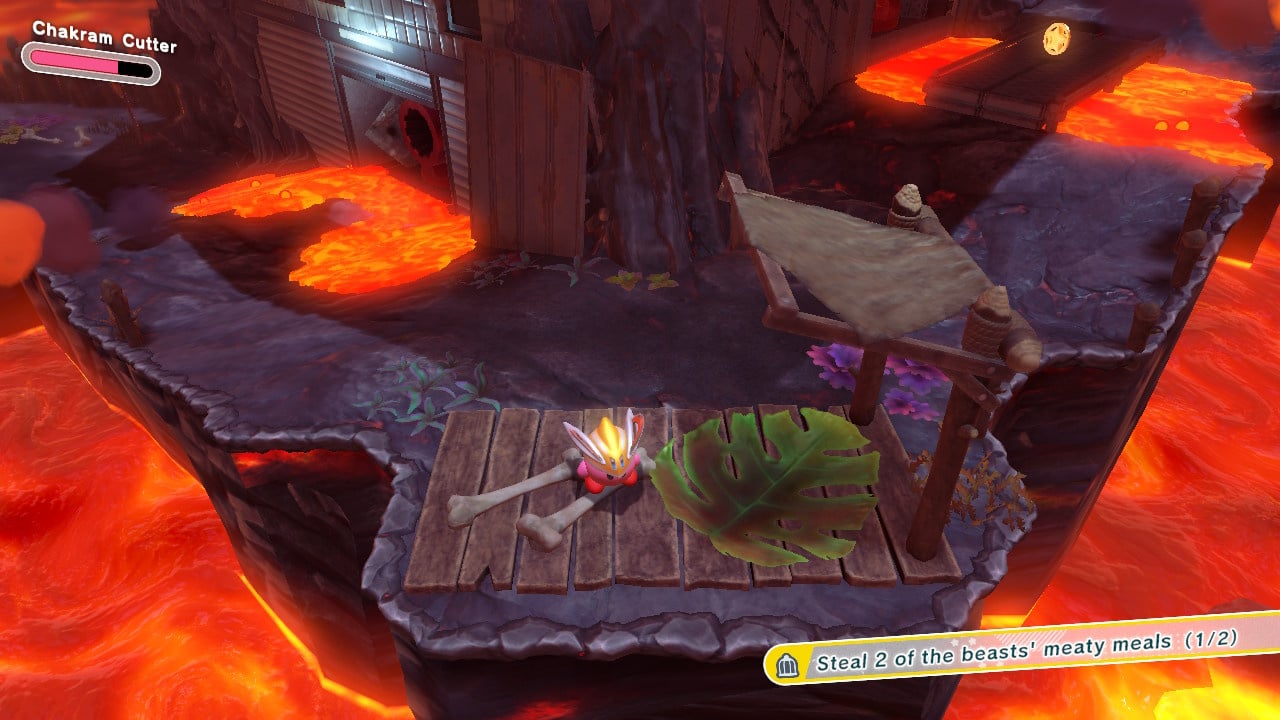
Steal 2 Of The Beasts' Meaty Meals
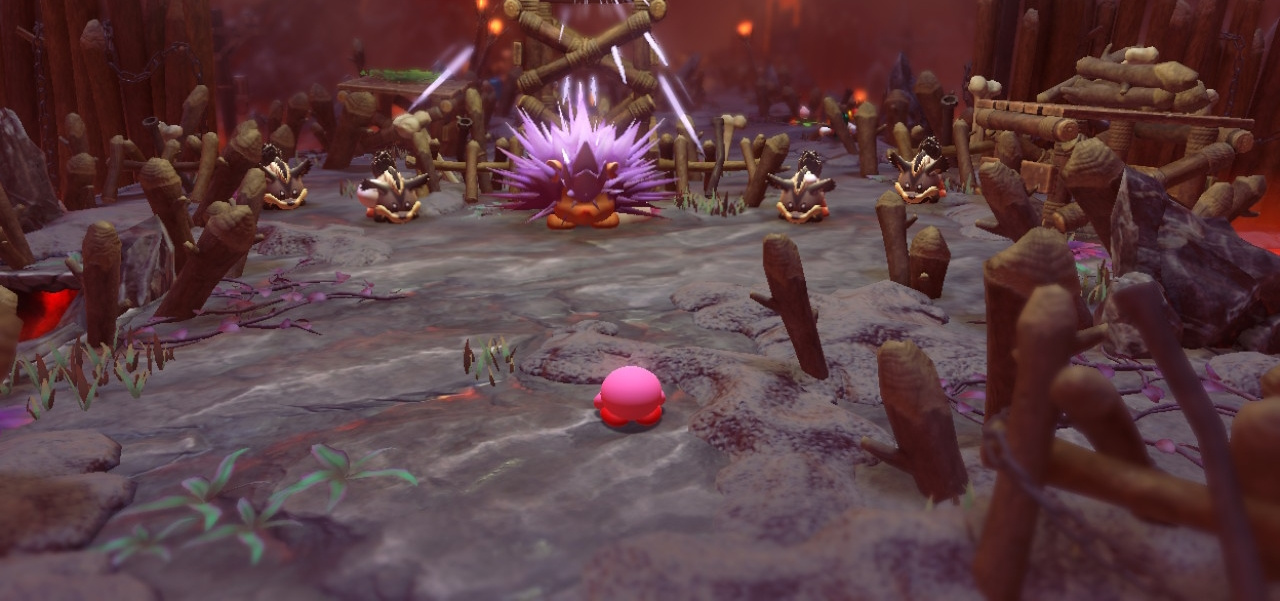
#1 Right at the start of the stage you'll find this juicy snack sat on a leaf surrounded by angry doggos.
#2 Over to the right of the ladder we've pictured below, make your way to the platform by hovering then climb up the little ladder here to grab this meal.
Make All The Windmill Switches Spin
You'll get all but one of these spinning in order to reveal the final Waddle Dee in the stage but there's another switch, behind the ending area, that you can sail to in your boat before exiting the stage!
Use Crash To Defeat Wild Frosty
An easy one this. Just return to the stage with the Crash ability equipped and defeat Wild Frosty for the win.
Collectible Figurines
#1 Float off to the right of the big ladder pictured here to find this one on a sneaky platform.
#2 Sat under a platform as you make your way towards the windmill switches, you'll need to carefully float under here to nab it.
#3 Collect all of the coins rotating around the long spike obstacle in this lava area to reveal this one.
6-3 Burning, Churning Power Plant
Missions
- Clear Stage
- Save The Hidden Waddle Dees
- Perk Up With 3 Cups Of Coffee
- Infiltrate The Control Room
- Don't Get Squished
Save The Hidden Waddle Dees
#1 This first Waddle dee can be found hiding out behind some wooden crates that you can smash about halfway down the closing metal walls in the section where you push the red switch and avoid the bull. Jump up quickly to smash the crates on the right and make your way into this sneaky little nook.
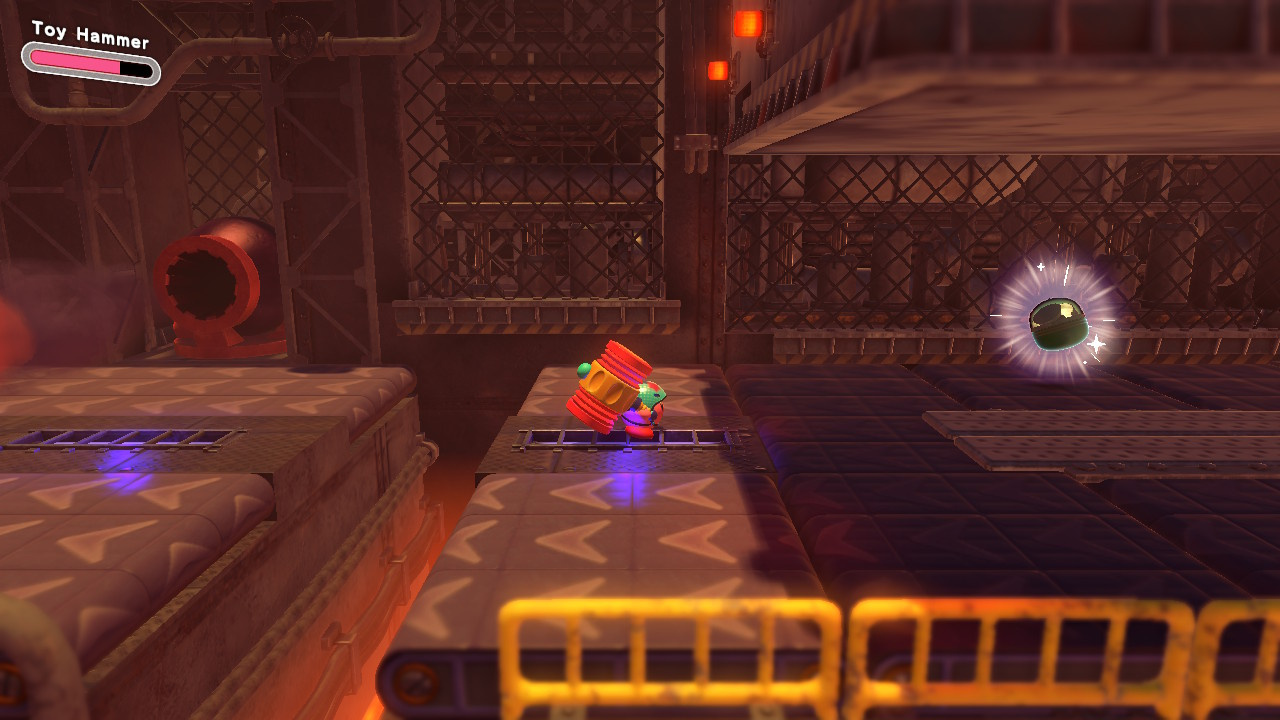
#2 This one requires you to collect a bunch of green coin pieces that are dotted in and around the stompy, squashy platforms during the conveyor belt section of the level. They're all sat in the open, apart from the final one which is hiding out in a little nook in the background, as pictured.
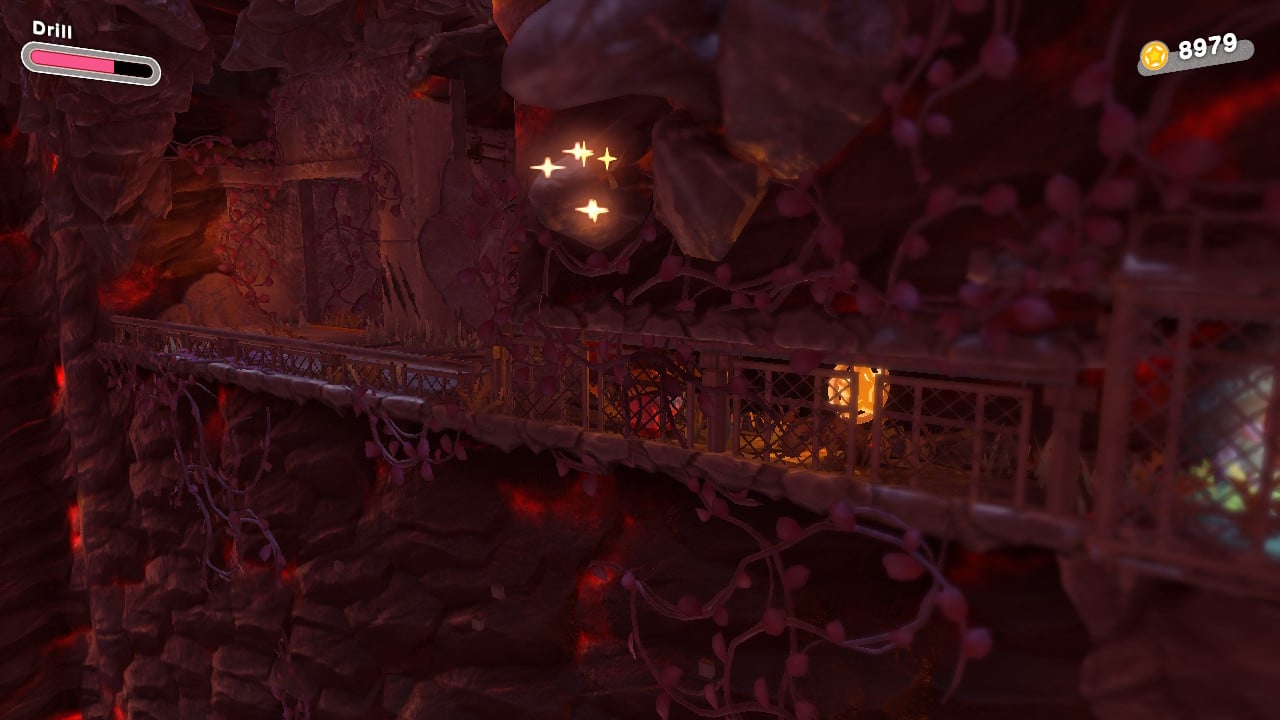
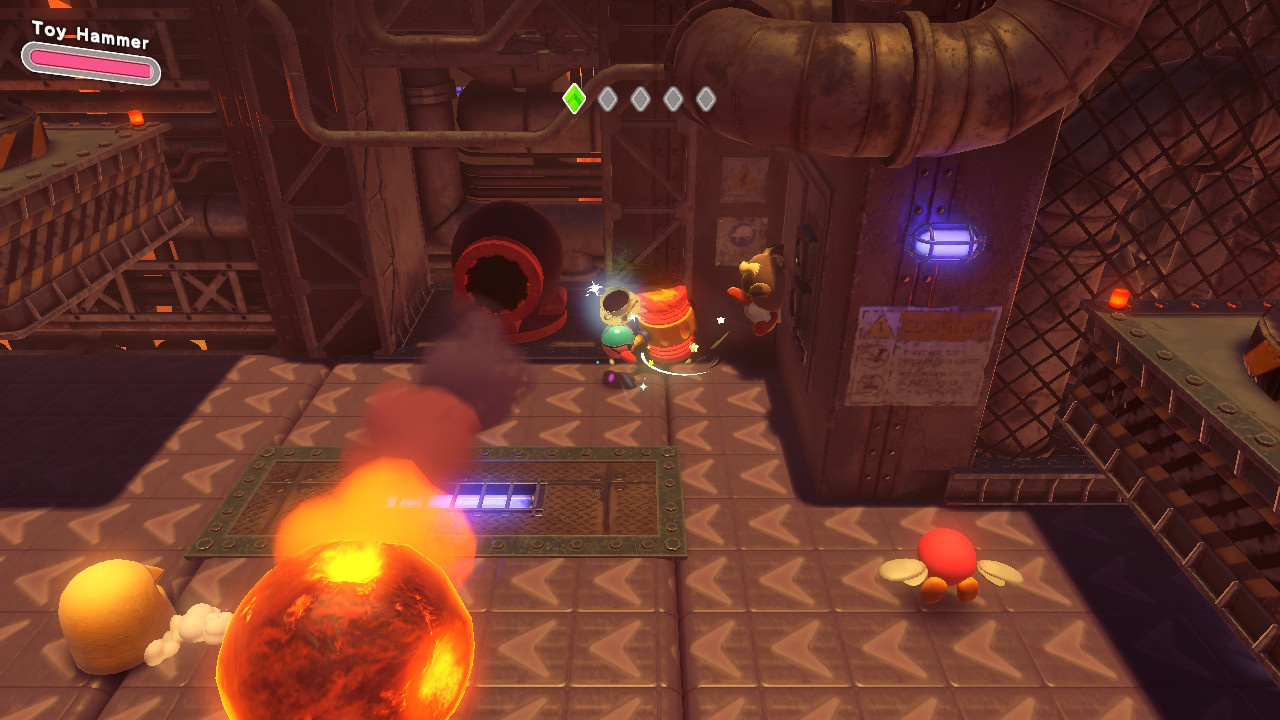
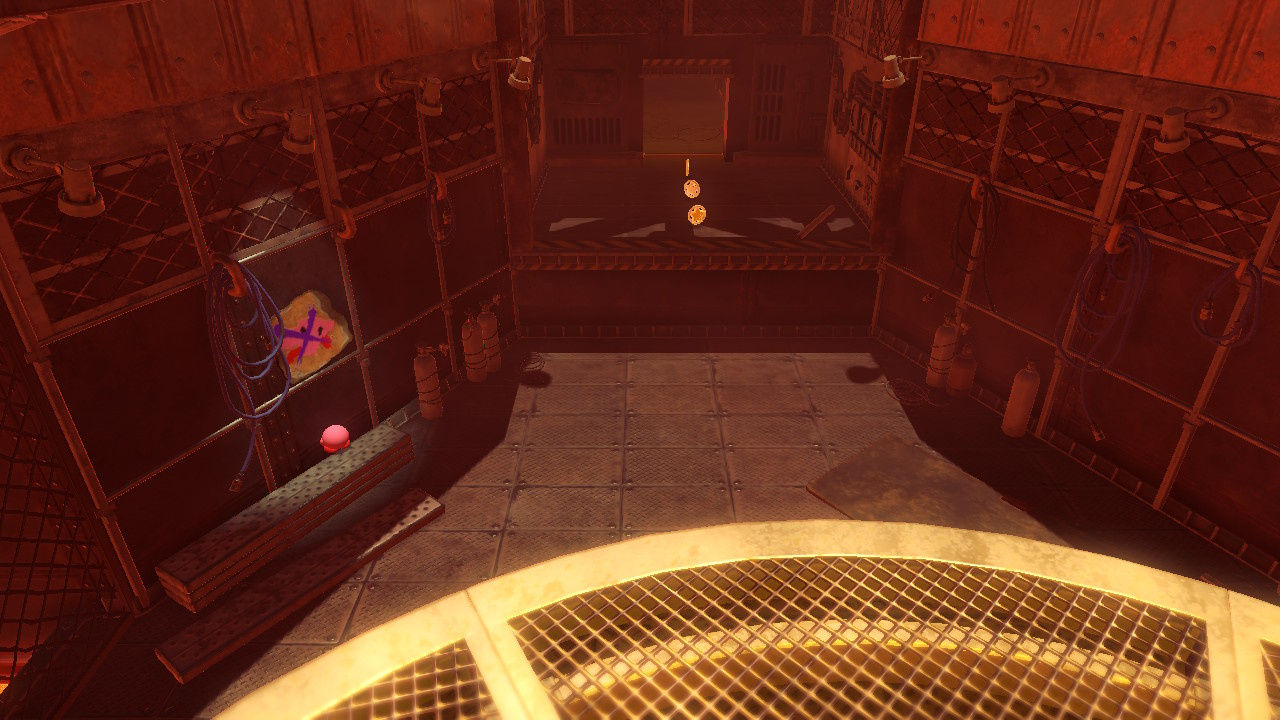
#3 Once you get to the star door pictured, instead of heading straight through move Kirby towards the screen to find a lantern you can light up. Once done just follow the trail of treasure along and up around the moving platform to the right, then up to another door.
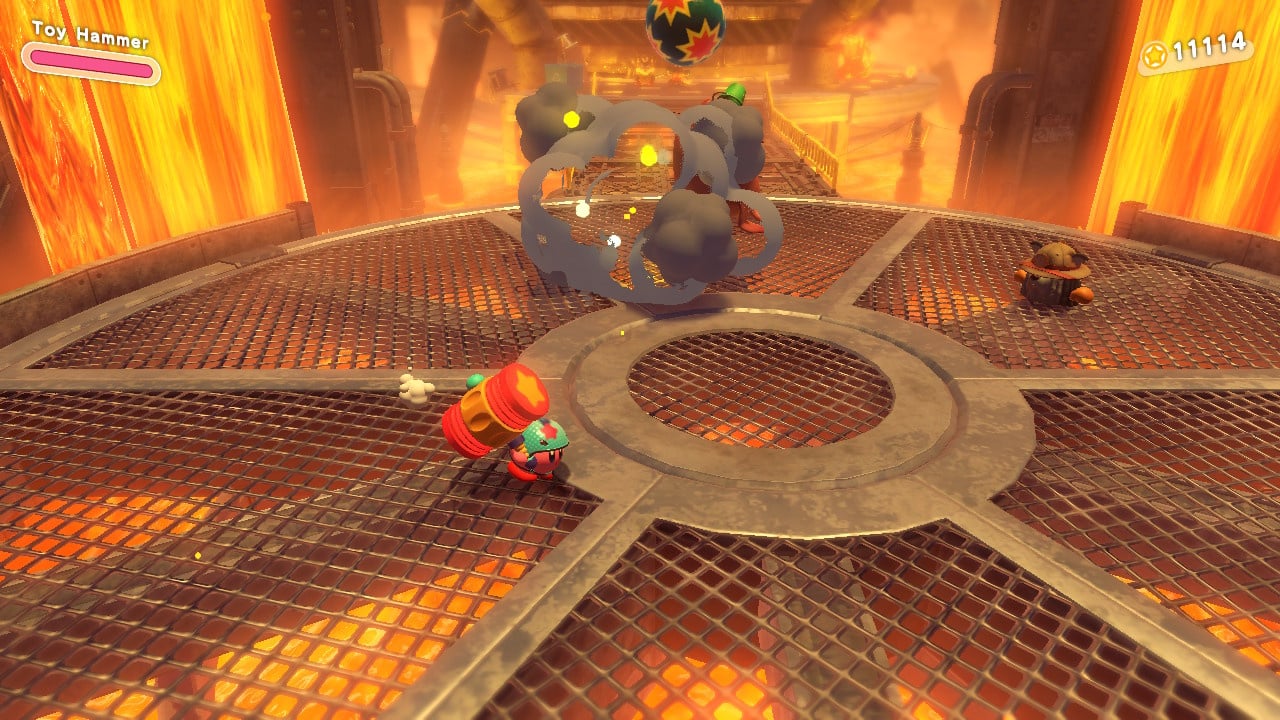
Now you're in a secret room where you need to light the cannon and ride it up to your next Waddle Dee. In order to do this you need to light the fuse, transform into the steps and keep moving around so the flame stays lit. As soon as enough rope is out of your way, drop the steps on the red switch and quickly get to the cannon to blast off to your prize.
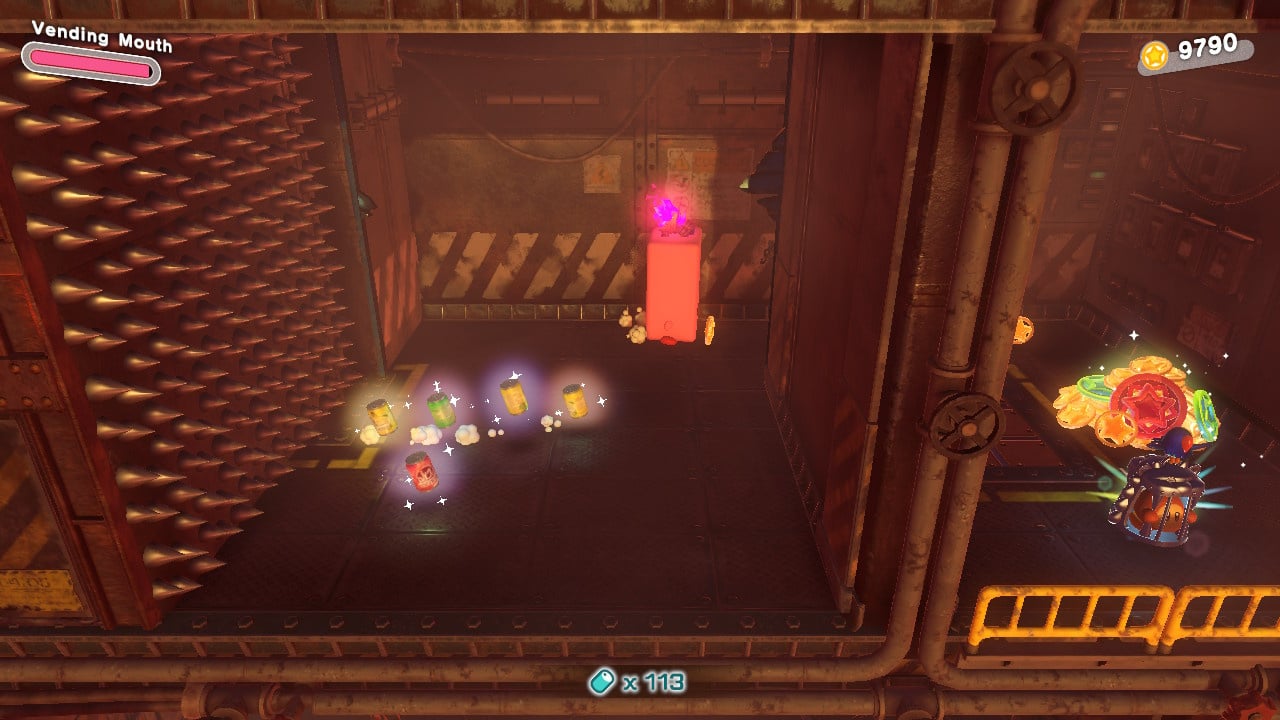
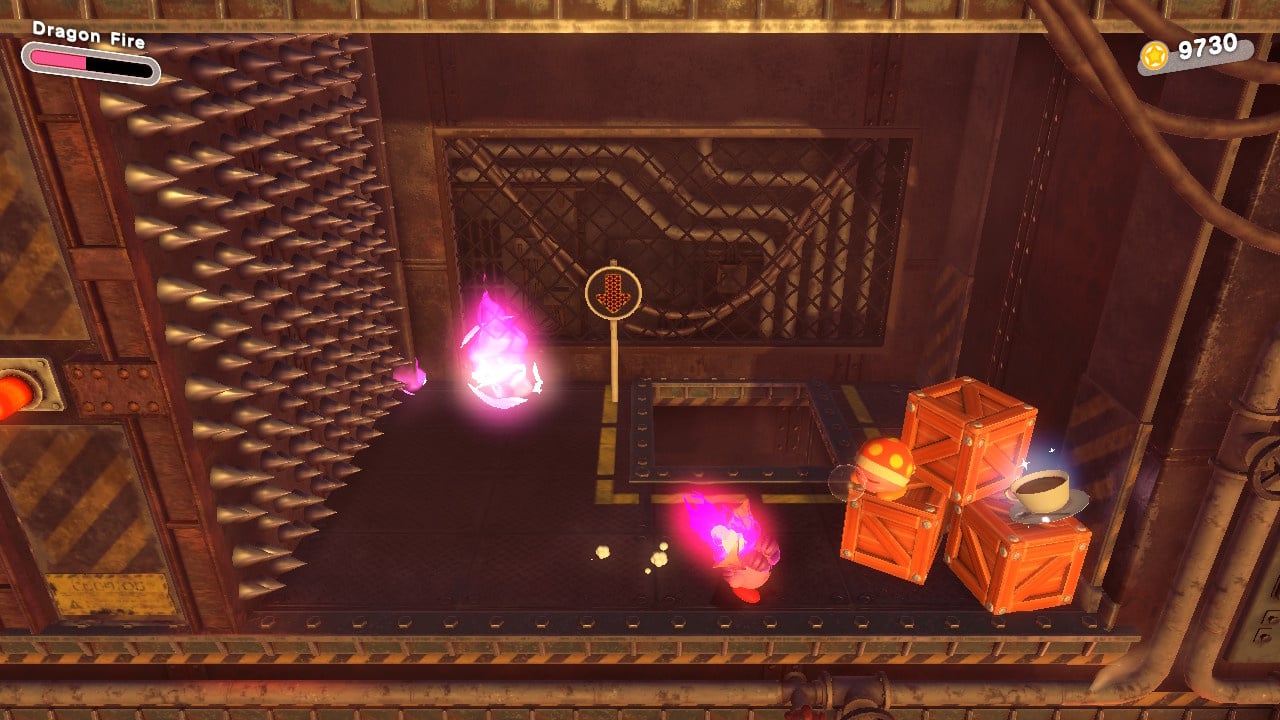
#4 During the first spiked wall chase sequence you need to use the vending machine to shoot out the great big shutter towards the end and open up the area containing this little chap.
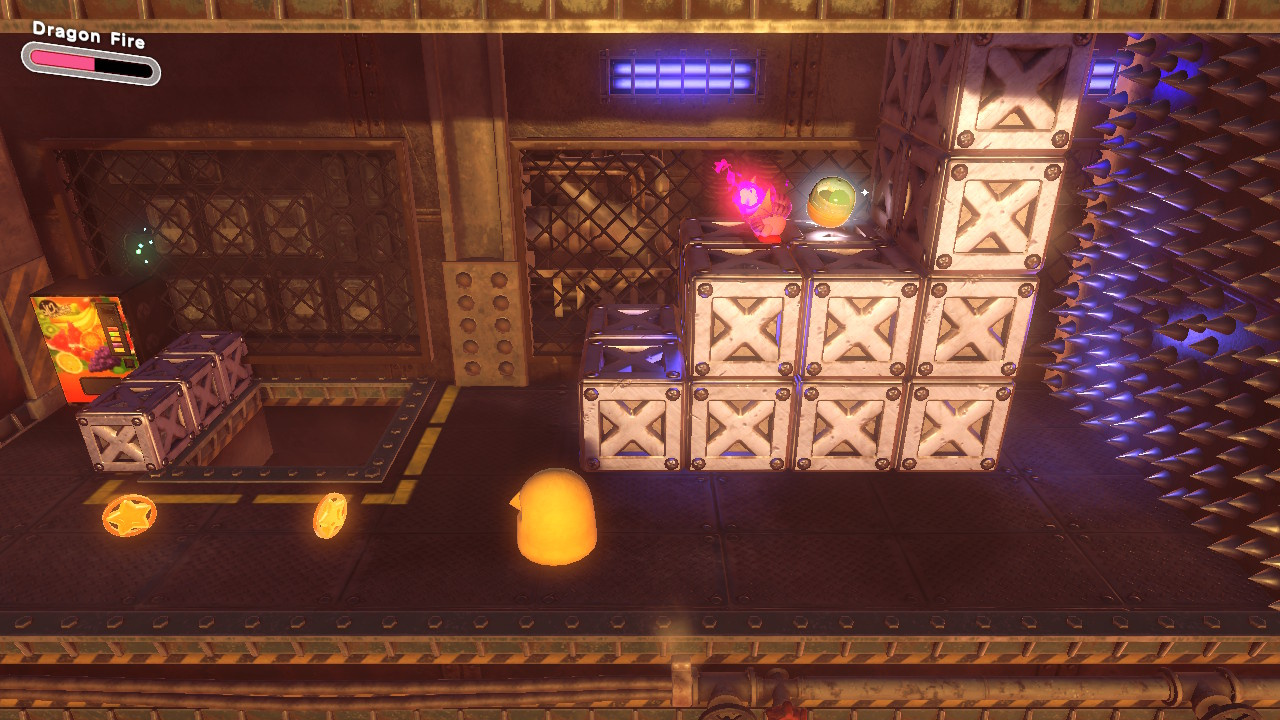
#5 On the way to the final area you'll need to use vending machine and cone shapes to fit through some shapes that hurtle towards you. Stay in cone mode once you reach your destination and use it to smash the great big crack in the ground open to reveal this final Waddle Dee.
Perk Up With 3 Cups Of Coffee
#1 After the first set of sliding, squashy walls you'll find yourself in an area with some dogs, boxes and a red switch. The first cup of coffee is to the right in the boxes.

#2 You'll find this one on the right during the stomping platforms section on the conveyor runway.
#3 At the end of the first spiked wall chase section, this cup is sat on a box awaiting your arrival. That's damn good coffee!
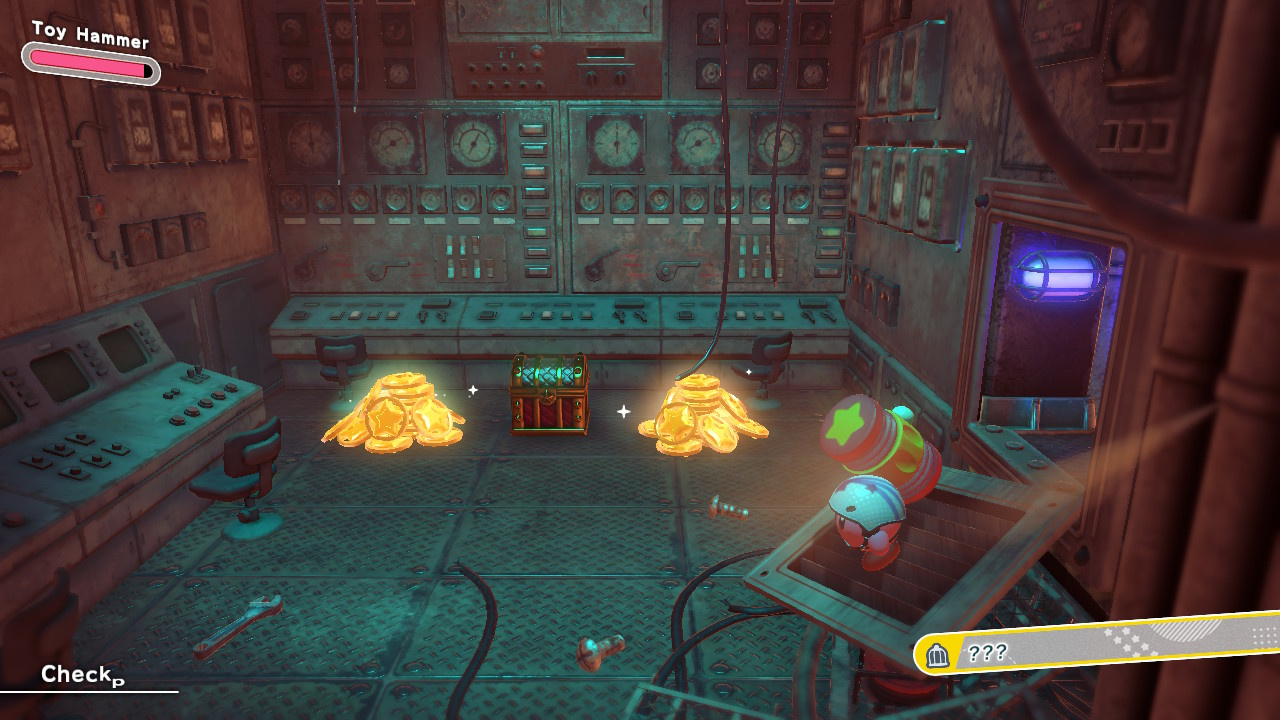
Infiltrate The Control Room
This top-secret area is off to the left on top of the squashy walls. Just hop up here from the little nook where you found the 1st Waddle Dee and make your way down the tunnel to tick this mission off your list.
Don't Get Squished
Yes, easier said than done isn't it. Make your way through the level without getting squashed or squeezed.
Collectible Figurines
#1 In the control room
#2 Under a huge stomping platform
#3 You'll pass this one while you run away form the second moving spike wall.
#4 When you drop down the hole in the floor from collecting the 4th Waddle Dee, this collectible will be sat waiting for you.

6-4 Gathering Of The Beast Council
Missions
- Clear Stage
- Save The Hidden Waddle Dees
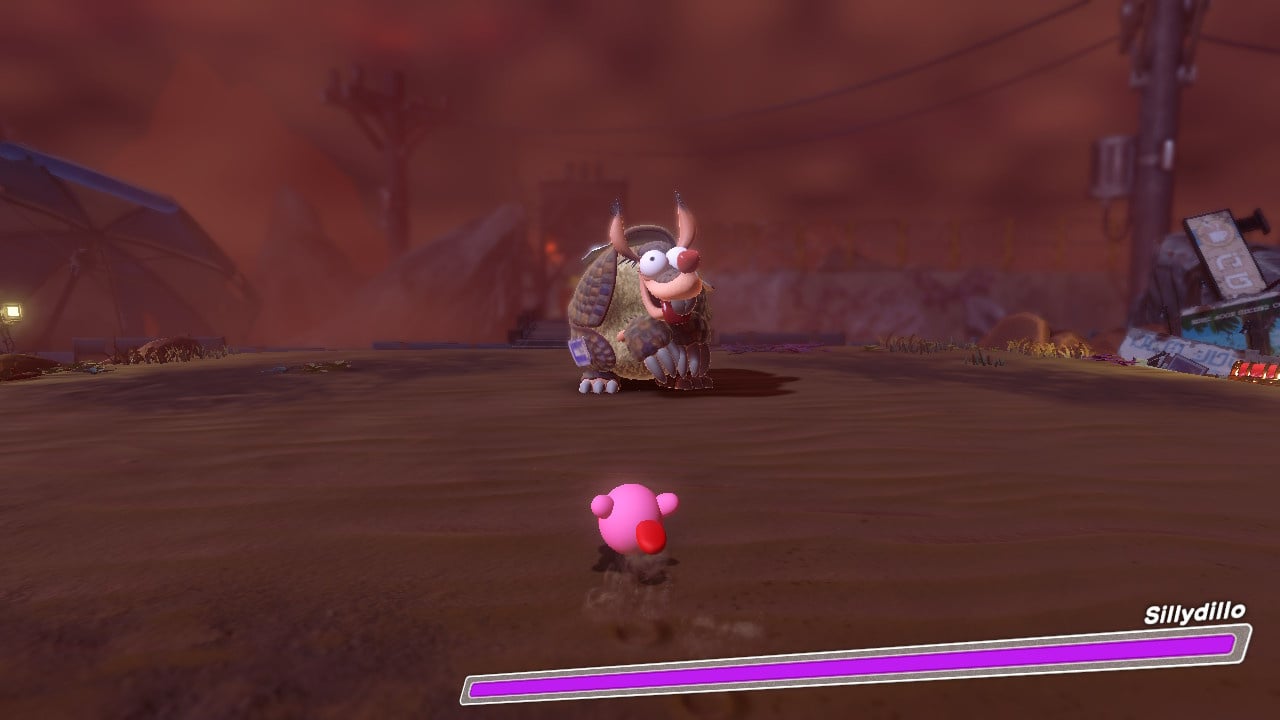
- Defeat Sillydillo In 1:30
- Venture Deep Into The Secret Passage
- Beat Clawroline Without Getting Hit
Save The Hidden Waddle Dees
#1 You'll get this first one for managing to reach it in the allotted time during the car platforming sequence.
#2 In a chest to the right of the arena after you defeat Sillydillo.
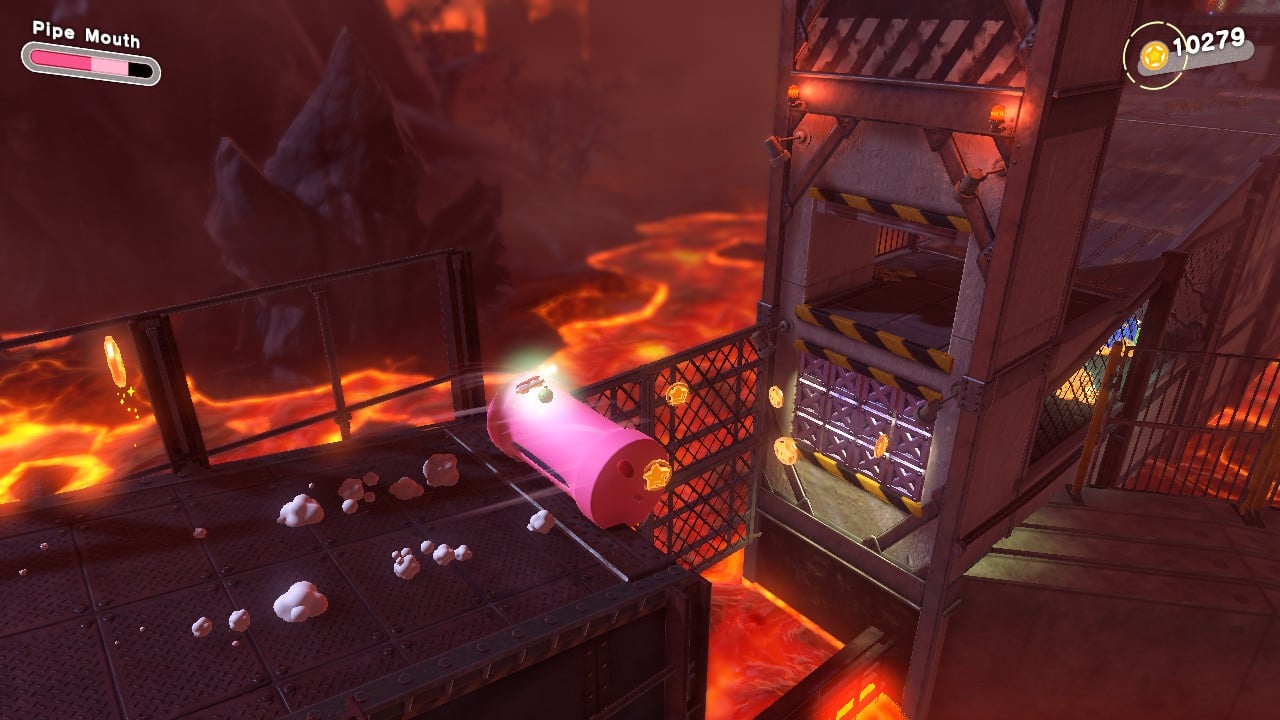
#3 During the Mouthful Mode pipe sequence, make sure not to jump for the last obstacle and you'll smash through the lower metal crates to find this one.
#4 Up the ladder of the top left tower of the arena where you fight Clawroline.
#5 Hit all the switches during the rollercoaster sequence then hit a final one once the ride ends to free this little guy from captivity.
Defeat Sillydillo in 1:30
Not too hard to do this as it's a condensed and simplified version of the fight proper. We went ahead and took Sillydillo on without an ability, sucking up the stars his attacks leave behind to batter him.
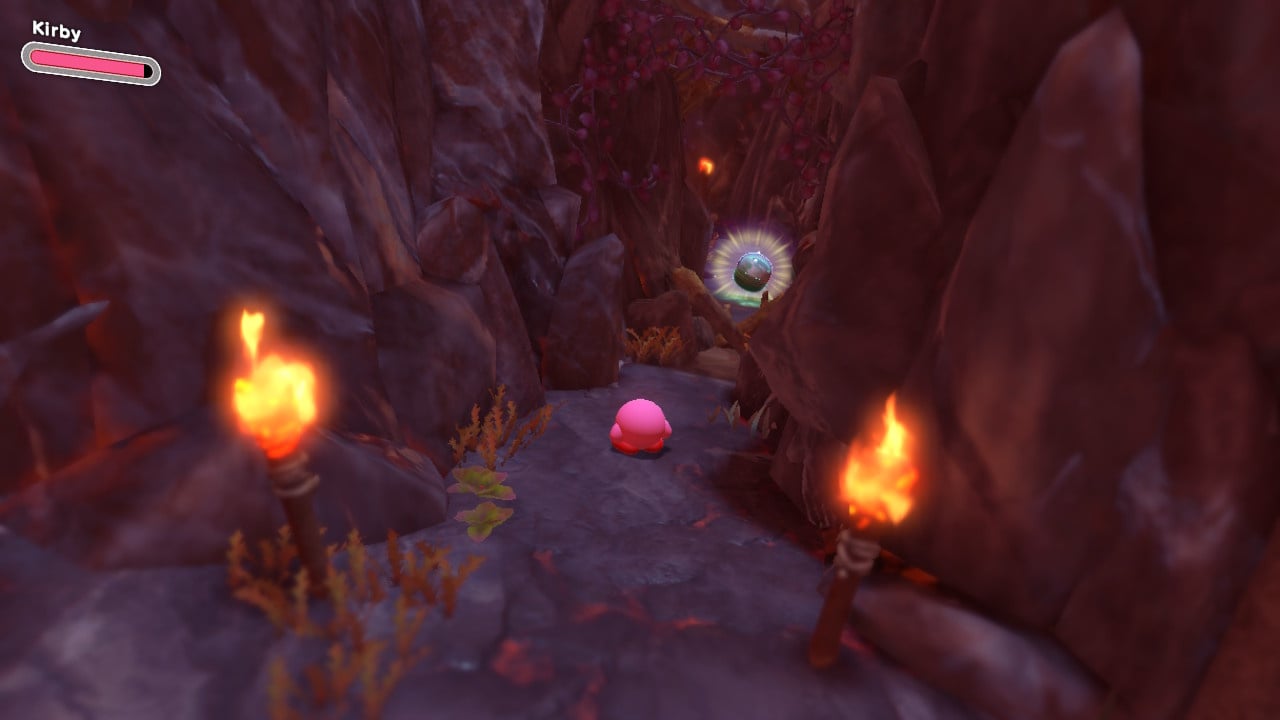
Venture Deep Into The Secret Passage
Right at the start of the stage stick to the right along the rock wall and you can swing down this secret passage to collect a figurine, then push on a little further for some coins and pickups.
Beat Clawroline Without Getting Hit
Again, not too hard here as it's another shortened and simplified version of the proper deal. Just stay away from her pounces and dives and hit her with every star she drops or the weapon of your choosing.
Collectible Figurines
#1 In the secret passage area at the start of the level.
#2 Down to the left of the ladder entering the second boss area.

#3 During the coaster ride you'll nab this one.

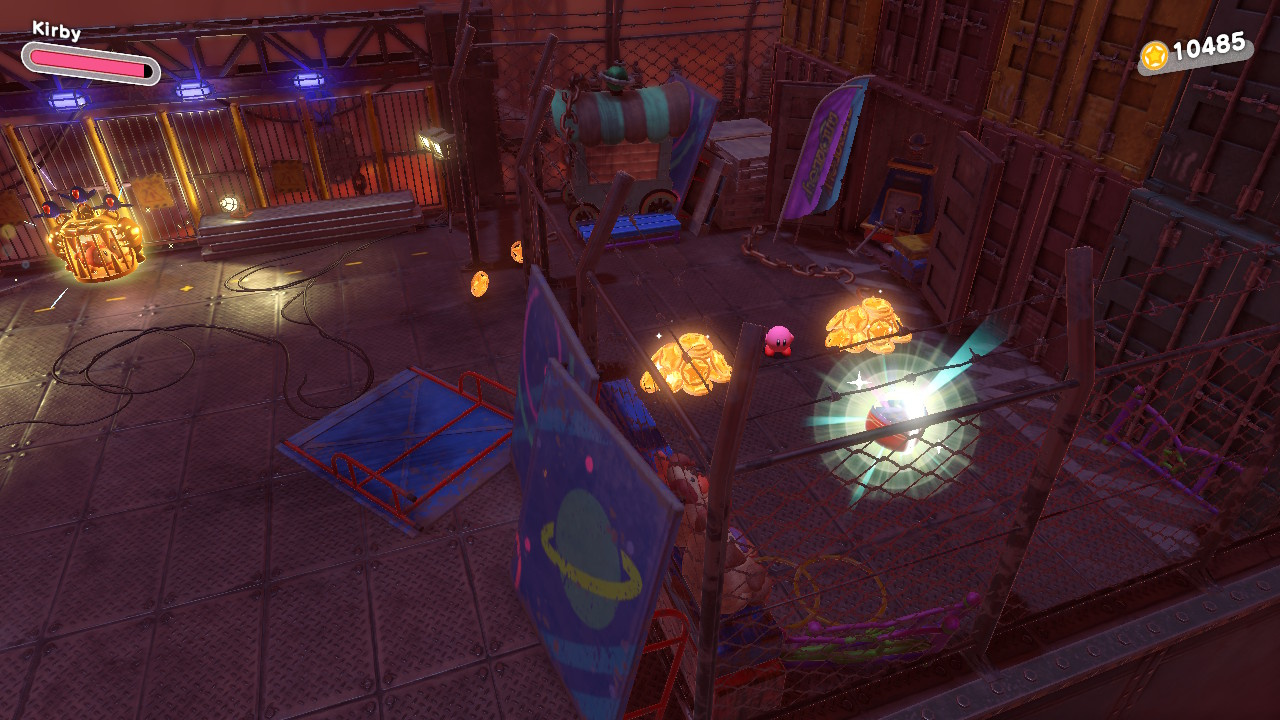
#4 Off to the right of the end area, jump over the barrier to the secret area and then up to the sparkling spot in the top right corner to reveal this one.
6-5 The Beast Pack's Final Stand
Missions
- Clear Stage
- Save The Hidden Waddle Dees
- Defeat All The Beasts In The Starting Area
- Remove 5 Beast-Base Wanted Posters
- Don't Fall In The Lava While Using Cone Mouth
Save All The Hidden Waddle Dees
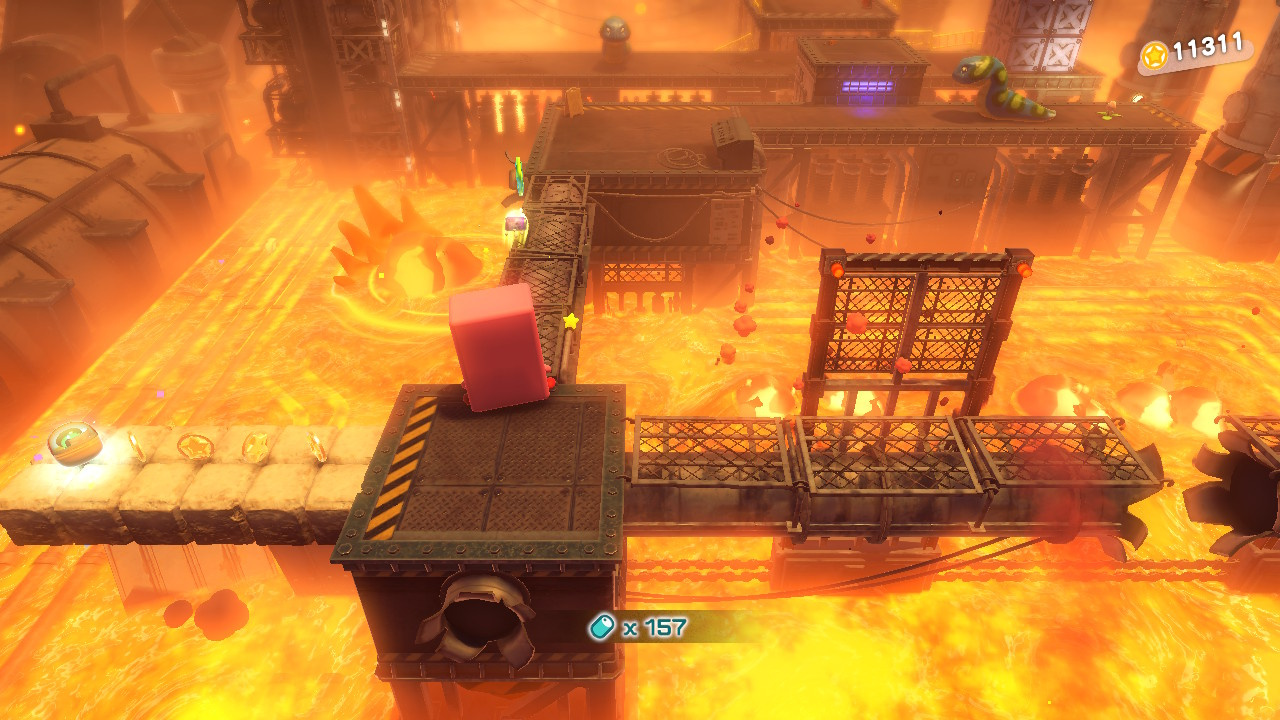
#1 You'll find this one during the moving lift Mouthful Mode sequence on top of a platform, as pictured below.

#2 Defeat all of the poisonous baddies in the second area with a water-filled Kirby in order to be rewarded with this Waddle Dee.
#3 During the sequence involving the stepladder and vending machine in Mouthful Mode, use the stepladder to get up on the platform to the far left of the screen to find this little guy.

#4 Beat all the crocs, grab the boat and smash it through the cracked concrete to raise up the platform to this fella.
#5 You'll find this final one at the very end of this level's glider sequence.
Defeat All The Beasts In The Starting Area
As soon as you enter this area you'll receive quite the welcome from a bunch of beasts right inside the front door. Kill 'em all to complete this mission.
Remove 5 Beast-Base Wanted Posters
#1 Right in the first room on the wall.
#2 In the room full of poisonous baddies, you'll see this on the wall to the left as you leave.
#3 During the stepladder sequence, right at the end you'll see this one hanging off a platform at the exit. We shot it down using a nearby ranger's ability!

#4 Just where you jump aboard your boat, look to the right of the platform and you'll see this one.
#5 In the final area beside the first turtle you come to, you'll see this one hanging up right by where you pick up the cone.
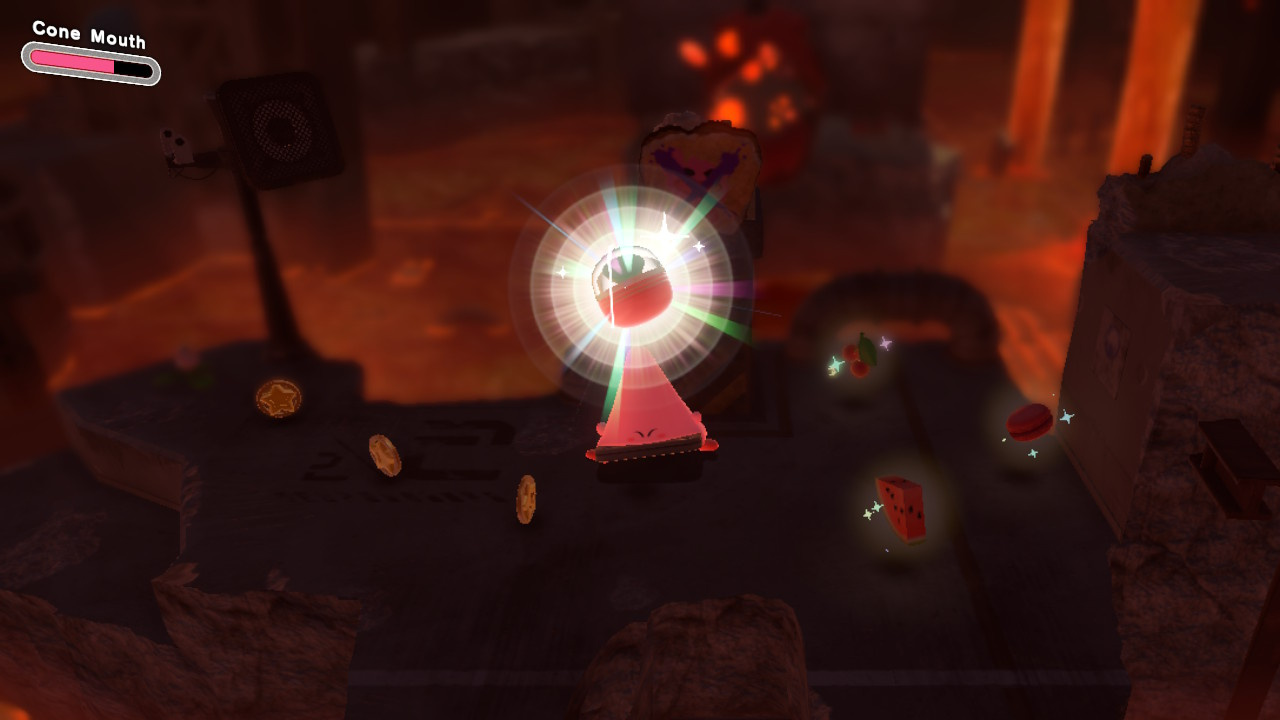
Don't Fall In The Lava While Using Cone Mouth
Well, we guess this is pretty obvious. Be careful around the lava when you've got that cone in your mouth, Kirby!
Collectible Figurines
#1 During the moving lift Mouthful Mode sequence you'll nab this one.
#2 Hit the bomb block on the left of the area during the vending machine sequence to reveal this one.
#3 You'll snap this one up during the glider sequence.
#4 Beside the cone and the poster pickup in the final area.
6-6 In The Presence Of The King
Missions
- Clear Stage
- Don't Get Hit By Forgo Dedede's Fire Attack
- Clear By Using A Second-Level Evolved Ability
- Clear Within 2:00
- Clear Without Taking Any Damage
Now we're down to the business end of this final world and it's big boss time. First up, you're butting heads with Forgo Dedede, and you've got a few things to look out for in his first phase.
The fight now moves arena to Lab Discovera!
6-7 Lab Discovera
Leongar
Make your way up to the summit of the volcano and into Lab Discovera where you'll now take on Leongar!
Fecto Forgo
Another fight! This wobbling mass will follow you up a corridor as you run towards the screen.
Fecto Elfilis
The final showdown!
And once that's done, congratulations — you did it! Kinda!...
Redgar Forbidden Lands Starries (Star-Crossed World)
If you've got the Nintendo Switch 2 Edition of the game, the Star-Crossed World 'remixes' of these stages are now available to play. Check out our guide to find all the Starries in Redgar Forbidden Lands.