
World number four in Kirby and the Forgotten Land and, in traditional video game fashion, we're now off to an icy realm full of slippy surfaces, snowmen and all things white and wintery. So stick a warm coat on and come with us as we hunt down every Waddle Dee, figurine and secret that Winter Horns has to offer up.
Subscribe to Nintendo Life on YouTube847k
World 4 - Winter Horns
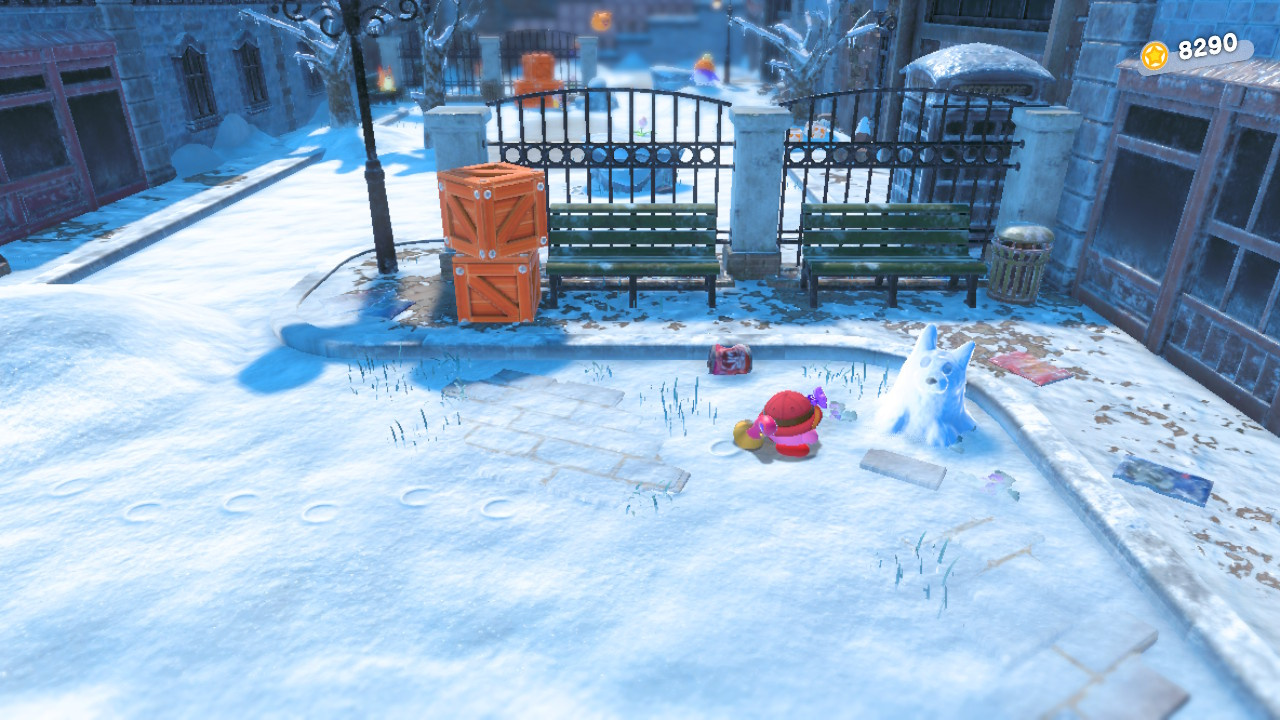
4-1 Northeast Frost Street
Missions
- Clear The Stage
- Save The Hidden Waddle Dees
- Destroy 4 Animal Snow Sculptures
- Find The Side Alley
- Reach The Clock Tower
Save The Hidden Waddle Dees
#1 This area's first Waddle Dee can be found by blasting out the metal shutter on the right during the vending machine Mouthful Mode sequence. You'll need to take out a bomb block on the right of the area to expose it then make your way up, taking out two snowball enemies as you go.
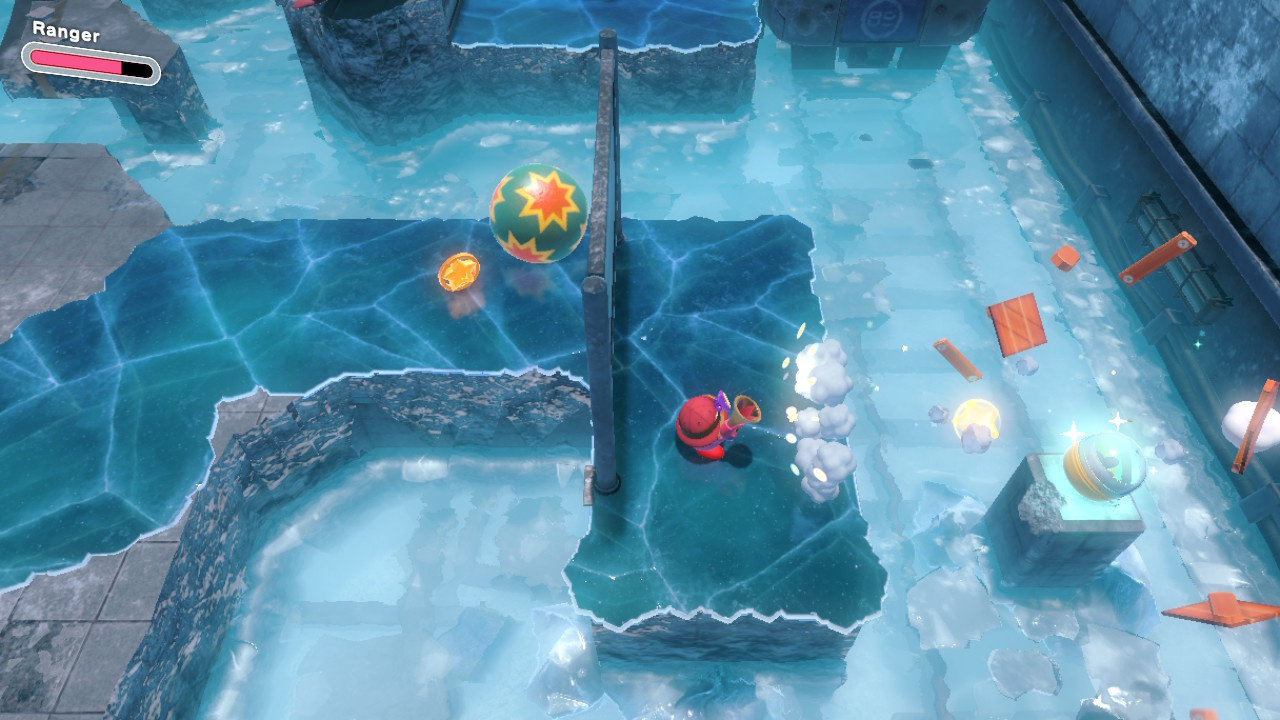
#2 On the left of the yellow barred door, as shown below, you'll find an area with a crumbling walkway to dash along where you need to take out a hovering target with ranger mode. Take out the target to open the yellow gate and then head in to complete a minigame where you need to shoot the red switch then time your shot on the moving target to reveal steps up to your prize.
#3 On the large tilting platform with three snowball enemies, you'll spot a small bomb block to your right hand side. Blow it up to reveal this next Waddle Dee.

#4 Towards the end of the area, during the Mouthful Mode stepladder sequence, you'll spot a cracked piece of wall on the right a few levels up. Head up above this cracked wall, take out the enemies and use Mouthful Mode to take control of the steps. Then drop down to the lower level and fall through the cracked wall to reveal your next prize. Oh, and maybe look out for the charging bull in here!
Destroy 4 Animal Snow Sculptures
#1 On the right in the very starting area, this one's an easy find.
#2 To the immediate right of the area's one and only warp star.

#3 Head past the yellow door where you nabbed the second Waddle Dee and keep going right and down to find a set of steps with this sculpture hidden at the bottom.

#4 Right above the cracked wall where you'll find the final Waddle Dee, this one is sat over to the right hand side near the stepladder.

Find The Side Alley
In the very first area of the level, keep to the left side to find this well-hidden little alley leading off to some coins and a sleeping dog who you can either leave to rest or wallop to death.
Reach The Clock Tower
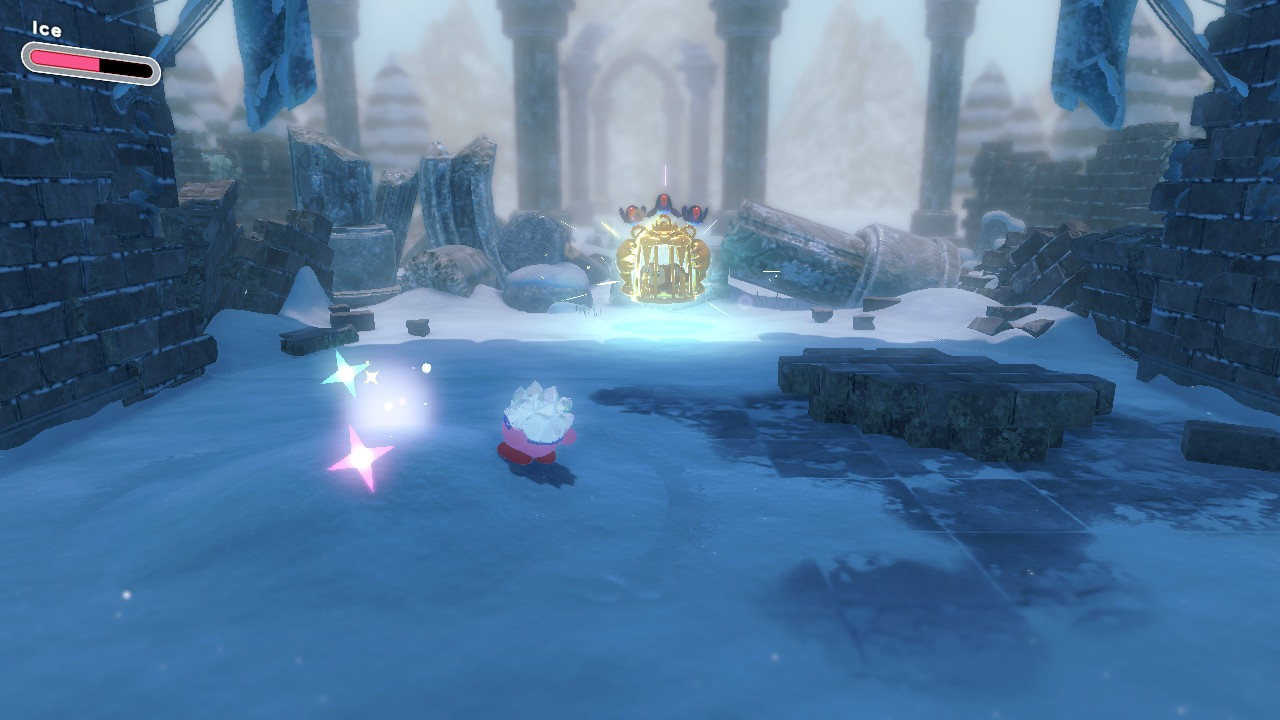
As shown below, at the very end of the level head to the left of the golden cage of Waddle Dees and jump out to the left, hovering as you go to reach the clock tower area over here.
Collectible Figurines
#1 Find this one by taking out the bomb block to the left of the stairs in the very first section of the level.
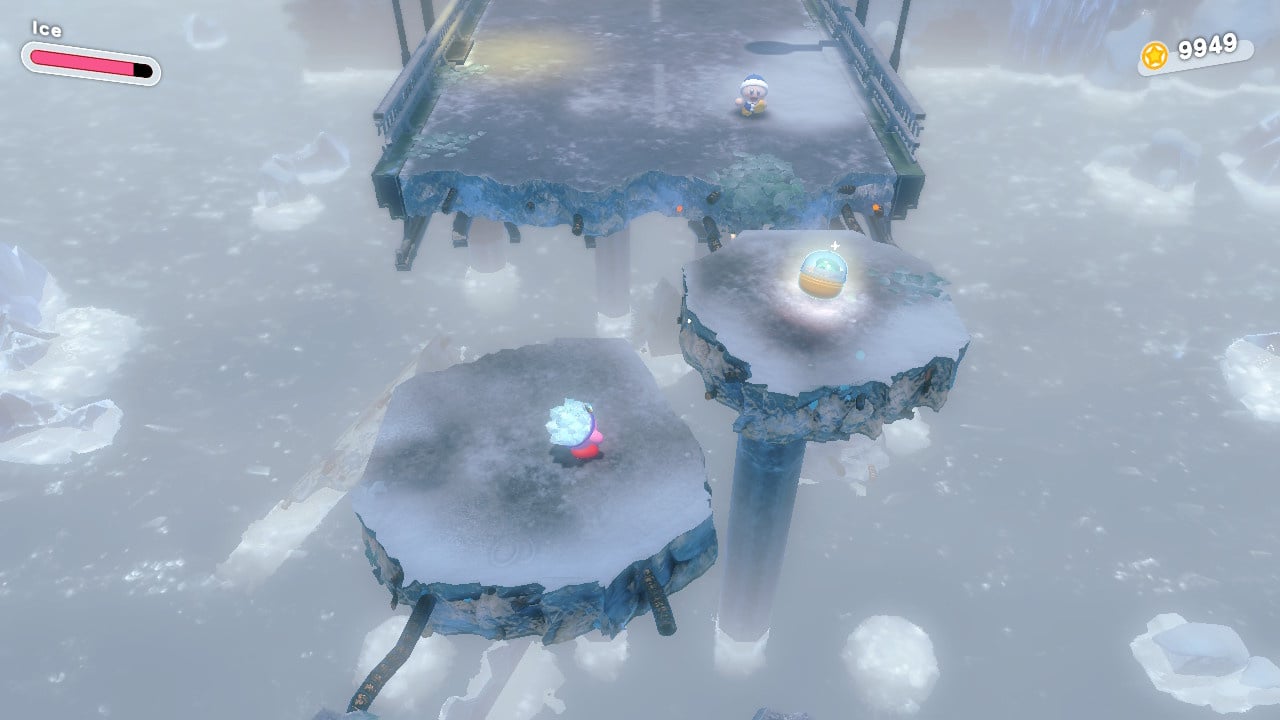
#2 Off to the far right side of the moving platform where we found the 3rd Waddle Dee. Hop over to the little walkway here and interact with the sparkling spot to reveal blocks up to this one.
#3 During the Mouthful Mode stepladders sequence, you'll notice a few metal crates over to the far left side, as shown in the picture below, that you can break to reveal this collectible.

4-2 Metro On Ice
Missions
- Clear Stage
- Save The Hidden Waddle Dees
- Stand On Top Of Two Trains
- Find Two Secret Passages
- Check Inside The Shipping Container
Save The Hidden Waddle Dees
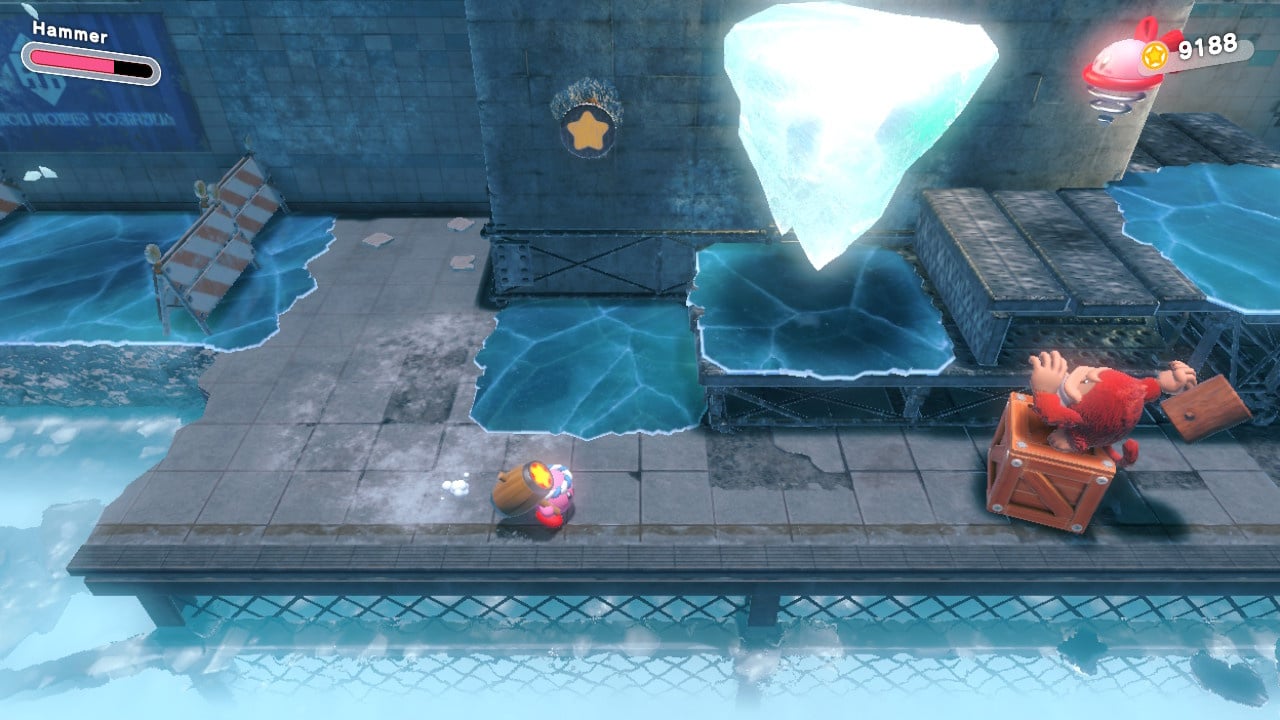
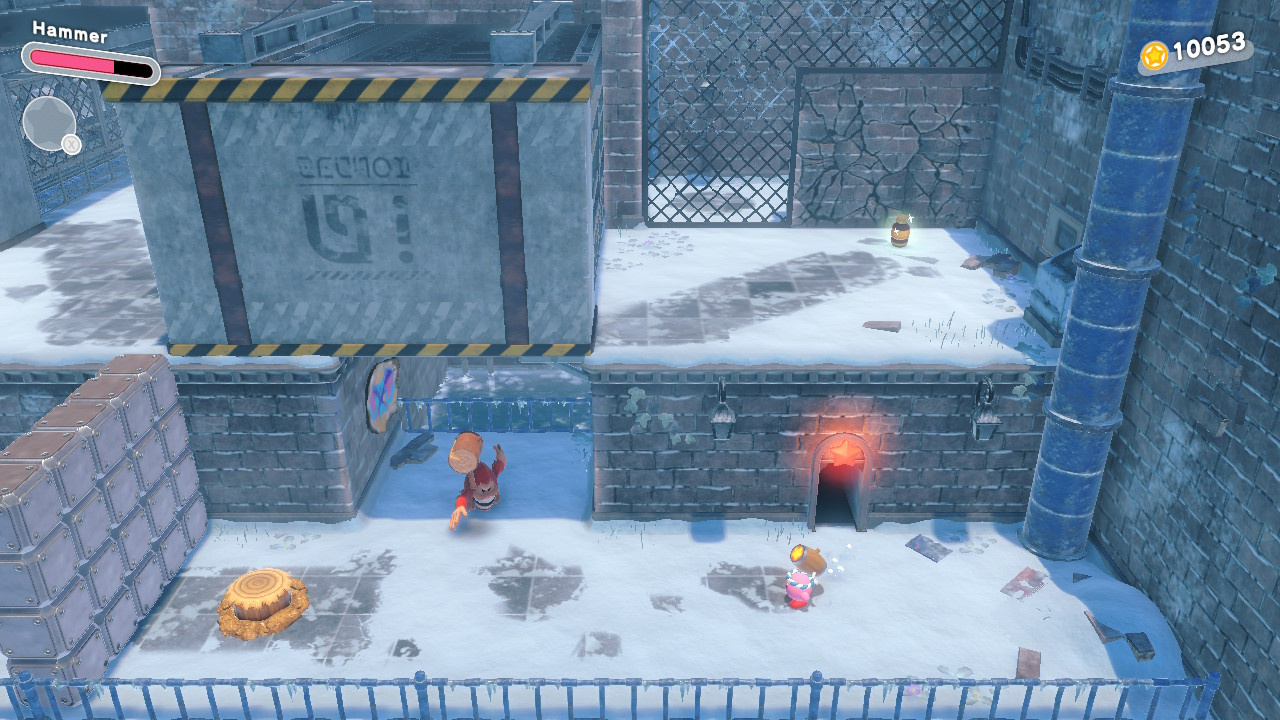
#1 In the area shown below, just after the miniboss arena encounter, you'll need to use your hammer ability to pound the four screws here in order to move the ground back and reveal this first Waddle Dee.
#2 The first secret area in the level, this is opened up by pounding the three target points on the column shown below. Once opened up you'll head into an area where you need to collect five green coin pieces which are located in easy to reach spots. Grab them all to reveal your second Waddle Dee.
#3 Just after the section containing the two secret areas, you'll need to climb up steps to the left of this thin corridor and defeat the walrus enemy at the top to reveal this Waddle Dee tucked in behind.
#4 Whilst in cone mode have a look around for the crack in the ice that we've pictured below, it's visible when the crates move right back out of your way. Use your cone attack to smash the ice here and drop down under where you'll find a water pipe to burst and ride a geyser to an upper level. Climb up here and wait for the platform you're on to move forwards, revealing some coins and a Waddle Dee.
Stand On Top Of Two Trains
Both of the these trains are in the same area, one off to the right that you can reach by hopping up onto the seats, as shown below, then onto the cracked pillar and up. The second train is a little further down and to the left, this one can be reached by walking up the steps attached. Easy!
Find The Two Secret Passages
#1 The first secret passage is where you'll get your hands on the level's second Waddle Dee. As we've already detailed above, smack the three points on the column shown below to open this area up.
#2 Just off to the right after you've returned from the first secret area, this one is over a barricade at the side of the screen. Hop over and move along the platform to reveal a room with a Mouthful Mode locker that can be tossed over to net you some Invincible Candy!
Check Inside The Shipping Container
This shipping container can be found up in the hidden area where you'll nab the 4th Waddle Dee. Whilst right up where the Waddle Dee is found, move over to the right across the thin platform then break through the cardboard boxes to jump in here.
Collectible Figurines
#1 As shown below, this collectible can be found by smashing a bunch of wooden crates stacked on top of each other on the far right of this area.
#2 Hit the two interactive points on the block shown below to access this one.
#3 Jump up onto the moving platform we've highlighted below and grab the cone ability. Now break the metal crates to reveal a switch that pulls back the floor to allow you to nab this figurine.
#4 This final one is inside the area's secret shipping container.

4-3 Windy, Freezing Seas
Missions
- Clear Stage
- Save The Hidden Waddle Dees
- Find A Cave That's Safe From The Wind
- Enjoy 3 Meals At Sea
- Jump Into The Secret Underground Room
Save The Hidden Waddle Dees
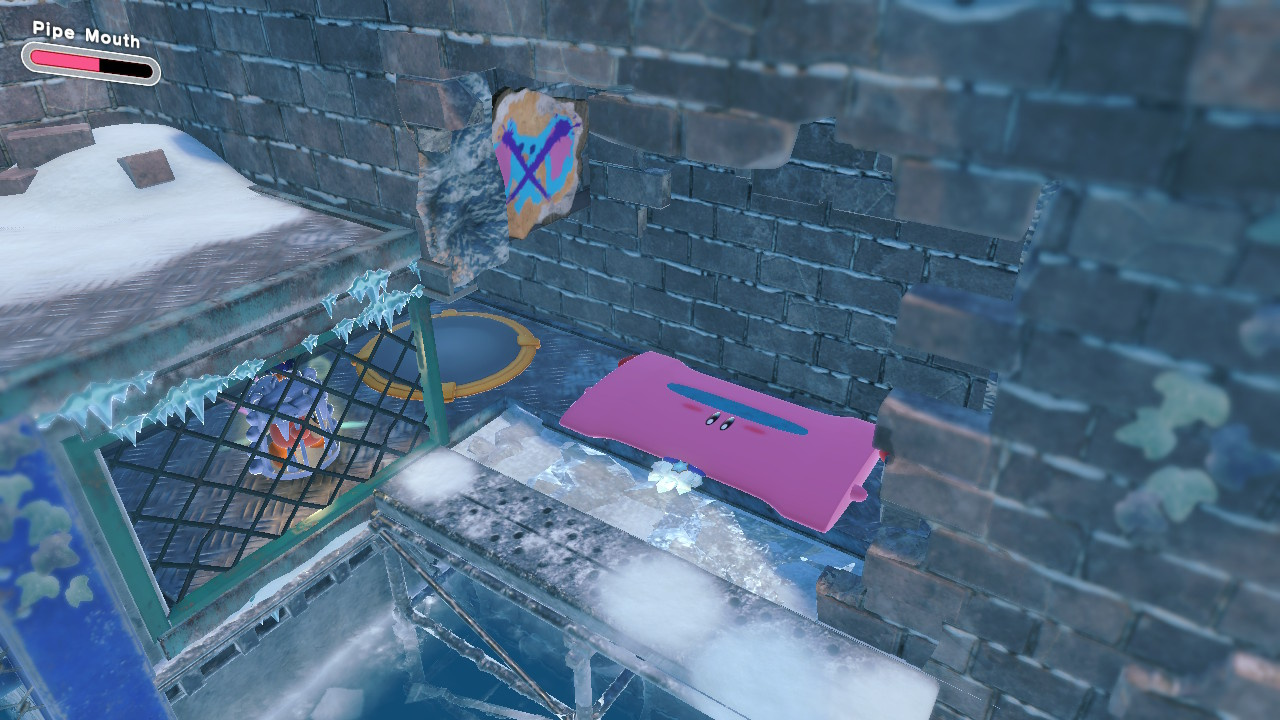
#1 In the first section of the level you'll use Mouthful Mode to turn Kirby into a pipe which you'll then roll, jump and smash through a wall of cracked ice to nab this first Waddle Dee.
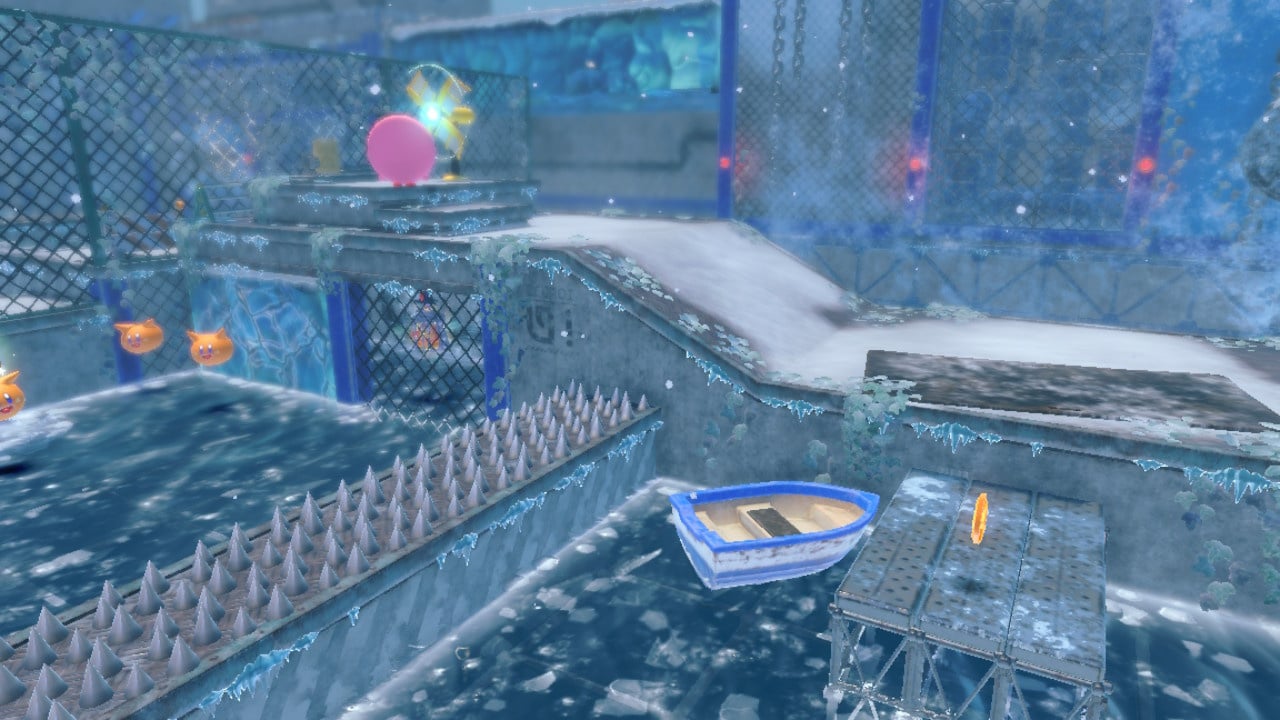
#2 During the level's short boat section, disembark on the island in the middle of the frozen stream and then spin the windmill around by blowing on it in order to drop the spike barrier and gain access to the area containing this little guy.
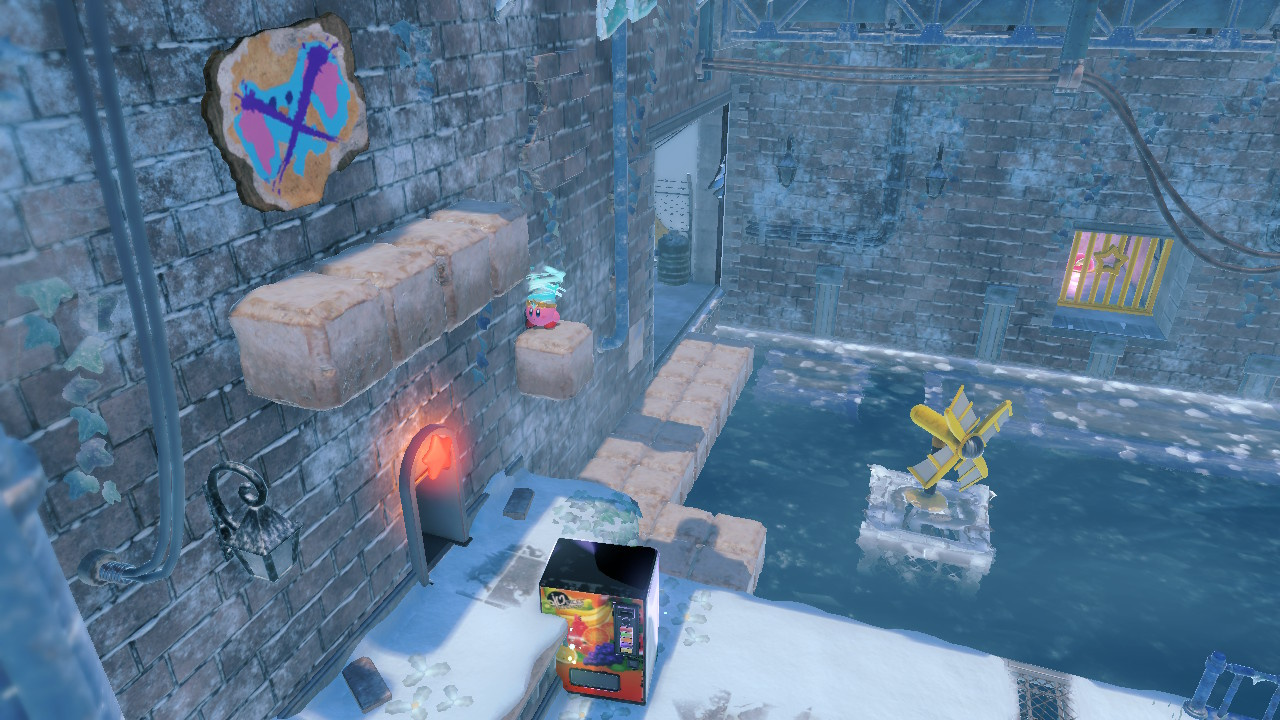
#3 Hidden around a corner, that we've pictured below, you'll find a small wall made of ice blocks. In order to get to the Waddle Dee in here you'll need to climb up the nearby ladder and copy one of the two fire enemy's abilities then head back down to melt the wall.
#4 In the area shown below where you are pushed forward by a gust of wind from behind, you'll find a lantern off to the left side, light it up and this Waddle Dee will be revealed a little further down the track on the right.
#5 Another lantern a little further along, and this time lighting it sets off a chain reaction of coins that you need to follow in order to reach a hole which you can jump down to reach a secret area.
Once down here you need to use Mouthful Mode to take control of the lift vehicle and then light the fuse on the left before rushing over to hop in the cannon on the right. You'll now be blasted up to your next Waddle Dee.
Find A Cave That's Safe From The Wind
To the immediate left of the area you smashed through whilst in pipe mode, you'll find a little platform leading over to this hidden cave full of coins and food. Our kinda cave tbh.
Enjoy 3 Meals At Sea
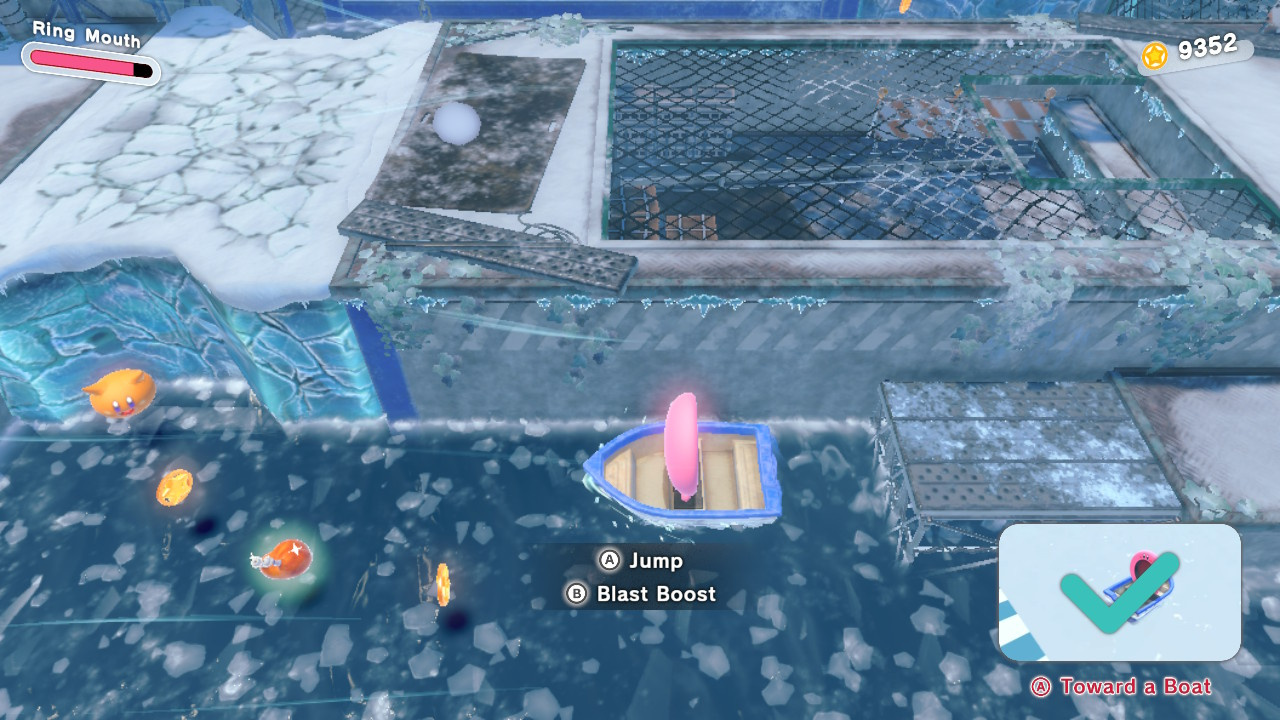
#1 Your first meal can be found as soon as you hop in the boat.
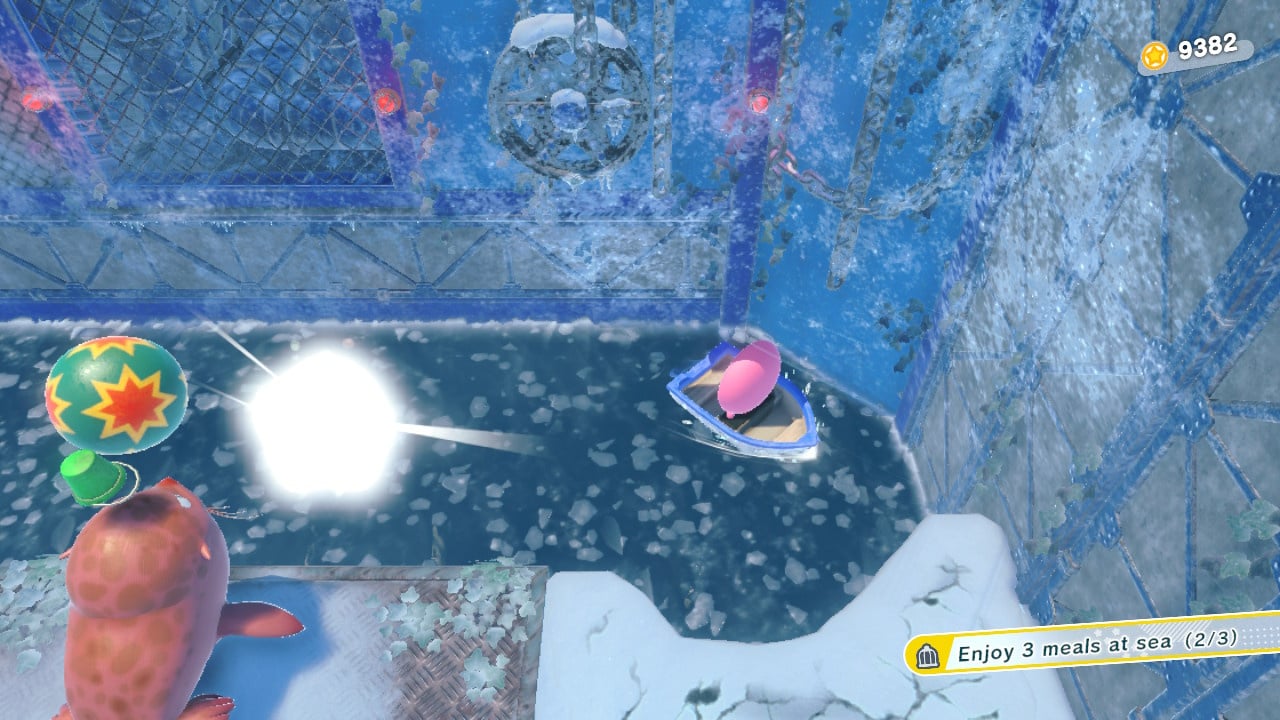
#2 Just up and around the corner before you jump out at the island with the windmill, this meal is sitting at the top right.
#3 This one is floating around just at the entrance to where you'll rescue your 1st Waddle Dee in the level.
Jump Into The Secret Underground Room
As detailed above, and shown below, lighting up this lantern reveals a trail of coins that lead you to a hole you can jump down to reach this secret room containing a cannon puzzle.
Collectible Figurines
#1 Jump down to a bomb block to the right just before the area's star door, as shown below. Hit the bomb block to reveal a path that takes you to this one.
#2 Right at the end of the level, this one is sat off to the left of the golden Waddle Dee cage.

4-4 The Battle Of Blizzard Bridge
Missions
- Clear The Stage
- Save The Hidden Waddle Dees
- Remove 4 Wanted Posters
- Beat Twin Wild Frosty Without Getting Hit
- Take A Detour And Find A Maxim Tomato
Save The Hidden Waddle Dees
#1 This level is a straight run through some recycled bosses with branches off to the left and right to pick up posters and Waddle Dees. This first Waddle Dee is off to the left at the beginning of the stage. Head into the entrance then cut the rope so that the cone drops onto the floating platform below.
Now jump down, assume cone form and smash through the cracked ground to reveal this first one.

#2 Now off to the right this time and you'll need to have copied the wind ability of the boss you've just battled in order to turn the fan in here. Push forward and hold attack from the platform on which you start, manoeuvre past the fan so it spins and then hit the switch to raise the platform with the vending machine on it. Now, assume vending machine form and head left quickly, jump the gap and batter the metal shutter until it breaks to reach your prize.
#3 Off to the right you'll see a wooden switch you'll need to pound with your hammer ability to open a passage on the left. Head in here and run left, smacking wooden points at you go, then head up the ladder and jump into the car. Now zoom back across to the right in order to nab this Waddle Dee before the platforms block your path. Easy!
#4 This poor little guy is floating in a cage down to your right hand side as you cross over some platforms late in the stage. Just jump down and nab him then float back up again. It's like they're running out of ideas!

#5 The final Waddle Dee of this stage is off to the right and around a corner. You'll need the ice ability to put out the burning door, then head in and hit the red switch at the top of the area to raise a platform. Now assume pipe form and roll across, timing your jumps so you smash through the wall ahead to where your prize awaits.
Remove 4 Wanted Posters
#1 In the 1st Waddle Dee area in plain sight on a wall.
#2 Above the doorway of the 2nd Waddle Dee puzzle area, you'll see blocks up to it above the door once you've beaten the room and saved your little pal.
#3 In the first little nook on the bottom level of the Waddle Dee puzzle room containing the car.
#4 Once you smash through the wall with the pipe you'll see this one dangling from a wall above you.
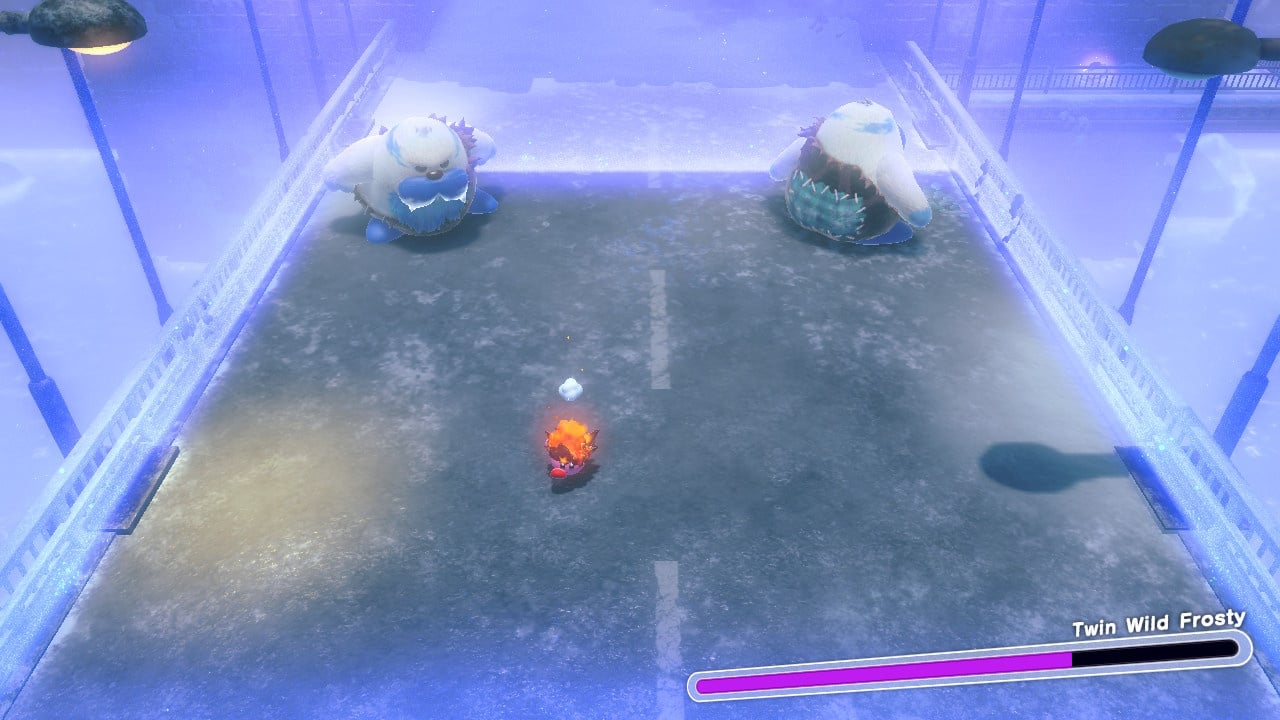
Beat Twin Wild Frosty Without Getting Hit
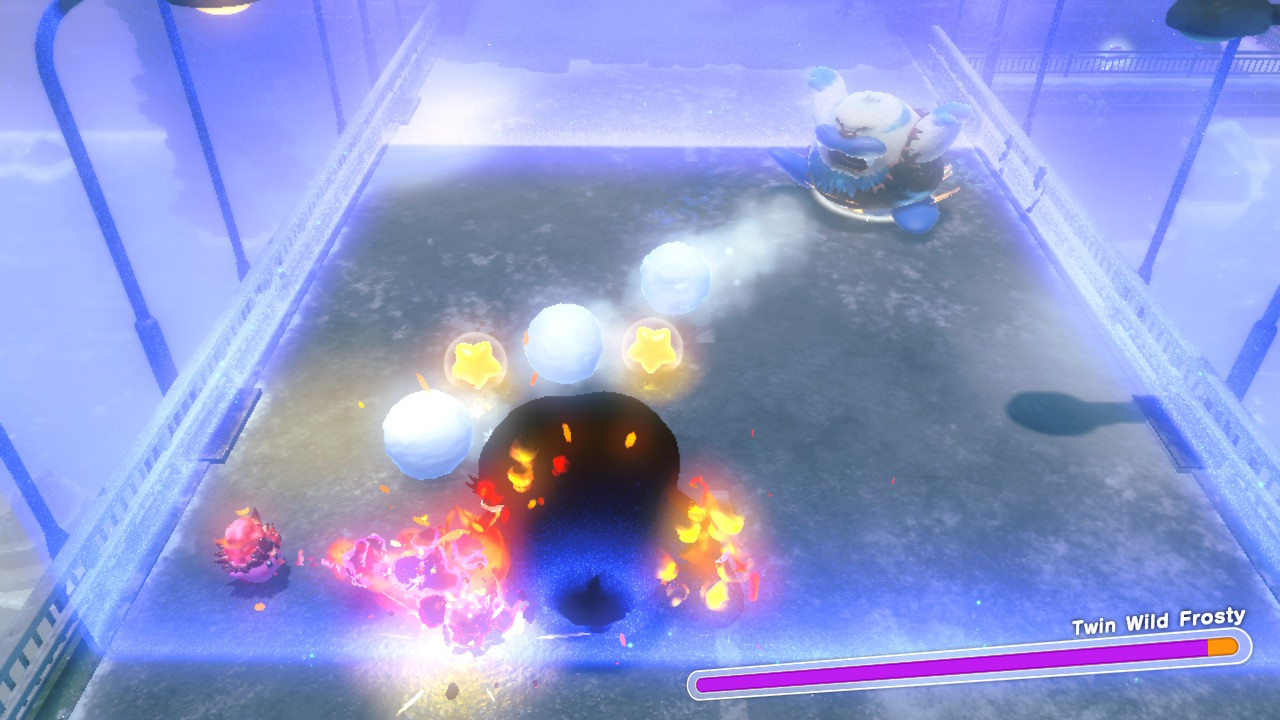
Exactly what it says on the tin this one. Take on the two Wild Frosty bosses without getting hit. These guys move around the screen pretty quickly but they also drop a lot of stars so you've got lots of opportunity to suck these up and hit them for big damage.
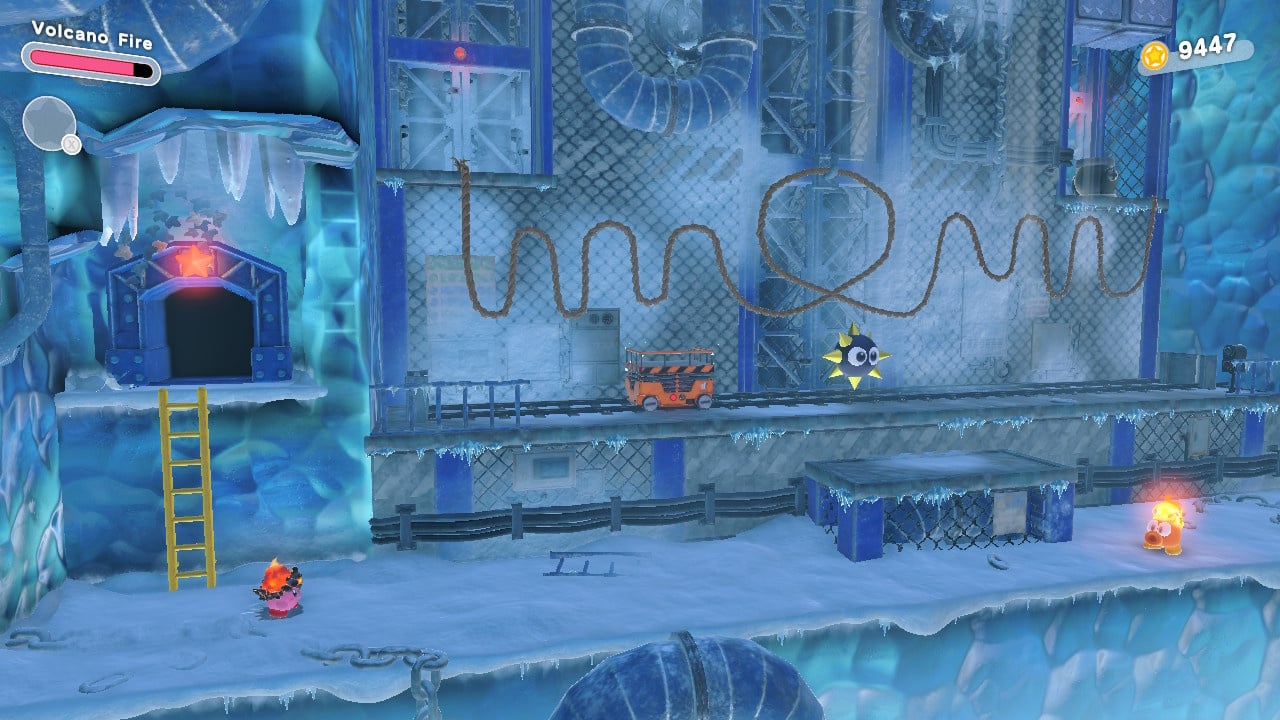
It's also a good idea to use the volcano fire ability to wade in here and just blast them with a constant stream of heat that takes them down super fast. Remember fire attacks will continue to burn and damage foes even when you're not attacking. Also fire is just, like, the opposite to ice isn't it, so doing it this way is just pure science and that.
Take A Detour And Find A Maxim Tomato
Right at the start of the level, before you enter under the bridge, head to the left and you'll find a very well-hidden passage under the rubble that leads you around to a hidden area and this juicy reward.
Collectible Figurines
#1 Sat on a platform in the early part of the level.
#2 Interact with the sparkling spot at the end of the level to grab this one.
4-5 An Unexpected Beast King
Missions
- Clear Stage
- Swallow King Dedede's Hammer
- Clear Without Guarding
- Clear Within 1:30
- Clear Without Taking Damage?
Well, well, well. If it isn't King Dedede! Who woulda thunk it?! The big villain of the piece has revealed himself and it's time to take him on in battle.
There are a few ways to do this one, with four abilities lined up for you outside of the castle where the fight takes place. For our first run we opted to go with the upgraded volcano variant of your fire ability, streaming hot attacks onto Dedede and benefitting from the continued damage that burning provides.
However, going in without any ability at all is, as usual, a strong option here as hitting him with the stars his attacks leave behind does big damage.
After you've beaten him once, you can attempt to complete the boss battle in less than 1:30 and without taking damage to complete the rest of this stage's missions. Good luck!
Winter Horns Starries (Star-Crossed World)
If you've got the Nintendo Switch 2 Edition of the game, the Star-Crossed World 'remixes' of these stages are now available to play. Check out our guide to find all the Starries in Winter Horns.