Welcome to the next part of our Kirby and the Forgotten Land walkthrough. By now you'll have beaten the campaign and moved on to the Isolated Isles post-game content.
The third area of this post-game world requires us to find 51 more pieces of Leon's soul to help rescue him. That's a lot of soul fragments! Let's jump in and see where they're all at in this next Isolated Isles level.
The Isolated Isles - Forgo Park - All Leon Soul Pieces
1st Area
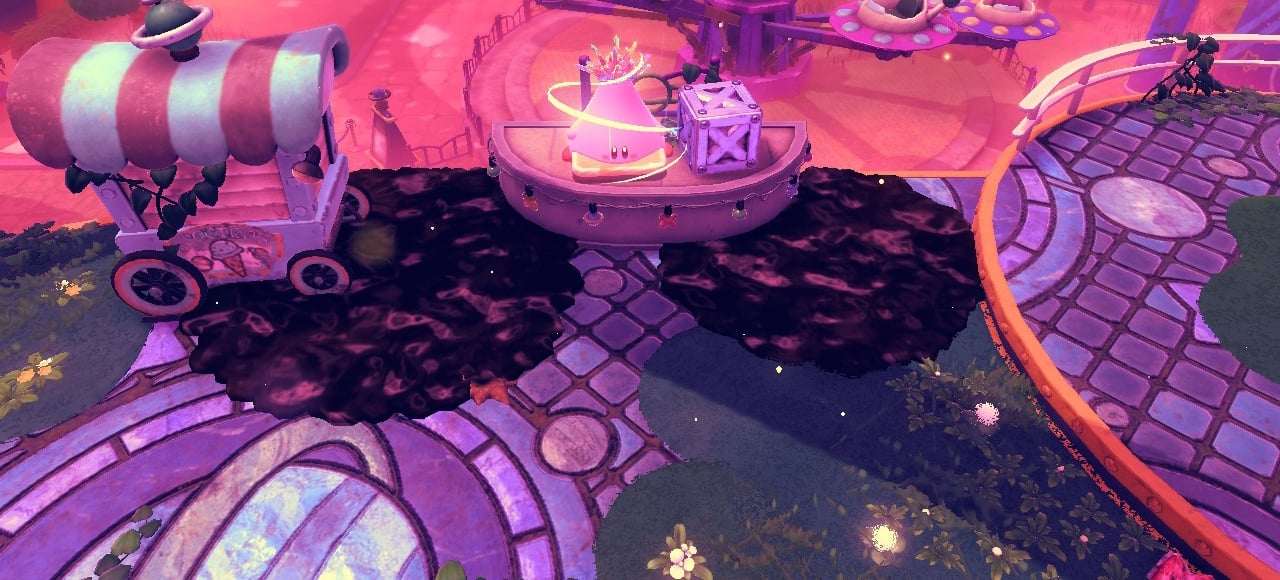
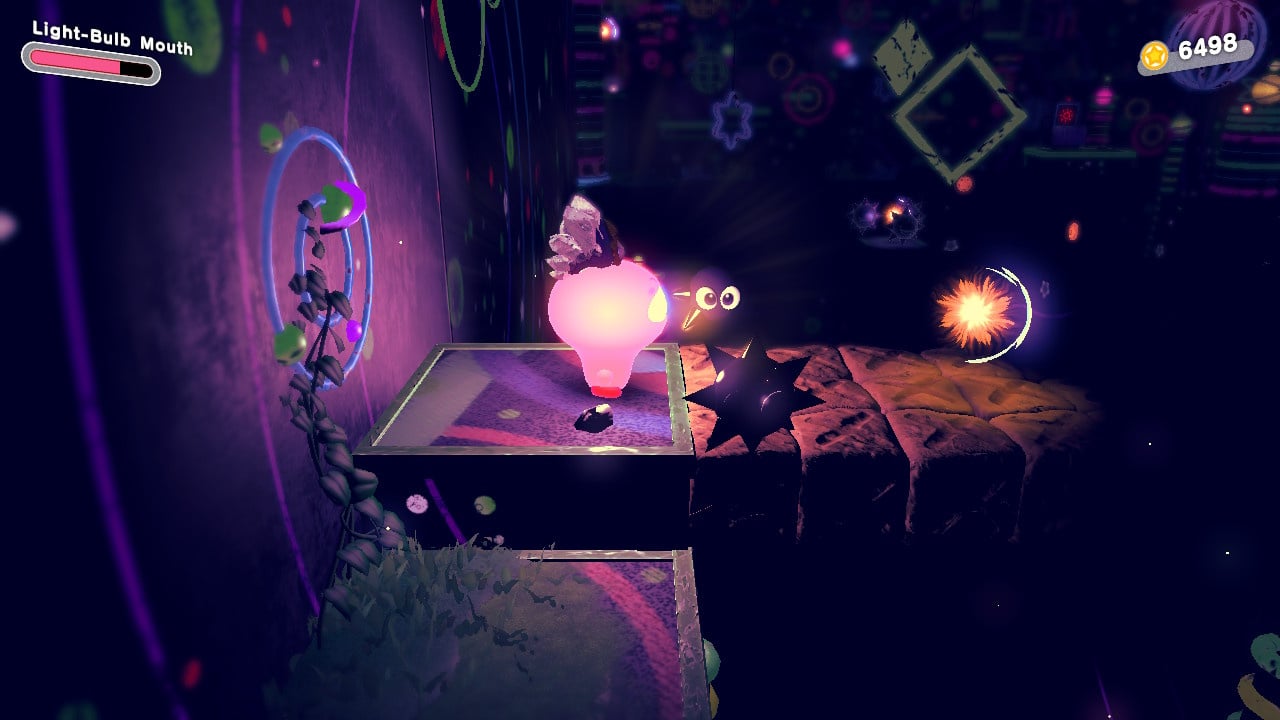
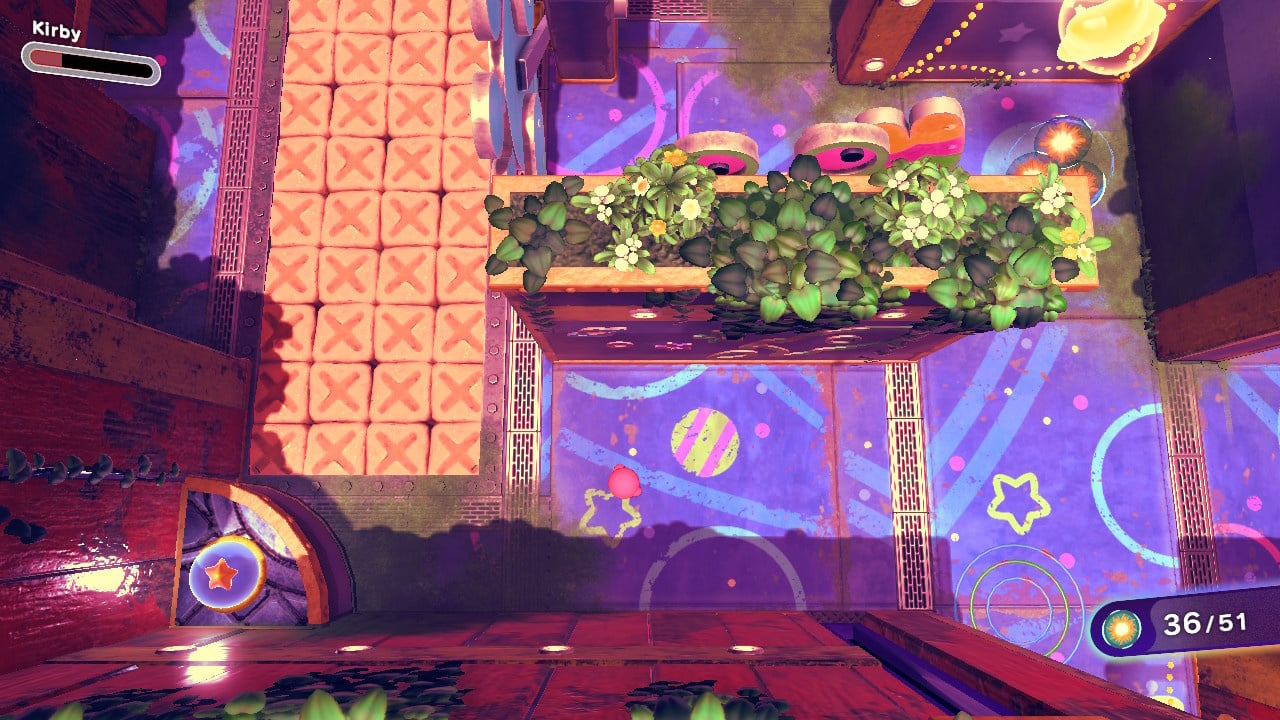
Right at the start of the stage, avoid the sticky mud and the circling fairground ride to use cone mode on the metal crates set into the platform, just grab the cone and track back here
Another one revealed via the same method at the next ride along
And a third, just beside your last piece, this one is in a metal crate at the next ride

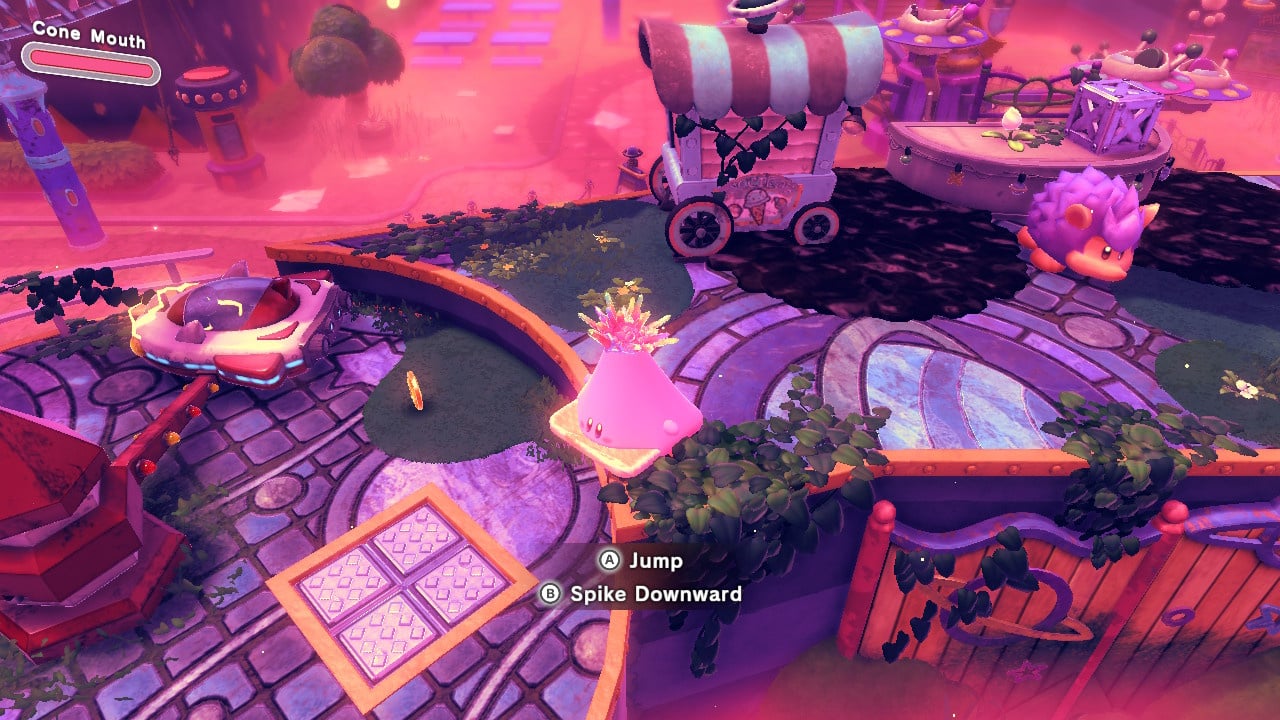
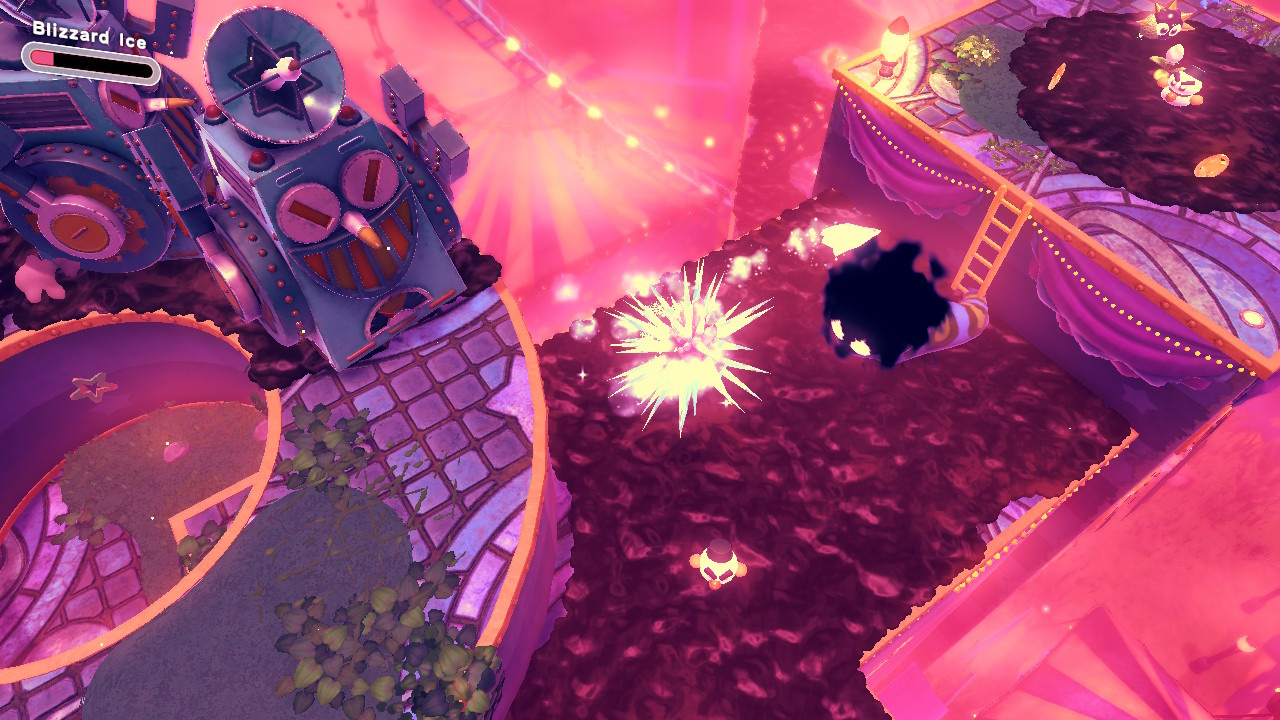
Stay in cone mode and head into the open area ahead, go to the far right just as you enter here, taking care not to get run over, and smash the crate in the corner for this one
Now head on forward and keep right to use your cone on the turtle here, revealing a chest with three more pieces!
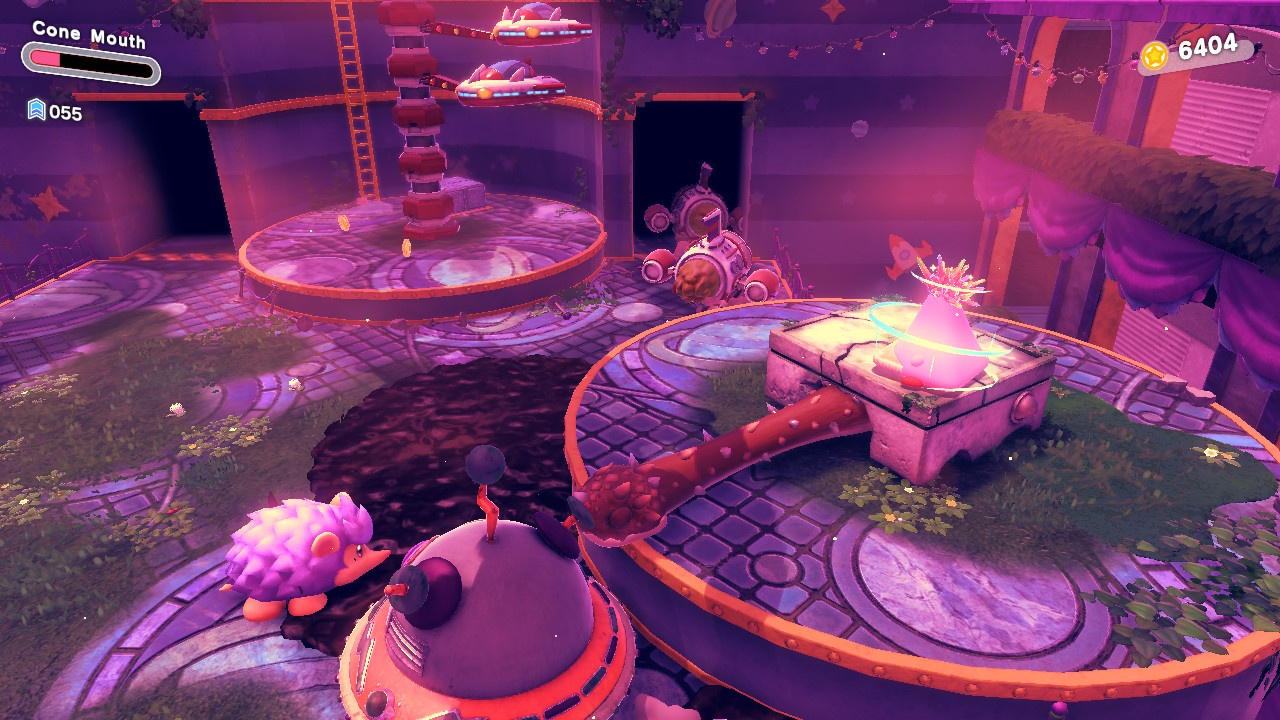
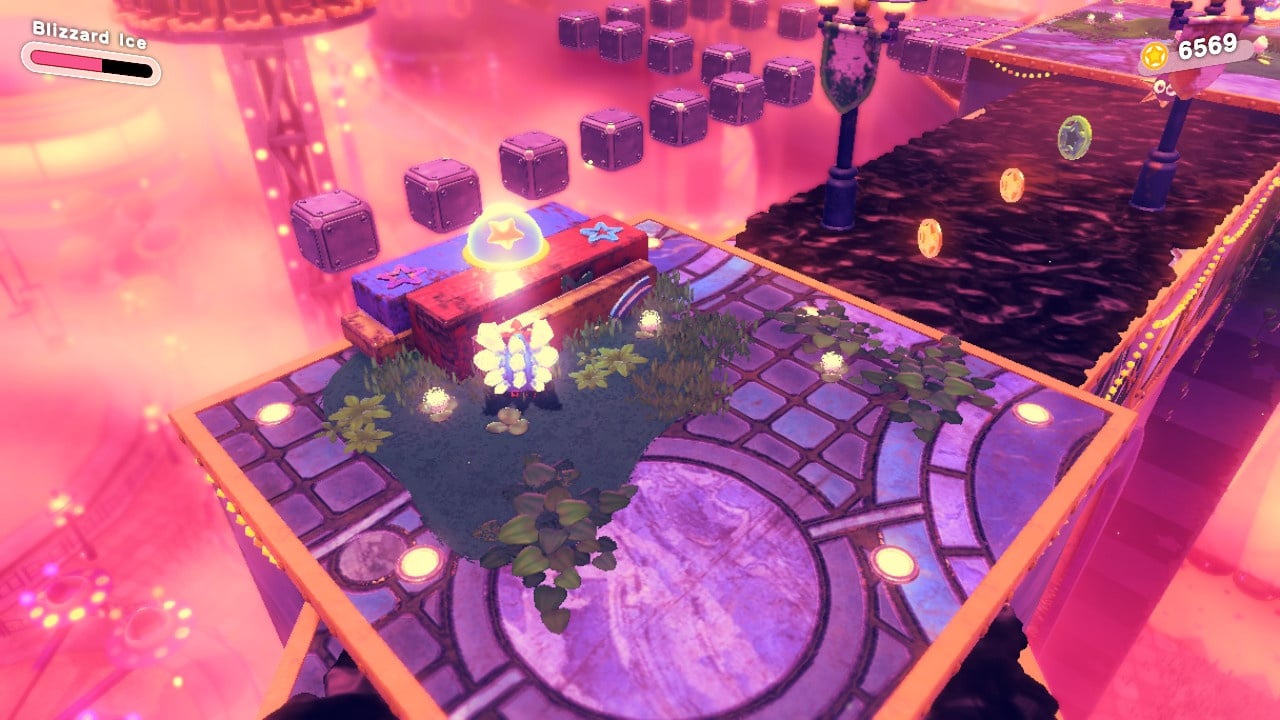
And over to the left of this area you'll find this next one hidden in a pile of coins
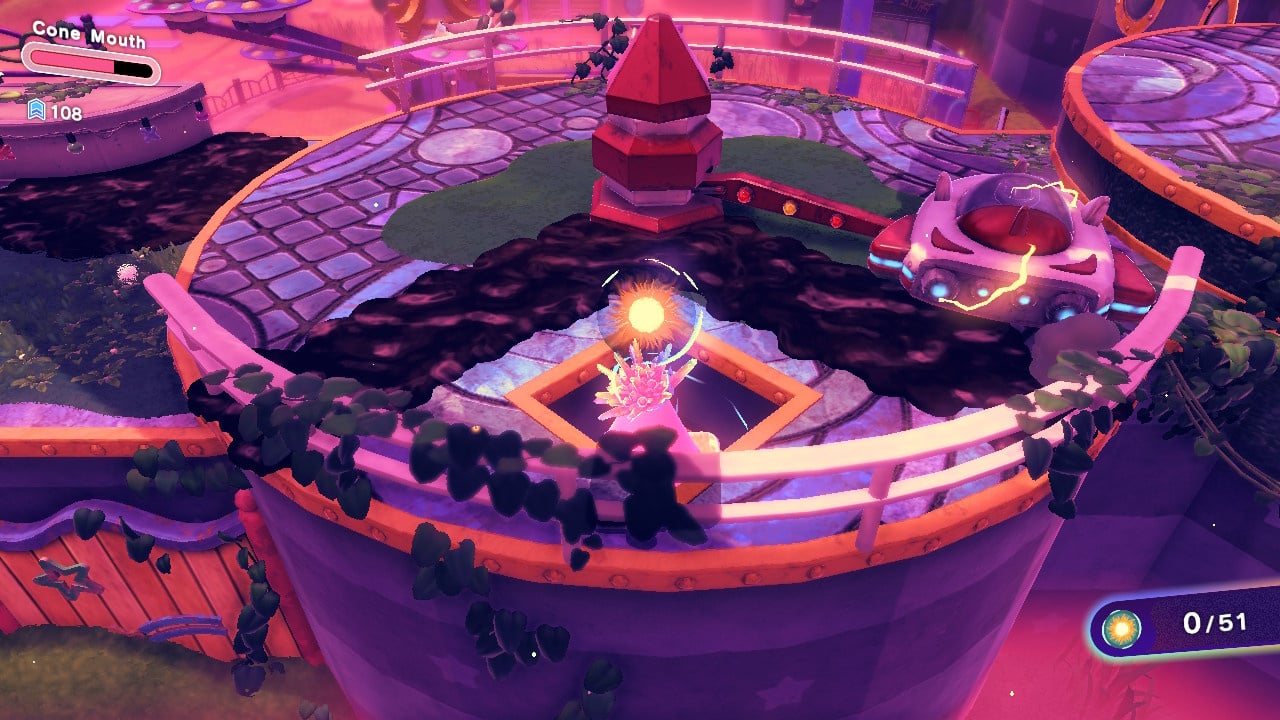
Behind the tall rotating column at the centre of this same area you'll find this next one hiding
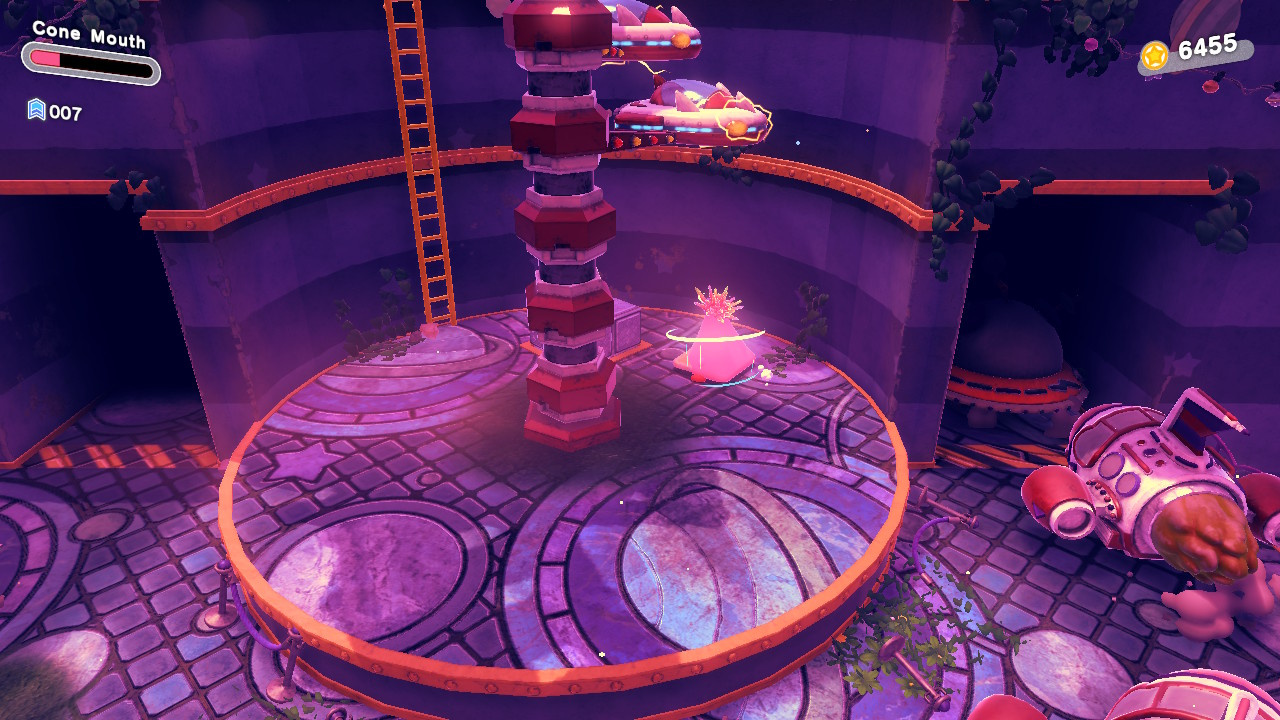
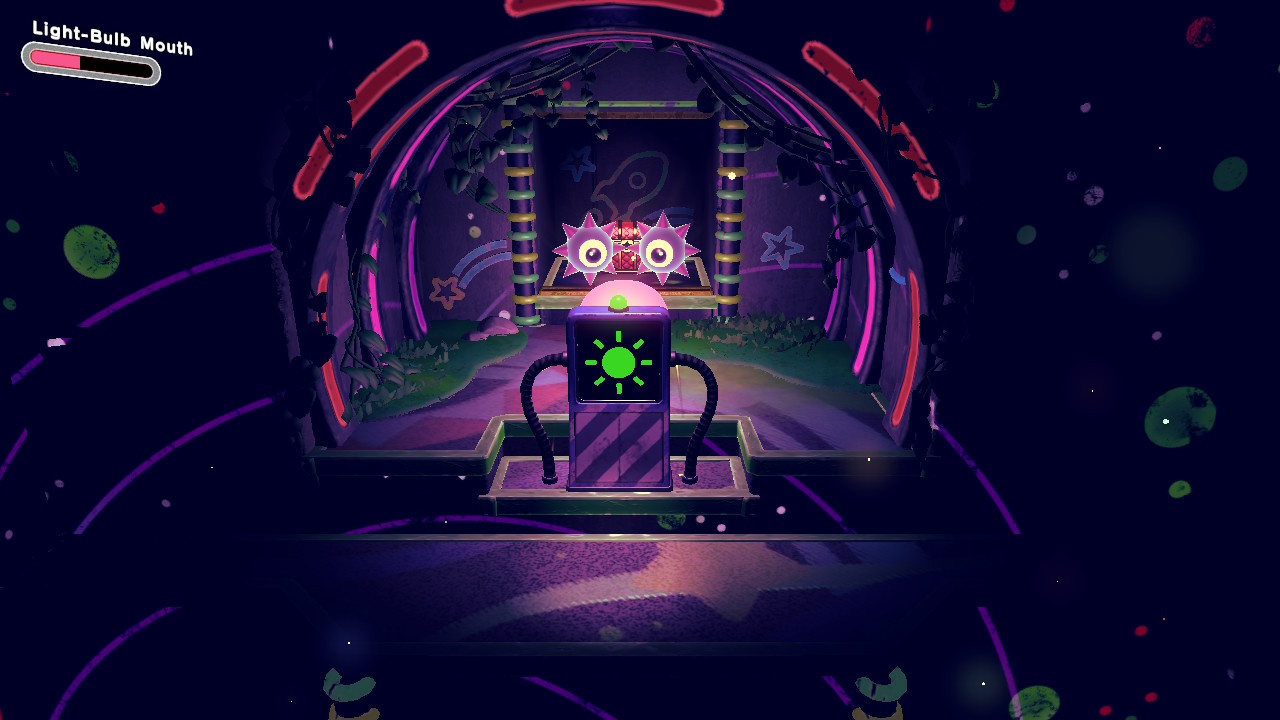
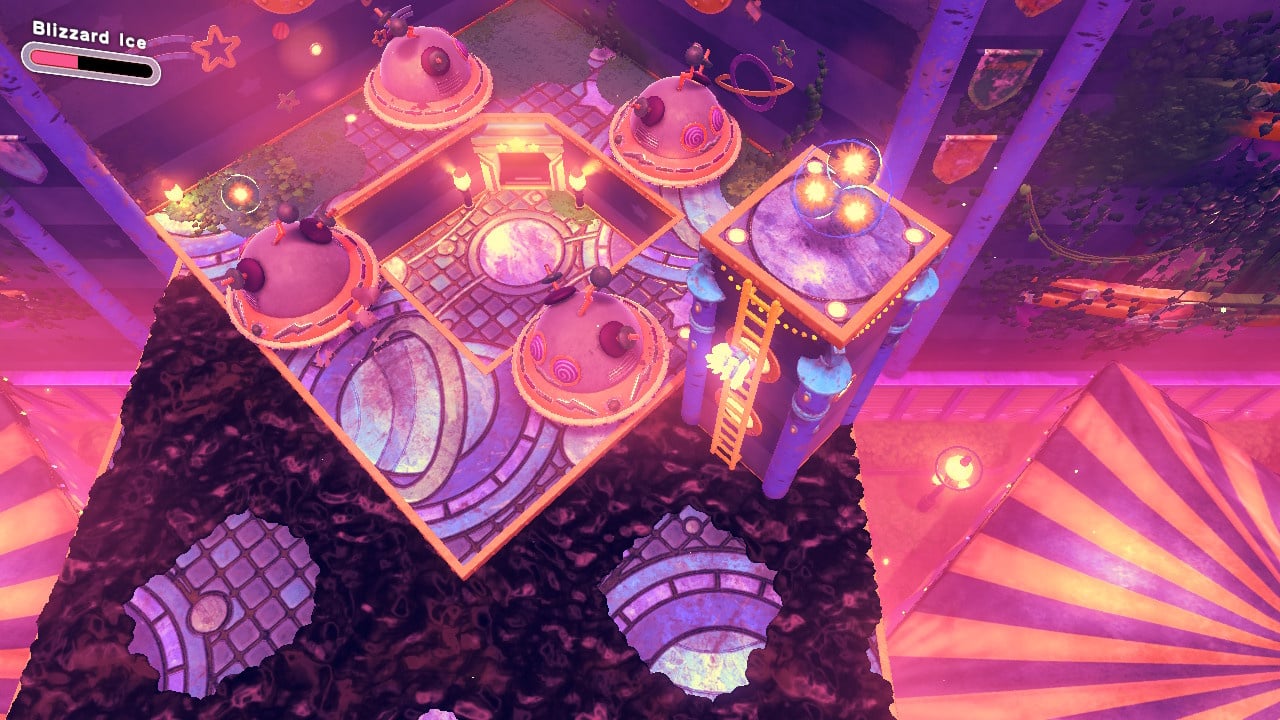
Now head up the steps and when you get to the top float over to the top of the rotating tower to reveal a ladder up to the door containing three more of Leon's soul fragments
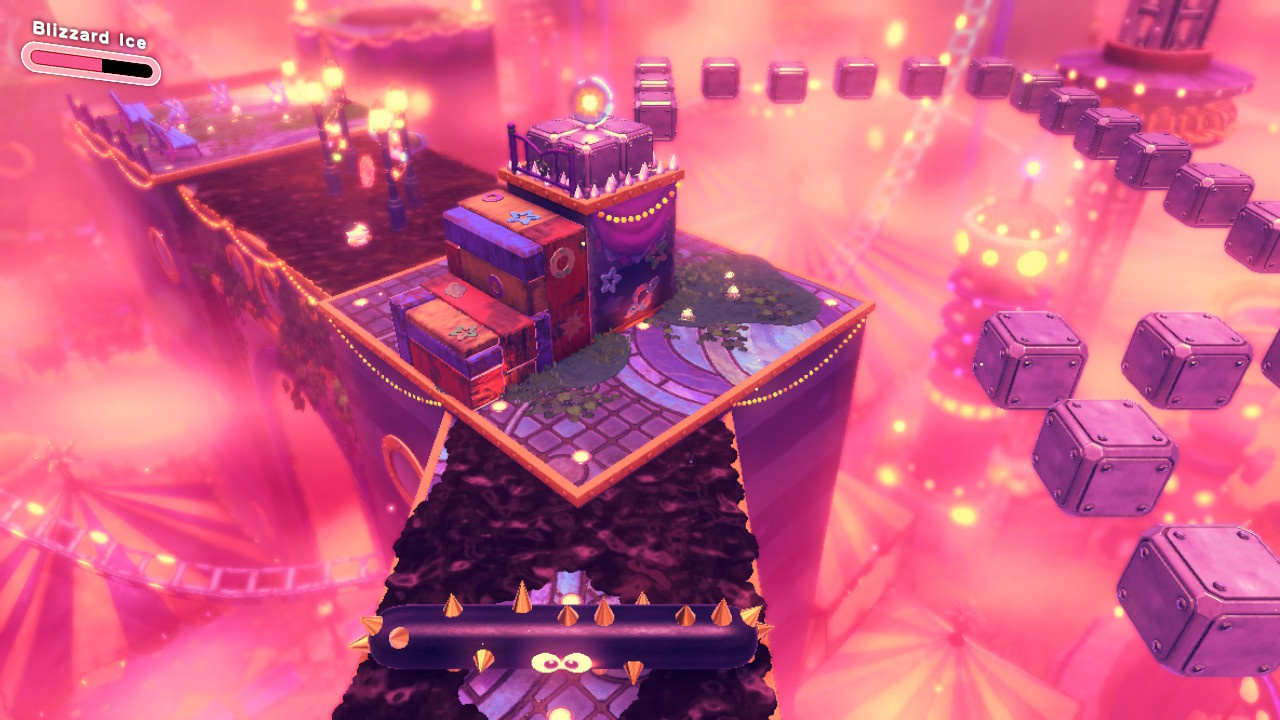
This next pile of three pieces is your prize for besting Wild Frosty in battle

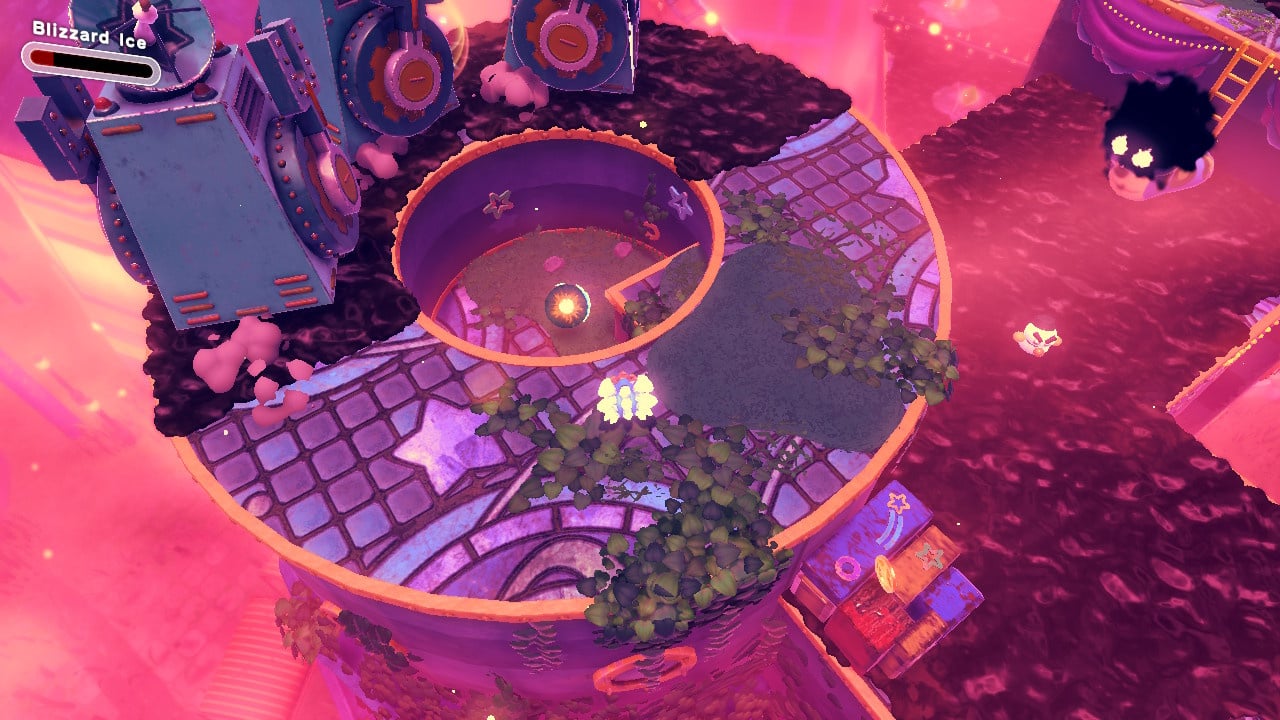
As soon as you beat Wild Frosty, move down the corridor, take out the burning barrels on the right, head into the hidden room and interact with the shining spot between the two bears. Now go back outside and climb the crumbling platforms to grab all the green coin pieces and reveal another three soul fragments
A final piece in this area is floating just above the door on the right side
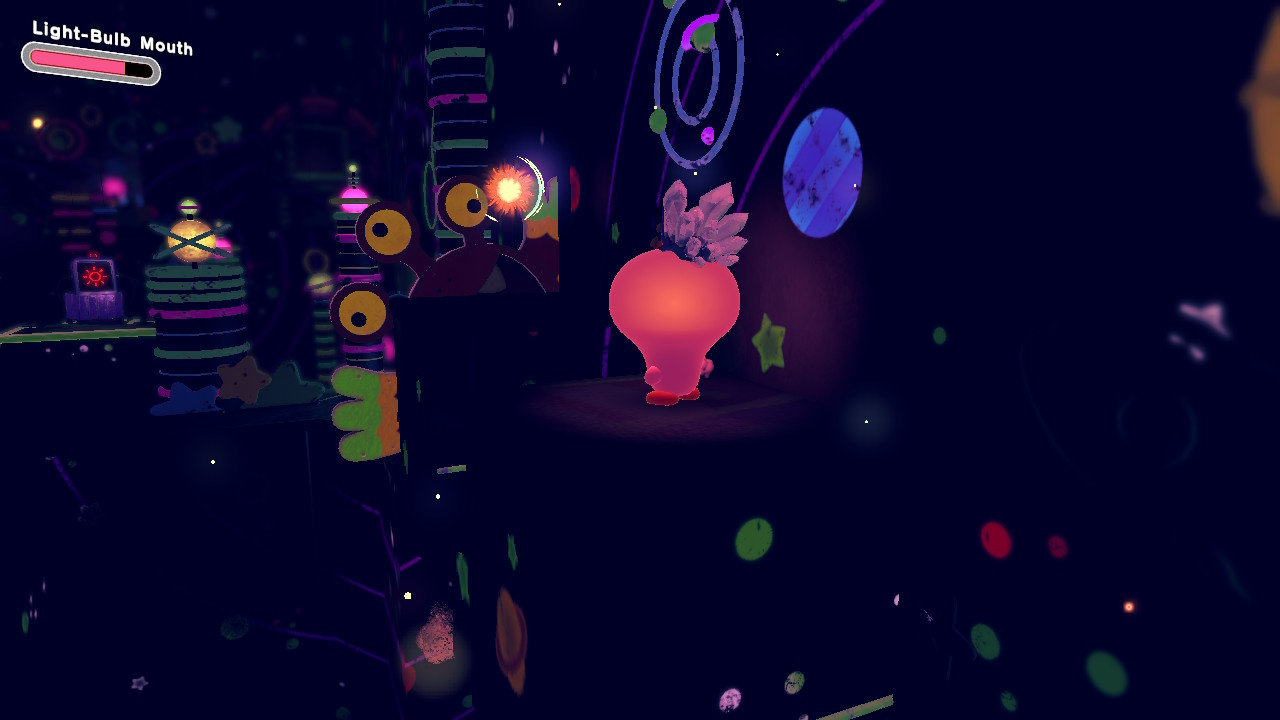
2nd Area
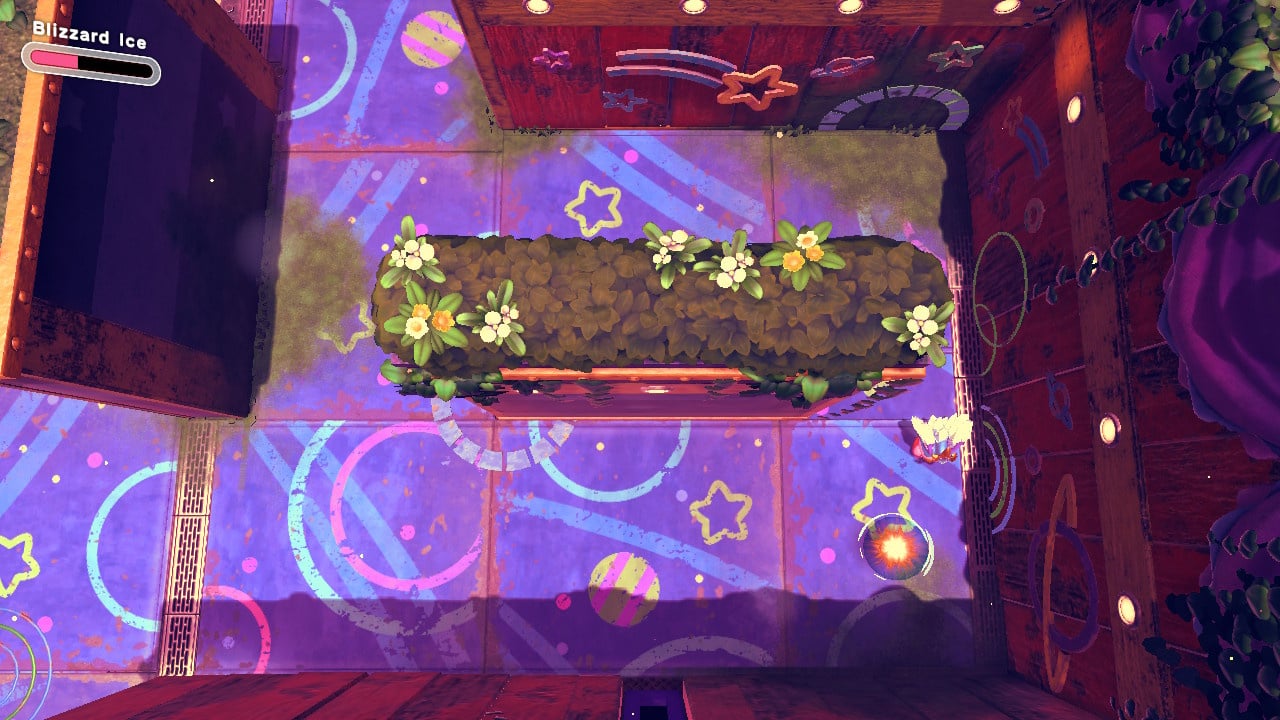
Head into this darkened zone now and you'll see your first soul piece up ahead on the left

The next piece is just up a little further on the left, watch out for the crumbling platforms
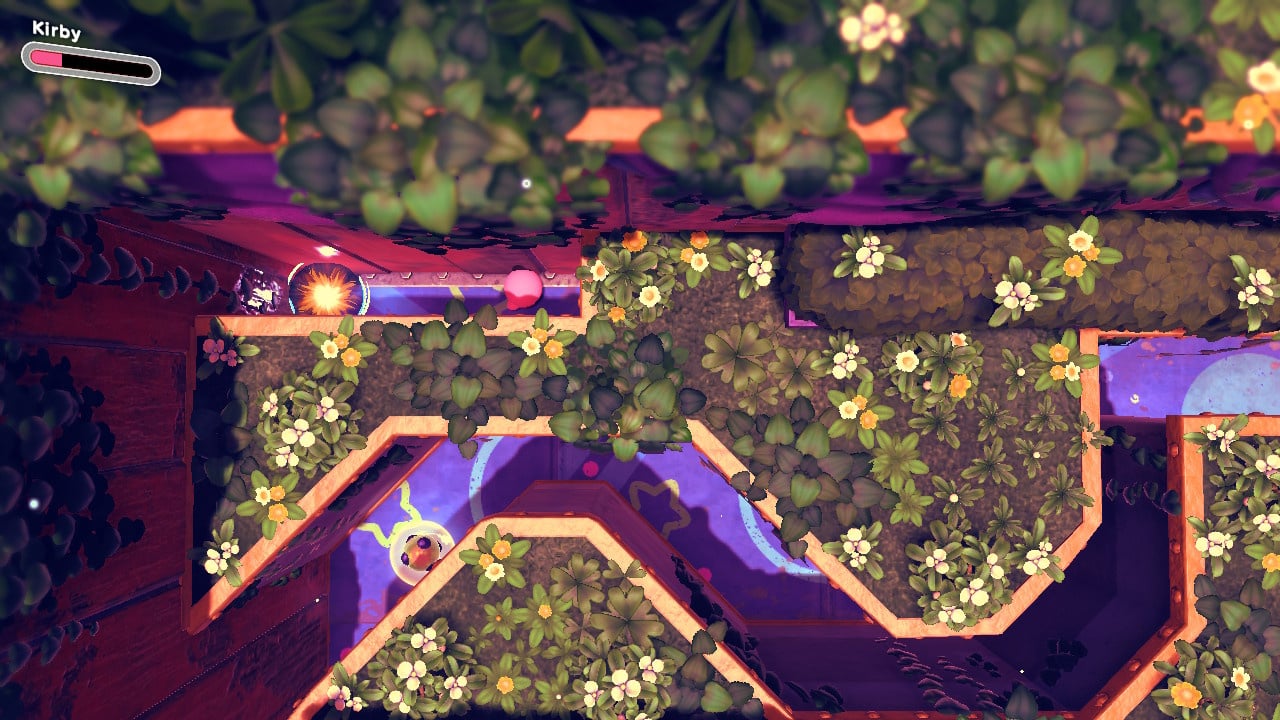
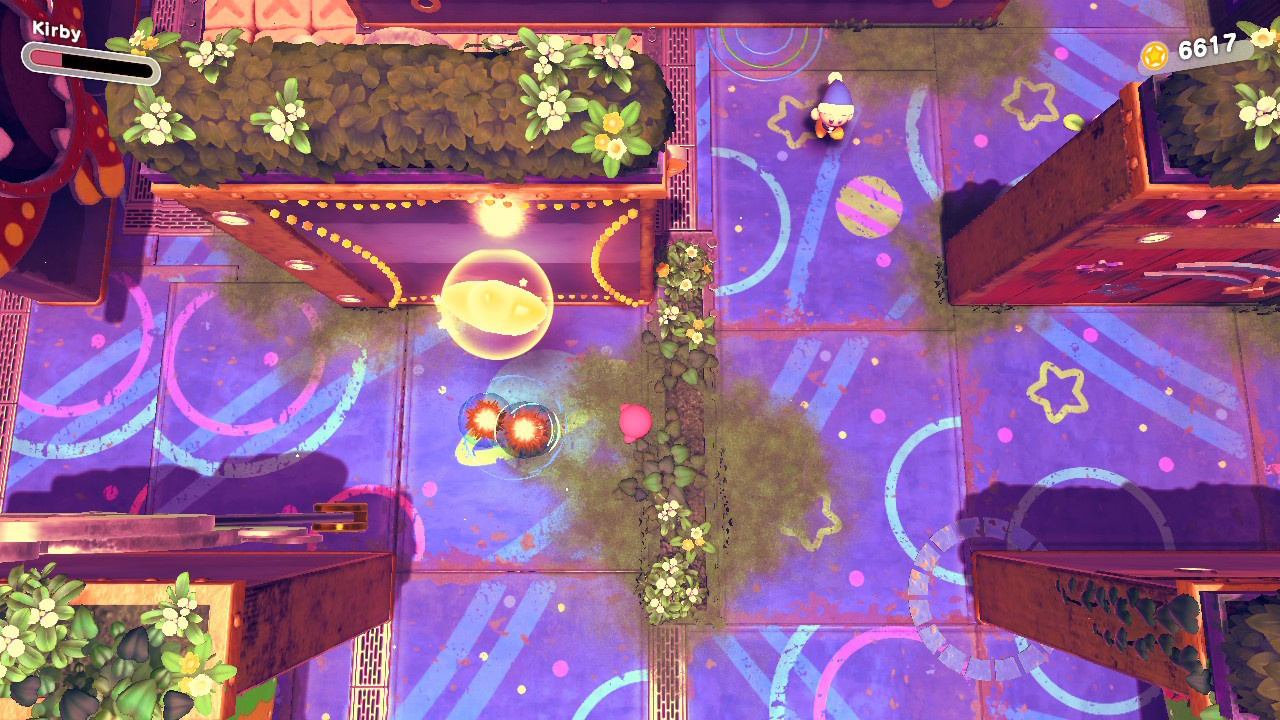
Head over to the right of this area now and you'll find this next one up top of the moving set of platforms that roll in and out of the wall beside the pop-out monster
This next soul piece is just a little further ahead and into the centre where you'll need to use your light to coerce some spiky enemies out of your way
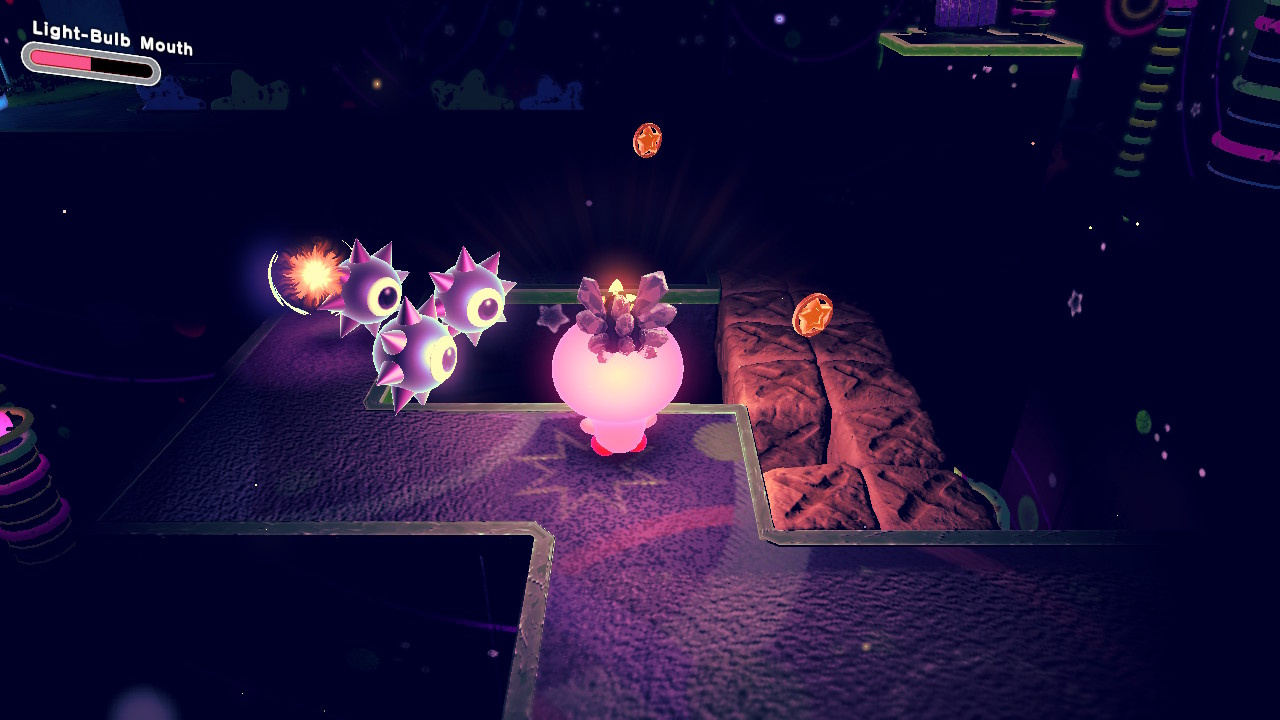
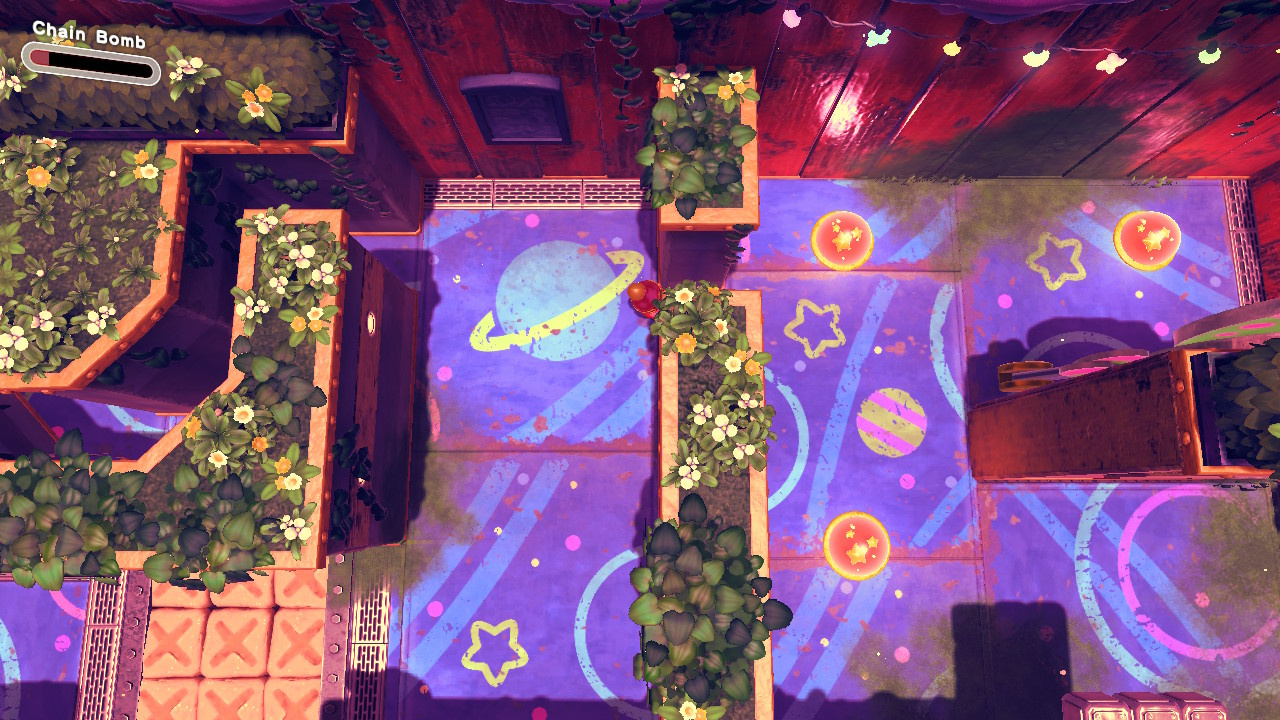
Activate the area's 3rd solar panel to reveal three more pieces - oh, and look out for the bull!

Now head on over to the left and, just before you activate the 4th solar panel, backtrack up the platforms behind you to reach this one
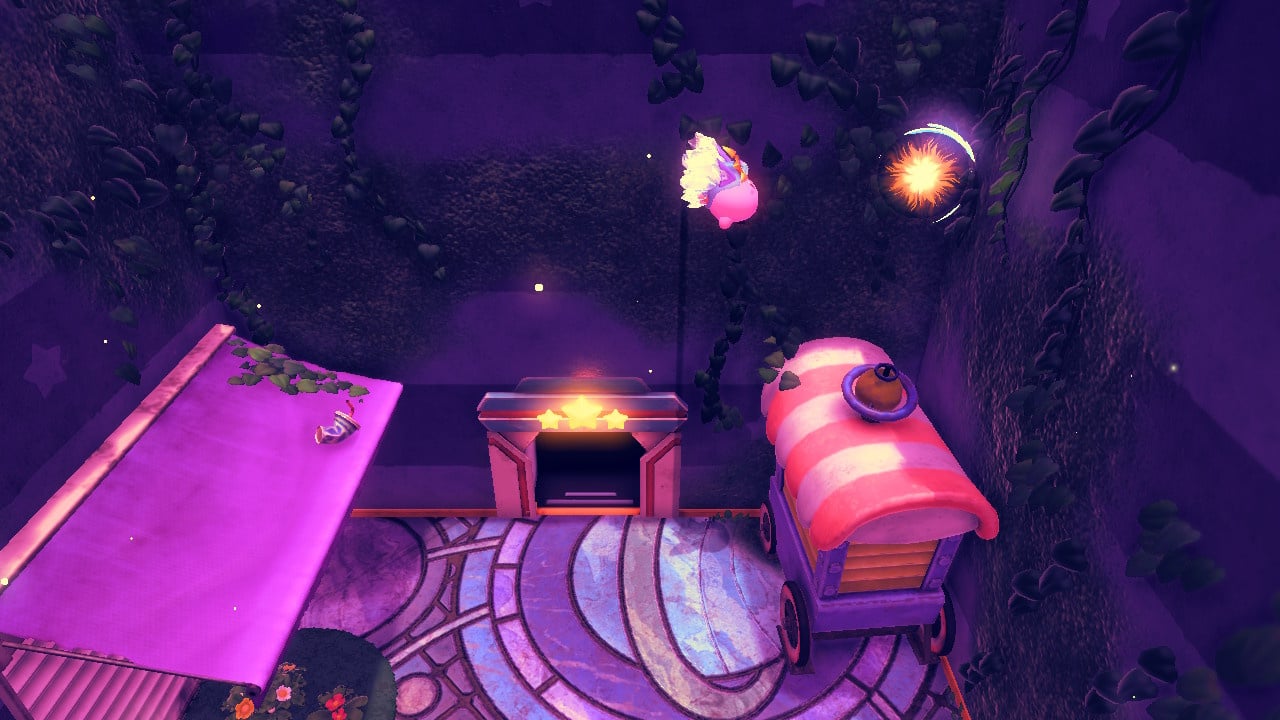
And the final pieces in this area, just as you reach the star door exit, keep on heading right to reach another solar panel to open a cage containing a chest and three more pieces!
3rd Area
Hit the first switch you come to here to reveal this piece and then skate over to its location before the platform it's on disappears
Same again with this one, hit the switch and race over to nab this one, which is a little further away this time
Now head left and drop down into the area being circled by the train to grab this one
Defeat the nearby phantom snake enemy to reveal this soul piece
Head on and then drop down to collect all five green pieces to reveal a further three soul fragments

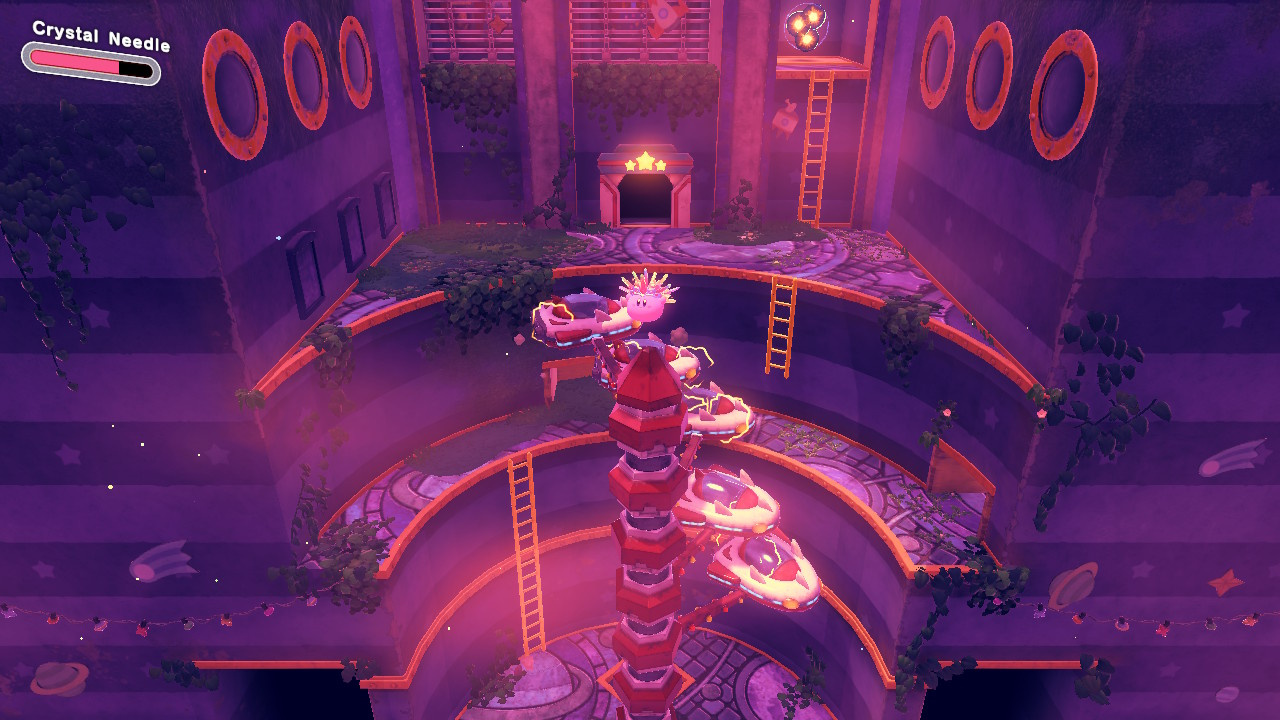
The last one in this area and it's sat amongst the vehicles rotating above the exit door
4th Area
We're heading into a maze now and you'll need to go a certain way to pass by all the pop-out monsters so first of all head right and in behind the pop-out beastie here to collect your first soul piece
Now keep heading forward and go left to find this one in a little nook that's easy to miss
Stay left and head south, taking out the snapping big mouth enemy to reveal a bomb block, blast it to reveal a further piece

Keep moving south and you're back near the start now where you can open the chest for another piece
Now hit the switch to lower the wall for access to three more pieces right beside the area's warp star
Before we leave, head up and right this time to enter an area with three red switches, use bombs to set off all the switches at once and drop this final soul piece to a reachable spot
And that's all of the soul pieces you'll find in the regular areas of Forgo Park!
Phantom Clawroline Boss Battle
The final five pieces you need in this world are your reward for beating the area boss - Phantom Clawroline - and you can check out our guide to taking her on if you need help nabbing these final five pieces by following the link below. Good luck!
This guide is part of our Kirby and the Forgotten Land Walkthrough Guide, which covers every world in the game (Natural Plains, Everbay Coast, Wondaria Remains, Winter Horns, Originull Wasteland, and Redgar Forbidden Lands, plus the post-game areas — SPOILERS!! — where you'll find all Leon Soul pieces throughout The Isolated Isles in Forgo Plains, Forgo Bay, Forgo Park, Forgo Horns, Forgo Wasteland, and Forgo Zone).
We also detail Every Waddle Dee Location, every Copy Ability Blueprint Location, and how to beat every boss in the game (so that's Gorimondo, Tropic Woods, Clawroline, King Dedede, Sillydillo, Forgo Dedede, Leongar, Fecto Forgo, and finally Fecto Elfilis, plus the post-game bosses — SPOILERS!! — Phantom Gorimondo, Phantom Tropic Woods, Phantom Clawroline, Phantom King Dedede, Phantom Sillydillo, Forgo Dedede, Forgo Leongar, and Morpho Knight).
There's also our full list of Kirby And The Forgotten Land Present Codes which will get you bonus in-game goodies if you input them at Waddle Dee-liveries.
And finally if you're looking to pick up the game, you'll want to check Where To Buy Kirby And The Forgotten Land On Switch.


Comments 0
Wow, no comments yet... why not be the first?
Leave A Comment
Hold on there, you need to login to post a comment...