One of the most exciting features of the Nintendo Switch is the fact that it's region-free, a welcome move for a Nintendo home console. While it's a much-lauded feature, Nintendo won't be publishing any tutorials on how to set up multiple accounts any time soon, so this guide is here to help you out. After all, why wait for games to make the sometimes slow journey to the west? Why miss out on Japan-exclusive titles? We present the following guide to get you started.
- In your browser of choice, head over to accounts.nintendo.com and choose to sign up for a new account. Then enter your date of birth on the following screen.
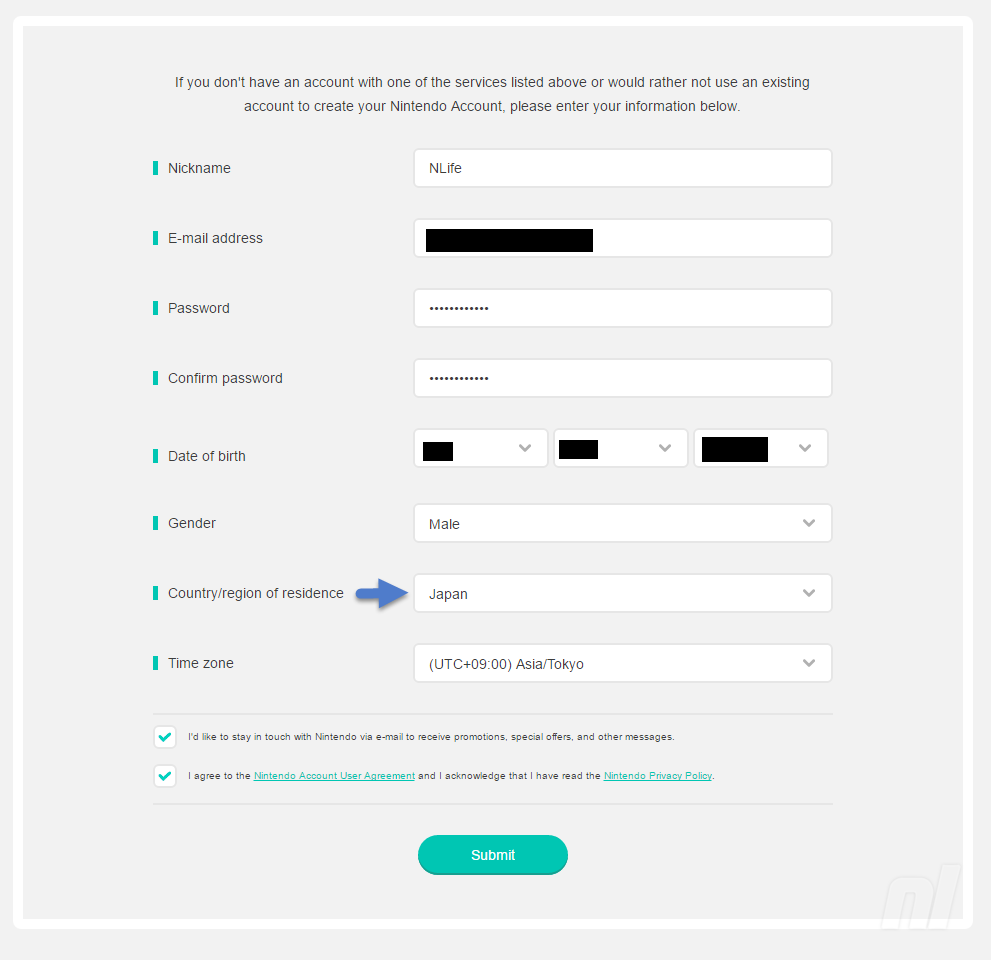
- Next, you'll fill out your details like Nickname, Email address, and password. Two key points here - first off, you need to use a different email address from your 'main' Nintendo account. This second account needs to be unique, so you'll need to ensure you not only have a second email address, but also easy access to it.
- Finally, and this is the most important part - under country of residence, make sure you select Japan (or whatever other region's eShop you want to access). This setting determines the eShop region this account will be tied to.
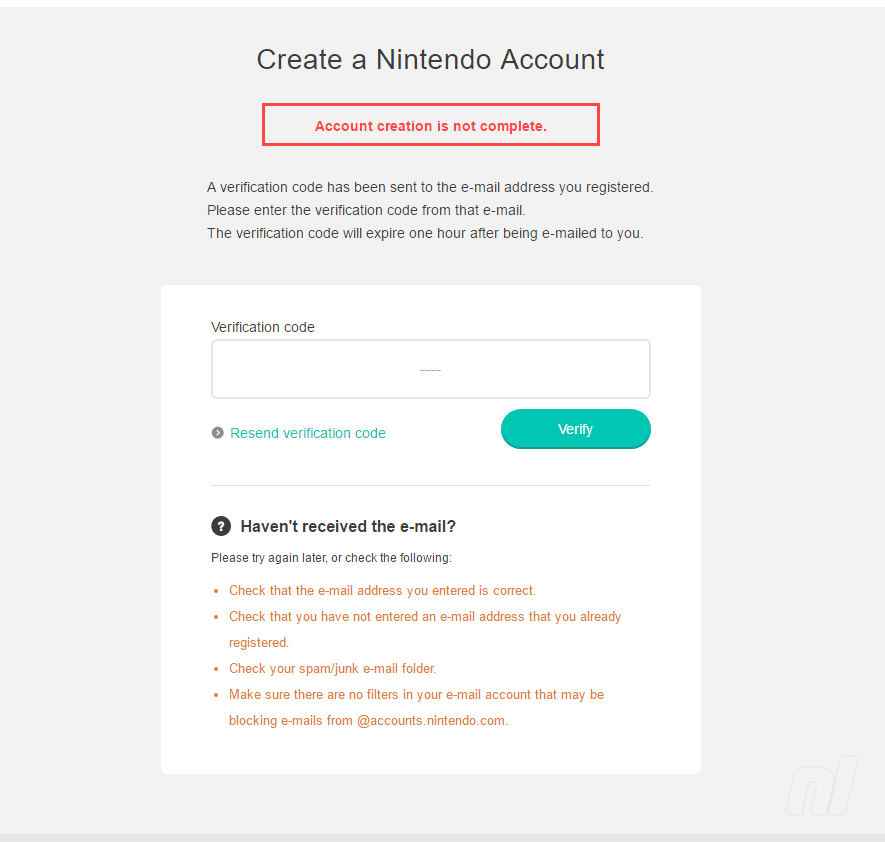
- After that, you'll receive an email from Nintendo (to the relevant email address) containing a four-digit code. Enter the code you received on the page and click verify. If you entered the code correctly, congratulations! You've just created a Japanese Nintendo Account.
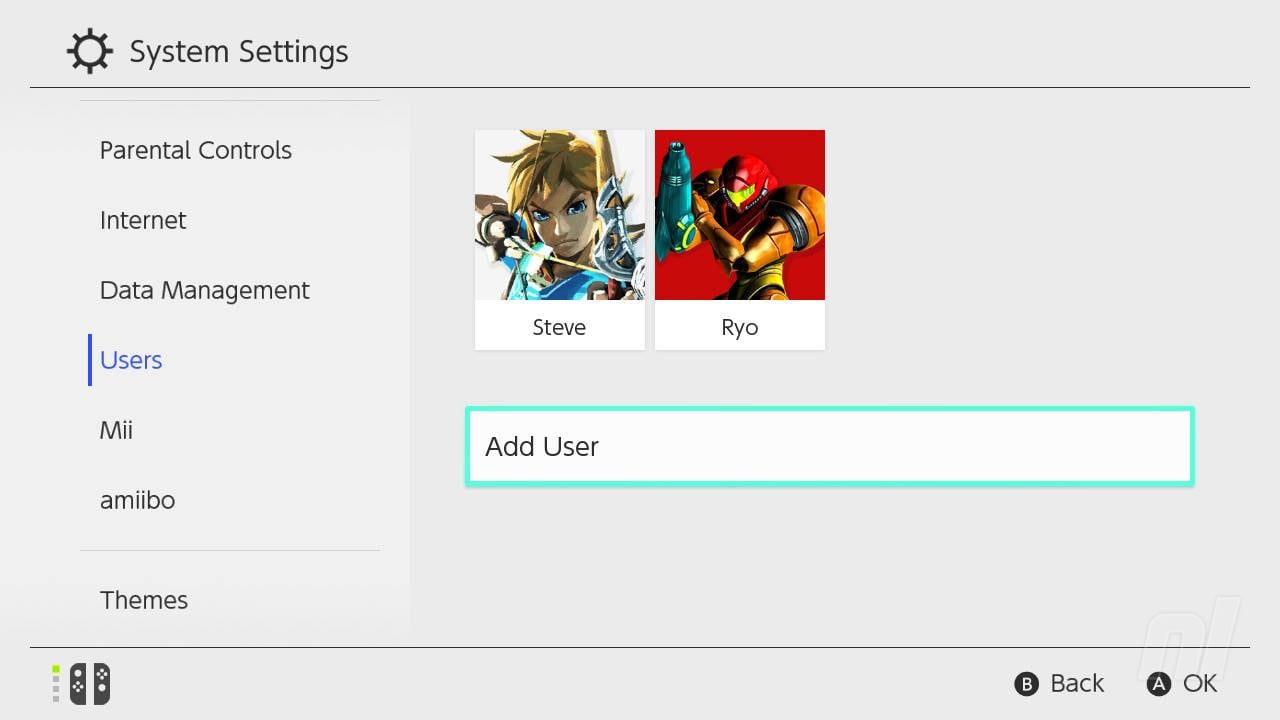
- From here on you'll need your Switch. First, click the gear icon on the bottom of the home screen to go to Settings. Once you're there you need to select Users, then click "Add User."
- You'll be taken through selecting a user icon and entering a name before finally adding the user to your system. Once that's done you'll be presented with the option to link your newly created user to a Nintendo Account. The screen will look like this:
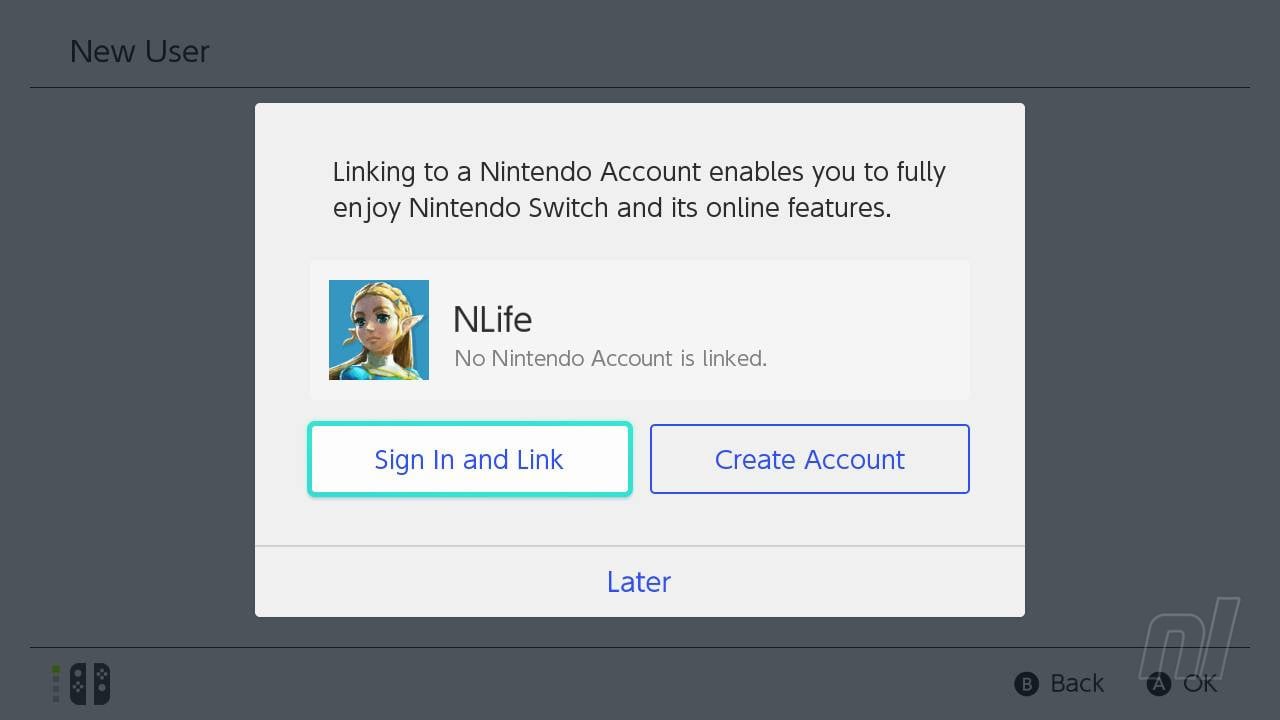
- After you click Sign In and Link, enter your Japanese Nintendo Account credentials you created earlier. Once you've done this, you're ready to start perusing the Japanese eShop! When you click the eShop icon, you'll be asked who is using the eShop. If you want to view your local eShop, use that original account, if you want to see Japan's offerings, choose your new account instead.
Once you have your account, you'll obviously need to buy games on it and, unfortunately, paying can be tricky. Credit cards from outside your chosen region likely won't work, and PayPal is also temperamental, but you can purchase Japanese eShop credit from various outlets, register the code and pay using that method. Check out our guide below on how to do just that: