Welcome to Nintendo Life's Pikmin 4 Serene Shores walkthrough. In our Pikmin 4 guides, we'll be showing you All Treasure Locations, all Gear and Item Upgrades, all Oatchi Abilities, all Pikmin Type Locations, all Onion Upgrade and Flarlic locations, All Region Walkthroughs, All Dungeon Walkthroughs and more besides.
We're on to the game's third main region now, Serene Shores.
Pikmin 4: Serene Shores 100% Completion Guide
All Dungeon Walkthroughs
- Below-Grade Discotheque
- Seafloor Resort
- Engulfed Castle
- Subzero Sauna
- Dandori Castle
- Test Tubs
- Ice-Cross Course
Serene Shores Full Walkthrough & All Treasure Locations
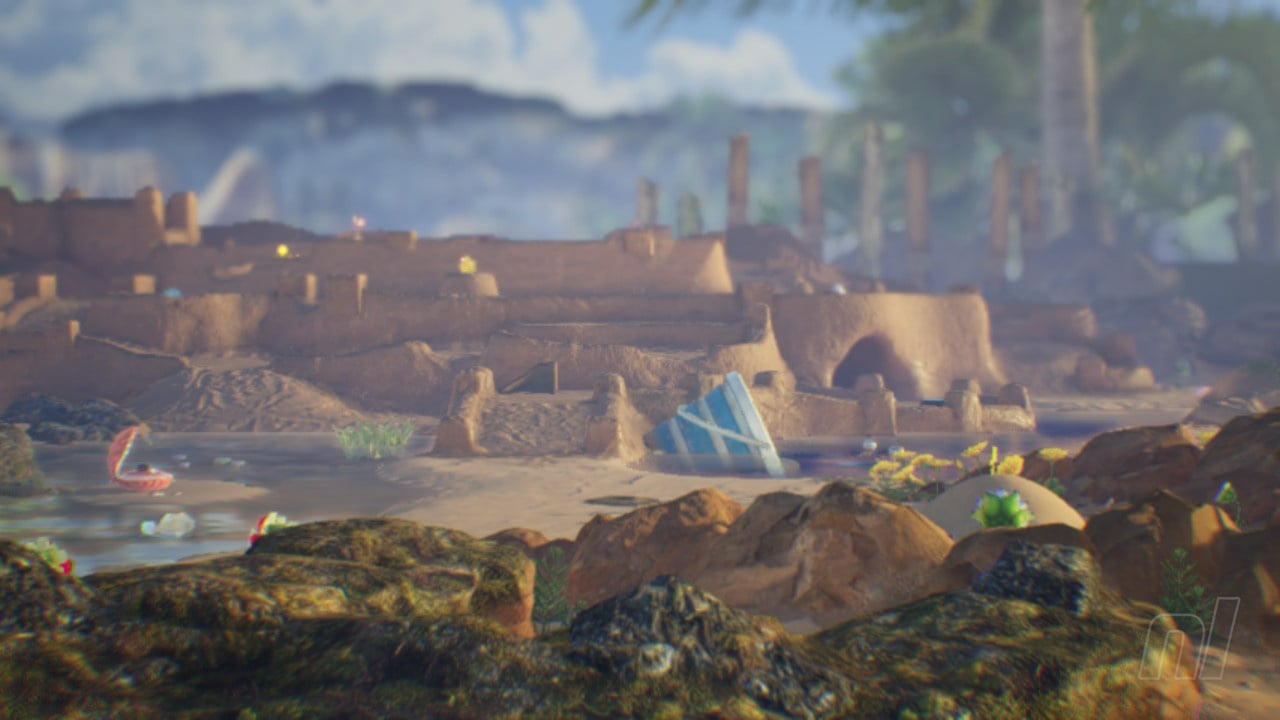
The game's third main mission area sees us rock up on some delightfully sandy shores. Make sure to scout around with your drone to get an idea of your surroundings and then we'll get stuck into Serene Shores!
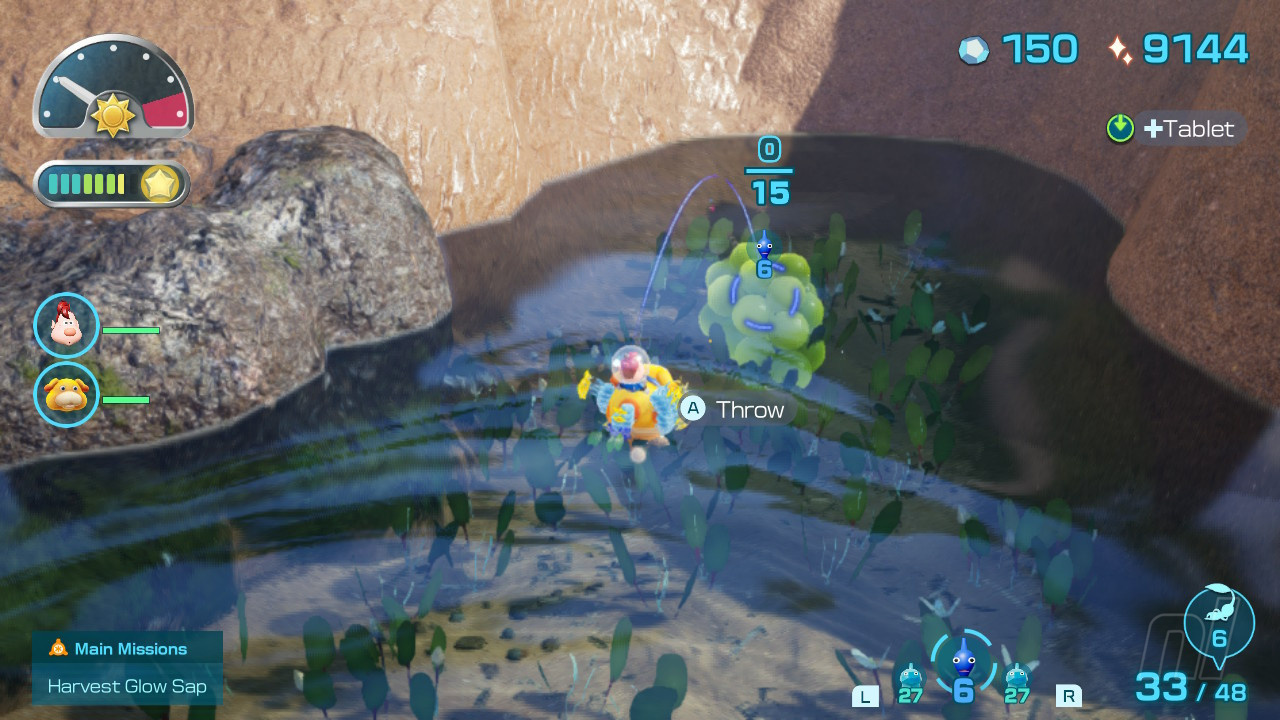
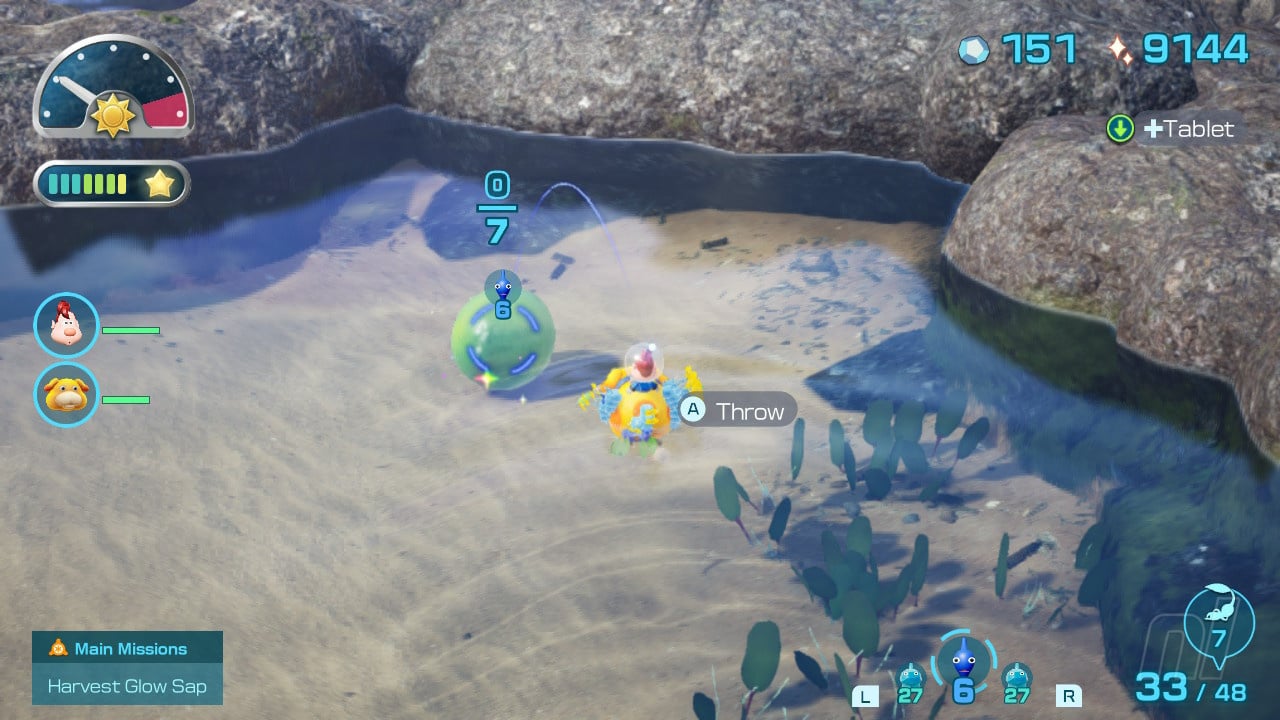
First up, let's turn around to behind where we start off and collect the raw materials from the water here using our blue Pikmin.
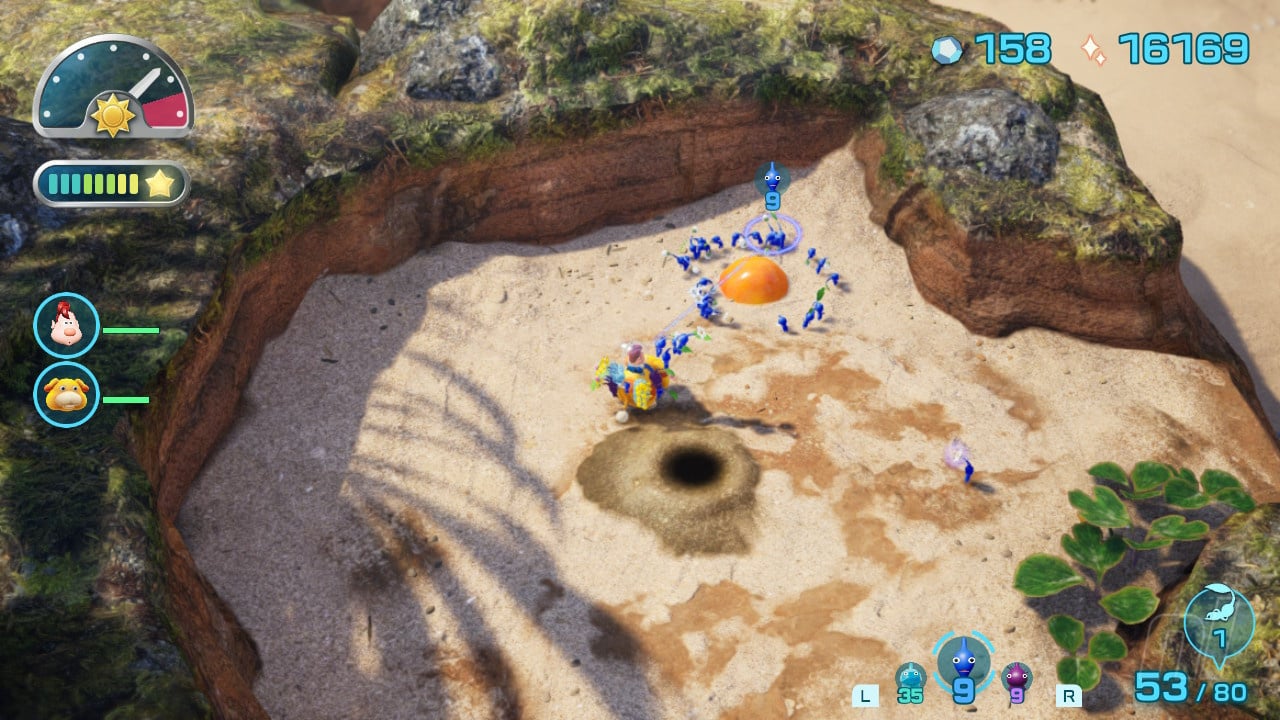
We can then head off up the winding hill behind here, dodging the rocks as they come down and fighting any shelled enemies by bashing them with Oatchi and using the Pikmin to finish them off.
As you make your way up the sand hill you'll come to the source of the rocks, a large creature who can be dispatched by Oatchi pretty easily. Once you've stopped the rockfall you can then crack open those nectar eggs without fear of getting smashed by incoming barrages.
Fish-Bed Snack
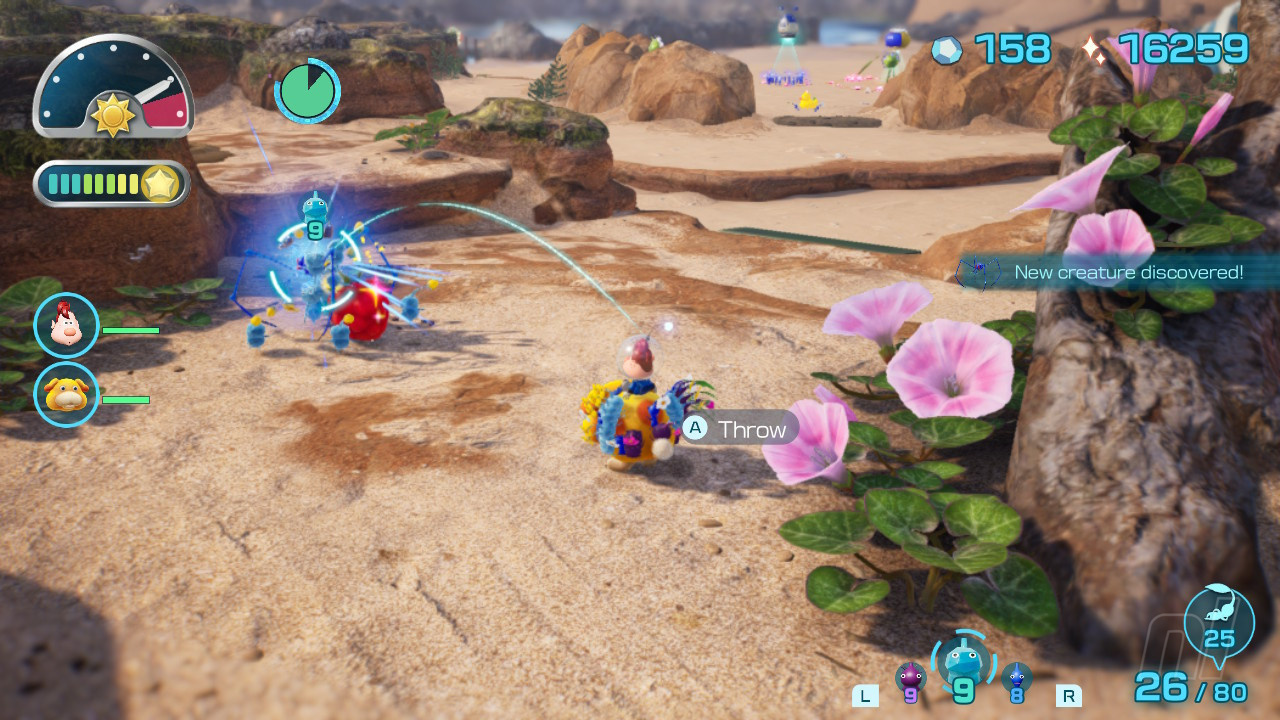
When you reach the top of this sand castle hill you'll find a great big scorpion-styled baddie to fight. The trick here is to bait him into charging you and then getting behind him to fire Pikmin onto the furry part of his tail. Once enough are attached the beast will be weighed down and momentarily vulnerable to attacks. Repeat the same routine three times or so and he'll go down for good, at which point you'll get FISH-BED SNACK.
Searing Acidshock
For completing this battle you should also find a SEARING ACIDSHOCK treasure rolling around the arena as a reward, as well as unlocking a new base marker, which we'll move the Beagle to now.
Stellar Extrusion
Load up your new treasures then collect the nearby GOLD NUGGETS before dropping down the side of the hill here to defeat a few more rock-chucking beasties and grabbing a STELLAR EXTRUSION and a bunch more raw materials from a dirt pile and hidden in a corner. Be careful to dismantle the water traps around here too.
Blue Onion #2
Once you've swept this stuff up, let's head back up to the top and repair the clay climbing wall to the summit, where you'll find a BLUE ONION. Use 20 blue Pikmin to jump in and retrieve it.
Now take a trip around the other corner here to find the entrance to the BELOW-GRADE DISCOTHEQUE cavern. At this point a cutscene will play showing that the tide rolls out in the afternoon on the map, making it easier to explore areas that are otherwise submerged in water. Make sure to check out our 100% completion guide for Below-Grade Discotheque right here before continuing!
Dawn Pustules
You may need to call it a day by now so take a rest and once you're back at the start of a fresh day (we're on day 20 so far!) it's time to head back down the side of the sandhill where you found the STELLAR EXTRUSION.
Zest Bomb
There's also a ZEST BOMB in this same small area so don't miss it!
Ring Of Return Shield
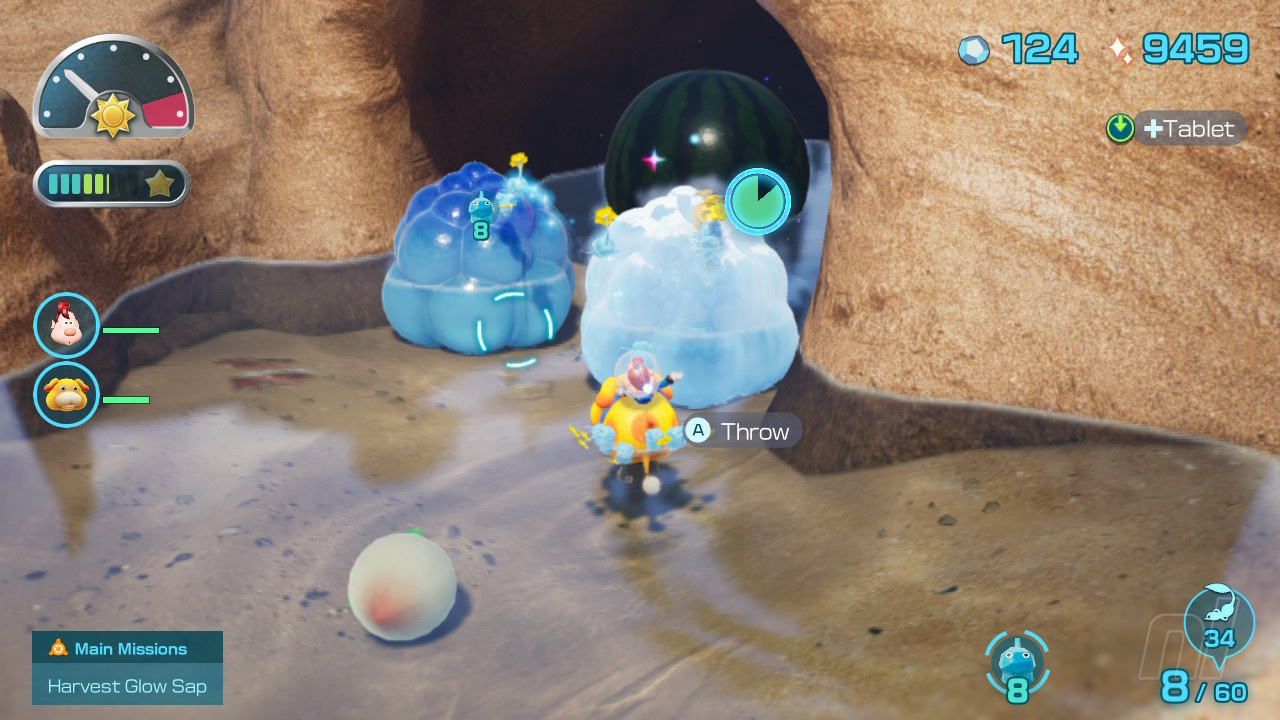
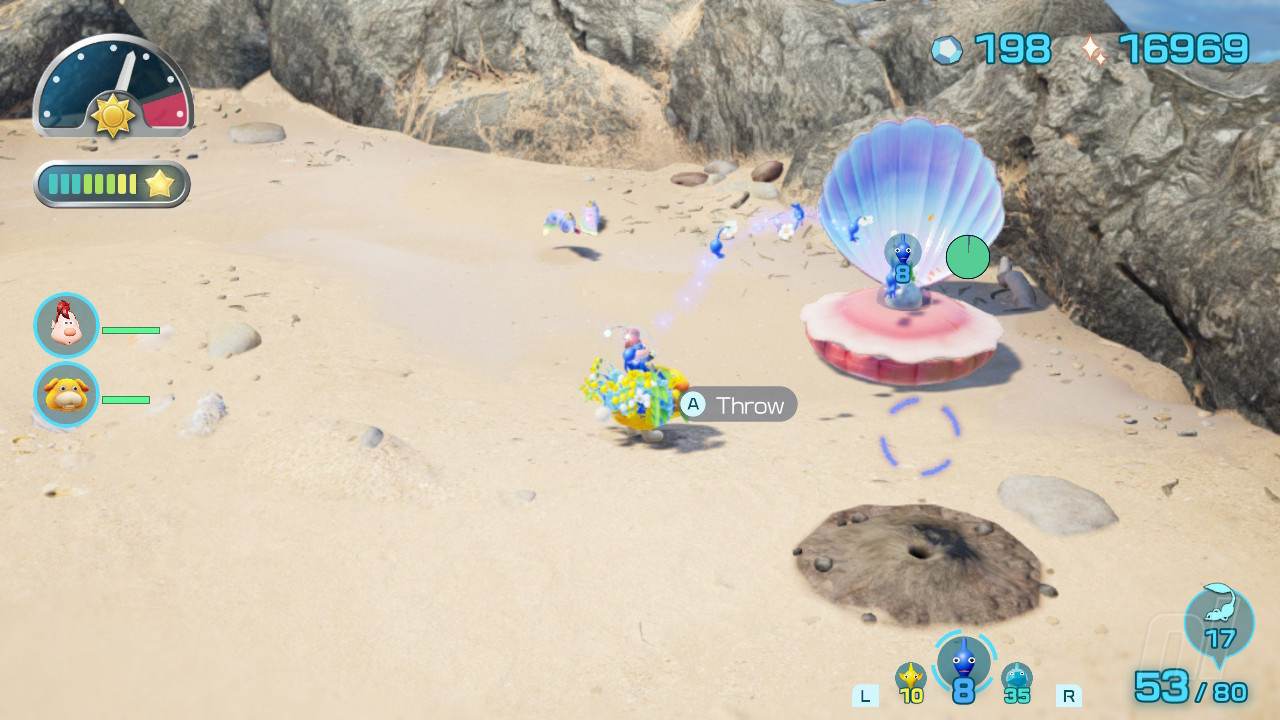
The tide should go out as you're busy down here, a perfect time to take out the hydro jelly clumps to reveal a bridge in need of repairs, as well as to grab a bunch of GOLD NUGGETS and steal a RING-OF-RETURN SHIELD from a clam enemy. To defeat the clam either freeze it or time your attacks so you get in for some hits and pull your Pikmin out before it snaps shut.
Stately Rubber Cuties
Make sure to push the nearby paper bag down to make a shortcut here too and gather the STATELY RUBBER CUTIES from the reeds near the shore. Just beside where you pushed the bag down you'll also find the tunnel entrance to SEAFLOOR RESORT. You'll also want to destroy the half-submerged dirt wall in this area, although the treasures beyond can wait until we fix the clay bridge first. You can now go ahead and jump to our 100% completion guide for Seafloor Resort.
Bright Sword
With that last dungeon completed we can now take a look near the broken clay bridge, just to its left slightly, to find a base marker buried under a load of sand with a BRIGHT SWORD treasure on top. Uncover it and move your Beagle.
Fishy Bed
From here you can now repair the bridge as well as gather up the nearby FISHY BED from behind a dirt wall.
Crimson Banquet
There's also a huge CRIMSON BANQUET behind two hydro jelly clumps nearby but you'll need to 100 Pikmin (!) to carry it, so let's leave that and return to grab it when we get the Flarlic from this area in a little bit. With 70 Pikmin and Oatchi's strength, you'll then be able to shift it.
Giant's Fossil
We can cross the repaired clay bridge now, when the tide is low, to grab the huge GIANT'S FOSSIL and retrieve any raw materials from the water with our blue Pikmin.
Slapstick Crescent
There's also a SLAPSTICK CRESCENT to grab over here, just make sure to clear the water of small enemies first and then shepherd the blue Pikmin as they carry the fruit along the seabed.
Flarlic Upgrade #6
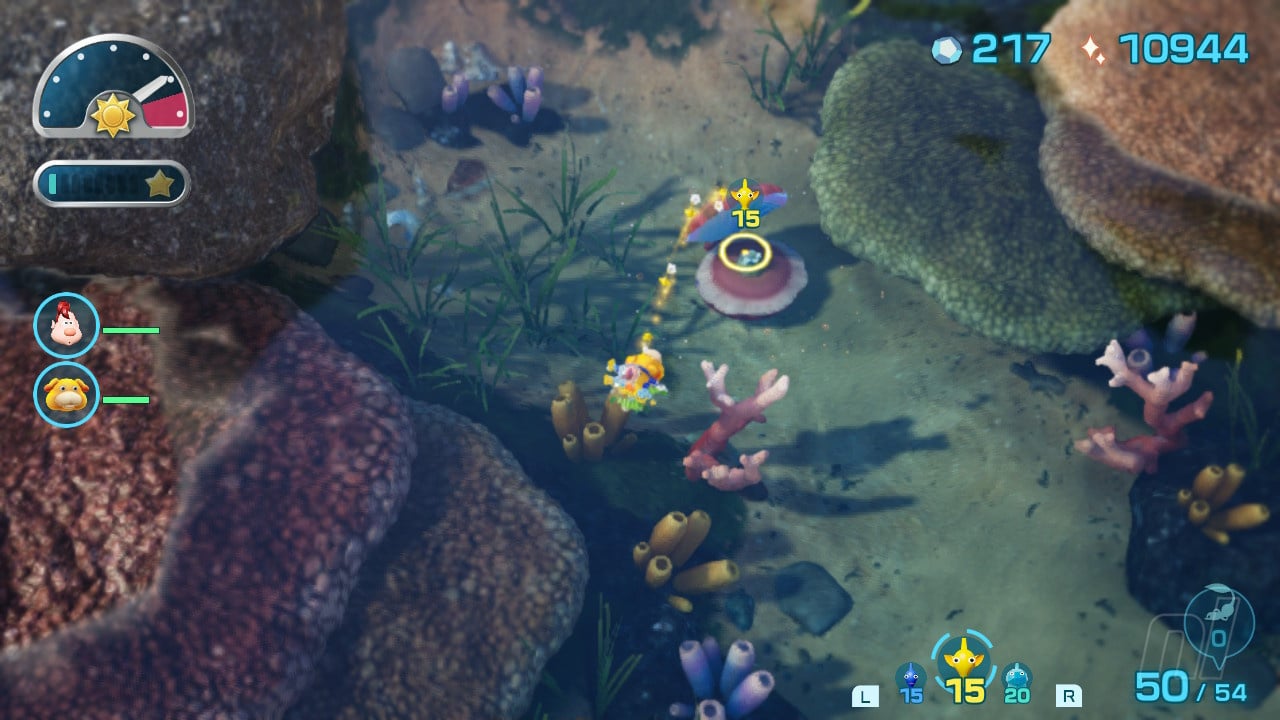
Finally in this area, over to the back side of the water you'll find another clam enemy. This one's got a FLARLIC in it, so beat the enemies in the water to clear a path to nab it and increase your squad count by 10.
Dapper Rubber Cutie
Back at the Beagle now and let's turn around and smash through the dirt wall behind us to open up another route. To the right here we'll find a small alcove area filled water. Here you'll find plenty of hydro jelly and raw materials to collect up and, once you've defeated the two fish in the water, excavating the submerged mound in the centre will drain the pond. You can now get to work on the large hydro jelly in the far corner which contains a DAPPER RUBBER CUTIE.
Mock Bottom
Now head back towards the Beagle and straight over to the small clay bridge to repair it, as once you've done this got an easy route to drag the MOCK BOTTOM across to base from the water and bucket at the base of the sand castle hill. Also, be sure to jump off this bridge and follow the water around to a dead end where you find the entrance to ENGULFED CASTLE. Of course, we've got a lovely 100% completion guide to Engulfed Castle for you to check out, so make sure to jump in there before we continue our progress here!
Lamp Of Inspiration
Sticking in this area, you'll also find a LAMP OF INSPIRATION sat atop a hill that will require 20 yellow Pikmin to nab, as well as a stockpile of raw materials.
Orbital Communication Sphere
Now grab the ORBITAL COMMUNICATION SPHERE hidden in some reeds to the side. Very sneaky. Collect all of this stuff and then have Oatchi pull the potted plant from the corner to make a new path.
Face Wrinkler
Then call all your Pikmin to you and we'll beat the crab enemies down here to grab a FACE WRINKLER. With the crabs dead we can excavate the large dirt mound here to reveal the entrance to SUBZERO SAUNA, so make sure to now jump over to our 100% completion guide for Subzero Sauna before we continue.
Chance Totem
With that done, let's head through the potted plant path that we cleared to mend another small bridge which leads in to the Dandori Castle Challenge area. Make sure to check out our guide to Dandori Castle then, directly across from here, there's also a dirt wall leading to a small area with raw materials and some pots hiding more CHANCE TOTEM.
Foolish Fruit
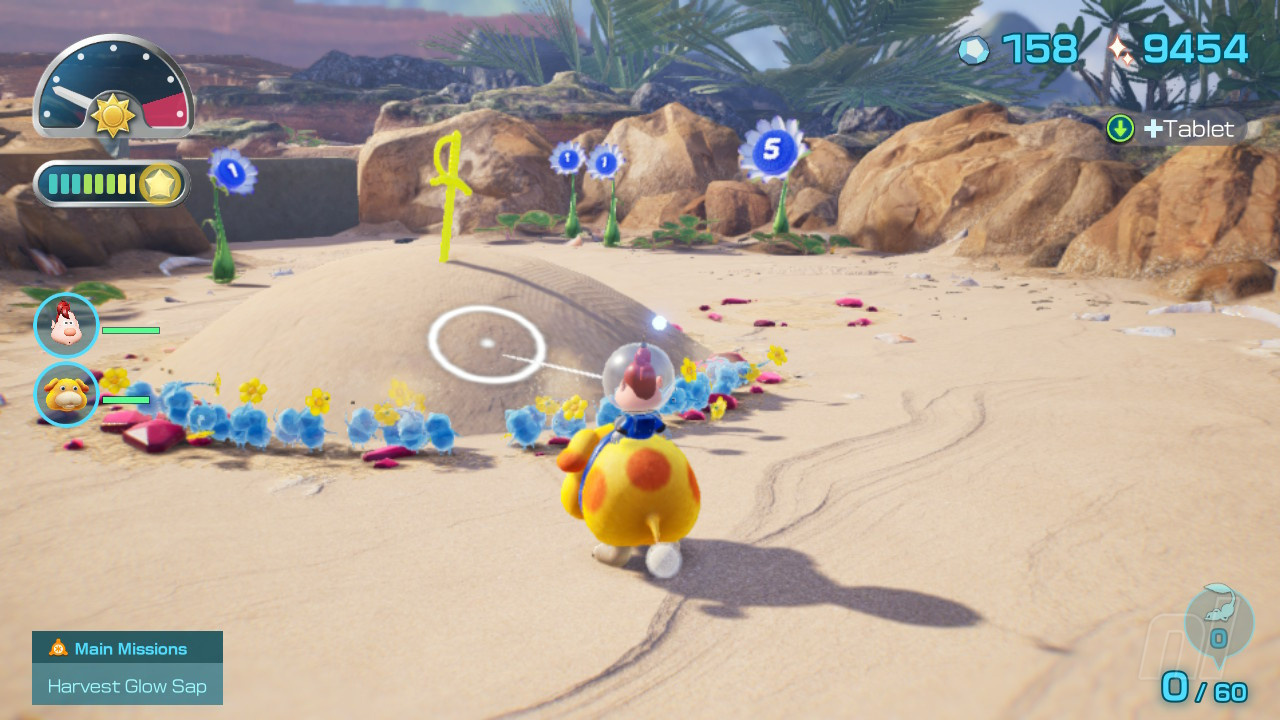
Now let's jump a little ways up the track on the sandhill castle to find a delicious FOOLISH FRUIT buried in the sand at the point shown on our map. At this point, if you head back to base camp, you'll find it's been expanded slightly to accommodate all of the castaways we've been rescuing. Nice work!
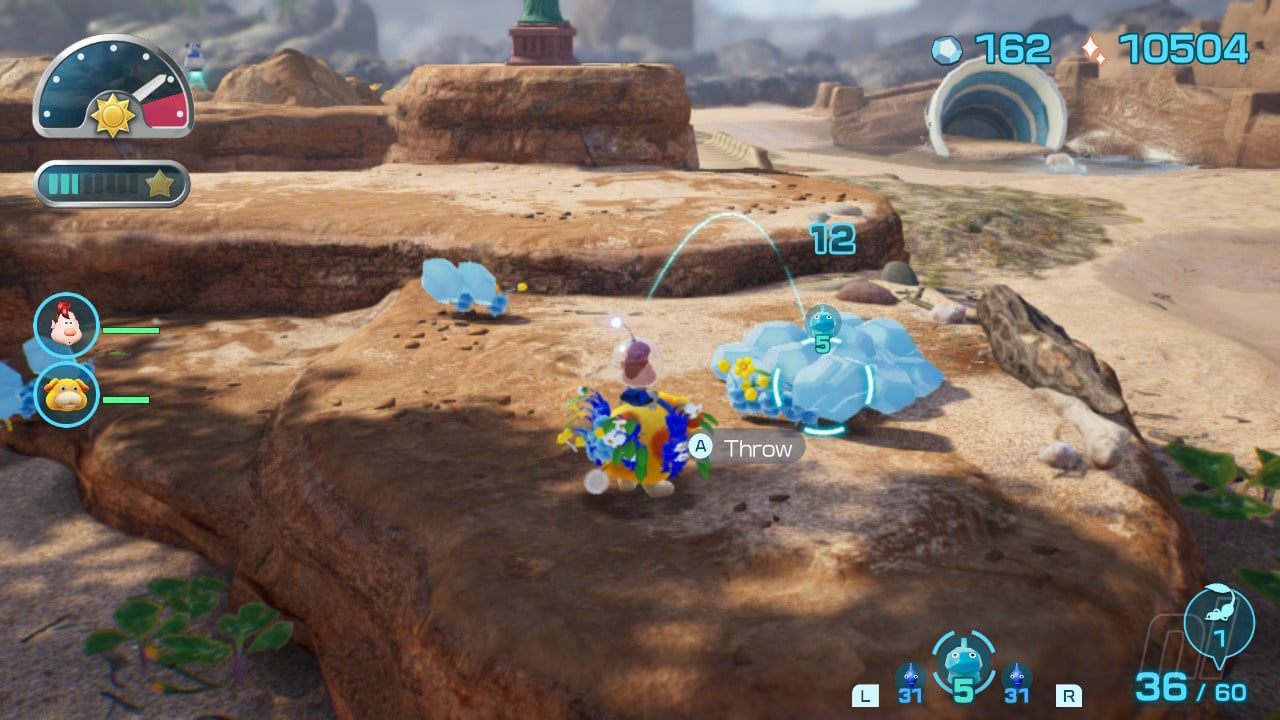
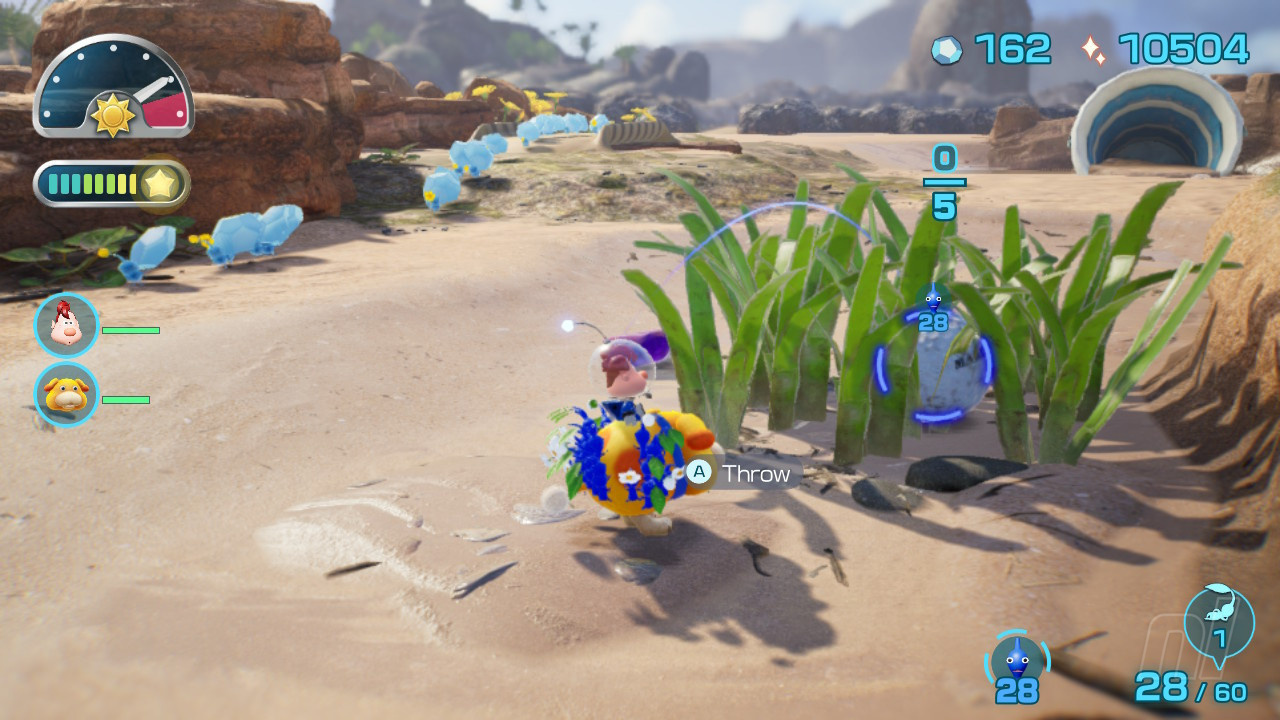
Back at Serene shores, we can now move our base to the Water's Edge marker, as shown below. Now, if you've already completed the Engulfed Castle cavern from earlier, you'll be aware that you exit in the area on top of the ridge to the south here, as shown in our map. Once here, push down the bag to make a shortcut, then uncover the partially buried airstream.
Heroine's Tear
Ride the airstream to the higher area and use your purple Pikmin to make short work of the beastie here before digging up the buried HEROINE'S TEAR.

Stately Rubber Cutie
We can now zoom around the corner to grab the STATELY RUBBER CUTIE.
Ambiguous Hostel
Finally in this small zone, beat the enemy before retrieving the AMBIGUOUS HOSTEL.
Juicy Gaggle
There's also a JUICY GAGGLE up here but beware of the spider holding it!
Lesser Mock Bottom
Now head to the log up here and dig in the sand to uncover a LESSER MOCK BOTTOM. Once you've gathered up all this treasure, head round past the log in the corner here to find another Dandori challenge in the form of TEST TUBS. If you need a guiding hand through Test Tubs make sure to check out our guide!
Mystery Squish Fish
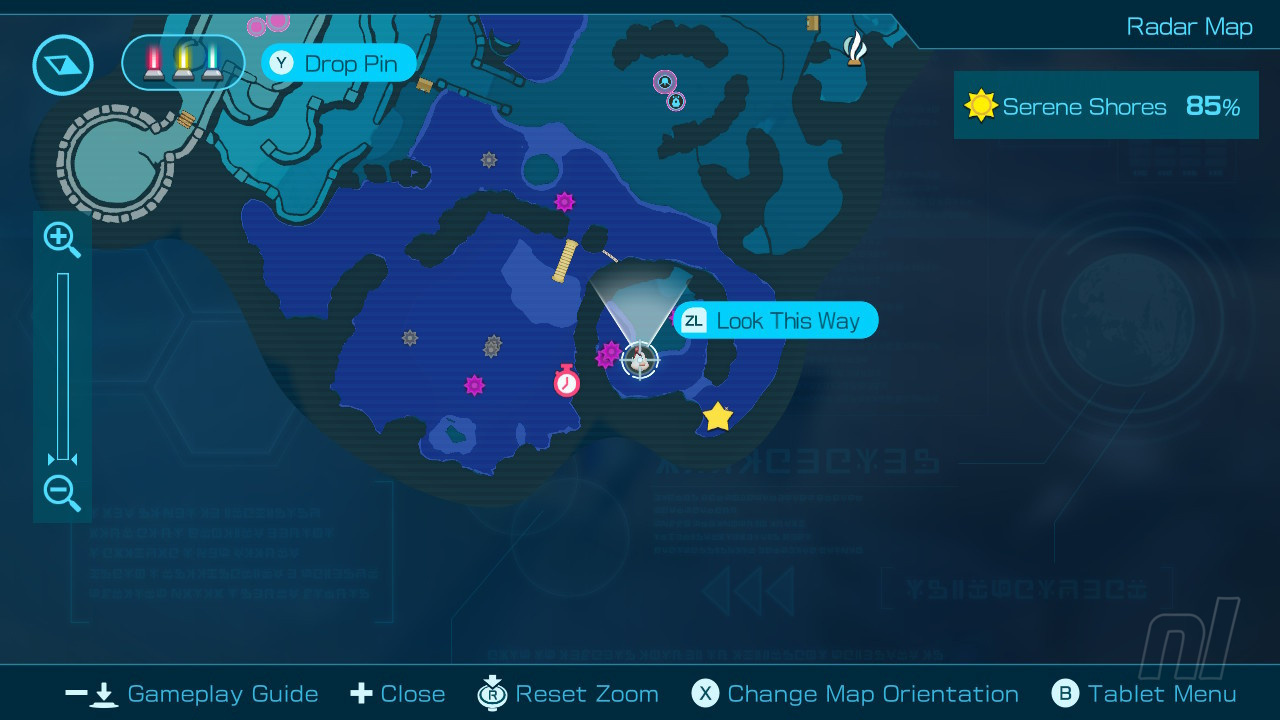
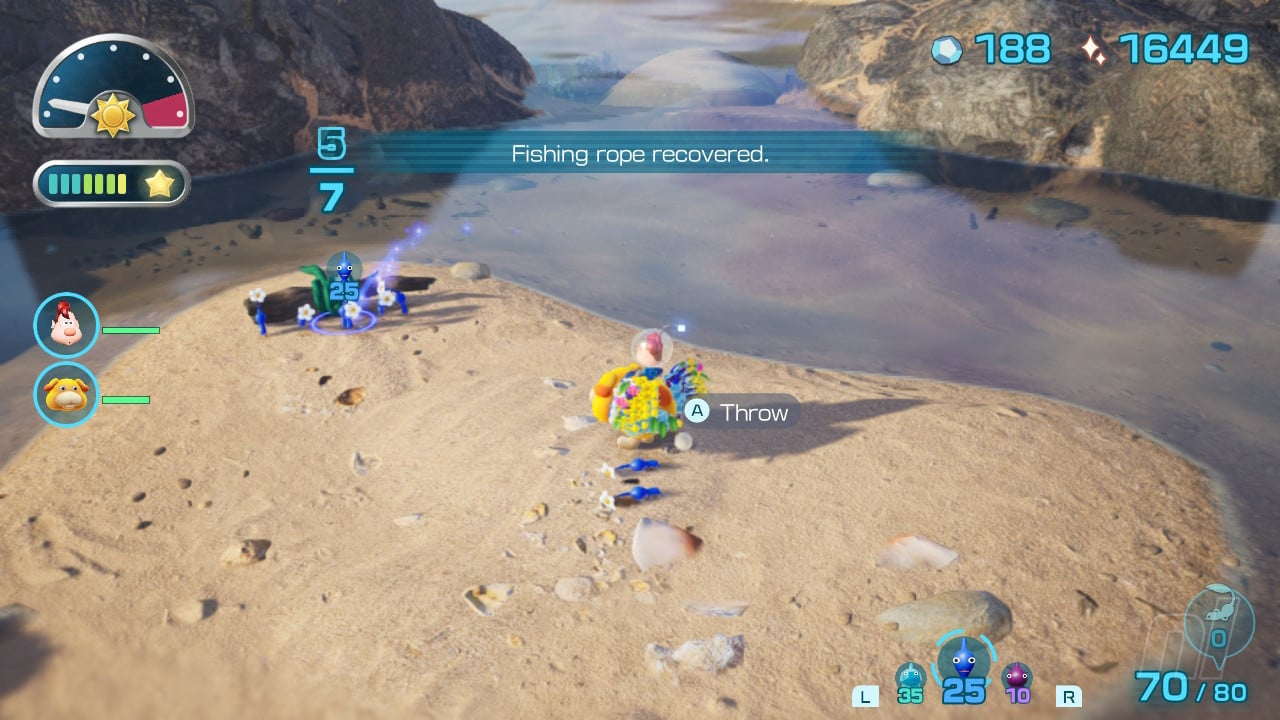
Now, it's time to finish up here by gathering any final treasure laying around the surface of Serene Shores and our first port of call sees us follow the water around to the location shown in our map below. Head here and pull out both fishing ropes to grab a MYSTERY SQUISH FISH.
Newtolite Shell
Then we can kill the large crab and head straight to the submerged mound to uncover a NEWTOLITE SHELL.
Princess Pearl
Finally, there's also a clam here when the tide goes down with a PRINCESS PEARL inside!
Emperor Whistle
Now, let's head to the sand castle hill to the point shown below to use a few yellow Pikmin to hop onto the ledge here and dig up the EMPEROR WHISTLE.
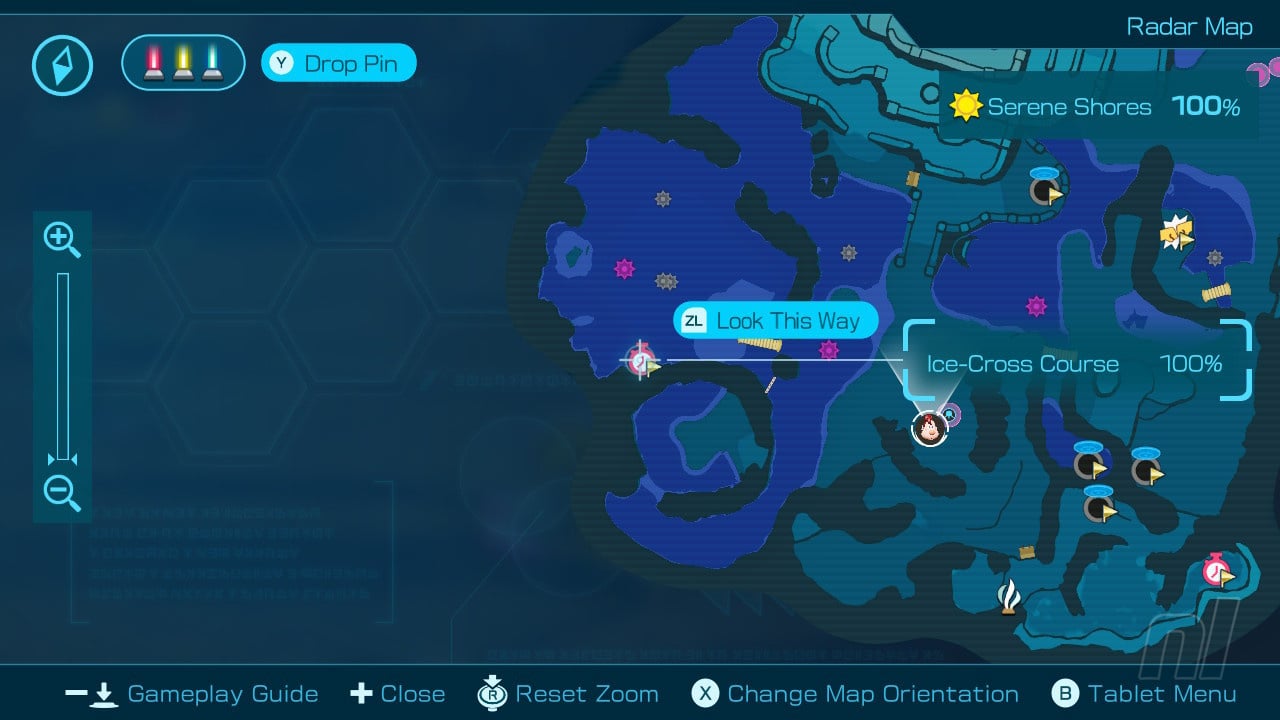
With this done, all that's left in Serene Shores is to head for our final tunnel entrance for the area, as shown below. It's a Dandori challenge in the form of ICE-CROSS COURSE. Remember to check out our guide to Ice-Cross Course should you need help!
Investigation Complete!
Make sure to check out our full Pikmin 4 Walkthrough Hub for more guides, hints and tips!


Comments 0
Wow, no comments yet... why not be the first?
Leave A Comment
Hold on there, you need to login to post a comment...