Welcome to Nintendo Life's Pikmin 4 Below-Grade Discotheque walkthrough. In our Pikmin 4 guides, we'll be showing you All Treasure Locations, all Gear and Item Upgrades, all Oatchi Abilities, all Pikmin Type Locations, all Onion Upgrade and Flarlic locations, All Region Walkthroughs, All Dungeon Walkthroughs and more besides.
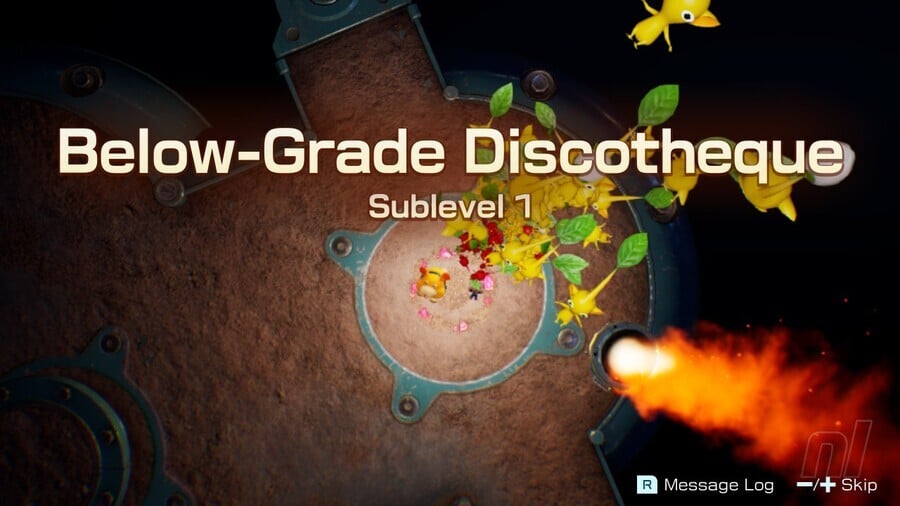
We're on to Below-Grade Discotheque now. Let's get down.
On this page: Below-Grade Discotheque Full Walkthrough & All Treasure Locations
Subscribe to Nintendo Life on YouTube844k
Below-Grade Discotheque Full Walkthrough & All Treasure Locations
Sublevel 1
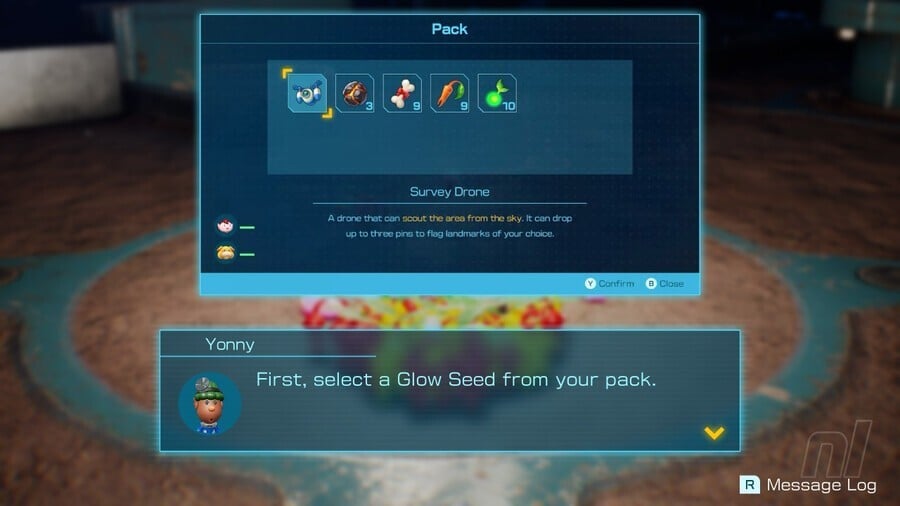
First up down here you'll get to use your Glow Pikmin in a cave for the first time. Select them from your pack and fling out your seeds to have them join your squad.

Sphere Of Truth
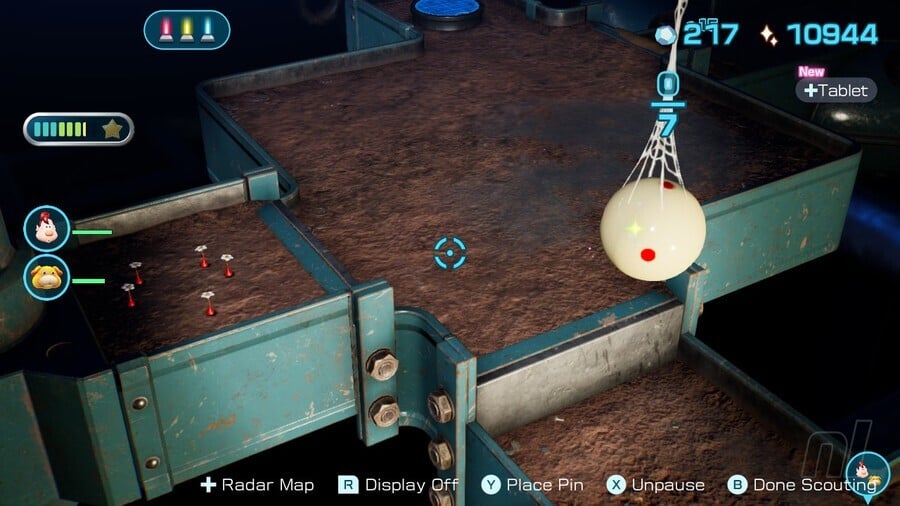
To our left is a dangling SPHERE OF TRUTH and a raised area with the exit to the next level, but for now we'll need to head forward.

Thrill-Ride Track
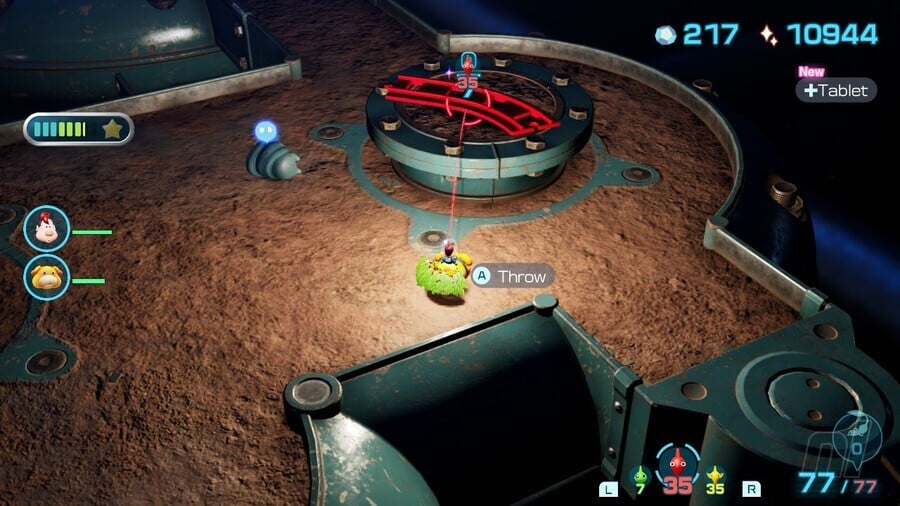
Take out the armoured beastie and grab the THRILL-RIDE TRACK.

Sphere Of Vitality
Now we can then head around the corner to take out two more enemies, grab some raw materials, mend a clay ramp and excavate a dirt mound to nab a SPHERE OF VITALITY.
Once we get up the repaired clay ramp, we're in the area near the starting point and can now use yellow Pikmin to grab the dangling SPHERE OF TRUTH. Now pluck the red Pikmin here and we can head down to the next level.
Sublevel 2
Olfactory Sculpture
We're faced with an electric enemy fighting some yellow Pikmin as soon as we arrive down here. Rescue the Pikmin then take out the electric fence. The exit is straight ahead here but we'll need to lower some iron bars first. First, let's head over to take out the fire trap and jump on the moving platform. As it rides along, shoot ten Pikmin at the OLFACTORY SCULPTURE to have them retrieve it.
Soul Reverberator
Now dismount Oatchi and slip through the bars that take us to the moving platform on the other side. From it, throw a few Pikmin to hit the switch and lower the iron bars. Now you can clear out the bottom area, grabbing the raw materials and SOUL REVERBERATOR treasure before retreating back up to the exit.
Sublevel 3
Well. This area looks complicated. We want to change the directions of conveyor belts and jump around on fans here. So let's start by heading straight down the ramp to the back right fan and ride it up to find a switch, a CANDYPOP BUD and a hole which can be excavated to make a tunnel down to the lower area to grab some GOLD NUGGETS. Grab the nuggets and come back up to the switch here.
Now that we're back at the switch you need to fire ten Pikmin onto the nearest red round spring. From here the Pikmin are going to bounce around the course ahead, and the aim is to have them reach the CARDBOARD BOX to your left. Fling ten Pikmin onto the spring then enter DRONE MODE and UNPAUSE to watch how the Pikmin travel. We want to use the switch to change the direction of the back left conveyor belt just as they reach it so they travel up and onto the rails that take them to the box. Easy!
Turn-Of-Events-Track
Now you can cross the box and retrieve the TURN-OF-EVENTS TRACK. More importantly, however, you can jump forward from the box while riding Oatchi to spring into a fan and get blown up onto the platform with the Canypop Bud. Here you can feed your Pikmin to the flower to unlock WINGED PIKMIN. You can now exit this level by jumping down onto the fan beside this platform to travel right across to the way out.
Sublevel 4
Relentless Spear
The exit for this level is straight ahead across a very thin walkway over lava. But first, let's head behind the starting point and around. Here we'll come to a bubble trap which you can simply overwhelm. Any Pikmin trapped in a bubble will be safe once it pops. Head down the hill and take out the armoured beast before it charges to retrieve a RELENTLESS SPEAR. Now excavate the mound here to create an airstream up to another Candypop Bud to make some Winged Pikmin.
Now head down the hill to take out another bubble trap and grab all that sweet GOLD NUGGET. Now let's clear out all the fire and foes down here with our red Pikmin. With the area clear we can fix the clay tap and use it to put out the big fire at the centre of the level. Oatchi can head into the nearby pipe now and once he's up top, throw ten yellow Pikmin up to him and assume control to then use these Pikmin to lower the metal bridge and flip the switch that lowers all the iron bars.
Sphere Of Beginnings
Now defeat the two foes at the bottom level and excavate the SPHERE OF BEGINNINGS before heading back up to the top to cross the beam to the exit.
Sublevel 5
It's boss battle time and this great big disco glitterball bad guy can spray out fumes that confuse our Pikmin and take them out of your control for a sustained period of time. It stomps around a lot and puts on quite a light show, but really all you need to do here is attack the middle ball and time your retreats so that the pink gas doesn't hit your little guys, otherwise you'll end up with a bunch of dancing Pikmin who aren't paying any attention.
Amplified Amplifier
You will eventually regain control of dancing Pikmin, so just avoid the enemy until they snap out of it, and then prepare to attack the centre sphere at the best opportunity. Once it's down you'll receive a AMPLIFIED AMPLIFIER treasure and can now rescue the area's castaway, SHEEBA.
Investigation Complete!
Make sure to check out our full Pikmin 4 Walkthrough Hub for more guides, hints and tips!


Comments 0
Wow, no comments yet... why not be the first?
Leave A Comment
Hold on there, you need to login to post a comment...