Welcome to Nintendo Life's Pikmin 4 Engulfed Castle walkthrough. In our Pikmin 4 guide series, we'll be showing you All Treasure Locations, all Gear and Item Upgrades, all Oatchi Abilities, all Pikmin Type Locations, all Onion Upgrade and Flarlic locations, All Region Walkthroughs, All Dungeon Walkthroughs and more besides!
Let's get started on the game's first main region, Sun-Speckled Terrace.
Subscribe to Nintendo Life on YouTube846k
Pikmin 4 Walkthrough: Sun-Speckled Terrace 100% Completion Guide
All Dungeon Walkthroughs
- Last-Frost Cavern
- Industrial Maze
- Hectic Hollows
- Crackling Cauldron
- Dandori Trial Run
- Aquiferous Summit
- Dandori Day Care
Sun-Speckled Terrace Full Walkthrough & All Treasure Locations
Once all cutscenes are complete chat to Collin who’ll allow you to select your next area to explore, Sun-Speckled Terrace. Off we go!
SUN-SPECKLED TERRACE
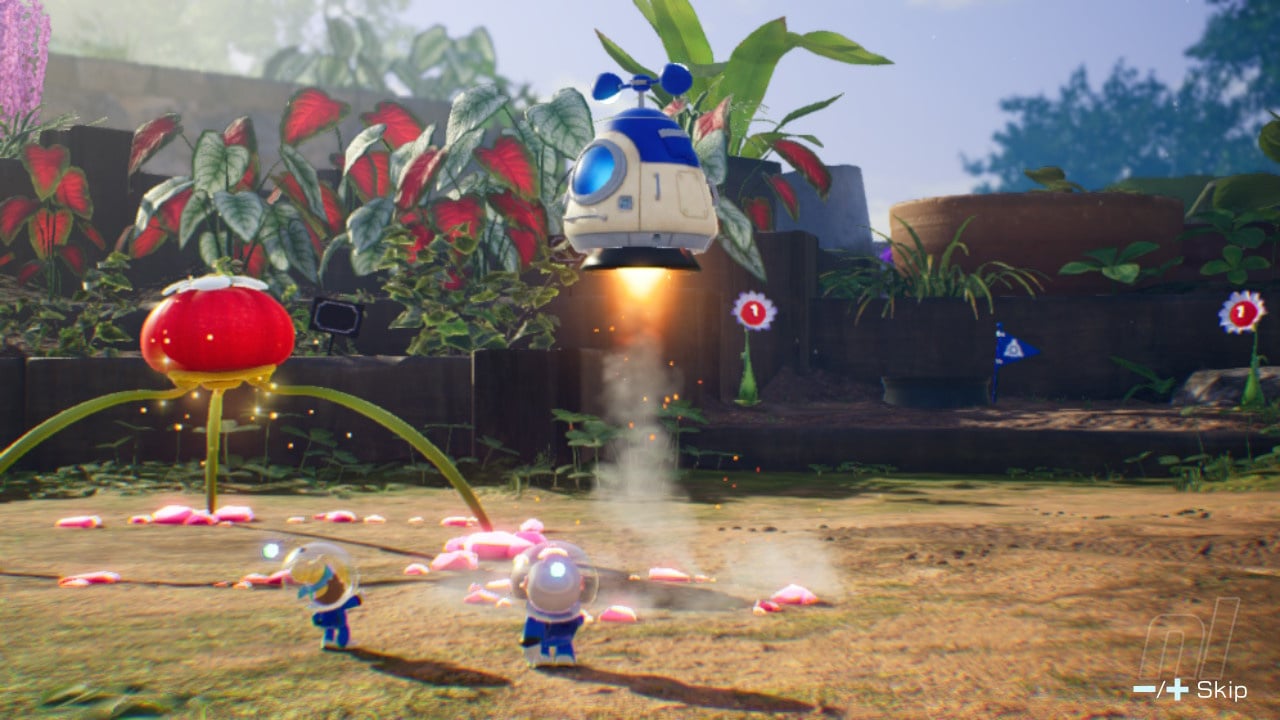
Once you arrive here the game will explain its time mechanic, which sees you search for your team and collect treasures during daylight hours before returning to your ship at nightfall. Now go gather your Pikmin from the Onion and send them out to grab all the red pellets scattered around the area. Remember that bigger numbered pellets require more Pikmin to carry. As you get down to business you’ll happen upon your first bug-like enemy here. Simply overwhelm it with Pikmin and Oatchi to kill it.
Now Captain Shepherd will explain Oatchi’s various search functions to you, showing that you can hold down 'Y' to bring up a command menu enabling you to chose between picking up general scents in the area or sniffing out Castaways and Treasures!
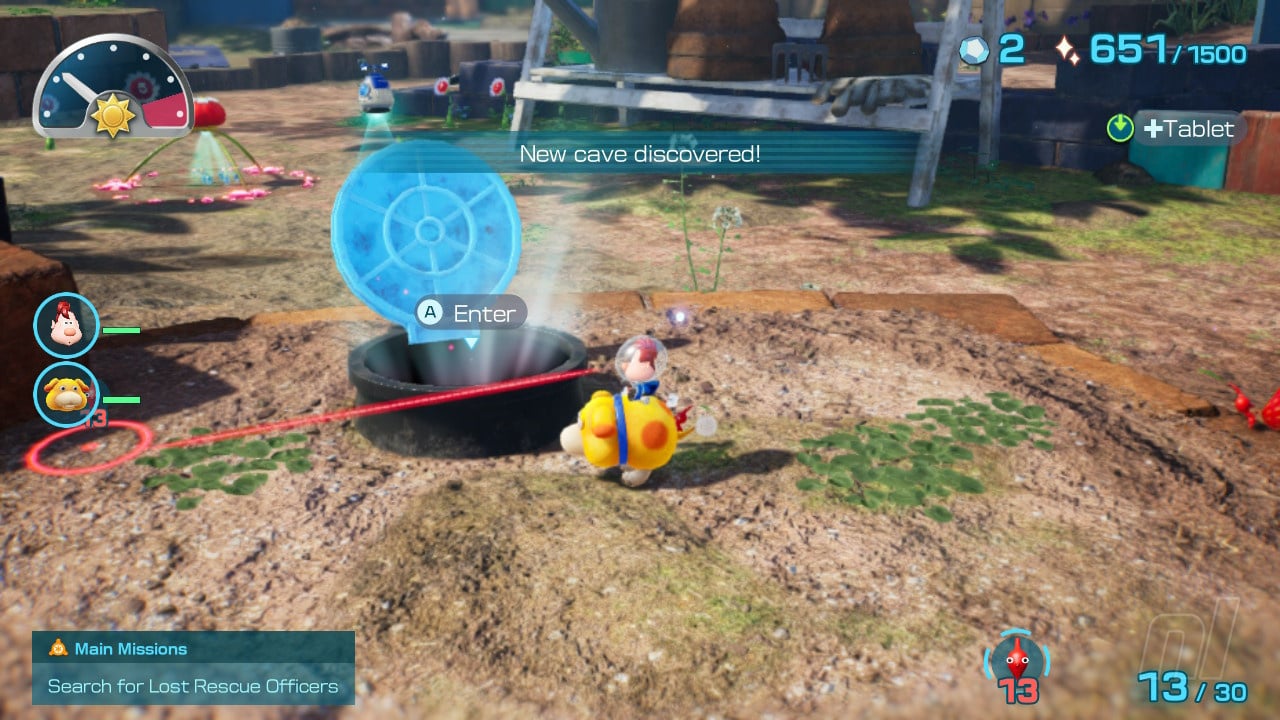
Command Oatchi to Pick Up A Scent to have him trundle off and find a barrier that needs taken down. By now you should have around 20 Pikmin, enough to pick up the pile of nearby Raw Materials, and to tear down this first barrier. Once you move past the barrier, you’ll find the next cavern entrance taking you to LAST-FROST CAVERN.
When entering a cavern area, the game will suggest a number of Pikmin to bring down with you. For this cavern that number is 10. You can also have the game auto-select Pikmin types best suited to the dungeon. Also remember that in caverns the game's time mechanic does not apply, so feel free to really take your time and have a good old nosey around for treasures.
Make sure to check out our 100% completion guide for Last-Frost Cavern once you're ready to head into this area.
Flarlic Upgrade #1
Once the cavern is complete and you're back up top, feed the Onion that you found underground to the original Onion to discover that this white variant is called Flarlic. Flarlic increases the number of Pikmin you can lead by 10. With any remaining time left on day two you can gather a few more Pikmin pellets and raw materials then return all your Pikmin to the Onion base area before the countdown to night is up.
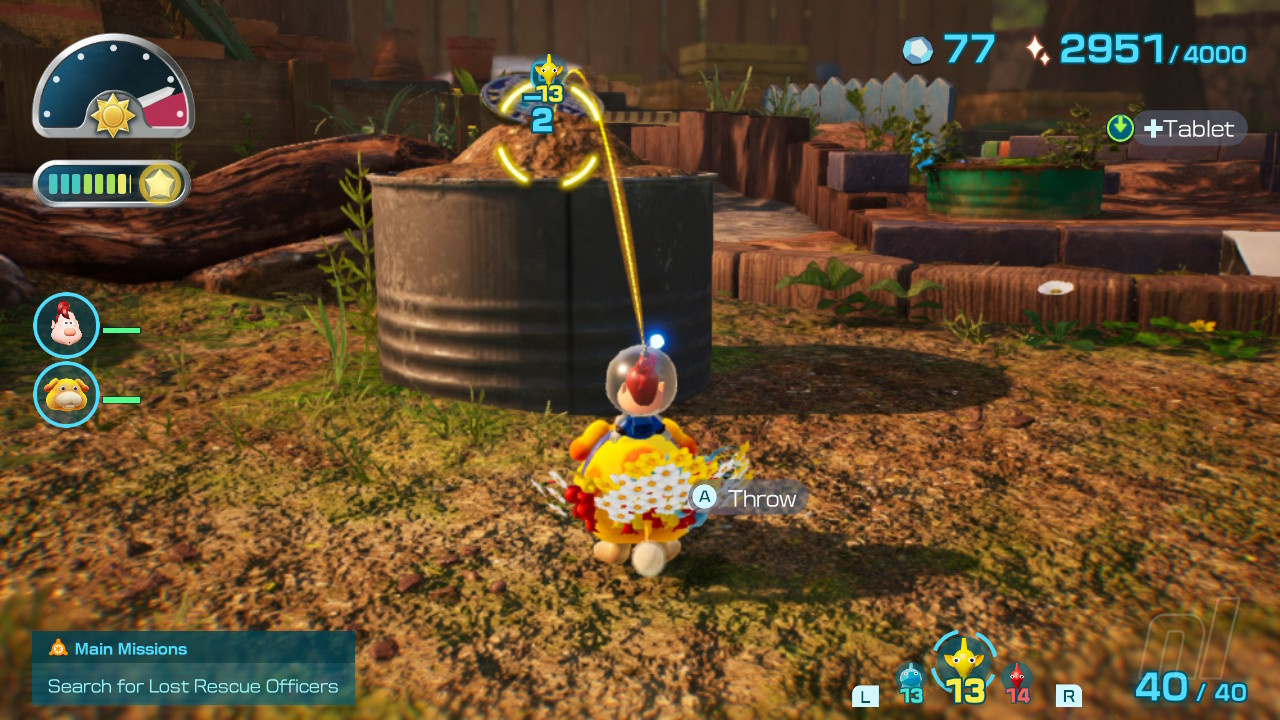
You should now have reached day three in-game with Oatchi having grown up a little and the S.S. Beagle now capable of a few new tricks. You can convert raw materials that you collect into clay, and raw materials can also now be used to upgrade gear and items.
Now, speak to Shepherd to start Oatchi’s training. Oatchi’s Pup Drive enables him to learn a total of five new skills. The skills here add to your dig ability and you can choose which ones to focus on in order to go down a Buff or Chomp upgrade path.
Once you have upgraded Oatchi you’ll be rewarded with a Scrummy Bone. Enter your command menu and choose Pack to take out the bone and give it to your good boy.
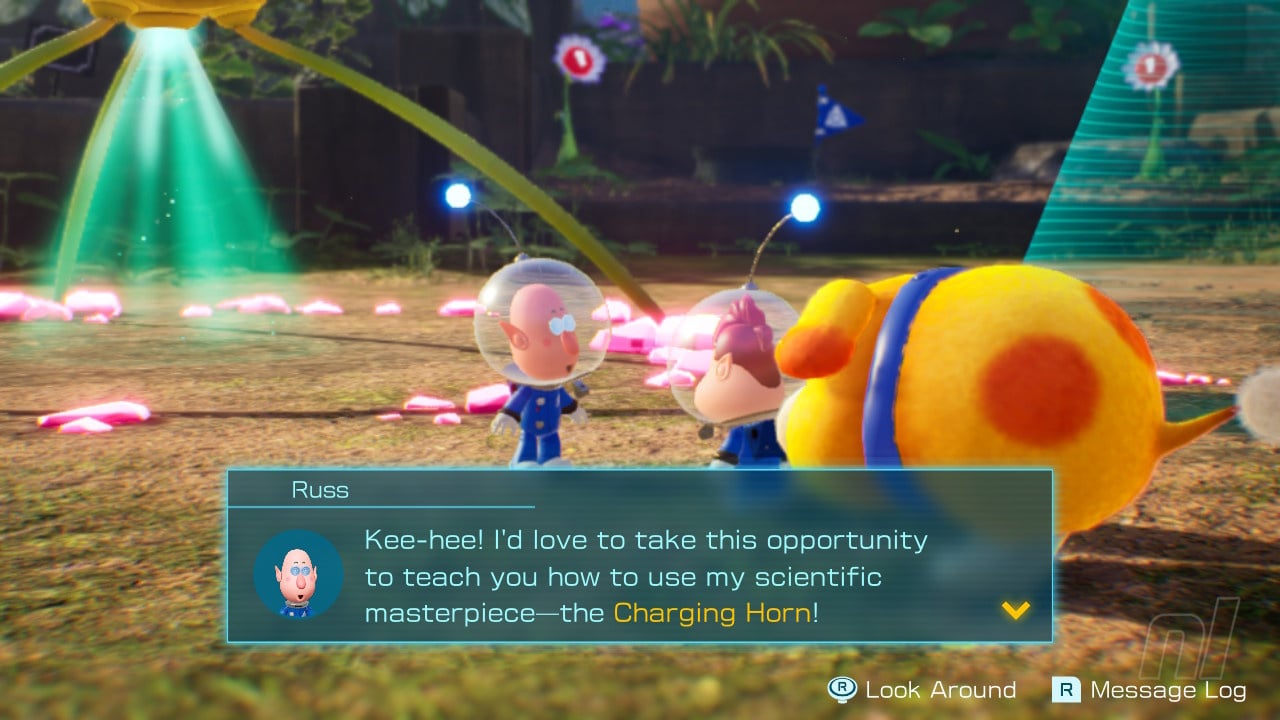
You can now also approach Russ who will use your collected raw materials to create gear and items.
For your first visit to the lab, make sure to go into the Items tab and grab the Prototype Emergency kit, which auto-heals you and protects you from knockouts.
At this stage you also have a choice of a Charging Horn, Scorch Guard and Thermal Defense, so choose the items you desire. Once you’re done, Russ will explain the use of the charging horn which can be used to rush enemies with your Pikmin.
As soon as you return to Sun-Speckled Terrace, Shepherd will advise you that you can now mount Oatchi and use him to jump ledges, rush objects and foes and sniff around for treasures.
Temporal Mechanism
This should take you on a quick jaunt around to a spot with a barrier. Take out the large enemies en-route by charging them, use 'ZR' to lock on here, and once you reach the barrier you should see a TEMPORAL MECHANISM treasure hanging to its right side on the blue fence. Bash the wall to knock the treasure down and have your Pikmin carry it to the Beagle. Now have the rest of your squad demolish the barrier.
Lesser Mock Bottom
Once into this new area after the barrier, you can pull the potted plant to make a shortcut back to the Beagle and the entrance to Last-Frost Cavern. Head north past the entrance to Last-Frost Cavern to find some pots nestled in a corner. Destroy these with rush and head up and around to find more pots which contain a LESSER MOCK BOTTOM.
Aspiration Ritual Ball
Now make sure to gather up any raw materials, defeat small foes and use nectar to level up, then throw ten Pikmin at the raised platform to have it drop down and open a new path. To grab the Aspirational Ritual Ball from the wall bash it with Oatchi.
Sunseed Berry
There's also a Sunseed Berry to nab here by knocking it off its perch with Oatchi.
Jump up the low brick walls in the area shown in our map below to access the entrance to the INDUSTRIAL MAZE below ground.
Once you're ready to head down into the dungeon, make sure to check out our 100% completion guide for Industrial Maze.
With the maze complete we're back on the surface and we’ve got ourselves some more raw materials and yellow Pikmin, so we can continue to work towards completing the construction of the clay bridge in the main area and take out the electrified fence that was blocking our exploration path.
Orb of Destruction
Once the clay bridge is complete you can move your Beagle base around to this area and then collect the nearby ORB OF DESTRUCTION by using bash. Then we’re off down the next underground section, HECTIC HOLLOWS!
Now, jump over to our 100% completion guide to Hectic Hollows and make sure to return here when you're done to continue with Sun-Speckled Terrace.
With Hectic Hollows complete, you'll now expand the radar capabilities of the S.S. Shepherd, unlocking a brand new area to explore. You can now choose to travel to BLOSSOMING ARCADIA or continue on for 100% completion of this area.
Speak to Schnauz now to unlock his Treasure Catalog where you can keep track of all collected treasures and earn rewards for doing so. Then speak to both Russ and Shepherd to upgrade Oatchi's skills and unlock new items, including the Treasure Gauge, which detects both nearby treasures and castaways. Also, make sure to check out our guide to all Treasure Locations to help you fill out the catalog as you play!
Flarlic Upgrade #2
Now, once back at Sun-Speckled Terrace, you should be around 40% complete and we can go ahead and take out the electrified gate that’s been blocking our progress as well as completing any clay bridges – look out for raw materials - and grab that second Flarlic bulb that we couldn’t reach earlier by using our Yellow Pikmin.
Double Dragon-Eyed Scope
Make your way up to the area with the DOUBLE DRAGON-EYED SCOPE and use bash twice to knock them off their perch. Once you’ve done this make sure to clear the dirt mound beside the treasure you just picked up to reveal the entrance to CRACKLING CAULDRON. There’s also a paper bag in this area to push down to create another shortcut!
It's now time to head into Crackling Cauldron, so jump over to our 100% completion guide for this cavern before continuing!
Now we're back on the surface, you may want to gather 30 Ice Pikmin in order to freeze the large area of water shown below and cross it to grab some vital ingredients and more Pikmin. Note there is a shortcut climbing wall to the left here too so use some raw materials to make clay and mend it.
Blue Onion
Once on the other side of the water, be sure to collect the ingredients from the plants here as they are essential to making ultra spicy spray. Defeat the enemy and then continue upwards to where you'll find a BLUE ONION. Make sure you've got enough Pikmin to freeze the water and to carry the Onion across here. You may need to return to do this part later.
What we did, as we didn't have enough Pikmin to freeze the water (requires 30) and then carry the Onion (20), was to unlock the Ice Blast prototype in the lab then equip it to the D-Pad. Using ice blasts to freeze the water instead of Pikmin, we were able to get the onion to the Beagle and unlock the new BLUE PIKMIN!
Beside the blue onion is a gapped wall which you can now squeeze through just in time to see a Leafling and some other enemy grab a castaway and disappear down a tunnel entrance.
Make sure to gather up all your Pikmin and drop them off at base - there is another one very nearby here that's easy to reach once you repair a small clay bridge - then we need to head into this challenge dungeon alone! Let's go.
Mysterious Carriage
With Crackling Cauldron and our first Trial Run area done and dusted, gather up ten yellow Pikmin and have them lower the metal bridge beside the Trial Run entrance to grab the MYSTERIOUS CARRIAGE.
Satellite Shield
Then you can also nab the nearby SATELLITE SHIELD that's perched atop a tin can, as shown below.
You should now easily have enough raw materials to complete mending the large bridge in the centre of Sun-Speckled Terrace. Once this is done you can cross into a new area containing a few enemies. Take these out and keep moving up the hill tor each the entrance to AQUIFEROUS SUMMIT.
Yellow Onion
Before we head down into this next cavern, let's track around to the area shown below to smash down a paper bag barrier and collect a strange YELLOW ONION.
Perforated Raft
Whilst here you can also smash the nearby pots and jugs to retrieve two PERFORATED RAFT treasures, as well as moving another paper bag to create a shortcut. Once we get the yellow onion back to the base it will enable us to spawn both yellow and red Pikmin from our Onion. Nice.
Now let's jump into Aquiferous Summit. Be sure to check out our 100% completion guide to this cavern and then return here to continue with Sun-Speckled Terrace.
Talisman of Life
Once you exit Aquiferous Summit, you'll find yourself at a new base, so summon your Beagle and let's get exploring up here. Grab any pellets, drop the paper bag down to make a shortcut and let's head forward to defeat the big prickly enemy nearby to net yourself a TALISMAN OF LIFE. There's also a dirt mound right beside the base here to nab some raw materials from.
Fire-Breathing Feast
Now drop onto the ledge, as shown in our pics, to nab a Fire-Breathing Feast.
Snack Bean
Then we can head down onto the lower pot to your left to find a SNACK BEAN.
At this point you should now be able to speak to Dalmo at the start of a new day to get an introduction to your PIKLOPEDIA, which should already have quite a few entries by now.
Child of the Earth
We're nearing full completion of this area, but there is one sneaky treasure hidden in the dirt you may not have found. Have Oatchi use his senses and you should be able to nab this CHILD OF THE EARTH in the location shown below.
With this done we're now going to jump down to the next Dandori battle, DANDORI DAY CARE, by freezing the water as shown below and hopping down the tunnel. Check out our quick guide to this cavern!
Now that Dandori Day Care is completed you should now be 100% completed on Sun-Speckled Terrace. It's time to head for Blossoming Arcadia.
Investigation Complete!
Make sure to check out our full Pikmin 4 Walkthrough Hub for more guides, hints and tips!


Comments 0
Wow, no comments yet... why not be the first?
Leave A Comment
Hold on there, you need to login to post a comment...