While Super Mario 3D World is most definitely a good time, those of you who have already experienced the game on Wii U will be most interested in the excellent Bowser's Fury expansion, which offers an open-world setting with Cat Shines to collect.
In this guide, we'll be showing you all of the Cat Shine locations in Bowser's Fury.
Subscribe to Nintendo Life on YouTube849k
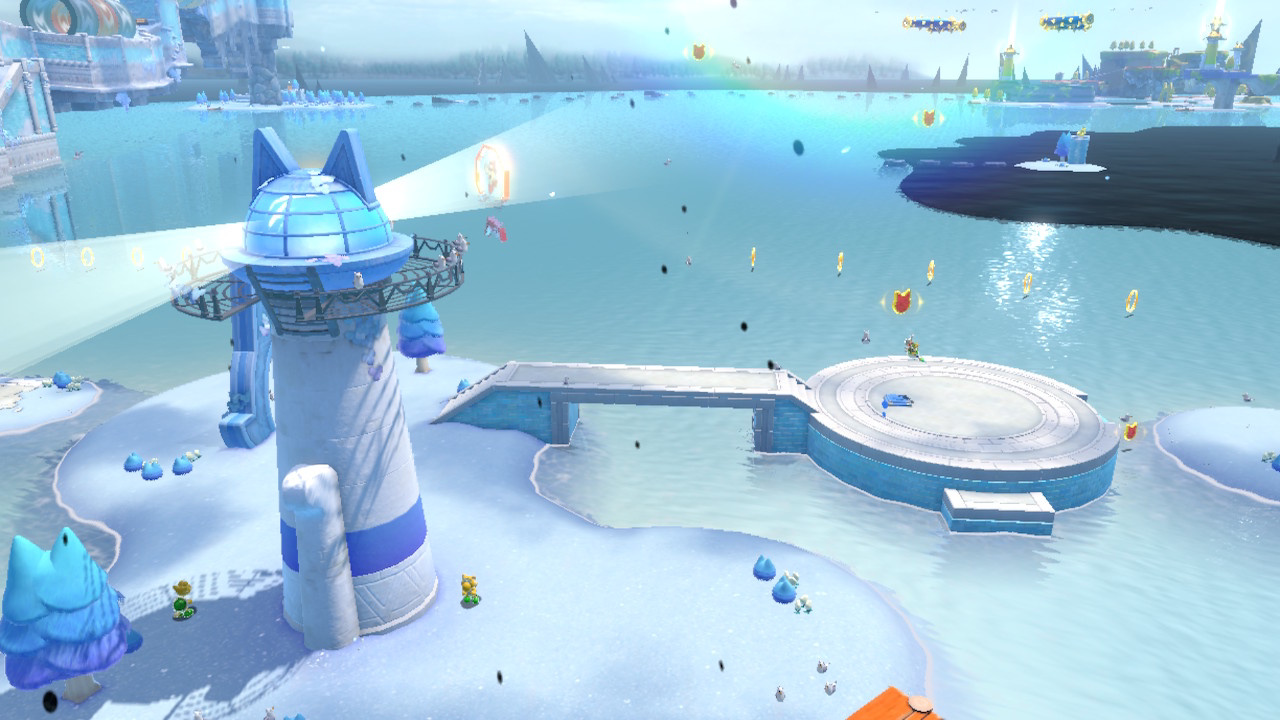
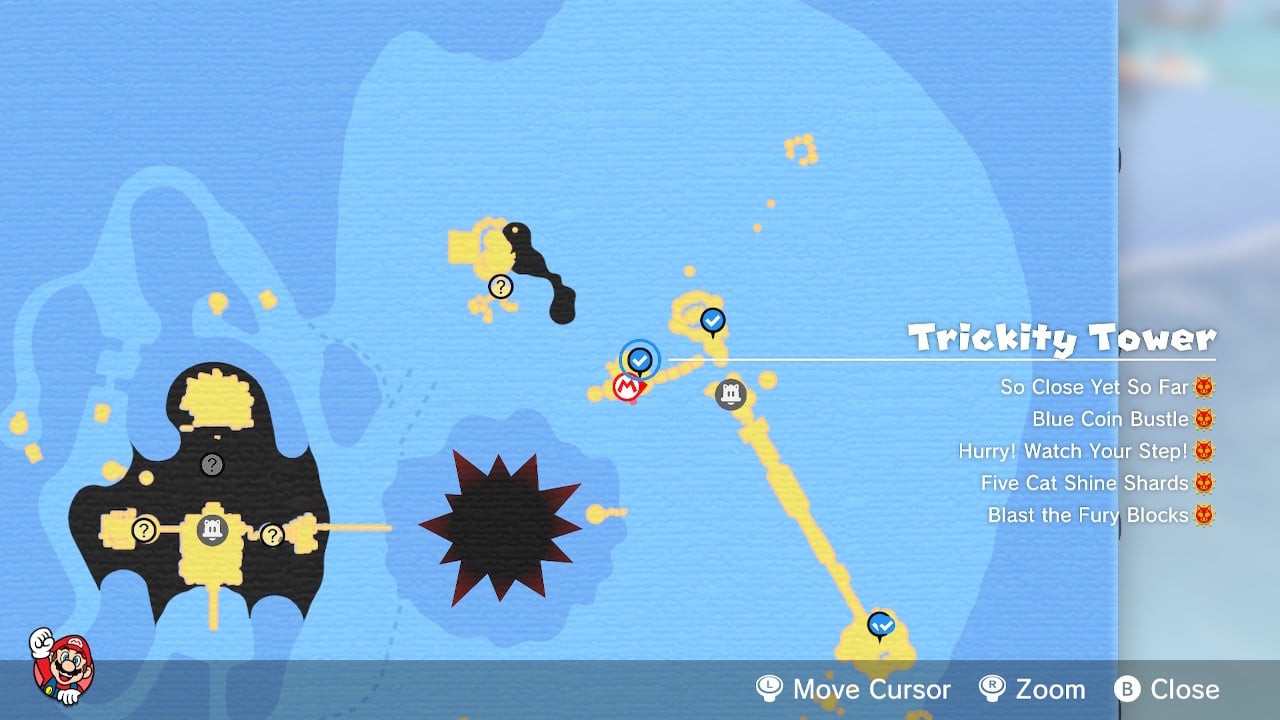
Trickity Tower Shine Locations
Trickity Tower Shine "So Close Yet So Far"
The first Cat Shine looks pretty easy to obtain, but it's surrounded by an invisible wall which means you'll need to use an equally invisible pathway to climb up and get it.
Beware of the enemies which dot the pathway – take them out as soon as possible. If you've got a Fire Flower handy, use it – your fireballs temporarily show where the pathway is, which makes things a lot easier. The green pipe which appears once you've snagged the Shine will take you back to the start of the area.
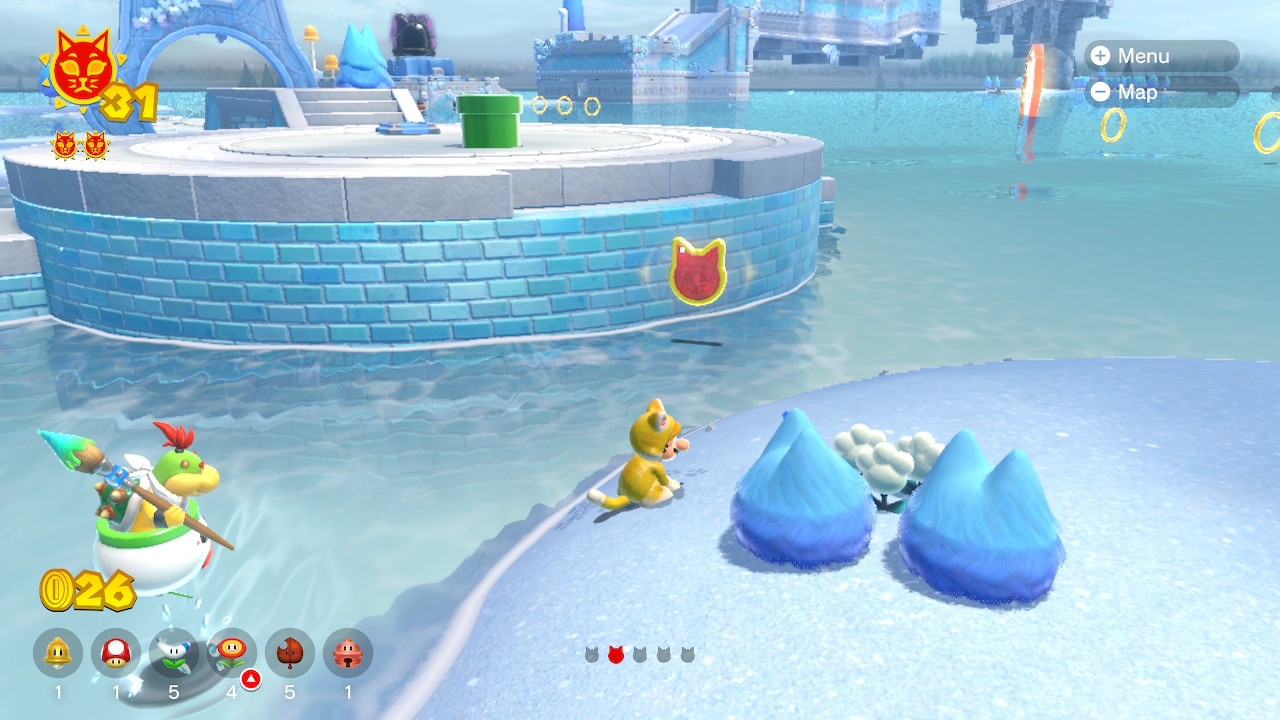
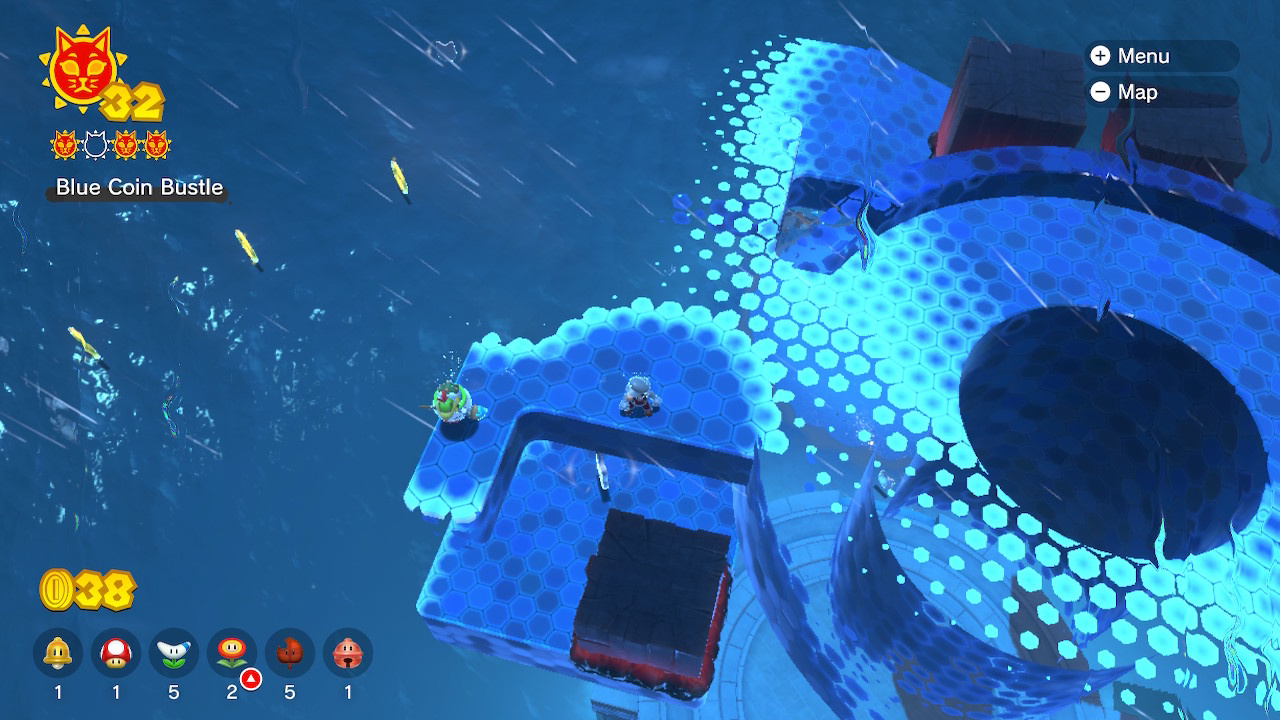
Trickity Tower Shine "Blue Coin Bustle"
Leave the area and return. You'll find a blue button close to the archway. Jump on it to trigger another time-based challenge. This time, you need to collect blue coins as you climb up the invisible pathway, but because the coins show exactly where the pathway is, this is pretty easy. The only tricky bit comes right at the end, because you have to jump from open platform to another to get the final six coins.
Trickity Tower Shine "Hurry! Watch Your Step!"
Leave the area and return, and another button will appear close to the archway. Ground pound it, and a series of blocks will appear which lead to a Cat Shine. You've got 20 seconds to reach it.
The catch here is that you'll need to use some of the invisible pathway to reach the Shine, so use your fireballs to uncover it. If you're finding it tricky, wait for Fury Bowser to wake up, as the blocks he throws down make the whole process much easier.
Trickity Tower Shine "Five Cat Shine Shards"
The first of the Cat Shine Shards is located underneath the invisible pathway.
The second is hovering above one of the first enemies you encounter as you climb up the pathway.

This one is tricky to spot. When you come to the section of the pathway which has a bunch of crates, swap to Cat Mario and climb up the invisible wall next to the hole. The shard is at the top. If you're struggling to see it, wait until Fury Bowser attacks – more of the pathway is revealed.
For the next shard, make your way to the invisible path which surrounds the invisible tower, and walk around until you see the shard floating just ahead. There's a small jump to make here.
The final shard is found to the left of the previous one, past two more enemies. The path is quite narrow so take your time, using fireballs to explore where the floor is. Climb up the ramp until the Shard looks like it's directly below you. There's a very small pathway sticking out - you can fall off this and onto the platform below, which is where the shard is located.
Trickity Tower Shine "Blast The Fury Blocks"
Behind the lighthouse, you'll find an invisible walkway which leads up to some Bowser Blocks. As always, wait for him to appear and blast them with his fire attack, and you can grab the Cat Shine.
That's another five Cat Shines in the bag! Head over to Crisp Castle Climb for five more!
- Fur Step Island Cat Shine locations
- Scamper Shores Cat Shine locations
- Fort Flaptrap Cat Shine locations
- Pounce Bounce Isle Cat Shine locations
- Lakeside Giga Bell Cat Shine locations
- Slipstake Slope Cat Shine locations
- Clawswipe Colosseum Cat Shine locations
- Trickity Tower Cat Shine locations
- Crisp Castle Climb Cat Shine locations
- Ruins Giga Bell Cat Shine locations
- Risky Whisker Island Cat Shine locations
- Pipe Path Tower Cat Shine locations
- Mount Magmeow Cat Shine locations
- Roiling Roller Isle Cat Shine locations
- Wasteland Giga Bell Cat Shine locations


Comments 0
Wow, no comments yet... why not be the first?
Leave A Comment
Hold on there, you need to login to post a comment...