
While Super Mario 3D World is most definitely a good time, those of you who have already experienced the game on Wii U will be most interested in the excellent Bowser's Fury expansion, which offers an open-world setting with Cat Shines to collect.
In this guide, we'll be showing you all of the Cat Shine locations in Bowser's Fury.
Subscribe to Nintendo Life on YouTube849k
Mount Magmeow Shine Locations
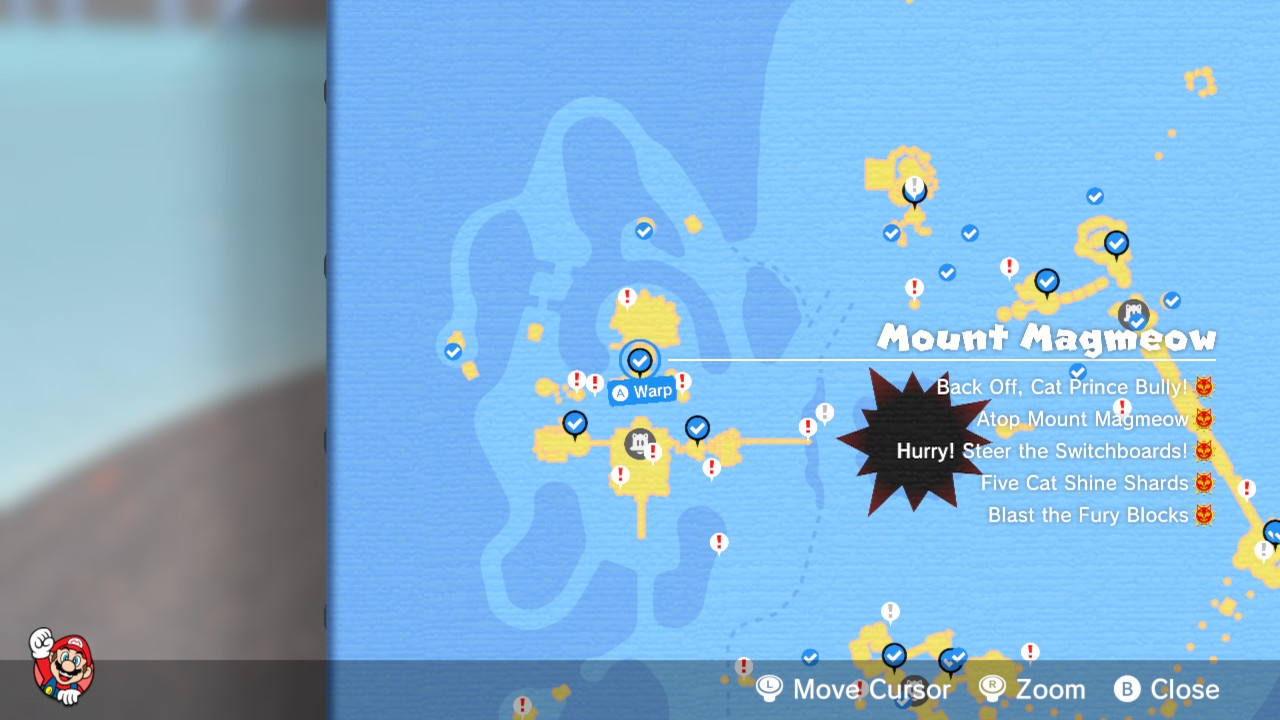
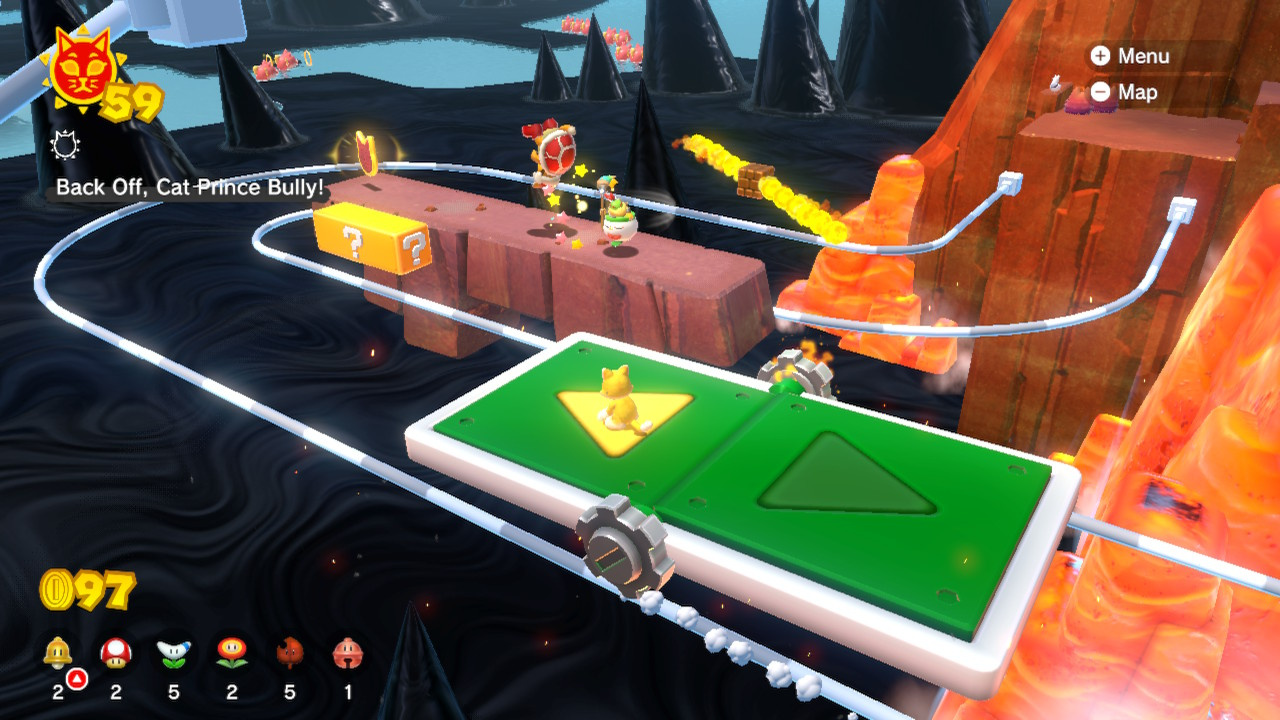
Mount Magmeow Shine "Back Off, Cat Prince Bully!"
There's quite a trek to this Cat Shine, involving moving 'switchboard' platforms and spinning flames, as well as enemies. Make sure you've got plenty of power-ups handy, because you might take damage more than once. When you reach the end of the course, there's a boss fight which takes place in an enclosed arena surrounded by pipes. The key is to force your enemy into one of the pipes, which causes them to be sucked inside before being spat out of another pipe. You can then hit them. Do this three times and the Cat Shine is yours.
Mount Magmeow Shine "Atop Mount Magmeow"
After collecting your first Cat Shine, the route to the top of the mountain will change, and you'll have to climb it again all the way to the top using the switchboards provided. Remember to use the exclamation mark blocks to change the pathway of the tracks.
Mount Magmeow Shine "Hurry! Steer The Switchboards!"
Exit the area and return, and you'll spot a big button near the archway entrance. Ground pound this and a short course will appear, packed with switchboards and enemies. You'll need to ride the switchboards to the end to claim the Cat Shine, but the time limit is quite strict. Try and time your jumps as tightly as possible so you hit those switchboards as soon as you can.
Mount Magmeow Shine "Five Cat Shine Shards"
The first Cat Shine Shard is slightly hidden on the steps just as you approach Mount Magmeow. If you turn the camera and look over the edge, you can see it, resting in the middle of some tracks. Follow the route around and you'll spot a switchboard you can use to get the shard.
The next shard is easy to spot – you'll find it as you ride the switchboard around the next section.
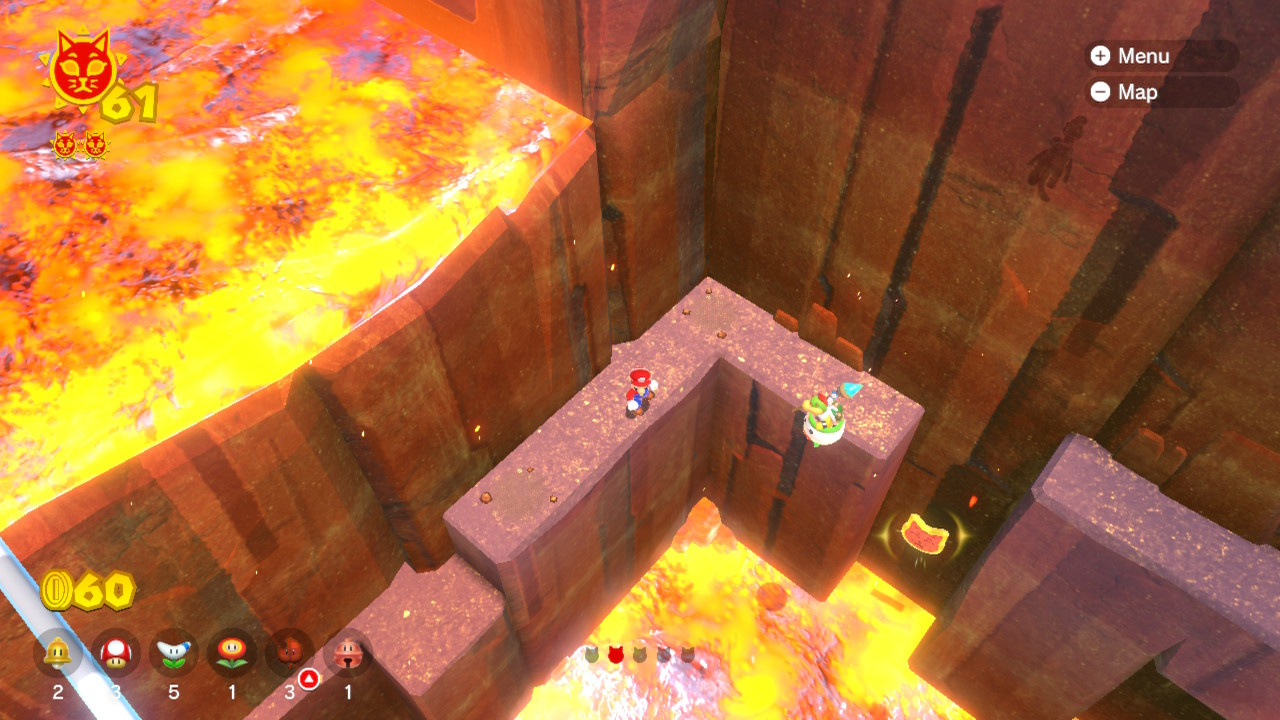
This next one is rather tricky. As you walk around the side of the mountain you'll spot it, just above the lava. You'll need to jump into the gap, collect the shard and then use your wall jumping skills to get back out again.
This Cat Shine Shard is really easy to miss. When you take the switchboard around to the section where there are some POW blocks in the wall, don't leap off onto the next switchboard – instead, duck down (hold LZ or RZ) and allow the current switchboard to slide under the wall in front of you. You'll then need to wall jump to get over to the other side, where you can ride the switchboard to where the Cat Shine Shard is located. Then repeat the steps in reverse to get yourself back out to where the POW blocks are found.
Destroy the aforementioned POW blocks and you'll reveal the Cat Shine Shard.
Mount Magmeow Shine "Blast The Fury Blocks"
The Bowser Blocks are right by the archway at the start of the island. Wait for Bowser to show up and do his thing, and they're yours.
Congratulations! Another island has given up its secrets. Make your way to Roiling Roller Isle!
- Fur Step Island Cat Shine locations
- Scamper Shores Cat Shine locations
- Fort Flaptrap Cat Shine locations
- Pounce Bounce Isle Cat Shine locations
- Lakeside Giga Bell Cat Shine locations
- Slipstake Slope Cat Shine locations
- Clawswipe Colosseum Cat Shine locations
- Trickity Tower Cat Shine locations
- Crisp Castle Climb Cat Shine locations
- Ruins Giga Bell Cat Shine locations
- Risky Whisker Island Cat Shine locations
- Pipe Path Tower Cat Shine locations
- Mount Magmeow Cat Shine locations
- Roiling Roller Isle Cat Shine locations
- Wasteland Giga Bell Cat Shine locations


Comments 0
Wow, no comments yet... why not be the first?
Leave A Comment
Hold on there, you need to login to post a comment...