Welcome to Nintendo Life's Pikmin 4 Engulfed Castle walkthrough. In our Pikmin 4 guide series, we'll be showing you All Treasure Locations, all Gear and Item Upgrades, all Oatchi Abilities, all Pikmin Type Locations, all Onion Upgrade and Flarlic locations, All Region Walkthroughs, All Dungeon Walkthroughs and more besides!
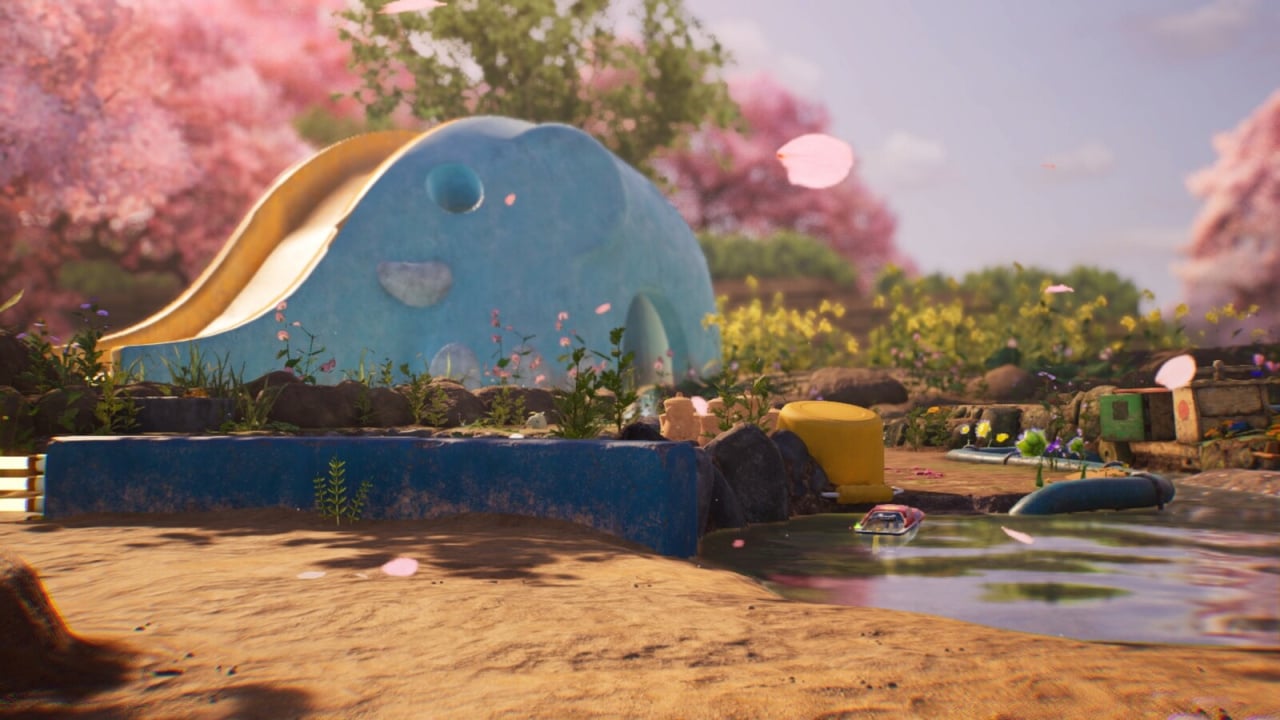
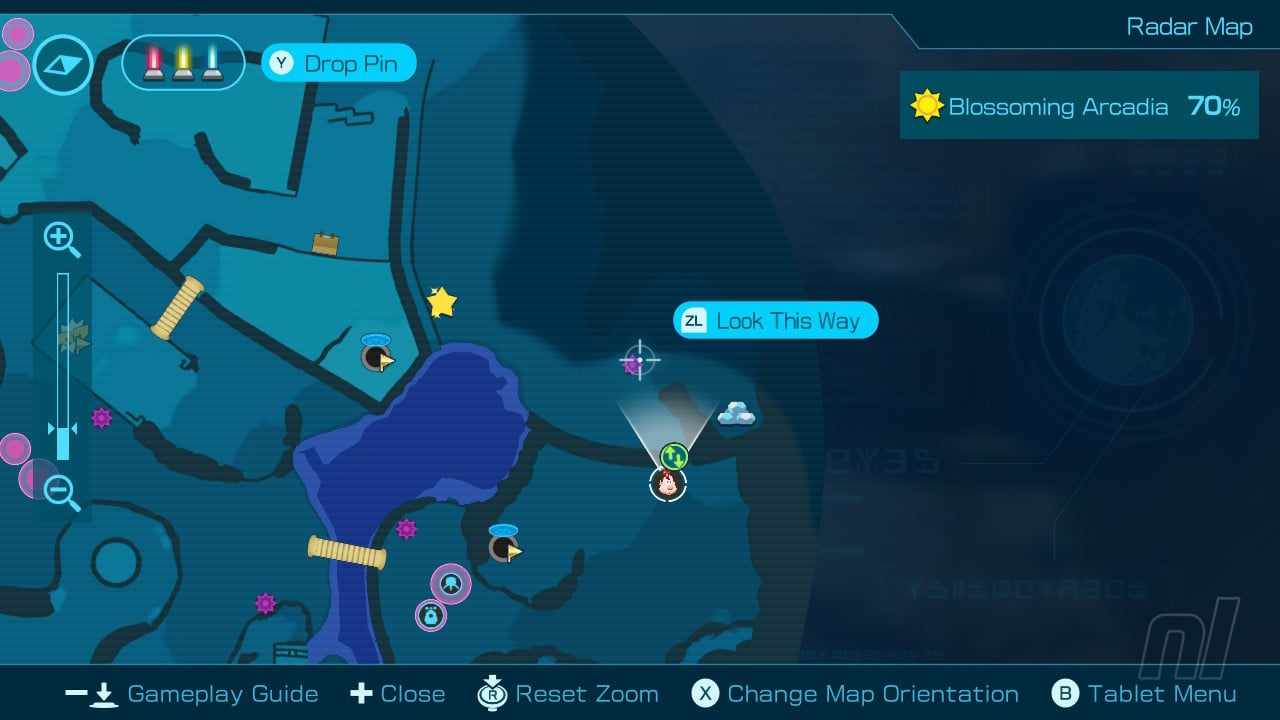
Let's jump into the game's second main region now, Blossoming Arcadia.
Pikmin 4: Blossoming Arcadia 100% Completion Guide
All Dungeon Walkthroughs
- Battle In A Box
- Drafty Gallery
- Hotshock Canyon
- Secluded Courtyard
- Sightless Passage
- Rockaway Cellars
- Kingdom of the Beasts
Blossoming Arcadia Full Walkthrough & All Treasure Locations
We've reached the game's second main mission area, and right off the bat Oatchi has got a brand new ability. That's right, the pupper can now swim. Who's a good boy?!
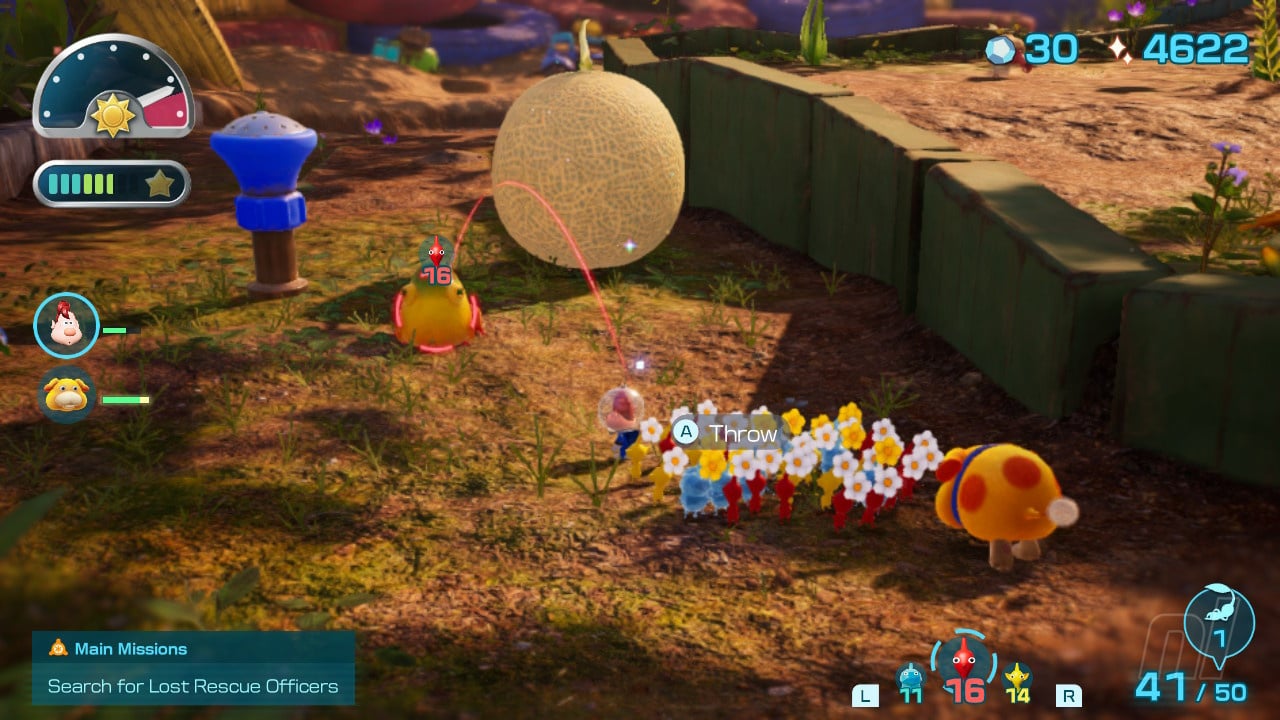
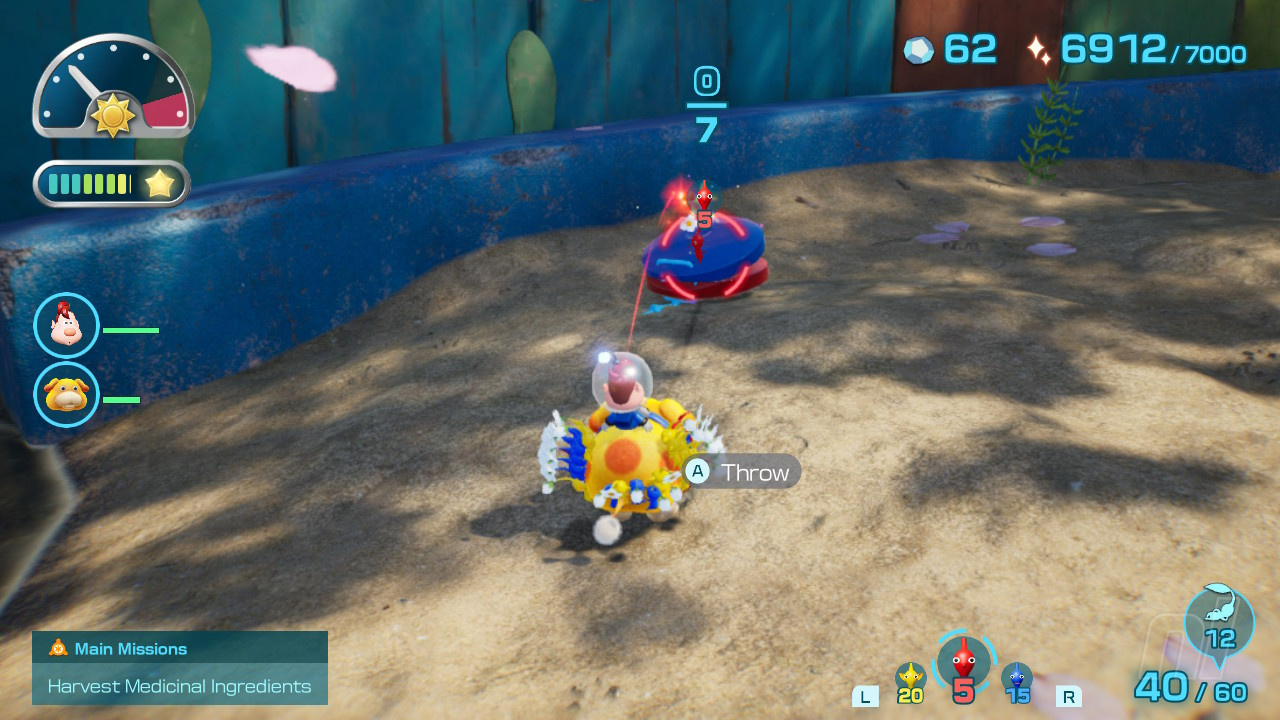
Things begin to expand now that we're in the second region and it's a good time to start looking at the various options available in Russ's lab and assigning them to shortcuts on your d-pad, you'll want to make use of ultra-spicy sprays to speed up movement and rock bombs to deal with big foes here. Let's get stuck into our 100% completion guide!
Sweet-Soaked Bird
Let's start here by heading left of the first base to defeat a new bird enemy type, we simply used bash to ram our foe twice, then pick up the SWEET-SOAKED BIRD here. Now use Oatchi's treasure-seeking ability and he'll run off and around the map to being you to the entrance to another Dandori challenge, BATTLE IN A BOX, where we'll get our hands on another castaway. Could this one be our missing pilot? Hop over to our 100% completion guide for Battle In A Box to rescue them and find out!
Once you're back on the surface you'll want to start gathering raw materials as there are quite a few bridges in need of repair. Luckily there's a stack of materials right nearby, as shown below, so grab it and then let's head down to the stream to swim with Oatchi's new ability.
Flarlic Upgrade #3
Head over to the end of the water here and look into the wooden cabin and you'll find a well-hidden Flarlic. You can nab this by sending five Pikmin up to grab it and then freezing the surrounding water. If you don't have enough Pikmin to freeze the area just use an Ice Blast from your inventory. Now you should be able to control 50 Pikmin at one time. Nice!
Sticky Jewel
Now grab more materials from the area shown below, take out the bird enemies and grab the STICKY JEWEL before we head back to the entrance to Battle In A Box and repair the bridge up there so we can cross into a new part of the map.
Velvety Dreamdrop
Once across the bridge you'll find a small area with a paper bag and a tunnel entrance to DRAFTY GALLERY cavern. Before dropping down to the cavern, let's push the paper bag to make a shortcut then excavate the nearby VELVETY DREAMDROP and use our Ice Pikmin to take out the frozen barrier.
Now check out our 100% completion guide to Drafty Gallery, then return here to continue the main mission area!
With Drafty Gallery complete, we can get back to business by smashing the pots just across from the exit of the cavern to make a shortcut. Now if we head down and around we'll find some frog enemies and a sprinkler system that will get your Ice Pikmin wet. They don't like this! So, head up to the ledge above the sprinkler and you'll find a broken pile of clay. Have your Pikmin fix this - while others work on mending the nearby bridge - and it'll turn into a tap that can be used to stop the flow of water to the sprinkler.
Wayward Moon
Whilst you're up here, you'll also see a base marker, but it's currently protected by a large plant enemy. Take the plant out by overwhelming it with Pikmin and Oatchi's rush attack combined then move your Beagle up here. Now that the water has stopped down at the sprinkler it's a short walk from here to put 50 Pikmin to work lifting the enormous WAYWARD MOON treasure and grabbing any nearby enemy corpses and materials for making sprays etc.
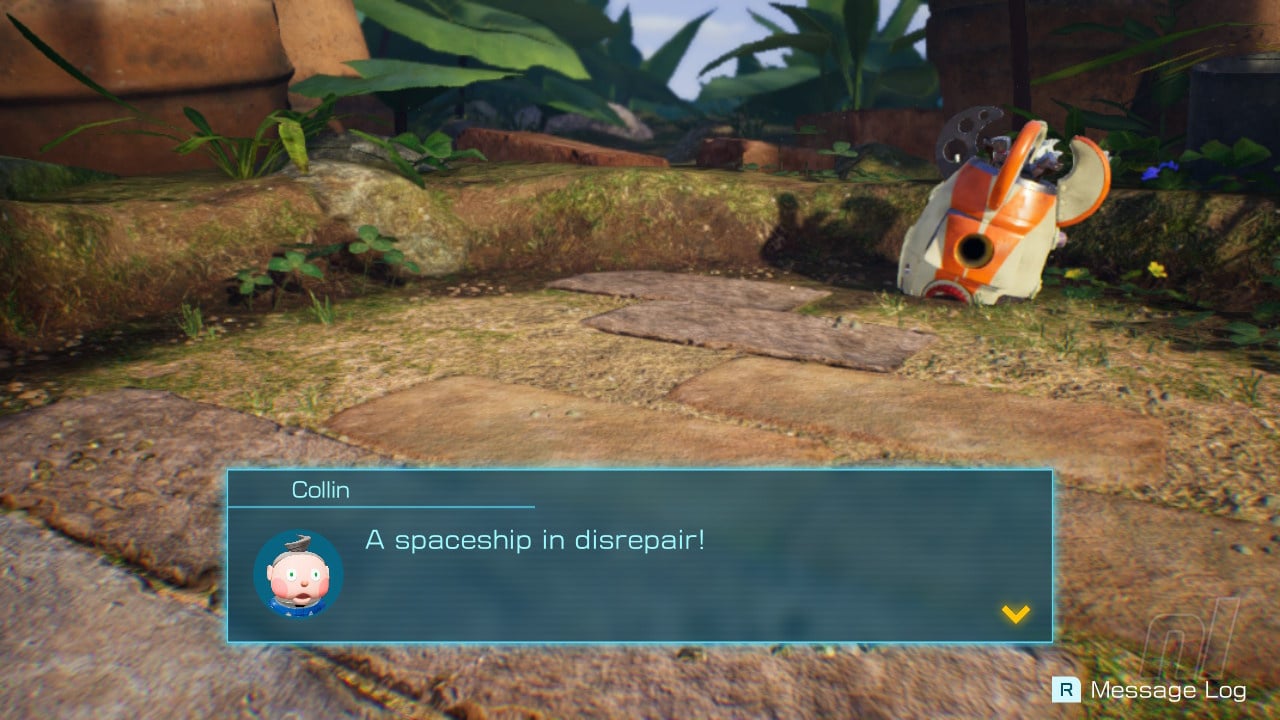
After the next night has passed, make sure to speak to Kingsly and the rest of the team at camp to start any side quests that may be waiting, and make sure to head to the lab to pick up new items and get Oatchi trained up with Shepherd! One very useful item at this point is the Idler's alert which automatically summons idling Pikmin back to you. You should also be able to research the mine prototype at this stage. There's also a new area with a strange deserted spaceship opened up at camp and SERENE SHORES will now appear as a destination to travel to.
Cupid's Grenade
For now though, we're back to Blossoming Arcadia and from our new base position let's head across the nearest clay bridge and take out the small enemy in order to nab the CUPID'S GRENADE treasure. Keep moving forward here, take out the small bird foes and then remove the potted plant to open up a new path. You'll come to your first reinforced wall now and we'll need to equip a Bomb Rock to take this out. It'll take three in total to blast the wall out of your way. Once it's down you'll find the entrance to HOTSHOCK CANYON Dandori challenge. Check out our guide to Hotshock Canyon right here.
Sphere Of Fuzzy Feelings
Before dropping into the cavern challenge, let's head over to the opposite side and take out the three eggs for nectar, then skirt past the large bird boss who'll poke his head out of the dirt to knock down pots for a shortcut, retrieve all of the raw materials and the SPHERE OF FUZZY FEELINGS treasure.
Brush Of Wisdom
Once you've got all these bits and pieces, go back around and deal with that big nasty bird. It may take quite a few Pikmin, and we suggest you eat up all the nearby nectar and equip plenty of red Pikmin here, but you'll soon get it down by targeting its head as it claws its way up out of the ground. Once it is fully on the surface it will begin to eat Pikmin very quickly, so retreat and let it burrow down again then rinse and repeat. You'll get a great big carcass and the BRUSH OF WISDOM for your efforts.
We're heading down Hotshock Canyon now so make sure to jump onto our guide for that challenge and then back here to continue with the main mission area!
Floral Instigator
With Hotshock Canyon done, we can get our latest castaway back to the Beagle before continuing, this time heading off through the gap we made by pulling the potted plant out of the way just a little earlier. Reposition your base back to the first marker here and then continue to move towards the breakable wall as shown below. Take the wall down and move into this new area where you'll find a few new enemies, including one electric beastie who'll require yellow Pikmin to defeat. Now grab the FLORAL INSTIGATOR treasure and any pellets you need, as well as clearing out the dirt mound for raw materials.
Flarlic Upgrade #4
Keep moving up around the track to come to an area with a Flarlic to retrieve. Grab it and then push the paper bag down to make a nice shortcut and take out the electric fence. There's also a lovely bunch of raw materials up here, which we'll need to mend a bridge shortly.
Daughter Doll Head
Go through the opened electric fence now to find another electric enemy to take out as well as the entrance to SECLUDED COURTYARD cavern. Before heading off down here, let's grab the DAUGHTER DOLL HEAD from on top of the blue bucket using our yellow Pikmin then jump down to repair the small clay bridge that requires 40 units of clay. This will give us our third base marker to move to.
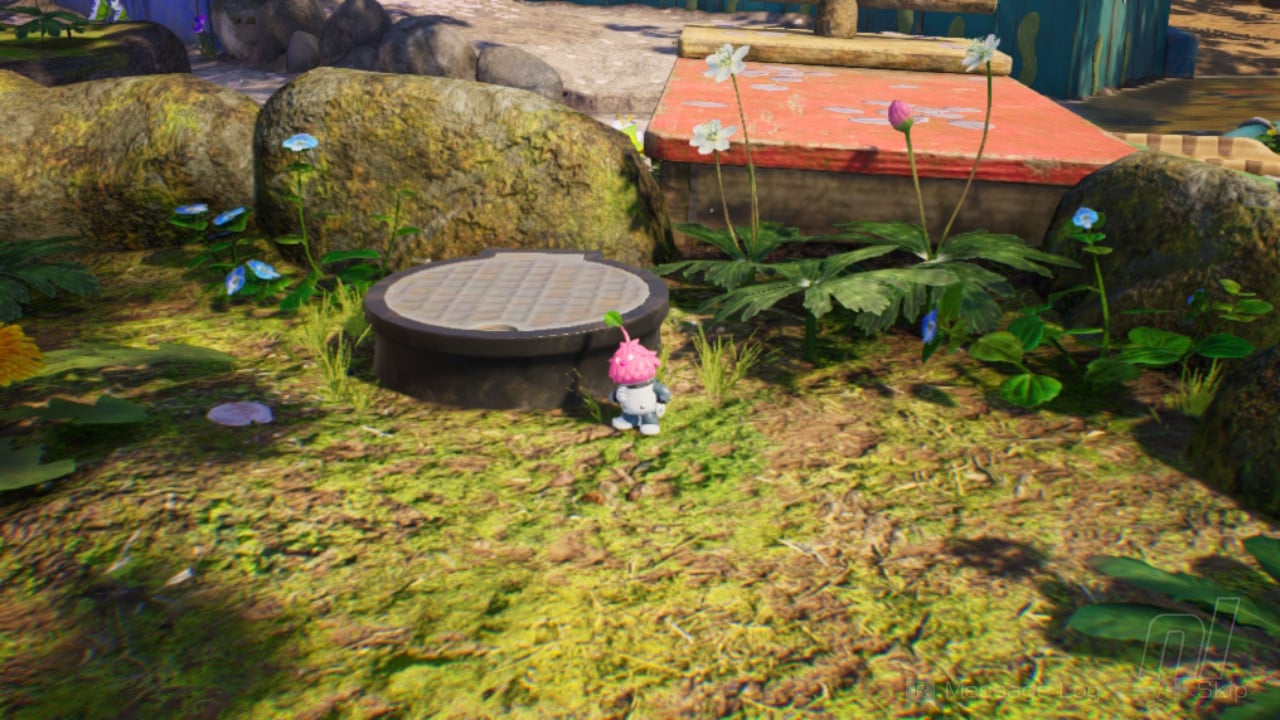
Keep moving here and take out the armoured burrowing enemy then head up to smash a bunch of pots and reveal the SIGHTLESS PASSAGE entrance. Make sure to take out all small enemies up here, break open nectar eggs, empty the nearby dirt mound and destroy the electric fence to open things up further. Phew!
Now. Let's head back and jump down the SECLUDED COURTYARD ENTRANCE. Make sure to check out our 100% completion guide for Secluded Courtyard before coming back here to continue our progress.
Unfloatable Boat
Once you've got Secluded Courtyard complete we recommend diving straight down into SIGHTLESS PASSAGE, making sure to send a few blue Pikmin into the water nearby to retrieve the UNFLOATABLE BOAT on your way there! Check out our full guide to Sightless Passage before returning here to mop up what's left of Blossoming Arcadia.
Shake-A-Smile
As you leave Sightless Passage you'll find yourself on a raised area with a new enemy. Rush this foe with Oatchi and then attack with your Pikmin to retrieve a SHAKE-A-SMILE.
Mechanical Harp
Now, throw some yellow Pikmin up to the MECHANICAL HARP in the corner before pushing the paper bag down to make a nice shortcut to the Beagle.
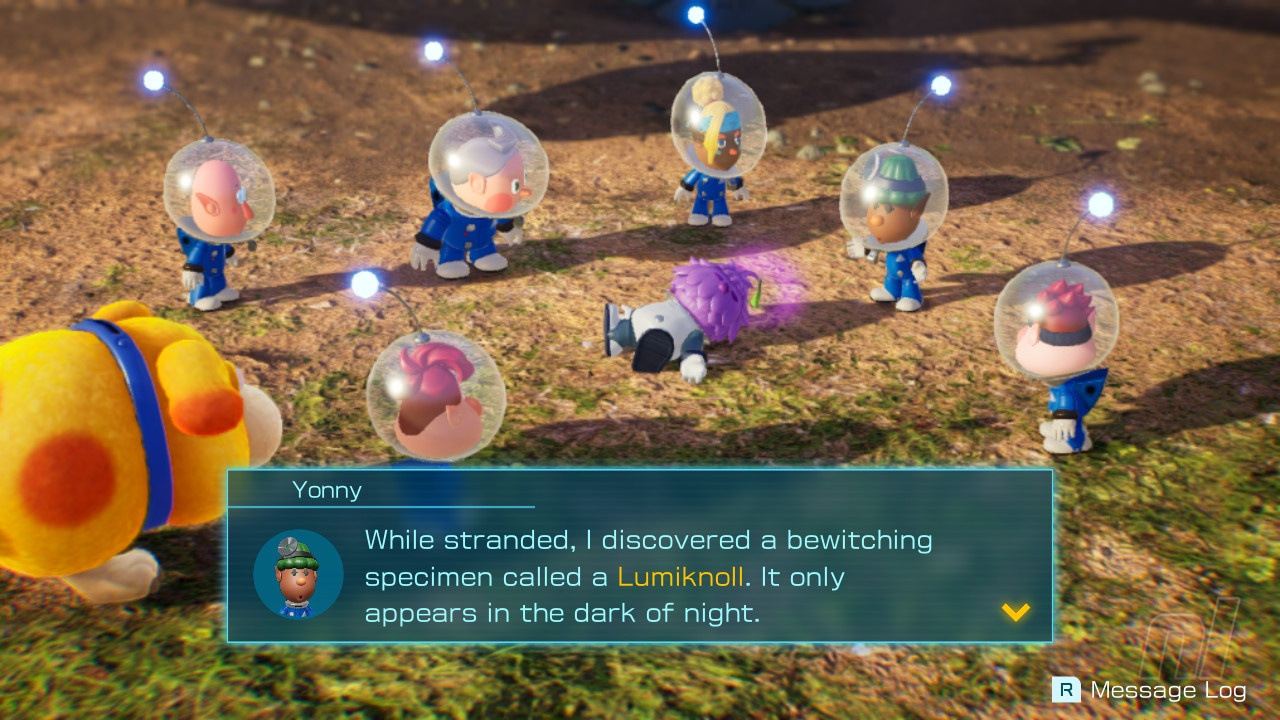
Now that you have rescued Yonny, the team's doctor, she'll explain about an ingredient she requires to cure the castaways. This ingredient must be retrieved at night, so we now have NIGHT MISSIONS available from the camp.
Octoplus
Now let's head through the gap beside the entrance to Sightless Passage where the electric fence previously stood. Right inside here you'll immediately find an enemy to deal with, take it out to nab an OCTOPLUS treasure.
Wind Detector
Now grab the raw materials from the corner nearby and have your Pikmin excavate the ground here, as shown below, to reveal a WIND DETECTOR treasure.
Harmonic Synthesizer
There's a toad enemy to beat right nearby and a HARMONIC SYNTHESIZER treasure. Beware of the army of shelled foes that emerge as you try to grab this treasure. At this point you should hit the next energy target of 7000, opening up yet another new level to explore and finally getting the S.S. Shepherd's engines up and running. We just need to find our pilot now!
Orbital Communication Sphere
But sticking with Blossoming Arcadia, we can now take out the two shelled foes lurking in the dirt as well as empty a dirt pile of its raw materials. Now head to the area shown in our map below to fight a large plant enemy who rises up from the ground. Once you're done make sure to investigate the dirt pile here to retrieve a ORBITAL COMMUNICATION SPHERE treasure.
Searing Acidshock
Now keep moving up and around here to fix a clay climbing wall, then smash into the mushroom objects ahead of you with Oatchi to form a bridge! Gather your Pikmin together and climb up the wall now and then take out the sucky enemy here to retrieve a SEARING ACIDSHOCK treasure.
You'll spot the entrance to ROCKAWAY CELLARS so make sure to check out our guide to Rockaway Cellars before moving on.
Now head across the great big mushroom bridge that you created and you'll find an icy barrier at the other end, so we're gonna need ice Pikmin to take it out. If you need to switch your Pikmin out, the Mishappen Pond base is right nearby. Take out the barrier and march on here to clear out a dirt mound and uncover the entrance to KINGDOM OF THE BEASTS cavern. Sounds scary! Make sure to check out our 100% completion guide to Kingdom of the Beasts before proceeding.
Mooching Vase
Now, with all caverns cleared, it's time to grab the final piece of treasure to 100% this region. Head to the position shown on our map below and fling some yellow Pikmin up to unearth this MOOCHING VASE. Job done. It's now time to head out on some night excursions for the good doctor.
Investigation Complete!
Make sure to check out our full Pikmin 4 Walkthrough Hub for more guides, hints and tips!


Comments 0
Wow, no comments yet... why not be the first?
Leave A Comment
Hold on there, you need to login to post a comment...