Welcome back to our full walkthrough for Metroid Prime Remastered.
You've made it to the Research Core of Phendrana Drifts — well done! Now, fair warning: this area will really start to test your combat skills. You're going to be encountering various types of Space Pirates, a heap tonne of Auto Turrets, and of course, the titular Metroids.
So let's get started.
Subscribe to Nintendo Life on YouTube846k
Metroid Prime Remastered: Walkthrough - Phendrana Drifts Research Core
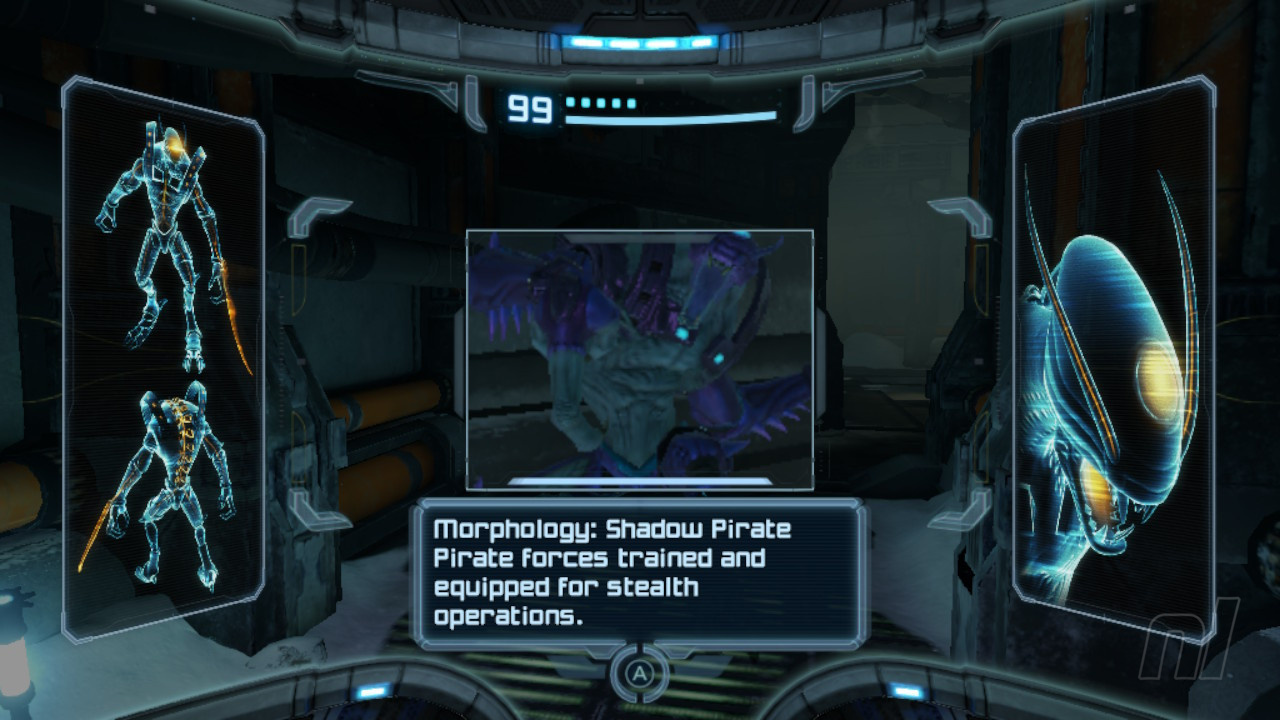
Scan Entry - Shadow Pirate
Look at this, we're just getting started and there's already a scan entry to add; lovely stuff.
So, leave the Save Room and head to the Wave Beam on your right in the Ruined Courtyard. Immediately, you'll see an Auto Turret ahead, so blast it and quickly whip out your Scan Visor. A Shadow Pirate will pop up and attack you, so scan it and then dispatch it with some well-timed charge shots.
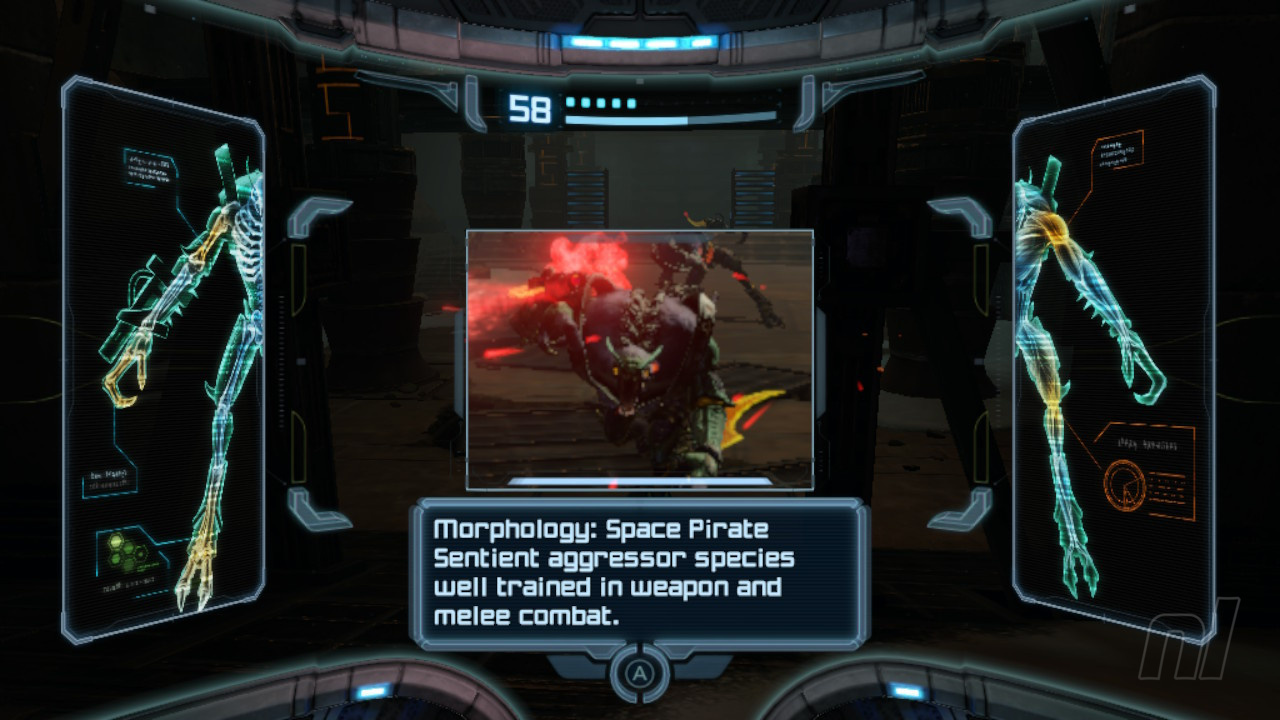
Scan Entry - Space Pirate
Now move through to the Research Entrance. A cutscene will trigger to introduce the regular Space Pirates. Scan one of them!
Scan Entry - Locked Door
Here's a scan entry that's very easy to miss. When you enter a room that automatically locks in the presence of enemies, you'll need to scan the door itself. There are multiple incidents where this might occur, but just scan the door now to get it out of the way.

Don't underestimate these guys, particularly when there's more than one. Keep dodging their attacks and fire at them with missiles and charge shots. Once they're defeated, the doors will unlock. Head through the regular door on the ground floor to access the Map Station first. Then, move upwards and through the Wave Beam door.
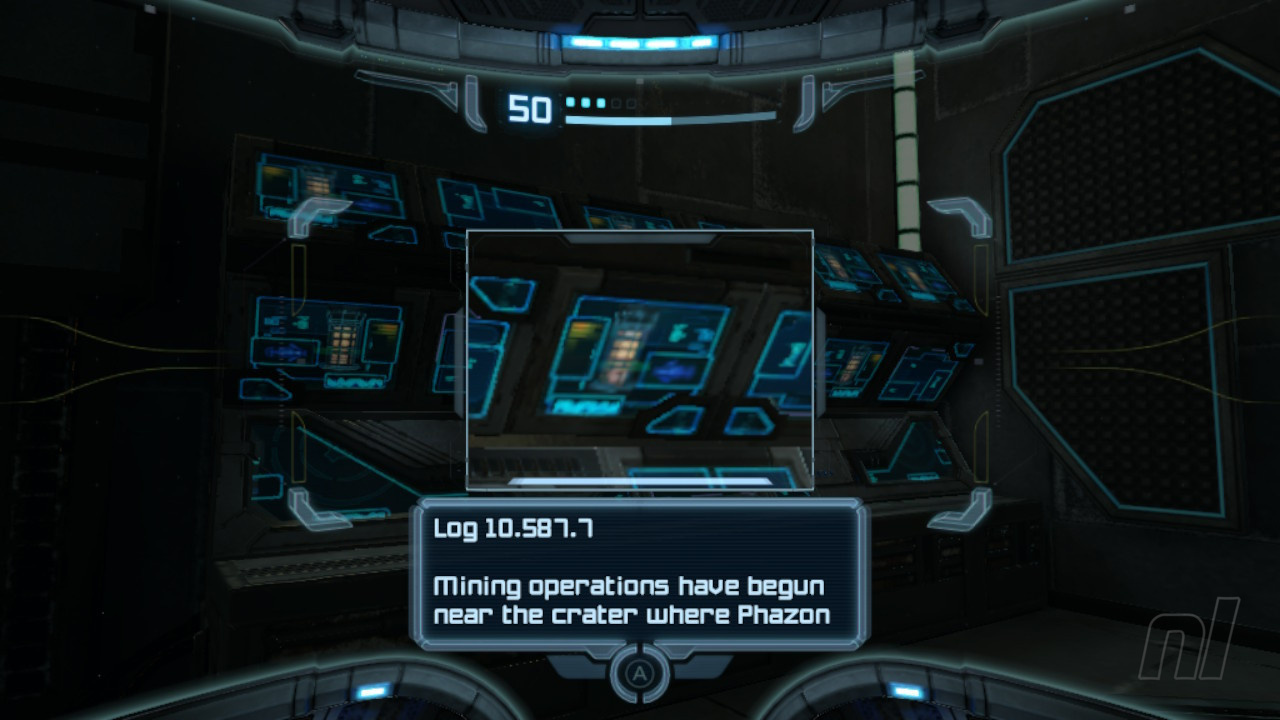
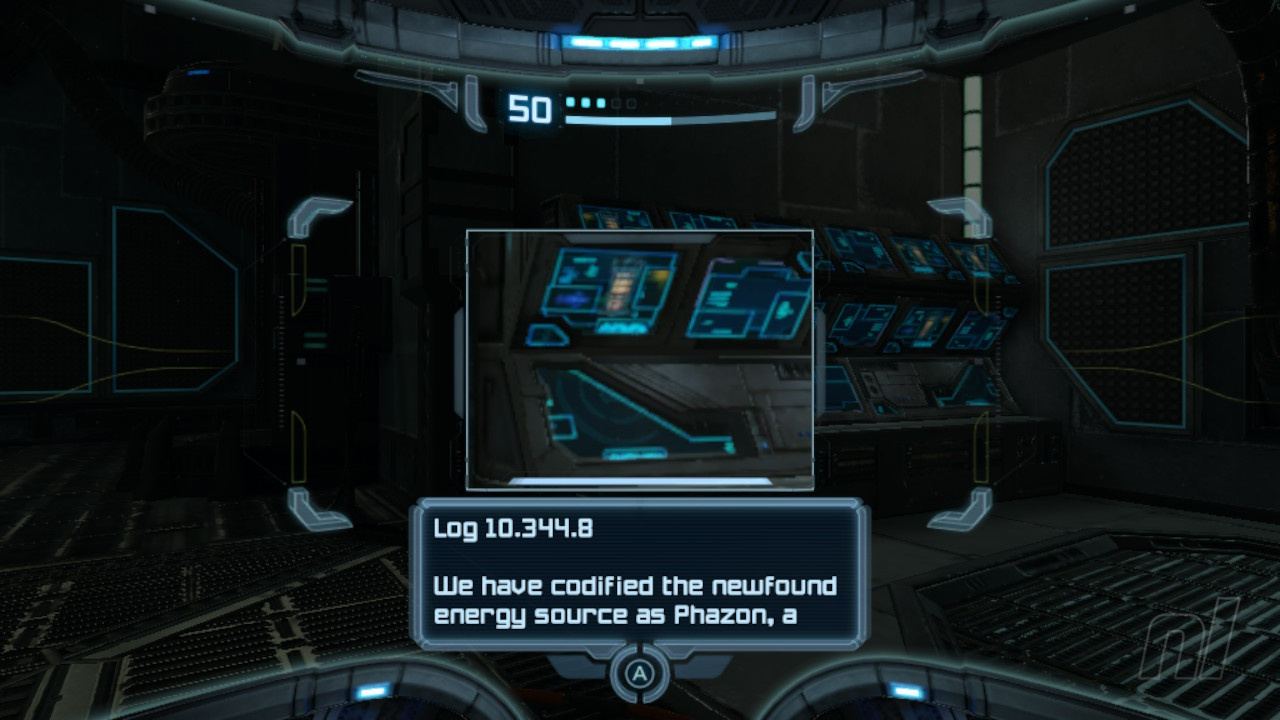
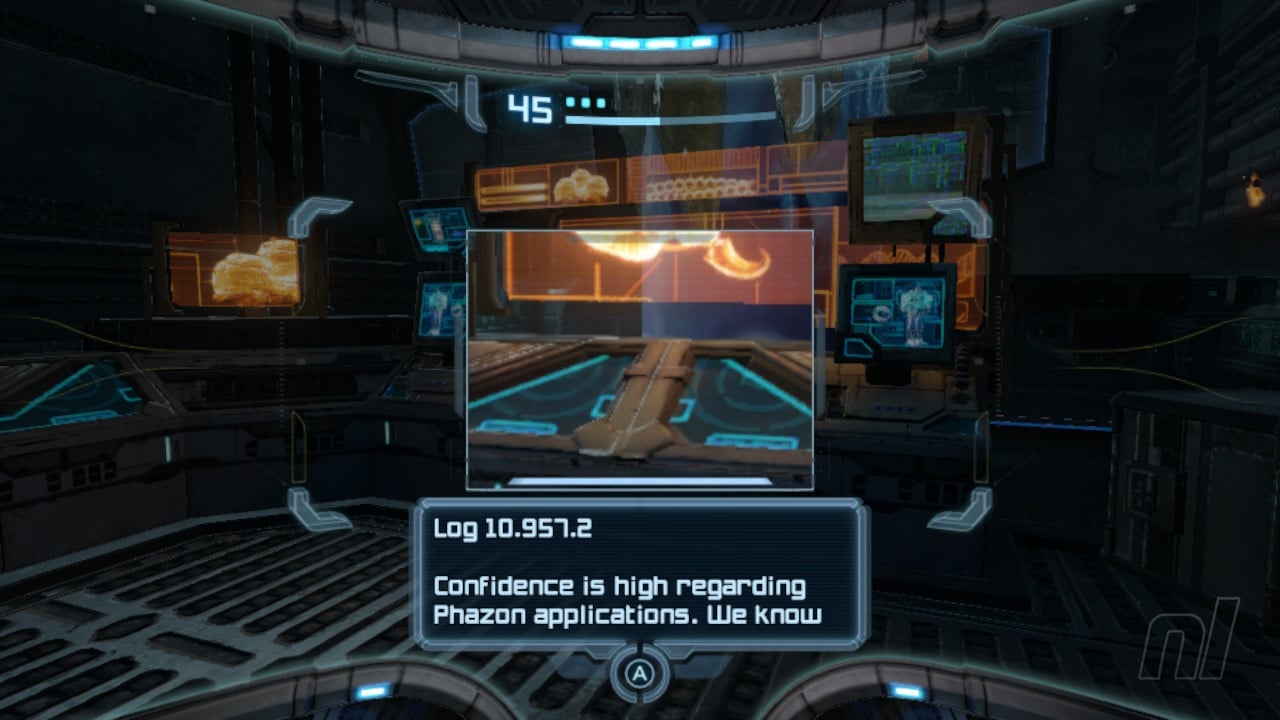
In the next room, the Research Lab Hydra, you'll be attacked by a group of Space Pirates. Defeat them and then get your scan visor out. There will be numerous Pirate Logs found in this room, so scan any point marked with a red icon. Here at the first three on the ground floor:
Scan Entry - Pirate Data #1 - Research Lab Hydra
Scan Entry - Pirate Data #2 - Research Lab Hydra
Scan Entry - Pirate Data #3 - Research Lab Hydra
Head upstairs and grab the next one:
Scan Entry - Pirate Data #4 - Research Lab Hydra
Scan Entry - Pirate Data #5 - Research Lab Hydra
Once you're done, jump up through the Wave Beam door and head through the Observatory Access and into the Observatory itself. Guess what: more Space Pirates will ambush you here, so get rid of them pronto.
There are two more Pirate Log entries here, so scan them:
Scan Entry - Pirate Data #1 - Observatory

Scan Entry - Pirate Data #2 - Observatory
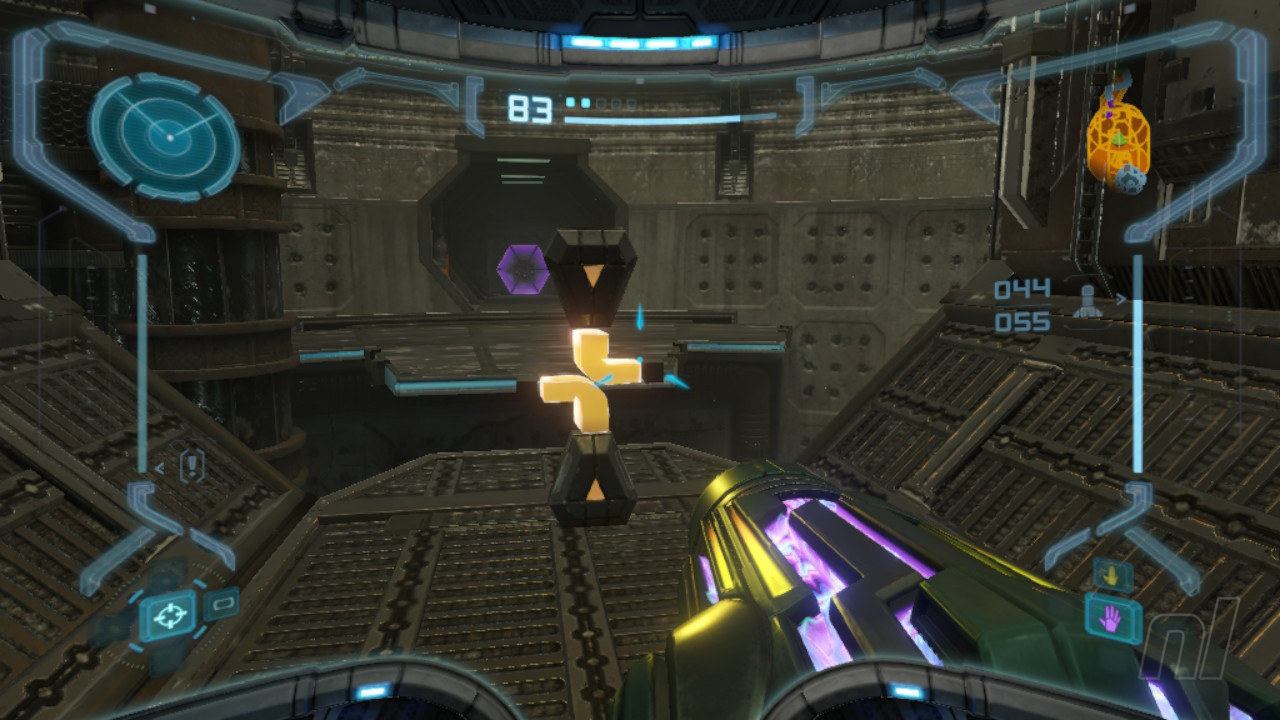
Now, scan the module in the centre of the two Pirate Logs to activate the holographic sequence. A Morph Ball slot will light up, so jump up to it and bomb it. A timer will activate, so you'll need to be quick now. A second slot will light up a bit higher up, so double jump up and bomb it.
Next, four Spinner slots will light up in the centre of the room. Boost into each of them to lower the antennae.

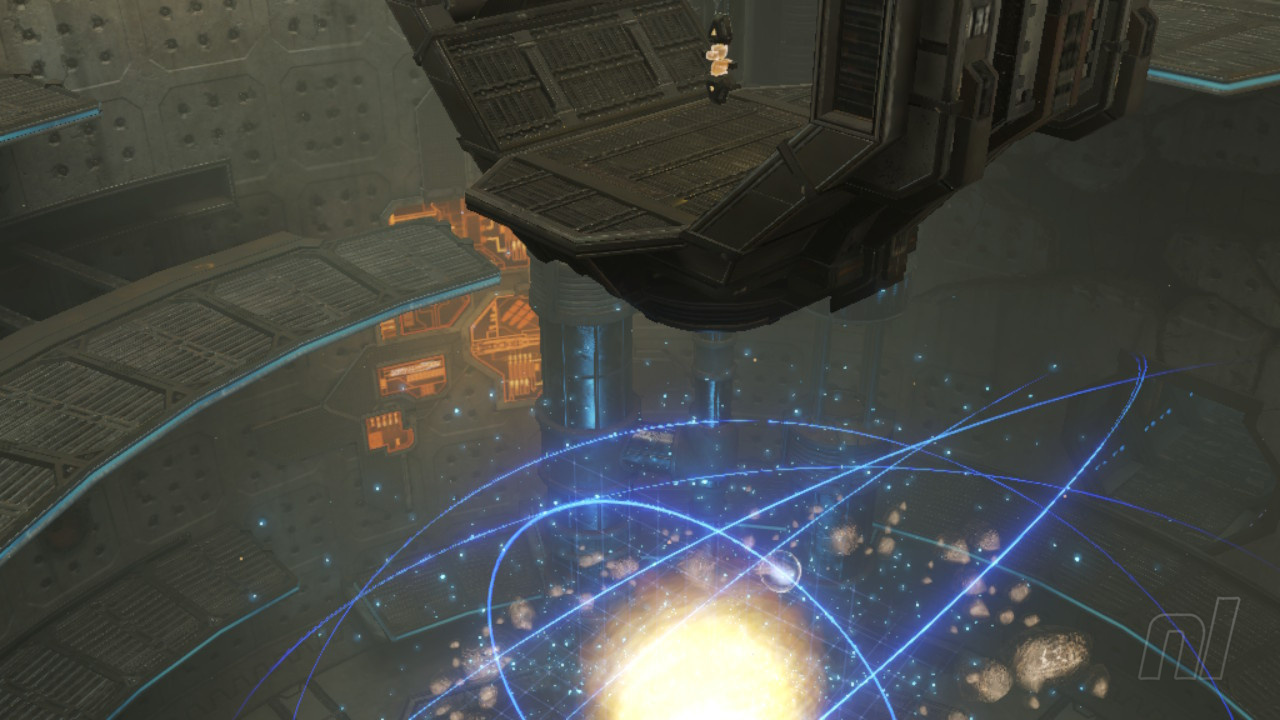
Completing this will activate the central hologram and allow you to head up and grab the Super Missile Upgrade. But first, there are two more Pirate Logs to grab, and these can be found within the hologram itself. Simply scan the planets marked with a red icon:
Scan Entry - Pirate Data #3 - Observatory

Scan Entry - Pirate Data #4 - Observatory

Power Suit Upgrade - Super Missile
Jump up the platforms around the edge of the room until you're able to reach the top. The Super Missile will be resting in the centre platform, so hop on over and grab it.
Now turn around and blast the locked door with a missile. Head on through and save your progress.
Exit the Save Room, hop across to the other side of the Observatory, and through the Wave Beam door. Progress through the tunnel, avoiding the Pulse Bombus and Crystallites as you go. You'll exit into an elevator room that'll take you up to the Control Tower.
Ahh, sunlight. Don't get too cosy, as more Space Pirates are lying in wait. Get rid of them.
Scan Entry - Flying Pirate
Killing the Space Pirates will trigger a short cutscene during which Flying Pirates will enter the fray. Scan one of these immediately.

Killing the Flying Pirates requires you to be quick and aggressive. Keep strafing to avoid their beam and missile fire, then return fire with your own. Watch out when they die, though, as they might fly directly into you, kamikaze style.
When you're done, head through the unlocked doorway and into the East Tower. Take the elevator down to Research Lab Aether.
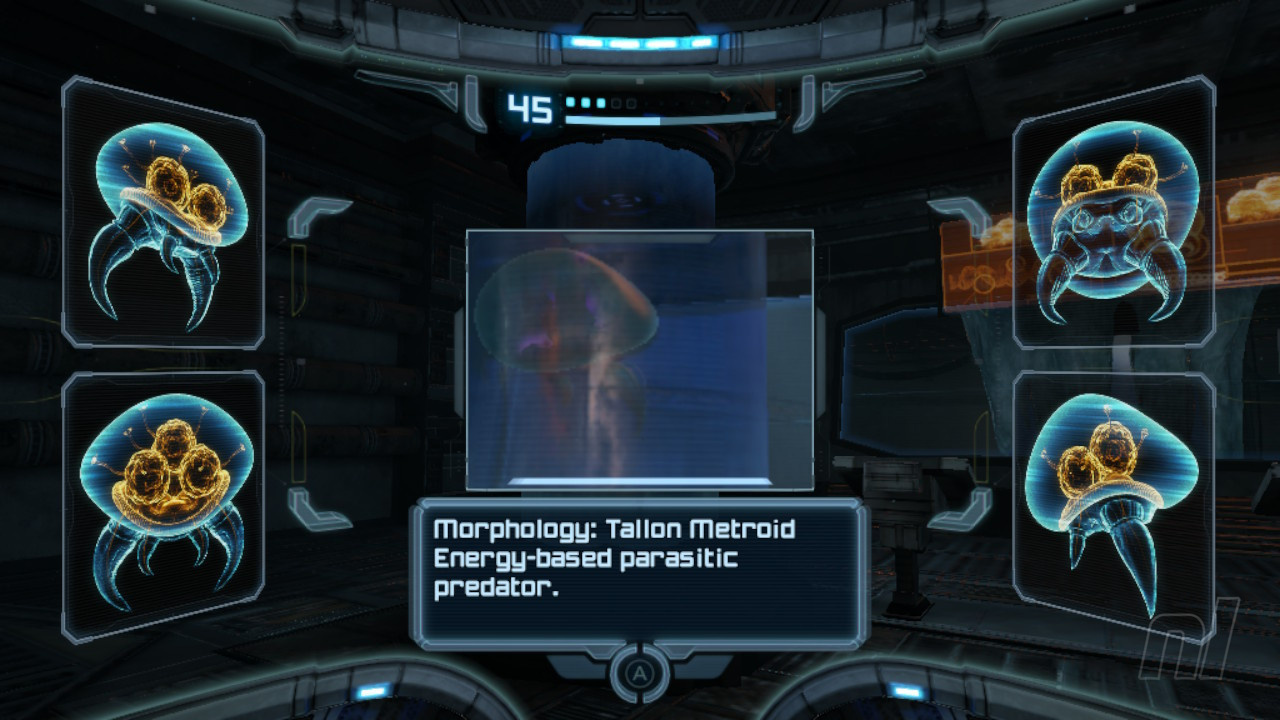
Right, there are quite a few scan entries here, so let's take this nice and slow. First up, you'll notice a tank in front of you containing...
Scan Entry - Tallon Metroid
Yes, it's a Metroid! Scan it.
Keep firing at the Metroid with charge shots and missiles. It'll take a few hits to bring it down, so keep your distance. It may attach itself to you if it gets too close, but simply turn into the Morph Ball and drop a bomb to get rid of it.
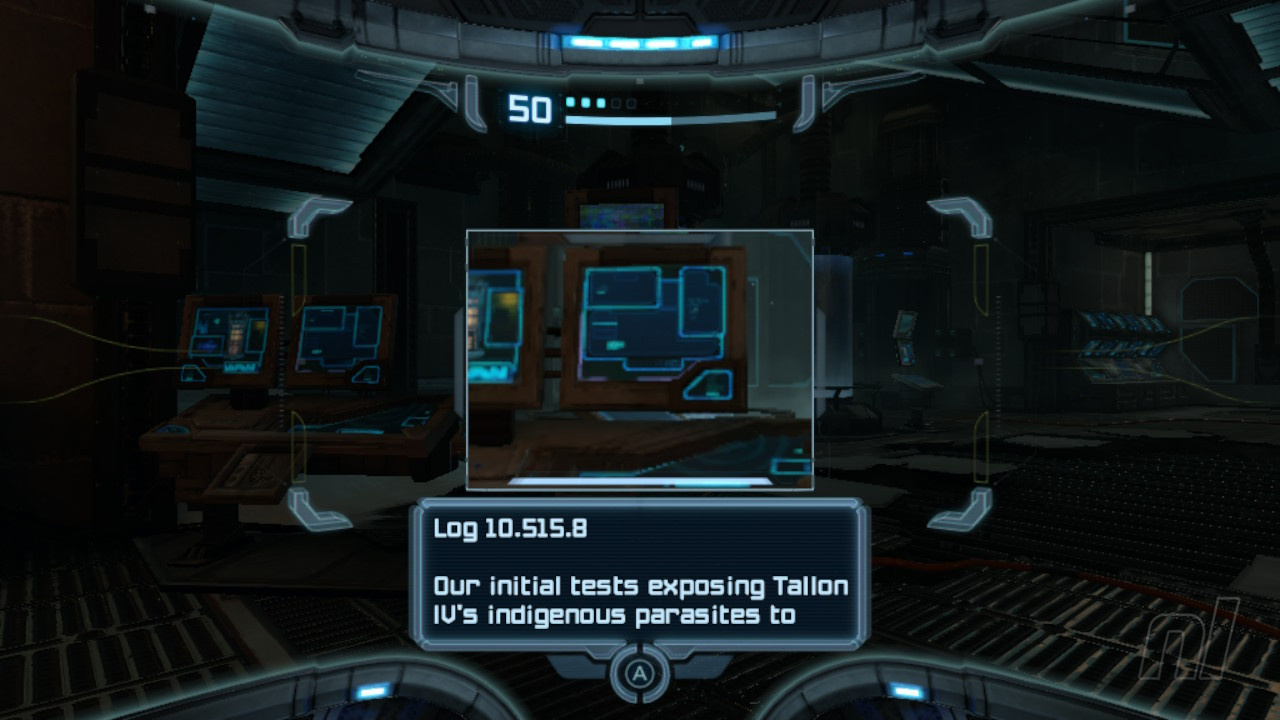
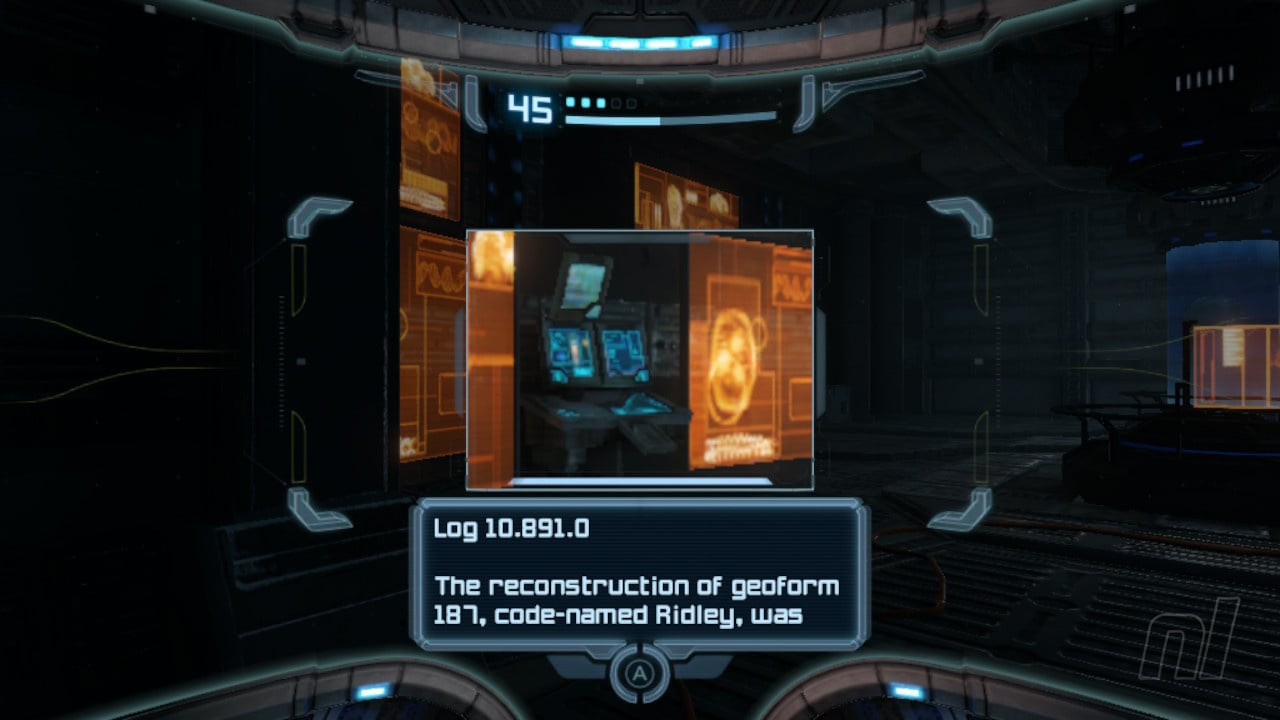
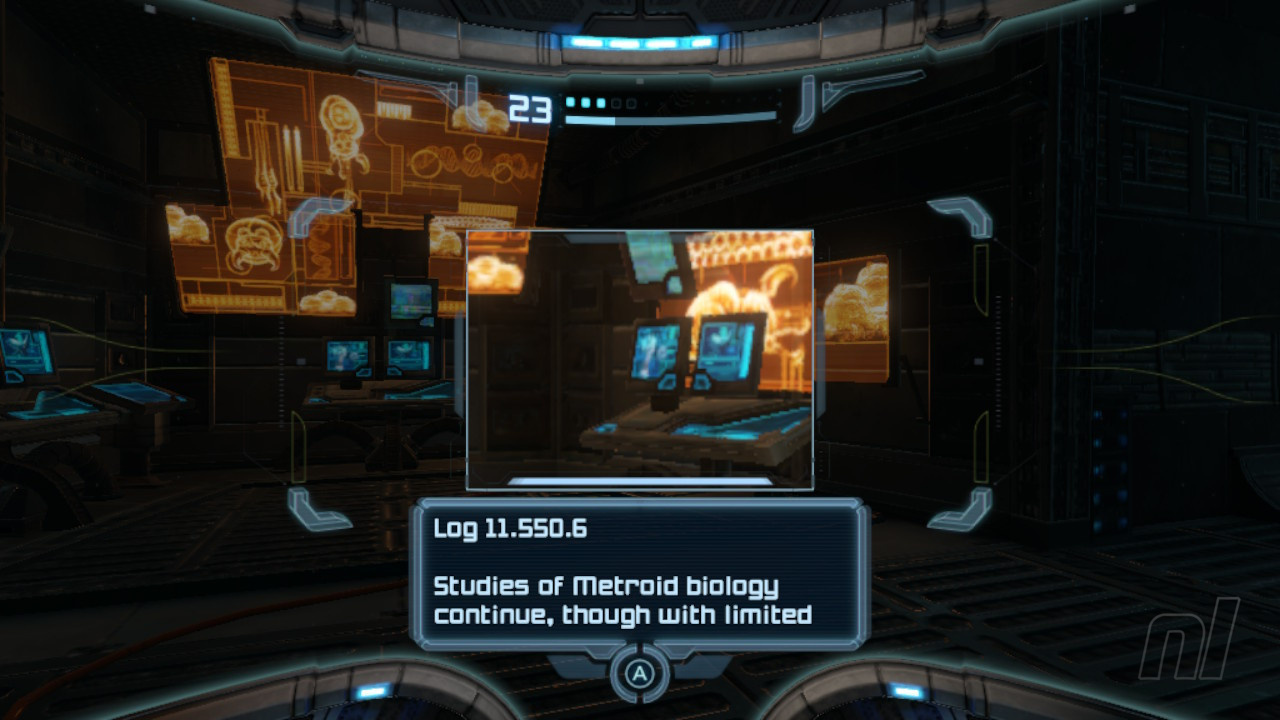
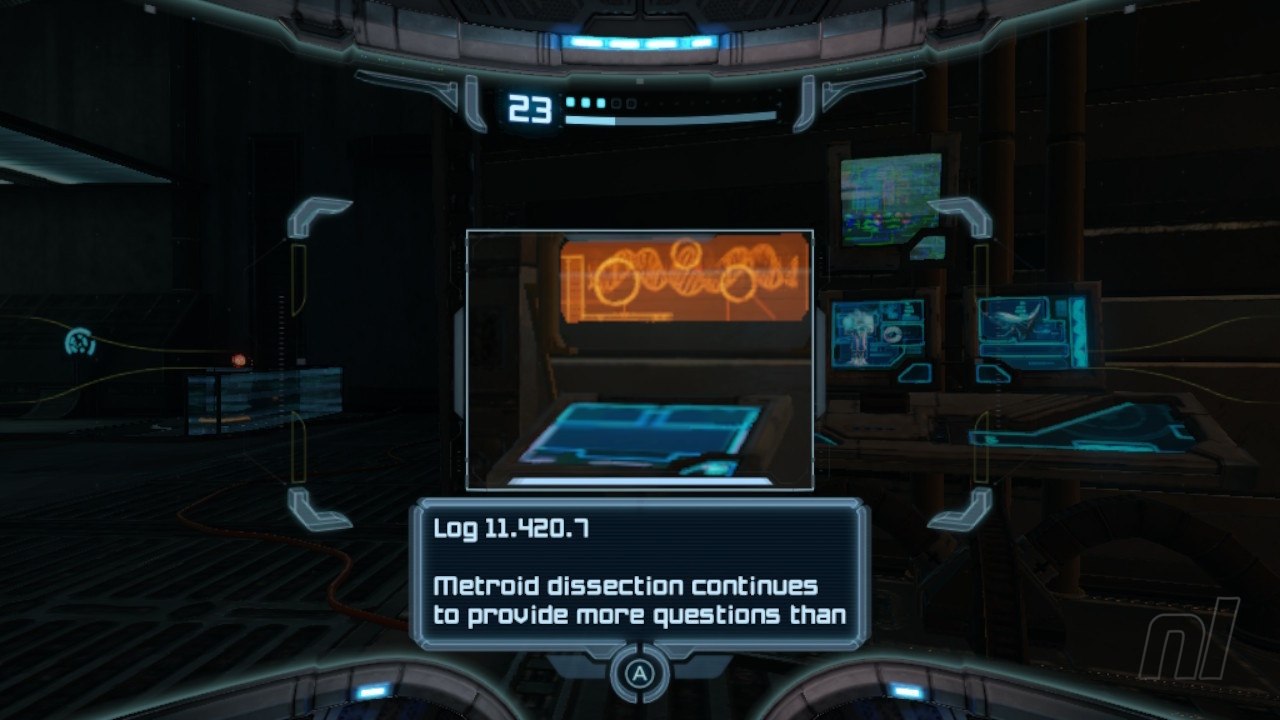
Now before we look for anything else, clear the room of the Space Pirates; it'll just make this whole process much easier. Once that's done, clear off all the Pirate Data logs. There are five in total: two on the top floor, one in the middle, and two on the bottom.
Scan Entry - Pirate Data #1 - Research Lab Aether
Scan Entry - Pirate Data #2 - Research Lab Aether
Scan Entry - Pirate Data #3 - Research Lab Aether
Scan Entry - Pirate Data #4 - Research Lab Aether
Scan Entry - Pirate Data #5 - Research Lab Aether
Okay, got them all? Good. Now there are a couple of upgrades to get. First up, a tank on the bottom level will hold an Energy Tank.
Energy Tank 6 - Research Lab Aether
Blast the tank with a missile, then hop in and grab the upgrade.
Missile Upgrade 11 - Research Lab Aether
Now, head up to the second floor via the small elevator. Walk through and you'll see a path above that's just about the right size for your Morph Ball. Hop up and roll around to the Missile Upgrade. Go slow now, otherwise you'll easily fall off.
Once you're done, you can head out via the Wave Beam door on the bottom floor. Go through the short passageway and into the Research Core.
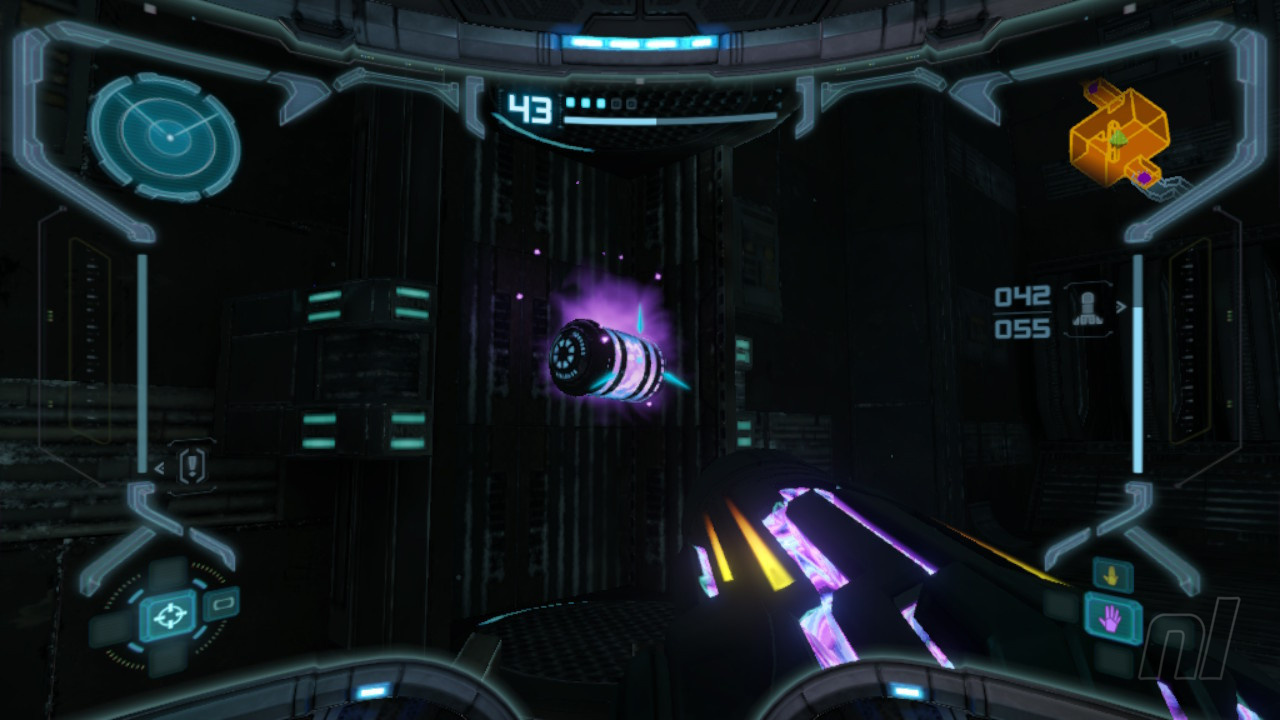
Dispatch the Space Pirates and Flying Pirates here. Now, your goal is to remove the energy field protecting your next Visor upgrade. This is pretty simply: all you need to do is scan every Red icon you see in the room. Take each one as you head down and you won't miss any. You'll encounter a couple of Auto Turrets on your way, but just be vigilant and you'll be fine.
Power Suit Upgrade - Thermal Visor
When the entire energy field is down, you can head into the centre of the room and grab the Thermal Visor. Doing so will cause a blackout to occur, so you'll need to equip it immediately to see where you're going and scout out any enemies.
To get out of the Core, you'll need to power up a conduit near the Wave Beam door to activate it. You'll see it using the Thermal Visor. Simply shoot it with the Wave Beam.
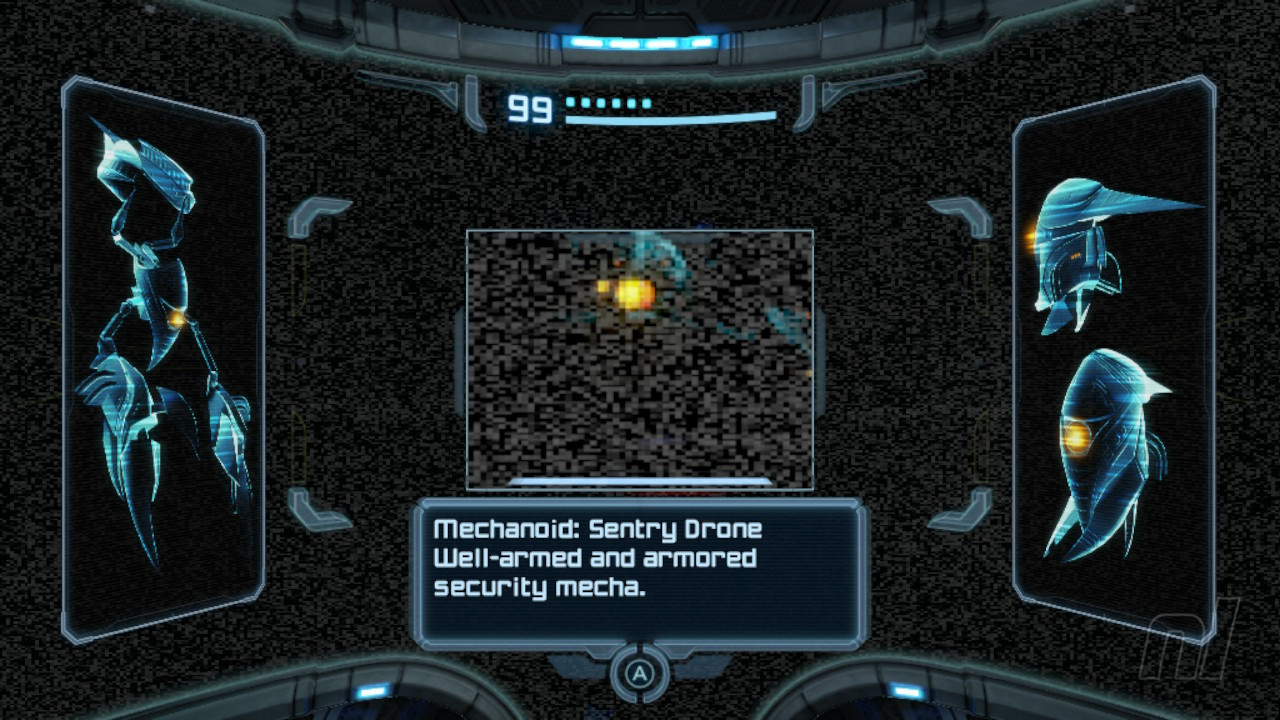
Scan Entry - Sentry Drone
On your way out of the Research Core, you'll run into a couple of Sentry Drones. These guys will make your vision go all fuzzy with static and they won't show up that well through your Thermal Visor, but just keep them in your sights and keep firing.
Make your way back out of the entire Research Core and into the Ruined Courtyard. Save your game along the way.
You can now head into the third and final doorway on this level. To unlock it, switch to your Thermal Visor and locate the Power Conduit above the door. Blast away the Cordite with a Super Missile, then shoot the conduit with your Wave Beam. Ta-da! The door is now unlocked. Head on through. Progress through the next two short areas until you come to the Quarantine Cave.
Scan Entry - Thardus
A cutscene will commence to introduce Thardus, the next big boss. He's a big boy, isn't he? Scan it!
If you're having issues beating Thardus, we have a separate How to Defeat Thardus section should you need any extra help here.
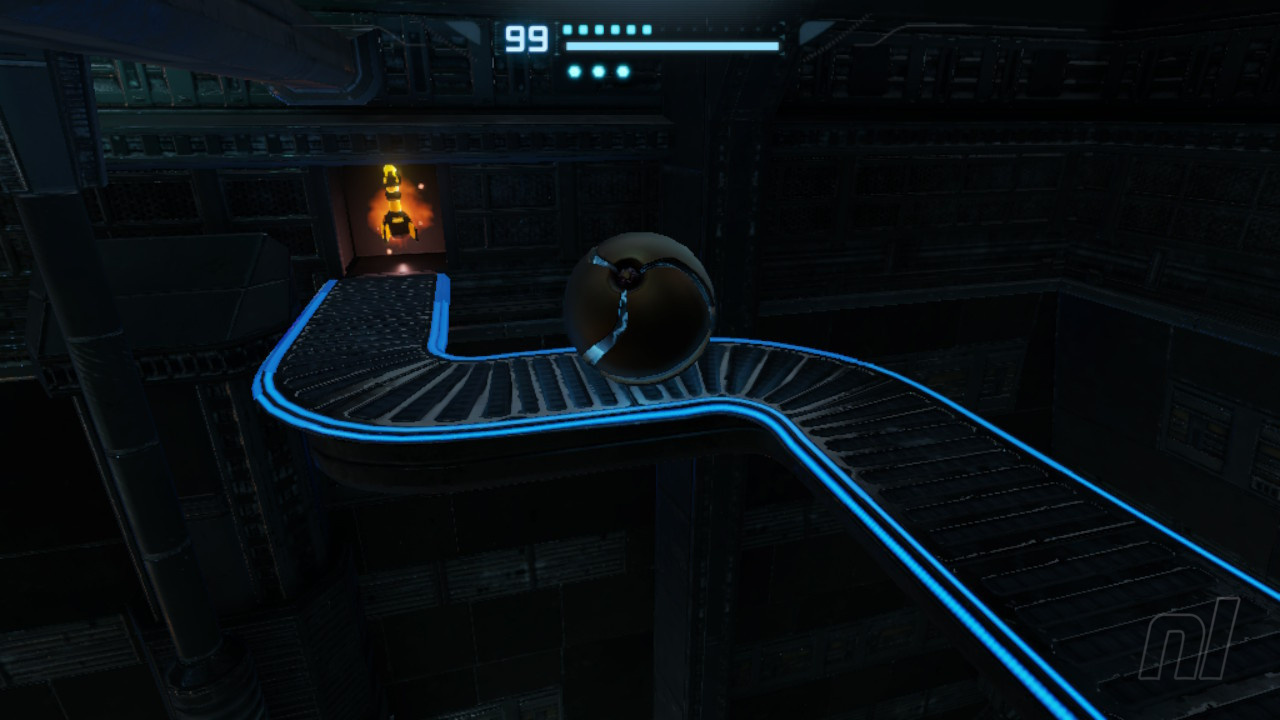
Power Suit Upgrade - Spider Ball
Once Thardus is defeated, you can grab the Spider Ball upgrade - this will let you stick to designated tracks around Tallon IV.
Check out our full Metroid Prime Remastered walkthrough for more tips and tricks.


Comments 0
Wow, no comments yet... why not be the first?
Leave A Comment
Hold on there, you need to login to post a comment...