Hello, welcome back to our full walkthrough for Metroid Prime 4: Beyond.
This time, we're heading into The Great Mines to obtain our fourth and final Master Teleporter Key. This is it, folks. The end is (kind of) in sight. The Great Mines is a dangerous place, full of nasty enemies along with what might be the most ferocious boss of the entire game. Be ready.
Let's get started.
The Great Mines Walkthrough
In Sol Valley, head to The Great Mines; it'll be marked on your map in the north-east corner.
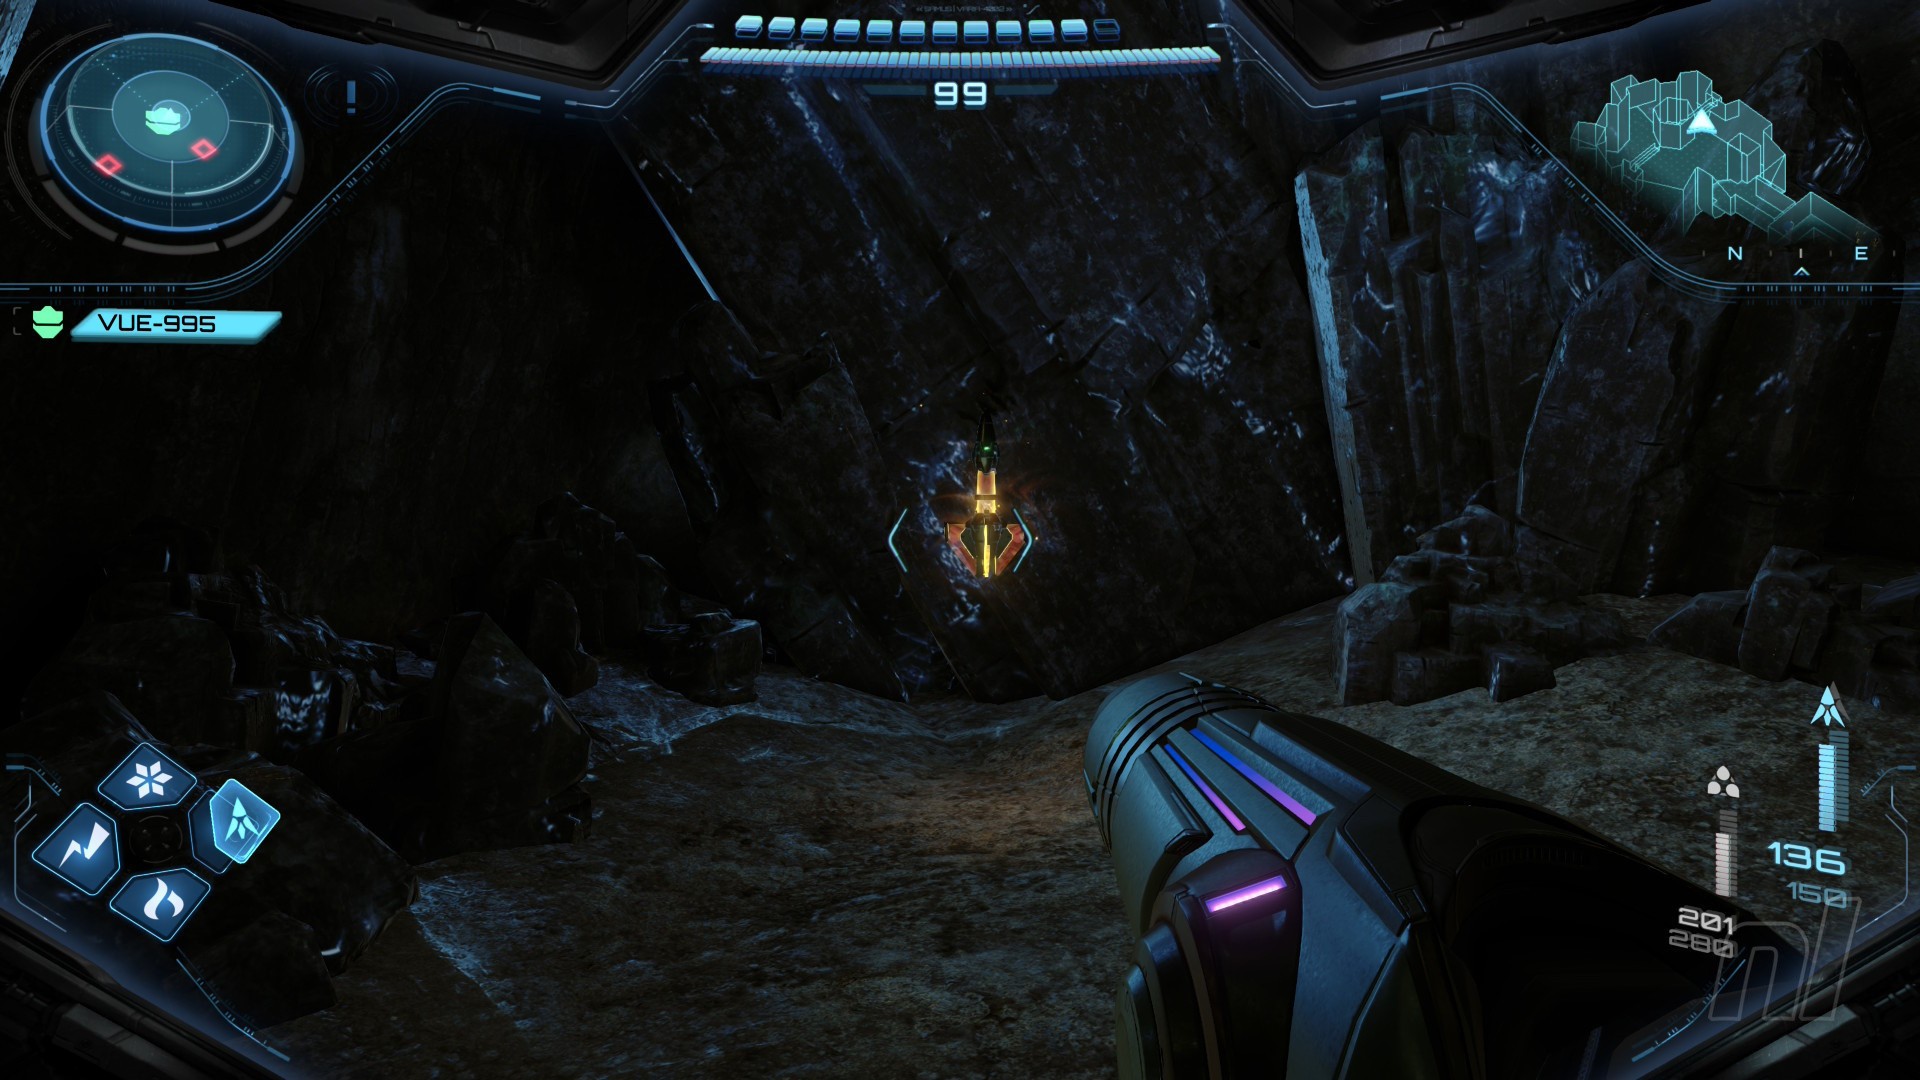
When you reach the mines, a cutscene will trigger. You'll need to use the Spider Track to get across the gap, but don't go over just yet. Instead, jump off the side. Trust us!
Shot Expansion #21
Underneath the bridge, you'll see a bunch of grapple points. Use the grapple to swing across and grab the Shot Expansion. Okay, now head back up and go across the Spider Track. Press the terminal on the other side to extend the bridge.
Use the next terminal to activate the terminal, then take it down.
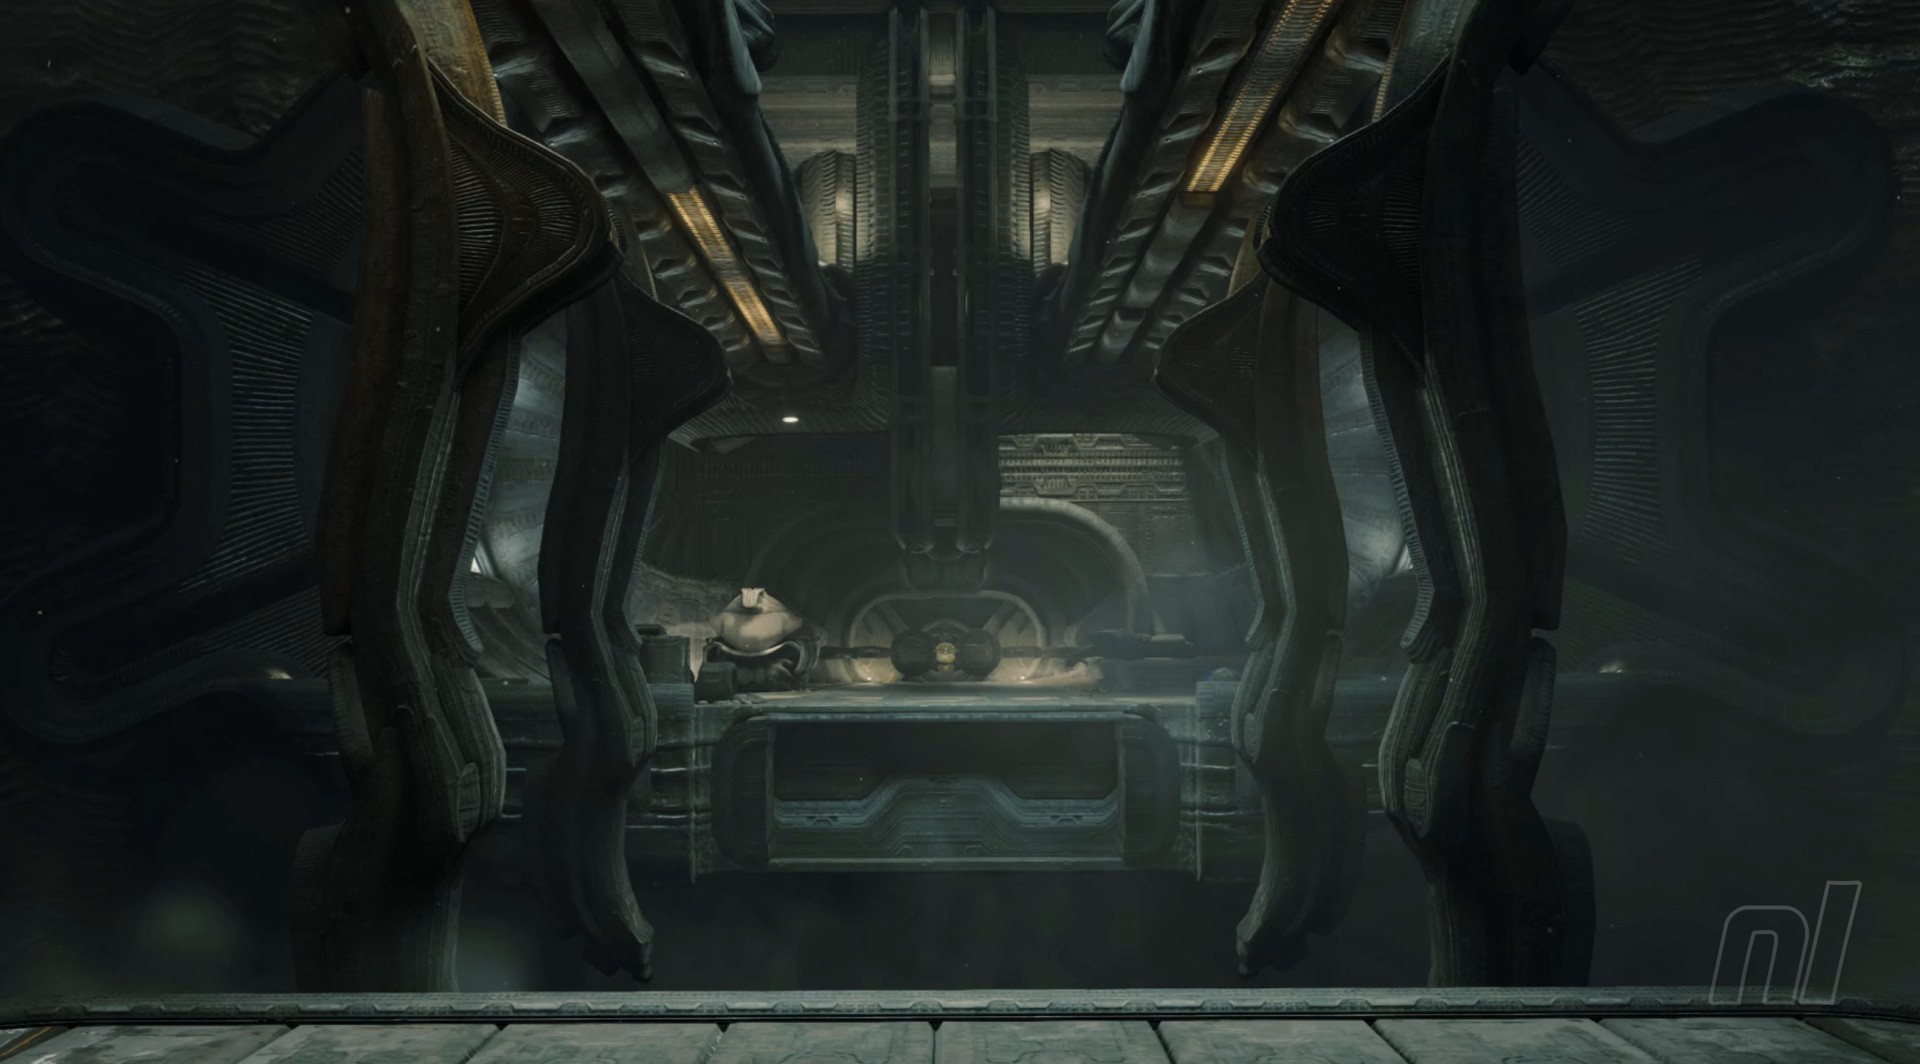
When you reach the bottom, activate the terminal to open the door to The Great Mines.
Scan Entry: Winged Lizard

You'll see some creatures flying around the area; these are Winged Lizards. Scan one!
Missile Expansion #25
Walk around to the right and jump over the gap. Take the Spider Track up. Jump over the next two gaps and jump down the next Spider Track. Hop over the next gap and you'll see a third Spider Track going up. Take this up to grab the Missile Expansion.
Work your way back around until you see a Spider Track leading across the huge gap. Take this across, then use the spinner at the end to extend the bridge.
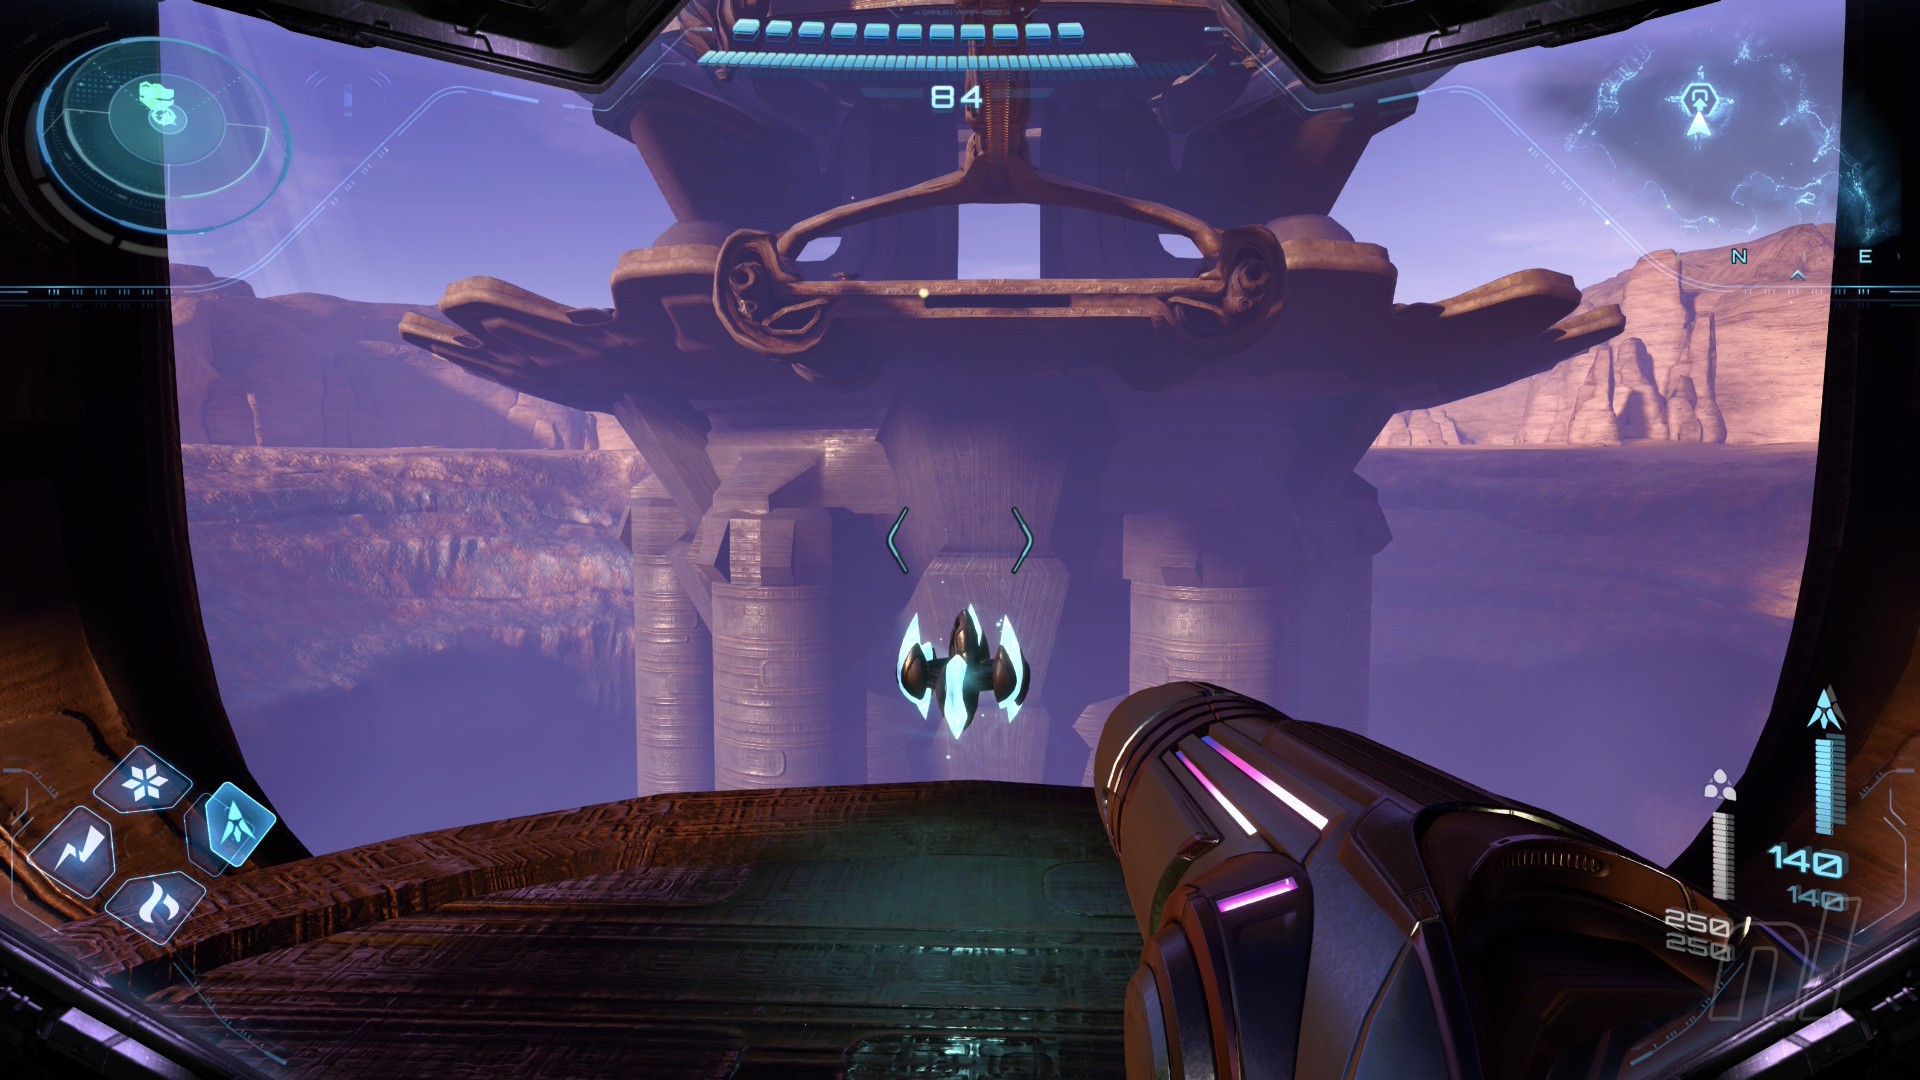
Allow Armstrong and Duke to pull the Energy Lock apart, then shoot its centre with the Thunder Shot. Head through the door into the Entry Tunnel.
Take the door on the left, then go straight ahead for the Save Station. Now exit and take the door on the left into the Command Center.
Scan the terminal in the middle to gain the Area Map. Now use the bomb slot to open the door on the right.
Scan Entry: Spin Dartwing
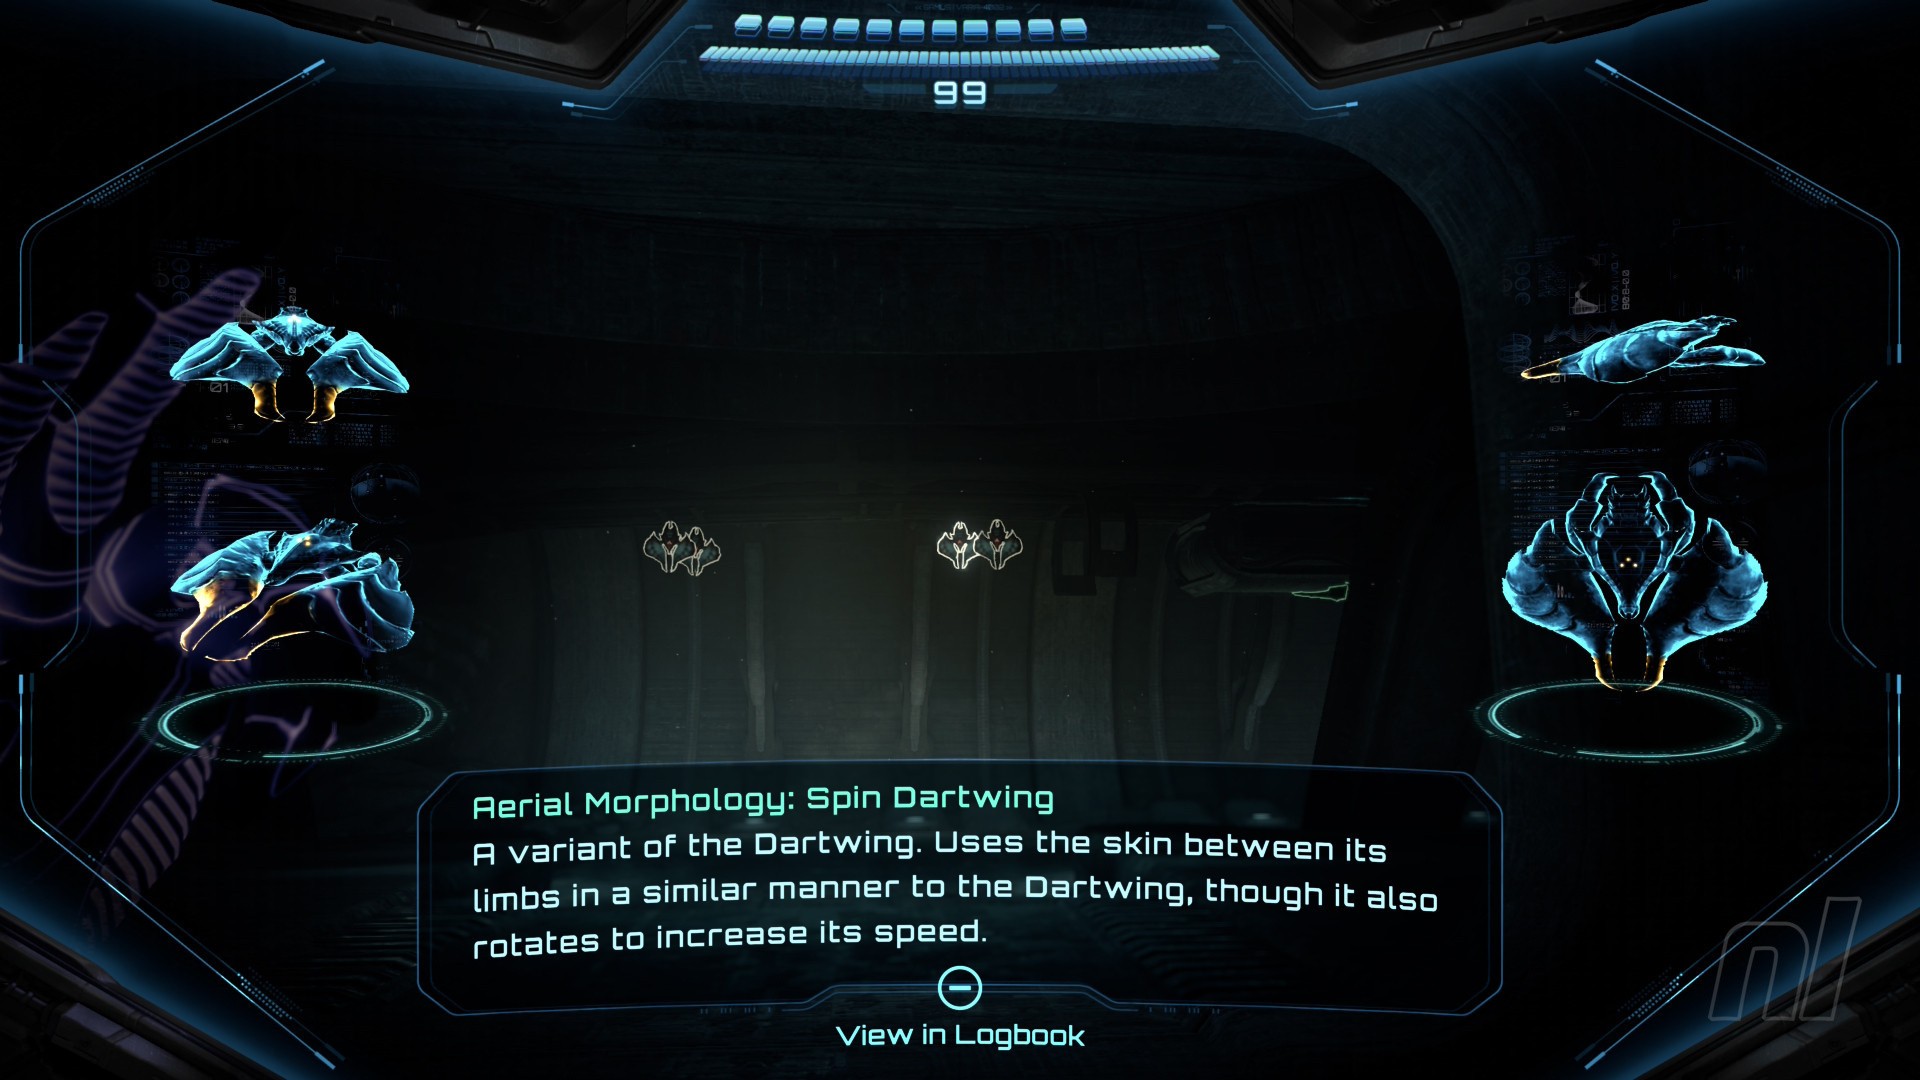
Immediately drop out of morph ball mode, then scan the Spin Dartwings hanging from the ceiling before they dash at you.
Head through the door into Transit Tunnel A, then keep going into the Drilling Site.
Scan and activate the terminal over on the right.
Head around to the back of the large drill and morph ball into the end. Boost around clockwise to power it up.
After the cutscene, jump up the platforms and use the lasso to pull the drill into a vertical position. Now get ready for a fight.
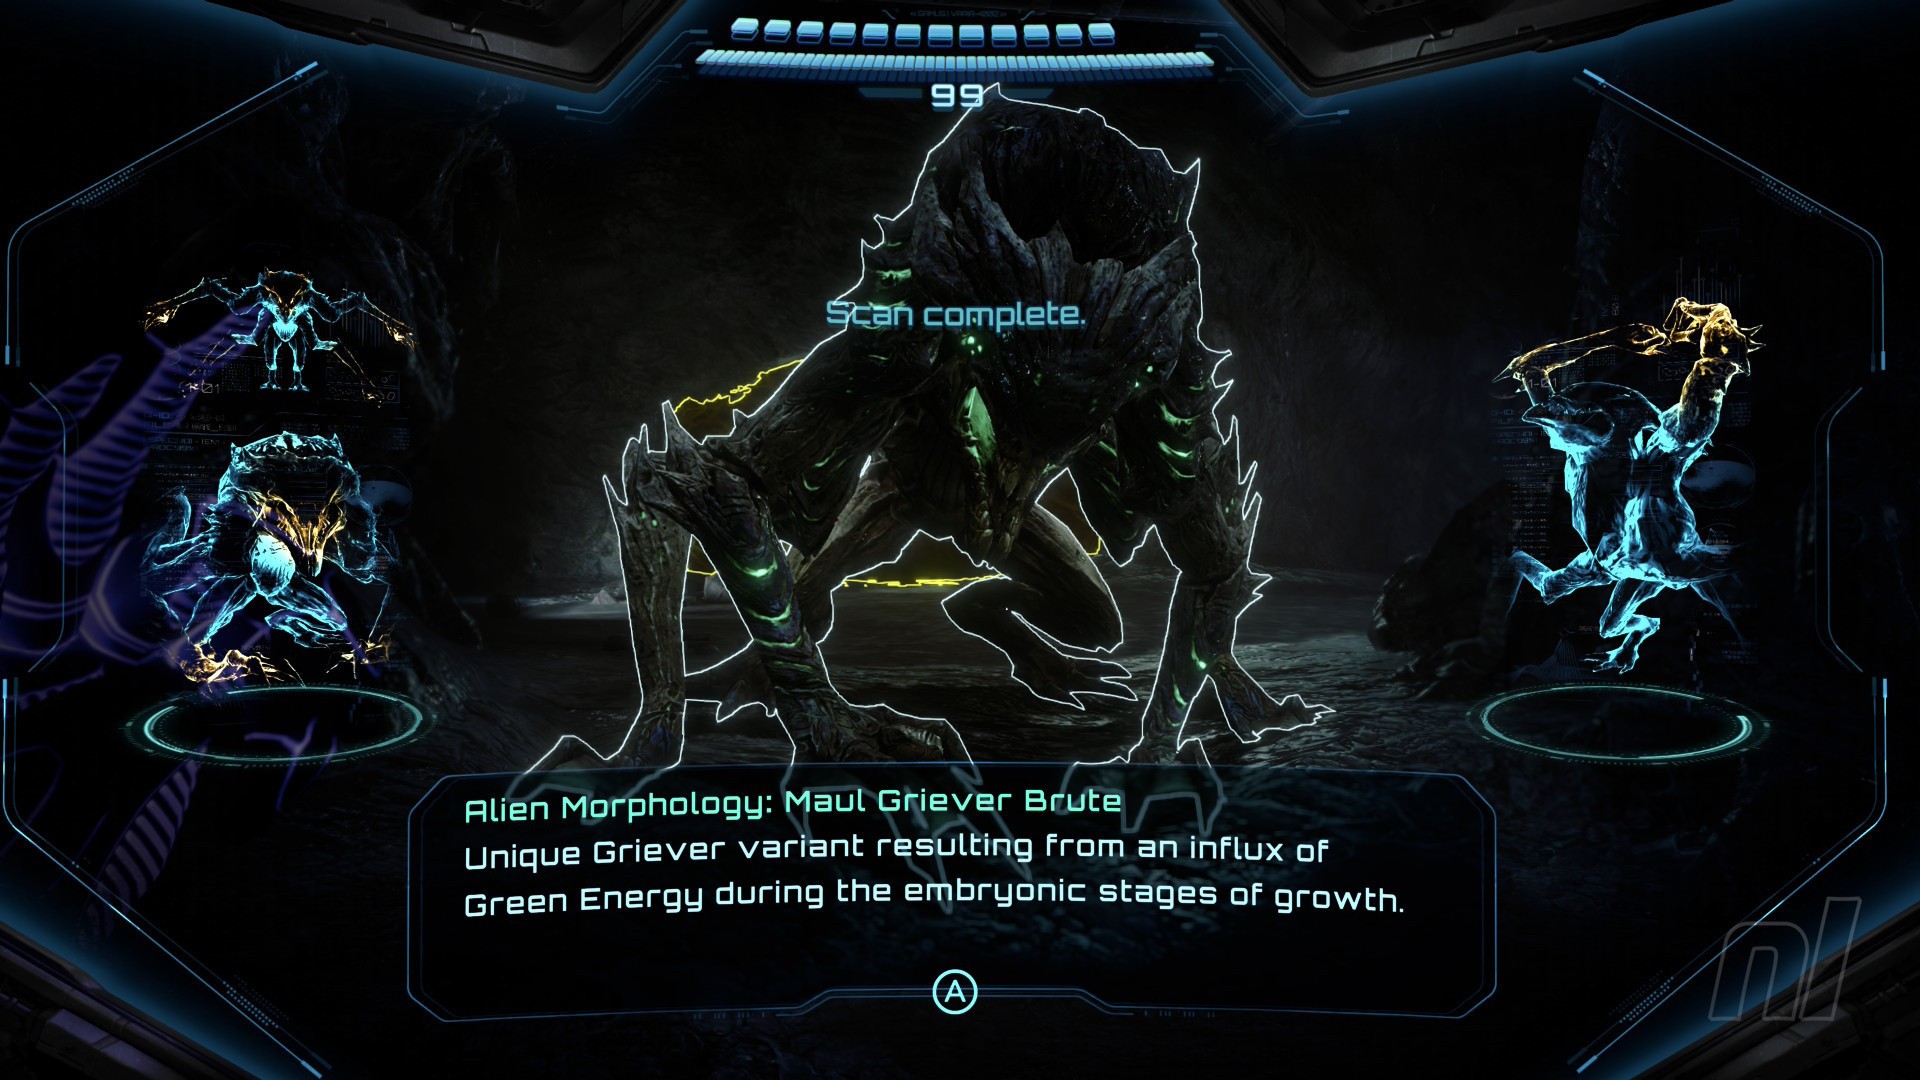
Scan Entry: Maul Griever

Two Griever variants will attack, so scan them both. The first and more populous is the Maul Griever.
Scan Entry: Griever Bomber

The Griever Bombers are easy to spot thanks to their green glow. Watch out, though - if they get too close, they'll explode.
During the fight, if either Duke or Armstrong gets downed, go into psychic mode and hold 'L' next to them to heal them back to full health.
When the drill successfully burrows through the floor, jump down.
Scan Entry: Metareetta

Move through the cave until you see the Metareetta. Scan one of them.
Head through the door and use missiles on the blockage in front of you. More Maul Grievers and Griever Bombers will attack, so fend them off.
Scan Entry: Pop Crawler
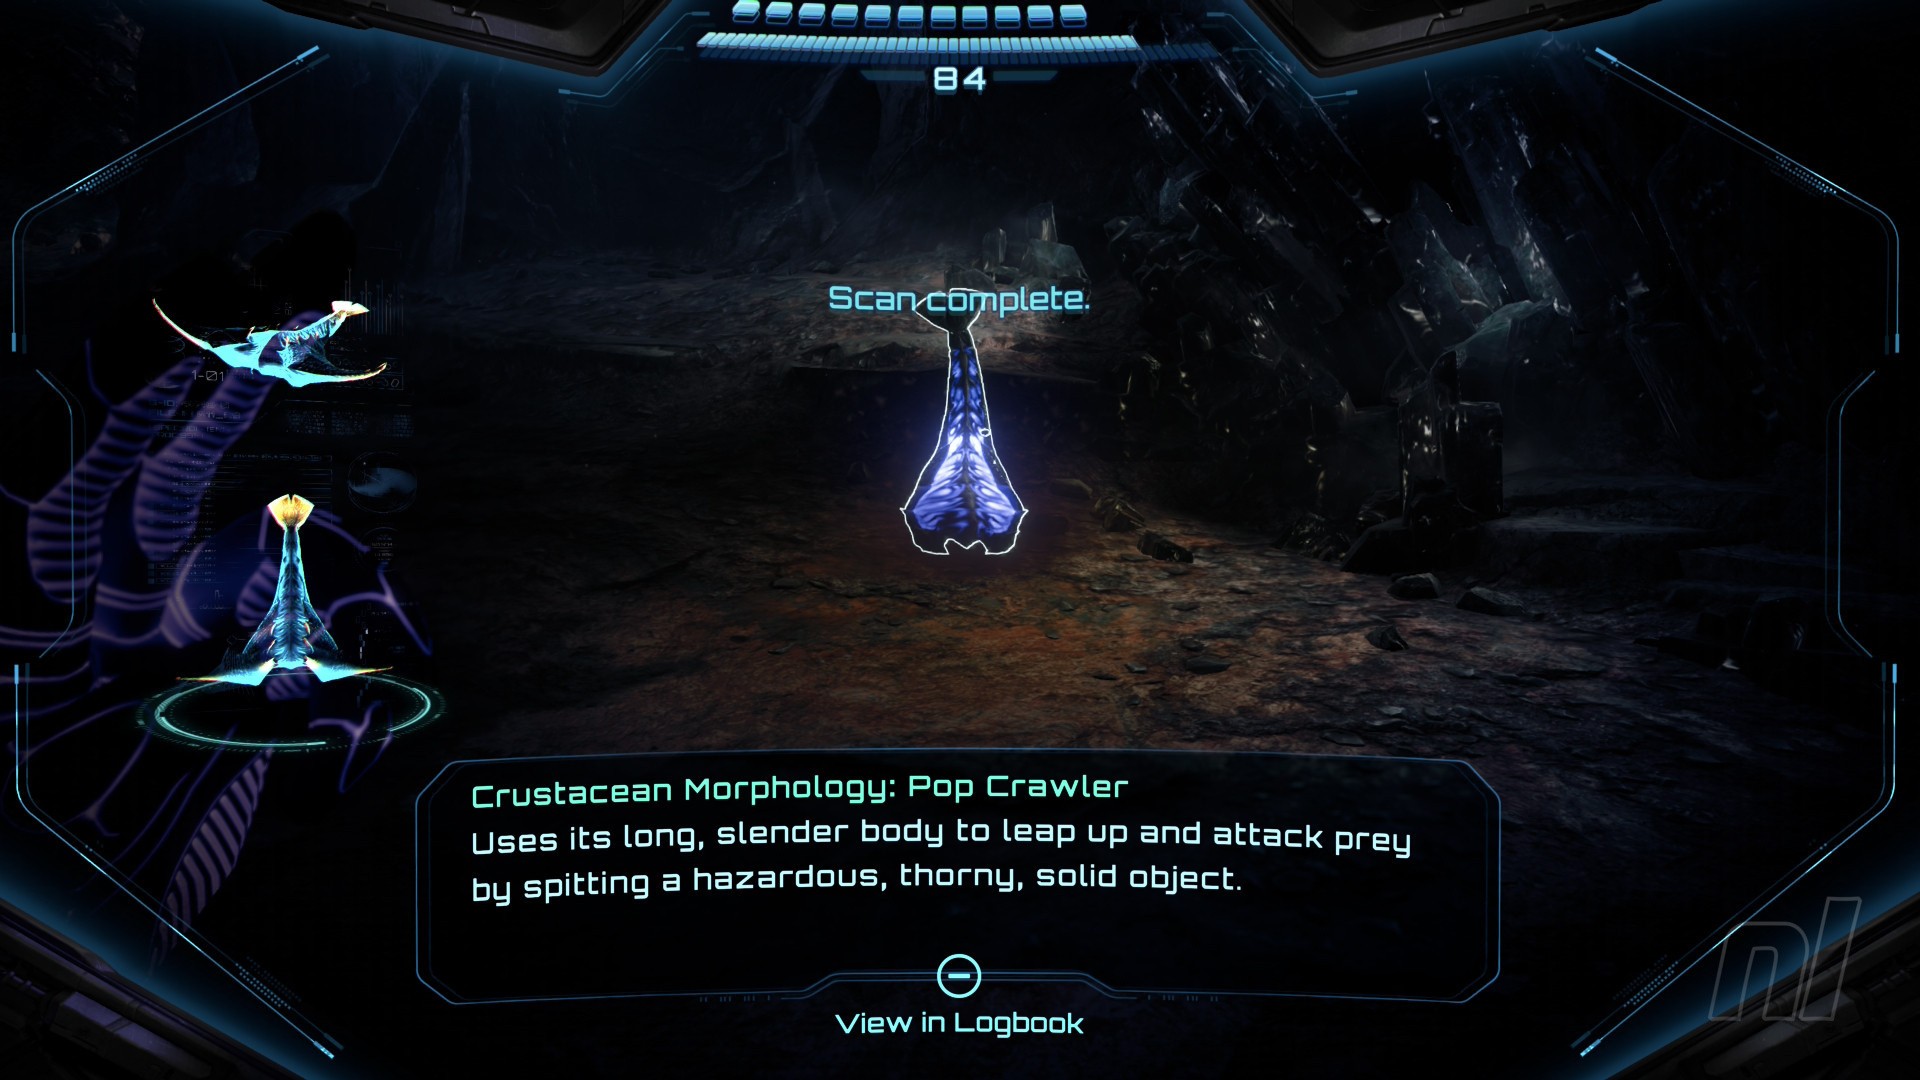
Head through the next door and you'll see a curious creature pop out of the ground. Scan it, then shoot it a few times to dispatch it.
Shoot the small bulbs at the end, then the larger one when it opens up. Jump down the hole.
Shoot the bulb in front, then use the Control Beam to guide a shot up through the hole in the left of the ceiling. Aim it towards the second bulb inside. Do the same for the hole on the right, then blast the main bulb when it opens up.
Jump down again.
Scan Entry: Snare Weed
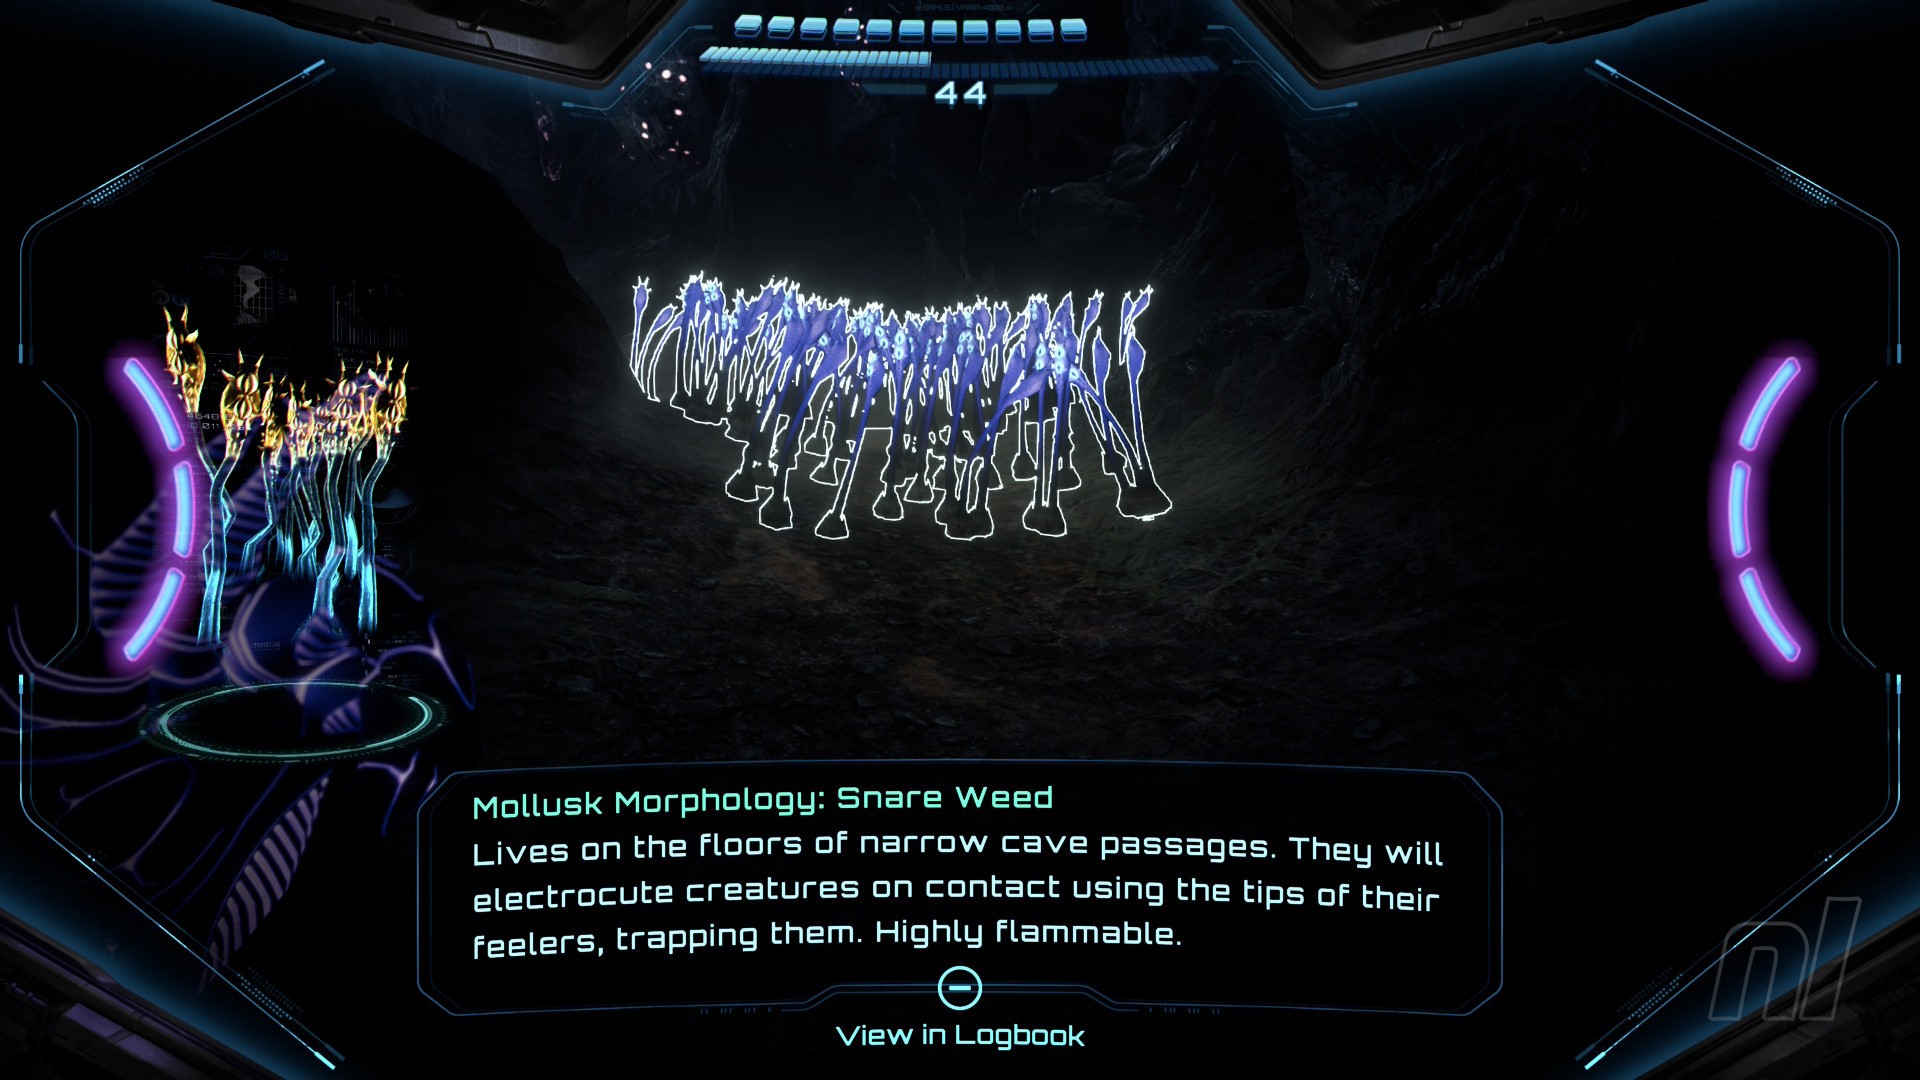
You'll see some purple weeds ahead. Scan this, then shoot to cause them to shrink back into the ground.
Use the lasso on the blockage ahead. Continue through, shooting the Snare Weeds in your way. Clear the next blockage, then jump down.
Scan Entry: Cave Shren
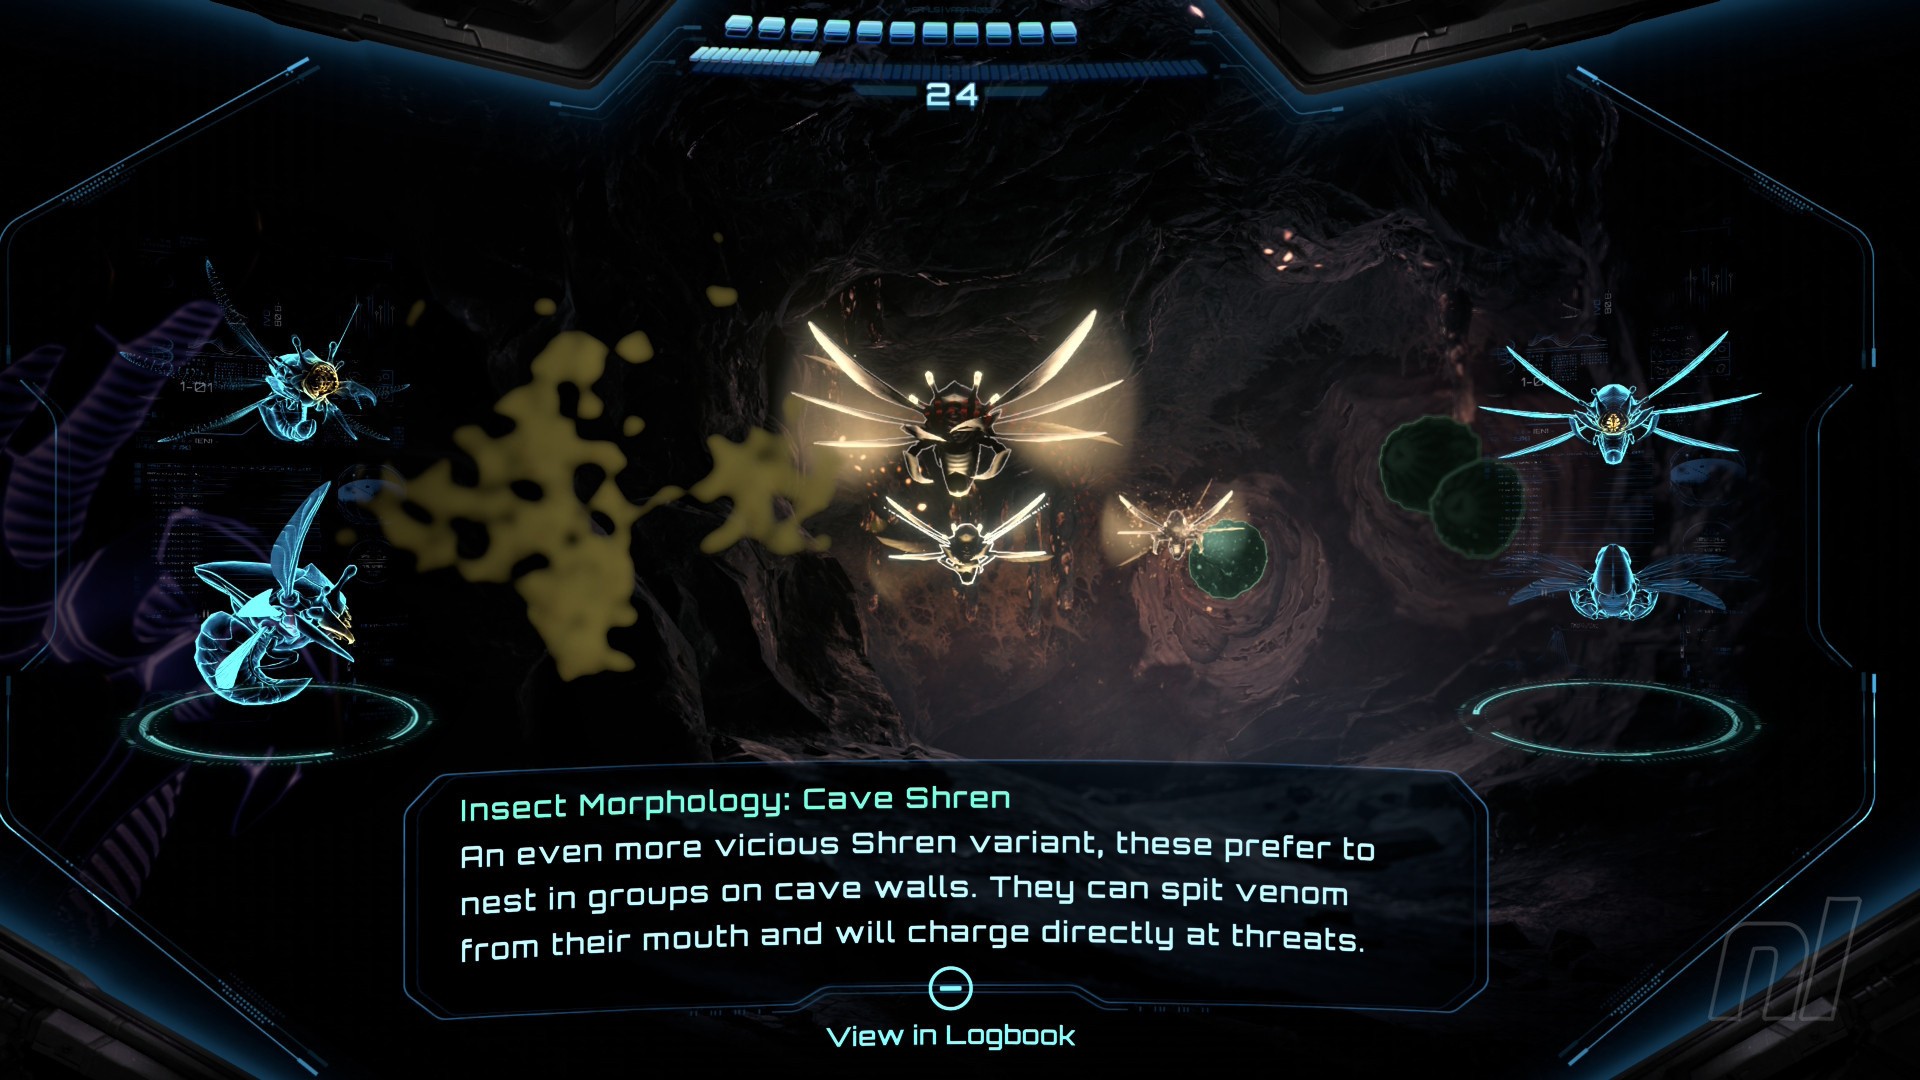
After the brief cutscene, scan the Cave Shrens that appear in front of you.
Head through the door and fire missiles at the next blockage. Fight the Grievers that descend upon you. Jump across the short gap and turn around.
Scan Entry: Crystal Crawler
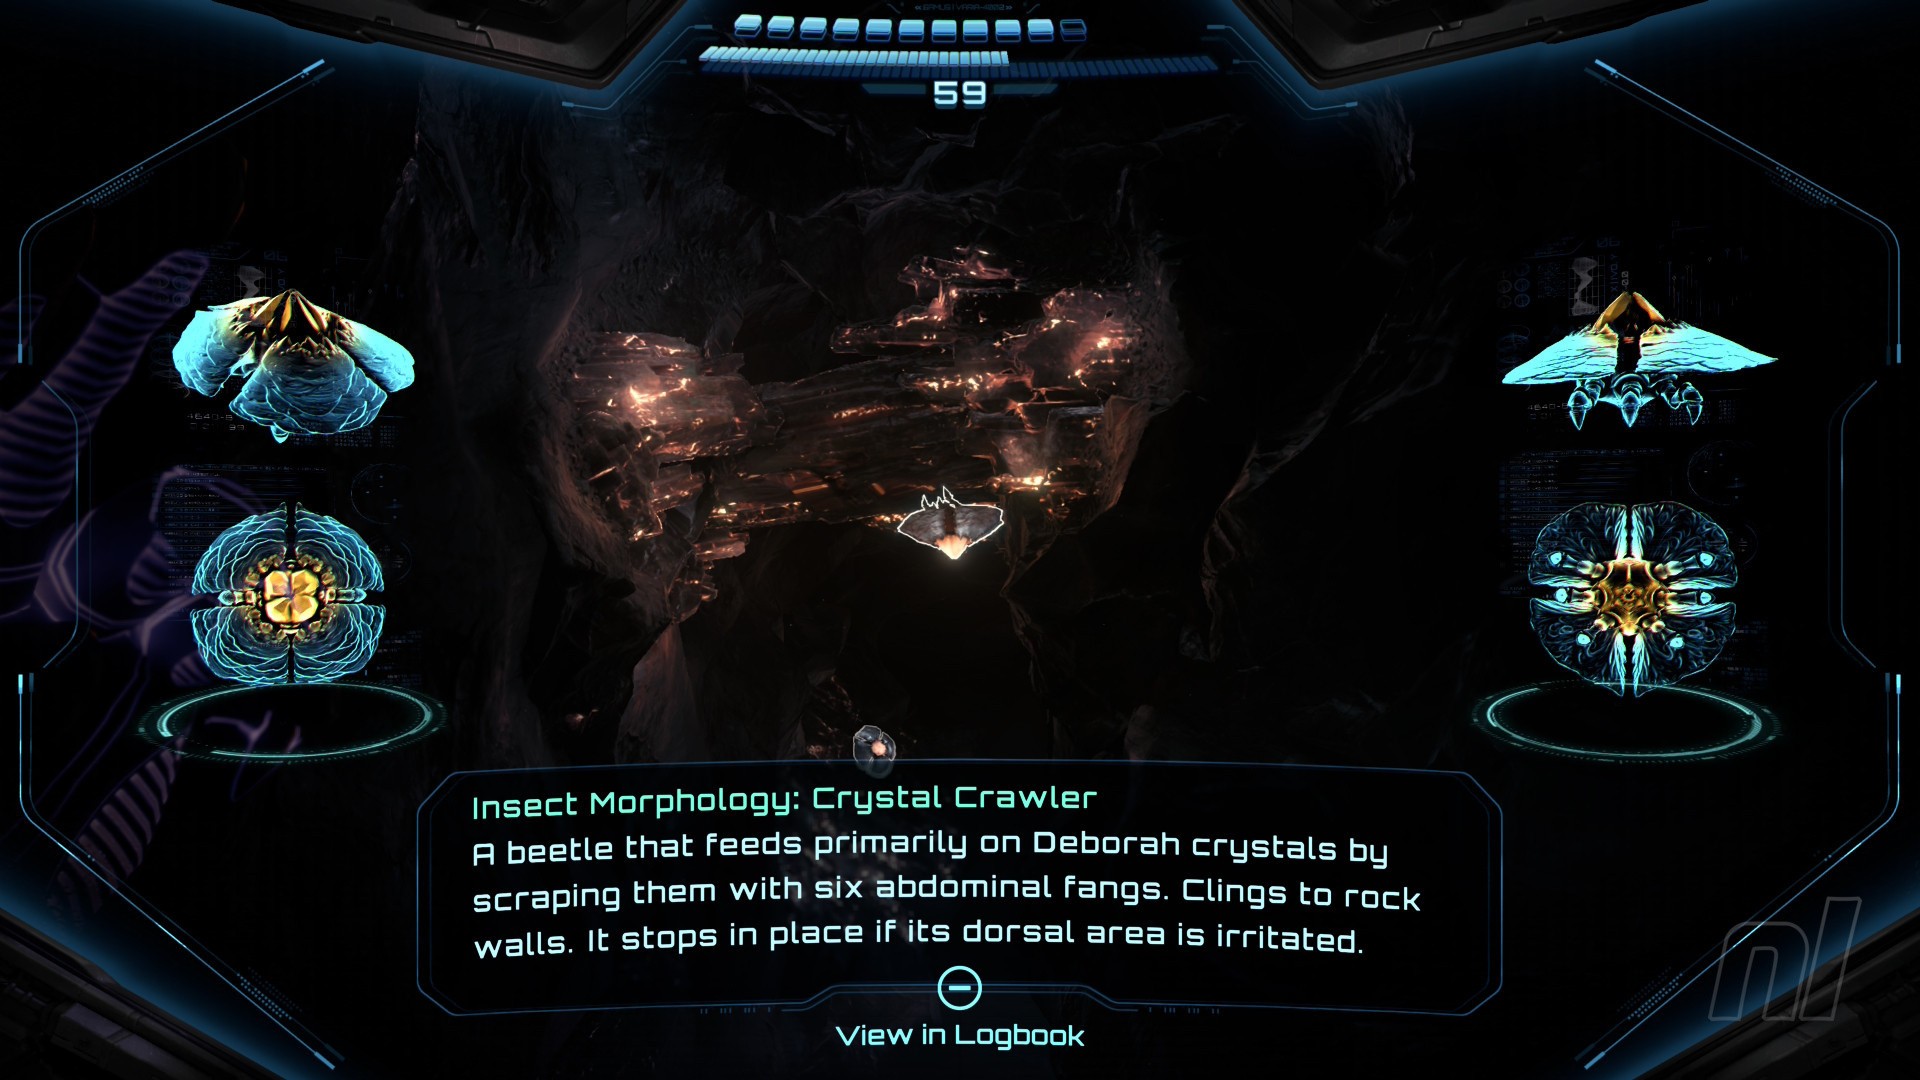
You'll see a couple of Crystal Crawlers on the walls opposite, so scan one of them. You can now also use them to grapple across the gap.
Missile Expansion #26

When you successfully cross the gap using the Crystal Crawlers, you'll come to your next Missile Expansion. Grab it, then grapple your way back.
Use the lasso on the next blockage, then head through the door and into Construction Site.
Scan Entry: Cave Roach
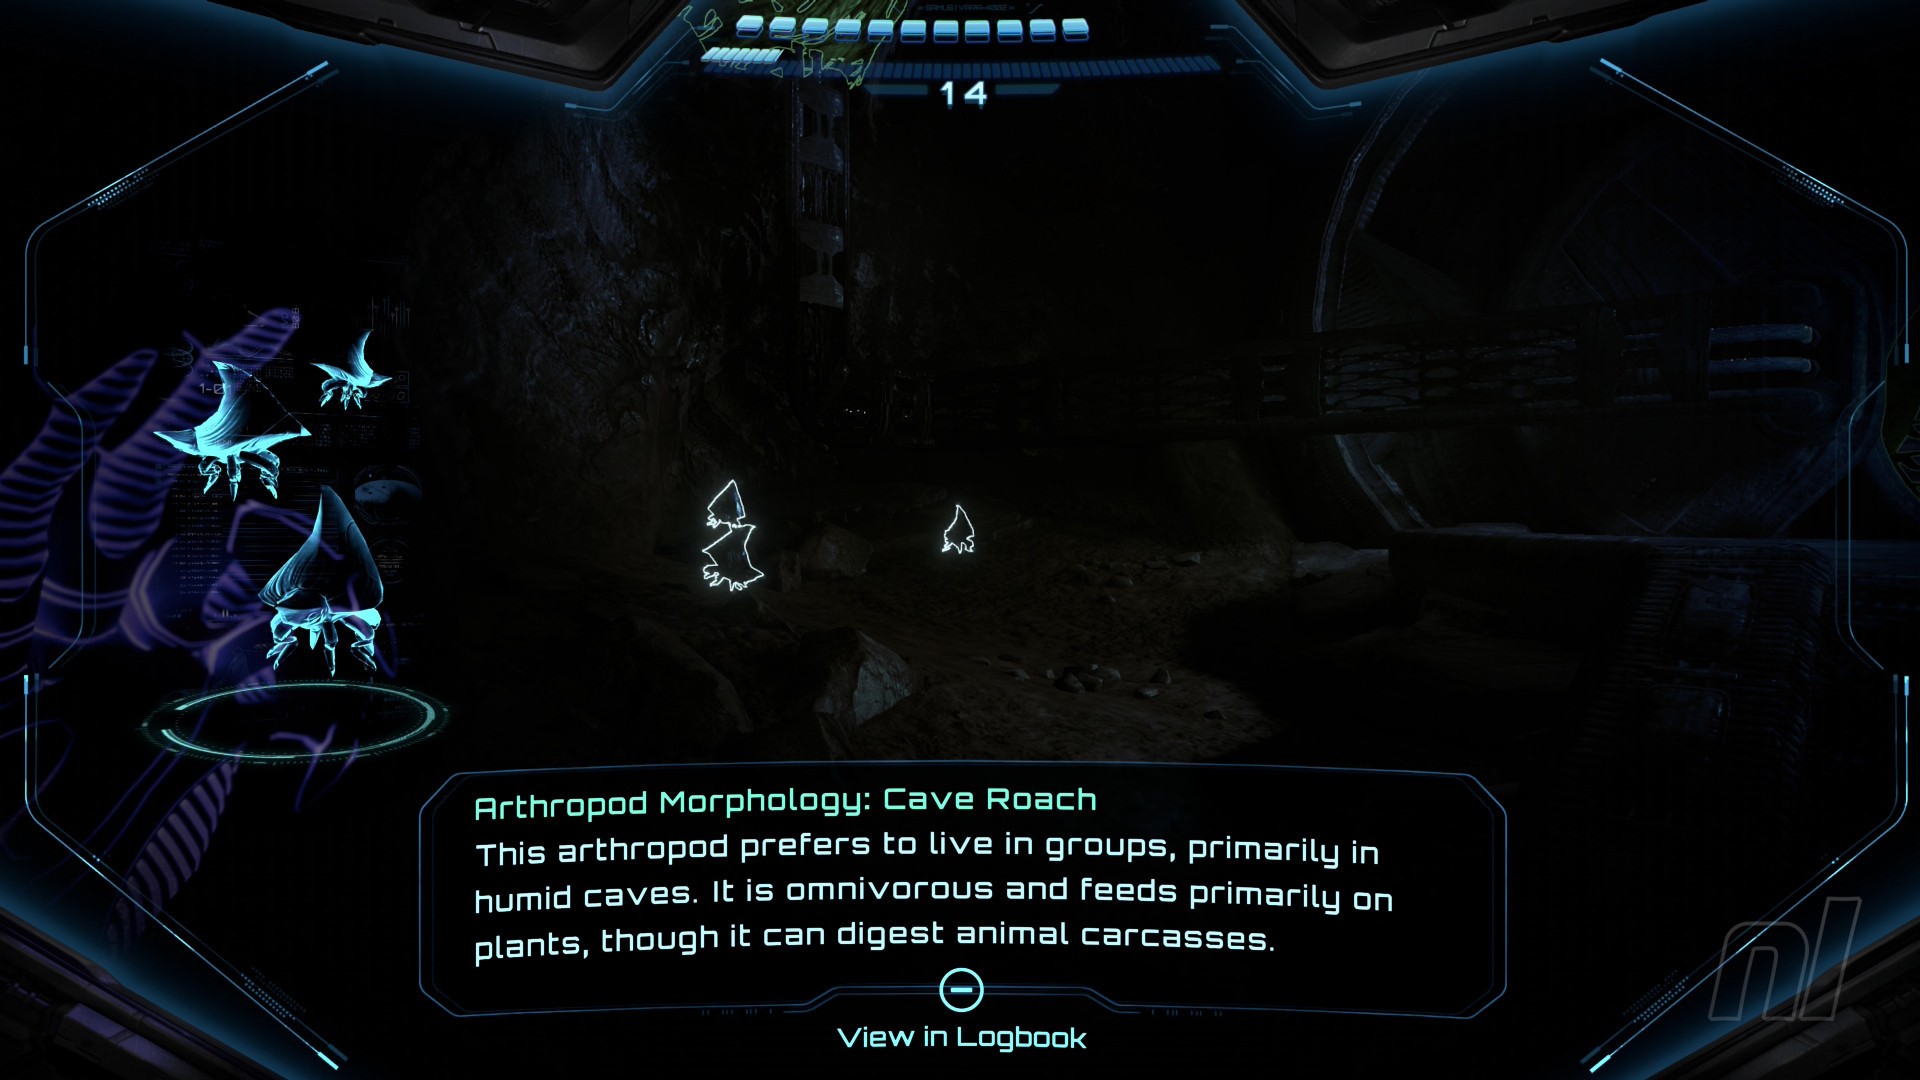
Work your way around the Construction Site and you'll see some cute little Cave Roaches at the end. Scan one of them!
Now use a Fire Shot on the webbing above. Drop a morph ball bomb and psychically throw it into the slot above. Move through the door and the following corridor until you reach the Cave Eater, a very useful vehicle. Get rid of the webbing on its controls, then scan it.
You'll now need to provide cover for Armstrong while she uses the Cave Eater to get through to the next area. Just keep moving and shooting, and those Grievers will be toast.
When Armstrong gets through, head through the door and say your goodbyes.
In Transit Junction, there's a Save Station on the right, so use it if you wish. Now head through to Main Shaft - Level 2 by removing the webbing covering the door and moving through the morph ball tunnel.
Jump over the gaps, then go left at the large elevator shaft. Turn left again and scan the purple haze to reveal a Psychic Boost Rail.
Shot Expansion #22

Use the Boost Rail to hurtle around the environment and grab your next Shot Expansion.
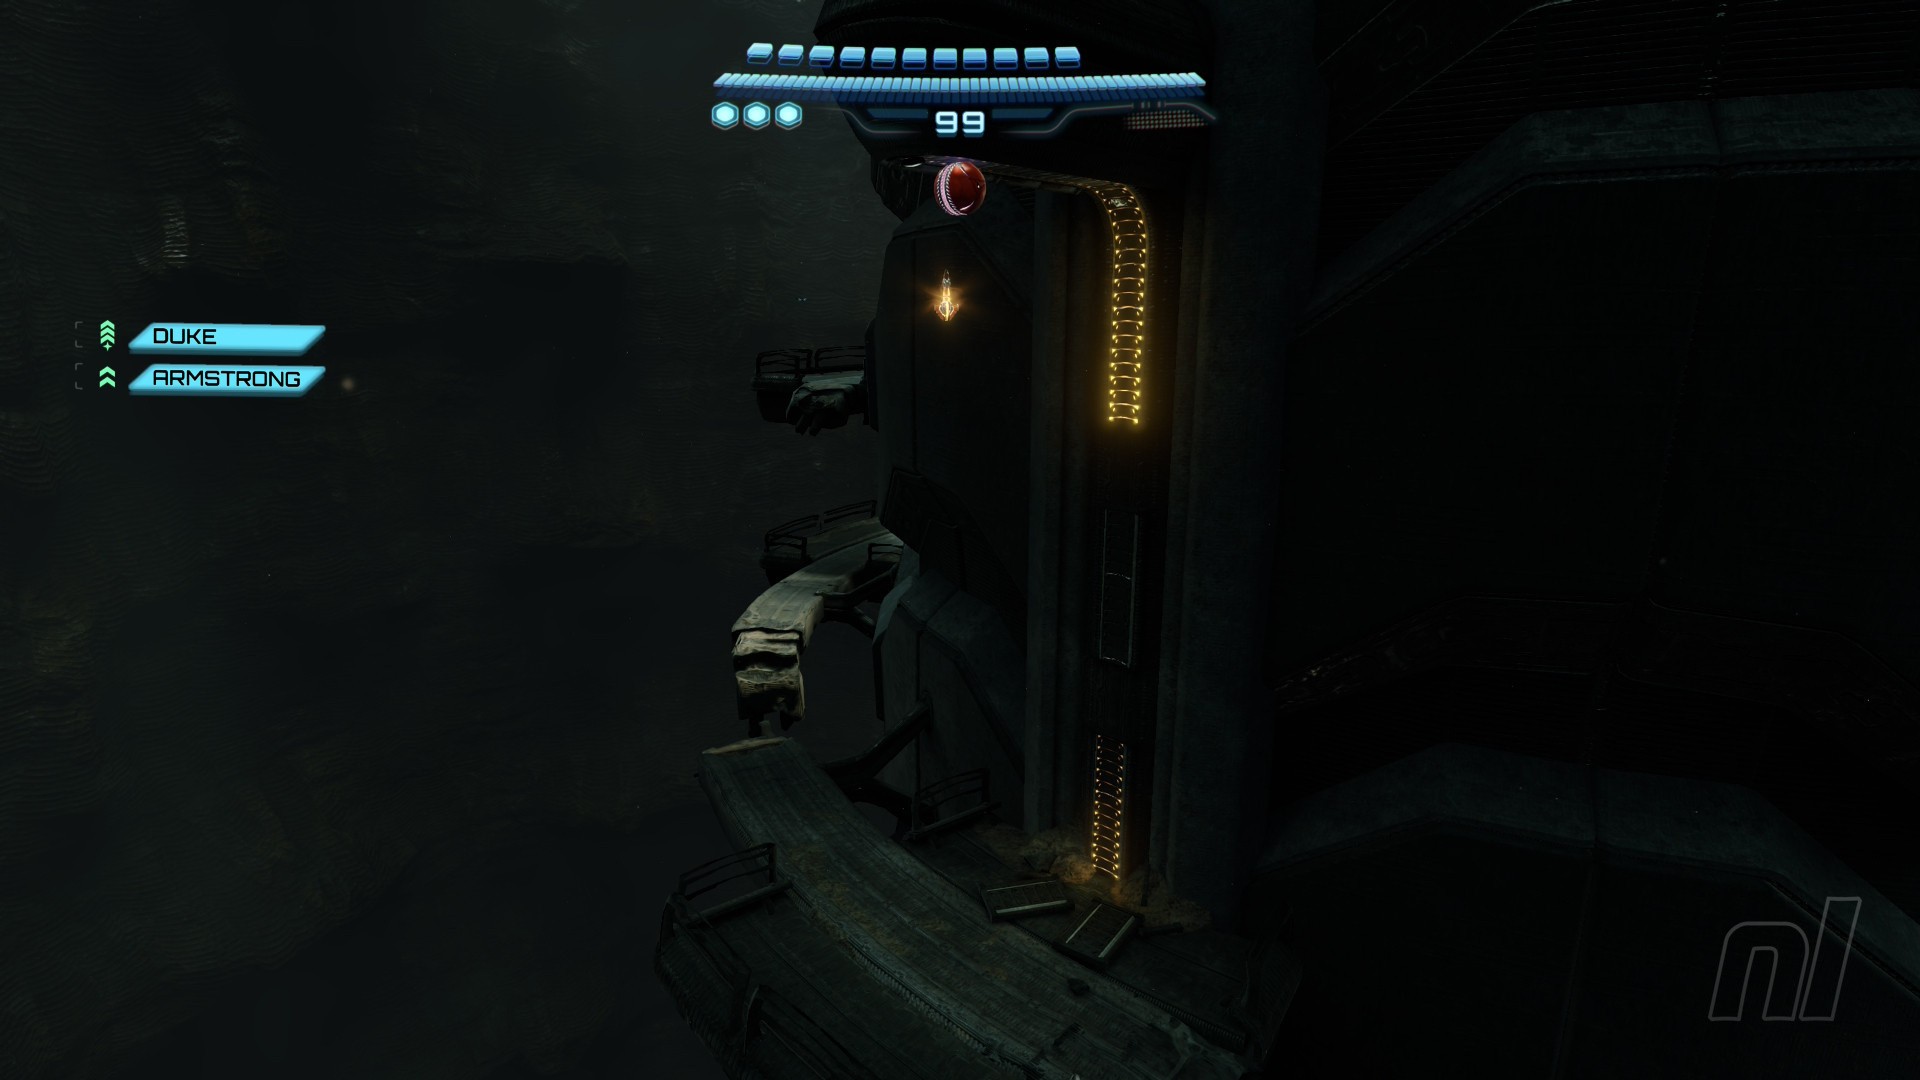
Now use the combination of Tether Nodes and Spider Tracks to reach the other side of the Main Shaft room. Grapple over the gap, then use the spinner to extend the bridge.
Energy Tank #12
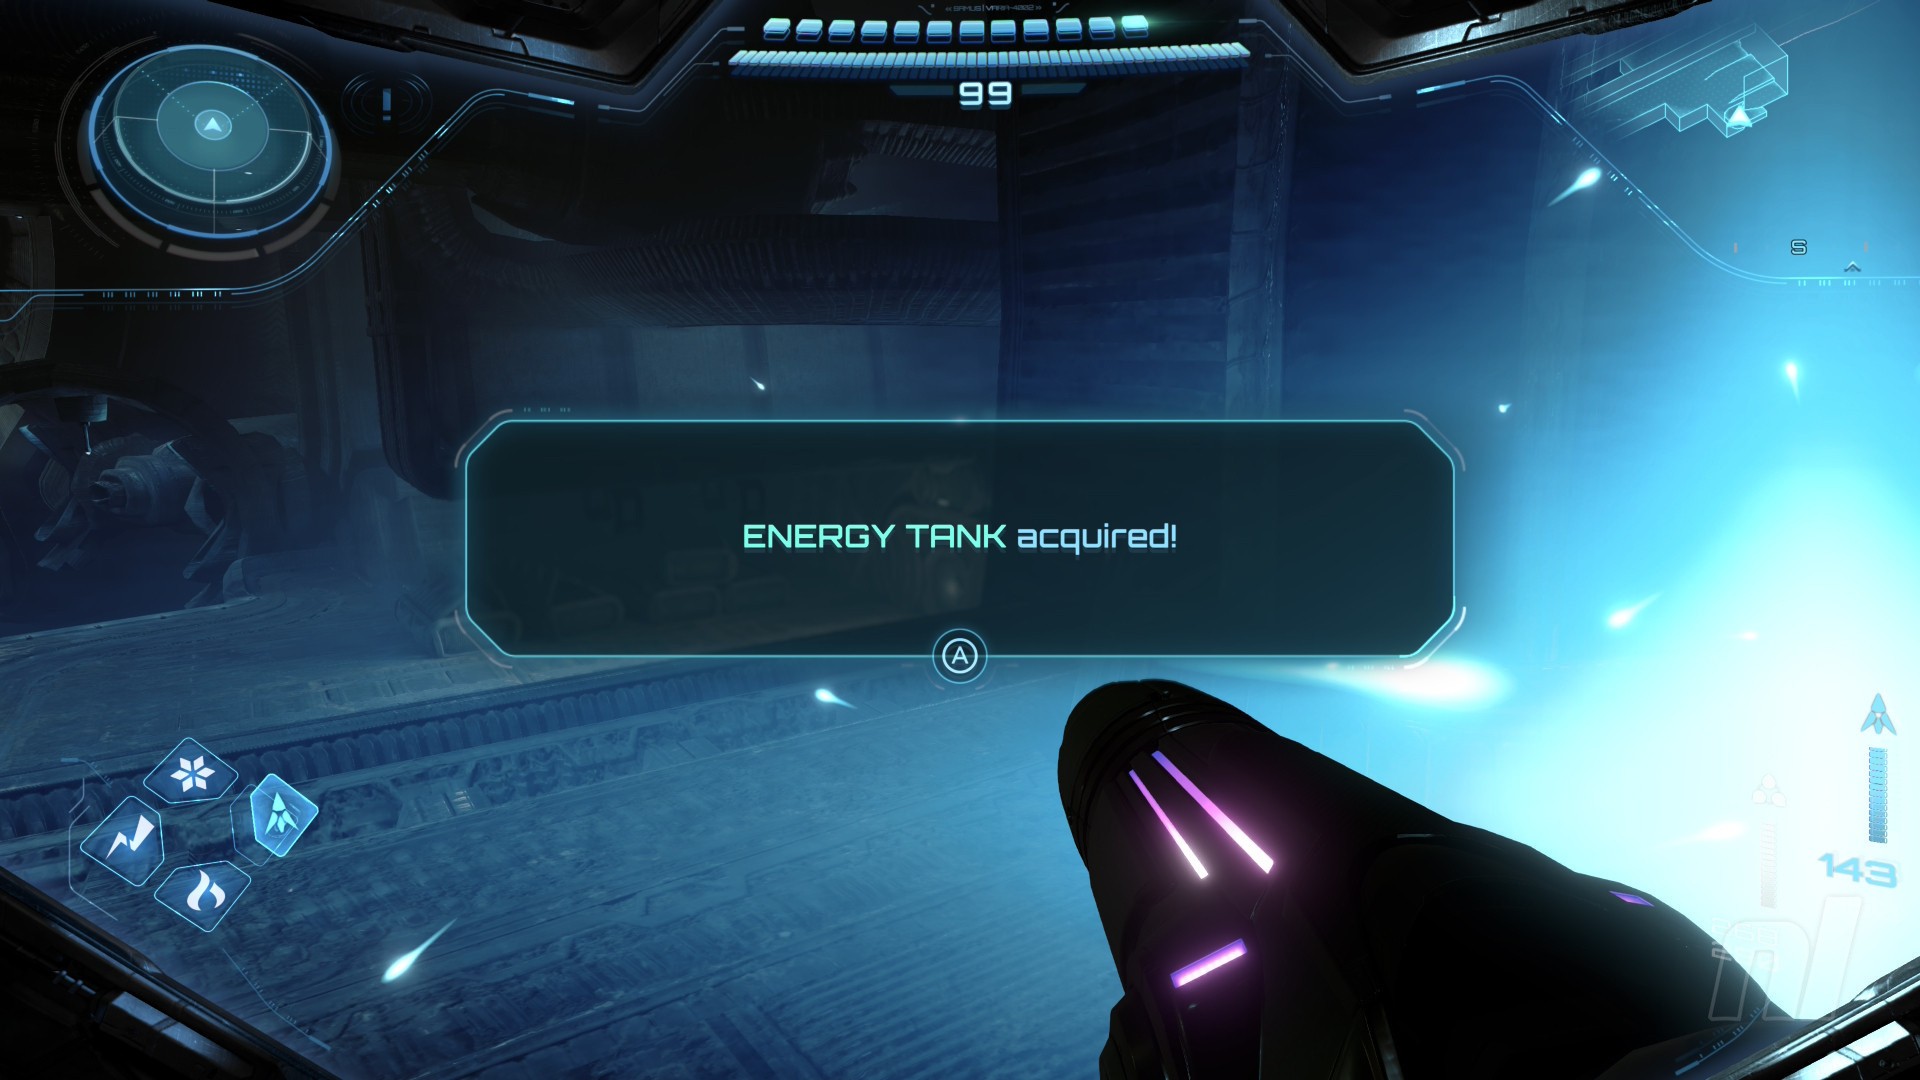
You'll see some Psychic Platforms by the bridge. Scan these to materialise them, and jump across to grab the Energy Tank.
Head through the door and go straight through Transit Tunnel D to reach the Quarry. Move forwards to trigger a cutscene.
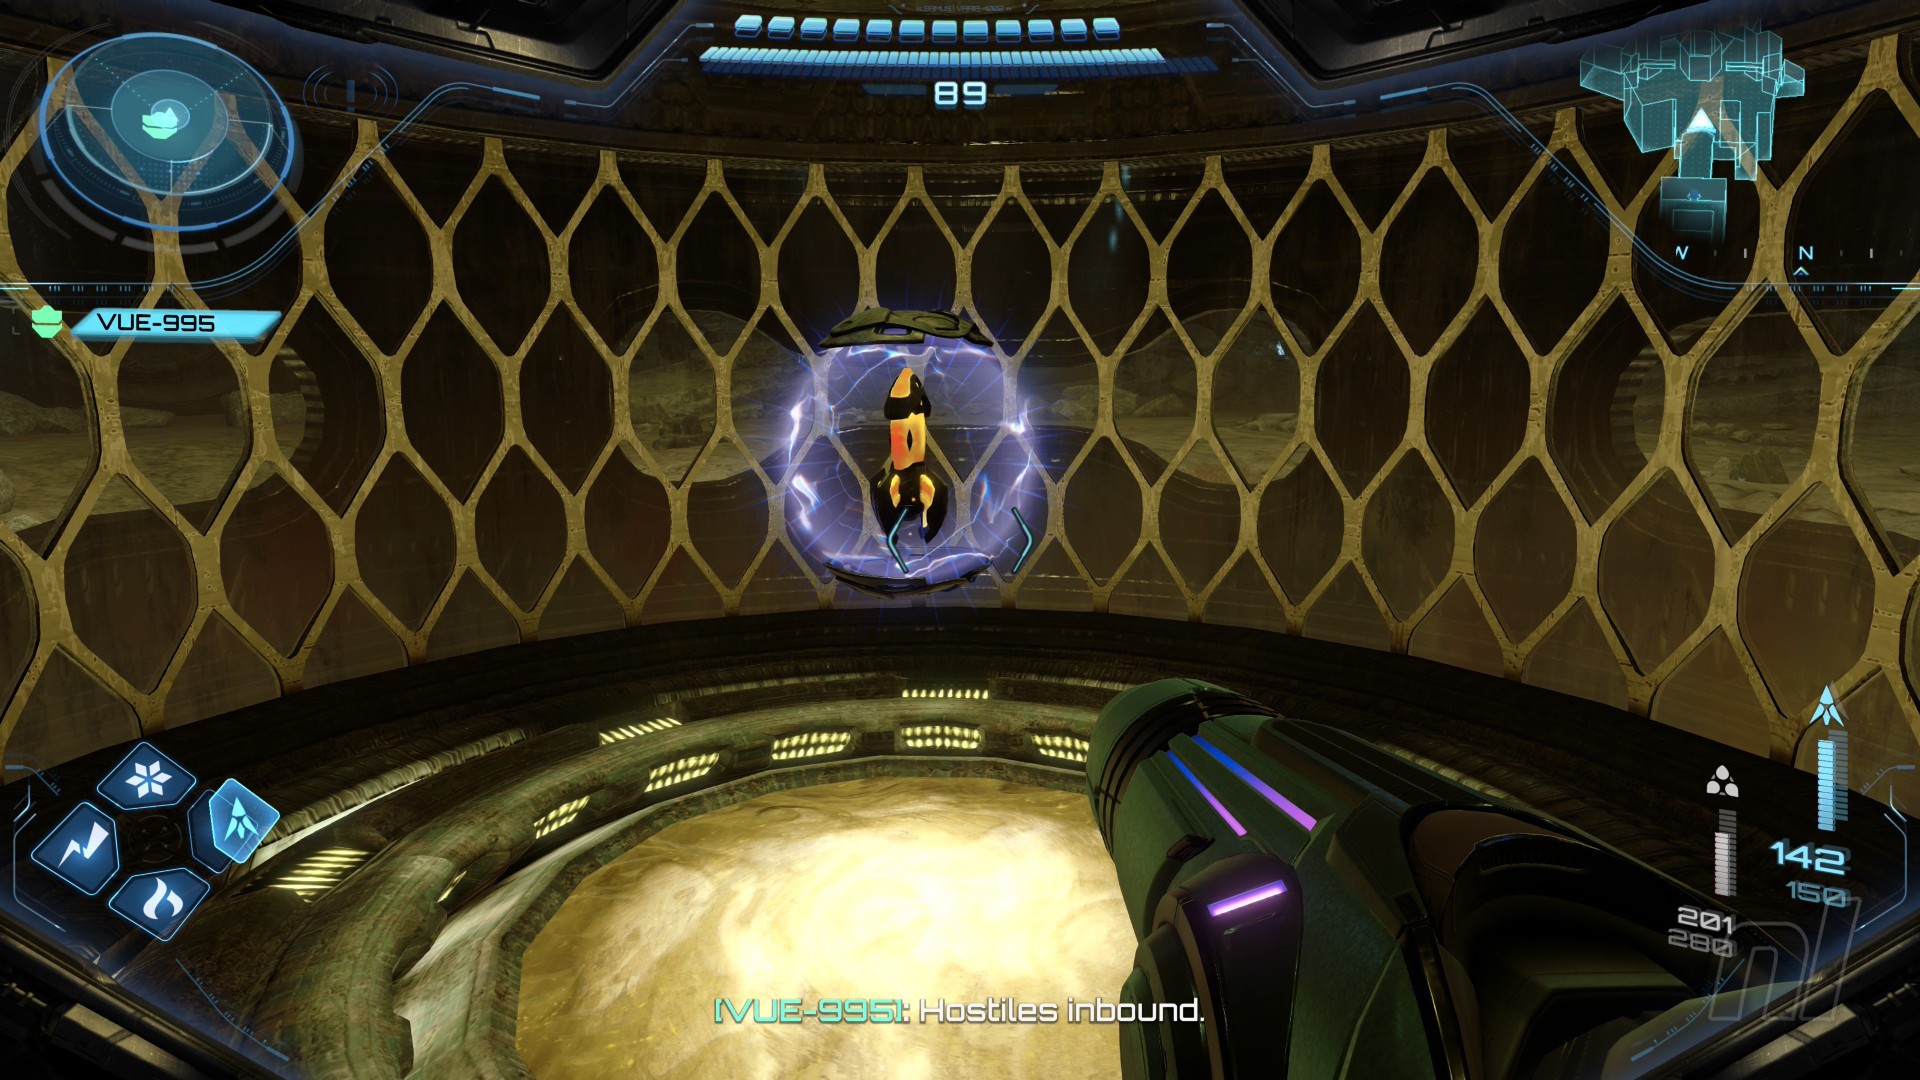
Scan Entry: Maul Griever Brute
He's a big boy! Scan the Brute, then defeat it with combinations of your Charge Shot, Thunder Shot, and more. VUE-995 will join you partway through the fight, so that's nice!
When you're done, let VUE-995 clear the blockage, then head through the door into Easing Tunnel.
Boost up the half-pipe to reach the Spider Track. Work your way around and use boost on the large screws to remove the structure from the ceiling. When it drops, a bunch of Grievers will attack, so get rid of them.
Scan the structure to allow VUE-995 to remove the blockage.
Power Suit Upgrade - Super Missile
Fire a missile at the glass, then go into the structure and grab the Super Missile.
Missile Expansion #27
Use the Super Missile on the blue crystals on the wall to destroy them. Inside is your next Missile Expansion.
Head back into the Quarry and use the Super Missile on the blue crystal wall at the back. Head through and work your way through the corridor.
You'll wind up in Crystal Crevice.
Shot Expansion #23

Before you use the Crystal Crawlers in front of you, turn around and target the one directly above. Now hp over the platforms to get your next Shot Expansion.
When you're done, you can just jump down to reach the other side. Turn around and use a Super Missile on the broken platform to your left. This will fall down and allow VUE-995 to follow you. Scan the blockage at the end to command VUE-995 to remove it.
Remove the next blockage with your grapple, then jump down the hole.
Scan Entry: Goura Ghaspore
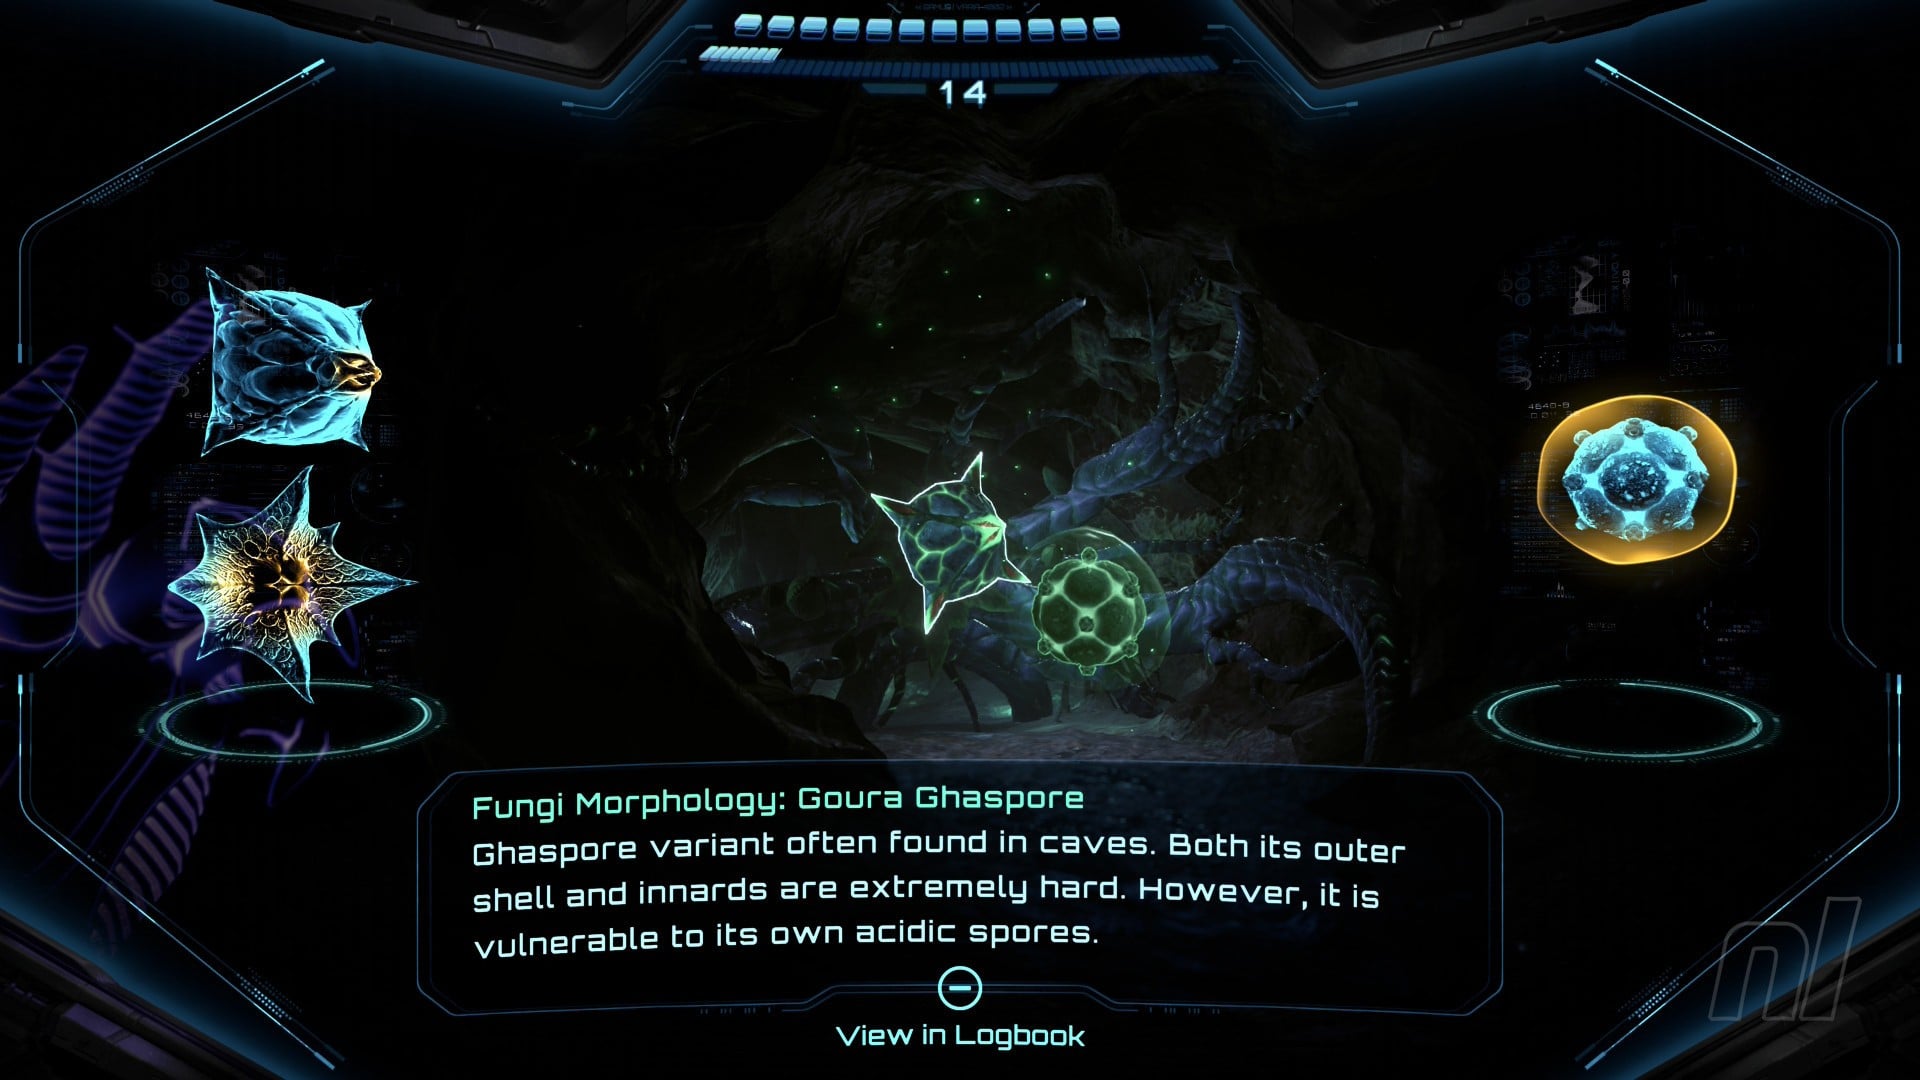
Move through the door and follow the corridor around. You'll eventually find a Goura Ghaspore, a powered-up version of an early enemy from Fury Green. Scan it.
Keep moving through the tunnels until you come to the Main Nest. Move forwards and scan the blockage ahead. Before VUE-995 can get to it, you're both attacked by another Maul Griever Brute. Get rid of it just like you did with the earlier one.
Now quickly move through the next few tunnels, fending off Grievers along the way. Eventually, you'll reach the Chasm. After an intense fight with the Grievers, you and VUE-995 will go your separate ways.
When you're on the other side of the Chasm, pull the hatch with the lasso and morph ball through the tunnel ahead.
Move through Main Shaft - Level 3 and touch the hologram on the large door. On the other side, you'll see a massive Griever cocoon. Uh oh...
If you turn left immediately at this point, you'll spot the Scout Bot for The Great Mines. Since you have the Thunder Shot, you might as well activate it there and then.