Hello, and welcome to the final walkthrough section for Metroid Prime 4: Beyond!
Here, we'll cover any remaining items and scans needed to obtain that 100% completion rating. In the meantime, we'll be looking for Galactic Federation Mech Parts in order to gain entry to Chrono Tower and use the Master Teleporter Keys.
The end is in sight, so let's go.
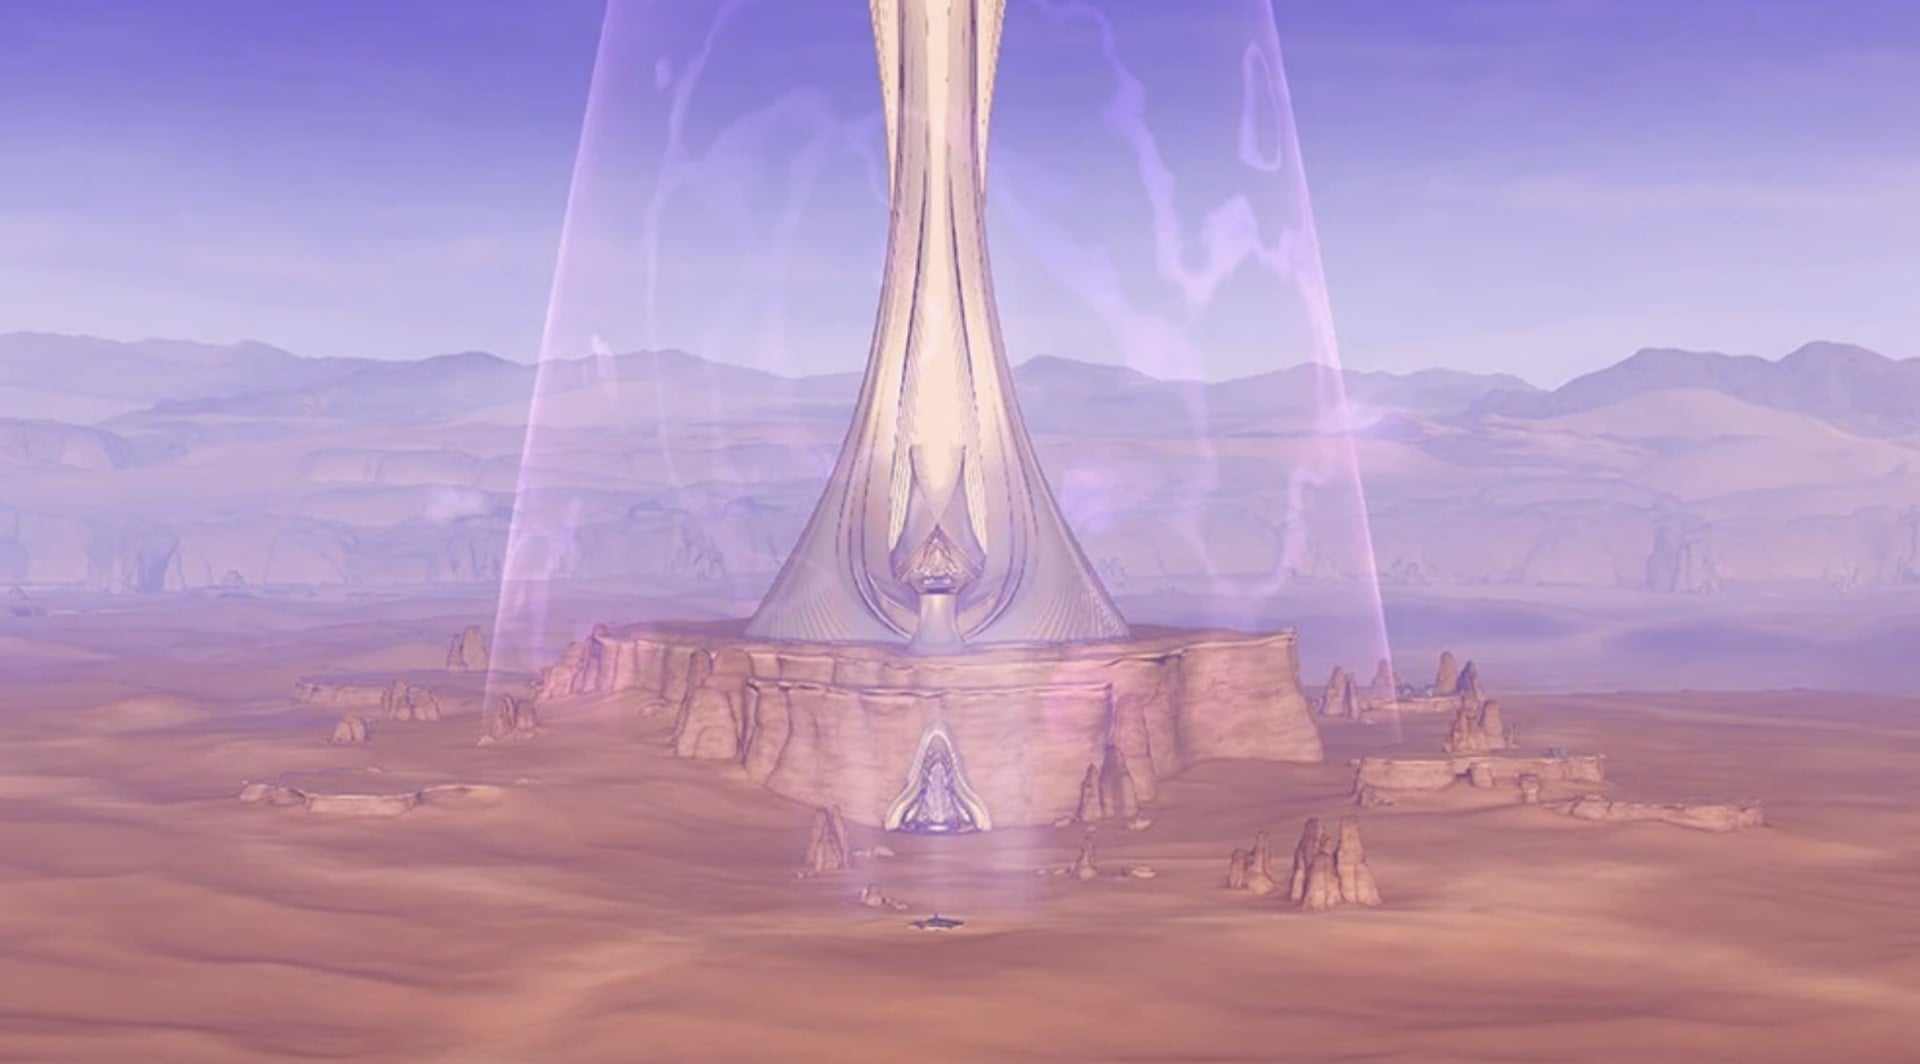
Chrono Tower Walkthrough
First, there are a couple of items in Fury Green we need to pick up.
Missile Expansion #36
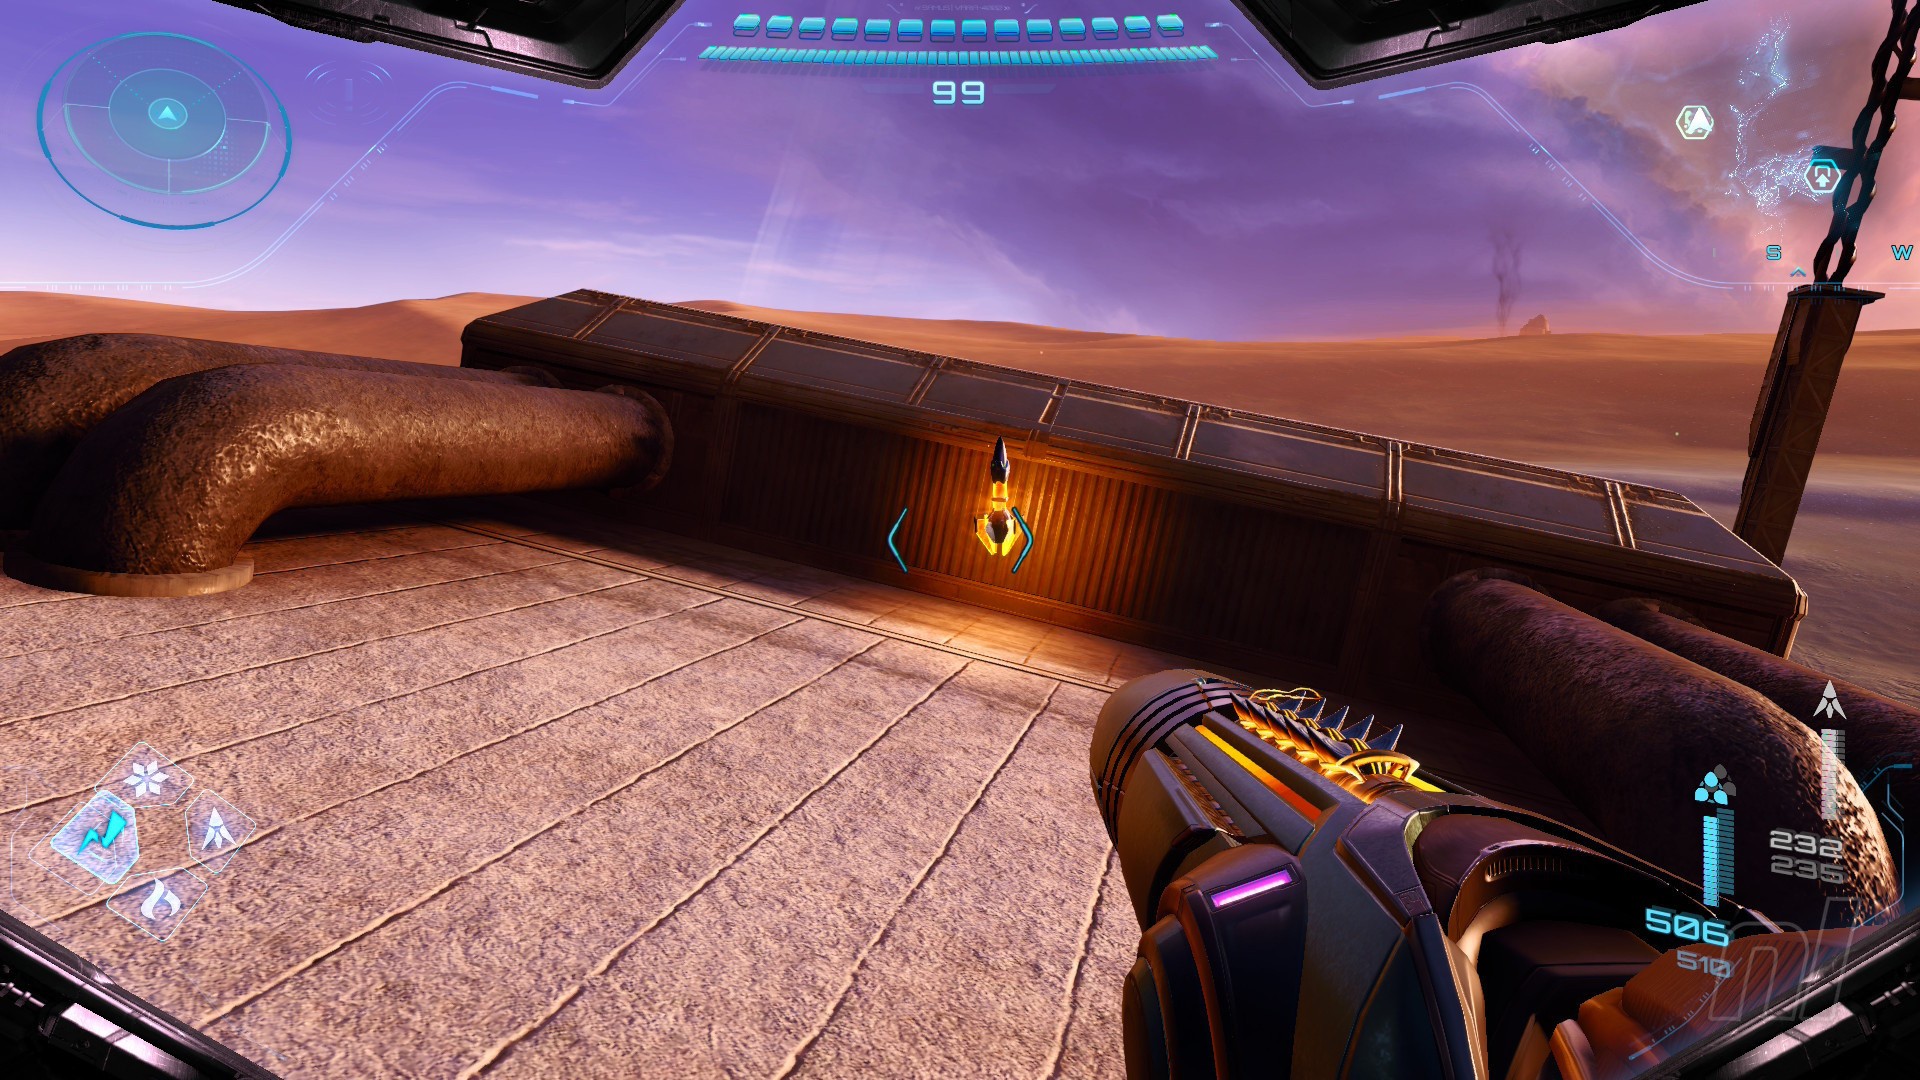
Head over to Reflection Chamber near the Base Camp, where the remains of the mech 'Betsy' are located. Behind the mech's leg is a large container.
Shoot this with a Super Missile to reveal the Missile Expansion.
Power Bomb Expansion #2

Work your way back to the Quiet Clearing area. There will be a Lamorn statue on the right side. Use a Power Bomb to destroy it and reveal a Power Bomb Expansion.
Okay, now let's go back out into Sol Valley and head on over to Flare Pool.
Scan Entry: Leaping Spitter

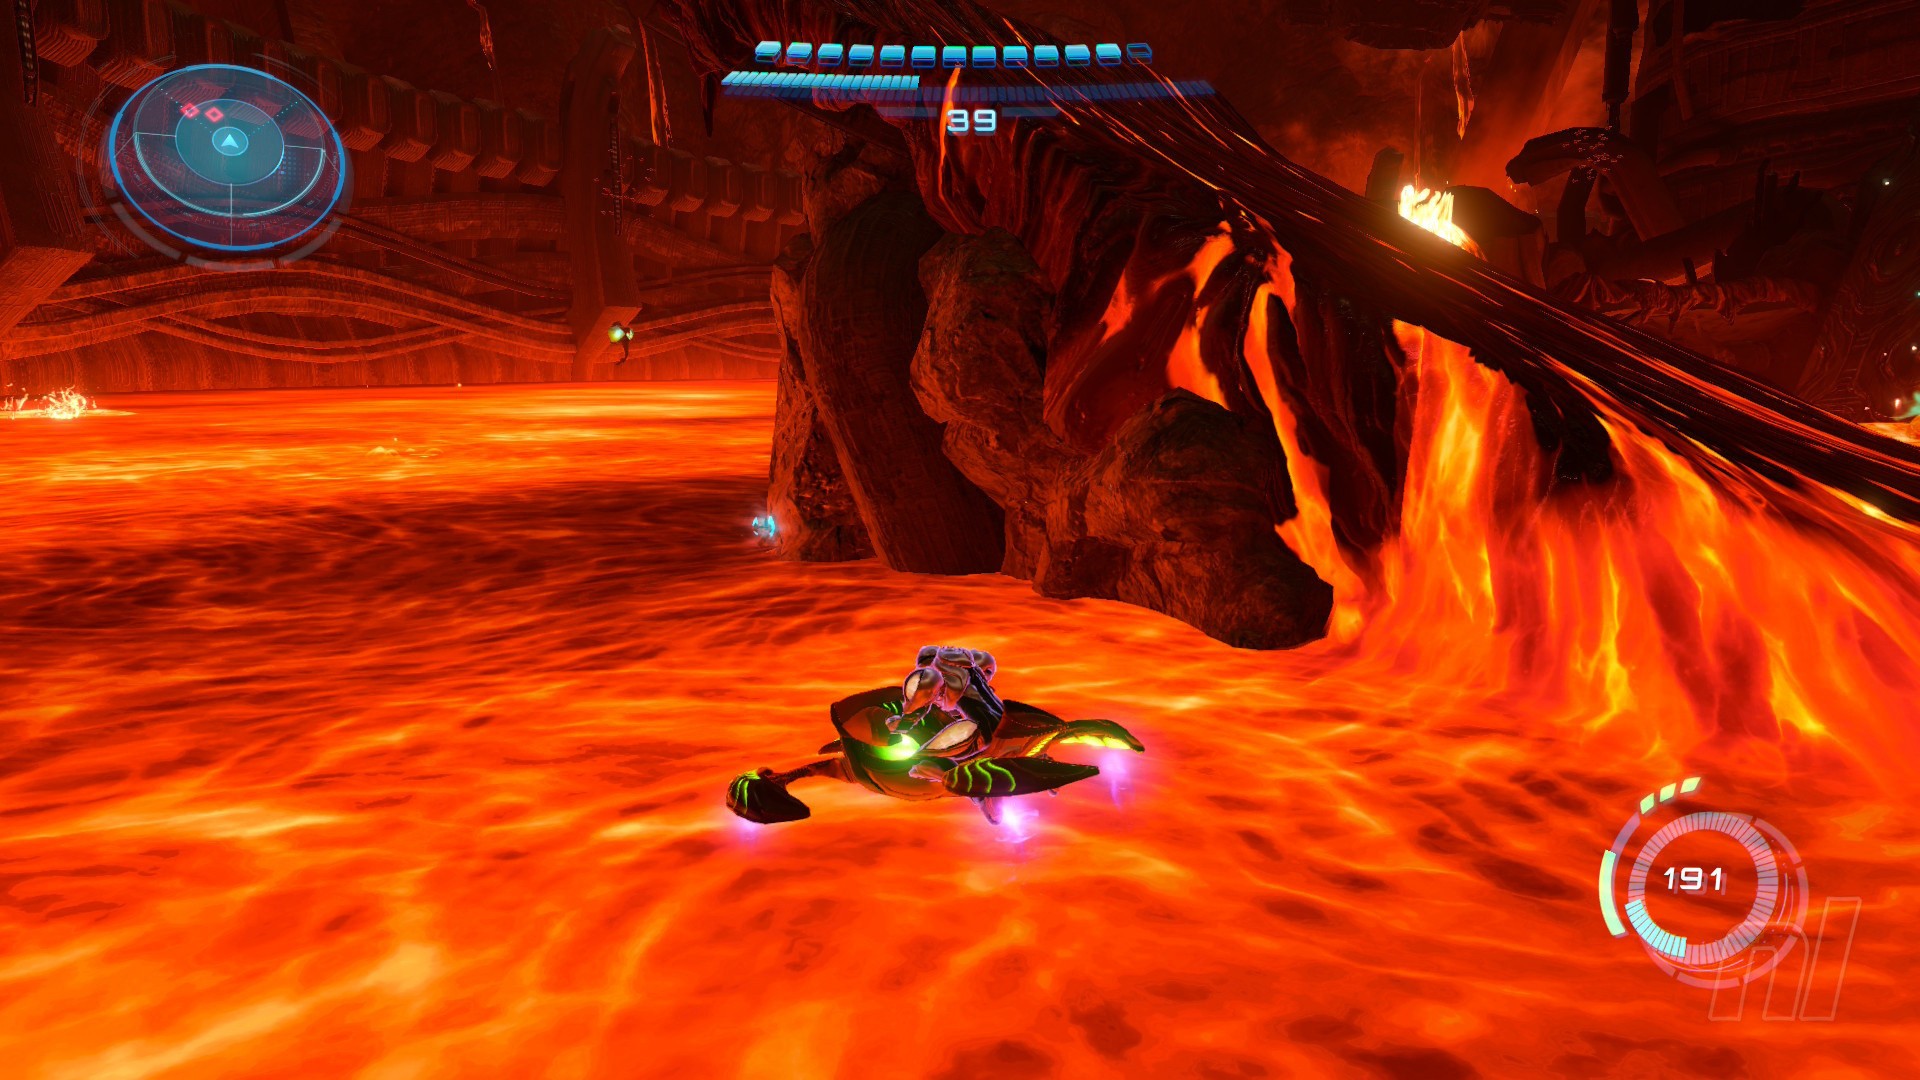
Start making your way over the Lave Lake Bridge. As you do, a new enemy will burst out of the lava: the Leaping Spitter. Scan it!
Use the Scout Bot at the end of Lava Lake Bridge to reveal the exact locations of the remaining items in Flare Pool.
Shot Expansion #35
The first item is right next to the Scout Bot. Use the Tether Nodes in morph ball mode to shoot up to the Shot Expansion suspended above.
Now take Vi-O-La and head through the large door and into Volcano Heart.
Scan Entry: Blow Hopper
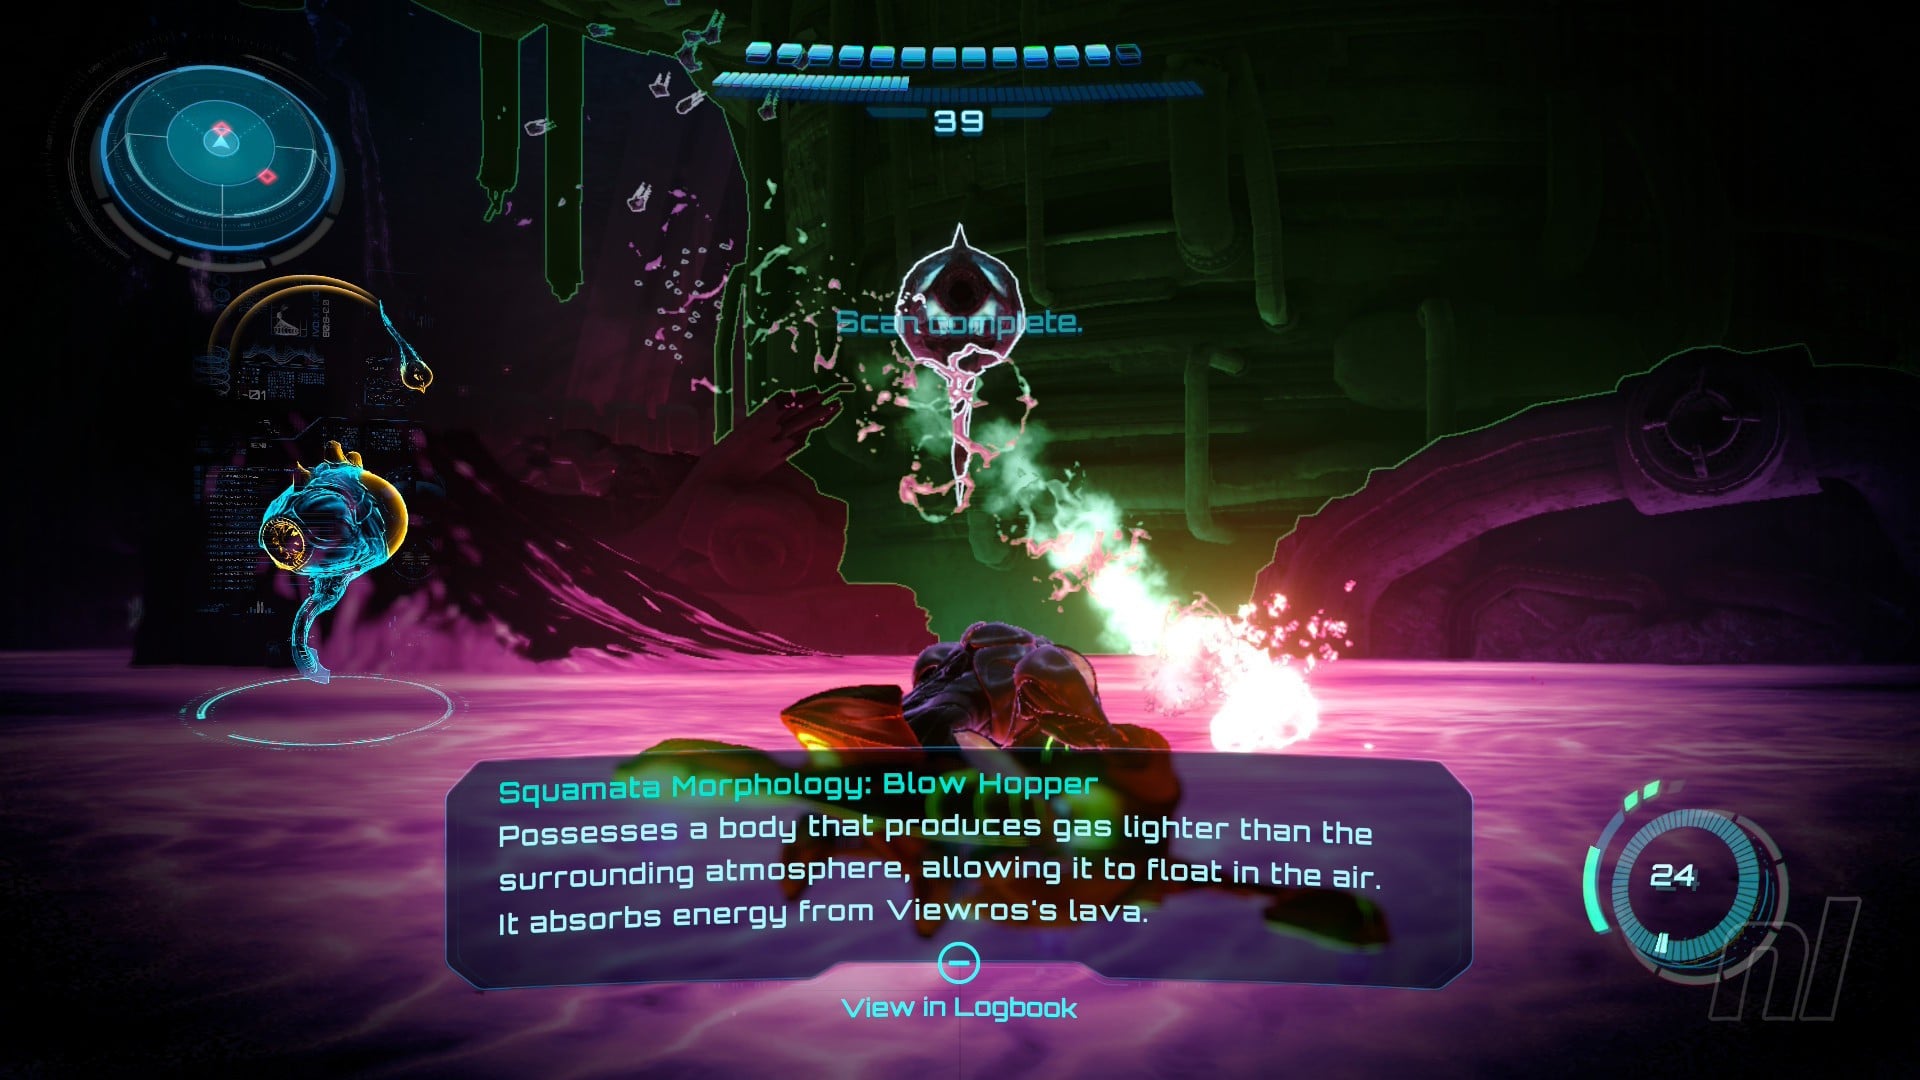
You'll see a new creature hovering above the lava. This is the Blow Hopper. It won't pose much of a threat, so go ahead and scan it, then drive off.
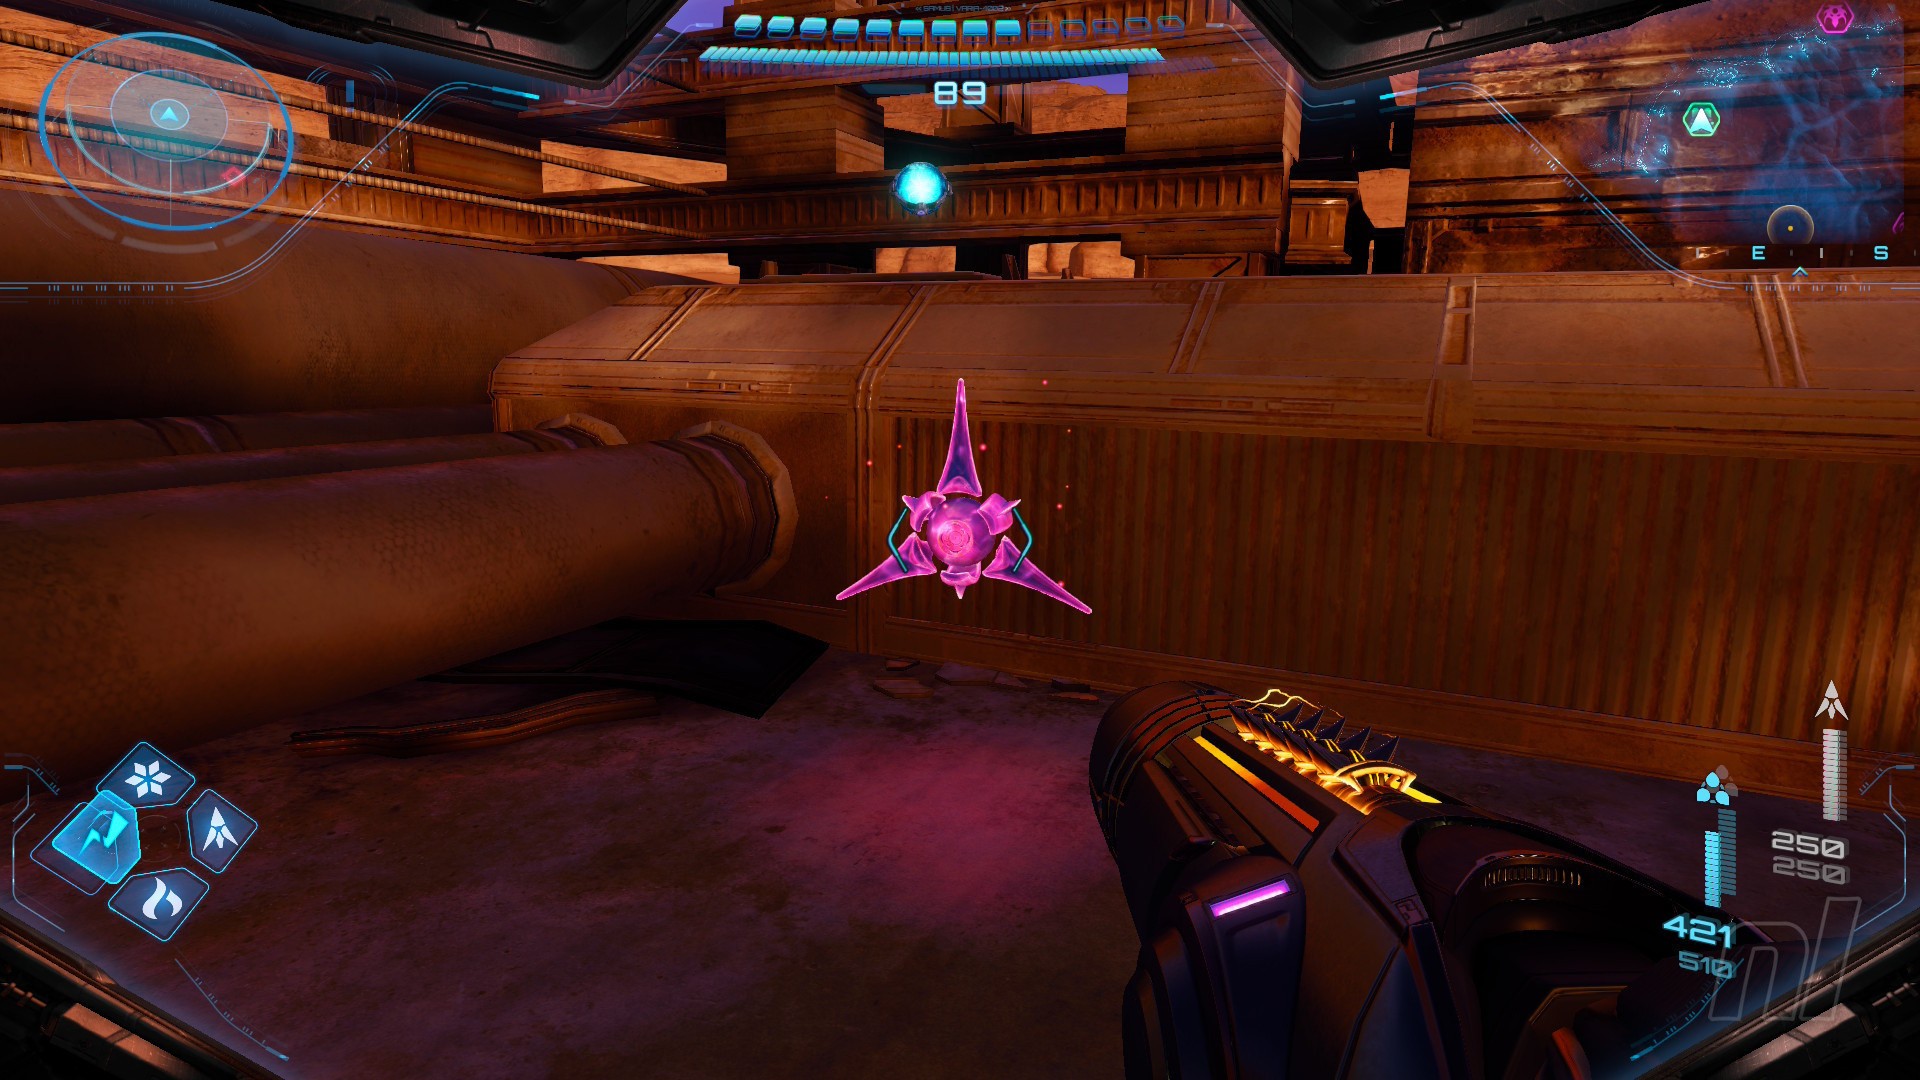
Shot Expansion #36
Down to the left as you enter Volcano Heart is a large ramp. Behind it is a Shot Expansion. Drive into it to grab it.
Missile Expansion #37

On the other side of Volcano Heart is a Missile Expansion, tucked away behind a huge piece of debris – you can't miss it.
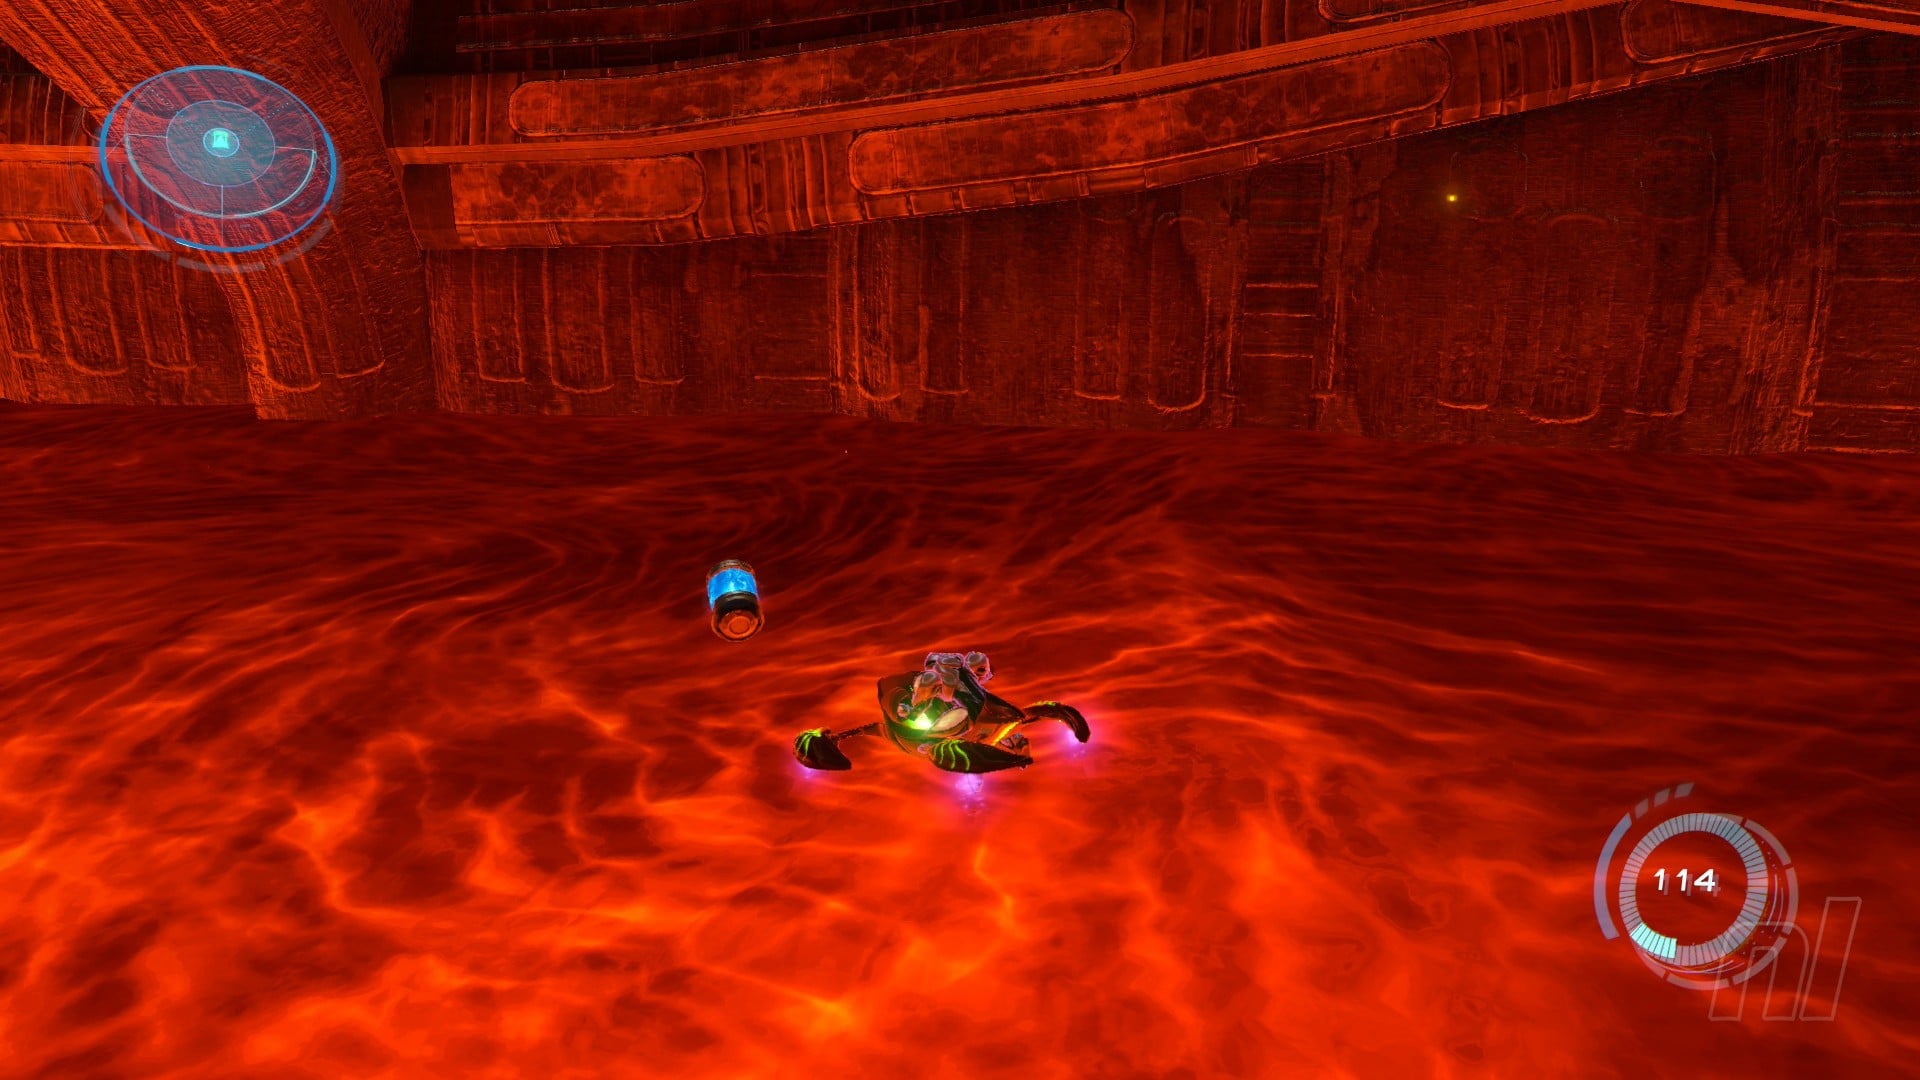
Finally, there's an Energy Tank in the centre of Volcano Heart, but before you can grab it, it'll be snatched away by...
Scan Entry: Swim Snatcher
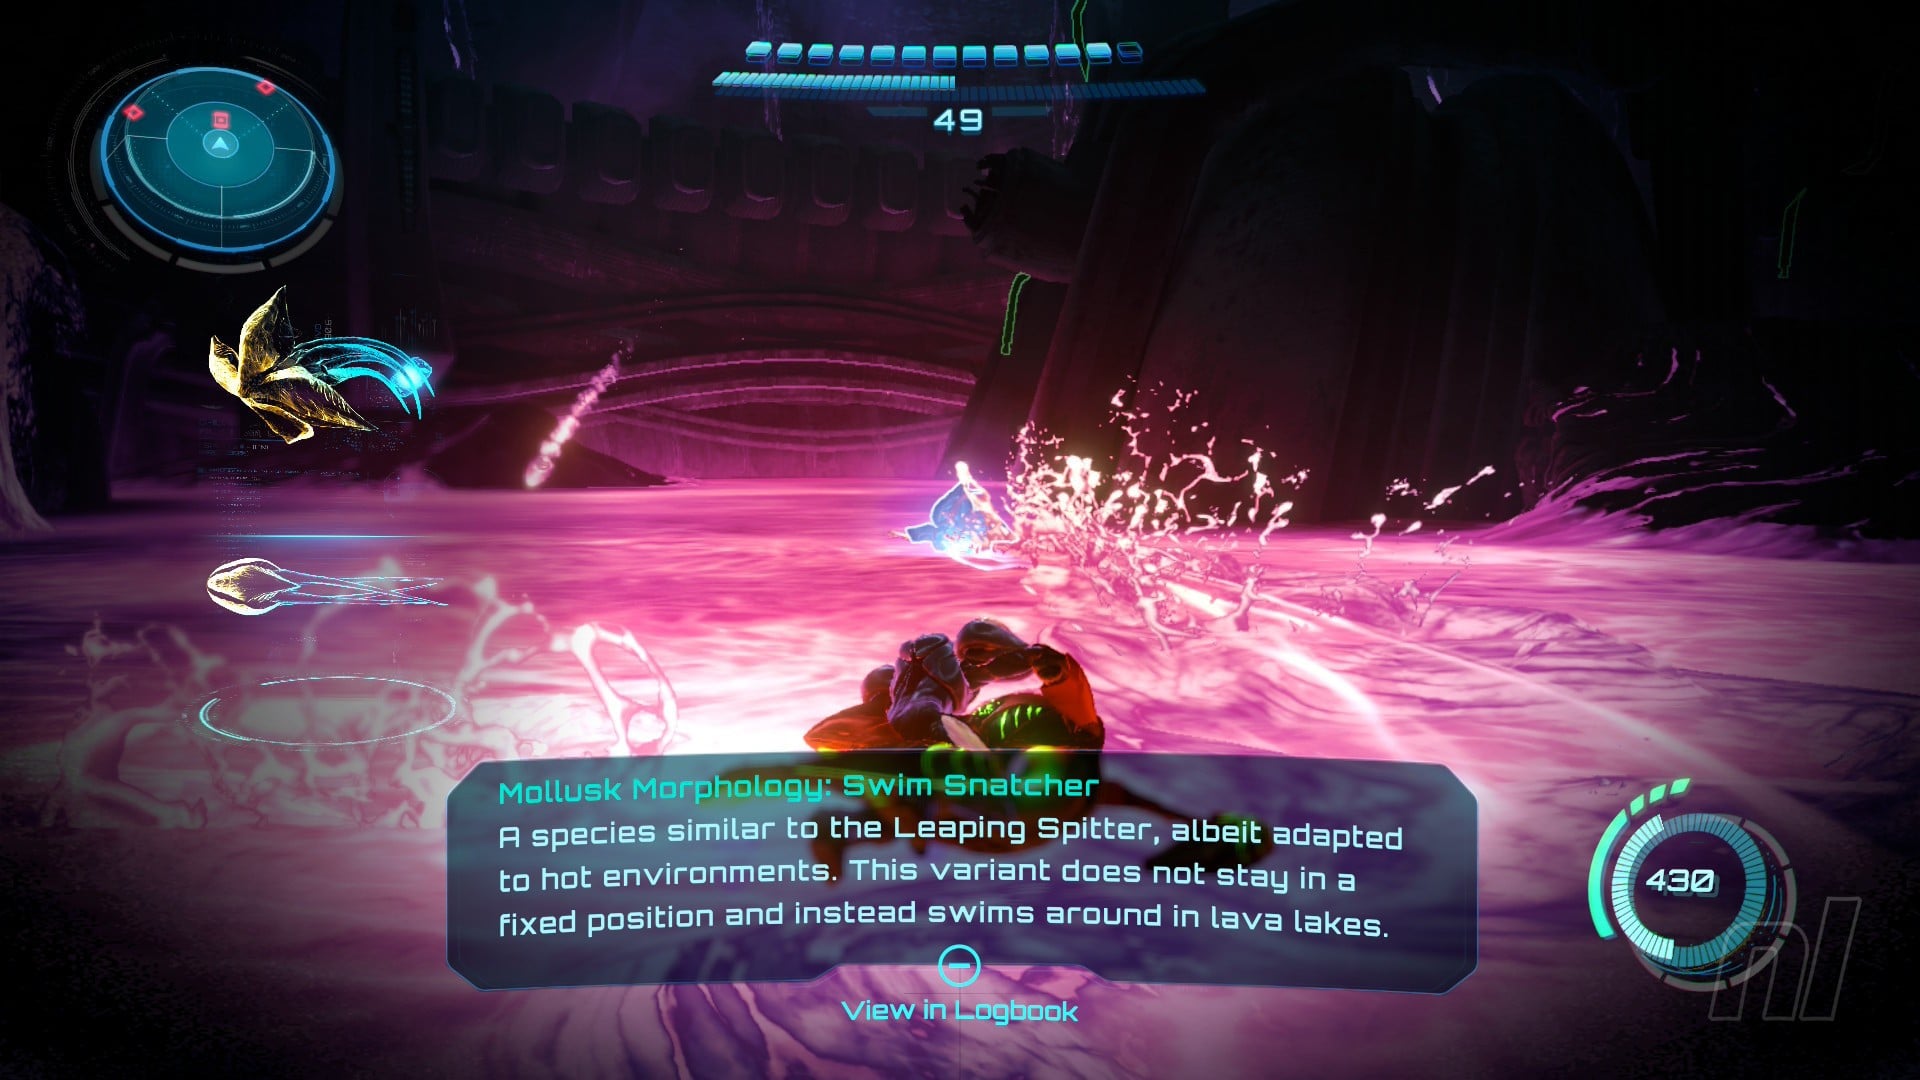
Be aware, if you miss scanning the Swim Snatcher, you won't see it again!
Energy Tank #14
Chase the Swim Snatcher around Volcano Heart, using 'A' to fire a projectile when you're able to get close enough to lock on. Hit it about five or six times, and it'll die and drop the Energy Tank.
Missile Expansion #38
Head on over to Ventilation Works. Use the half-pipe to reach the Spider Track on the left. Take this over to the Missile Expansion.
Shot Expansion #37
Go up the elevator by the Ventilation Works and move into Inspection Station. At the end, use the Fire Shot on the grating to the right and morph ball into the underground tunnel. Follow it up to grab the next Shot Expansion.
From the Entry Bay, take the left corridor into the Boiler Room. You'll see a large machine at the back. Use the lasso to pull the hatch off, then fire your Thunder Shot several times to power up the machine. Two doors will open, revealing both a Shot Expansion and a Missile Expansion.
Shot Expansion #38
Missile Expansion #39
Missile Expansion #40
In the Entry Bay, use the Thunder Shot to open the door next to the large hangar door. Head through to the Cooling Room, then deal with the Lamorn Beam Turret. The Missile Expansion is waiting behind it.
Missile Expansion #41

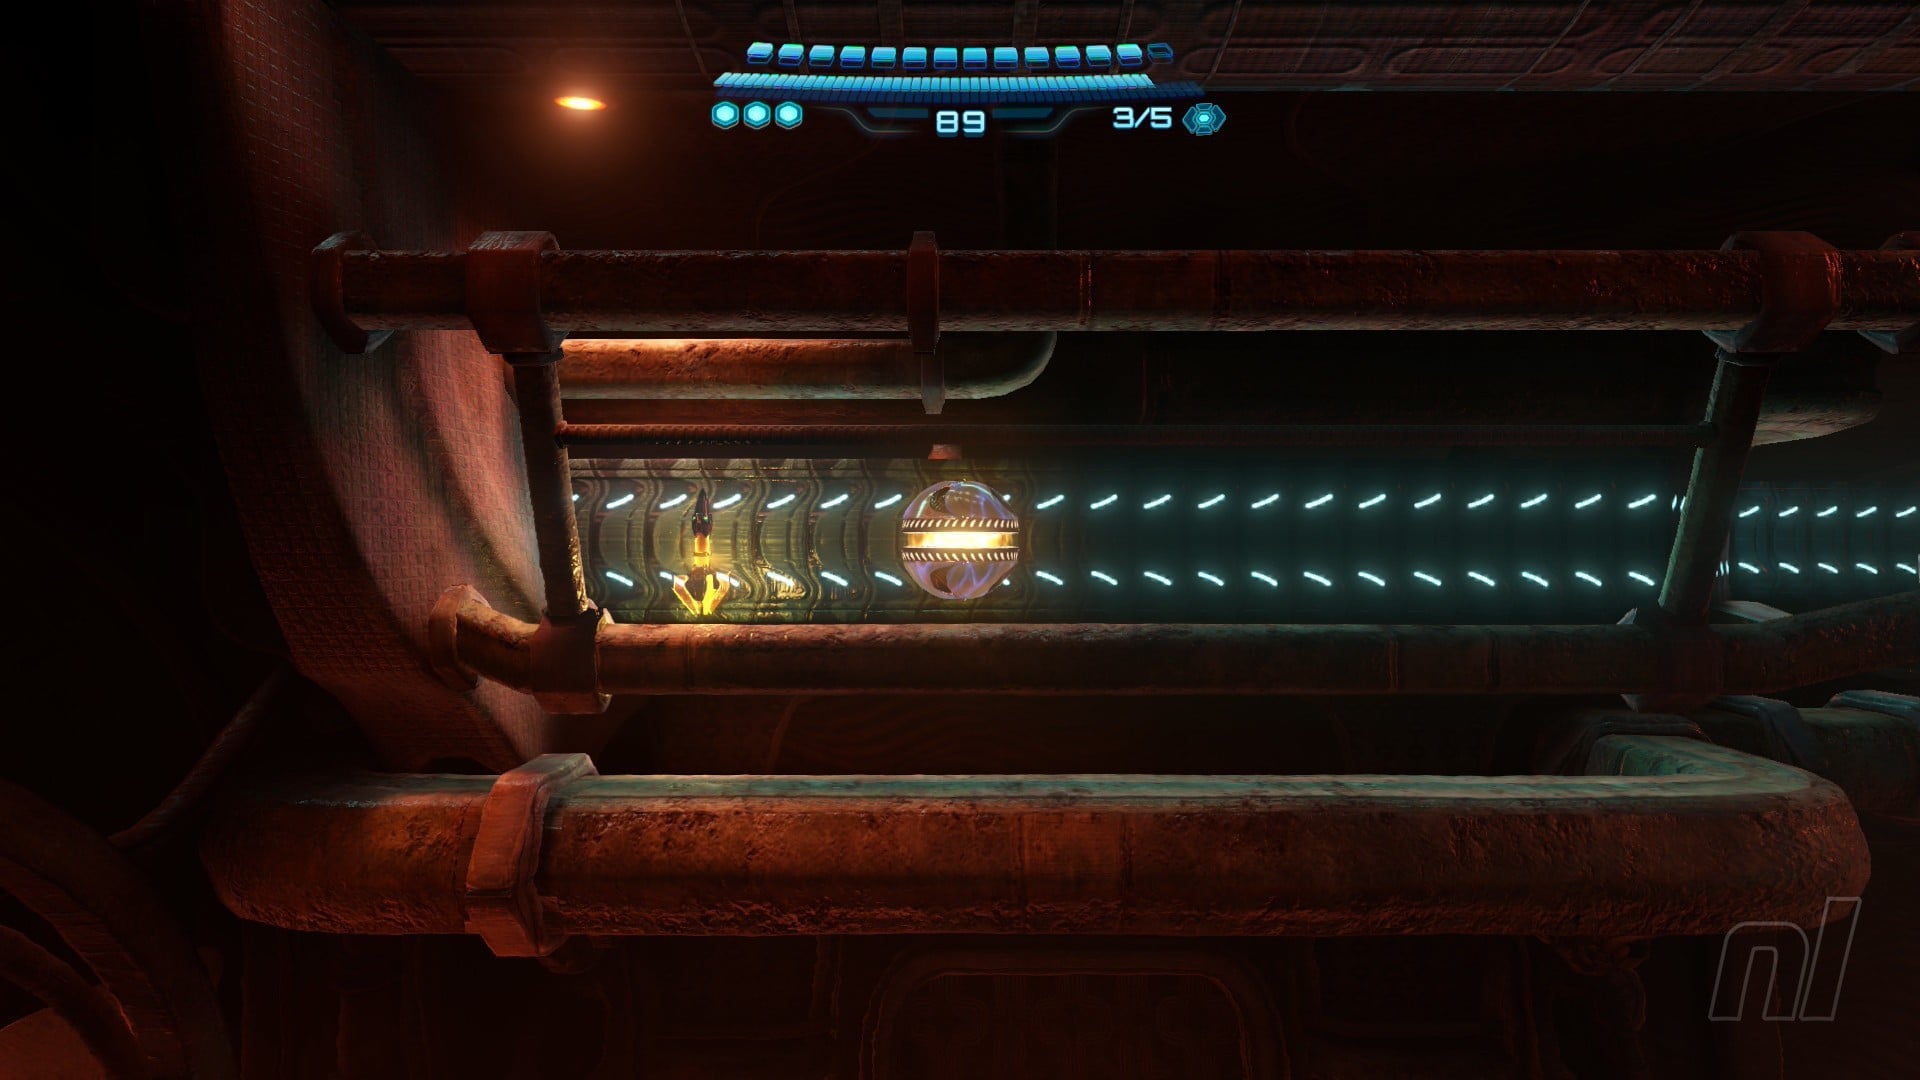
From the Cooling Room, go into the Energy Extraction room. There's a Spider Track right in front of you. Take it up and press 'A' to use a bomb and leap over the small gaps when the electricity has died down. You'll eventually come to the Missile Expansion.
Now head to the Map Station and use the Thunder Shot on the locked door. Move through the corridor until you come to the Subobservation Room (what a name!).
Missile Expansion #42

You'll be attacked by a range of Psy-Bots, so focus on destroying these first. Then blow the hatch off the back wall with a missile, and use the lasso to pull the platforms down. Morph ball in, and work your way up to the Missile Expansion.
Move into the Energy Injection room.
Shot Expansion #39
Move to the centre of the room where you'll fall into a small half-pipe. Use the spinner at the end to reveal electrical circuits. Shoot these with the Thunder Shot to open the hatch in the middle. Inside is your next Shot Expansion.
Shot Expansion #40

Work your way up to the top of Energy Injection using the grapple nodes. At the top, use the grapple points to swing over to the topmost platform and grab the Shot Expansion.
Missile Expansion #43

Now go into the Overseer Room. Use your lasso to pull open a hatch up above. Drop a psychic bomb and throw it into the newly-revealed slot. Then, use your Control Beam to hit the three nodes as they pop out of the device.
When you're done, the Missile Expansion will reveal itself.
Now head back to Lava Lake Bridge. Disembark from Vi-O-La on the side closest to Sol Valley. Use your Super Missile on the large rock blocking the way into the entrance opposite the Volcano Heart. Head on through.
Get off Vi-O-La when you come to a small bit of land. Fire a missile at the morph ball tunnel, then roll on through. Make your way around the short maze, waiting for any lava falling from above to stop. You'll notice a Power Bomb Expansion up above, but you can't get it thanks to the lava.
Head to the end of the maze, then use the grapple points and nodes to swing over to an island where you can turn off the flow of lava.
Power Bomb Expansion #3
When the lava has turned off, head back into the morph ball maze and work your way up to the Power Bomb Expansion.
Shot Expansion #41
Now head to the Scrapyard area near the entrance to Flare Pool. Use a Power Bomb on the rubble to the left, then head up the Spider Track to get your Shot Expansion.
Okay, we're done in Flare Pool... For now.
Our goal now is to locate the Galactic Federation Mech Parts, but we'll need a Transporter Chip to obtain them.
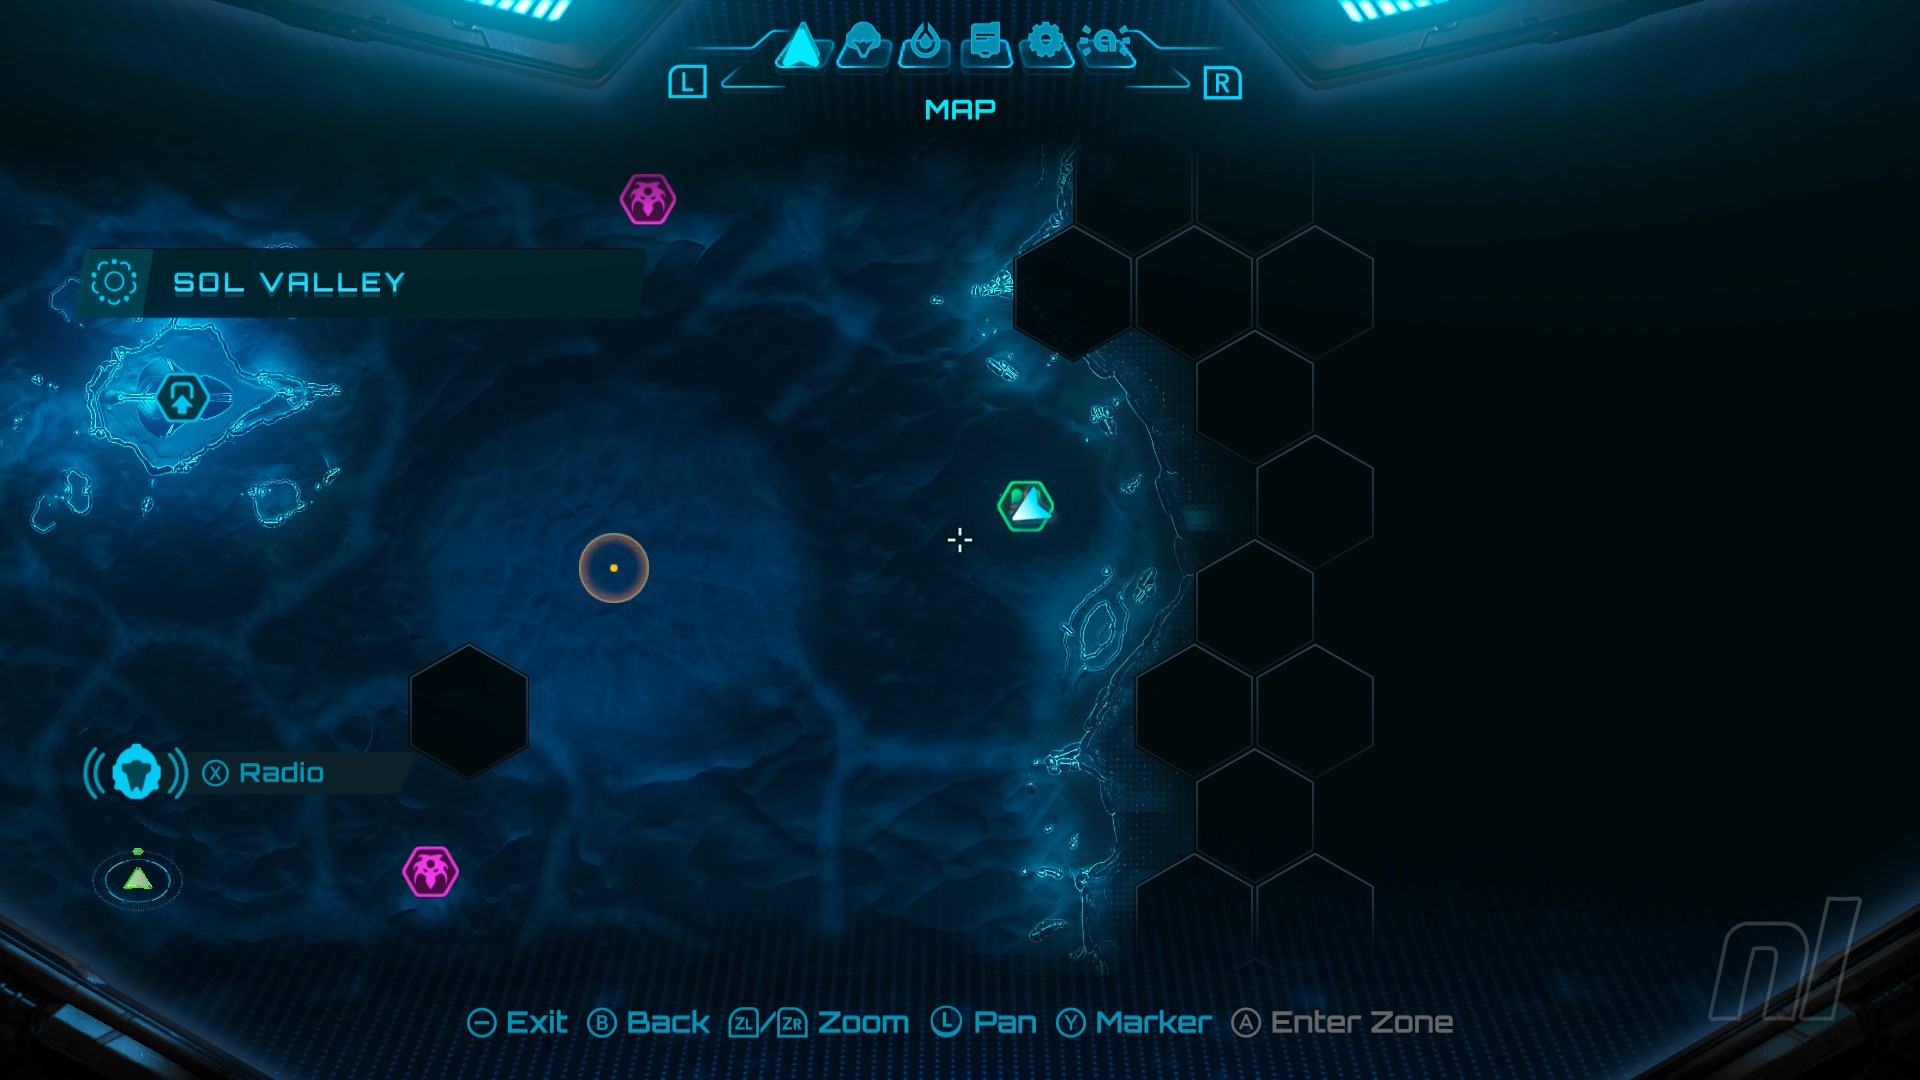
Exit Flare Pool and make your way back into Sol Valley. Near the entrance, you'll see some smoke rising up from a group of large rocks. Head over there.
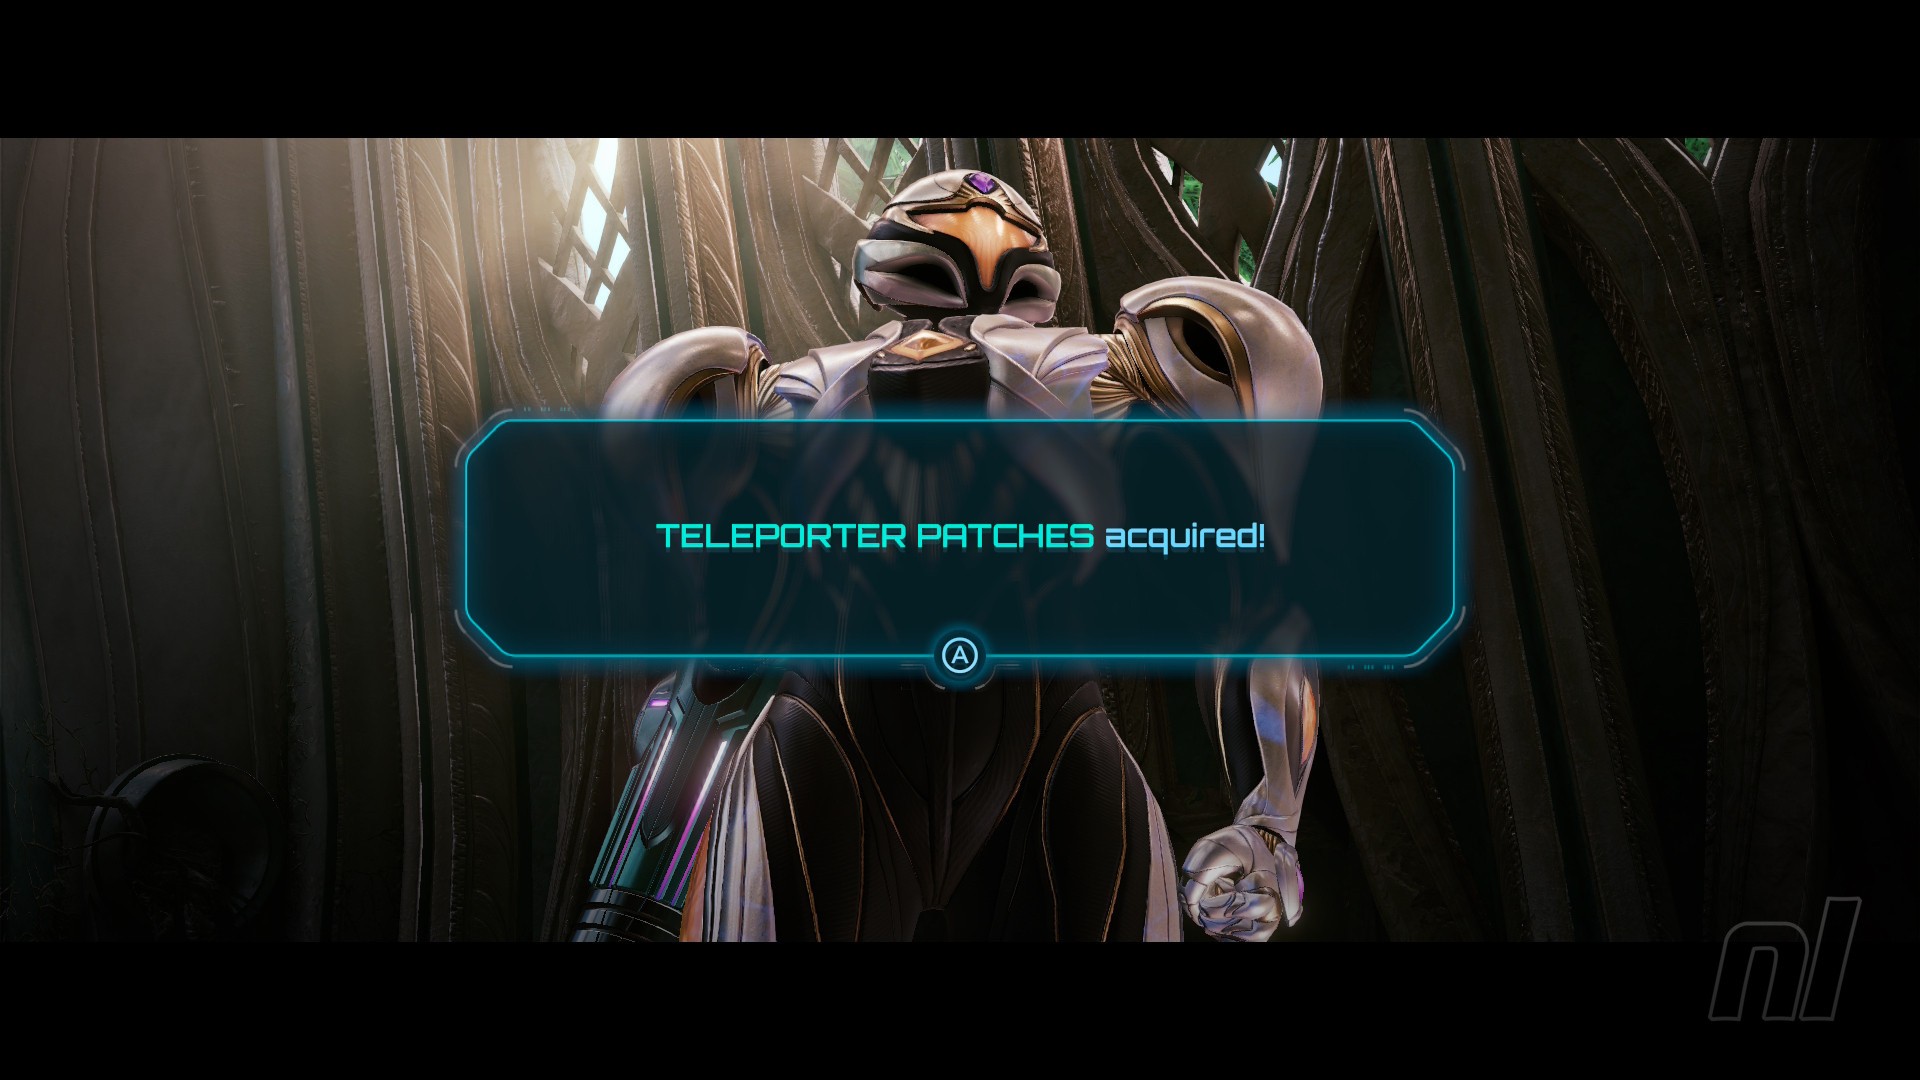
You'll come across Reger Tokabi, who's decided to set up camp here. Watch the cutscene – Tokabi will gift Samus with the Teleporter Chip, allowing you to send the Mech Parts back to Base Camp.
Take the Chip back to Base Camp and give it to Myles in exchange for the Teleporter Patches.
Now let's go search for the Mech Parts. Most of them are located at the Galactic Federation Debris Sites scattered around Sol Valley, so let's go to those first.
Mech Part #1
The first Mech Part is located near the entrance to Fury Green. You'll see a vehicle lodged into the building. Use the lasso to pull it out, and the Mech Part is waiting behind. Press 'A' next to it to send it to Base Camp.
Missile Expansion #44
While we're here, use a Control Beam to hit the target within the antenna located way up high at the Debris Site. This will cause the antenna to fall over, revealing a grapple point.
Take the grapple point over to the roof of the building and grab the Missile Expansion.
Missile Expansion #45
From the Debris Site, you should be able to see another column of smoke coming from some rocks. Head on over there and you'll meet Tokabi again. He'll gift you with a Missile Expansion.
Now head southeast to reach the next Debris Site.
Mech Part #2
At the Debris Site in the south, jump up onto the building using the boxes scattered around. You'll find the part on top. Simple.
Missile Expansion #46

There's another Missile Expansion to grab while we're here. Walk around the building and you'll eventually find a hatch that you can open with a simple burst of electricity from your Thunder Shot. Morph ball through the opening and roll through to find the Expansion.
Now head north-east to find the next Debris Site.
Power Bomb Expansion #4
Before we head for the next mech part, let's grab our next Power Bomb Expansion. Use the grapple node on the Debris building and then make your way around until you can climb up to the top.
Use a Power Bomb on the durable box to reveal the Power Bomb Expansion.
Mech Part #3
Just to the west of the Debris Site – as indicated on the map above – is a large box. This is the mech part you need.
Unfortunately, as you approach it, a giant Varmis creature will come and snatch it. What the heck!
Follow the Varmis over to a large clearing. You'll need to fight it to retrieve the mech part. This fight isn't too difficult at all, but if you need help, check out our guide on How to Beat Varmis.