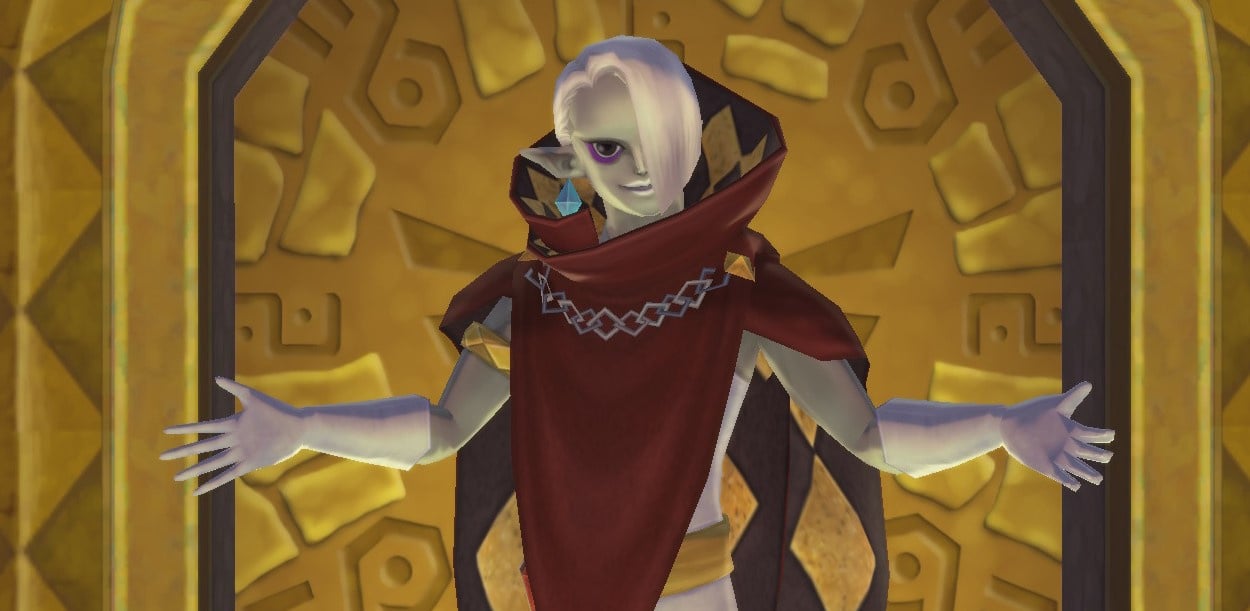
You'll square off against Ghirahim three times during your adventures in The Legend of Zelda: Skyward Sword HD, with each scrap upping the ante in terms of both spectacle and difficulty. Overall though, we have to say, he's not a particularly tough opponent on any of these occasions, especially if you know exactly what you're doing and when, where and how to strike for maximum effect.
Let's take a look at how to beat this bad boy down.
Subscribe to Nintendo Life on YouTube845k
How To Beat Ghirahim (Skyview Temple)
Phase One
Your debut dance with the dour demon lord takes place at the end of your run through the game's first dungeon proper and begins with him slowly moving towards you with his glowing right hand held aloft in order to catch your sword should you make the mistake of telegraphing your attacks.
In order to ensure Ghirahim can't read the way in which you're about to strike you need to bait him, moving the tip of your sword out to the left for example - you'll be able to see his hand following it as it moves - and then quickly switching it up and attacking him from the right. If he does manage to catch your blade he'll attempt to take it off you and attack you with it, however, you can avoid this happening by quickly slashing upwards as he holds it in his hand.
If Ghirahim does manage to grab your sword and take it from you he'll wait a moment and then either slash at you or throw it violently in your direction, depending on how far away you are stood from him. You need to perform a shield bash to knock your weapon free from his clutches if he slashes or simply dodge out of the way when he throws it and then hightail it over to where it lands to retrieve it. Once you've successfully baited and then struck him enough times with your sword he'll move on to his next phase.
Phase Two
Your opponent looks to be taking things a tad more seriously as we move into this second phase, he's got his own sword and little glowing daggers to throw at you and everything. You needn't worry though, as all you really need to do during this stage of the fight is keep your distance and let him get himself into trouble. He's got two different attacks at this point, throwing a bunch of daggers at you and winding up for a powerful sword dash that covers a lot of ground in your direction.
If you prefer to get down and dirty you can choose to engage with these attacks, line your sword up with how his daggers hover before he throws them and you can send them all back in his direction with a well-timed slash. You can also choose to dodge or parry his dash attack and try to get in some quick hits as he composes himself in the direct aftermath.
Our preferred tactic, however, is to keep our distance, dodge the daggers, steer clear of the dash attack and bait him into doing a teleport move to a point right beside or behind you where you can then absolutely hammer him with strikes before he has time to wind up his own attack.
Keep dodging those daggers, steer well clear of that driving dash, wait for the teleport and batter him as soon as he materialises near you. Rinse and repeat this tactic and soon our little grey friend will have had quite enough, thank you, disappearing off to lick his wounds until you next meet.
How To Beat Ghirahim (Fire Sanctuary)
Phase One
Really? This guy again? Yeesh. Ghirahim is definitely taking things a little more seriously this time around and in this first phase, he'll perform a variation on your first meeting where he'll attempt to grab your sword with his hand, except this time he also has some of his glowing daggers floating around him for protection.
What you need to do here is exactly the same as your first meeting, bait his hand and surprise him with an attack, but you'll need to try to line up your attacks so that they avoid the daggers as well. Daggers on each side of his body? Slash directly up the middle and so on. It's a little more complicated than your first battle but take your time to choose your angles and it's all good. If you happen to let him catch your sword this time you'll also be punished by the daggers he's currently got floating around him, so try to ensure you bait him successfully.
Phase Two
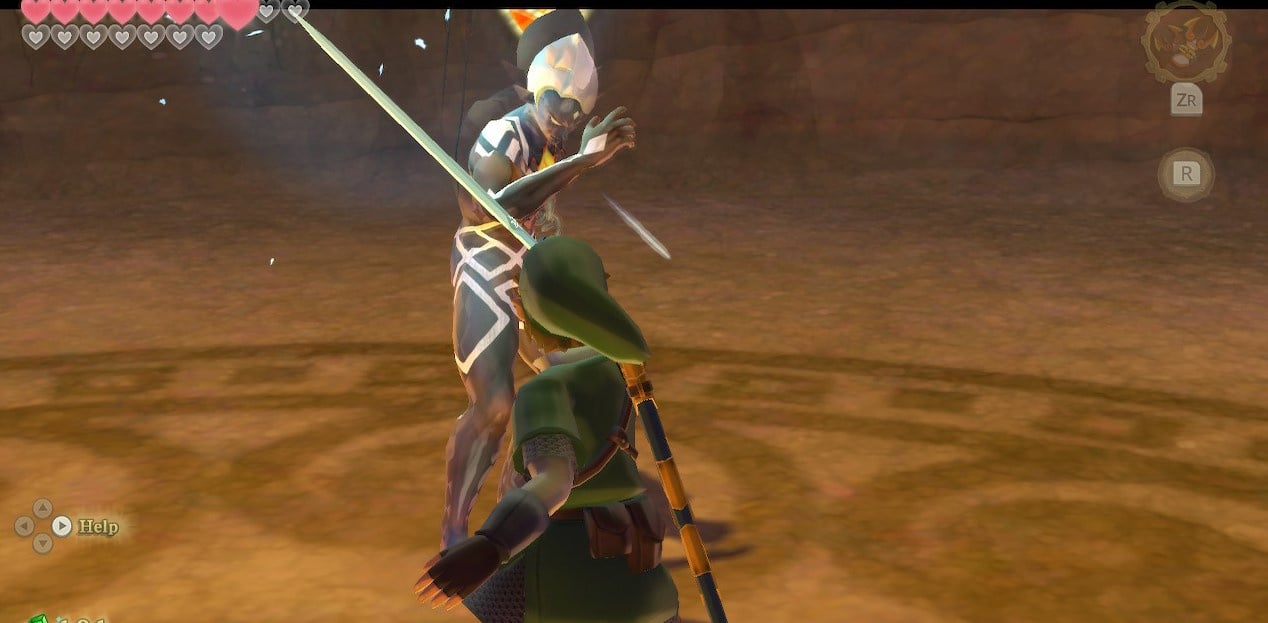
With a customary lick of his lips, Ghirahim signals he's had enough of phase one and moves on, materialising two great big swords to aid him in battle. He'll come at you with these swords held at various angles signifying where you should now aim your sword slashes. You need to keep on your toes slightly here, get in and make your attack to his open angle quickly then jump back and wait for him to come again.
He has a few attacks that he'll use to counter you here, none of which are particularly hard to deal with. Firstly he'll lash out with a sword slash when you've hit him with a couple of shots, this is easily dodged by backflipping or blocking/parrying with your shield once you know it's coming. Next, he'll jump straight up into the air, landing right down where you were stood when he took off. As soon as he takes flight make sure to move well out of the way and wait for him to land, he'll get his weapons stuck in the ground like an absolute tool, giving you a perfect opportunity to wail on him with a bunch of attacks.
The other thing to look out for here is two variations on his daggers throws. He'll send fanned waves of them out that can be dodged to either side if you're quick enough and also a circular pattern that completely encircles Link, don't panic when this happens as all you need to do is backflip right out of there.
Keep getting your hits in on his unprotected angles, dodge his counters, and wail on him when he gets his weapons stuck in the ground and he'll soon get fed up, mouth off a little and be on his way in a right strop.
How To Beat Ghirahim (Sealed Grounds)
Your final encounter with the Lord of the Cries – this is the grand finale, a fight to the bitter end. Whoever wins here takes home all the prizes, the campervan, the microwave oven, the whole thing.
We kick off this first phase with Ghirahim very underhandedly sending out his entire Bokoblin army, absolutely hundreds of them. You'll need to make your way through the lot of them and right down the spiral at the Sealed Grounds if you're going to reach him in time and put a stop to...well, that would be spoiling things.
Thankfully, making your way through this Bokoblin horde is much easier than it first appears. You simply need to run. Yes, hightail it as fast as you can making use of the stamina fruits dotted around the landscape in order to bypass your foes. Every now and again your path will be blocked by a force field wall, forcing you to stop and face your attackers but, thankfully, these are somewhat underpowered versions of the enemies you'll meet in general play, going down much easier than you may expect, even the shielded Moblins are an easy kill here. Almost every enemy you dispatch drops a heart here too, so you should reach the bottom to face Ghirahim with your full health intact if you've been paying attention.
Phase One
Once we've reached Girahim himself this scrap kicks off properly. He's gonna mouth off a little then materialise a floating platform that drags you both up into the sky. Very fancy. You're probably getting nervous now, but there's really no need, as what we're going to do is simple. As soon as Ghirahim comes at you on this platform you want to absolutely go to town on him, non-stop hammering him with your weapon with a view to pushing him off the nearest edge.
It shouldn't take you long to achieve this, he doesn't put up much of a fight, and he'll fall to a platform below where you'll want to jump immediately down and hit him with a fatal blow. Once he gets up from this you're going to have to knock him off two more platforms, each one slightly bigger than the last. As a little bit off added spice, he'll now throw in punches and kicks, easily avoided with dodges and blocks, and also guard himself with his purple electrified arms, at which point you'll have to slash at him in a direction that avoids them. Take care not to hit his electrified arms or mess up here as doing so leads to him quickly switching you into his place, which can lead to Link getting perilously close to tumbling off the edge first. If this happens forget about attacking and string some dodges together to reposition yourself.
Before long you'll have knocked him down and delivered a fatal blow two more times leading us into the final stage.
Phase Two
Now that you're both back on terra firma, your enemy will produce a sword and start attacking. Keeping up close to him here will cause him to throw more complex variations of attacks at you, whereas if you keep a distance he'll resort to firing out an orange spinning sword attack that's pretty easy to avoid. We keep our distance here, let him fire off this orange sword attack and move in slightly closer every time he does until you get close enough to hammer him with attacks. Keep dodging and hammering away and you'll eventually break his sword and get a chance to thrust stab the weak spot on his chest.
You'll need to rinse and repeat this pattern a few times and, after a third sword breaks, he'll pull out a huge Cloud Strife-style Buster Sword. The aim of the game is now to deal as much damage as you can to this sword very quickly so that it breaks. You'll need to once again strike in a manner that matches the angle he's defending here, you'll see the damage accumulating as you make hits, but if you're too slow getting these hits in he'll use his magic to reinforce his blade so you're back to square one.
In terms of his offence at this point, he's really only got a very slow but powerful sword attack that's well sign-posted so you just need to stay frosty for that, keep battering his sword, keep on the front foot and pile on the pressure and you'll soon break through, opening him up for a final stab to the weak point on his chest. And just like that, you've defeated the Demon Lord. Easy!
Other Zelda: Skyward Sword HD Boss Guides
- Ghirahim (all three battles)
- Scaldera
- Moldarach
- The Imprisoned (all three battles)
- Koloktos
- Tentalus
- Bilocyte
- Demise
Now that you've bested Ghirahim, why not jump into some of our other boss guides for the game back at our Legend of Zelda: Skyward Sword HD hub?
There you'll find tips on the pros and cons of motion controls vs. analogue stick control, a list of the main differences between Skyward Sword on Switch and the Wii original, how to use the Zelda & Loftwing amiibo, where to find the Moonlight Merchant and the Thunder Dragon, and how to beat every boss and minigame.
You'll also find guides for all heart piece locations, all goddess cubes, and where to find every Gratitude Crystal, every upgrade treasure, every bug, and every potion recipe to fill your bottles with.


Comments 0
Wow, no comments yet... why not be the first?
Leave A Comment
Hold on there, you need to login to post a comment...