Welcome to Nintendo Life's Pikmin 4 Engulfed Castle walkthrough. In our Pikmin 4 guide series, we'll be showing you All Treasure Locations, all Gear and Item Upgrades, all Oatchi Abilities, all Pikmin Type Locations, all Onion Upgrade and Flarlic locations, All Region Walkthroughs, All Dungeon Walkthroughs and more besides!
Let's get started on the game's first post-credits region, Giant's Hearth!
Subscribe to Nintendo Life on YouTube844k
Giant's Hearth Full Walkthrough & All Treasure Locations
Our first post-game mission area sees us head out in search of answers to Oatchi's issues, and a whole bunch of treasures to boot. Let's dive in.
Birdy Bed
Let's start by sending some Pikmin to batter the large foe ahead and nab its carcass and the nearby raw materials. Now send some blue Pikmin off behind the Beagle to grab the BIRDY BED.
Whilst her you can also excavate the submerged mound in the pool of water here to uncover a drain to get rid of all the water here, as we'll be burning the dried plant stacks nearby in a little bit.
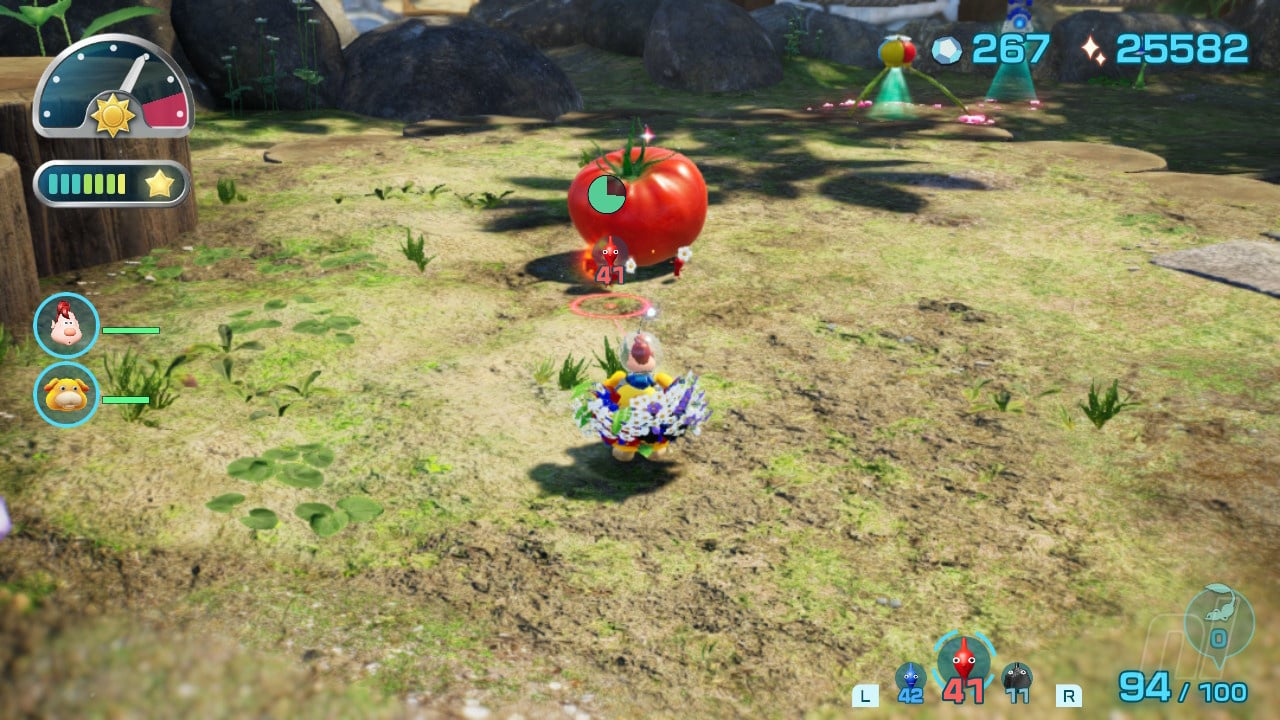
Face Wrinkler
Now let's head forward again and hook around to the right where there's a clay ramp to mend. Get this fixed up and head into the raised area here. Excavate the dirt mound for raw materials and then rush the wooden fence that the FACE WRINKLER is sat on to knock it down into the watery patch below the sprinkler and have some blue Pikmin grab it.
Stately Rubber Cutie
We can't get straight past the sprinkler here so turn left and take out the spider and web here to rescue the STATELY RUBBER CUTIE, Now continue through the opening here and take out the large fire beast to unlock a new base!
Anxious Sprout
To our right there's a whole patch of wet sprinklers and frogs, so let's leave that for now go left to take out two small bugs and excavate an ANXIOUS SPROUT.
Slapstick Crescent
Now let's also take out the large grub enemies straight ahead and then grab the SLAPSTICK CRESCENT you can see suspended in front of the new base marker. Directly right of the SLAPSTICK CRESCENT you'll find plenty of ultra spicy spray ingredients, so make sure to harvest them. Now let's mend the clay ramp here to access the entrance to ULTIMATE TESTING RANGE!
With the area's first dungeon complete, let's go ahead and drop the metal bridge near the base marker with 20 Pikmin and then fix the clay tap here to turn off a sprinkler. This is also where you'll find the entrance to AERIAL INCINERATOR.
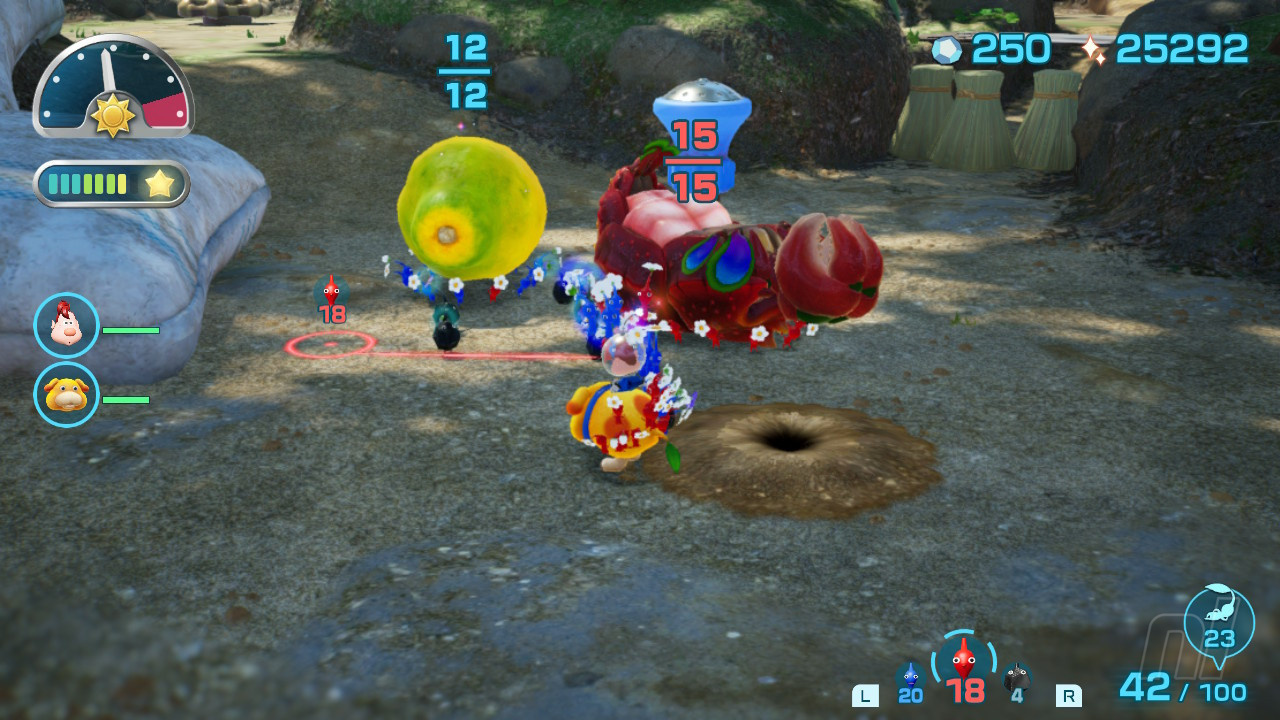
Now let's go to the left in this small area, take out the spider's web and you'll find an area with a sprinkler, which we just turned off and a large hole with a huge beast inside, so beware when taking this one down! What we want to do here is focus on attacking his two eyes by flinging up Pikmin then he'll flip over to reveal a soft belly to attack en masse.
Seed Hive
Once you've defeated this foe, you'll get your hands on a SEED HIVE.
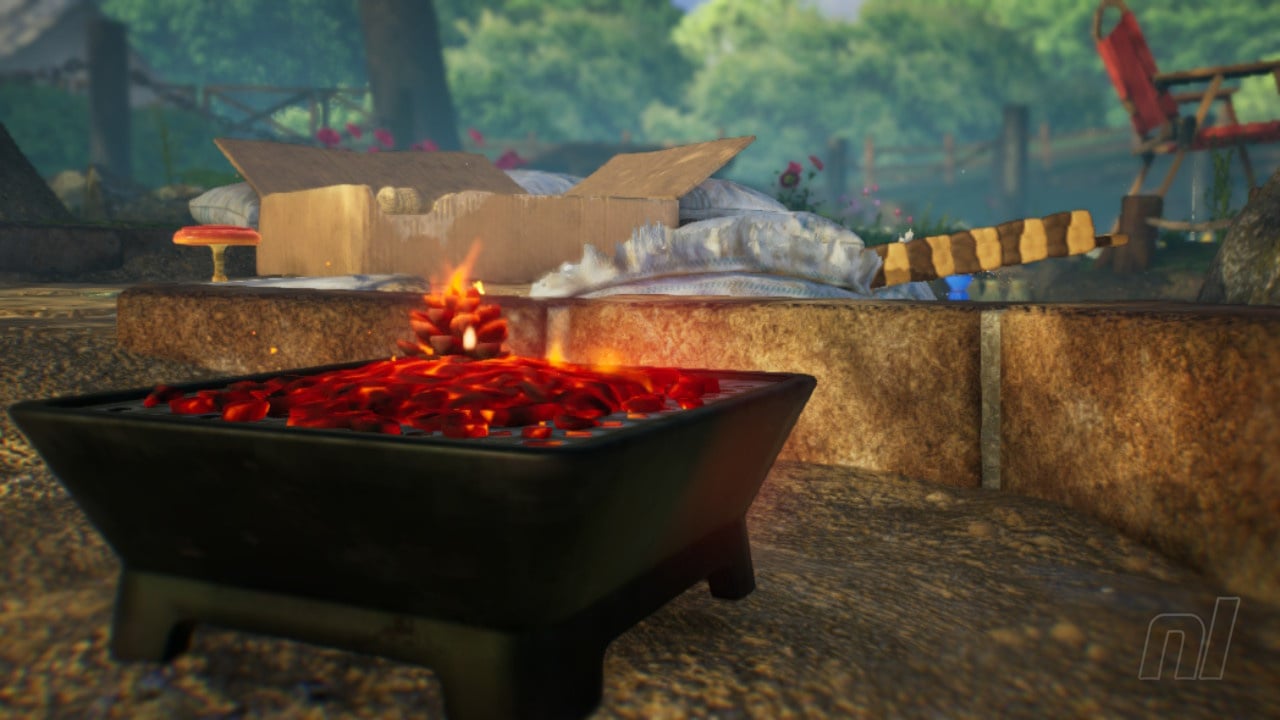
Now keep on moving forward and then jump on the red round springy platform to the right. Here we'll finally get our hands on a lit firepit that we can use to light up a Pikmin and start burning all the dried plants that are holding us back. Burn the plants to your right, kill the spider and then go straight to light up the fire pit which is in front of where we originally started the level. We can now burn the row of dried plants that are to the left of the water that we drained at the start.
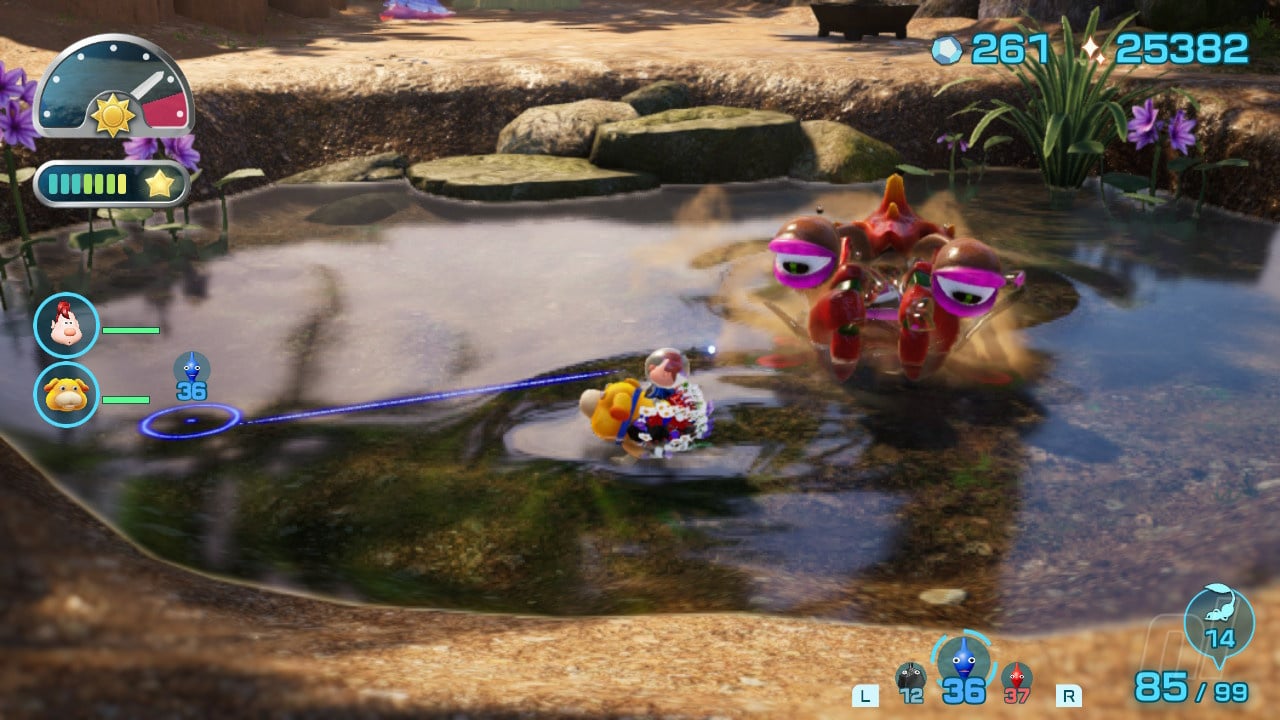
Fish-Bed Snack
Through here you'll find a small pool with another big beastie to take out, rewarding you with a FISH-BED SNACK.
Crew-Cut Gourd
Now move to the right of the pool and move the box out of the way to grab a CREW-CUT GOURD.
With the gourd collected we can move our base back to the original level starting point then chuck a red Pikmin onto the fire pit and have it dash with you around by the pool, past the carboard box and onto the fire pit here. Now you can burn the line of dried plants to the left and the ones straight ahead, which are concealing the entrance to CRADLE OF THE BEAST.
Once you're done in the dungeon, make sure to kill the large slimy foe directly outside the entrance. Just fling Pikmin up onto the ball on its back then attack en masse.
Now we can move upwards to come out behind the toads and sprinklers we saw earlier, this time we're around the back of them and there's a clay tap to fix so that we can shut off all of the annoying water here.
Snack Bean
Make sure to spot the small dirt mound right beside the clay tap here to grab a SNACK BEAN.
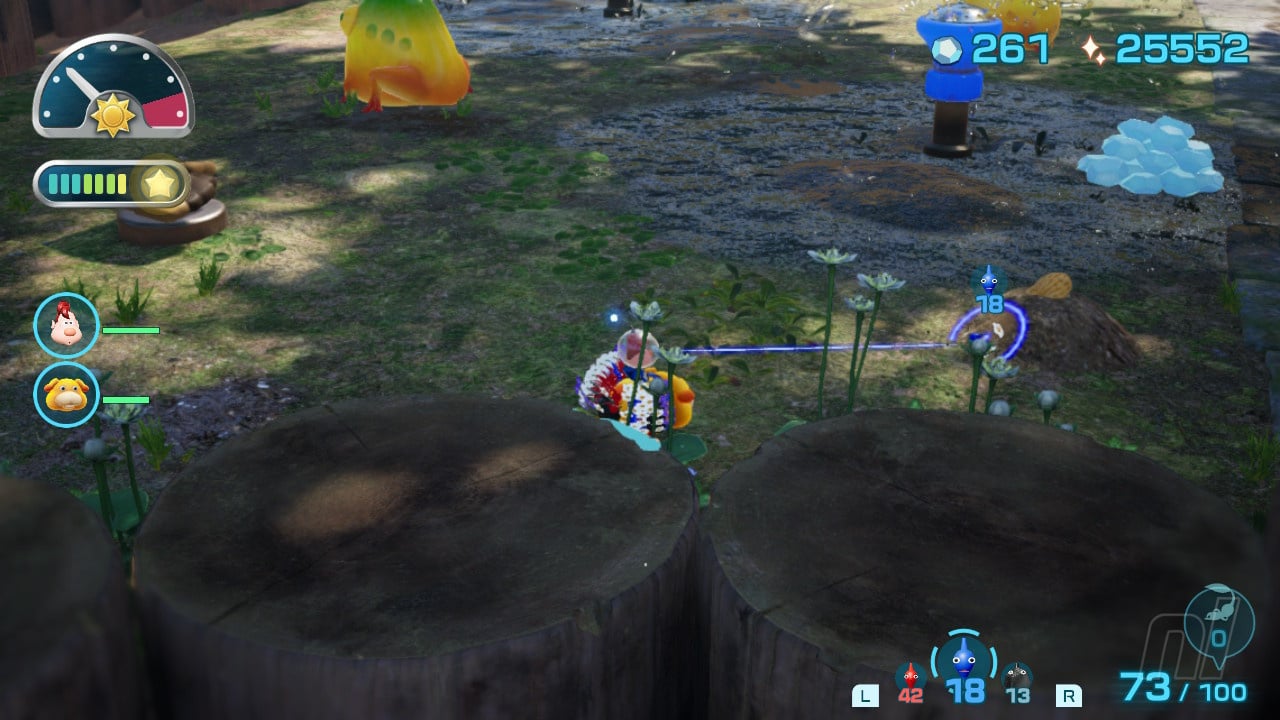
With the sprinklers off we can now dispose of the enemies here and the best way to do this is bash them with Oatchi. As he hits them the Pikmin will automatically jump over to attack and you then just need to pull them back with the whistle before the toad jumps up and smashes into the floor. Roughly three attacks with Oatchi should do the job without you having to lose Pikmin.
Love Nugget
Now gather up any raw materials and we'll light the firepit up here by using the nearby pit and burn the dried plants to grab the LOVE NUGGET.
With this done, let's light up a Pikmin in the firepit and head as quickly as possible - ultra spicy spray is your friend - to the firepit right down beside the entrance to ULTIMATE TESTING RANGE.
Ge this pit lit up and use your rock Pikmin to break through the crystal wall, then use a fire Pikmin to burn away the dried plants and set up a new base in this area.
Persistence Machine
Now head down to the large blue machine here and fling a Pikmin up to hit the button and drain the nearby water. With this done we can light the firepit near our new base and have a Pikmin come and burn away the dried plants surrounding the PERSISTENCE MACHINE.
Universal Rubber Cutie
There's also a UNIVERSAL RUBBER CUTIE behind a spider's web in the corner here!
Slipper-Bug Fossil
Move back to the main area beside the base and take out all the enemies then grab the SLIPPER BUG FOSSIL from the low ledge here. Be careful though, as when you grab it a bunch of small shelled bugs will attack!
Now, if you haven't spotted them already, Moss and Louie are stood by the entrance to HOT SANDY DUEL, just down at the machine where you drained the water earlier. So let's get down there and give them a beating in what's a pretty straightforward Dandori battle (just make sure to grab the Sneak Bomb before they do!) Once you're done down here, make sure to use some blue Pikmin to get the castaway back to base. It's YORKE!
We can now get to work burning the dried plants around the base of the red brick building beside our base. Take out the ones at the outside then fling another fire Pikmin over into the small yard with the red spiders to take the plants out here too.
Disk of Amusing Wisdom
Move towards the back of this small area to light the firepit here and a GOLDEN BUG will jump out and scurry around. Keep attacking it to receive lots of nectar and a DISK OF AMUSING WISDOM. Note that, if you are having trouble lighting this pit, head around to the far side of the building to find some bars you can pass through by dismounting Oatchi, here you can fling a fire Pikmin over easily and there's a lit firepit right nearby.
Now head outside to grab the raw materials before making our way back to base and nabbing the materials to the right where we burned the dried plants a while ago.
Flarlic Upgrade #10
Let's make our way up the red brick building at the base now, we'll need to mend a clay ramp here and then we can grab the Flarlic.
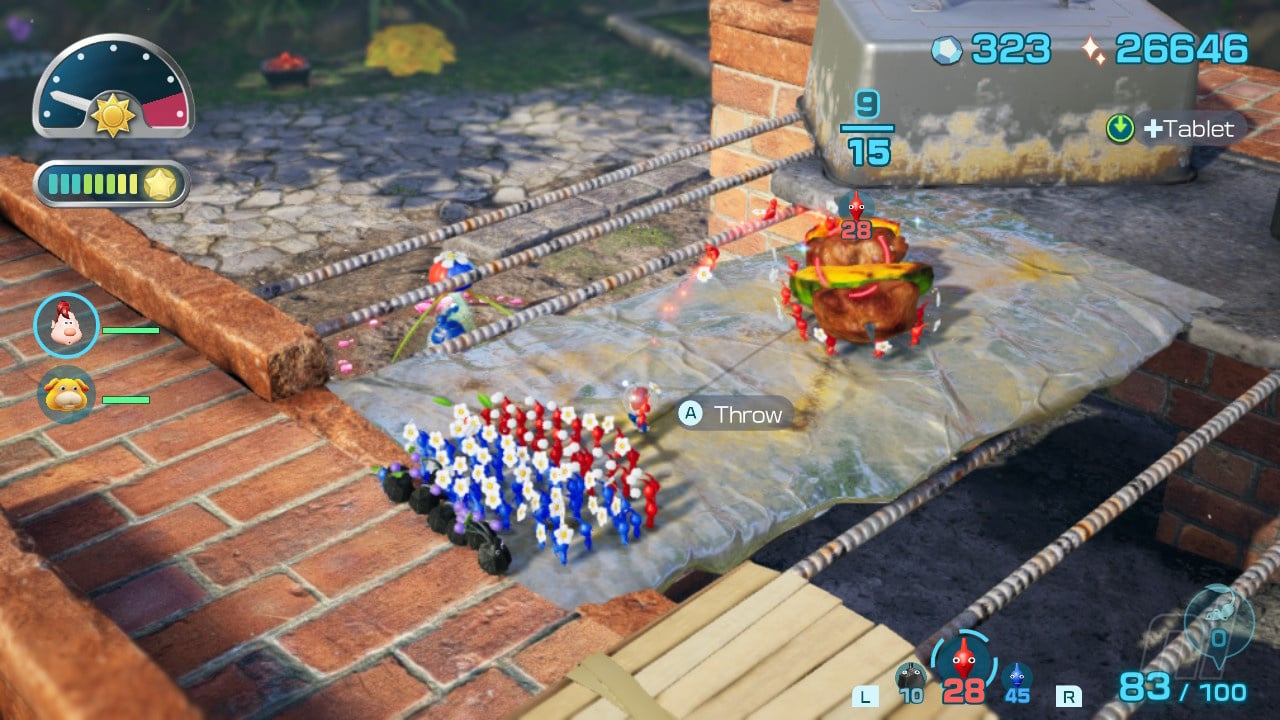
The Four Grill Brothers
There's also THE FOUR GRILL BROTHERS here so make sure to grab that too!
Ice Sword
Switch to a yellow Pikmin to get high enough to reach the ICE SWORD on the right here. Or, if you don't have yellows, walk up the tin opposite and throw any Pikmin across the gap.
There's a bunch of other things to do up here, but for now lets make our way down, light up a Pikmin, burn the dried plants around the rest of the bottom of the building and push the paper bag down to make a ramp.
Ice Sword #2
Then we can do a little platforming with Oatchi on the bricks here to reach another ICE SWORD.
Once you've got the sword, keep heading up the bricks to reach the top area again, this time on the other side of the pots that were blocking you from reaching the entrance to AERIAL INCINERATOR. This Dandori challenge will require you to make use of firepits to burn dried plats to get at treasures, so be prepared and do your best to rescue the castaway.
Once you've done this we can get back to work in the garden and let's head back round to where we fought all the toad enemies under the sprinklers a bit earlier. Just beside here there is another enemy, a large flaming bug, who is sat behind another sprinkler. We need to get to the clay tap but that's behind him and beyond the water.
To get past the water, we simply stick to the right hand side and dashed through with Oatchi then quickly whistled for the panicking Pikmin when we reached the other side. It's not pretty but it gets you around the sprinkler without losing a Pikmin!
Once over, take out the burning foe with your reds then use blues only to go fetch clay to fix the tap. Once it's off you can then get burning the surrounding dried plants to make a shortcut to the original base area and to reveal the entrance to STRATEGIC FREEZEWAY, yet another Dandori challenge.
OK, this is a big area! Now, let's backtrack to the base and then head down south to the stone wall in the location you can see on our map below. We're going to need a few bombs to take this out. Once we get through, excavate the dirt mound and collect up any raw materials, then prepare to face a huge enemy!
This big guy is tough, but a good way to defeat him with minimal casualties, beside being very quick with your attacks and whistle retreats, is to wait for him to stick out his tongue and throw a bomb rock at it. He'll swallow it, it'll explode, and he'll go down for a period of time, allowing you to take chunks off his health without fear of reprisals. Repeat this process three times to finish him.
Rock Pikmin Onion
Once he's done, you can head to the back of this area to find the ROCK PIKMIN ONION.
With this, and the dungeons we've uncovered thus far completed, we're almost done here. So let's now head around to the area where we found our first lit firepit, as shown in our map below. Here we need to use another red spring device to chuck five Pikmin up onto the box and let down a string shortcut. Climb up here to find the entrance to DREAM HOME dungeon. There's also a clay bridge here that can be mended to make another shortcut through the main mission area.
With all of this done, you should now be 100% completed with Giant's Hearth. If you've saved all the castaways from the dungeons in Giant's Hearth you can now make your way back to base camp to unlock the game's next, and final, main mission area, Primordial Thicket!
Investigation Complete!
Make sure to check out our full Pikmin 4 Walkthrough Hub for more guides, hints and tips!


Comments 0
Wow, no comments yet... why not be the first?
Leave A Comment
Hold on there, you need to login to post a comment...