The Legend of Zelda: Breath Of The Wild's final DLC, the Champions' Ballad, is out now, and it offers a challenging dungeon known as the Divine Trial. But it's challenging to even get that far. First you have to defeat five separate trials – four of which relate to the fallen champions.
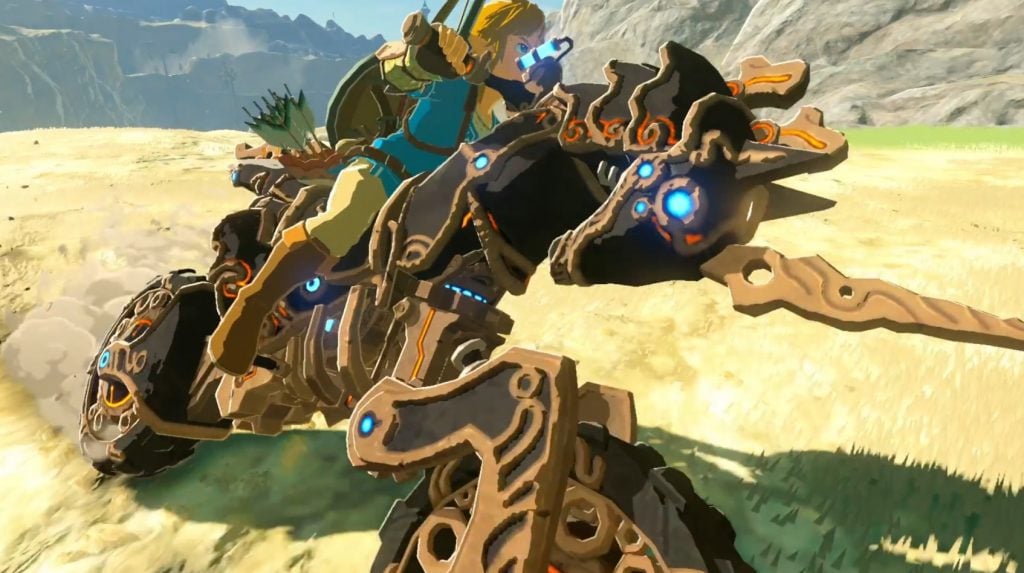
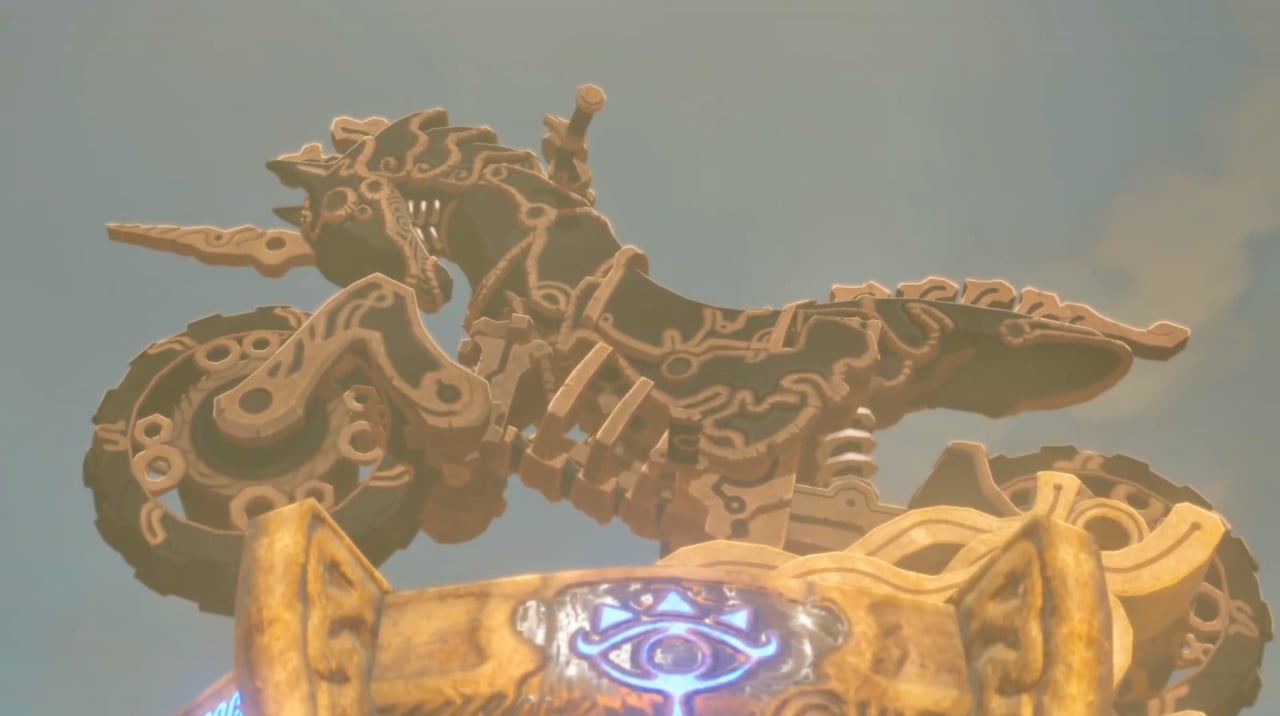
Do so though, and you unlock the crown jewel of this DLC – the Master Cycle Zero. This nippy little racer lets Link travel across whats left of Hyrule in style.
We want to help you unlock it faster, so we've created this guides series to walk you through the DLC step by step.
Before You Begin
You first have to defeat the four divine beasts and then tackle the Divine Beast Tamer's Trial on the Great Plateau to unlock the next phases of the trial. We say phases, because the next section is split up into four, and you can complete them in any order. Each of the four trials is based on one of the champions.
This guide tackles the Divine Trial, but we've also covered Mipha's, Revali's, Daruk's, and Urbosa's Songs, so head to one of those if you haven't completed them yet. You can perform them in any order, so just pick your favourite champion and go from there.
The Divine Trial
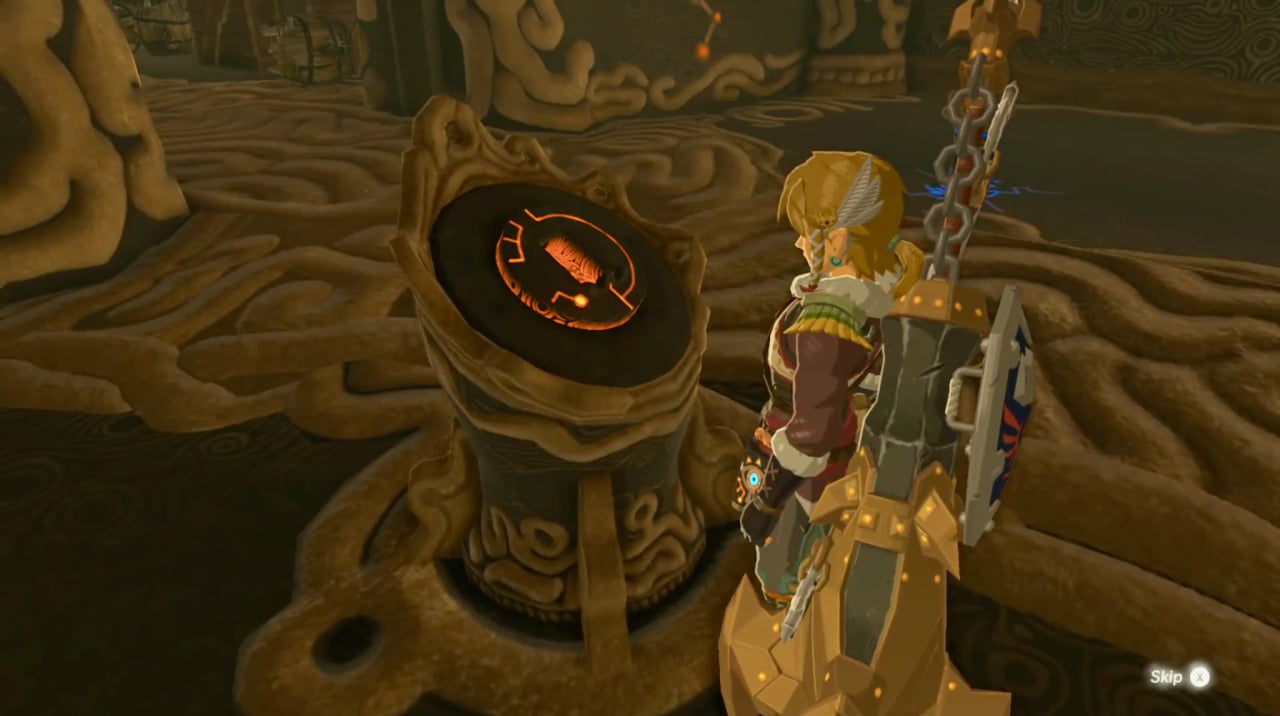
To start the Divine Trial, head back to the Shrine of Resurrection and place the Sheikah Slate back in its slot. This will cause the Shrine of Resurrection to sink into the ground, wherein lies the labyrinth that serves as the Divine Trial. It shares the appearance of the Divine Beasts.
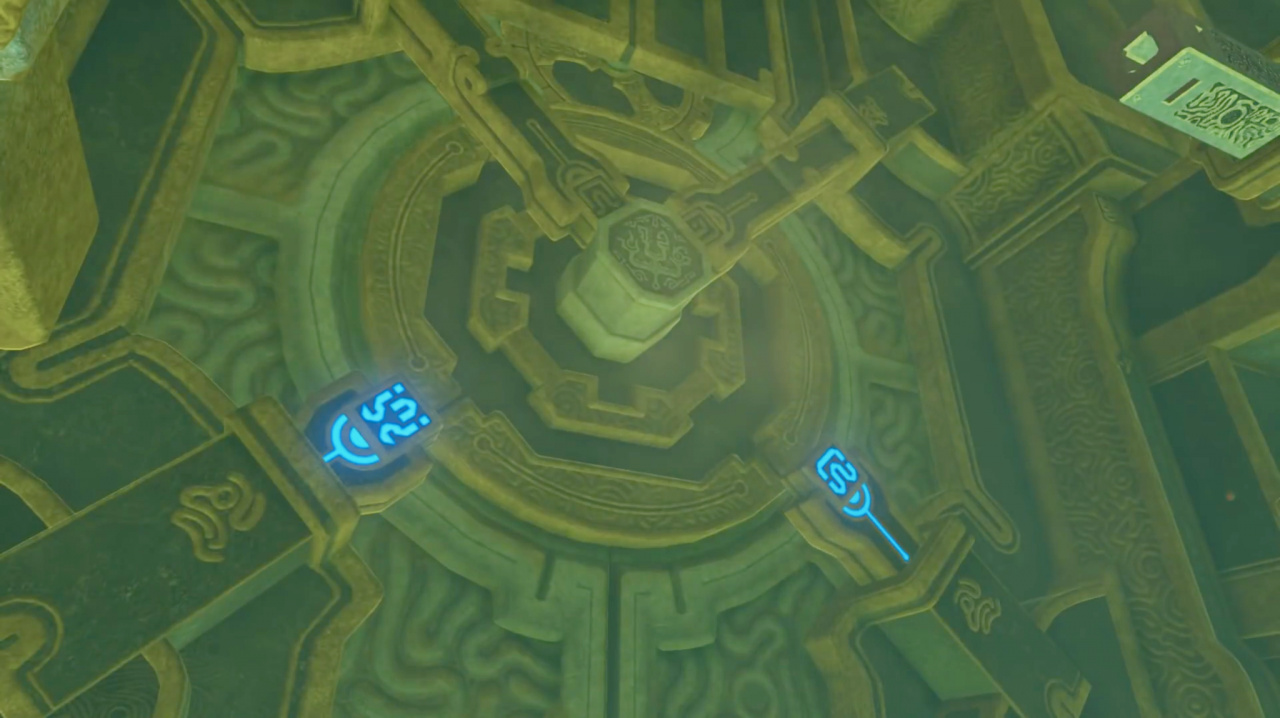
Head straight in to the guidance stone to download the dungeon map. Be careful of a tiny guardian on your left though – just take it out with your bow as you pass. Once downloaded, the map will let you control certain aspects of the Divine Beast. More on that later.
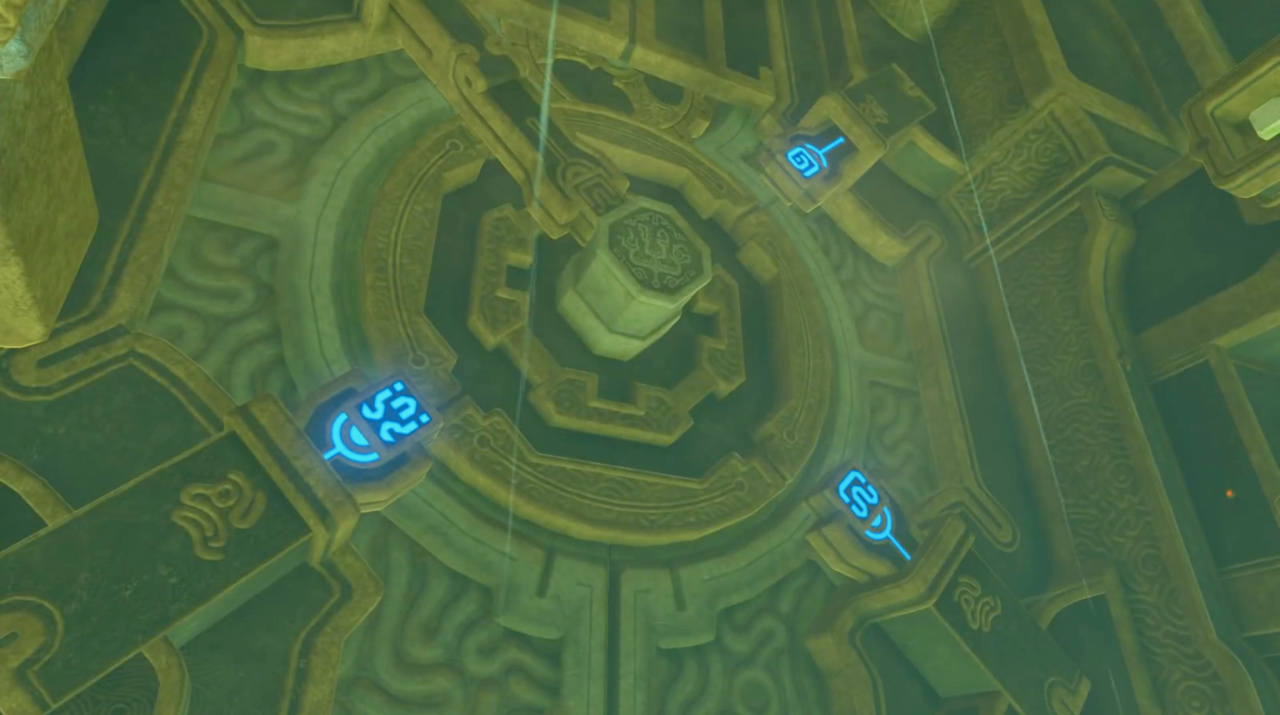
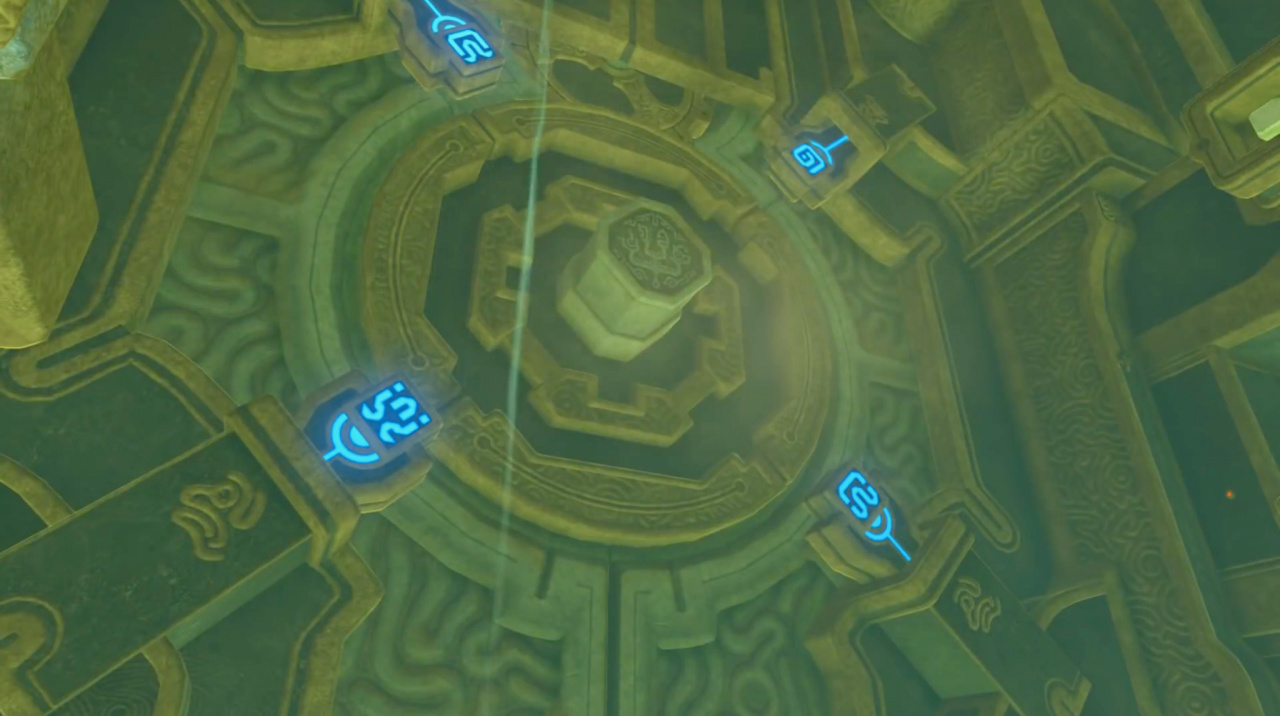
The First Lock
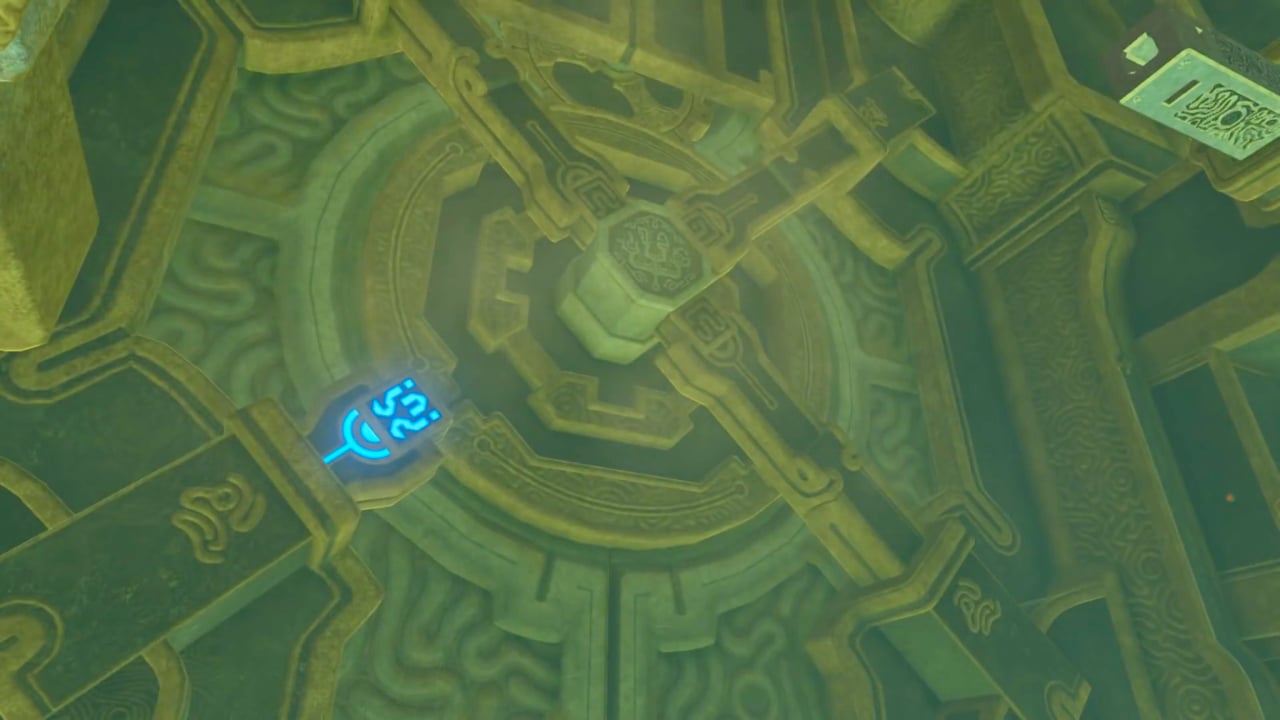
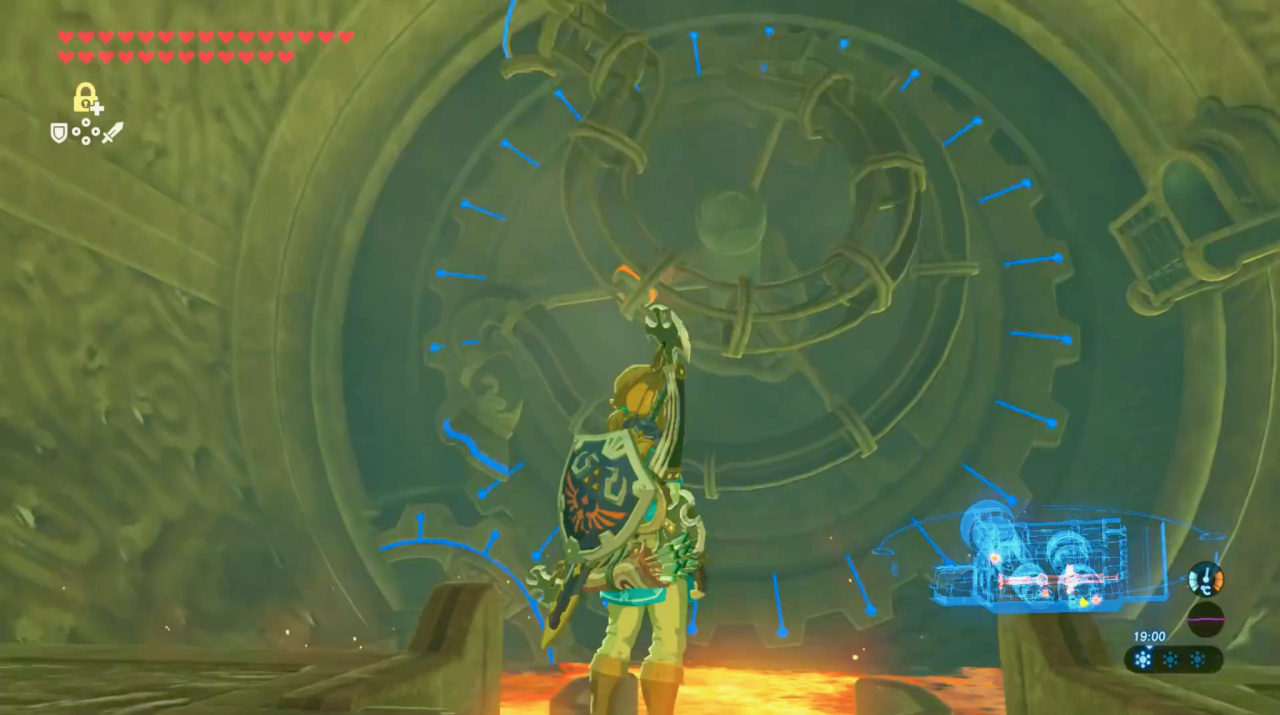
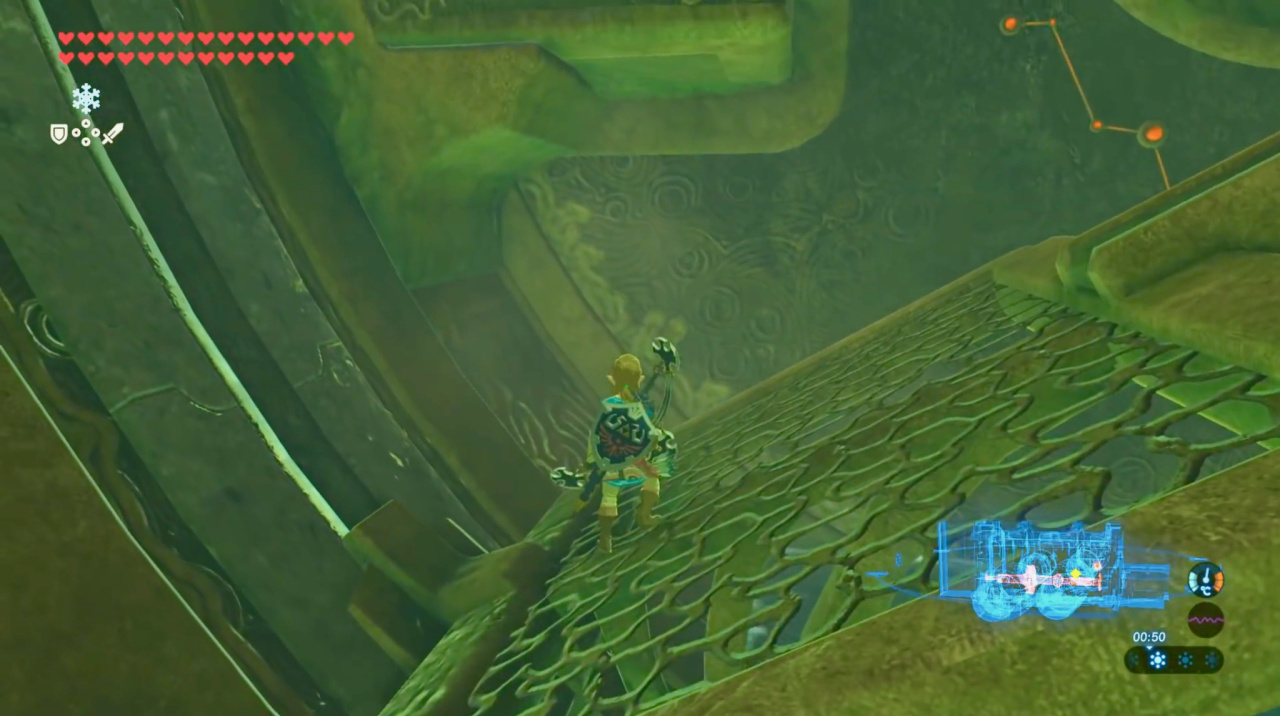
Head straight past the guidance stone until you see a ramp. Head up it and follow it to the right until you reach a door on your left. Don't go through it just yet though, instead glance up and you'll see a metallic object you can manipulate with Magnesis. You won't be able to reach it just yet though, so open the map and rotate the beast clockwise. This will bring the metallic object closer.
Pull out Magnesis and drag the object from the far right to the far left and immediately rotate the beast anti clockwise again. This may take a few attempts, but your goal here is to push the metallic object into the hole to its left. The best way to do this is to grab it and start pulling left as it gets near the hole, then it should slip inside as it rotates past.
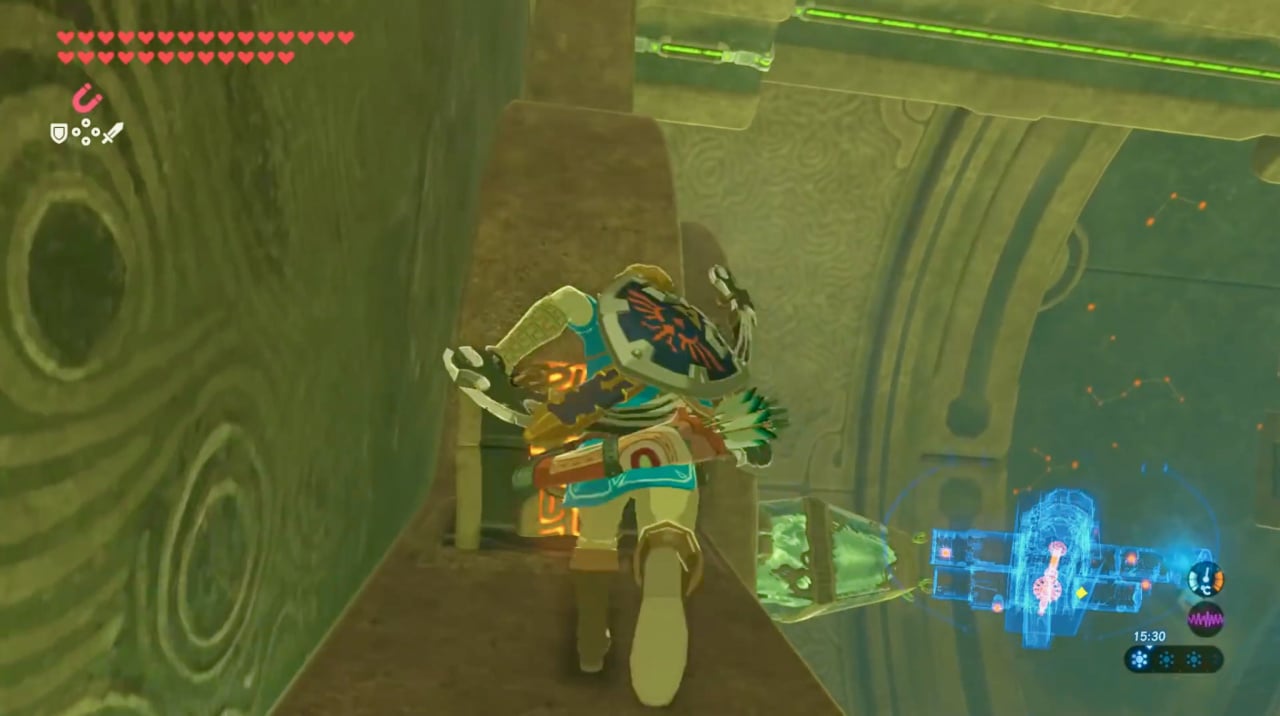
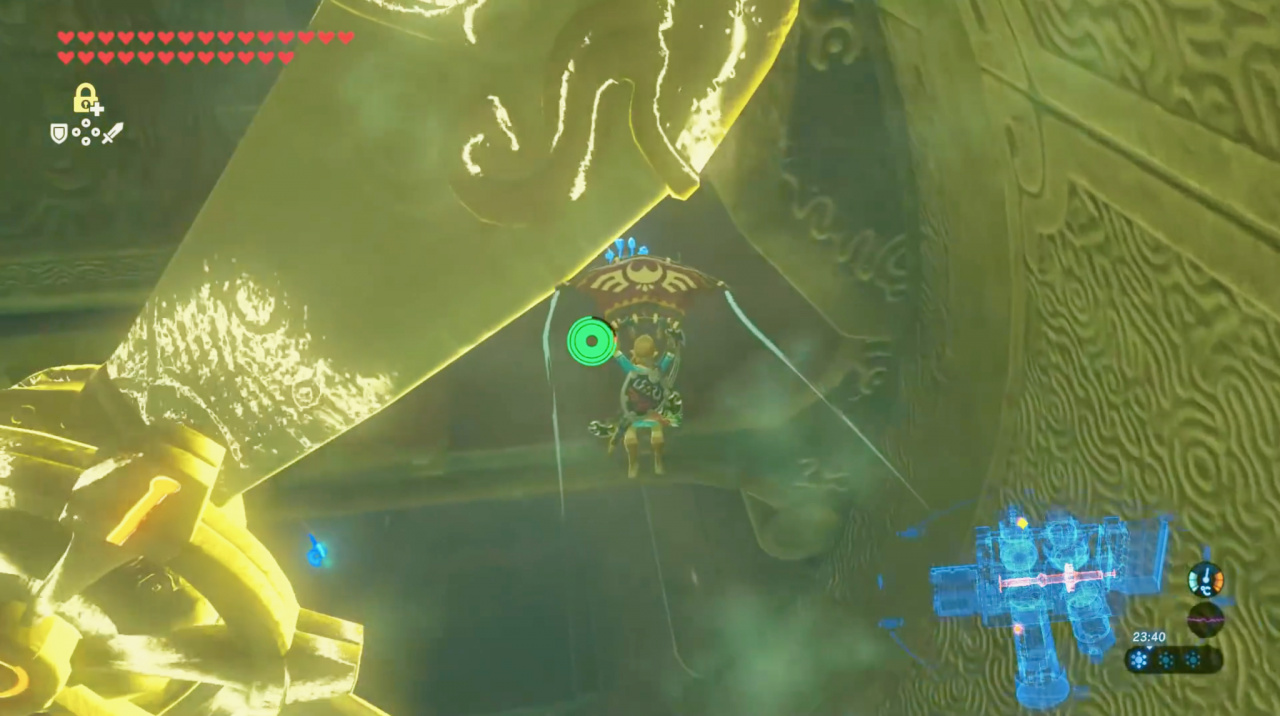
Ensure the beast is rotating anti clockwise and run into the centre of the room. Let the ground carry you up and to the left and when the opportunity arises, jump and glide to the stairs you should see on your left. Climb to the top and glance left where you'll see another metallic object. Whip out Magnesis and pull it out, dropping it to the ground.
Drop down yourself and pick it up again. In front of you to the right, you should see a hole that it will fit in. Grab it and push it in there. Turn around, and you'll see a piece of metal spinning around the room. Grab that, and pull it towards you so that it becomes stuck next to the metal on the floor, which will make the room behind you start spinning.
Wait until the door at the end of the room is directly ahead of you and use Stasis on the spinning piece of metal to temporarily fix the room in place. Head inside the room and interact with the terminal to open the first lock.
Treasure Chests
In the first room where you first rotated the Divine Beast, head inside while the beast rotates counter clockwise and immediately turn left. Let the ground carry you upwards and glance towards the door. You'll see a chest on the frame, so wait until you have an opportunity and run over to open it.
For the second chest, let the frame of the door to the first lock carry you upwards counter clockwise. As you reach the top, jump and glide to the platform on your right. Ahead, you should see a spinning grate with a treasure chest behind it. Whip out stasis and try and stop it when the the chest is accessible, then crawl in and open it.
The Second Lock
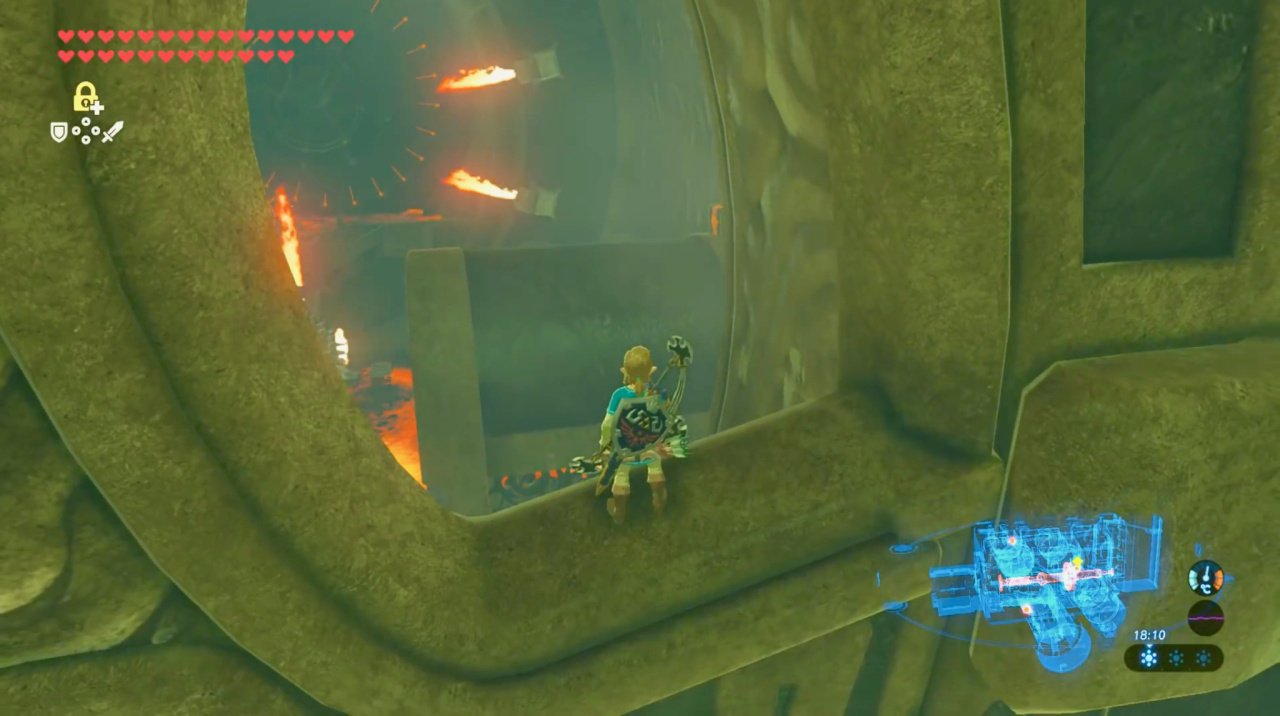
To get to the second lock, just run straight ahead and enter the room directly across from the first lock. You'll know it because it's surrounded by lava. Once inside, run ahead until you see a rotating block of spikes. There is a diagonal path running through it that you can safely traverse though, so stand right in front of it and wait for an opportunity to cross. Make sure the beast is rotating clockwise too.
At the other side, wait on the platform until the flames disperse and head past them. In this next section, you'll see two rotating cogs and a windy chute. To the right, a ball is waiting behind a grate. Whip out stasis and stop the larger cog when the smaller of the two chutes is just next to it, at which point the ball will roll into the chute.
Let the divine beast rotate counter clockwise until you see the ball roll into the bottom of the chute. Now, switch to clockwise and let the ball roll around the next corner. Rotate counter clockwise once more and the ball will drop safely out of the chute and onto the floor.
Pick up the ball and carry it back up the ramp, then up the ramp on your right where you'll see a chute leading to a hole on the other side of the lava. Place the ball in the chute and it will roll down the chute, land in the hole, and open the gate to the terminal. Cross the lava once more, enter the now open door to your left, and interact with the terminal to open the second lock.
Treasure Chests
Before you enter the room containing the second lock, let the doorway carry you up counter clockwise. When it's about halfway, you should see a chest on a platform to your right. Jump and glide over to it to grab it.
The Third Lock
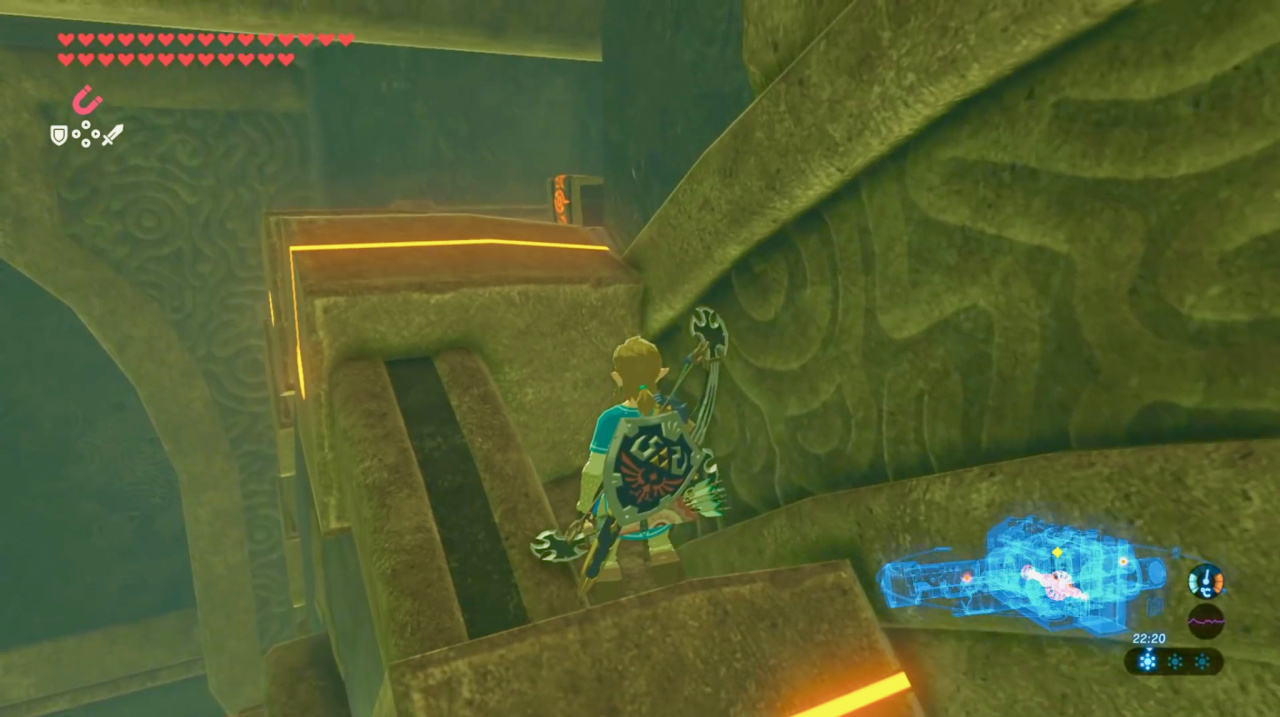
After you've opened the second lock, let the door frame carry you up clockwise and glide onto the platform on your left. Head right and run across the rotating pole, using Stasis to temporarily freeze the cog in the middle. This will allow you safe passage to the other side. Defeat the guardian and head down the ramp to your right.
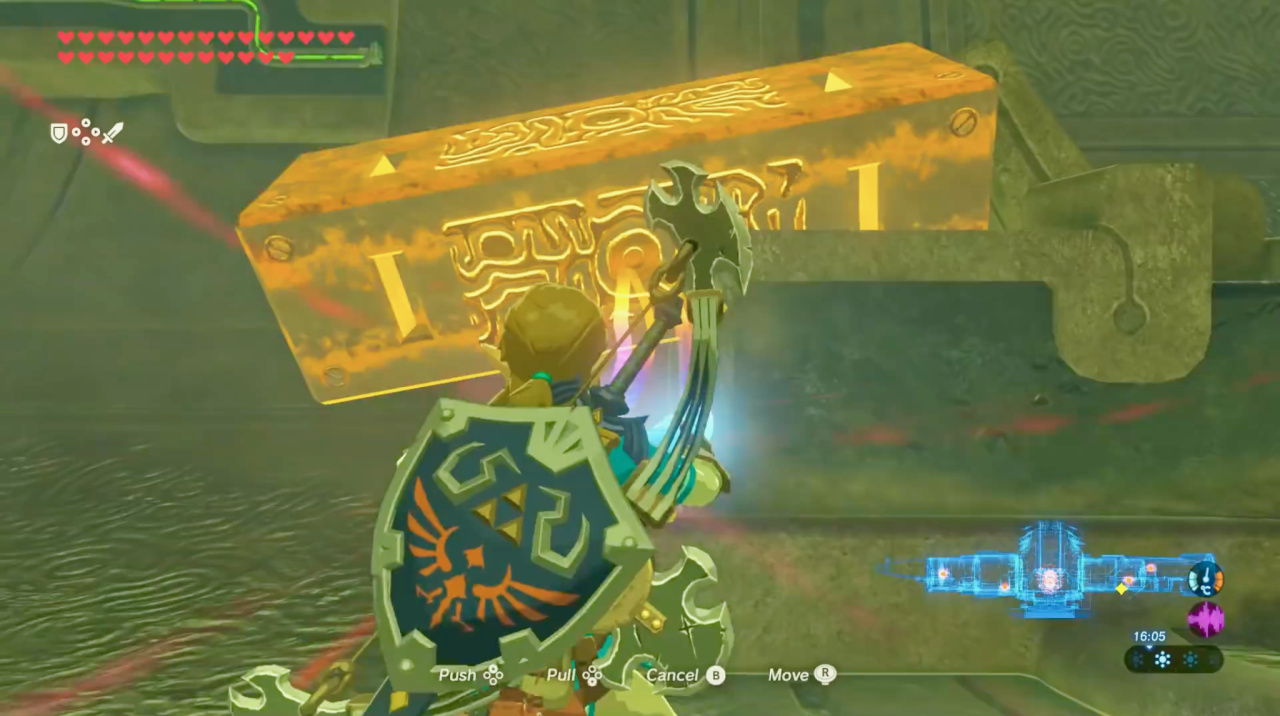
Just ahead, you should see a metal pillar sticking out of the wall. Grab it with Magnesis and lift it upwards. You'll see another, larger metal pillar above. Slot it inside this pillar. Now, grab the larger pillar with Magnesis and slide it across as far to the right as you can and hold it there until the smaller metal pillar slips into the square shaped hole. This will spin the wall to your right, providing access to the room with the terminal to open the third lock.
You may have to kill a few guardians behind you to enter the room safely. Once inside, head towards the fan and to your left you should see a ladder. Climb it, make sure the beast is rotating clockwise, and glide to the second set of stairs to the right of the room.
Climb these and then switch to counter clockwise and glide to the moving platform in the centre of the room. Wait till the platform is on the right hand side and use Stasis to stop the fan, then glide down to the platform just behind it to the right. Here you'll find a terminal. Interact with it and you'll open the third lock.
Treasure Chests
Just before you drop down to enter the room with the third lock inside, glance up and to your right. You'll see a treasure chest so just grab it with Magnesis and pull it down to you.
Before you enter the room with the third lock, let the doorframe carry you upwards clockwise until you reach a cog at the tip of the door. Leap over to the cog and switch to counter clockwise. let the cog carry you to its peak and leap onto a platform behind it. You'll see another chest.
When you enter the room, whip out Stasis and freeze the fan. Jump and glide to the platform behind it and kill the guardian to safely grab the chest behind it.
The Fourth Lock
Leave the room with the third lock terminal and climb up the ladders to your right. At the top, head up the ramp ahead and follow it to the right past the remains of the guardian you defeated earlier. Head down this second ramp and whip out Stasis. Freeze the cog on your left just as the odd block out is about to interact with the smaller cog to your right.
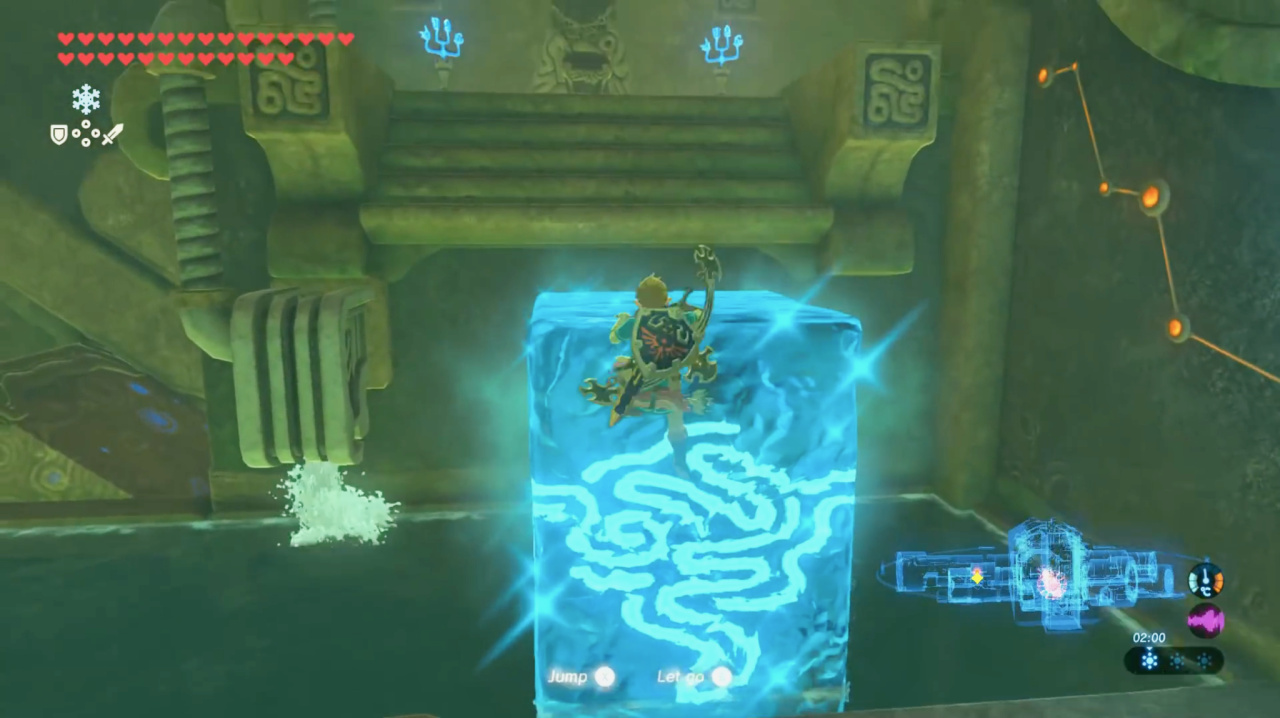
This will raise a platform below you. Jump onto it, let it carry you up to the door above, and pass through it into the next room. Follow the stairs down to your left and climb own the ladders. Use Cryonis to freeze a block of ice just beneath the pillar in the centre of the room. This will cause it to spin.
Make sure the beast is spinning clockwise and run around to the left. A platform will raise out of the water so jump on it and let it carry you upwards. You'll soon see another room so jump across to it and follow the corridor along. At the end you should see an object that looks like an upside down hammer. Use Stasis to freeze it and start whacking it on the right hand side to create momentum.
This will stop the flow of water to your left, so drop down and turn around. Run beneath the platform with the hammer and through a grate. Climb the stairs on your right and step on the switch at the top. This will reveal a metal ball to your right.
Grab it with Magnesis and lift it over the block to the left of it. Rest it on the platform. Step off the switch and wait for the ball to roll down and stop still. Step back on the switch and the ball will shoot into the next room pinball style. This will cause the water level to raise once more.
Once the water level is at its peak, use Cryonis to freeze a block of ice to your right and climb on top of it. Jump to the platform across and interact with the terminal to open the fourth, and final, lock.
Treasure Chests
Right after the hammer starts spinning, the water will shut off. This drains the floor below so drop down to the left of the hammer and you'll see a treasure chest below.
Monk Maz Koshia
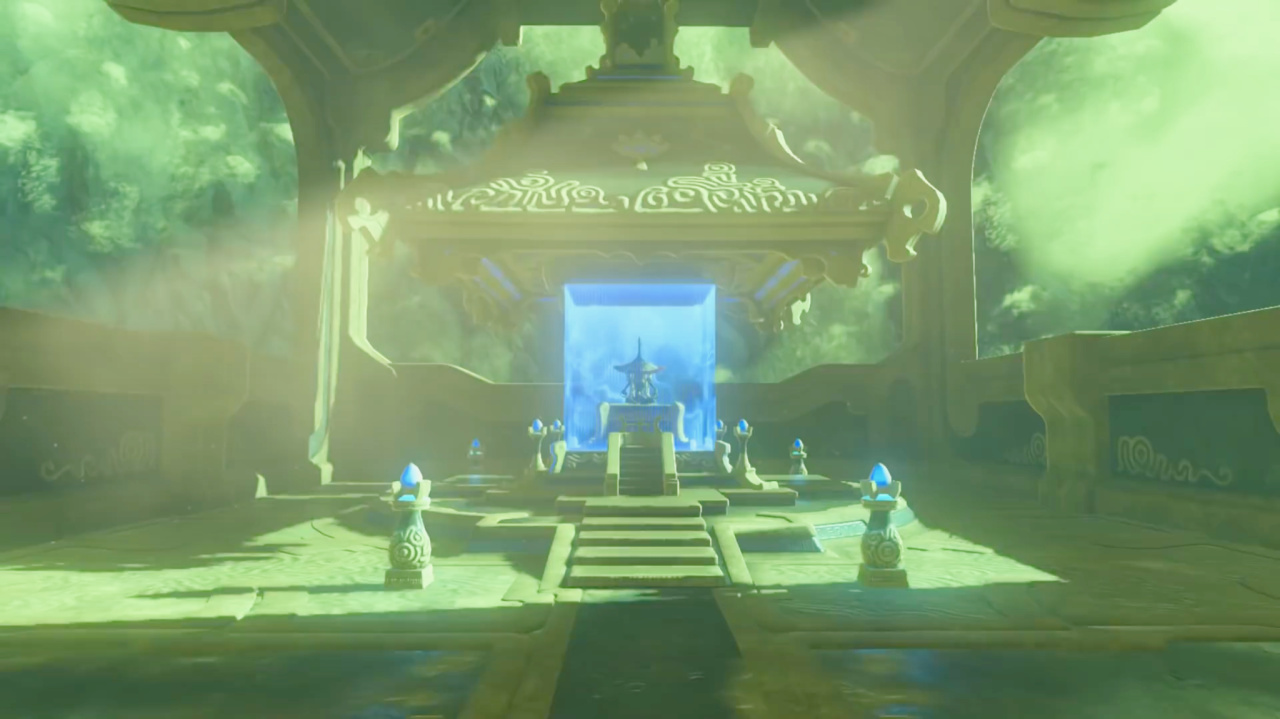
Leave the room and head left. Stop at the bottom of the ladders and whip out Magnesis. Grab the cog just above and pull it to the huge door on the left. Make sure it aligns with the holes on the door and slot it into place, at which point it will open the door to the end of the dungeon.
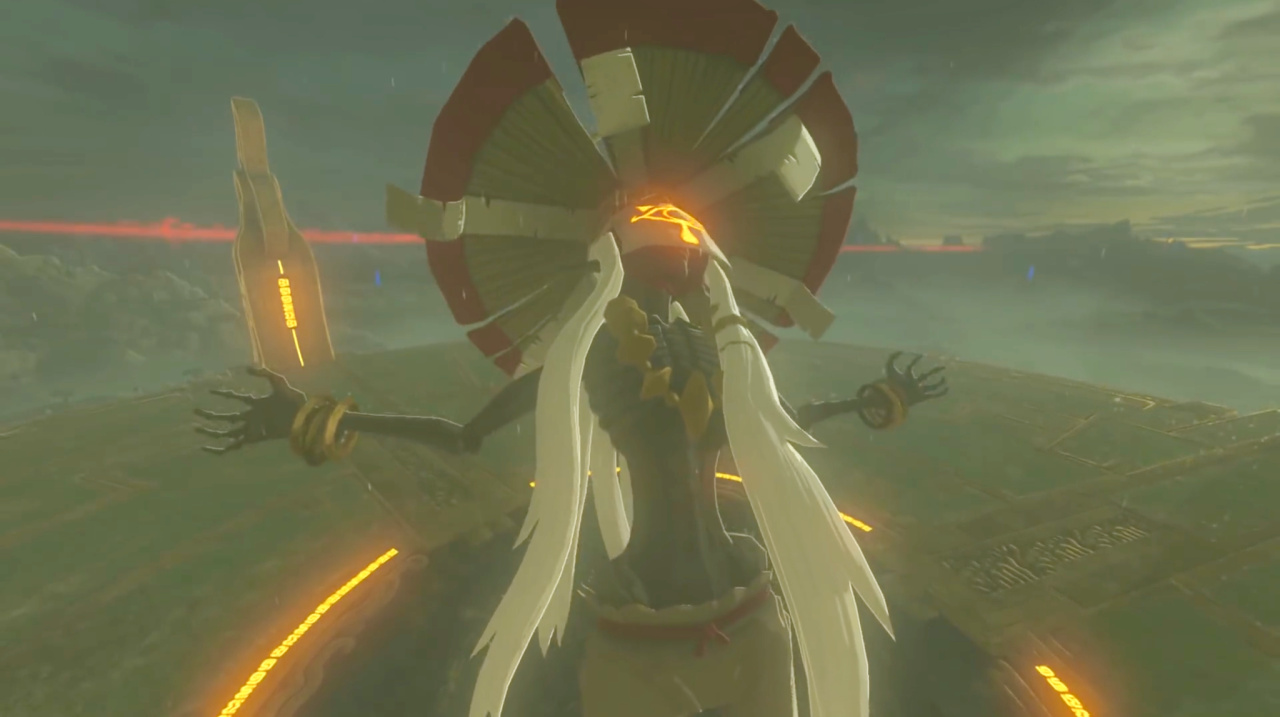
Head inside and interact with the monk as you do with any shrine. Instead of receiving a reward, you'll be teleported to a floating platform high above Hyrule. Here you'll have to face the Monk Maz Koshia itself.
Maz Koshia will teleport towards you, attempting a downward strike. If you can flurry rush, do so, but if not just dodge it and shoot him in the face with your bow or whack him with your weapon as many times as you can before he backs off.
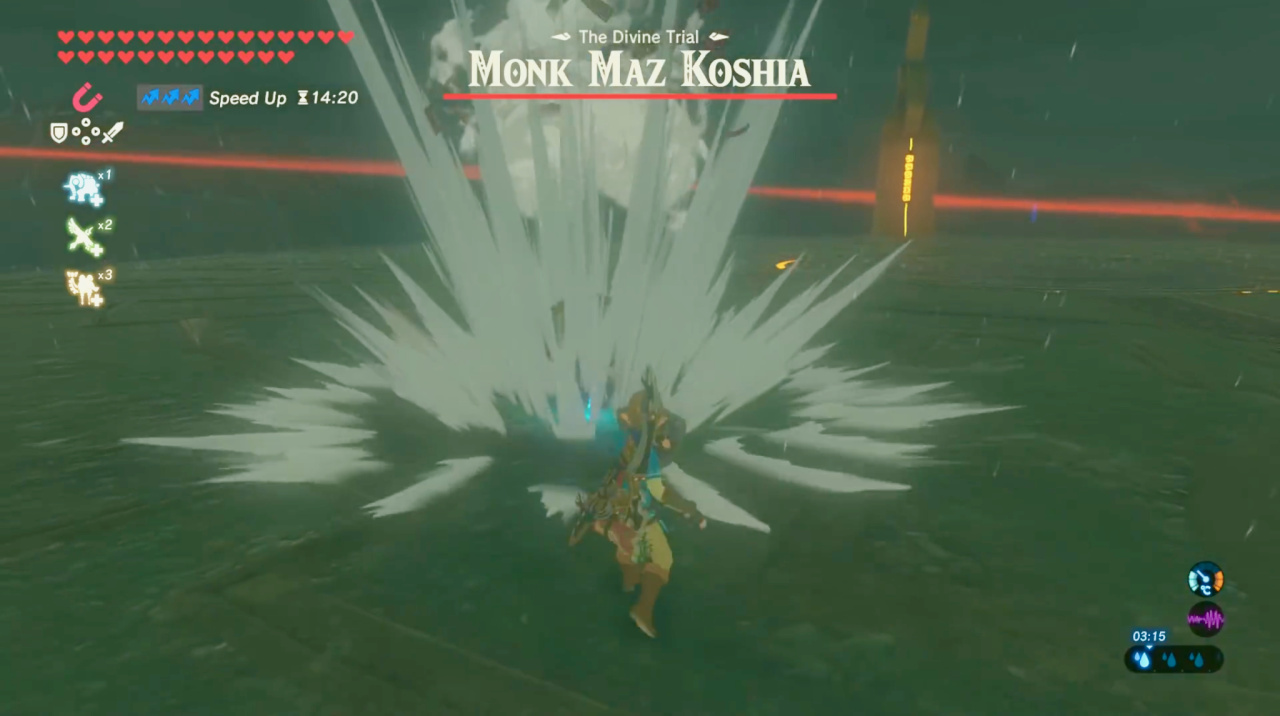
He will now use a similar attack pattern to Thunderblight Ganon, teleporting towards you in three stages. Time your dodge just right to initiate a flurry rush and whack him. This should bring him to three quarters of his health, triggering a cutscene.
Maz Koshia will now summon a bunch of clones and surround you. Avoid their attacks and pick them off with your bow until you hit the real one, then pound on him with your weapon while he's stunned. Alternatively, you can wait until all of the clones have attempted an attack, at which point you'll have a brief moment to assault the real Maz Koshia. Repeat this until he's at half health.
Another cutscene will trigger in which Maz Koshia greatly increases his size and summons a bunch of metal spiked balls. Dodge each of them as they try and hit you until there's only one left. Grab it and hold it near Maz Koshia as he attempts a lightning attack. This will turn it back on him, stunning him so you have an opportunity to hit him a few times. Rinse and repeat until Maz Koshia falls.
The Master Cycle Zero
Following a brief cutscene in which the Monk Maz Koshia congratulates you on your courage, you'll get to see the official inauguration of the divine champions and learn more about the attire they wear. Towards the end, a photo of the group is taken and Kass provides it to you after the cutscene.
Following this cutscene, you'll have your very own Divine Beast – the Master Cycle Zero. You can summon it at any moment by using the new rune. The Master Cycle Zero does require fuel to function, but luckily for you any item can serve as fuel. Just drop an item near it when you've dismounted and the motorcycle will gobble it up for fuel. Be careful you don't accidentally lose any items you want to keep though!


Comments 7
What's with the spoiler in the subtitle?
On Master Mode, that Monk wasn't ready for a fully crafted Barbarian set with a fully augmented Master Sword. He didn't stand a chance! lol
@RupeeClock I was thinking the same thing!
@FoxyGlen Great guide but your subtitle gives away a pretty big spoiler.
Sorry guys! We’ll get that fixed. My intention was to make it easier for peeps to find it in search, but I don’t want to give the game away.
Haven't you guys fawned over this game enough by this point? I mean I spent 110 hours in it too, and liked it a lot, it's worth the Game of the Year totally. But there are plenty of other, excellent games, to talk about.
I wonder if anyone actually finds these guides useful. It would be better if you gave hints at how to complete it, instead of telling the reader exactly what to do, because then it just makes it feel like your playing for them.
Tap here to load 7 comments
Leave A Comment
Hold on there, you need to login to post a comment...