The latest and final DLC for The Legend of Zelda: Breath of the Wild, The Champions' Ballad, is out now, and with it comes a bunch of new challenges including a brand new dungeon, The Divine Trial.
Beat that, and you'll unlock the crown jewel of this DLC: the Master Cycle Zero. This lets you ride around what remains of Hyrule in style, on the back of a super fast motorcycle.
To help you get it faster, we've burned through all of the new content to bring you this guide. Follow it, and you'll have that Master Cycle Zero before you can say it.
Subscribe to Nintendo Life on YouTube846k
Before You Begin
Make sure you've purchased the DLC from the eShop, then check it's installed by pressing the + button on the Breath of the Wild icon, hit 'Software Update', and then 'Via the Internet'. If none appear, you're golden.
To access the new content in The Champions' Ballad, you have to first defeat all four divine beasts. Their locations are handily marked on your map, so just head on over to the nearest and work your way from there.
If you've already defeated them, head back to the Resurrection Shrine where your quest began and pop the Sheikah Slate back in its terminal. This will kick off the Divine Beast Tamer's Trial.
The One-Hit Obliterator
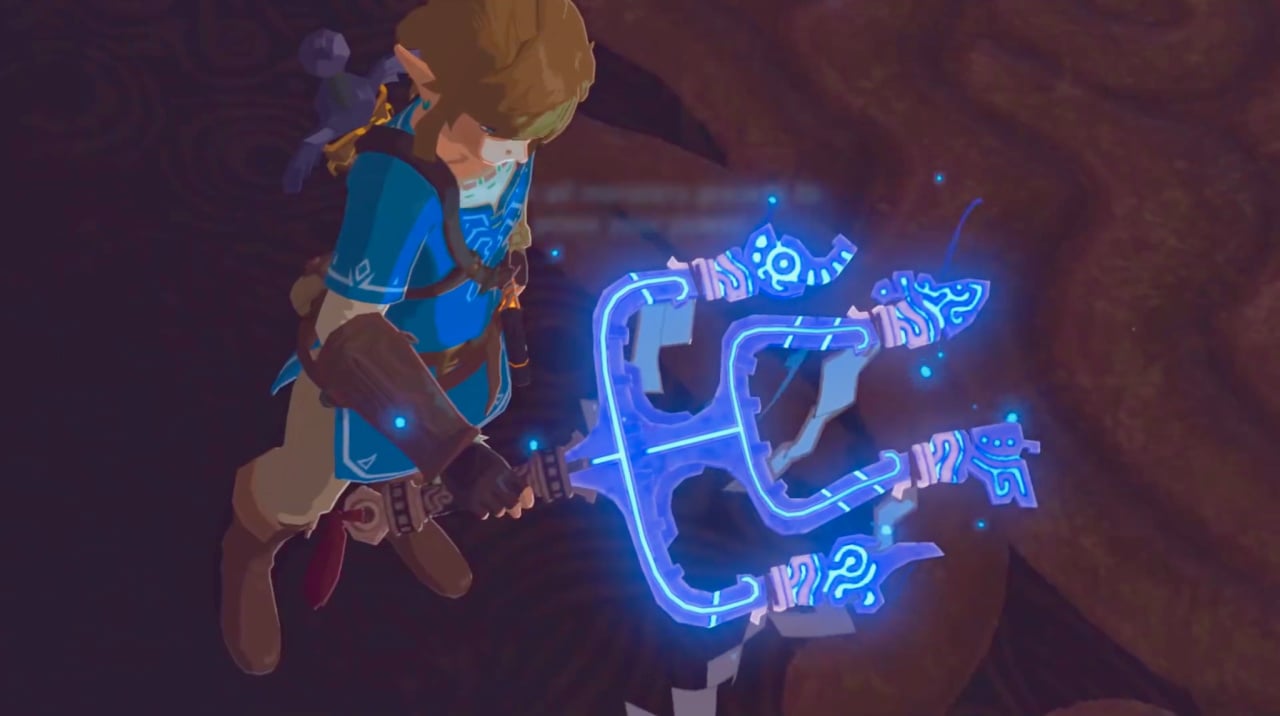
To start the trial, you have to pick up a new weapon provided to you right after the cutscene. This is the One-Hit Obliterator that, as the name suggests, kills enemies with a single blow.
Unfortunately, it also reduces your health to just a quarter of a heart, so the same applies to you. Don't bother trying to recover that health with food or potions though, as they don't work while holding it.
Food effects do work though, so feel free to boost your stamina or stealth depending on how you'd like to tackle the challenges ahead. You can't use any other melee weapons or your Champion Abilities, but you can use your runes, bows, and shields.
Finally, you can only use its instakill ability twice within a short period, after which you'll have to wait for it to recharge. You'll know its done so when it starts glowing again.
Divine Beast Tamer's Trial
The trial tasks you with visiting four locations on the Great Plateau, and defeating all of the monsters in each area. Once you've defeated each set of foes, a new Shrine will appear nearby. Complete all four shrines and you can progress to the next phase of the DLC. Here's how to beat each of the four.
Yowaka Ita Shrine
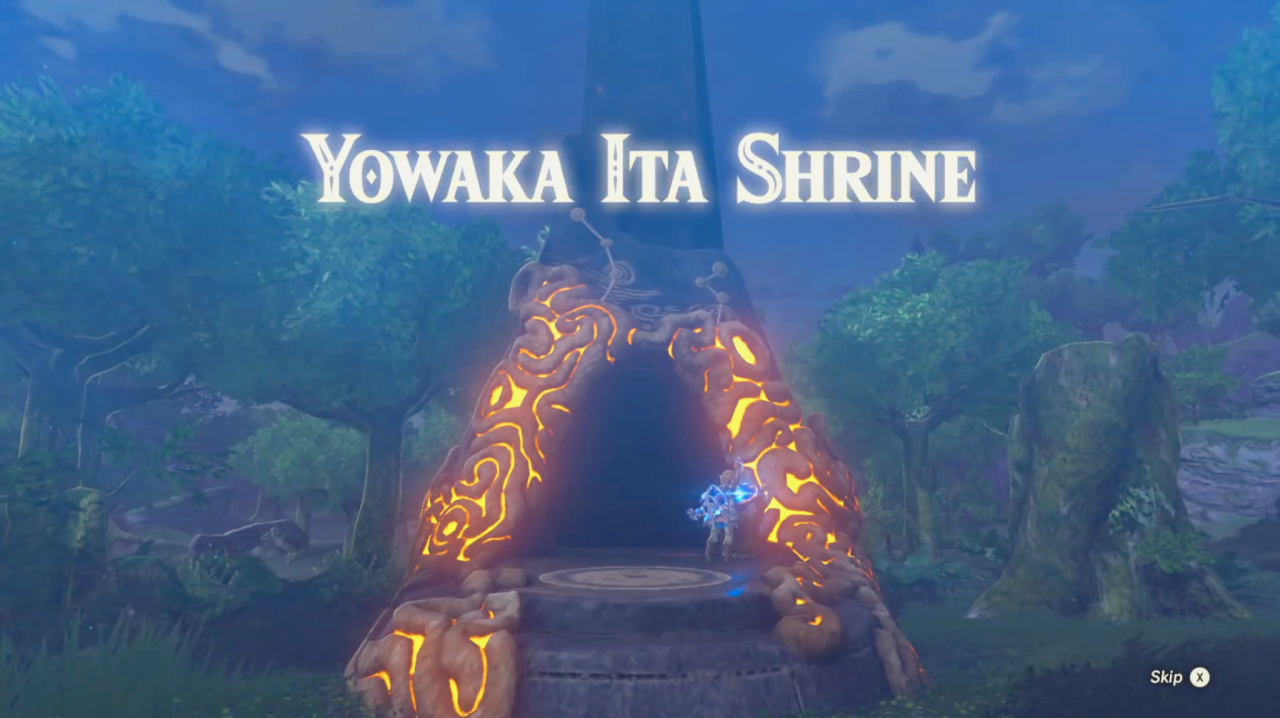
First, you have to avoid a series of spiked balls falling down a slope, pinball-style. There are a few ways you can tackle this:
- Brave it and run around them.
- Take a big leap and try and glide past them.
- Run to the nearest bumper, jump on it, then leap across them to finish.
- Use Magnesis to pick up the spiked balls and place them somewhere safely. Don't drop them off the edge, or they'll respawn.
Once you've passed them, cross the catwalk on the left or right to proceed.
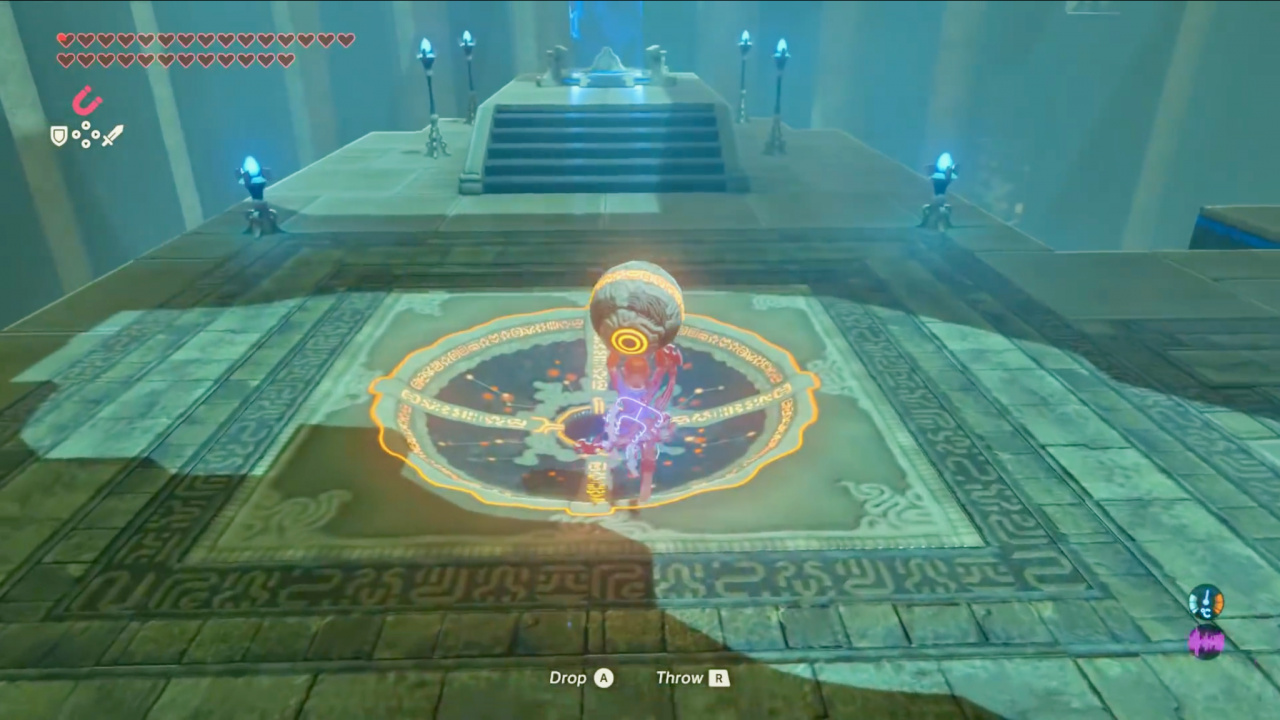
In this next bit, you have to use Magnesis on the giant bowl and use to to catch the smallest glowing ball out of the collection flowing down the slope to your left. This can be tricky, as the ball will either fall harmlessly on the left side, or end up in the hole on the right. This propels it in the air.
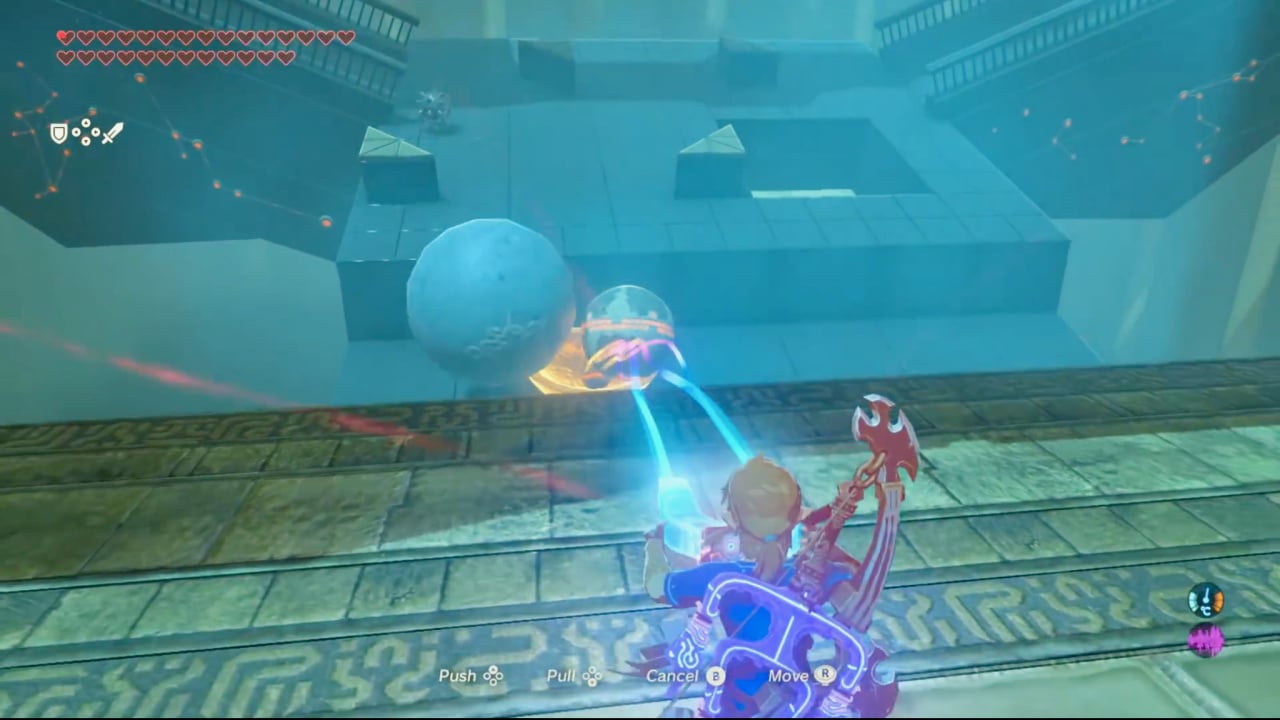
Bear in mind that it alternates between the two sides when falling, so we recommend waiting until it falls on the left to grab it. No matter how you try and catch it though, simply position the bowl underneath where it will land and hold it there. When it's in the bowl, bring it slowly onto the platform you are on, being careful not to knock it into anything.
To complete the trial, you have to bring the ball back to the beginning. This is easier than it looks though, as you can carry the bowl across the catwalk then simply drop it safely at the top of the slope. Just make sure to do this slowly or you'll lose the ball.
After that, run back up the slope, once again avoiding all of the spiky balls threatening to end your life. You can make this section a little easier by jumping onto the ledge, slowly walking around it, then timing your final jump so you avoid any of the balls.
To complete the shrine, jump into the bowl, pick up the ball, and drop it into the hole in front of you. The final gate will then open and you can simply walk through it to finish.
Treasure Chests
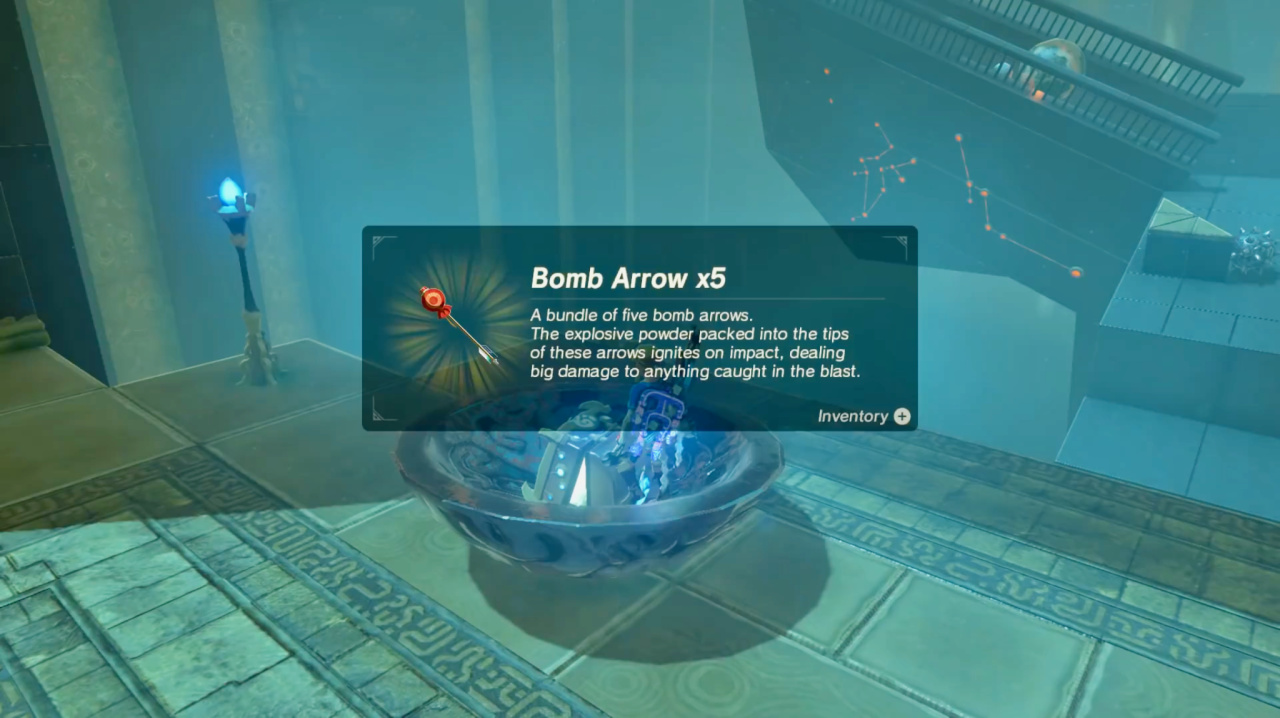
There are two treasure chests in this shrine, and both of them are located where you first get the magnetic bowl.
The first continuously falls down the slope with the balls and is notoriously difficult to catch, as it always comes down the right and lands in the hole. That means you have to catch it as its flung into the air. Pay attention to its shadow as it flies and position the bowl underneath it to get the chest.
Fortunately, the second chest is a lot easier. First, catch the medium glowing ball in the bowl. This shouldn't prove too tricky as it moves really slowly so it's quite easy to predict where it will fall. The tricky part is getting it onto the platform, as you have to move painfully slowly to ensure it doesn't fall out again.
Next, simply drop the ball into the glowing hole in front of the caged door on your left to open it. Head on in and grab the final treasure chest.
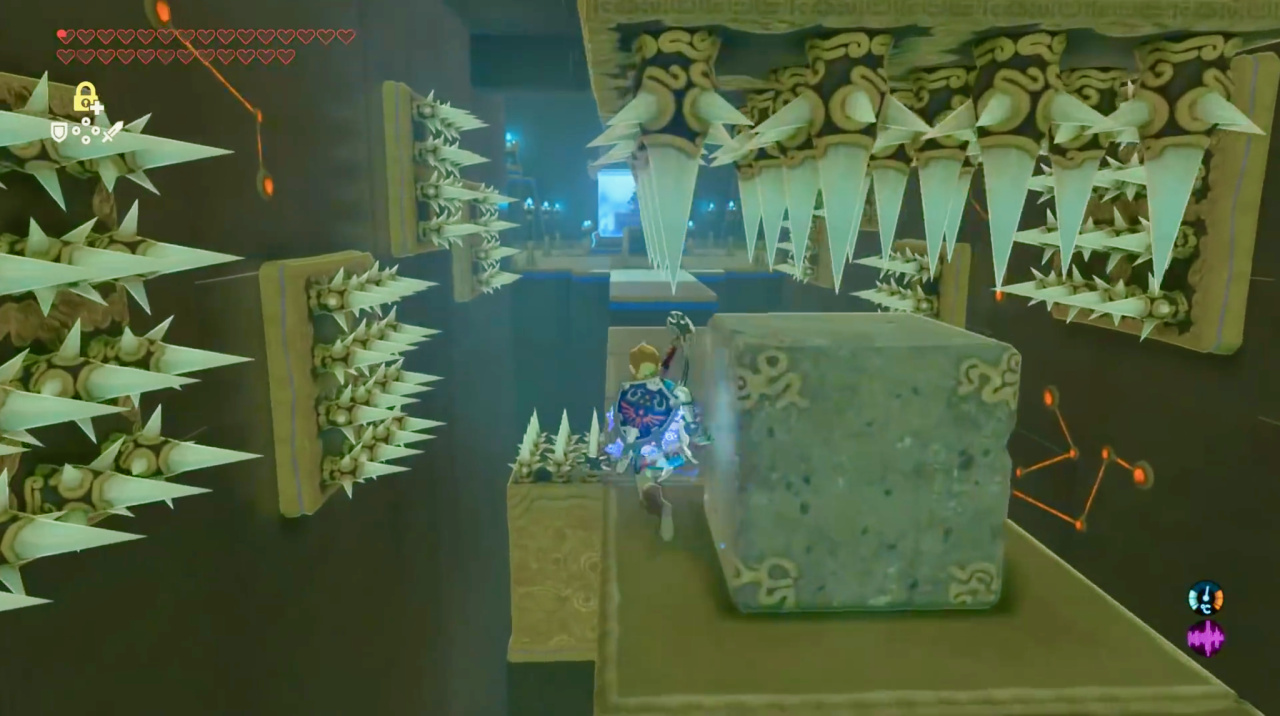
Rohta Chigah Shrine

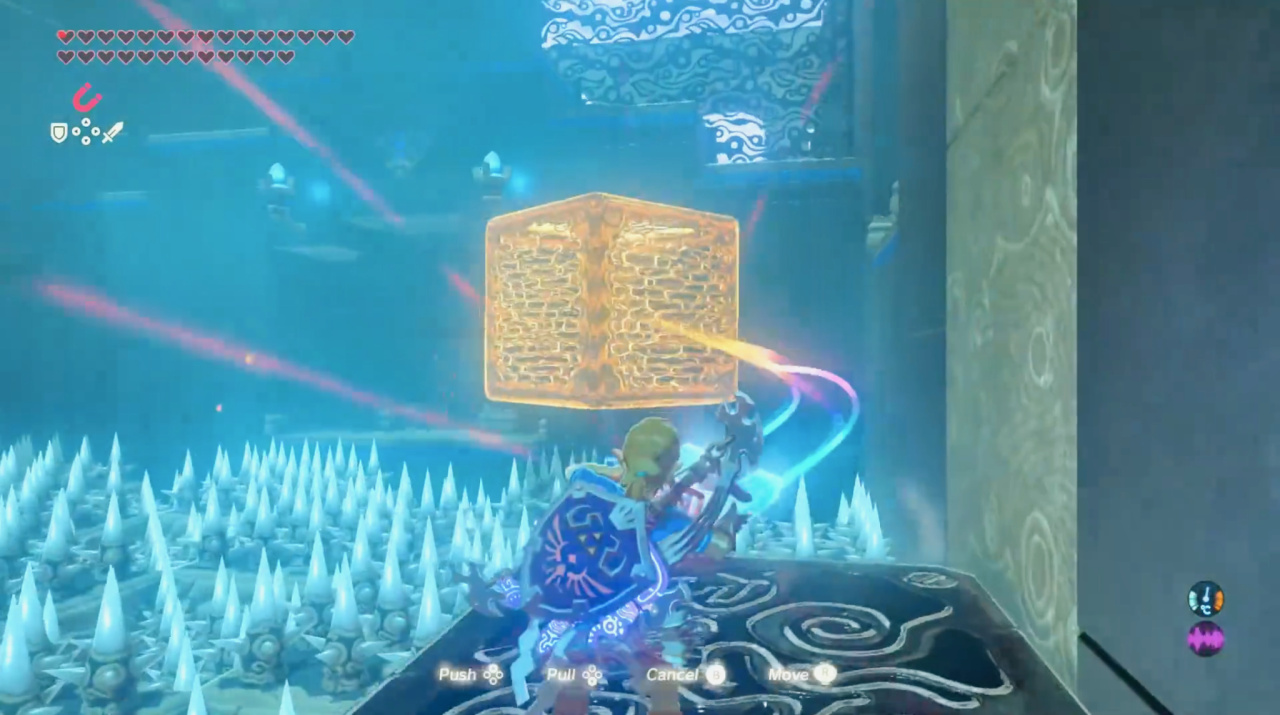
It's immediately apparent what you have to do to complete this first section. You've got a floor covered in spikes and a bunch of metal objects, and have to create a bridge out of them to progress.
Grab the nearest (and smallest) to you with Magnesis and pop it within jumping distance in the centre of the spikes. Jump onto it and grab the rectangular piece, placing it directly in front of the box.
Jump onto it and then the box then simply grab the first piece and position it between the box and the next room. Jump over to complete this first puzzle.
The next bit is a little tricker. It's effectively a gauntlet made out of moving platforms and rotating spikes. Nasty stuff for a Link with just a quarter of a heart to contend with.
But take your time and it shouldn't prove too difficult. We recommend getting Stasis ready before you start though, as it makes the final section easier.
Start by jumping across to the first cog and immediately run counter clockwise so you don't hit the spikes. Run forward and leap onto the second cog, turning right as you do. You'll then want to sprint or immediately jump to the right to avoid the spikes, as they're placed dangerously close to where you land.
Avoid them and you can safely run counter clockwise around the back of the cog where you can jump to a treadmill section. Jump across, again leaping to the right and away from the spikes, and then immediately run forwards so you don't turn into a human pin cushion.

To end this section, you have to jump across two different treadmills moving in different directions, and they're surrounded by spikes. It's mean but you can make it easier for yourself by using Stasis to stop the first one then run across it, leap to the second treadmill, then leap to safety.
Bear in mind though that Stasis is temporary so don't waste time. You also have to keep moving slowly forward when using it so you don't get pulled into the spikes by the treadmill. Also, on the final jump, you will get pulled towards the spikes when you land so don't hesitate and leap immediately off it.
Again, this next section looks more horrific than it is. You have to glide down a passage, avoiding three massive spikey balls swinging from left to right.
You can take the first ball out of the equation right away by pulling out your bow and shooting the rope to snap it. We recommend shooting it at the top because it doesn't move quite as erratically as the rest of the rope.
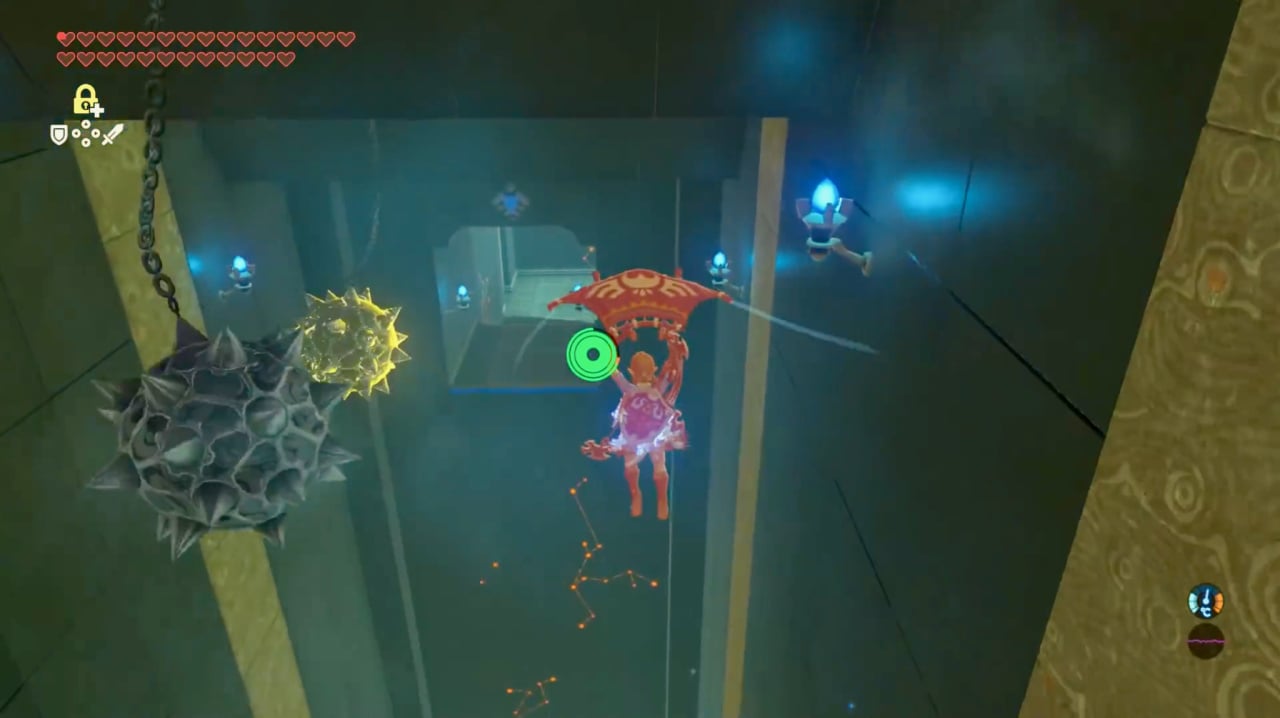
Then, use Stasis once again to freeze one of the swinging balls when it's on the opposite side of the room to the side you plan to glide on. Finally, leap and glide when the still swinging ball is nearest to the side your gliding on to safely avoid it and land on the other side.
Drop down to the next platform and hit the switch to kick off the final section, yet another gauntlet littered in nasty traps.
You can't go slowly this time either, as a wall covered in spikes chases you down the narrow path. Here's how to avoid all of the upcoming traps:
- Run to the right of the first block to avoid it. A spikey block will immediately jut out of the wall on your right so just move to the left of the platform and run past it.
- Next, two spikey blocks will leap out at you, one from the ceiling, and the other from the wall to your left. Don't panic, just run down the left side of the platform past them.
- You'll run towards a block but don't go around it this time. Jump on top and you'll avoid the spikey block that would have squashed you on the right.
- Run towards the block in the centre but don't jump on this one. Instead, wait for the two spikey blocks on either side to retract and run around it.
- Next, leap on top of the spikey block that appears to your right, then jump diagonally to your left and glide down to the platform.
And that's it, you've successfully completed another shrine.
Treasure Chests
The sole chest is in the first room with the spiked floor and is pretty easy to get. After you've placed the square piece in its final position, turn back and move the metal box underneath the visible chest on your right.
Then create a path between you and the metal box with the rectangular piece, jump across and onto the box, then onto the platform with the chest. Open it and you're done.
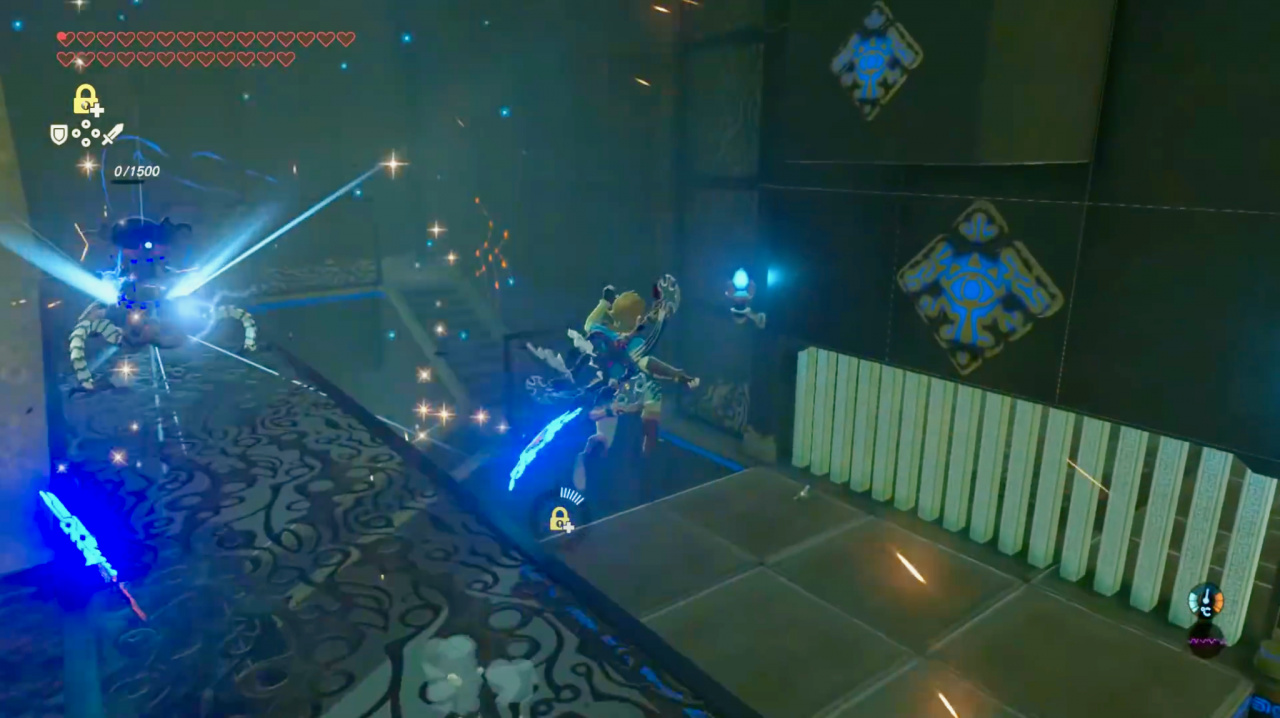
Ruvo Korbah Shrine
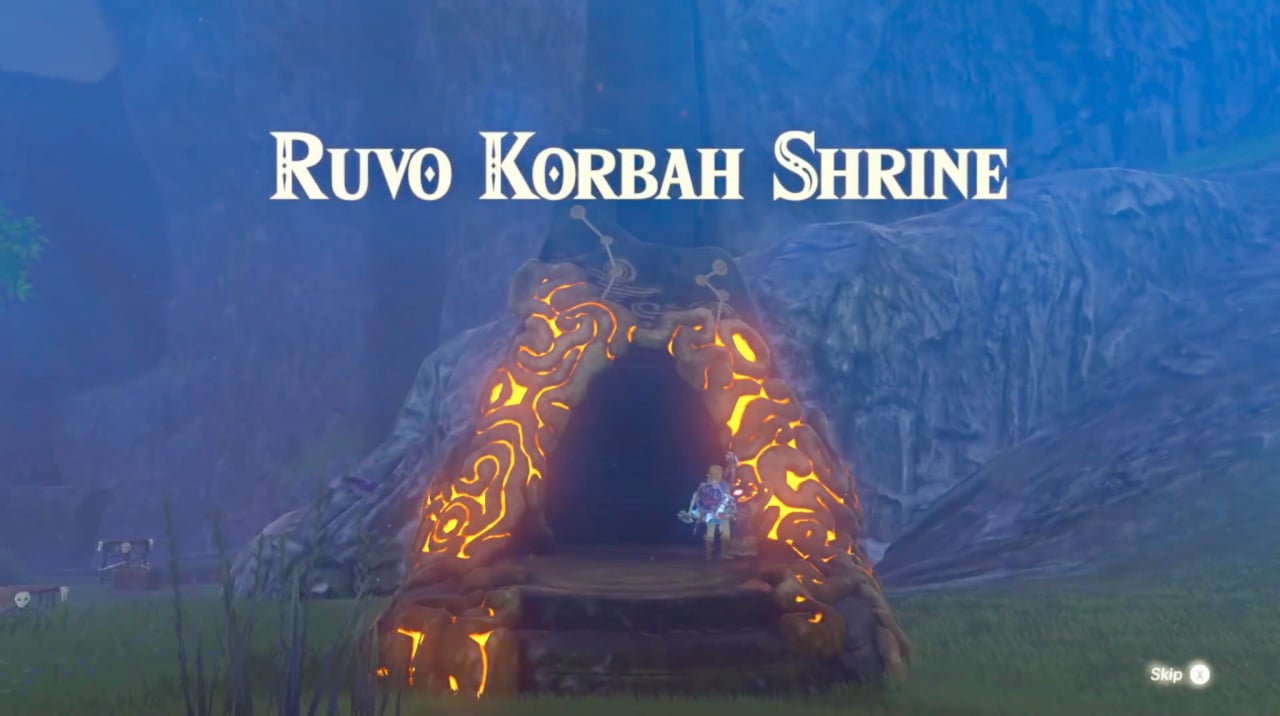
The Ruvo Korbah Shrine begins with a combat trial, which involves defeating a guardian. Just run up to it with your shield up and whack it with your One-Hit Obliterator to finish it. Simple.
Next, run through the door at the end of the room and up the stairs where you'll find a switch on the ground. Jump on it and a hole will appear on the floor where you fought the guardian. Run back to it and glide down to the bottom.
Run through the door and turn immediately left, following the water. Turn left again but be careful, as a guardian waits around the corner. Have your shield up as you go round to avoid its attack and hit it to kill it.
Keep your shield at the ready and head past it up the stairs on your right, where another guardian waits for you at the top. Once again avoid its attack and hit it to turn it into screws.
Be very careful though, as another guardian is waiting for you on your left. This one has physical weapons so just dispatch it in the same manner you did the first guardian.
Head past the defeated guardian and down the stairs ahead. At the bottom as you turn left, two more guardians await you, one on the floor and another on the balcony above. Whip out your bow and hit them both in the eyes before they spot you then turn around and climb the ladder behind you.
Run across the catwalk and open the chest to grab a key. Head down the stairs on your left and jump down to the water, then head to the locked door on your right. Open it with the key.
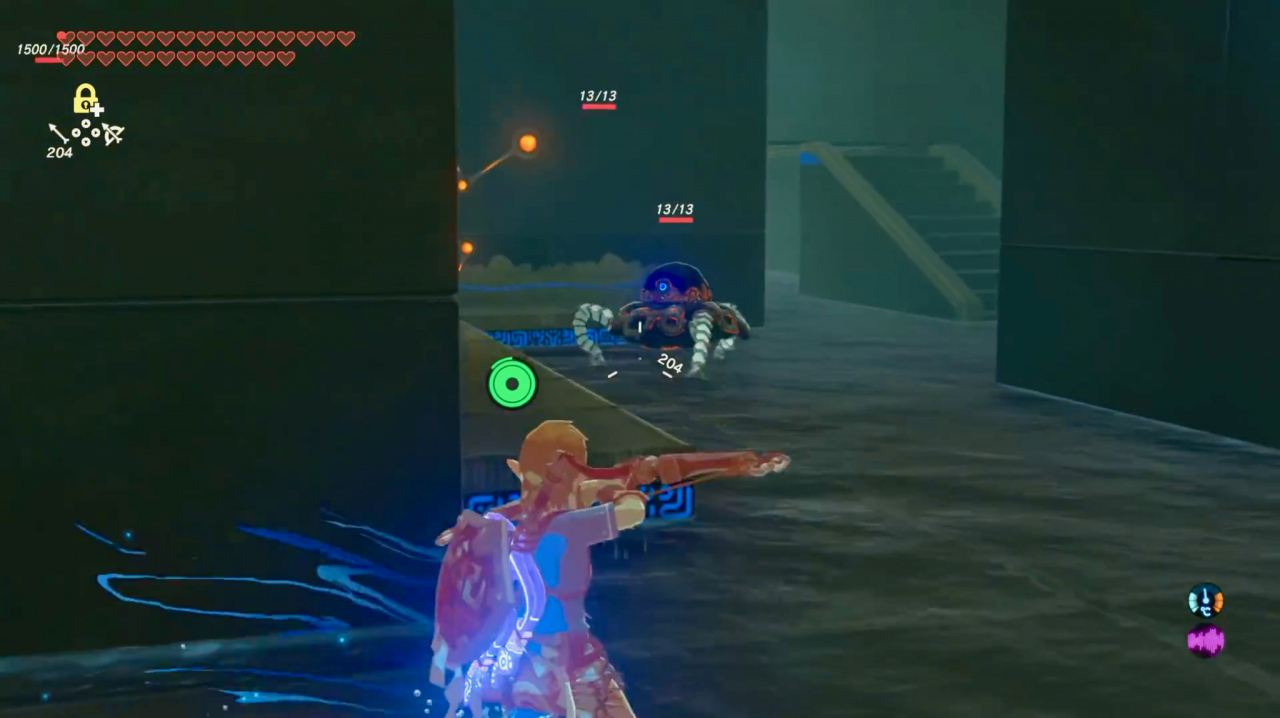
In this final room, you have to defeat four guardians at once – no mean feat when you only have a quarter of a heart.
You can tackle this in one of two ways. You can fight at range with your bow, being careful to time your attacks when none are charging a laser attack. You can avoid these by hiding behind a wall.
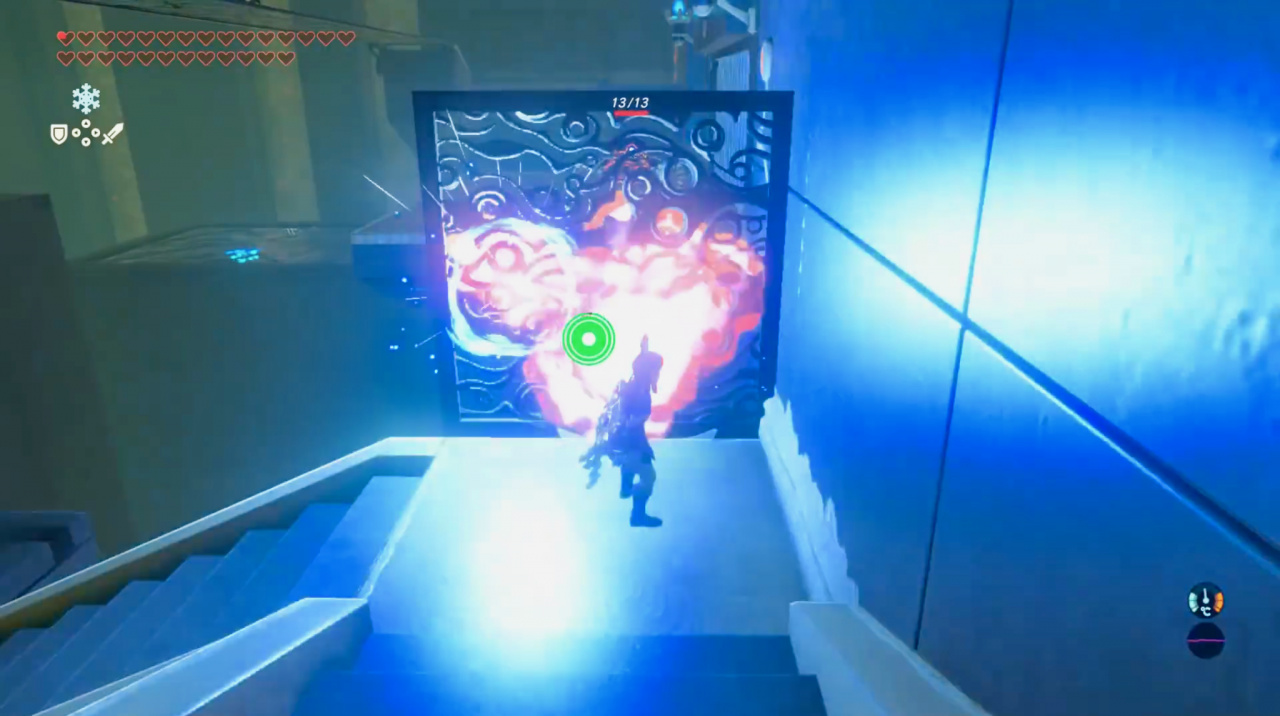
Alternatively, you can wait until they've all unleashed their first shots, head on out, and jump down to the platform on your left. Kill the first guardian with a melee attack at your first opportunity, then head immediately up the stairs on your right.
Wait for a moment behind the wall at the top of the first flight so it can take the brunt of the laser attacks, then turn around and sprint up the next flight. Another wall will keep you safe at the top of this one.
Again, wait for the topmost guardian to unleash its laser attacks then run out when it's safe. Keep your shield up and cross the catwalk, approaching the topmost guardian. Wait for an opportunity to strike and take it, then immediately leap down and kill the rightmost guardian.
Finally, head back up to the catwalk, once again using the walls to avoid laser attacks, and glide down to the final guardian, striking as you land to kill it. The gate will open and the shrine is complete.
Treasure Chests
The first chest appears right after the combat trial and doesn't require anything special. Just run through the door and it's right in front of you.
Remember when you fought the two guardians with your bow, right before you went up the ladder? Well, instead of going up it, turn around and head left around the corner where the lower guardian was and follow the chamber right to the waiting second treasure chest.
Etsu Korima Shrine
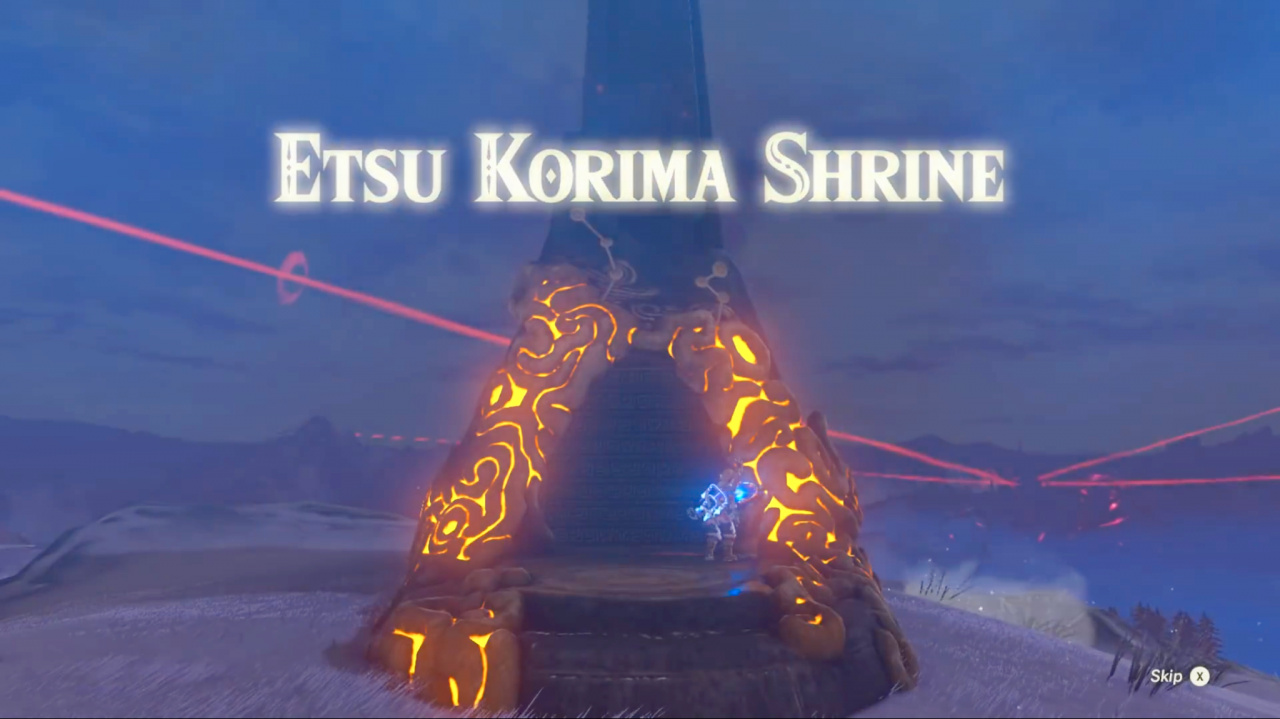
The Etsu Korima Shrine is pitch black so you need to watch your footing. Head through the chamber into the first room, which is filled with beams of light. Use these to guide you but don't touch them.
Head straight past the vertical beams to the horizontal ones, making sure to stay relatively central so you don't fall off the ledge. At the horizontal lights, crouch and make your way slowly through them.
Next, you'll face a moving beam but it shouldn't pose a threat. Just wait until it's out of the way and run past it and out of the room. Follow the chamber to the right to face the next challenge.
The spikey walls make a return here so be extra careful. They spin past the pillars in the room, and are double sided so keep this in mind. Follow the first one round on your left and make your way over to the first torch. Then, cut diagonally across the room right, following the torches.

Stop at the second to last torch and look left. Two rotating walls pass each other here, but occasionally provide an opening big enough for you to pass through safely. Do so, then turn right and head up the stairs and out of the room.
Head up the stairs and follow the chamber round to the left. Follow the dark passageway to the end and you'll reach a room with flames shooting out of the floor. Head towards the first set of four and wait until the two in the centre disappear before sprinting past. You might want to wait and get a feel for the timing before you rush through.
The next four follow a different pattern, with the furthest left and the inner right going swapping with the other flames. Again, wait for an opening and sprint past. The final four are a little more erratic, and it's a little difficult to find a pattern. Just pick a flame and run past it as soon as it goes out.

Head down the stairs and you'll immediately face three guardians so keep your shield up. They're all ranged guardians so just keep on the move and attack when you get a safe opening. Do not lower your shield if a guardian is charging up a shot.
Leave the room via the exit behind the random wall and run up the enormous set of stairs. That's it! You've completed each of the shrines and are ready to move onto the next step.
Treasure Chests
Right after you pass the rotating wall of spikes earlier, pull out your bow and look above you to the right. You'll see a treasure chest on a wooden platform. Either use fire arrows or shoot through the flames to set the platform on fire and grab the chest when it's fallen.


Comments 22
Still a great game, but the DLC was just not so enthralling. Getting more shrines and shrines was not what I expected from a STORY DLC. I didn't touch the DLC after beating the Great Plateau.
I played the whole game including DLC in Master Mode and boy, was it though. It felt like the 2nd DLC wasn't made for Master Mode at all.
The DLC was awesome and I'll admit I was expecting something different but I was pleasantly surprised by what we got. As far as this guide goes though it was awesome but I think some bits about fighting the enemies around the shrines might have made a good edition, however that's just my opinion.
I never got the DLC. Was the second pack actually a new story mode or not really?
@Chandlero
Then you missed out on all the new memory episodes included in DLC 2. Also, the new Divine Beast dungeon that is unlocked once you complete these 4 shrines as well as 3 new shrines in each corner of the map.
Finally, you missed out on the most enjoyable way to roam Hyrule. The Master Cycle Zero changes everything. It changes how you explore Hyrule, and in a great way. It really feels right, and I don't say that lightly. I was highly skeptical of motorcycles in Zelda. I can say with 100% certainty, it fits.
@SimplyCinnamon53 It's a new story – or rather, it's a window into each of the Champion's personal lives, and their relationships with Zelda, which is something we didn't get nearly enough of a look at in the base game's memories and details. The game adds a new memory for each Champion, plus a new memory for the whole group together, as well as a personal journal for each champion, giving insights into their thoughts and feelings. Also, it's not just a bunch of new shrines; it's a series of challenges from the 1-Hit Obliterator Great Plateau experience (hasn't been as heart-pounding in Zelda since the Guardians of the Silent Realm), and a series of Champion's trials to unlock each of the 3 new shrines in each corner of the map. That includes a new raid on the Yiga hideout, battling new overworld bosses, and navigating complicated "fly through 10 blue rings to get to Dinosaur Planet"-type 3D platforming (via Sand Seal, Paraglider, Shield Surfing, etc). It's a very fun series of new challenges, and the new shrines are sometimes mind-bendingly difficult. But there's plenty of new story, in true Breath of the Wild non-linear fashion, and a new Divine Beast to explore, a bunch of new boss-fights, and finally, a new dungeon boss that's utterly unlike anything else in the game!
@SimplyCinnamon53 It's not a new story. The DLC explains more about the Champions, which I liked. Although I would prefer a new story, but still.
@SimplyCinnamon53 4 more cutscenes about Zelda interacting with each of the champions. Other than that, lots of slow psychic messages from monks about challenges and shrines. If you don't want to play through master quest light, just youtube the "memories".
@Saego That's still new story, just not a Gaidan story or sequel to the defeat of Ganon or something. It's just new story revealed in the same way the old story was – via flashback sequences.
@marandahir Don't agree. They just explained more about the Champions. It added more story to theirs. So not completely new.
These shrines were pretty simple to be fair.
@Saego I went at it right away on Master Mode since I ditched my regular game completely. I noticed without Urbosa's Fury then those Ganon bosses would have been impossible with the crappy gear provided. Before I discovered a strategy, I thought the DLC was designed without Master Mode in mind.
I really enjoyed the new shrines. They were all very clever and fit the game nicely.
@marandahir You seem like the person to ask -
So I beat the 1-hit challenges section and had the four new spots appear on the map. I decided on the Zora elephant area first. Went there, listened to Kass, the star of the entire game for me, and saw the 3 pics on the 3 pillars. I went to the 3 areas in the pics, but the only 1 I could find anything at all was the flying Guardian ships on top of the hill, which I believe was the 2nd quest.
So my question to you is - Is there some weird stupid mechanic in the game that only has the last pic you look at be the active quest to have something show up? Do I have to beat only 1 at a time for another to appear and activate? Are the other 3 areas going to be this stupid?
Can I leave the elephant behind and go try out a new area or do I now have to do all 3 of these quests first? I was going to go back and look and the pics again, and take pictures of the pics this time, but it's so freakin' in the middle of nowhere w/ no warp point, and I forgot to set 1, my insta-travel portal is somewhere near Hyrule Castle from my Ganon fight.
I'm not a complete newb, I've got about 156 shrines complete, missing mostly the ones I found but couldn't open, like find the ceremonial sphere lost in the river, and have that lady give me her family heirloom ball to put in the location near the pond. So I like doing them, but this "find the pic" location mechanic isn't doing it for me. And yes I found every memory as well, but stables were my friend, the painter told me exactly where every one was. Well him and Kass, the game was all about Kass for me. Actually Kass did shrines, not memories, nevermind that last bit.
Anyway, long story short, are my 2 remaining elephant locations easy to find or is there some trick, like taking photos or doing them in some weird order or something? Thanks in advance.
@rjejr Kass's song gave you hints about what you need to do in each location... you can check your quest list for a reminder.
You have to do something different in each of the locations revealed... some are time dependant, while others are only your starting point, but you should be able to figure out which of Kass's clues relate to each location once you get there.
@DragonEleven Thanks. I knew KAss gave clues in his songs, he always does, but I didn't feel like that was my problem. My problem for the Zora area was 1 pic looked like it was in an area above the city I'd never been too, and stuff just happened when I got there. figuring out I had to beat the bad guys wasn't much of a stretch for a videogame challenge. The other 2 pics though, the water area beside the big waterfall, I swam around there for awhile but nothing happened. The other pic looked like it was on the cliff's above the foot bridge leading into Zora, near where we had to fight a Hinox or Lyxn for somebody down in the city. So I ran all around that ledge, under it, above it, thought their might be a secret cave entrance, but couldn't' find anything to do up their either. So I was going to go back and look at the pics again, and take pics, but it was such a pain to get to I just went back to playing the Assassins Creed carnival in FFXV instead.
Thanks though, I'll go back at some point. And I'll remember to make better use of my insta-transport portal this time, that's on me. I'm not very good at finishing a game then jumping back in months later and remembering all my tricks and shortcuts.
@Biff_ARMStrong Yeah, Urbosa's Fury is a must, otherwise it's impossible. I had a hard time with that Water Ganon too. Just bad design, to be honest.
For Waterblight's 2nd phase I used Ravalli's Gale to get height, nail him 3 times with arrows, then Urbosa's Fury. I didn't bother destroying his ice blocks or anything like that
@Saego Thanks for the info!
@Saego
You said it yourself "it added more story."
That's literally the definition of new story material. It's not a completely unrelated storyline. It's additional, bonus chapters delving into key characters. That's new story, it's just not the new story you were necessarily hoping for.
@Saego
Waterblight Ganon is tricky due to lack of arrows, but if you know what to do, it's actually pretty easy even then. It's the only one I lost to, but that's because I didn't realise the method you're supposed to do - use cryonis to break all but the last ice block thrown at you, and then statis that last one just before it hits you. Then whack at it until the statis ends, and it'll fly into Waterblight Ganon's face, knocking him down and letting you whale on him with your Tridents.
I love this game. But guys, you have covered it to death! Can't you do some Xenoblade or articles about other big games?
I have been meaning to ask: Can fairies revive you in the Tamer's Trial or are they rendered useless upon starting the trial?
Show Comments
Leave A Comment
Hold on there, you need to login to post a comment...