The final The Legend of Zelda: Breath Of The Wild DLC, The Champions' Ballad, is out right now, and rewards those who complete it with the Master Cycle Zero, a nippy motorcycle that Link can ride around Hyrule.
To help you unlock that faster, we're running this guide series to walk you through each step of the DLC. Read on to learn how to beat Mipha's Song, a portion of the second of three trials.
Before You Begin
You first have to defeat the four divine beasts and then tackle the Divine Beast Tamer's Trial on the Great Plateau to unlock the next phases of the trial. We say phases, because the next section is split up into four, and you can complete them in any order. Each of the four trials is based on one of the champions.
Subscribe to Nintendo Life on YouTube845k
This guide tackles Mipha's, but we've also covered Daruk's, Revali's, and Urbosa's elsewhere – as well as The Divine Trial, the finale of The Champions' Ballad DLC.
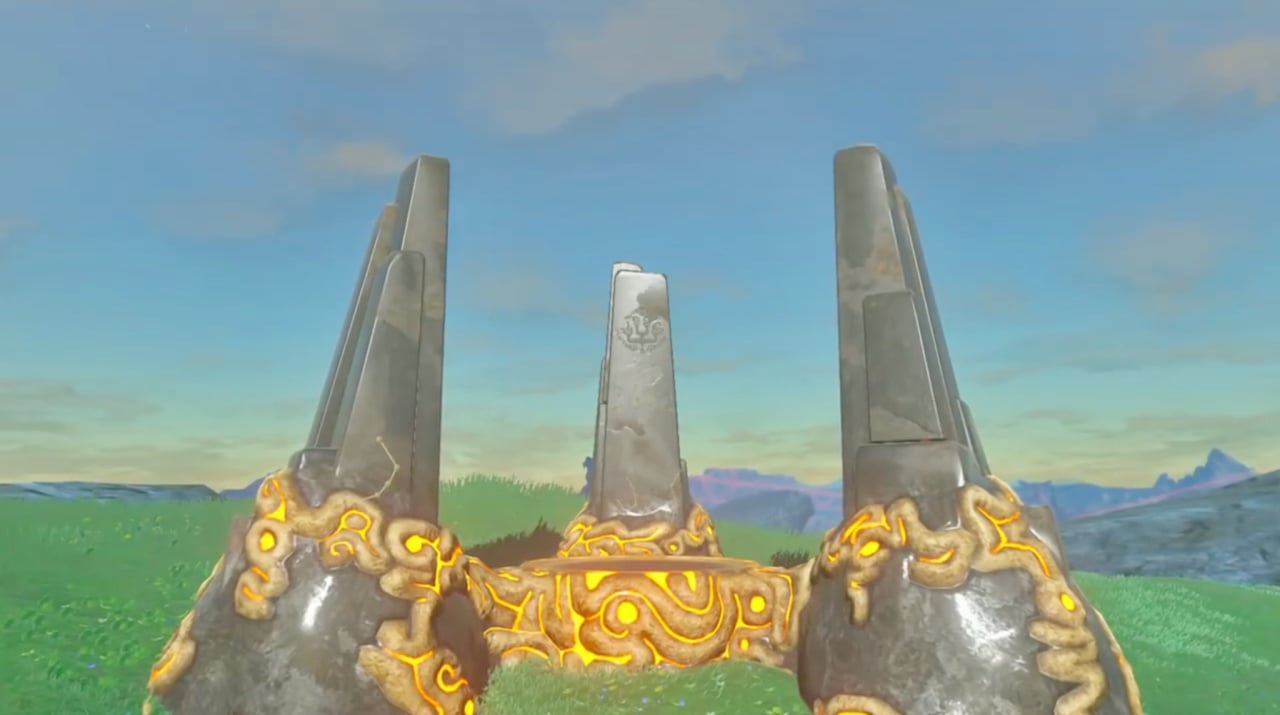
To kick off Mipha's Song, head on over to Ja'Abu Ridge in the Lanayru Region to find what appears to be a broken half of a shrine. Take a gander at the three obelisks and make a note of the locations detailed on them, as each reveals the location of a shrine you have to find and conquer to beat Mipha's Song.
You can either find these shrines the hard way, by piecing together some very cryptic clues, or the easy way. That's reading our guide, where we'll detail exactly where they are. It's up to you.
Kee Dafunia Shrine
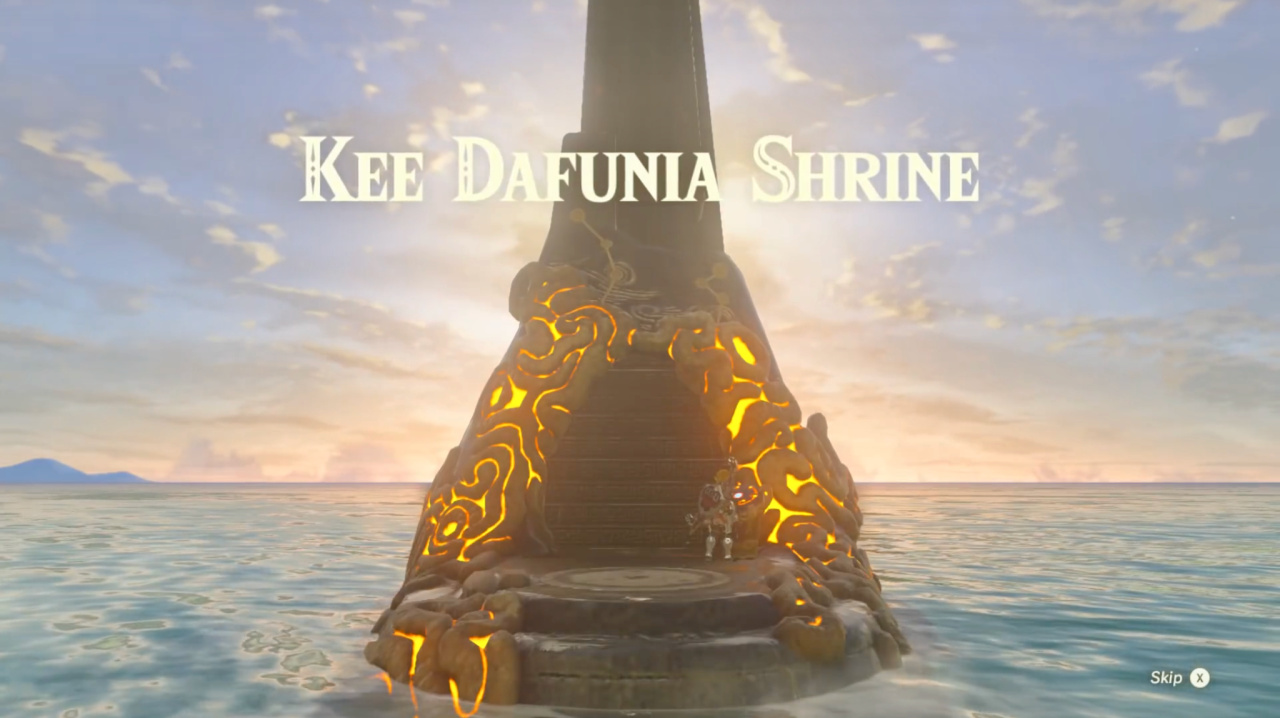
To find the Kee Dafunia Shrine, first fast travel to the Ke'nai Shakah Shrine. Run forward, jump off the cliff, and glide to the left until you reach the updraft. Glide up it and climb to the top of the ridge. To the left, you should see campfire smoke just over the hill ahead. Run to it.
Sit at the campfire and wait until morning. When you wake, jump off the cliff and glide, following the line of light the sun makes in the sea. You may feel like you're flying for a while before you see it, but keep an eye in the water and you'll see the light of a shrine peeking out of it. That's the Kee Dafunia Shrine.
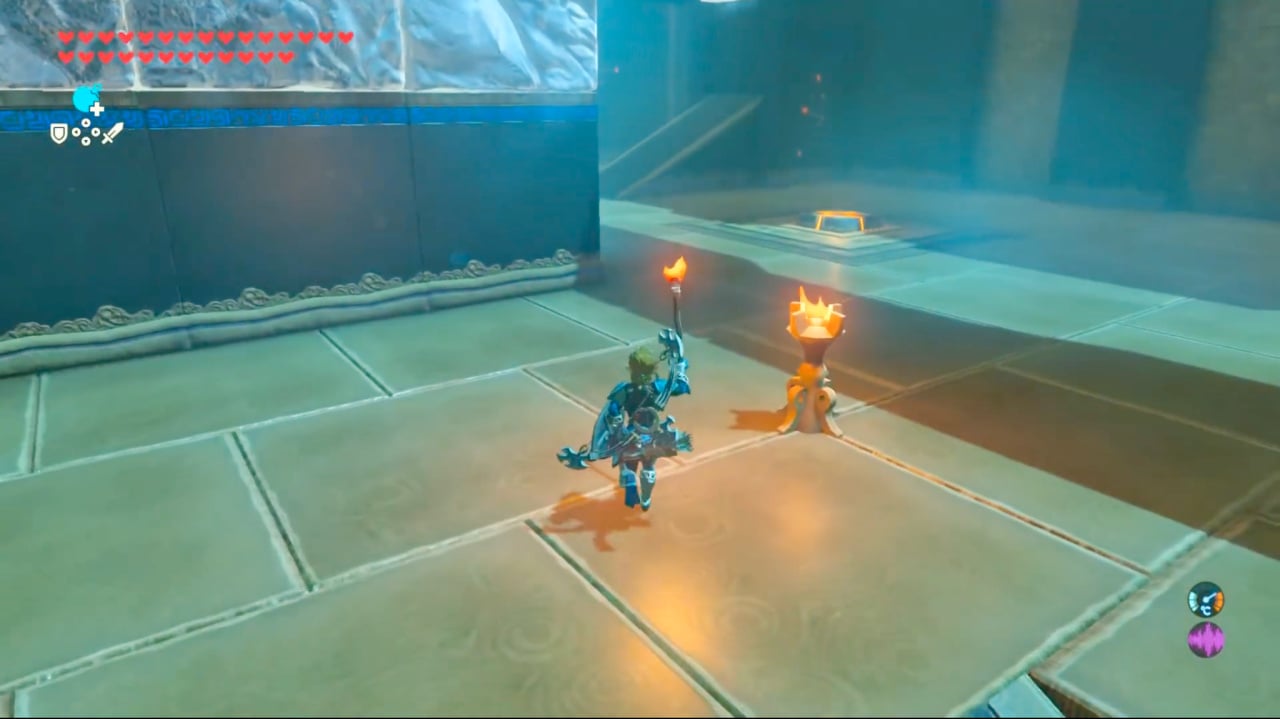
Head down the steps and grab the torch by the flame to your right. Light it and cross the path of frozen ice to the blocks. Melt the left with the torch until you can pass through and move onto the next room.
Step on the switch on the right side of the room and two giant blocks of ice will appear. Run over and melt the furthest one from the platform covered in ice until it's small enough to jump on. Do so then jump onto the bigger piece.
Now, melt one of the blocks of ice until you can make it onto the platform. Then, jump on the melted block and then again onto one of the bigger blocks. Jump again onto the top platform. Melt the block of ice immediately in front of you until it's small enough to pick up. Pop your torch away, pick it up, and carry it forward until you reach a room filled with water.
You may have to drop the block when you make it to the centre of the room, as the ceiling takes a bit of a dip, but you should be able to push it through no problem. Keep pushing it until you reach the far wall then use Cryonis to freeze a huge block of ice under it. Jump on top of your Cryonis block, then on the block of ice, and finally onto the top platform. And that's it – you've completed the Kee Dafunia Shrine.
Treasure Chests
Remember that room with the platform covered in ice blocks? While you're there, melt the blocks until you can reach the centre. There's a room here containing the first chest, so melt the block serving as a door and head in and open it.
Sato Koda Shrine

To get to the Sato Koda Shrine, first fast travel to the Ne'ez Yohma Shrine then run up the stairs, take a left, and dive into the water below. Swim straight ahead until you see a waterfall cascading down the mountain. Equip your Zora armour and swim up it. At the top, swim forward and go straight up the next waterfall.
Head left and start climbing the mountain. The section of map you're aiming for is covered in trees, so it should be easy to spot in this treeless area. Be careful as you approach though, as the area is covered in guardians. Take them out then head into the centre of the trees. The Sato Koda Shrine will appear magically in front of you.
Once inside, jog down the stairs and then up the stairs on your left. Whip out Cryonis and use it to create blocks of ice on the wall to your right. Your goal is to help guide the ball into the net at the bottom. The easiest way to achieve this is to guide the ball onto the leftmost paddle, ensuring it hits the right side so it drops to the right.
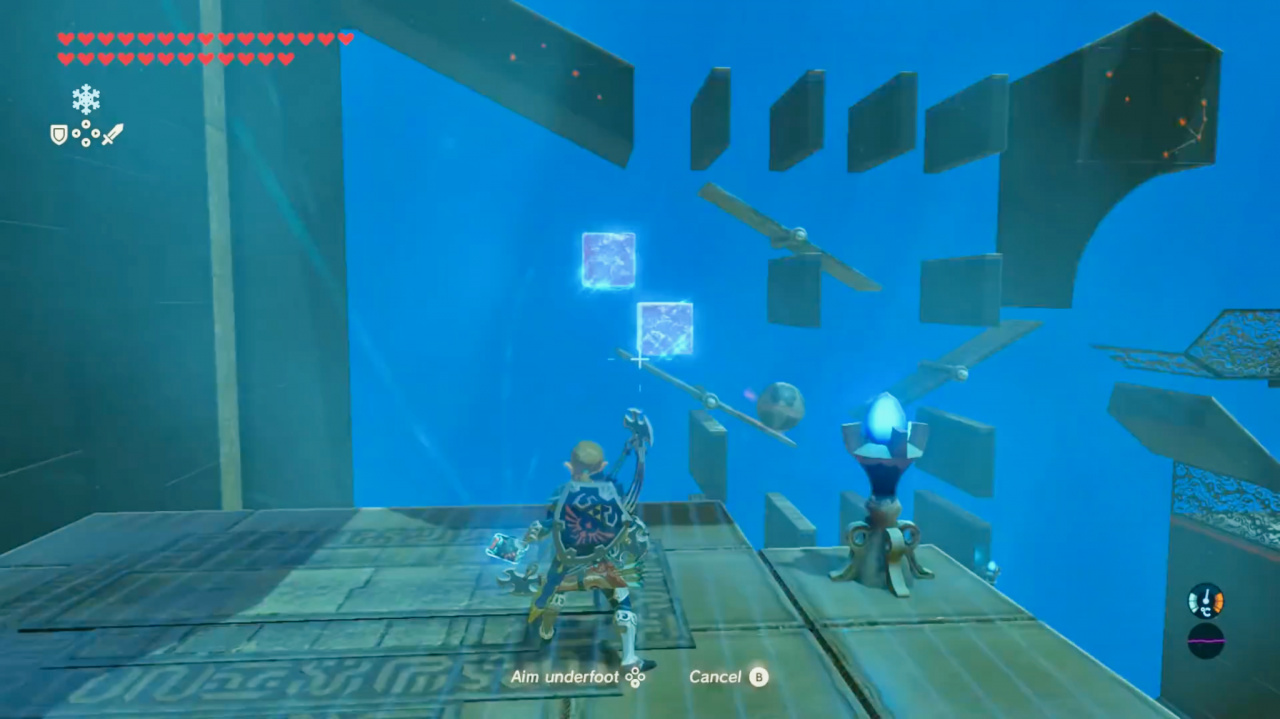
The ball will fall into a lower net and land on a pillar. The pillar will then shoot upwards, throwing the ball into the air. Finally, the ball will land on the hole and the Sato Koda Shrine is complete. Simply run through the now open gate and receive your reward.
Treasure Chests
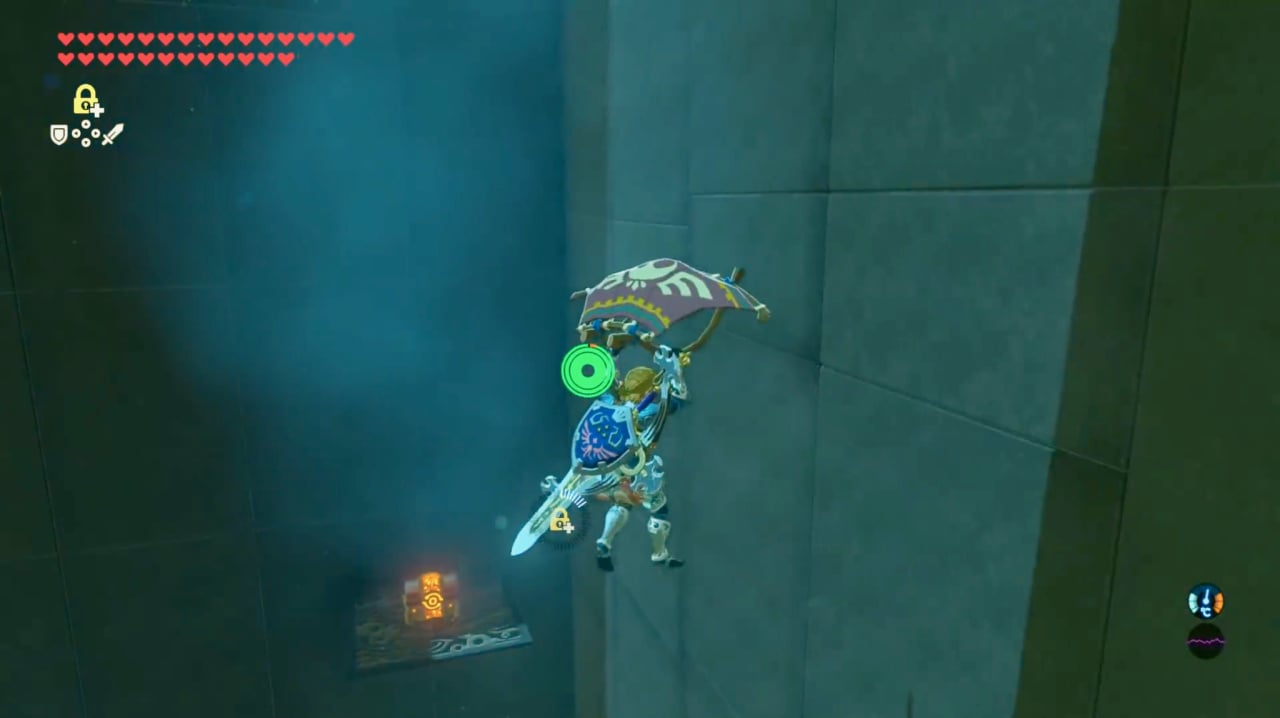
You should be able to see a treasure chest above the hole where you have to get the ball in. To get there, glide to the net right at the bottom and you'll see a block occasionally shooting upwards. Stand on it and it will propel you right to the treasure chest.
Mah Eliya Shrine

The Mah Eliya Shrine is located near Mikau Lake so head on over there from the Ne'ez Yohma Shrine, which is closest, run up the stairs, then follow the left stairs to reach the second floor. Leave Zora's Domain by the nearest exit, heading towards Mikau Lake. You'll eventually reach a waterfall, at which you should see a glowing blue portal. Run into it and another will appear inside the waterfall. Follow this trail of light as it takes you up multiple waterfalls and you'll reach the Mah Eliya Shrine.
Once inside, get Cryonis at the ready and head down the stairs where you should find two metal boxes. Create a Cryonis block under the right most box and climb on top of it. Jump over to the platform on the right and you've completed the surprisingly simple Mah Eliya Shrine.
Treasure Chest
Right after you freeze the left hand box, climb on top of your Cryonis block and use Stasis on the box. Hit it until you get a red arrow and climb on top. If done correctly, you should propel upwards. Simply glide to the left and you'll see a treasure chest on a platform.
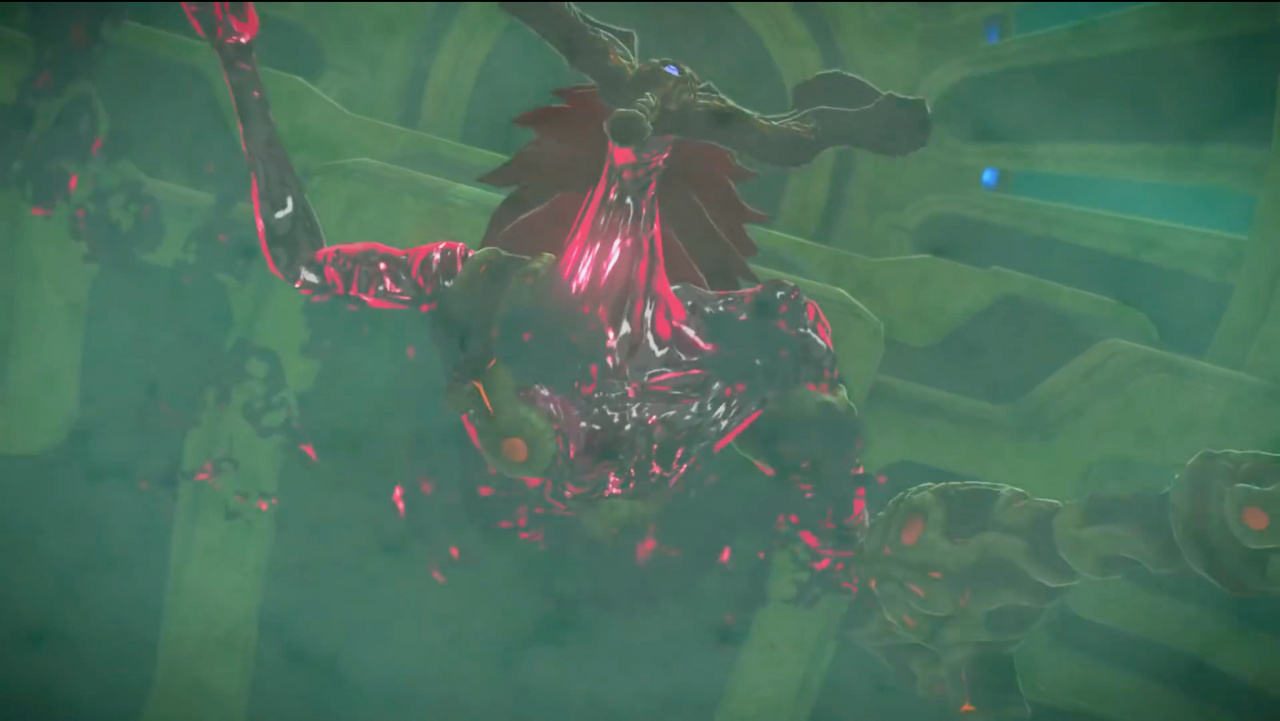
Waterblight Ganon
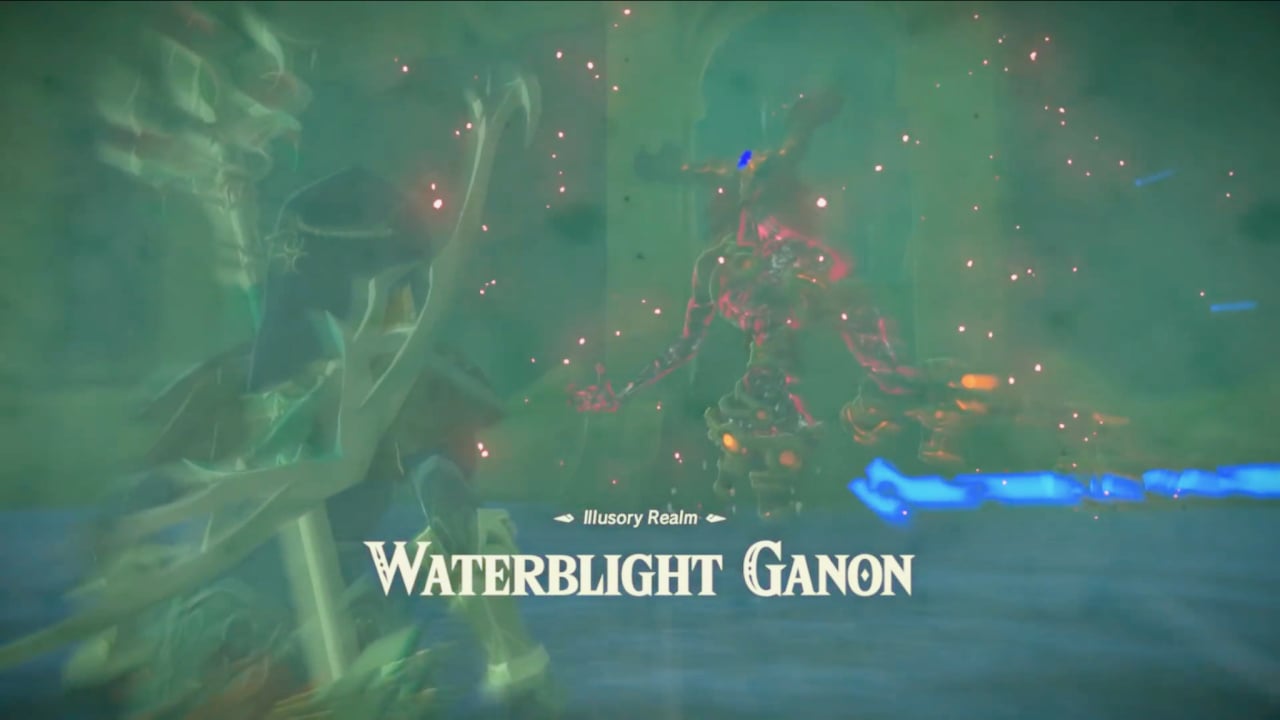
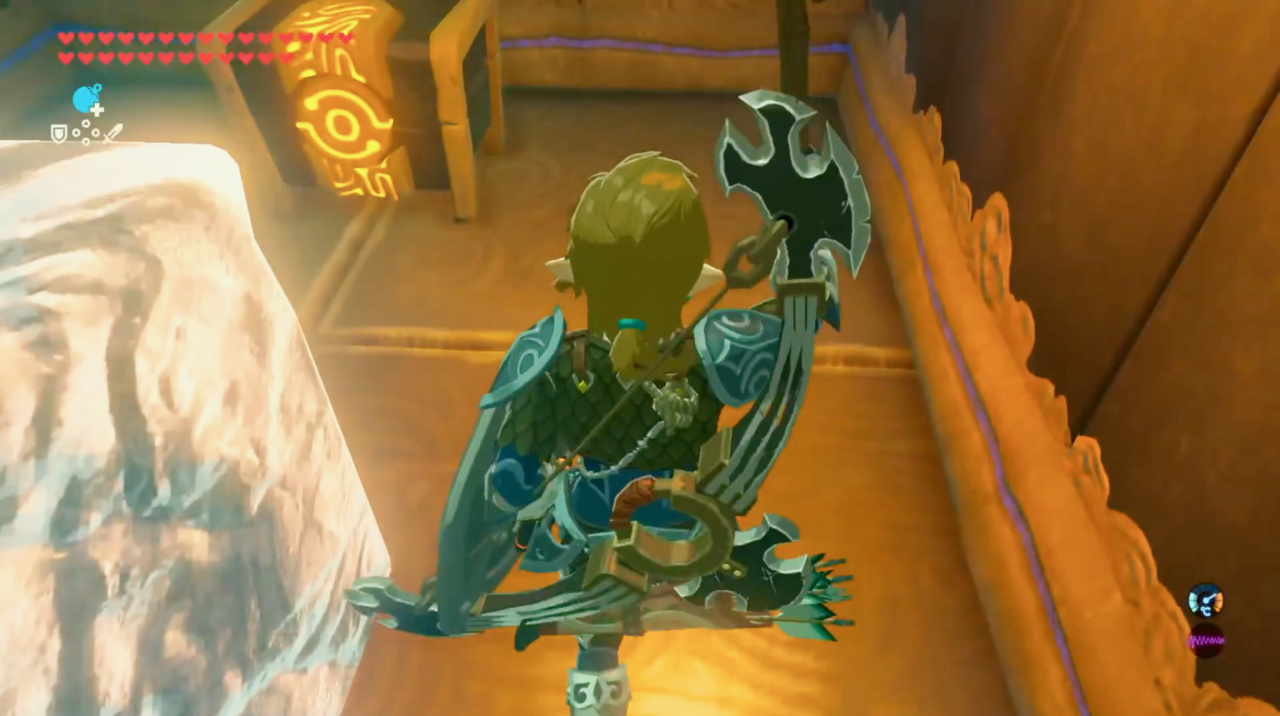
To complete Mipha's Song, head over to Divine Beast Vah Ruta and a cutscene will ensue. You'll be invited to witness a memory, in which you can't use any of your inventory. Instead, you're given a Lightscale Trident, two ceremonial tridents, a silver bow, 10 arrows, the zora set, and the healing items Hyrule bass, Hylian shroom, and fleet-lotus seeds.
You now have to face Waterblight Ganon once again, presumably defeating him in the manner which Mipha previously failed. Wait for him to attack, then initiate a flurry rush. He should fall after a few attacks, so just keep attacking him. Eventually, he'll turn into a ball of light and fly away. Rinse and repeat this manoeuvre and a cutscene will ensue in which Waterblight Ganon raises the water level.
Swim to the nearest platform and climb up. This time, Waterblight Ganon will remain in the air, so you'll need to use your bow. You only have 10 arrows so aim carefully for his eye and hit him a few times to stun him. Run over and hit him a few times with your spear. Eventually, he should fall.
Boss Tips
You can use your other abilities to make this second portion a bit easier. Try using Cryonis to create a block of ice in the centre of the four platforms, making it easier to quickly jump between them, or Revali's Gale to shoot into the air, slowing down time so you can easier hit his eye with your arrows. Finally, Urbosa's Fury and your Bomb rune can deal big, and cheap, damage to Waterblight Ganon when stunned.
Mipha's Song
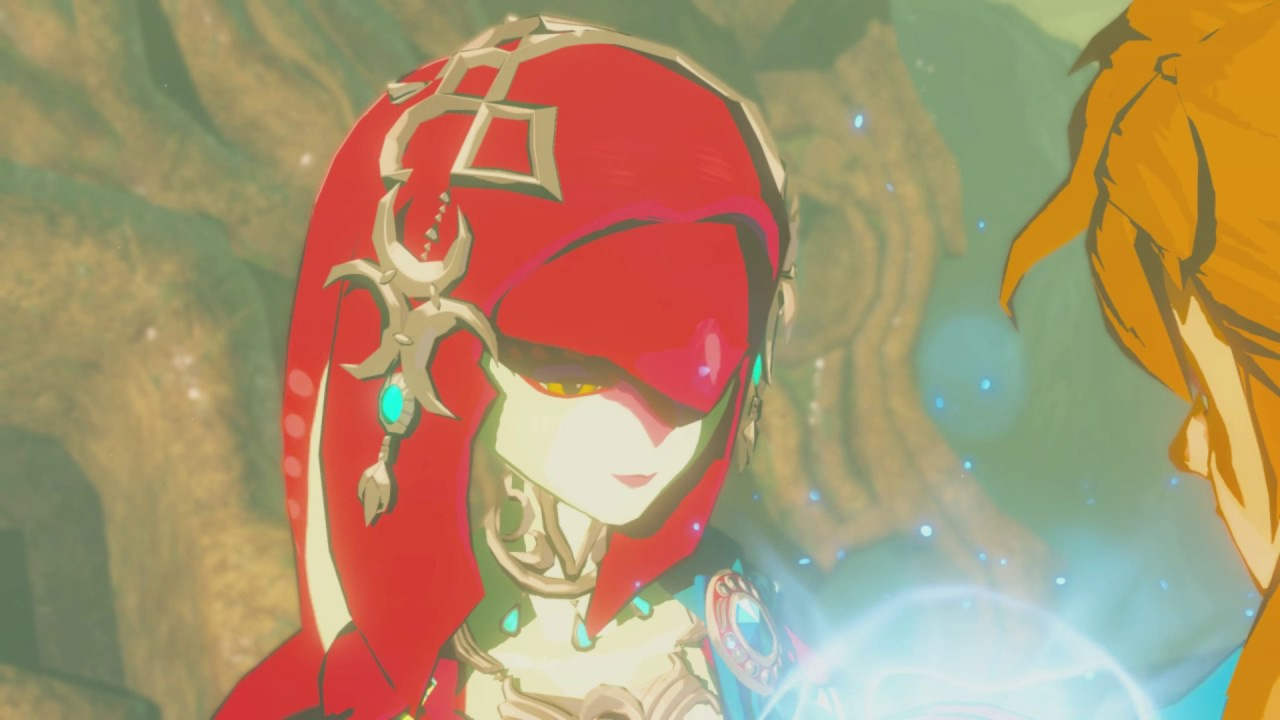
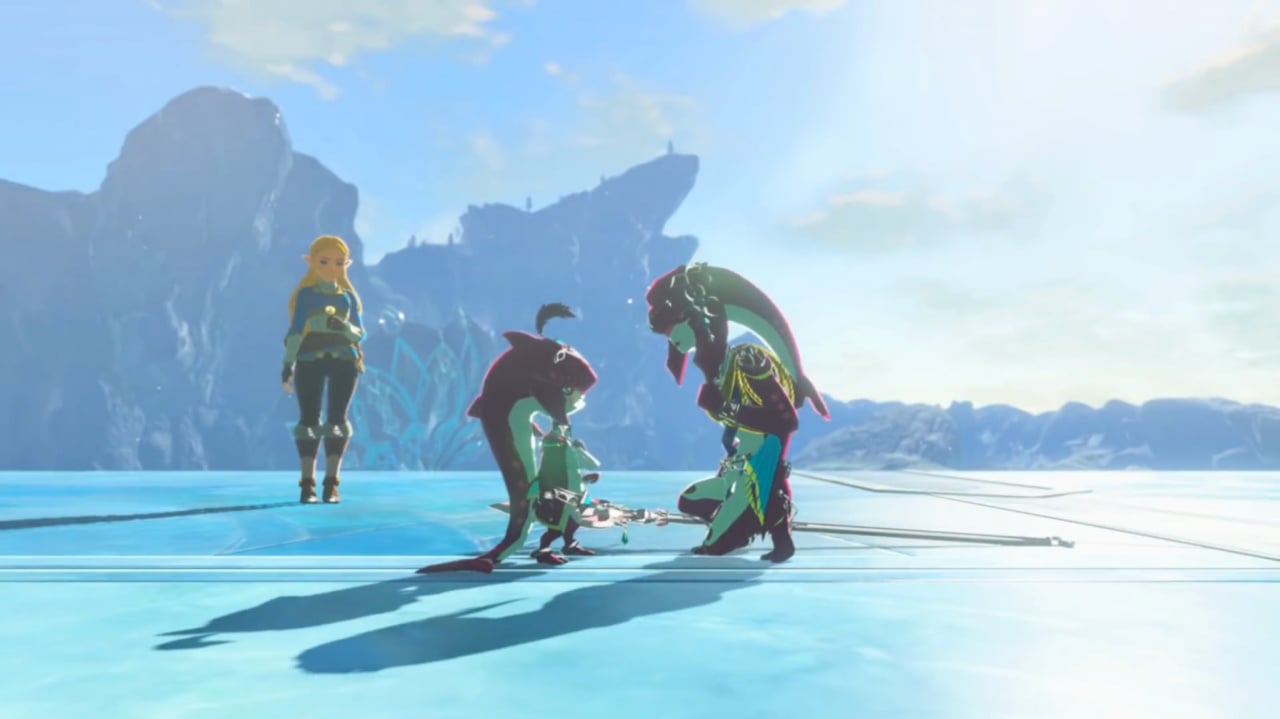
Once Waterblight Ganon is defeated, a cutscene will play in which Kass sings a new song – Mipha's Song. Following that, you'll witness a memory of Zelda talking to Mipha about the champions and Sidon as a child. Thus ends Mipha's Song.


Comments 0
Wow, no comments yet... why not be the first?
Leave A Comment
Hold on there, you need to login to post a comment...