Nintendo lived up to its word and released the latest and final DLC for The Legend Of Zelda: Breath Of The Wild in December, called The Champions' Ballad. It provides a new dungeon, new gear, and, most importantly, the Master Cycle Zero. This lets Link roam Hyrule in style, on the back of a nippy motorcycle.
To get it you have to complete the main quest in The Champions' Ballad, which is made up of several trials. You can find a complete walkthrough of the first, the Tamer's Trial, on Nintendo Life already. The second phase is made up of four trials, each associated with one of the champions.
Subscribe to Nintendo Life on YouTube846k
Before you begin:
You first have to defeat the four divine beasts and then tackle the Divine Beast Tamer's Trial on the Great Plateau to unlock the next phases of the trial. We say phases, because the next section is split up into four, and you can complete them in any order. Each of the next four trials is based on one of the champions.
This guide tackles Daruk's, but we've also covered Mipha's, Revali's, and Urbosa's – as well as The Divine Trial, the finale of The Champions' Ballad DLC.
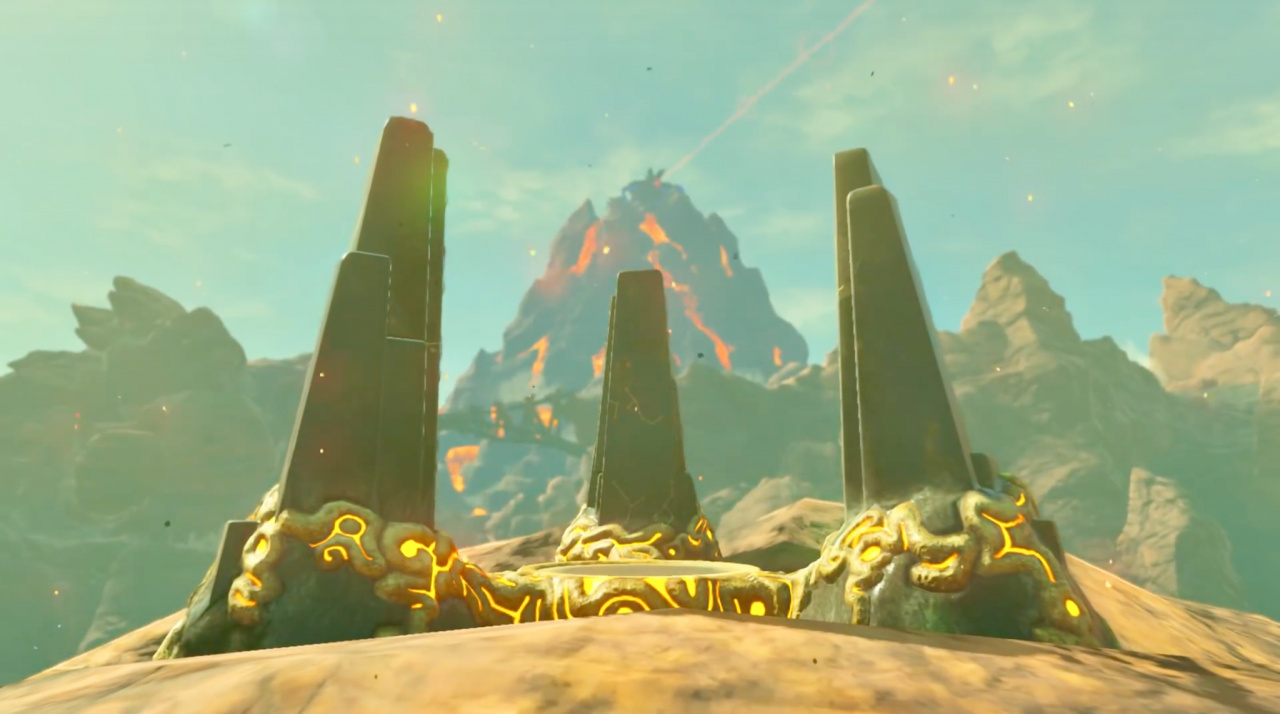
To kick off Daruk's Song, you have to head on over to the Eldin region to Golow River, which is near Goron City. If you head to Golow River from Goron City, you should see what appears to be a broken shrine. This is actually a pedestal, with three maps on top that detail the locations of three shrines you have to find and complete.
You can either try and find them yourself, with help from these maps and Kass, who's singing a new song full of clues to each location. Or, you can just read on and we'll tell you exactly where to go.
Kamia Omuna Shrine
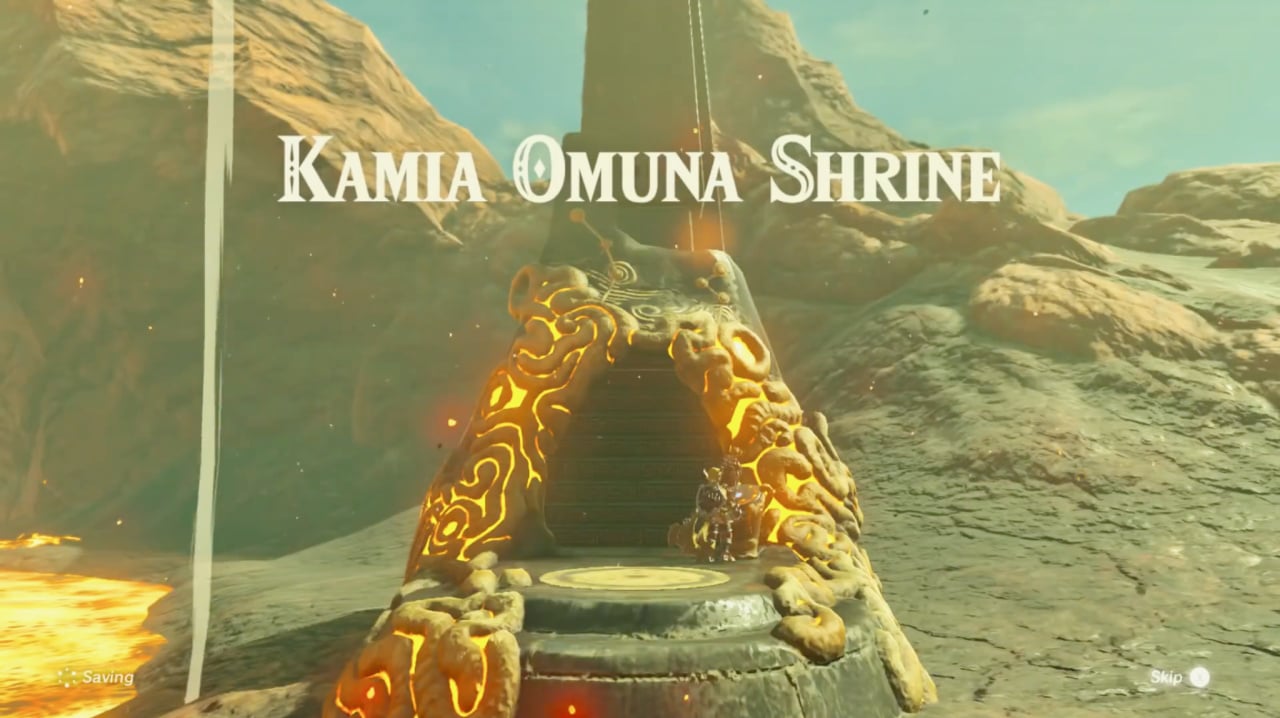
To get to the Kamia Omuna Shrine, first fast travel to the Gorae Torr Shrine. Immediately turn around and run past the shrine to the cliff's edge. You should see an updraft so jump off and glide up as high as you can go. Head directly forward to the mountain and climb to the very top. You should be able to see Lake Darman. Drop down and skirt the edges of it to the right till your about halfway.
Look into the lave and you should be able to see a titan poking just out of it. Use the natural updraft to get some height and dispatch it from above. This triggers a cutscene in which the Kamia Omuna Shrine is revealed.
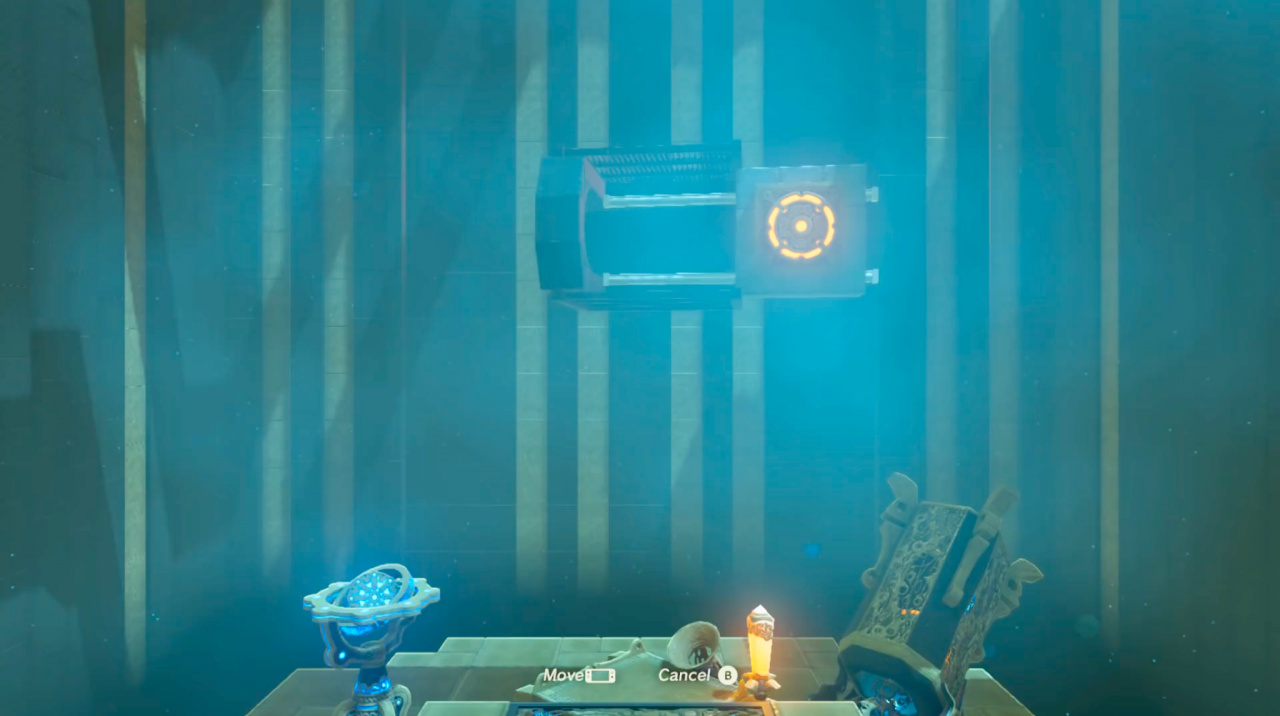
Once inside, head immediately left and drop a round bomb in the cannon's funnel. Hit the orange crystal to make the cannon turn slowly clockwise, then again when it's pointing directly at the orange target in the centre of the room. If you time it right, the wall should fall, revealing another target much further away. Rinse and repeat the previous steps to pass this section, opening a set of gates to your right.
Head through them and then down some stairs to your right where you'll find another cannon. Drop a bomb in it, then interact with the terminal on your left. This lets you spin the platform in the centre of the room, which houses another target. Spin it until the target is directly in front of the cannon and hit the crystal to get the cannon moving, then once again to fire it. Another target is then revealed just behind the spinning platform.
Spin it once again to create a passage for the cannonball to fire through, drop another bomb in the cannon, and hit the crystal to spin the cannon. Hit it once more to hit the target and the gate to the end of the shrine will open.
Treasure Chests
Before you leave the area with the cannon, glance to the right of the huge wall. You should see a treasure chest faintly glowing on a platform. To get it, fire your cannon at it to break the platform, dropping the treasure chest to the floor. Then drop down to your right and follow the tiny platform until you reach the chest, which has nestled snugly in a cage. Whip out Magnesis, grab it, and bring it over to you. You're done.

Sharo Lun Shrine

To get to the Sharo Lun Shrine, fast travel to the Divine Beast Vah Rudania then look to your right. You should see a glowing circle floating just above one of the mountain's peaks. Glide through it then follow the beam of light as it creates a bunch more circles. They'll take you right to the Sharo Lun Shrine.
Once inside, run straight forward and jump onto the side of the nearest moving block. Don't move for now, instead glance right and you'll see flames shooting out of the wall. Stay on this side to avoid the first set, then swap to the complete opposite side of the block to avoid the second. For the third, just climb on top of the block and wait patiently until you reach the platform.
Drop down to the right and follow the path until you reach the next section of moving blocks. jump onto the side once again and stay where you are until you're past the first set of spikes. A guardian will then spawn on the other side so jump on top of the block and take it out. Two more will spawn on opposite platforms to your right and left so remain on guard and kill them fast. Climb back down when they're dead and hop off the block when you reach the next platform.
Once again, follow the platform around until you get to yet another moving block. Hop on it as before and get Cryonis at the ready. You'll quickly see a terrifying wall of flames blocking your path but don't panic. Use Cryonis to create a couple of platforms in the wall covered in water and leap over to them before you get burned. Jump onto the topmost platform right next to the fire and wait until the block passes it. Then, simply glide down and onto the block. You can use Stasis to stop the block if you're not feeling confident.

In this final section, you just need to use Cryonis to create blocks so you can climb the wall of water. That's it! You've completed the Sharo Lun Shrine.
Treasure Chests
During the final moving box section, you should see a treasure chest intermittently dropping past the water cascading down the wall. To get it, use Cryonis to freeze a block of ice right where it will land and immediately swap to Magnesis. It probably won't stay on the block of ice, but it will slow the fall.
Use this as an opportunity to grab it with Magnesis and move it to one of the platforms above or to the right. Be quick though, as you you're rapidly moving towards a huge wall of fire. Once it's on a platform, use Cryonis to create another block, jump onto it, and get onto the platform with the chest.
Rinu Honika Shrine
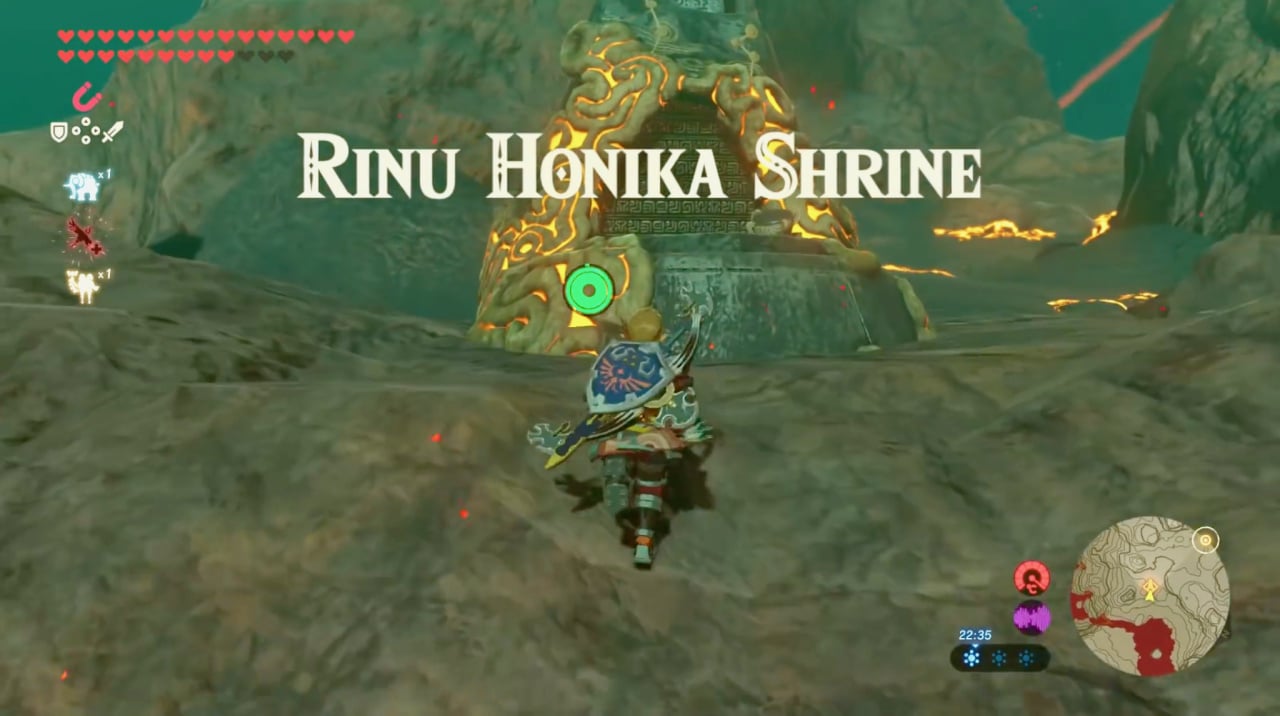
The Rinu Honika Shrine can be found at Darb Pond so fast travel to the Kayra Mah Shrine. Once there, leave the cave, turn left, and climb the mountain so you're above the shrine. Go directly over the shrine and keep running this way until you reach Darb Pond, climbing any mountains on the way. You'll know you're there when you see a massive lavafall on your left.
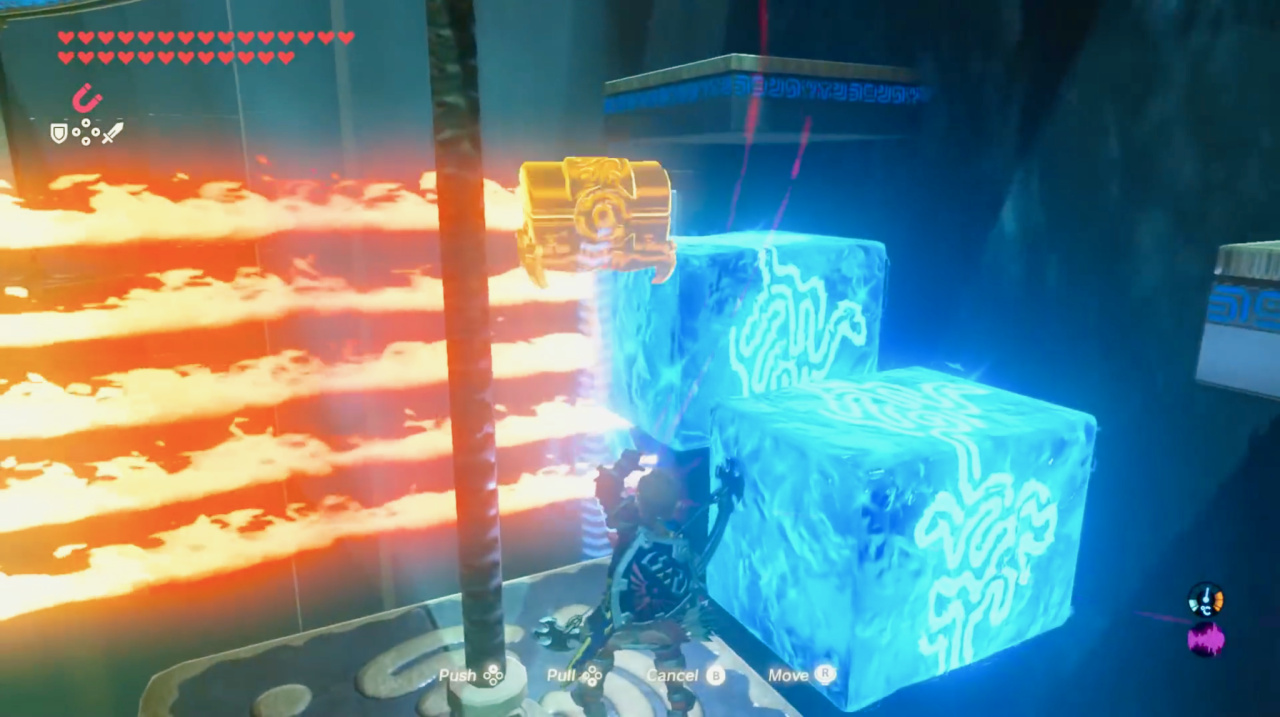
You should see a glowing circle right in the centre of the lava, but don't be hasty and jump in. To the left, you should see a big metal box. Pick it up with Magnesis and dump it right in the centre. It will sink into the lava but fortunately there should be another box just to your right. Grab that and dump it on top of the other box.
There's an overlook just next to the circle that you can use to glide safely down onto the boxes, triggering a cutsecene that reveals the Rinu Honika Shrine. Go to it.
Once inside, head towards the flames and pop on your Flamebreaker Armor if you haven't already. Then crouch to bypass the flames. Run towards the next set and use a bomb to block up the cracked block on your left. This will remove the lower fire so you can pass.
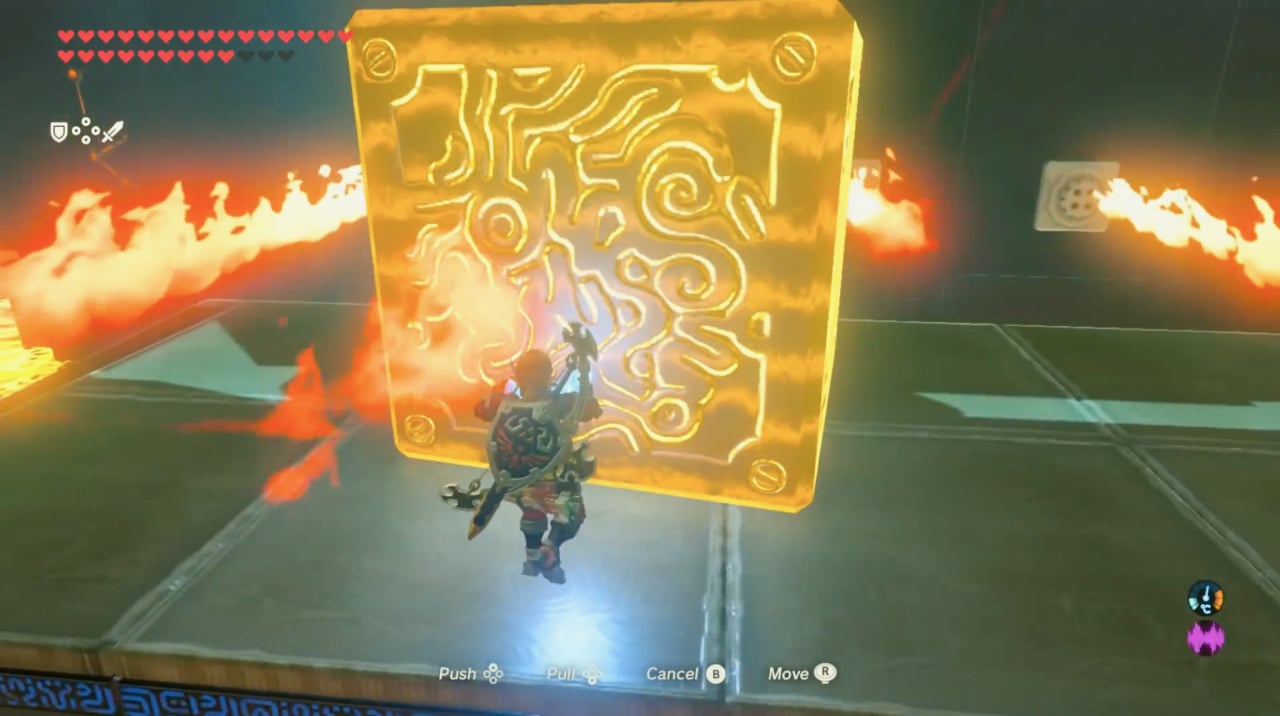
In the next section, use Magnesis to pull the metal block on your right out of the lava. This will also remove the first fire from the equation. You can then use this metal block as a shield to bypass the rest of the flames. Just use Magnesis to hold it up and strafe to your left, directing it at the flames.
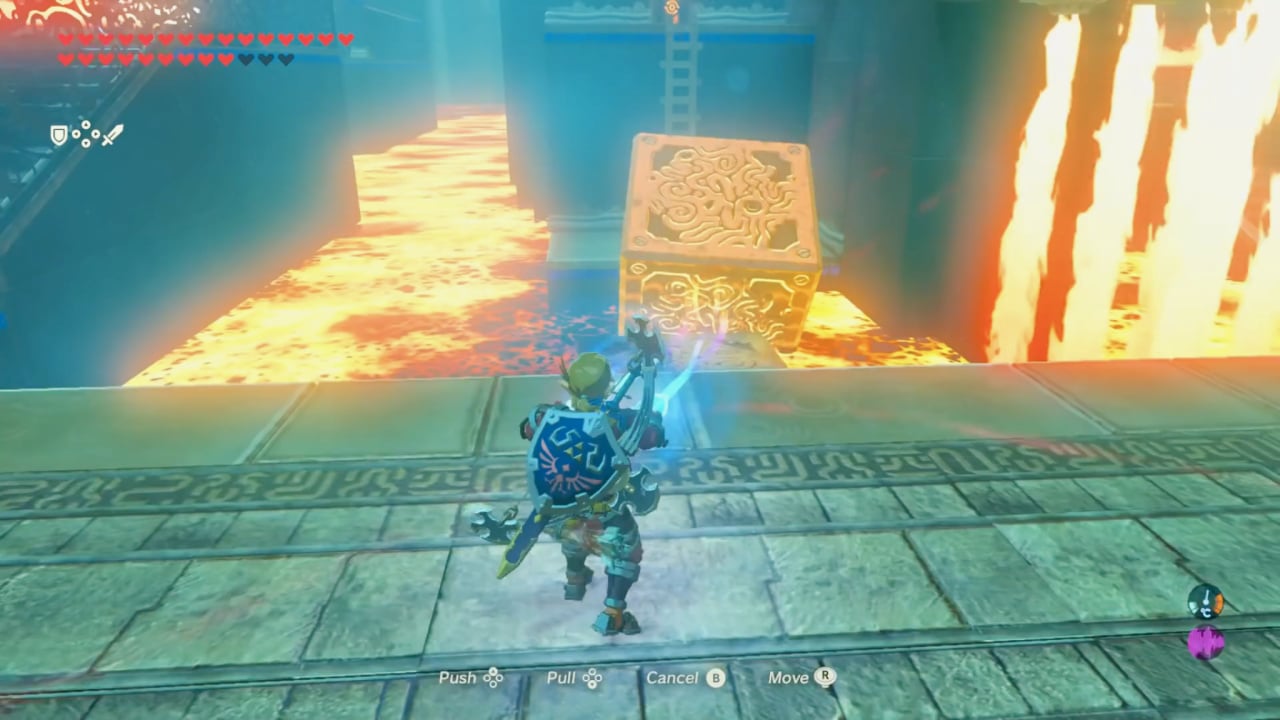
The next section is a little trickier. Place the box you currently have on the other side of the lava, leap onto the metal box in the lava, and then onto the other platform. Now, pick the metal box up again and drop it underneath the curtain of flames to your right. Make sure the flames are touching it. Then, grab the metal box you just jumped on and place it on top of your other box.
Use Stasis on the top box and quickly use Magnesis to pull the second block out of place. This creates a temporary path for you to safely pass through. Do so and continue forward through the gate and up the stairs on the right. At the top you'll see a terminal on your left, which controls a rotating platform on your right. You need to spin this so that you can create a safe passage to get across and to the end of the shrine.

Simply straighten it out so that there's a path going straight towards the centre, and use the pedestals jutting out on the right and left to block the flames. Now cross over and finish the shrine.
Treasure Chests
Right after bypassing the curtain of flames, look to your right and you'll see a treasure chest on top of a platform. To grab it, simply create a bridge out of the metal boxes you've just used to bypass the flames and leap across.
Fireblight Ganon

Now it's time to face Fireblight Ganon to complete Daruk's Song. Fast travel to the Divine Beast Vah Rudania and a cutscene will kick off inviting you to witness a memory. Once inside, you'll face Fireblight Ganon without your usual inventory. Instead you'll have Boulder Breaker, a knight's bow with only five ice arrows, the Flamebreaker armour, and a seared steak, toasty ironshroom, and a baked apple.
Fireblight Ganon will start by charging up a massive swing and unleashing it very quickly. Get ready to dodge and initiate a flurry rush, then go in and pound on him. After a few blows he'll start using downward attacks. Just dodge to the side of him and hit him a few times until he charges another. Rinse and repeat.
After a few hits, he'll float back and start chucking fireballs at you. Just keep moving and you shouldn't have any trouble avoiding them. After this, his attack pattern will reset so just rinse and repeat the previous paragraph. Use a flurry rush, dodge the vertical attacks, hit him in between.
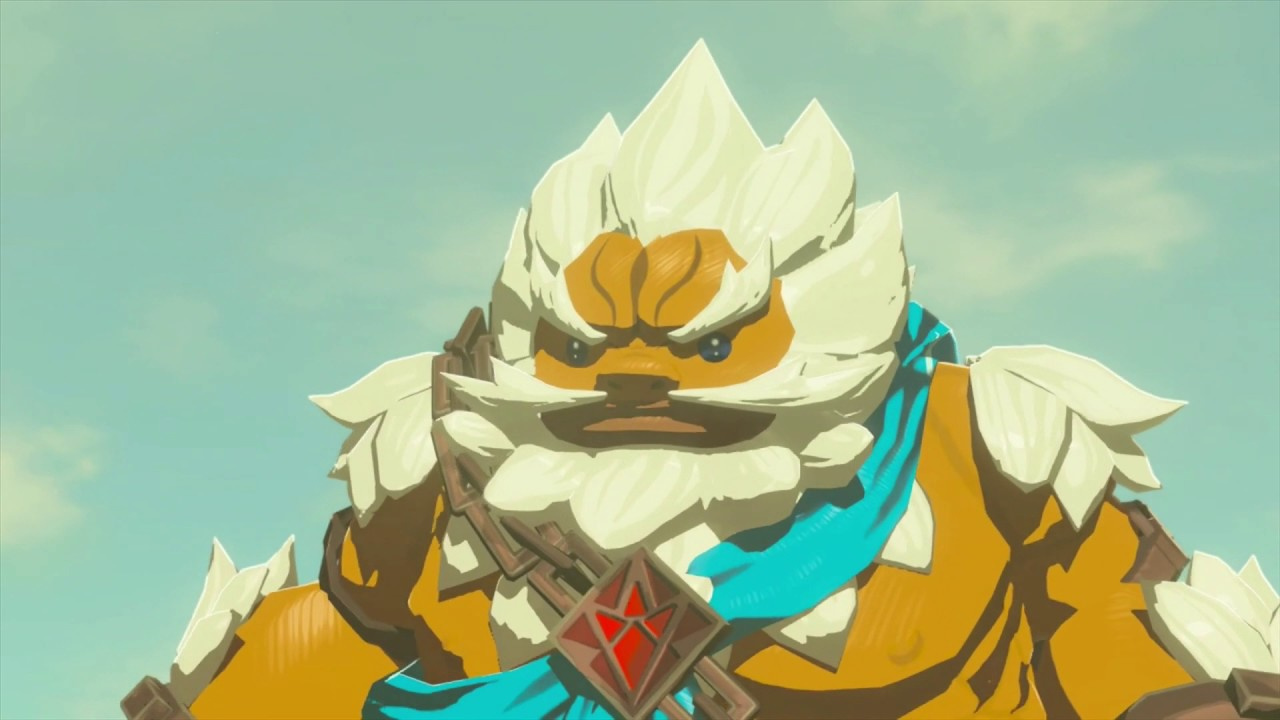
When he's at half health, a cutscene will trigger in which Fireblight Ganon lights his sword on fire. During the next section, he'll fly around the arena so pull out your bomb and wait for him to start charging up an attack. It will appear as if he's covered in a flame shield and is absorbing the flames in the environment so look out for that tell. When this happens, chuck the bomb at him and he'll suck it up and the bomb will stun him on impact. Wail on him then follow his orb of light when he floats away. As soon as he reappears, attack him again until he's down.

Daruk's Song
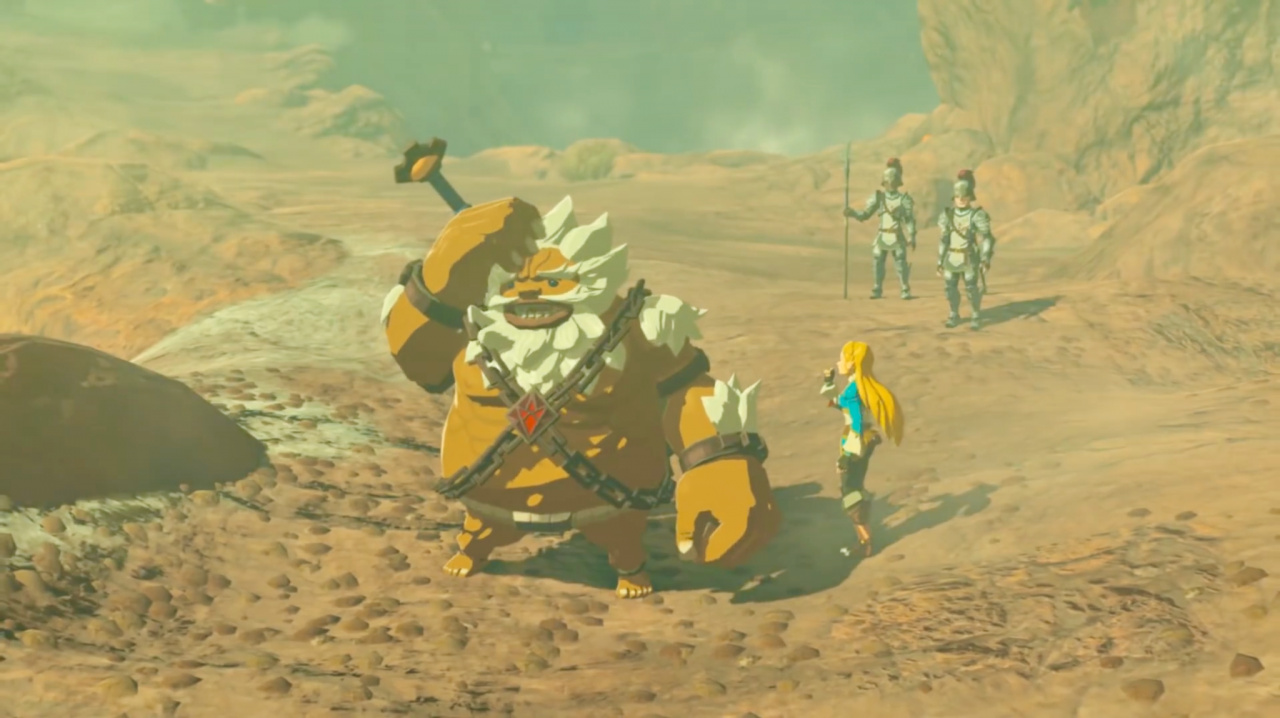
Following the battle, Kass will play a brand new song dedicated to Daruk – Daruk's Song. Right after, you'll witness a new memory of Zelda talking to Daruk about taking down Calamity Ganon. During the cutscene, you'll witness a rather amusing weakness of Daruk's.
More importantly, you've now completed Daruk's Song. Congratulations!


Comments 0
Wow, no comments yet... why not be the first?
Leave A Comment
Hold on there, you need to login to post a comment...