The possibilities in Super Mario Odyssey seem almost endless; everywhere you look there are a whole host of things to see and do and the amount of different activities and gameplay styles you can experience is truly staggering. To give you a helping hand - and to ensure that you get the most out of your shiny, new game - we’ve put together this handy guide full of tips, tricks and advice.
If you’re wondering where to find Power Moons, what you can do with purple coins, or even how to reach distant areas, the information below should provide some answers and help to walk you through it. So, without further ado, let’s start things off!
Subscribe to Nintendo Life on YouTube847k
Explore Everywhere
One of the best, and most simple, pieces of advice we can offer for Super Mario Odyssey is to make sure that you explore everywhere. Very rarely will any piece of land or any platform be purely cosmetic; the game is packed full with hidden coins, hidden pathways, and even hidden Power Moons for you to collect. If you see anything that looks like it could be of interest it probably will be, so make sure to check out every little nook and cranny to ensure you don’t miss out on the good stuff.
It would also be a good idea to talk to each Kingdom’s residents (especially if they have an exclamation mark over their head). Characters within the game can often provide very subtle hints at places to go or, at the very least, can provide you with a little more detail on the world you are in and how its inhabitants lead their day-to-day lives. Take the time to learn and investigate your surroundings and you will often be rewarded.
Hit Every Flagpole
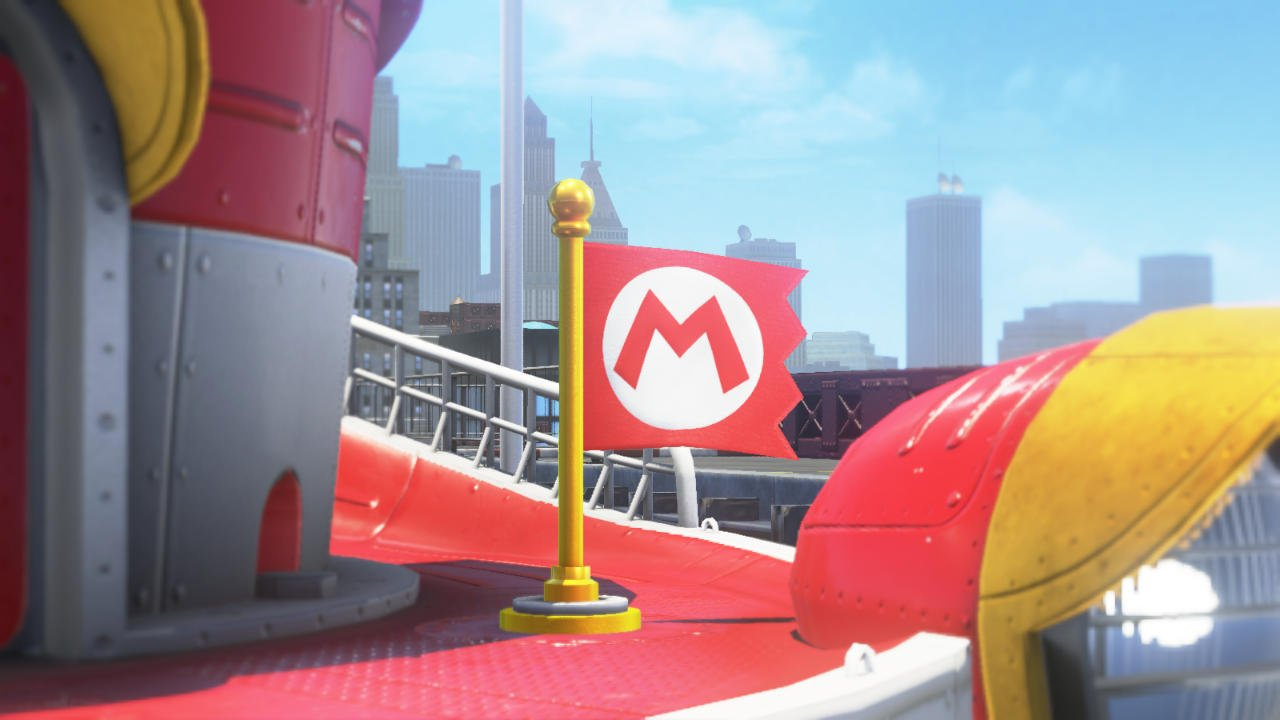
Flagpoles are scatted around every single Kingdom and you’ll likely see several as you work your way through the game’s story. The main benefit for hitting each one becomes rather obvious – they act as checkpoints, allowing you to restart from there should you die rather than being thrown right back to the beginning – but there are other advantages to be gained, too.
Firstly, touching a flagpole will restore your health if you’ve taken a hit or two, giving Mario the energy needed to keep up the good fight. More importantly, though, the flagpoles can act as warp points – similar to the way in which Shrines are used in The Legend of Zelda: Breath of the Wild. When a flagpole has been touched it will appear on your map (accessed by the ‘-‘ button on the left Joy-Con), allowing you to zoom around the Kingdom to specific points with ease. If you’re wanting to find every single Power Moon in the game after beating the story, warping from one checkpoint to the next will be an invaluable technique to save time.
Gold and Purple Coins
Hearing that familiar “ba-ding” when collecting a gold coin can instantly make you feel at home in a Mario game. Spicing things up a little, though, Super Mario Odyssey actually has two types of coins to collect – gold and purple – and knowing the difference between the two is very important.
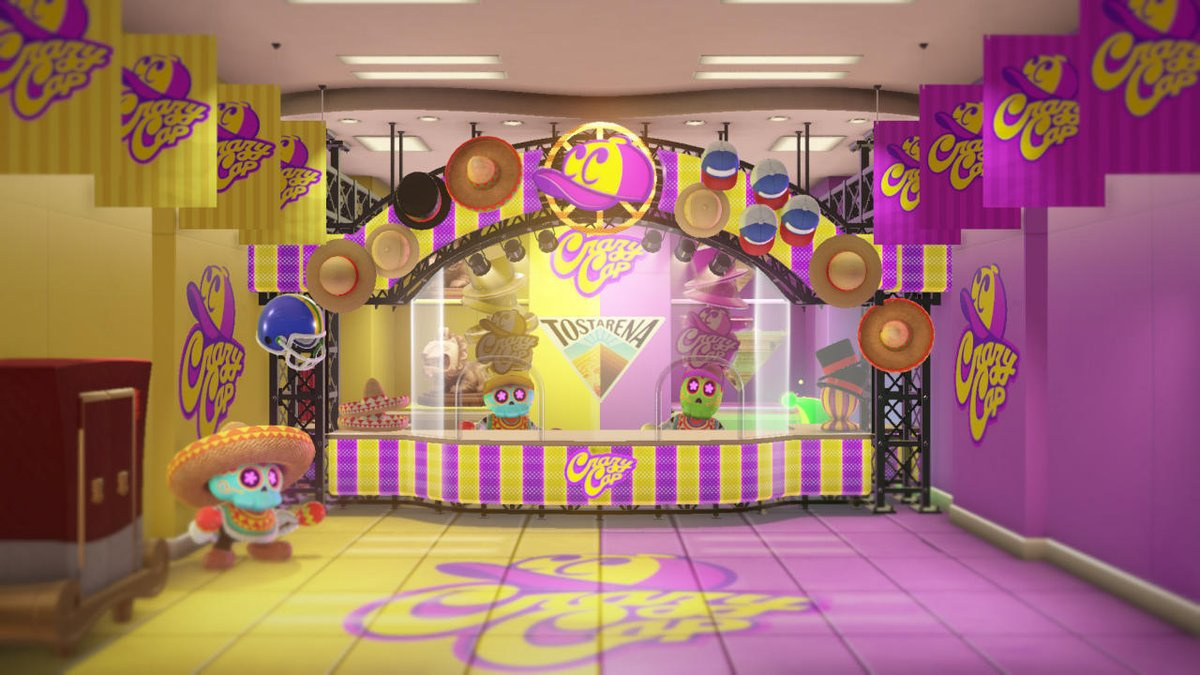
Each of the game’s main Kingdoms is home to a Crazy Cap store where you can buy the latest and greatest souvenirs, new costumes, and even Power Moons. Gold coins can be spent at every single one of these stores and the items on offer are the same across all Kingdoms; purple coins, however, act as a local currency and can only be spent in the store in their particular Kingdom. There are always either 50 or 100 purple coins to find in each Kingdom and they have their own, individual, specific locations – hunting them all down is part of the fun. Gold coins can be obtained in all sorts of ways, however, and are much easier to come across.
It is worth noting that gold coins also act as your ‘lives’ in a sense; falling to your doom or losing all of your health will result in Mario restarting from the last checkpoint reached and, rather than losing lives, you will lose ten gold coins every time this happens. On the flip side to this, once you have collected a purple coin it will be safely yours forever.
Read the Action Guide
Multiple characters in the game will demand to know whether or not you have looked through the Action Guide and, whilst this initially seems a little pushy, it is for very good reason. By hitting the ‘+’ button on the right Joy-Con, you can view this beast of a guide and see what all the fuss is about for yourself. In a nutshell, the guide explains the game’s controls, shows off all of the many actions that Mario and Cappy can perform, details how each of the characters that you can capture can be controlled, and provides you with a few bonus travel hints for good measure.
Taking the time to learn some of Mario’s moves would be a very good idea indeed; some manoeuvres are explicitly shown to you through notice boards or thanks to occasional advice from Cappy but this isn’t always the case. Whilst you are unlikely to need the most advanced techniques to complete the main game, hurtling yourself around Odyssey’s beautiful worlds with as much precision and confidence as an overly coffee-fuelled Olympic athlete feels great. They can also help you to reach distant areas and platforms too!
Throw Cappy at Everything
Cappy is without a doubt the life and soul of Super Mario Odyssey; there are hardly any times in the game where you’ll go more than a few seconds without launching him at something to progress or to add things to your collection. Keeping this in mind is a good tactic for any times where you think you might be stuck – if there is something in view that isn’t just the floor (and sometimes even when it is just the floor), try flinging Cappy at it to see if anything happens.
There have been countless times throughout the game where we have been amazed by the types of things that Cappy can interact with and, without wanting to spoil any surprises, some of these can produce some rather incredible scenarios. It is also worth keeping an eye out for a little white arrow which can appear over the head of characters or objects as this indicates that it can be interacted with in some way.
Finding Power Moons
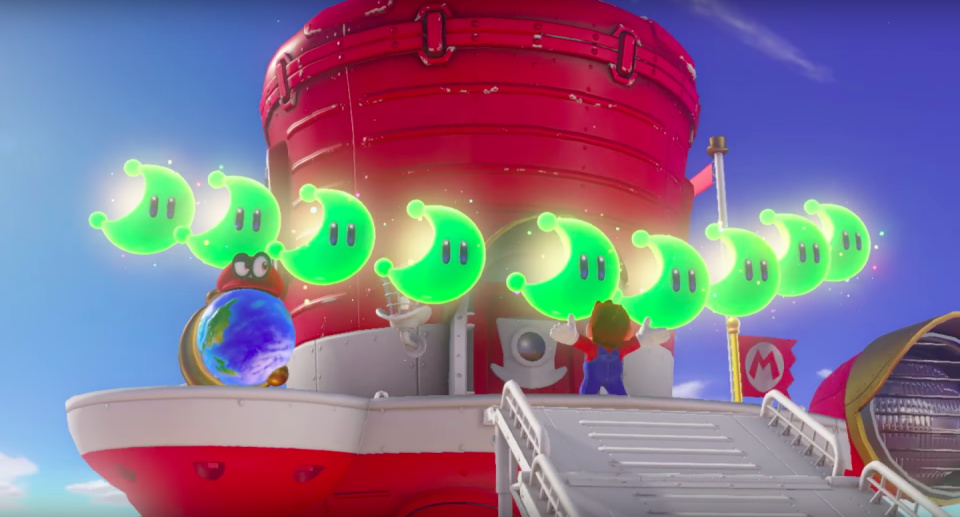
Power Moons are everywhere. Literally everywhere. Despite this, though, it isn’t always easy to track down Power Moon locations and sometimes they can be really, really, hidden away. Many of the sections in this guide can help with hunting them down – exploring, talking to residents, going to the Crazy Cap store, and so on – but there are some other useful tips to know too.
Before we jump into the three best tricks to use, something that you should definitely keep in mind is the fact that Power Moons have a unique sound to them that can be heard when nearby. At times, and if you have a good sense of hearing, you might find yourself noticing a really faint, ‘sparkly’ type of sound. The Power Moons glisten as they majestically float in the air and this sound is there to replicate that fact – if you spin your camera around and take a good look after hearing it, you may just find a Moon close by.
Talkatoo
In each Kingdom, you should be able to find Talkatoo – a hat-wearing (obviously) cockatoo with a strikingly impressive fashion sense. Talkatoo will offer you the name of three Power Moons per Kingdom for free, adding that name to your Power Moon list (accessed by pressing the ‘Y’ button from the ‘-‘ menu). As you may have noticed, each Moon has a corresponding name that usually describes the area from which it was discovered or the technique used to grab it. Working backwards, you may well be able to work out where a new Moon is hiding by looking through Talkatoo’s offerings.
Uncle amiibo
Possibly the best way to find any Power Moons you might be missing, Uncle amiibo is a small robot who appears in each Kingdom after defeating its corresponding boss. If you have any of Nintendo’s plastic bundles of joy sitting around your house, he can track down some new locations for you which can be extremely handy. Your amiibo figures can provide you with all sorts of rewards when scanned in normal gameplay but, if you scan one whilst talking to Uncle amiibo, they can act somewhat differently. After tapping one to the NFC reader, our new robot friend will send them off on a hunt to track down a Power Moon’s location. This process takes five minutes and, after that time has elapsed, you should make sure to return to Uncle amiibo to have your map updated. You can scan three amiibo at any one time so this can help to get lots of new locations on your map very quickly.
Hint Toad
Another character who appears in each Kingdom once the area’s boss has been despatched, Toad (or specifically ‘Hint Toad’) can provide you with some help for a small price. By paying him 50 gold coins, Hint Toad will also mark the location of a Power Moon on your map, giving you yet another option should you be at a loss. Grabbing 50 gold coins shouldn’t take you too long, so whilst there is a price to receive the information, the reward will likely be worth it.
Use the Binoculars

As you explore the game’s many Kingdoms you’ll occasionally come across a set of binoculars. Easily identifiable thanks to their green and yellow colouring, these binoculars can be captured by throwing Cappy at them, allowing you to take a good look at the world around you.
As you play through the game’s story these binoculars focus on the next recommended goal, enabling you to get a sense of your location and possibly plan a route to the next story plot point. By spinning the binoculars around and zooming in and out, however, they can become much more useful; looking around each Kingdom in this way can help you to locate stray Power Moons and purple coins that are scattered around hidden, or hard to reach, areas. Make sure you don’t underestimate the importance of relaxing for a moment and taking in your surroundings.
Feel the HD Rumble
The Switch’s Joy-Con controllers, as well as the Pro Controller, offer some very interesting and unique experiences in Super Mario Odyssey. You may be aware that the controllers come with ‘HD Rumble’ functionality, essentially providing a surprisingly precise amount of detail in the way in which rumbles and vibrations can be felt by the player.
Sometimes, puzzles within the game will outright tell you that you should pay attention to vibrations in the controllers to succeed. What the game doesn’t tell you, however, is that sometimes – even in the more usual, open world areas – things are buried underground and can only be found by feeling the HD Rumble in effect. If you ever feel any vibrations whilst running around – however small they may be – make sure to walk around near that spot, checking to see if the vibration moves through the controller to highlight a particular underground area. Sometimes you’ll find some gold coins buried underneath (obtained by doing a ground pound over the exact location) and, if you’re lucky, you might just find something more.
Motion Controls Will Make Things Easier
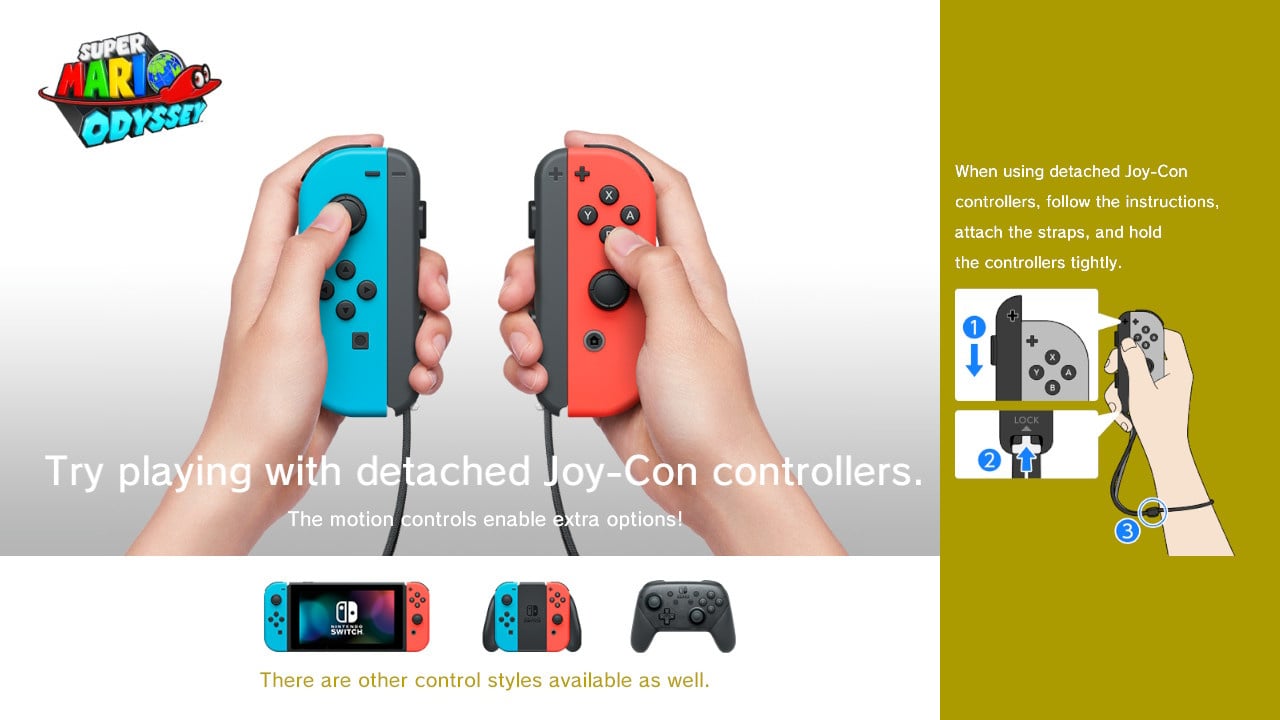
Love ‘em or hate ‘em, Super Mario Odyssey wants you to play with motion controls – even the game’s initial loading screen politely suggests that you should try it. Whilst they aren’t essential, they definitely provide you with an easier experience in some cases and there are a few things that simply cannot be done without them.
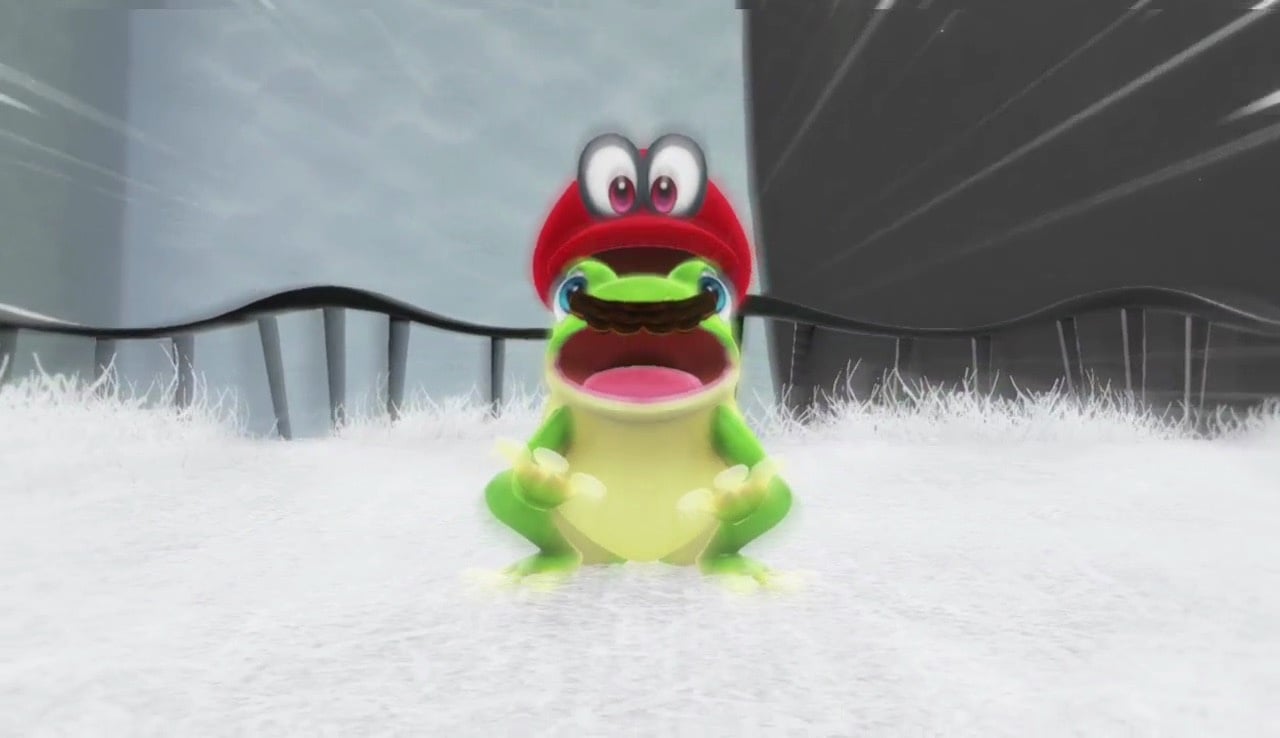
In most cases, any movements performed with the motion controls such as throwing Cappy – and even fancier moves like the spin throw – can be achieved by pressing buttons instead (although sometimes they can take a lot of figuring out). There are some instances, however, where this simply is not the case. An early enemy capture sees Mario transform into a frog – you’ll see from the information provided at the bottom of the screen that shaking the Joy-Con will allow you to jump higher than the button press alternative. Usually this doesn’t matter too much as you’ll be able to access areas with the smaller jump anyway but there are certain collectables that seem to be out of reach when using the smaller jump. If you have the ability to do so, we’d recommend playing with a Joy-Con in each hand for maximum playability.
Unreachable Areas and Portraits
There will be countless times throughout your adventure where you will be left thinking “how on Earth do I get up/over there?” Sometimes, the answer will be around you somewhere – a hidden path, a creature to capture with special powers – but this isn’t always the case.
Often, little alcoves or similar, small area types can be found in walls or scenery and, whilst it isn’t always the case, you will usually see some hittable blocks just below it. Annoyingly, these areas can be just out of reach from your highest jump ability – even after jumping from on top of the blocks. In cases like this, and in many others too, there may well be invisible blocks sitting somewhere between the real blocks and the alcove – if it looks like you can’t reach somewhere, always try jumping directly underneath it anyway to see if an invisible stepping stone can be forced to appear.
Other, extremely far away locations can often be seen way, way, out into the distance and, rather than feeling utterly hopeless about ever reaching it, we’d recommend leaving it at first to see if other possibilities open up later. After some time with the game you’ll start to discover portraits and, aside from being just pretty pictures, these work as portals between worlds. By jumping into a portrait, you may just find yourself being warped to one of those really distant locations in a completely different world to the one you were in.
Don’t Worry About Dying
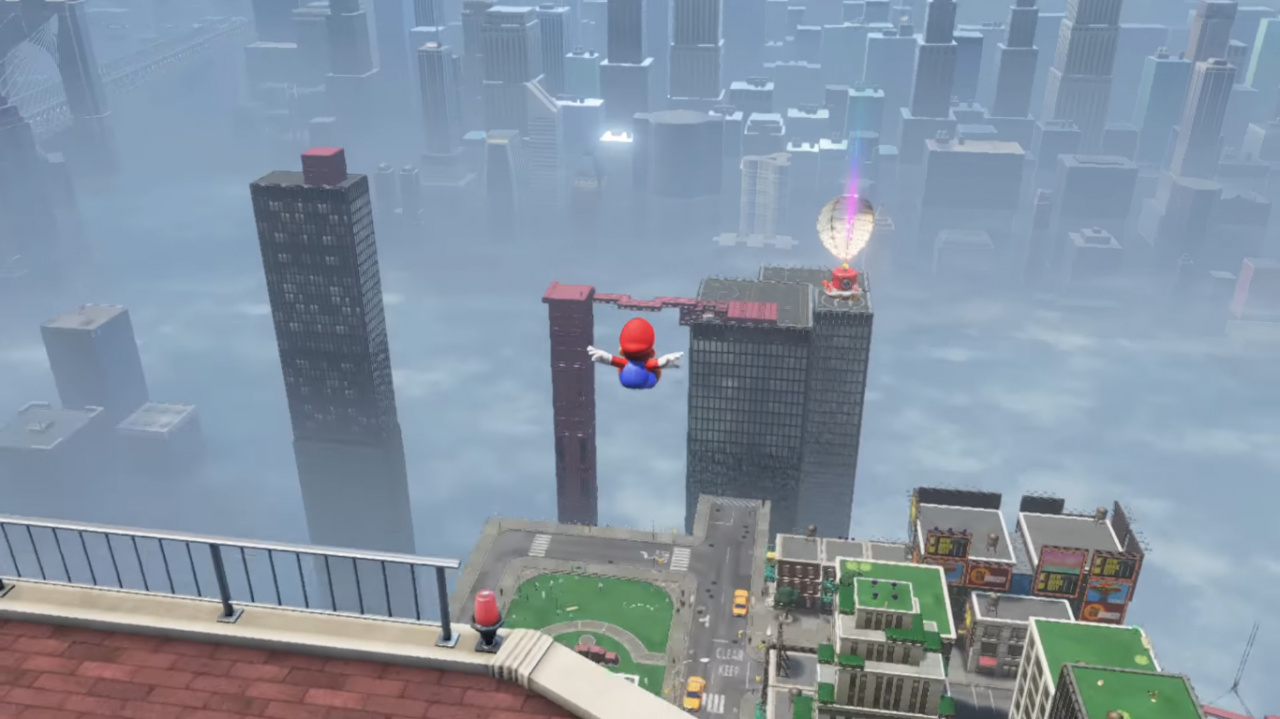
A strange heading, sure, but for an open world-style game, Super Mario Odyssey is strangely welcoming of jumping to your doom. Usually, if you see a collectable that seems too far out of reach, you’d be tempted to just jump off the edge to grab it. Normally you can’t do this because your character would get reset and you would lose a life but, in this game, this technique is almost encouraged.
When gathering Power Moons or purple coins, the game will add that specific collectable to your tally the second you make contact with it – even if you die just a split-second later. Thanks to this, if something can be collected by jumping off a ledge it wouldn’t hurt to do just that. You’ll lose your ten gold coins as usual of course but, considering that is the only price, it is more than worth it.
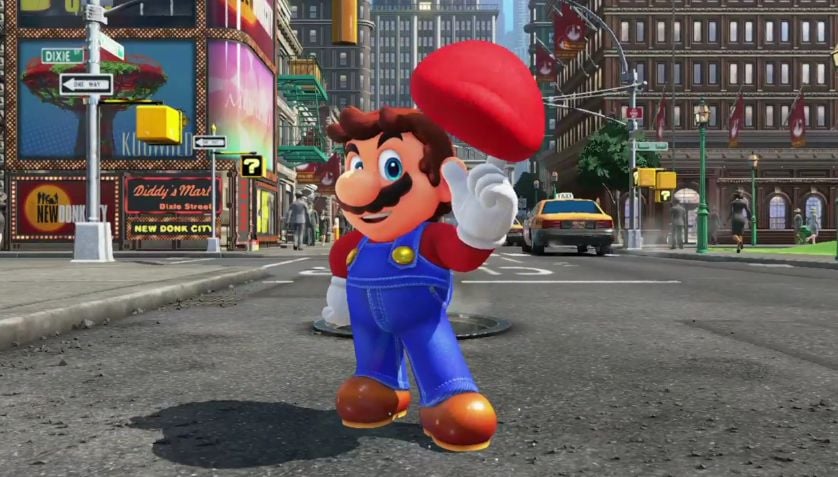
On top of this, as long as there is ground beneath his feet in the end, Mario will survive towering falls with no harm done whatsoever. As an example, in the widely shown off New Donk City you’ll be jumping around the roofs of skyscrapers and, should you want to get back down to the city roads, you can actually just leap right off. When Mario lands on the floor he’ll do a little shake – indicating that it was a rather painful landing – but your health will remain perfectly intact.
Complete the Story Before Collecting All of the Power Moons
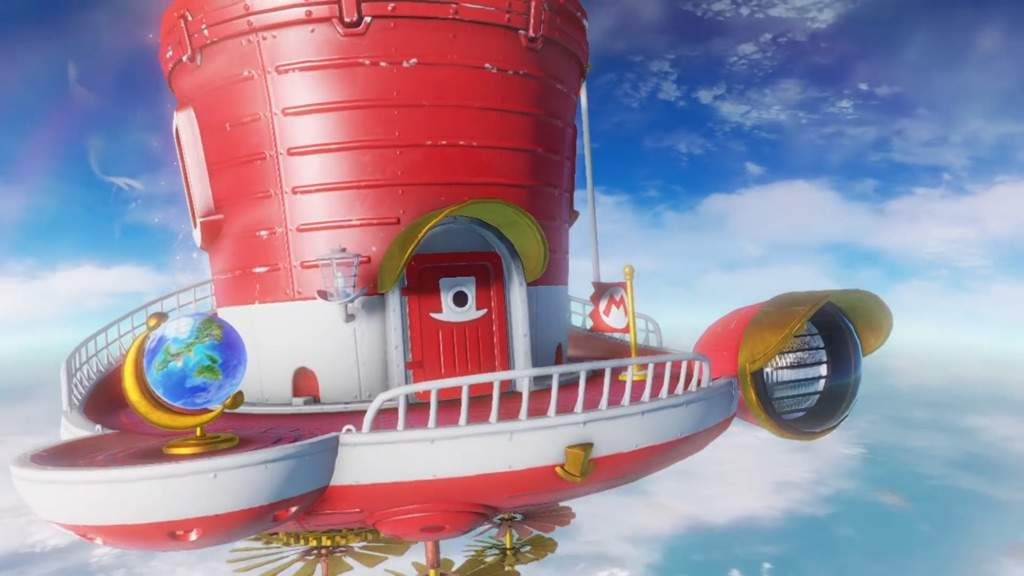
It can be extremely tempting – especially for completionists – to try and collect every single Power Moon and purple coin before jumping into your ship to move on to the next world. Whilst you can of course play like this if you prefer, we’d recommend that for this particular game it may not be the best course of action.
During your first visit to each Kingdom, only a selection of its collectables will be available to obtain. In order to truly 100% the game, you will need to complete the story first and then return to each area. You may well get more enjoyment from the game by simply allowing the main story elements to unfold – jump into the ship when you can and let the main plot points play out. Then, when you are done with that, you can start to play through the next adventure – finding absolutely everything!
We hope that you find these tips useful as you explore Super Mario Odyssey’s worlds for yourself. If you have any useful tips of your own, feel free to share them with us in the comments.


Comments 19
Good to know. I found out the hard way that you couldn't collect everything on the first go. Still, you can get the purple coins I think.
Just finished the main story but I still don't see me playing launch else for some time, I'm having way too much fun
Please stop saying "whilst"
@FantasiaWHT
Come on it was only used 9 times! why not pick on the word Mario, that was used 34!!!!!
@FantasiaWHT One of the perils of using a UK-based website is the risk of coming across Britishisms. The good news is, there are plenty of non-British alternatives out there, and reading them might be more effective at reducing Britishisms with than telling the English how to speak English.
Anyway, I thought this was a great guide - especially the last point. It's easy to get hung up on exploring early on and miss the flow of the main campaign. Not only that, but it's a waste of your efforts if the world you're exploring hasn't fully been unlocked yet.
The best balance seems to be treating the worlds as somewhat linear backdrops for the main story on the first playthrough, and then as true sandboxes on the second. You can tweak the balance according to personal preference, but there's definitely merit on not going 'full conpletionist' too early on.
I'm not a hardcore completionist but I would say I sway that way for sure. It was tough on the first level for me to move on not having all the moons. I probably wasted about 2 hours trying to figure out the portrait, metal cube, and floating island. Finally my youngest son, who was further ahead them me and who I instructed not to help me or spoil anything said "Dad, just go to the next world!"
So far so good!
Very useful tips..thank you
@dkxcalibur lol. Same here.
It's definitely worth mastering a certain jumping technique: chaining a held hat throw with a mid-air leap into a hat bounce.
Start by doing a ground-pound jump.
At the height of your jump, through the hat.
Immediately press ZL/ZR and press and hold Y to both leap forward, and keep the hat spinning in place. Press forward towards the hat.
If you do this right, you'll get a lot of height and distance, and you can follow this up by another leap for extra distance! Or you can finish with a groud pound for extra control.
You can't repeatedly do hat bounces this way though, the game limits you to a single bounce otherwise you could potentially get infinite height and distance.
This is really useful for scaling higher walls you normally couldn't jump over.
Also very useful is throwing the hat after a wall jump, which lets you aim where you want to leap. Perfect for just barely getting over certain obstacles.
@FantasiaWHT Nothing wrong with 'whilst'. A darn good word.
@FantasiaWHT Agreed. He said it 8 times!!! It’s as bad as 411mania’s weekly q & a wrestling column and the use of “thus”. Lol.
You should have added the button combo for the jump, dive onto hat, jump, dive at hat again. Very useful for clearing gaps.
jump, press Y, press ZL, then immediately press and hold Y.
Mario will jump and dive onto Cappy, repeat to dive again.
Takes a bit of practice but easy to execute after that. start off with a long jump to carry a lot furtehr.
I will not use the joy cons after using the pro controller. Those little nubs don't cut it. The motion controlls work just as well with the pro controller.
Good to know there is a post game. I'm taking my time but I'm expecting to live in this game much as I did with Mario 64 back in the day.
@FantasiaWHT
Nooo, we need more "whilst" on the internet. British English for the win!!!
I'm not really a completionist. I got around a 97% completion in Galaxy and was happy with that. Attempted to complete, but didn't find every single thing.
I'm in World 5. I initially thought BOTW would remain my favorite game because its so beautiful and more challenging to master Link's moves than Mario, making the game a little more complex to me. But I'm reconsidering, Odyssey is more fun to me. Love both though.
Great game, I like how some moons you can't get until after beating the main campaign, adds for something to do after beating it
Can we have a guide telling you how to perform motion-only movies with buttons? The ones that can be performed with buttons.
I find it really hard to avoid spoilers from this game.
Show Comments
Leave A Comment
Hold on there, you need to login to post a comment...