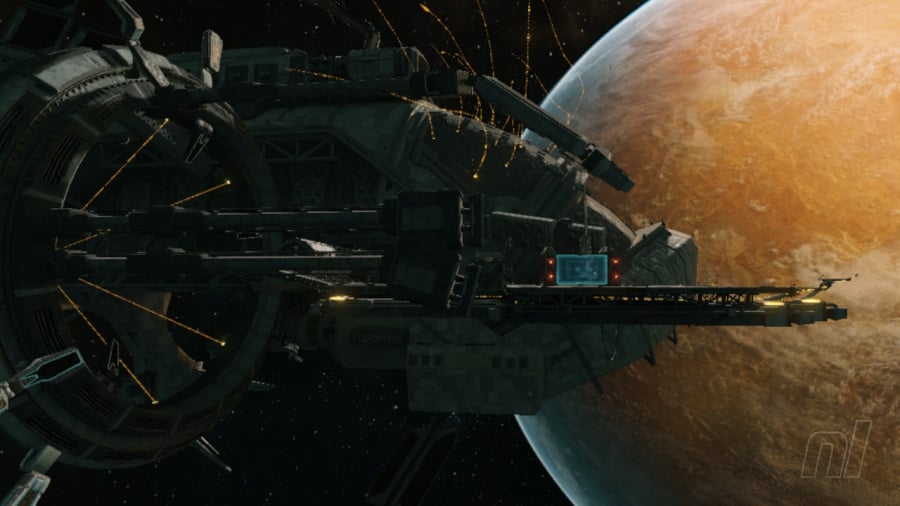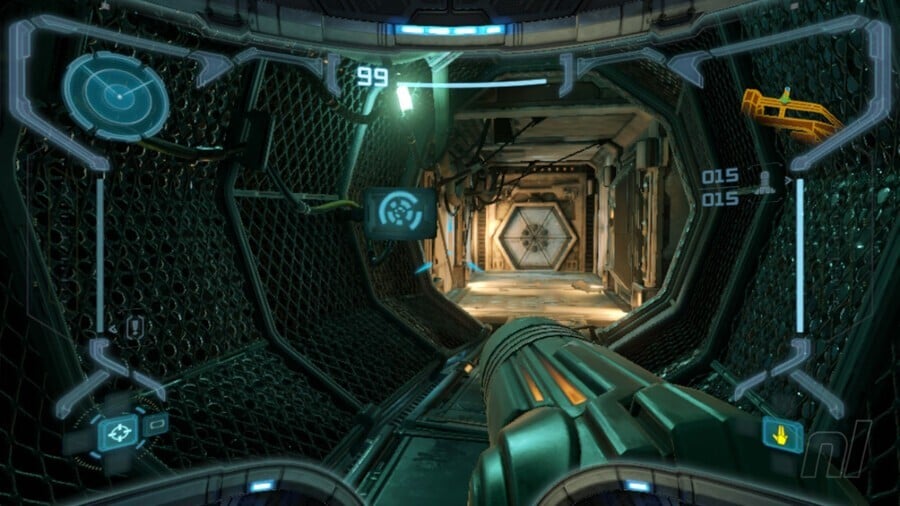
Hello, and welcome to our full walkthrough for Metroid Prime Remastered. We'll be kicking off with the 'prologue' section, which takes place on the Space Pirate Frigate Orpheon.
There won't be any key items or upgrades to find here (in fact, you'll lose most of your abilities by the end of it), but there are several logbook entries that you can easily miss if you're not careful. Most of all, this section is perfect for introducing you to the game's core mechanics, including the Charge Beam, Missiles, Morph Ball, and Grapple Beam.
Subscribe to Nintendo Life on YouTube844k
So let's get cracking!
On this page: Metroid Prime Remastered - Prologue Walkthrough: Space Pirate Frigate
Metroid Prime Remastered - Prologue Walkthrough: Space Pirate Frigate
After landing on the frigate via your trusty ship, you'll see four lights surrounding a blue force field, two on each side. Lock on to each of these and shoot them once to disable the force field.
You'll see a panel a bit further on. Scan this to activate the next set of lights. This time there are six; three on each side. Again, lock on to each one and shoot.
Hop up the ledge and move around to the left, following the path until you come to a door. Head on through and continue along the straight corridor. Continue through the next door.
In this next corridor, scan the panel to the left to activate the airlock. Once the locked door on the far end activates, shoot it and head on through, then continue through the next corridor.

Scan Entry - Parasite
In the next room, you'll see a huge, ugly, flaming corpse in the center, which you can ignore if you wish. As you move to the right, you'll find a couple of Parasites munching on a fallen Space Pirate. This is your first logbook entry of the game, so scan one of the Parasites before they flee.
Shoot the wounded Space Pirate and head through the door. Destroy the rubble blocking your path with a charged Power Beam shot.
Scan Entry - Map Station
The next room is known as the Map Facility, and a cutscene will trigger upon entering. You'll see a bunch of parasites skirting through a small opening to the right. Activate your Morph Ball and follow them through to find the Map Station. Scan this to add it to your logbook, then step into the hologram to download the map.
Head back the way you came and turn right. Shoot the door and continue through.
Scan the panel to power up the elevator, then move into the hologram to activate it. At the bottom, you'll come to a corridor containing a Morph Ball tunnel at the end. Electricity periodically flashes in front of the opening, so watch your timing to avoid damage. Head through the tunnel and shoot the door at the end.
Scan Entry - Small Energy
In the next room, two wounded Space Pirates will fire at you; one slumped against the wall and the other stumbling around just behind (don't worry too much about scanning these; as they're severely wounded, they won't count towards your logbook). Whether you take damage here or not, the second Space Pirate will drop a Small Energy orb. Scan this to add it to your logbook.
Head through the door at the back of the room.
Scan Entry - Auto Turret
In the next room, you'll hear an Auto Turret wake up just around the corner. Peek around and open up your scan visor to add the enemy to your logbook. If you're super quiet, it probably won't notice you.
You'll need to use your missiles here to defeat this thing, so tap 'R' to fire and it should blow up in one hit.
Scan Entry - Small Missile Ammo
Since you've used up one of your missiles to defeat the Auto Turret, it's likely the enemy will drop a Small Missile Ammo pickup. Scan this to add it to your logbook.
Scan Entry - Pirate Data #1
You'll enter another large room. Before you do anything else, whip out your scan visor. Just ahead is a red icon indicating a piece of Pirate Data that can be added to your logbook.
Move around to the left and shoot the Auto Turret above with your missile. Head forwards, scan the elevator panel, and take it up to the next level. Here, you'll come across more wounded Space Pirates; four of them, in fact. Dispatch them and continue through to the next corridor. There's nothing of note here so just move through into the next room.
Scan the panel to the right to activate the elevator, and mind the Auto Turret. Ride the elevator down, but be careful as you exit. A Space Pirate will drop down, so deal with this fellow swiftly. Scan the panel in front of you; this will activate a hologram in the center of the room. You'll need to turn into the Morph Ball to slot into the hologram and open the vast door ahead.
Scan Entry - Save Station
The next room contains two Auto Turrets above you. Fire missiles to take them down, then scan the panel to the right. Another Morph Ball slot will activate to open the door ahead, but before you go through, head through the door to your left. This leads to the game's first Save Station, so scan this to add it to your logbook. Now head back into the room and through the vast door leading to the game's first boss.
Scan Entry - Parasite Queen
After the cutscene concludes, open your scan visor immediately and scan the Parasite Queen. This will take a bit longer than normal scans, so keep on the move to avoid any incoming attacks.
If the boss is causing you trouble, check out our dedicated guide on How To Beat The Parasite Queen.