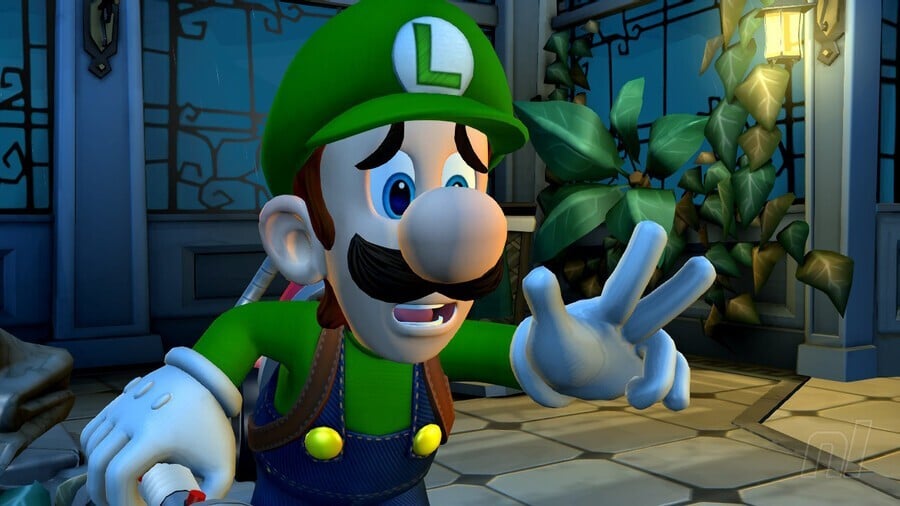
Welcome to our Luigi's Mansion 2 HD walkthrough guide series! Here we'll give you a 100% guided tour of the multiple haunted mansions on offer in Luigi's second spooky offering. With step-by-step details on how to progress through each area, alongside full guides for All Boo Locations and All Gem Locations, this is your one-stop shop for this remastered version of the game.
On this page: Luigi's Mansion 2 HD Walkthrough Guide: B-4 - Pool Party
Subscribe to Nintendo Life on YouTube844k
Luigi's Mansion 2 HD Walkthrough Guide: B-4 - Pool Party
First things first and we need to make our way from Haunted Towers Entrance to the Rooftop Pool. Head from the entrance into the courtyard where you'll be confronted by two large plants.
Now go left and through Tower Lobby. Upstairs we enter the plant nursery to find a new plant growing from the floor. We need to fill the wooden bucket in the room with water so let's make sure to crank the water valves, one in the nursery and the other on the stairs up.
Once you've done this you can fill the bucket and pour it onto the plant to open a route to the next floor and the very creepy rumpus room.
Haunted Towers Gem #9
Before moving on, you can go upstairs to the Skybridge above the tower lobby. Here there is a row of hanging plant enemies, three in total. Kill them all, baiting their attack then dodging and sucking them up. Once all are gone you'll get a gem for your trouble.
Haunted Towers Gem #10
In the rumpus room you can head over to the right of the room to use dark-light on the patch of wall near the ceiling, as shown below. Then interact with the toy building in the centre, the one with its light switched on. Looking through here you can see that the blue jack-in-box is moving. So let's open it.
You can also nab this area's gem by having the doll's head follow you around in a circle in an anti-clockwise direction will have it fly off to reveal a shiny prize. Wowee!
Now take on the five greenies here to clear out this room and move on to the family room. There's a gold dog bone in the sink here and an invisible chest full of cash right beside it.
Boo - Boo.B.Trap
Move through the family room now and use the dark-light device on the wall to reveal a picture frame. Interact with this to reveal Boo.B.Trap awaiting your punishment.
Haunted Towers Gem #11
In the solarium, out the left door of the family room, now and there's a cord to pull at the bottom of the stairs to have them unfold properly. There's also a hidden chest on the table to reveal with your dark-light to nab another gem.
Head upstairs and grab some hearts from the chest on the left. Now peek into the room here and you'll see there are three blues, so let's move into the west bedroom to deal with them. Here you will need to vacuum the ceiling fan to reveal three beds.
Now pull the blankets off each bed to reveal a blue. The beds will switch places as you go, but it's not too hard to see which one still has a ghost hiding within. Once done take the key and open the door to the west hall.
Move through the hall via the only currently open door to the crow's nest. You can peek into the west wing through a gap in the wall here and then keep moving around, avoiding the birds as you go, to the conservatory.
Haunted Towers Gem #12
In the conservatory we have a piano in the centre surrounded by balloon plants. The piano does nothing right now so let's ride up to the first floor using a balloon and into the right to play a quick treasure game for a chest full of cash and a gem!
Head left now and you'll find the door back out to the crow's nest. Watch the floor here as you can fall through, then head outside and dark-light the key portrait to nab our prize. Now let's head back to the west hall - just straight back where we came from - to open the locked door here with our new key.
As soon as we enter the west bathroom we've got a bunch of greenies, a slammer, and a new purple ghost to deal with. The purple will suck you into it and split into smaller versions of itself when attacked, so it's best to give it space and tackle it last.
Haunted Towers Gem #13
Now pull on the toilet paper to the left of the room to nab a sneaky gem!
Interact with the poolside chair to get transported, rather roughly, up to the secret rooftop pool area. In this area you'll need to use your dark-light in the pool to reveal a missing toad statue on the top left side.
Once you've done this you'll trigger a cutscene where we get to see the special key we are after, but we'll need to fight a few purple ghosts first.
This fight requires you to watch the water for ghost movement so that you know where to deploy your strobulb. Once you've taken the initial ghoul out, two more will attack. Dispose of these and the key is yours. Oh. Well, at least it was. A ghost dog has just shown up and chucked it out the window.
Time to head back to the bunker for now...


Comments 0
Wow, no comments yet... why not be the first?
Leave A Comment
Hold on there, you need to login to post a comment...