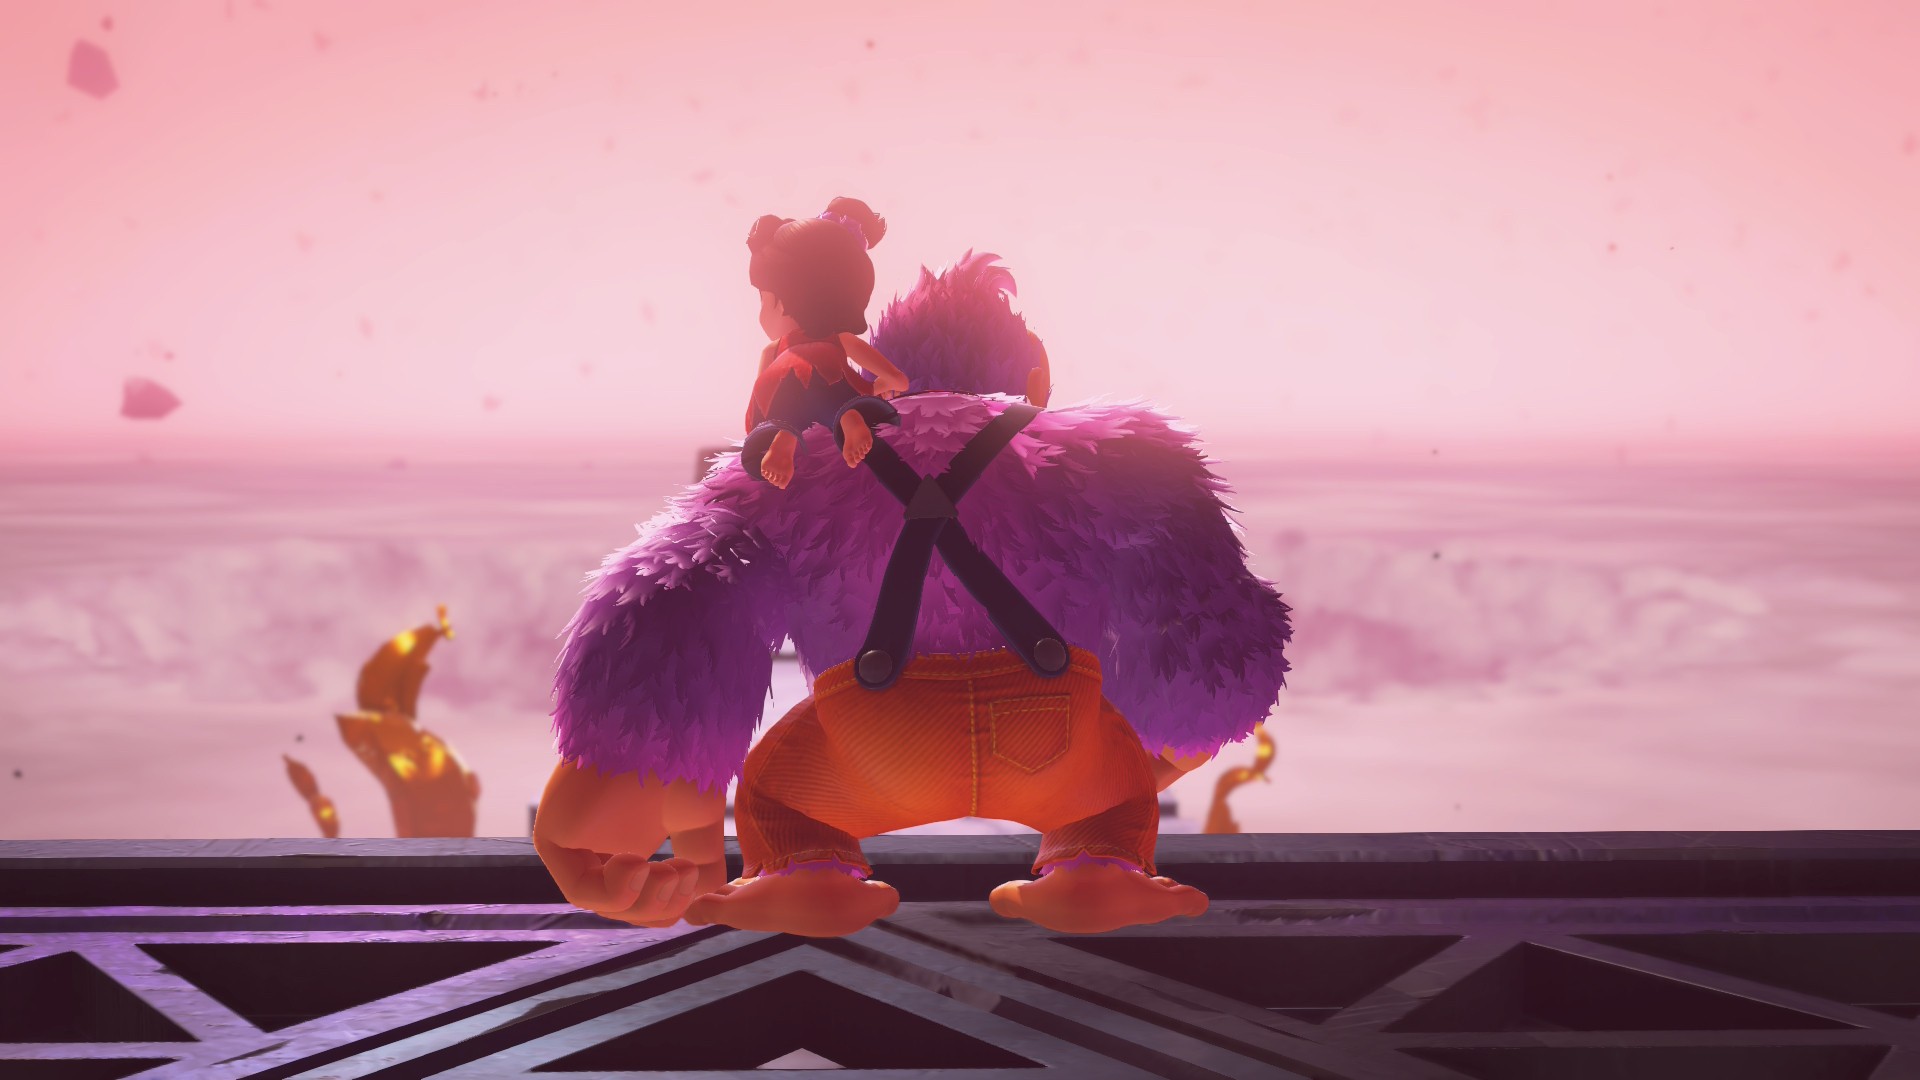
DK's face-off against Void Kong hops between multiple layers, but you'll be starting (and finishing) the brawl right here in The Junction.
There's a lot to keep track of at once in this fight, so we've laid out the best way to beat Void Kong in the guide below.
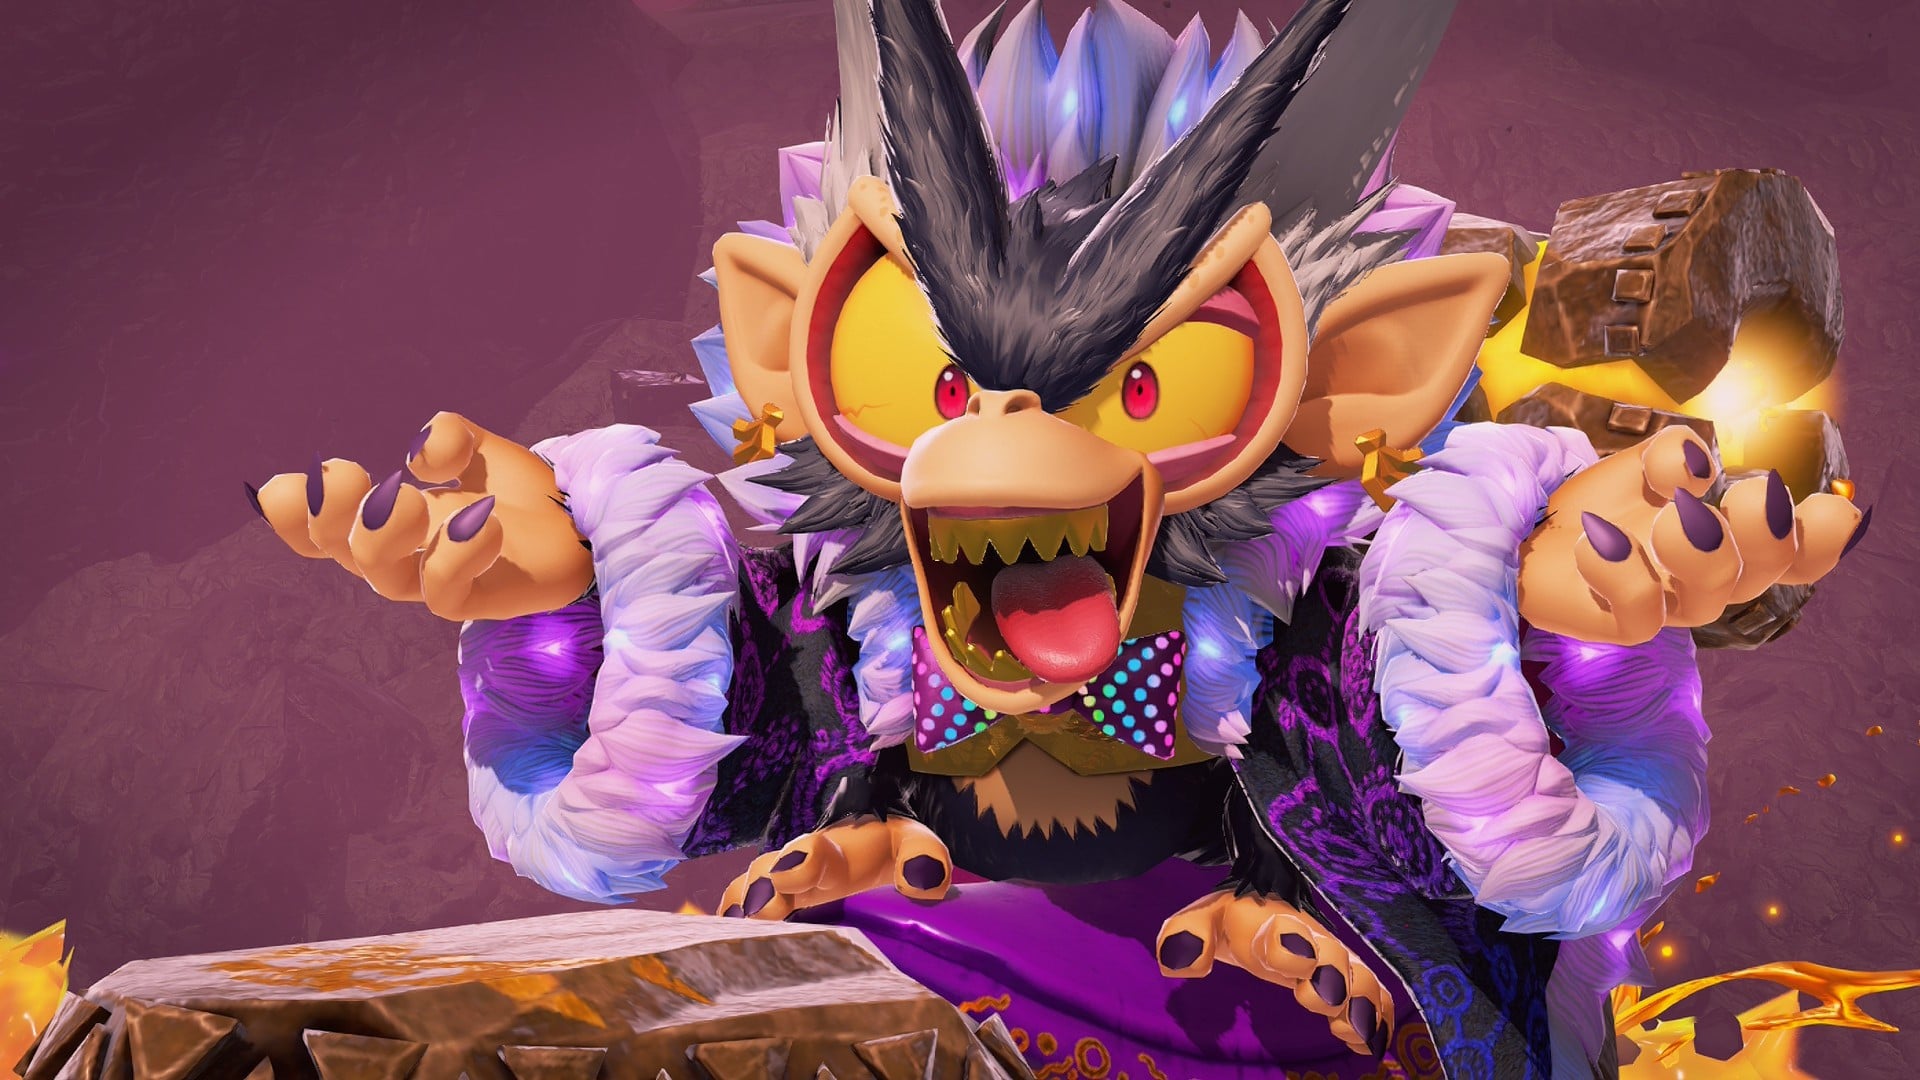
Donkey Kong Bananza: Void Kong Walkthrough
We've broken the following walkthrough into three phases, each of which takes place in a different layer. So, head over to that Warp Gong and let's get into it.
Phase 1 - Hilltop Layer
Follow Void Kong into the Warp Gong and head to the Hilltop Layer to start the fight.
Subscribe to Nintendo Life on YouTube844k
Void comes out of the gate swinging, and will quickly move around the map while firing projectiles at you. Keep an eye on his movements and use jumps/rolls to quickly cover ground and land a hit on him. You'll only get one punch in before he flees to a different spot.
Repeat this process around the map, keeping an eye on the blast indicators on the floor which pinpoint Void's incoming attacks. When you chip him down to half of his health, he'll flee back to the Warp Gong — and you should follow!
Phase 2 - Lagoon Layer
The next face-off takes place just one level up in the Lagoon Layer. This phase follows a very similar pattern to the once which came before, but with the added obstacle of poison walls. Be sure to punch through the mud sections of these oncoming waves to stay healthy.
Keep chipping away at Void's health whenever you can, and he'll soon flee to the third and final layer. Once again, hop over to the Warp Gong and stay in pursuit.
Phase 3 - The Junction
This final phase heads back to The Junction, so emerge on SL700 and brace for attack.
To start, follow Void across the main bridge in the layer, towards the digging machine. He'll throw a series of different walls in your direction, which you can quickly punch through with Kong Bananza to keep up the chase. You'll want to rip a chunk off the Ice wall to get through the following Lava wall — something to keep in mind.
Once you make it to the end, follow Void onto the machine and set about destroying the three Terravoiders that make up his shield. The first of these is easily accessed through a handful of enemies, but you'll have to break through the rock and lava walls to access the second and third, using an Ice chunk again to bypass the latter.
With the force field down, ignore all other enemies and make straight for Void. Use Kong Bananza to quickly break through the regenerating walls that surround him and deal the finishing blow.
That's the last we'll see of Void... for now. For assistance with other baddies, be sure to check out our full Boss Guide hub, or swing over to our full Donkey Kong Bananza Walkthrough for even more helpful advice.


Comments 0
Wow, no comments yet... why not be the first?
Leave A Comment
Hold on there, you need to login to post a comment...