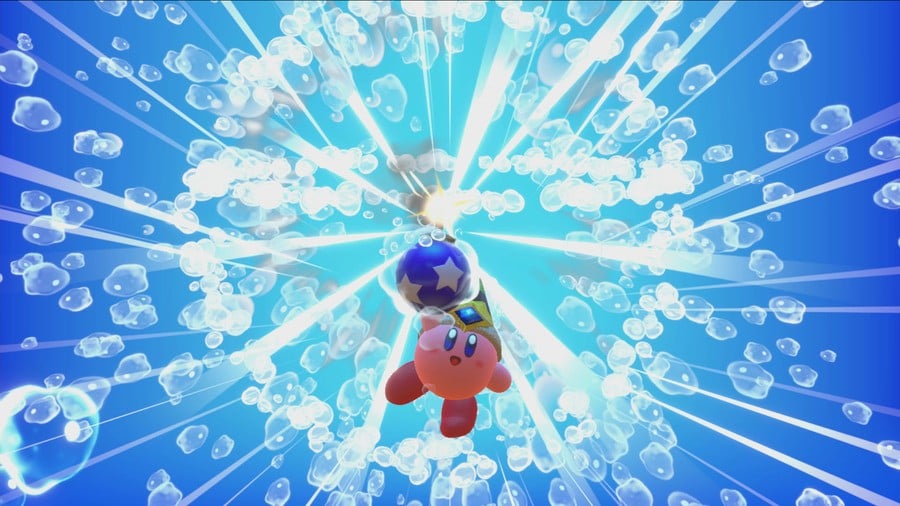
Special picture pieces are the quintessential collectible in Kirby Star Allies just like the Moons in Super Mario Odyssey. Well, they're not quite as tricky to find as the latter, and there are nowhere near as many, but you get the picture (geddit?!).
Most involve mastering a specific Kirby ability or combination, and for the most part you'll find just what you need in each level. We've tried to point you toward the nearest friend or ability you'll need, but you may want to double check each guide before entering the level to prepare yourself. Unless you hate spoilers, in which case ignore that!
We've broken down exactly how to grab each one of them by world and level, so bookmark this and you can refer back to it when you're struggling. Oh, and most importantly, have fun!
Dream Land Special Picture Pieces
Green Gardens
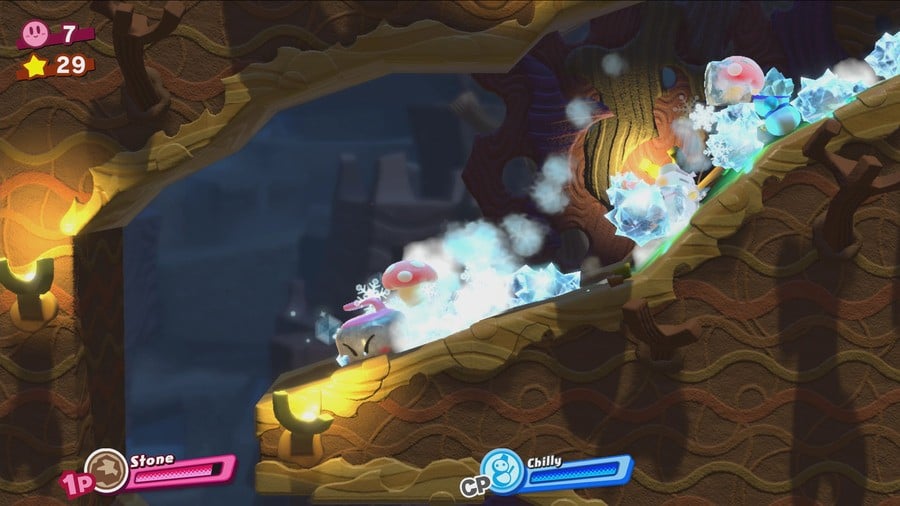
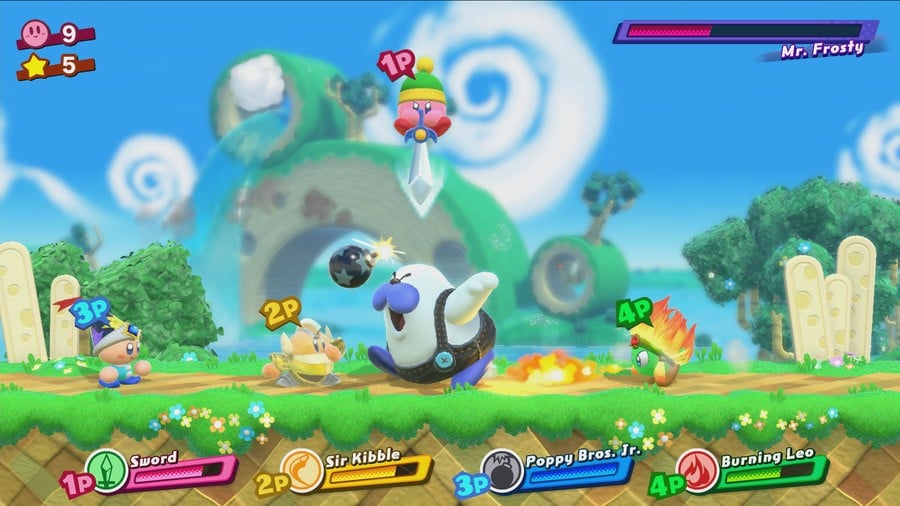
In the fourth (and final) section of the Green Gardens, defeat Mr. Frosty and befriend or copy his Ice ability. Follow the path to the right and drop down a set of ladders. You should see a set of burning logs to your left. Use ice attacks to destroy them and keep heading left.
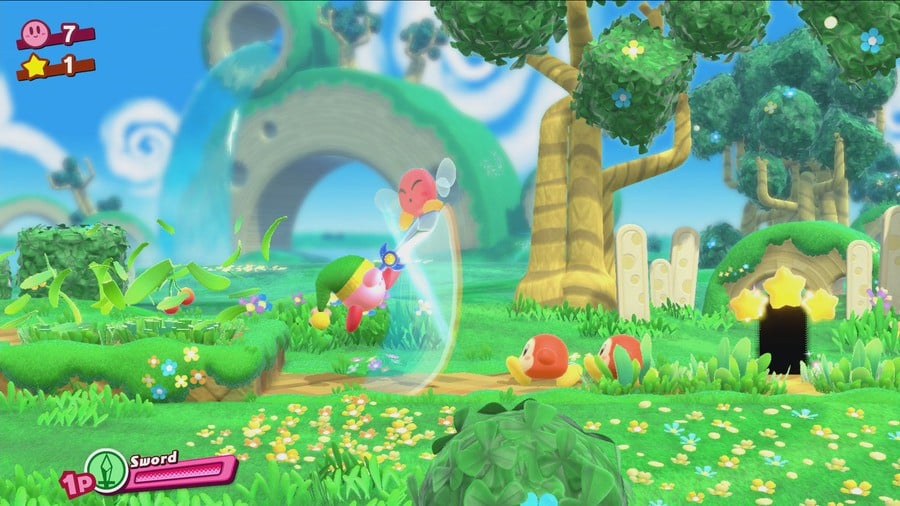
Now, simply cut or burn the grass in this area to find the special picture piece.
Donut Dome
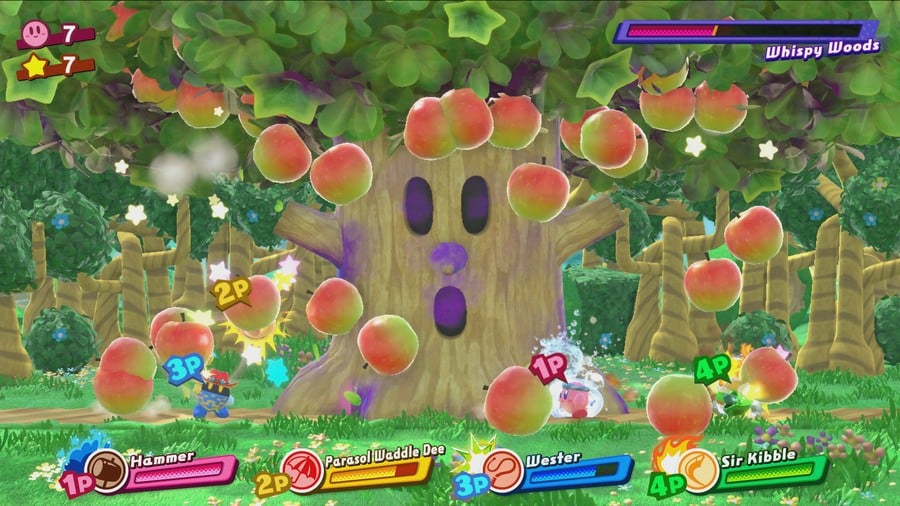
Right before you leave the fourth area of the Donut Dome, you should see two enemies with flaming shields below. Use water or ice attacks to destroy them and hit the switch to their left. A path to the special picture piece will appear to your left.
Honey Hill
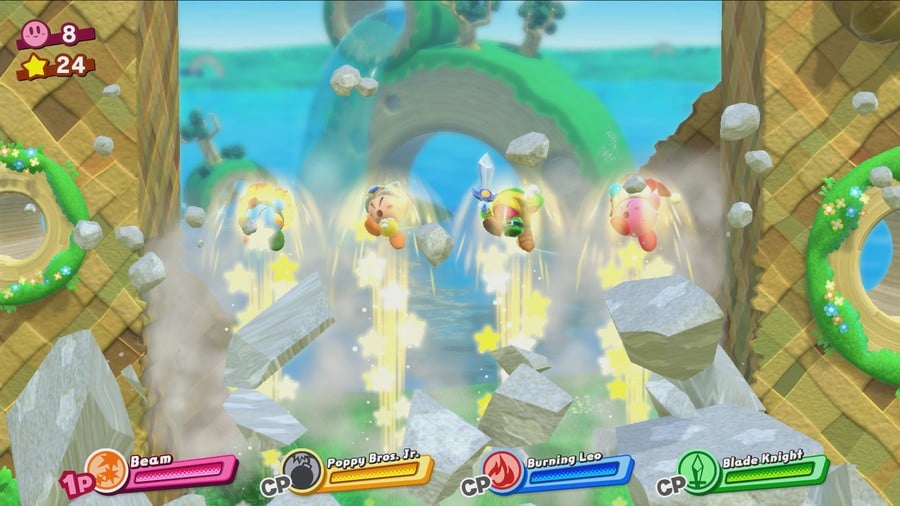
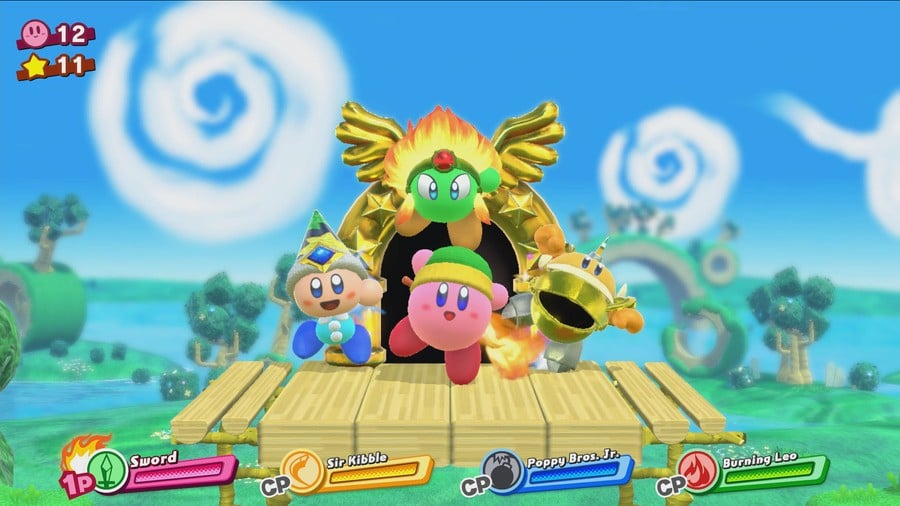
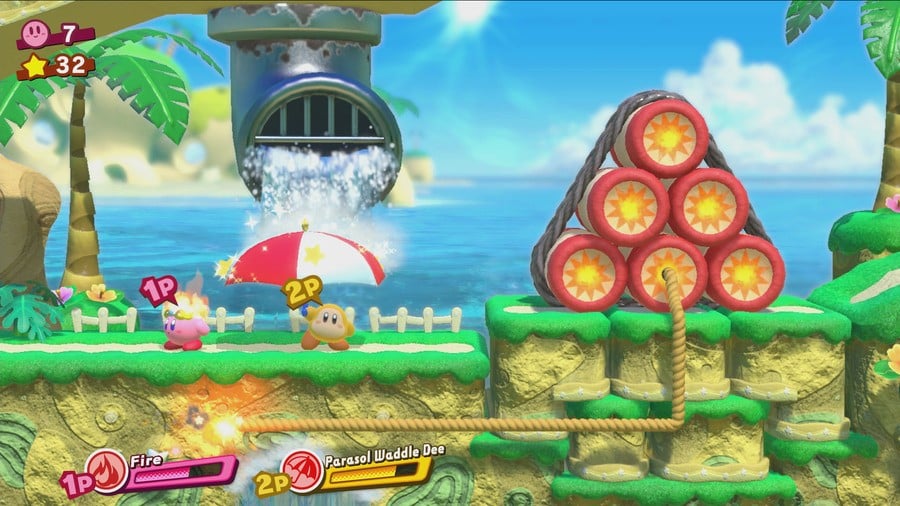
In the fifth (and final) area of Honey Hill, you'll reach a set of four cannons. Use a fire attack (you can befriend or copy the Fire ability in the area just to the left of the cannons) to light the fuse and hop in the cannons with your team. You'll need a full team of four friends to smash through the stone blocks above, so bear that in mind if you can't figure out why it isn't working.
Once you reach the top, you'll grab the special picture piece automatically.
Extra Eclair
To access the level 'Extra Eclair', you first have to hit the big switch in Honey Hill. Check out our big switch locations guide if you're struggling!
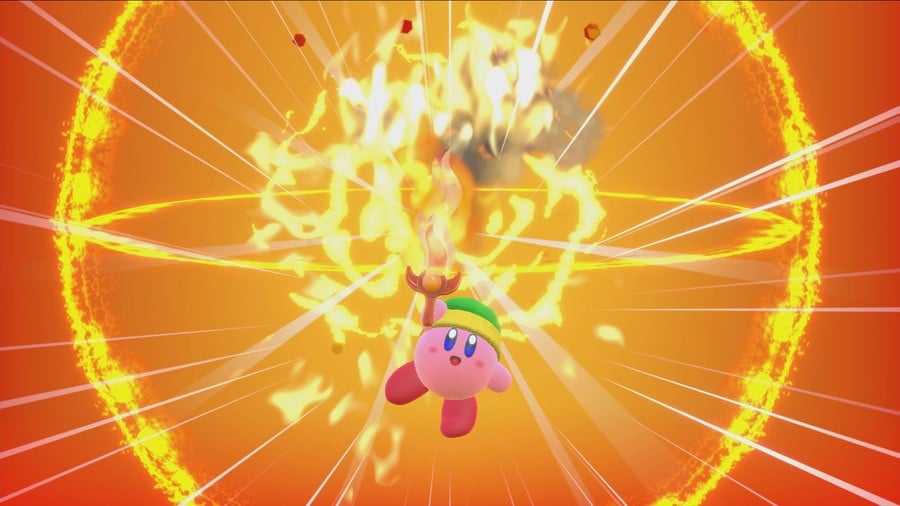
At the exit of the third section, fly left until you reach a platform floating in the sky. Either copy the sword wielder's ability or befriend it, then hit the acorn to its left. Drop down to the ground and you'll find that it dropped a key. Grab it, travel all the way to the right, and unlock the door below the exit.
Head right once again and have your whole team jump onto the switches. You'll need a team of four to complete this section. Once you've pulled the switches, a secret door will be revealed. Head through it.
In this section, either befriend Burning Leo or copy its Fire ability, light the fuse to the right, then quickly battle your way up the ladders. Drop down the second set of ladders on your right and drop into a cannon before the fuse hits it. You'll need a full team of four to complete this section. If done correctly, the cannons will fire you all the way to the exit. Open the chest before you leave to grab the special picture piece.
Fruity Forest
In the first section of this level, battle your way up the hill (this fight is much easier if you grab the lollipop along the way!). At the top, you'll find an area you can drop into that contains a chest. Open it to grab the special picture piece.
Clash at Castle Dedede
In the second area, defeat Bugsy and either befriend it or copy its ability. Then, keep moving right until you come across a fight sequence. Glance up and you should see two metal boxes on platforms to the right and left. Use Bugsy's ability to throw one of your friends at the boxes to grab the special picture piece.
Planet Popstar Special Picture Pieces
Friendly Field
Successfully jump all gaps during the fourth and fifth sections while rolling with your friends to grab this special picture piece right at the exit gate of Friendly Field.
Reef Resort
You'll find this special picture piece in a pool of water to the left of the exit gate in the fifth (and final) section of Reef Resort.
Inside Islands
In the second section of Inside Islands, travel upwards until you come across three spikes to the left. Use the Spider ability to Friend Bounce a friend past them, then hit the bomb block to reveal a chest. Open it to find the special picture piece.
Echo's Edge
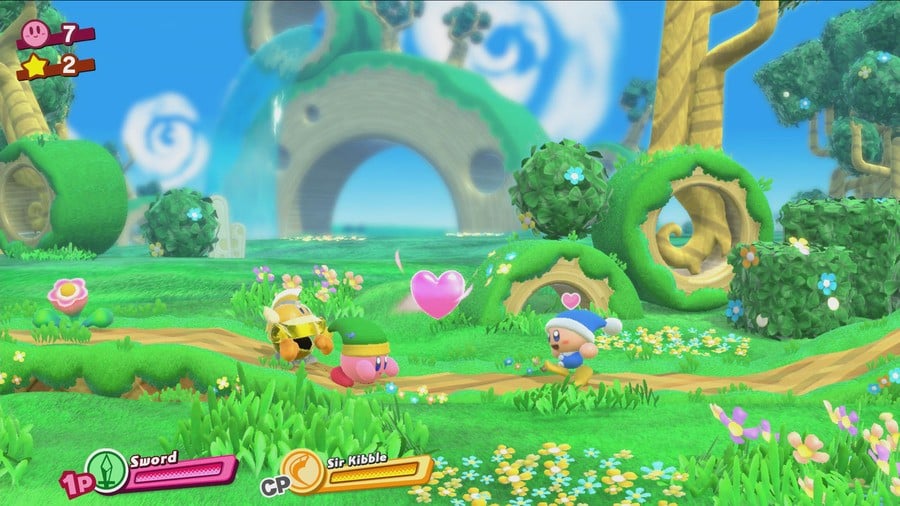
In the fifth area of Echo's Ridge - during the second section where you create a Friend Bridge - let the key carrying enemy onto the bridge, then raise it so the carrier hits the top left barrier. This will force it to change direction. Then, left the Friend Bridge to its peak and the carrier will unlock the door to your right. Go through it to find the special picture piece.
Nature's Navel
Right at the end of Nature's Navel, fly towards the top left of the screen to find a set of ladders. Climb them to the very top to find a spinning blade with a bunch of stars and a special picture piece circling it. Grab it.
Duplex Dream
During the fourth section of Duplex Dream, keep an eye out beneath the moving lava platforms until you see a series of ice blocks. Use fire attacks to melt them and you'll find a secret area. Use Whip and Fire to break the top ice block and release the key, then drop down and whip the key itself (not the ice block!) to grab it. Open the door to your left and you'll find the special picture piece inside.
Sacred Square
During the fourth section of Sacred Square, follow the trail of yellow stars to the top and steal the fire ability from the enemy on the floating platform. Fly right and break the ice blocks with fire attacks. Head into the tunnel and you'll find the secret picture piece inside.
Jambastion Special Picture Pieces
Gatehouse Road
The Gatehouse Road special picture piece is hidden inside a star block found during the third section of the level. Just break all star blocks until you find it.
Eastern Wall
In the fifth section of the Eastern Wall, you'll come across a secret door hiding behind two stone blocks. If you grabbed Sumo from the previous fight with Bugsy, use it to throw a friend at the blocks to break them. If not, head right and grab the Beetle clone ability from the nearby enemy. That also has the ability to throw your friends.
In the secret area, jump on the platform directly above where you begin and throw a friend at the stone block ahead then use an electric attack (you can grab the appropriate friend or clone ability in the top left of this area) on the switch below to open a gate to the special picture piece.
Western Wall
In the third section of the Western Wall, you'll find yourself in a fight sequence on moving platforms. Keep an eye out for the switches as you need to try and hit all of them to get the special picture piece. If you're playing solo, your CPU ally usually does a great job of hitting all of their switches so just concentrate on yours and you'll get it.
Sector B
To access Sector B, you first need to hit the big switch in the Western Wall.
You'll find the special picture piece in the fourth section of Sector B, right at the end of the 'Friend Train' section. There are lots of jumps during this section, so try and follow the stars and make all of them. It might be that you end up at a different ending place if you fail an important jump.
Inner Sanctum
In the first section of this area, grab the bomb ability and proceed until you find a secret area just below the ground. You'll need to use right analog and B to throw a bomb into the area and kill the enemy to access it.
Inside, befriend Plugg and combine your abilities to add electricity to your bomb. Then, again, use right analog and B to throw your bomb underneath the plug on your right. Electricity will shoot up, activate the plug, and you'll get the special picture piece.
Heavenly Hall
To access Heavenly Hall, you have to first find and hit the big switch in the Inner Sanctum.
You'll find the special picture piece in Heavenly Hall towards the end of the level, during the 'Friend Star' section. Right after you've left the first friend star area (or, in other words, you've gone through the first door since you got the friend star) battle your way through the enemies and keep your eyes peeled for the special picture piece. You need to grab it quickly before it falls out of the level.
Sector C
During the third section of Sector C, you'll face a mighty battle on top of a series of moving platforms. Keep an eye on the bottom one until you see a door to a secret area below. Enter it on the right hand side.
Inside this area, combine electric and water attacks to destroy the moving electric blades then open the chest to find the special picture piece.
Starlight Heroes Special Picture Pieces
Planet Earthfall
In the third section of Planet Earthfell, grab the 'Cleaning' ability from one of the broom-wielding enemies and clear all of the leaves you come across until you find a door to a secret area. Head inside then use your broom to activate the fan. This will trigger a section in which fans fly from the right of the screen to the left, and you have to hit every single one of them to grab the special picture piece in the chest.
The best way to approach this section is to try and hit the fans when they're on the right, that way if you miss you still have time to try and hit them again. If you feel, just leave the secret area and re-enter to try again.
Falluna Moon
In the first area of Falluna Moon, you'll find a pair of ladders leading down to a secret area. Head inside, grab the key, and have your friends take care of all enemies on your journey right. You'll find a locked door. Open it and you'll find the special picture piece.
Planet Misteen
In the second area of Planet Misteen, defeat Bonkers and either befriend him or copy his ability. Move right until you find Plugg and, again, copy its ability or befriend it. Now, combine the two to get an electric hammer. Whack the switch Plugg was near and you'll find a secret area directly beneath you is now accessible. Go inside.
Mareen Moon
The Mareen Moon special picture piece is super easy! Simply travel right until you find a bed of water, swim past the floating spikes, then swim up and enter the door to the secret area. Inside, swim down and then let the water on the right float you upwards. Along the way to the top, hit every single bomb block to access the area right at the top where the special picture piece waits.
Extra Planet Alpha
Extra Planet Alpha is a curious little level. You can alter each of the environments to access different parts of the level by heading through secret doors.
At a certain point in the first area, you'll find a body of water with an electric switch in it. Find a hammer and electric ability and change the level until the body of water is frozen. Then, grab the fire ability and melt the ice. Use hammer and electric on the switch and enter the secret area. Here you'll find the special picture piece in a chest.
Planet Caverna
This special picture piece is a little complicated. You need the hammer, artist, and sumo abilities to access it, and all of these are dotted around the level outside of the secret areas. Once you have all that you need, travel to the bottom right of the level, smash the switch with the hammer, then use sumo to friend throw a friend through the boulders. Finally, use the artist ability to paint the topmost canvas and get the special picture piece.
Grott Moon
In the third area of Grott Moon, right after the section with the two huge bombs to drop and explode, you'll come across a chain that you have to break to continue the level downwards. Instead of heading there right now, head right instead and you should see a breakable section of the wall. Smash through it, slice the bomb free, then set it alight to find the special picture piece.
Planet Frostak
Keep an eye above you during the third section of this level, and you should see the special picture piece in an inaccessible area. To get to it, travel right, then upwards, then turn immediately left and use a bladed weapon and ice to break through a series of burning chains. That will cause the block with the special picture piece inside to drop. Head back down to the area where you were originally standing under it and you'll be able to grab it with ease.
Blizzno Moon
In the first area of Blizzno moon, ride the two platforms up to the very top. Then, instead of climbing up further, break two barrels to your right and enter the secret area. Here, just time your cannon shots correctly to hit the switch and you'll fly right into the special picture piece.
Extra Planet Beta
You'll find a secret area in the second section of Extra Planet Beta. Head inside and use a hammer to hit the first switch, then electric hammer for the second. This will open a passage to the secret picture piece.
Planet Towara
At the end of the fourth section of Planet Towara, you'll have to navigate a bunch of tricky platforms threatening to squish you. Keep a close eye as you travel upwards because you might miss the secret picture piece hiding behind a shielded enemy.
Gabbel Moon
In the first area of Gabbel Moon, keep an eye below the moving staircases. Beneath one of them you'll find a door to a secret area. Wait until the staircases have moved out of the way, drop down, and enter the secret area.
Glance right and you'll see a key carrier. This section is a race to the bottom, so fight your way down as quickly as you can then defeat the key carrier to grab the key. Then, open the locked door on your left to get the secret picture piece.
Star Lavadom
In the fifth section of Star Lavadom, you'll find yourself standing on a mountain that's being formed beneath you. As you make your way up it, keep an eye on the right hand side. Near the top, you'll find a special picture piece but you have to grab it quick, as a huge meteor lands on it shortly after it appears.
Sizzlai Moon
The first section of Sizzlai Moon involves travelling up a bunch of hills and flicking switches to progress. Keep an eye beneath you though, because you'll find a barrel. Hit the switch above this secret area, then travel back down the hill and you'll be able to get to it. Break the barrel and you'll find a secret area. Go inside it.
Here, grab the key and then just avoid the meteors until you reach the bottom. Open the locked door and grab the special picture piece inside.
Extra Planet Gamma
In the second section of Extra Planet Gamma, grab the key as you escape the lava and carry it to the end of the area. Here you'll find a locked door with a secret area inside. Unlock the door and head inside. Now, use ice or water attacks to break the series of logs and burning chains you come across. At the end, you'll find the special picture piece.
Bandana Waddle Dee particularly excels during this segment because of his ability to throw spears. If you can enter the Dream Fortress before attempting this, you'll have a much easier time.
Jambandra Base
During the fourth section of Jambandra Base, successfully hit the last switch with your friend roll to access a secret area. Inside, combine a bladed weapon with fire and fly upwards just to the left of the four cannons. Cut the bomb down with the bladed weapon and it will blow up, opening a passage below and to the left.
Head inside the passage and use a hammer to hit the switch, then head back upwards using the path to your left. Light the fuse and quickly leap into the cannons. You'll need four friends, but if done correctly you'll automatically collect the special picture piece as you're fired through the cannon sections.
The Divine Terminus
In the second area of The Divine Terminus, you'll come across a door to a secret area. Wait until the nearby moving blocks align so that you can get to it and head inside. Now, grab the key and climb all the way down the ladder and press the switch to your right. Wait patiently until the platform rises to the locked door and leap across. You'll have to time this correctly, as it's quite a difficult jump. Open the door and grab the special picture piece inside.
Extra Planet Delta
Extra Planet Delta is a little tricky to navigate, but finding the special picture piece isn't all that challenging. Basically, you'll keep returning to the fourth section of this level, where you have to trigger a switch to open a passage to a new doorway.
One of the times you return to this area, you'll climb a ladder and find an electric plug at the top. Use an electric attack to activate it then grab Burning Leo at the end and either use his ability or befriend him to light the fuse above you. This will blow up the barrels of dynamite above you and release three chests. The special picture piece is inside the middle chest.
What did you make of our Kirby Star Allies guide? Did we miss anything? Let us know in the comments section below...
This article is part of our Kirby Star Allies guide series, which covers Beginner's Tips and Hints for the game, Compatible amiibo And What They Unlock, the Special Picture Piece Locations, the Big Switch Locations, and a Dream Friends List.


Comments 2
ugh, I can't decide if I want to buy this or not
You forgot Sector A, it's in the second-to-last room in the top right after you beat all the enemies in case anyone else came here for that.
Show Comments
Leave A Comment
Hold on there, you need to login to post a comment...