Welcome to Nintendo Life's Pikmin 4 Doppelganger's Den walkthrough. In our Pikmin 4 guides, we'll be showing you All Treasure Locations, all Gear and Item Upgrades, all Oatchi Abilities, all Pikmin Type Locations, all Onion Upgrade and Flarlic locations, All Region Walkthroughs, All Dungeon Walkthroughs and more besides!
It's time to visit a Dream Home...
Dream Home Full Walkthrough & All Treasure Locations
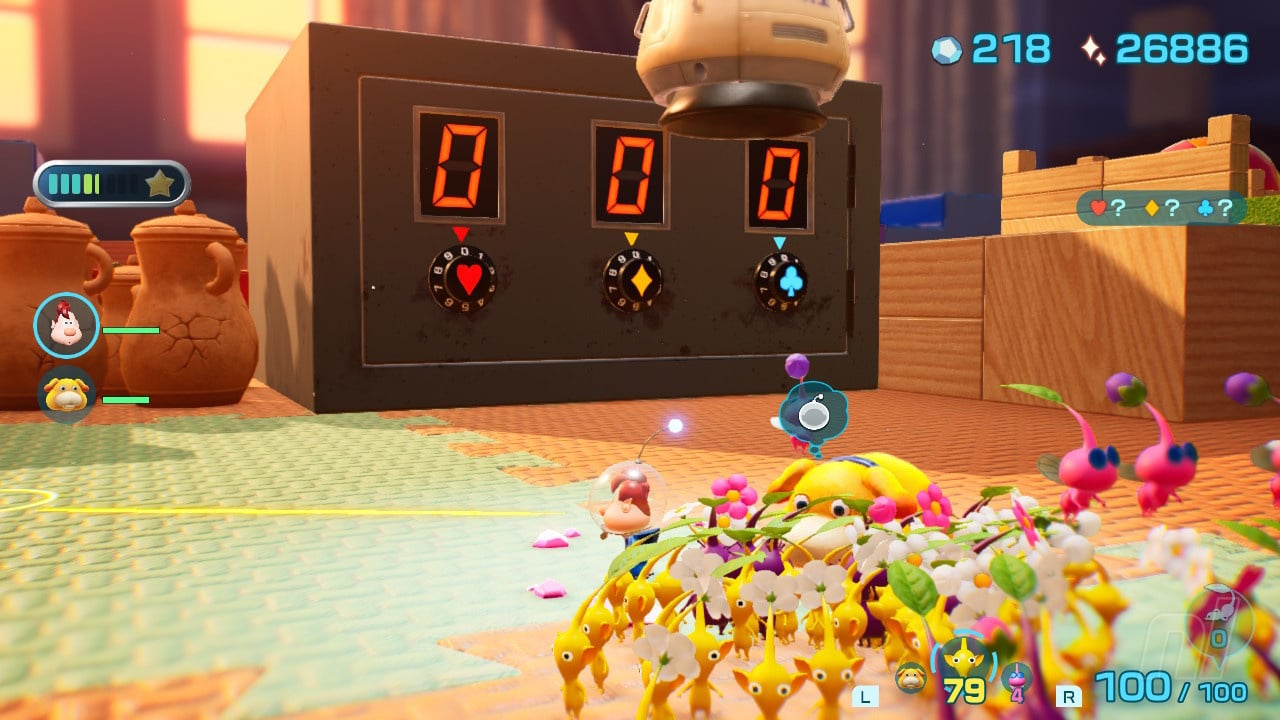
Sublevel 1
First thing you'll notice in this dungeon is that we've got a bunker a set of codes to find, just like back in Hero's Hideaway, so let's start exploring for the corresponding treasure pieces so we can get that great big door open.
Deity's Portrait
Smash the pots to the left of the bunker and beat the squishy foe then nab the DEITY'S PORTRAIT.
Leisure Car
Now let's excavate the small tunnel here and make our way through to grab the GOLD NUGGETS and the LEISURE CAR.
Money Emblem
There's also another MONEY EMBLEM here on a ledge so just angle a yellow Pikmin to reach it.

Condensed Sunshine
Now back at the Beagle lets move towards the large enemy we can see straight ahead and take it and a few smaller foes out to retrieve CONDENSED SUNSHINE. Grab the gold nuggets from the corner and then move around this lower area, breaking pots and taking out the small foe with the gold nugget on its back.
Fastening Item
Right in the corner beside this enemy you can also grab a FASTENING ITEM by smashing some pots up.
Divine Balloon
In the small area shown below, rebuild the clay wall and then send Oatchi through the pipe here to go up and fetch a huge BEACH BALL with his new Swallow ability.
With this done, let's now climb up the clay wall and there's a green enemy up here that we need Oatchi bash so we can kill it when it flips over. So, send 20 Pikmin to pull down the metal bridge then have Oatchi hop up through the tunnel where he got the beach ball and we can then rejoin him and kill this enemy.
Devil's Portrait
The coast is now clear for you to pick up the DEVIL'S PORTRAIT here, and use the Candypop Bud if you wish.
Space Spinner
There's a few more enemies on the other side of the bridge so let's deal with them and head on around here to grab a SPACE SPINNER.
Ok, let's now head back to the clay bridge area and make our way over the multiple jumping pads. To do this jump onto the third one, farthest away from the ramp, and it'll carry you all the way over to a new platform.
Work Emblem
There's a WORK EMBLEM to nab here before beating a few small enemies and pushing the paper bag down to make a shortcut. Also note the exit to the level is up here.
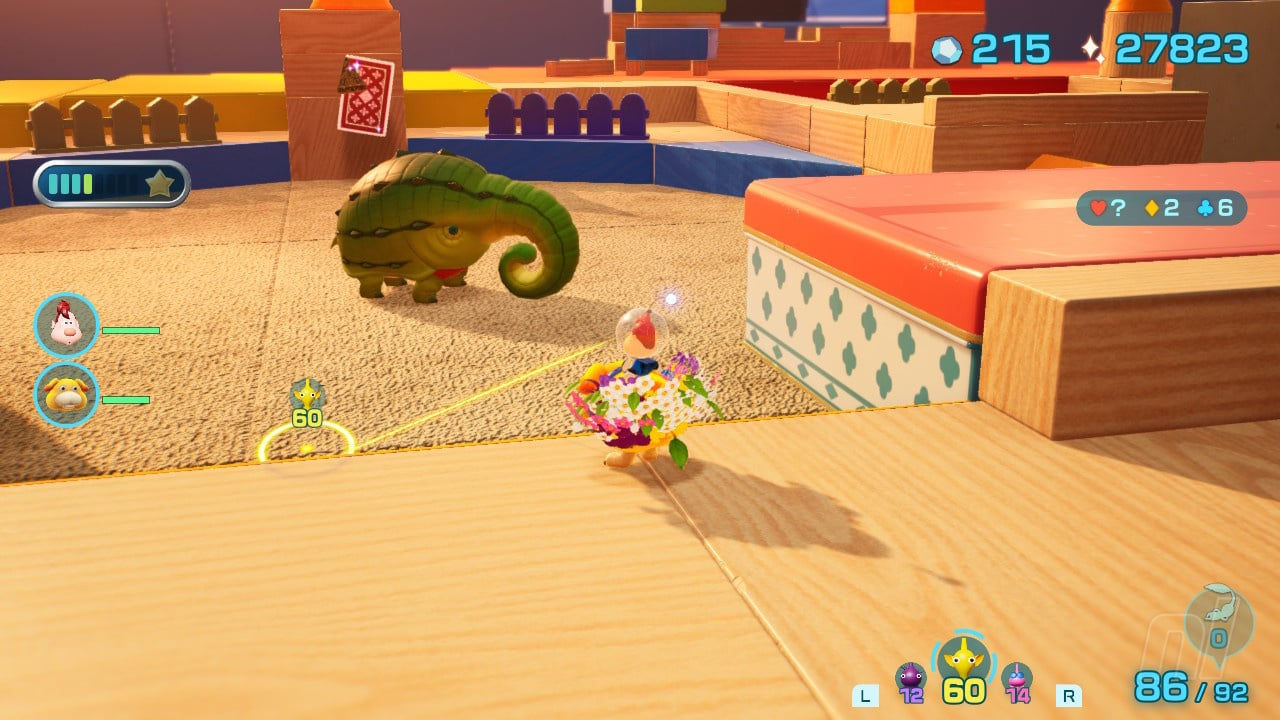
Now let's go beat the large creature down here. It looks tough but all we need do is smash it three times in a row with Oatchi's charge to overturn it and get at its weak spot! Once it's down we'll find our next castaway. It's Don Bergman!
Love Emblem
Now smash into the wooden post in the arena to grab a LOVE EMBLEM. With that we should now have our code to enter the bunker (5,2,6).
Blast Shield
There's also a BLAST SHIELD to collect down here so make sure to scoop it up too.
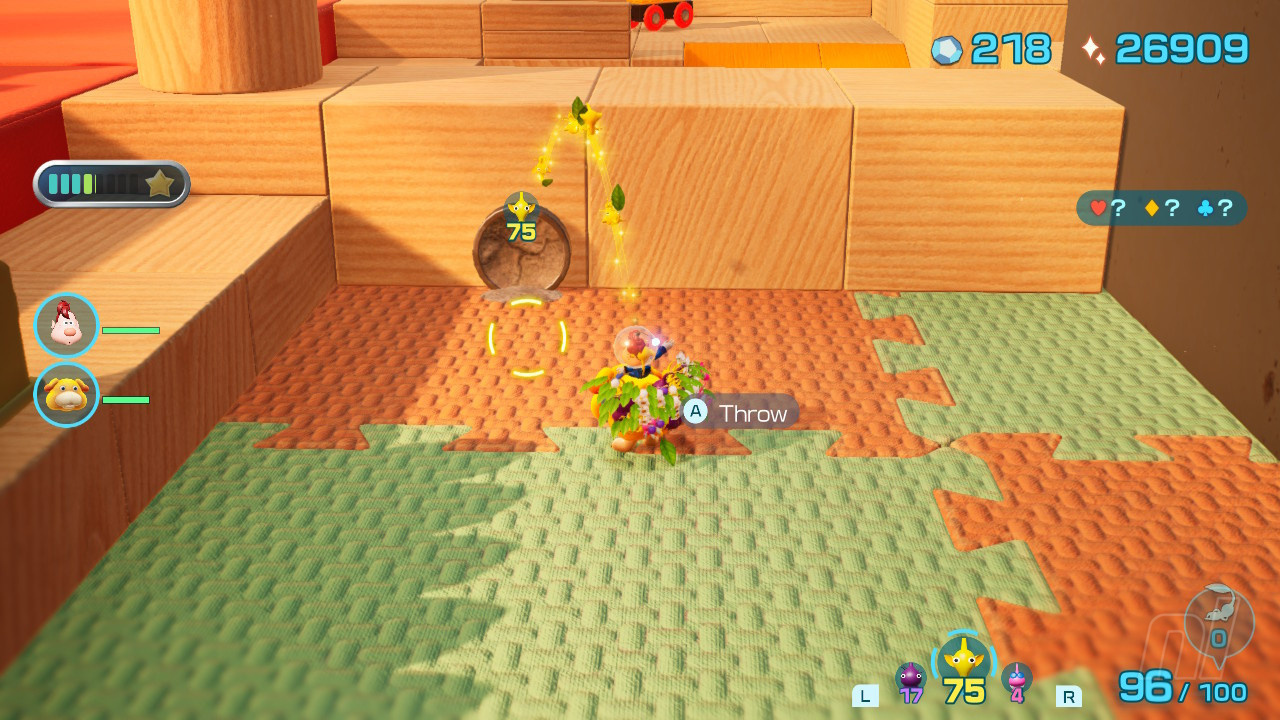
Flarlic Upgrade #11
Before we head into the bunker, let's finally head back up to the bridge area and hop onto the floating platforms here to grab another Flarlic Upgrade.
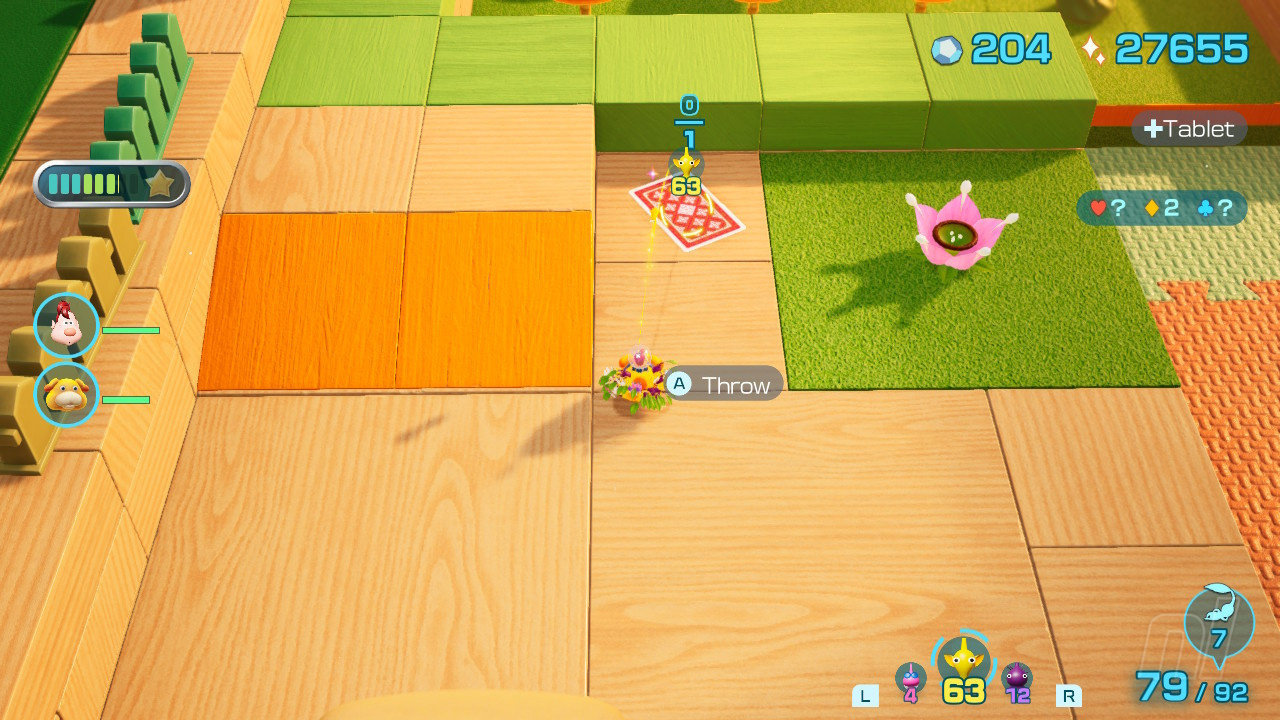
Captivation Goo
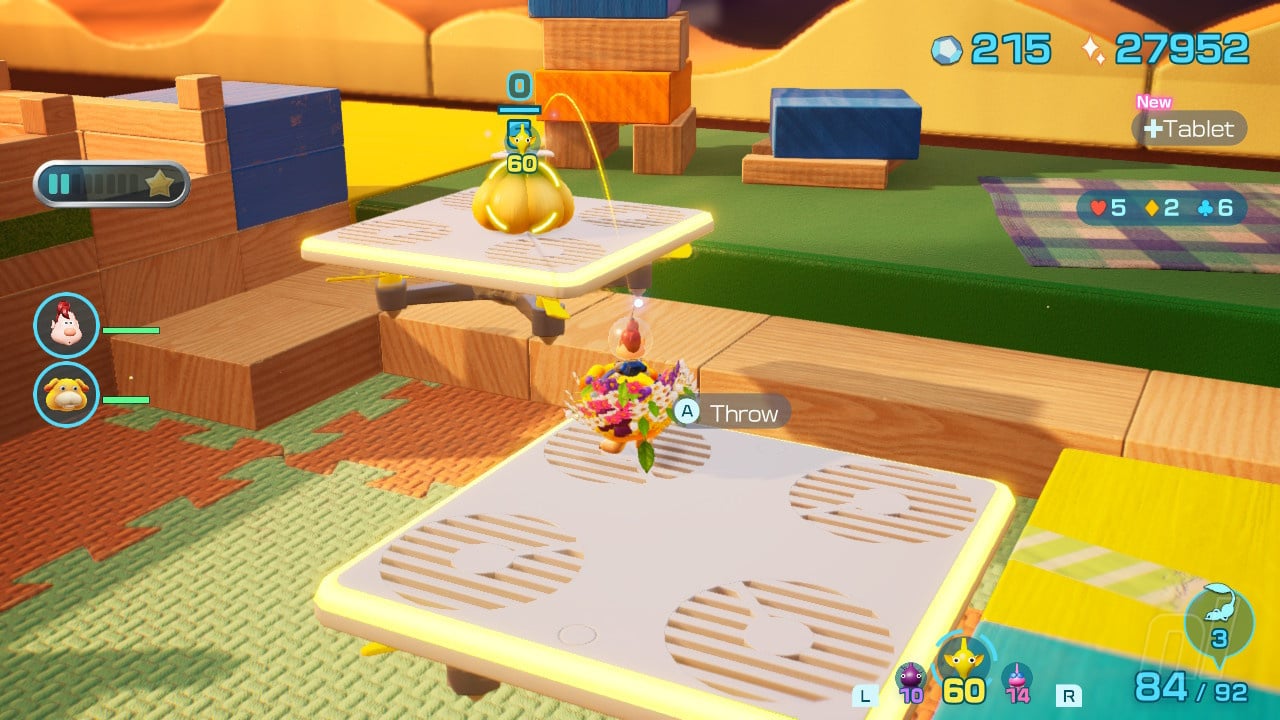
And finally, as you ride the platform right across, you'll find a CAPTIVATION GOO waiting to be discovered.
Jiggle-Jiggle
OK, let's go open the bunker to find a huge JIGGLE-JIGGLE!
Investigation Complete!
Make sure to check out our full Pikmin 4 Walkthrough Hub for more guides, hints and tips!


Comments 0
Wow, no comments yet... why not be the first?
Leave A Comment
Hold on there, you need to login to post a comment...