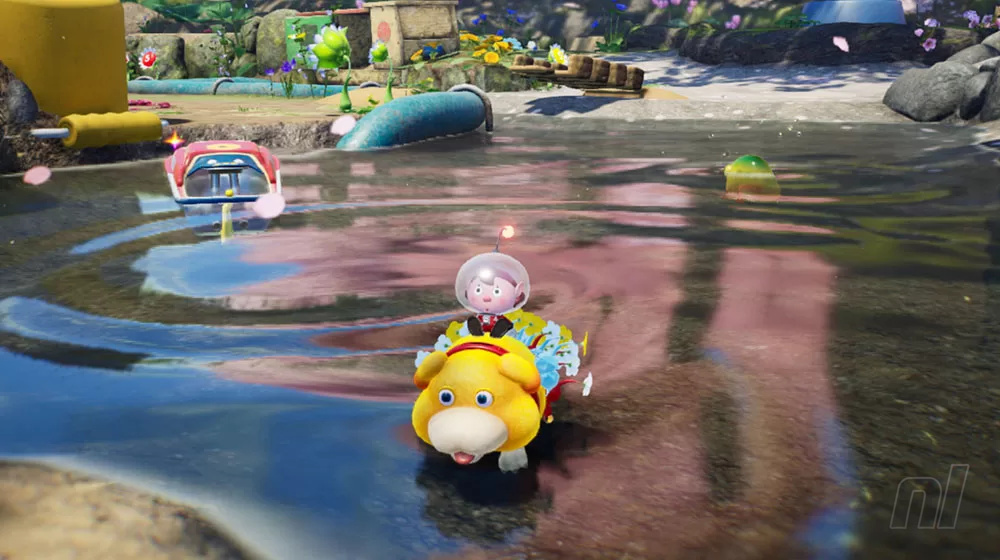
Welcome to Nintendo Life's Pikmin 4 Engulfed Castle walkthrough. In our Pikmin 4 guide series, we'll be showing you All Treasure Locations, all Gear and Item Upgrades, all Oatchi Abilities, all Pikmin Type Locations, all Onion Upgrade and Flarlic locations, All Region Walkthroughs, All Dungeon Walkthroughs and more besides!
Now, let's get stuck into Drafty Gallery.
Drafty Gallery Full Walkthrough & All Treasure Locations
Sublevel 1
Hoop Of Fortune
We start off this cavern in a small circular area with three treasures to collect and a few enemies to take out. let's start by destroying the wall on our right and then circle around to pick off the weak bird foes. Now, you're free to pick up the HOOP OF FORTUNE.
Spouse Alert
Then head up the ramp to send a few Pikmin to gather up the SPOUSE ALERT.
Memory Fragment (Top...Probably)
Finally, before jumping down the nearby entrance to Sublevel 2, there's a MEMORY FRAGMENT (TOP...PROBABLY) sat on a ledge in the corner. And that's your lot, nice and easy!
Sublevel 2
Tandem Trainer
A slightly bigger area awaits now and we'll start by heading to the left in order to take out a large enemy then grab the TANDEM TRAINER.
Sphere Of Support
Use your red Pikmin to take out any fire obstacles you come across down here, grab the GOLD NUGGETS and make your way over to the SPHERE OF SUPPORT. It's guarded by another large enemy so make sure to take it out first. You can then knock down the wall here to make a shortcut back to base.
Now we can make our way to the other wall to the left of the entrance to Sublevel 3 and demolish it to access the CANDYPOP BUD, which can change a Pikmin's colour! In this case, it'll change them to Ice Pikmin. Oh and remember that Candypop Buds have a limited number of uses before they disappear.
Back At The Beginning Track
We can now jump into the nearby airstream to travel up to some platforms where you'll find some nectar eggs and the BACK AT THE BEGINNING TRACK. And now we can head down to the next level.
Sublevel 3
Use your drone to get a good look at your surroundings and you'll see some raw materials behind the starting point. Nab them.
Now let's unblock the air vent to the left and rebuild the central bridge to get across. Jump in the airstream and it'll carry us over to an area with a new enemy type that has a hard shell exterior. Use Oatchi to rush this foe then attack and kill with Pikmin. You can now move your base to this area.
To our right is blocked by a paper bag so let's use red Pikmin to take out the fire obstacle and move forwards. Kill the large enemy round here and gather up the piles of raw material. Keep moving on up and around to find some Pikmin fighting another shelled enemy. Take it out with Oatchi to help them and then have them join your team.
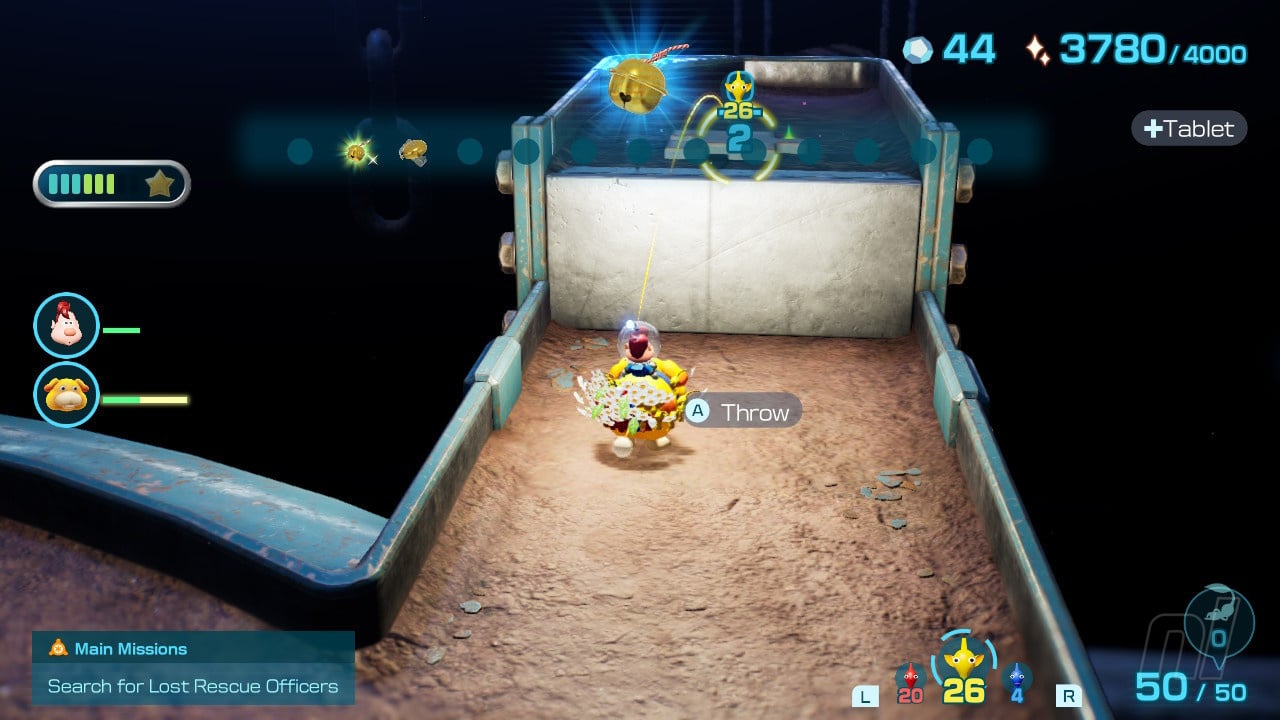
Middle-Management Tank Car
Throw 20 Pikmin up to the platform here to lower it and retrieve the MIDDLE-MANAGEMENT TANK CAR.
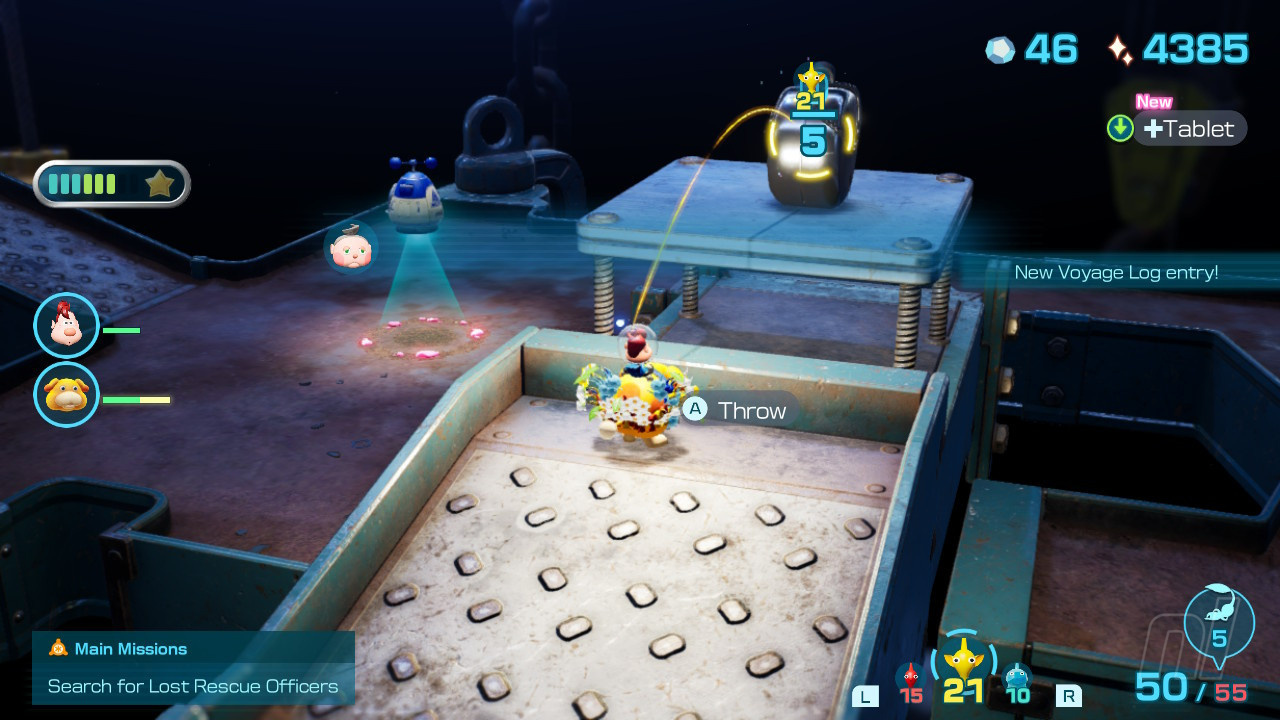
Internal Clock Measurer
Now keep on following the path to find an INTERNAL CLOCK MEASURER perched on a ledge. Now take out the fire obstacle, grab the raw materials and push the paper bag down to make a shortcut. You can travel on the airstream to get back to the central bridge and head down to the next level.
Sublevel 4
Sphere Of Family
As soon as we get down here we have a fight against a large floating enemy. Attack it in the air and it'll blast your Pikmin with wind before temporarily dropping to the ground where you can charge it with Oatchi. Once it's down it'll spit out our next castaway, FRANCOIS. Now grab the nearby nectar eggs, call the Pikmin down from the platform on the right and continue forward to grab the SPHERE OF FAMILY and the escape back to the surface via the exit!
With this area complete you should now have 4000 energy or more, which will unlock the next area to travel to and expand the S.S. Shepherd's radar.
Investigation Complete!
Make sure to check out our full Pikmin 4 Walkthrough Hub for more guides, hints and tips!


Comments 0
Wow, no comments yet... why not be the first?
Leave A Comment
Hold on there, you need to login to post a comment...