
Welcome to Nintendo Life's Pikmin 4 Engulfed Castle walkthrough. In our Pikmin 4 guide series, we'll be showing you All Treasure Locations, all Gear and Item Upgrades, all Oatchi Abilities, all Pikmin Type Locations, all Onion Upgrade and Flarlic locations, All Region Walkthroughs, All Dungeon Walkthroughs and more besides!
It's time for our Sightless Passage walkthrough now!
Sightless Passage Full Walkthrough & All Treasure Locations
Sublevel 1
You might want to make sure you've got the HEADLAMP item unlocked from Russ's lab before heading down here because, apart from some glowing mushrooms, it's pretty dark!
Masterpiece Plank
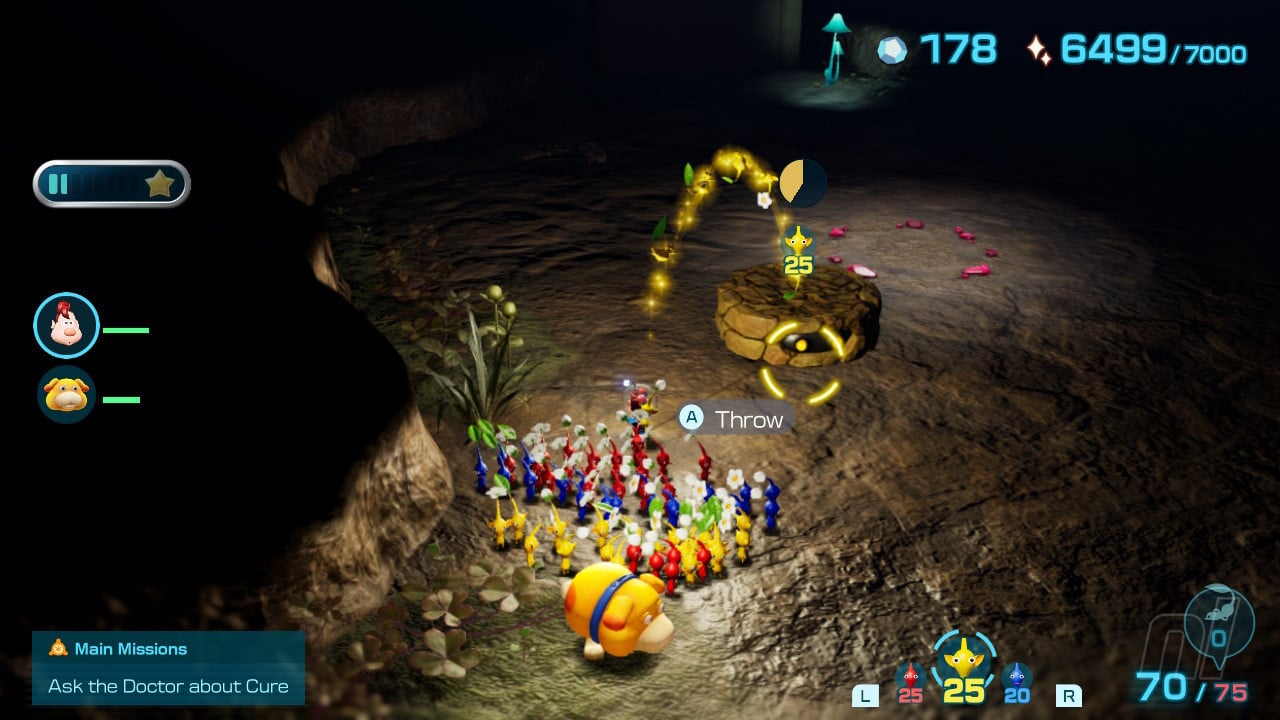
From our starting point make your way down the only open route, take out a new purple enemy type and then keep on heading towards the right to break some pots and make your way round to where you'll find another enemy and a MASTERPIECE PLANK treasure. Make sure to pluck the yellow Pikmin from under the red leaves here too.
Now dismount Oatchi and squeeze through the iron bars to get some raw materials before passing through some more red leaves to an area with a few nectar eggs. Move down the slope here and defeat the new electric bug enemies to then move your base to this new marker point. You'll also find some more yellow Pikmin through the iron bars right by the base camp.
Rush through the breakable pots by the base to pass behind the original starting area and into a large space full of small bugs, then have your Pikmin interact with the climbable twig to get up to the raw materials before taking out the electric fencing.
Micromanagement Station
Before we head through the fencing let's backtrack up through the other exit from the large room to two piles of red leaves. Head towards the fiery glowing enemy in here and take it out with red Pikmin, then use the same Pikmin to disable two fire traps. You can now pluck a few more Pikmin and retrieve the MICROMANAGEMENT STATION treasure.
Let's head back to the electric fence now and pass through here. There's yet another base camp marker to use down here but you'll need to take out a creature first. This guy stands on end then flops onto the ground, crushing anyone beneath him, he's also electrified. The trick here is to send some yellow Pikmin to attack him then quickly have them run away as he flops down, then rinse and repeat.
Sublevel 2
Hoop Of Healing
At the far side of this area, smash the pots and then have Oatchi interact with the small metal flap to send him to a hidden area. Switch to control him and have him retrieve the HOOP OF HEALING.
Now demolish the dirt wall and rebuild the clay ramp to the exit for the surface. Before we leave though, let's clear out this final room of fiery foes and rescue the castaway. Use bash to knock the castaway down off his high perch, it's PUDDLE!
Heat Sensor
Take out the fire enemies and move to the back right to extinguish a fire trap leading round to a big pile of raw materials. Nice. Finally, as you move towards the exit, search in the large patch of charcoal ground where the fire enemies were to find a HEAT SENSOR.
Investigation Complete!
Make sure to check out our full Pikmin 4 Walkthrough Hub for more guides, hints and tips!


Comments 0
Wow, no comments yet... why not be the first?
Leave A Comment
Hold on there, you need to login to post a comment...