Welcome to Nintendo Life's Pikmin 4 Engulfed Castle walkthrough. In our Pikmin 4 guide series, we'll be showing you All Treasure Locations, all Gear and Item Upgrades, all Oatchi Abilities, all Pikmin Type Locations, all Onion Upgrade and Flarlic locations, All Region Walkthroughs, All Dungeon Walkthroughs and more besides!
Now, let's jump into Plunder Palace!
Plunder Palace Full Walkthrough & All Treasure Locations
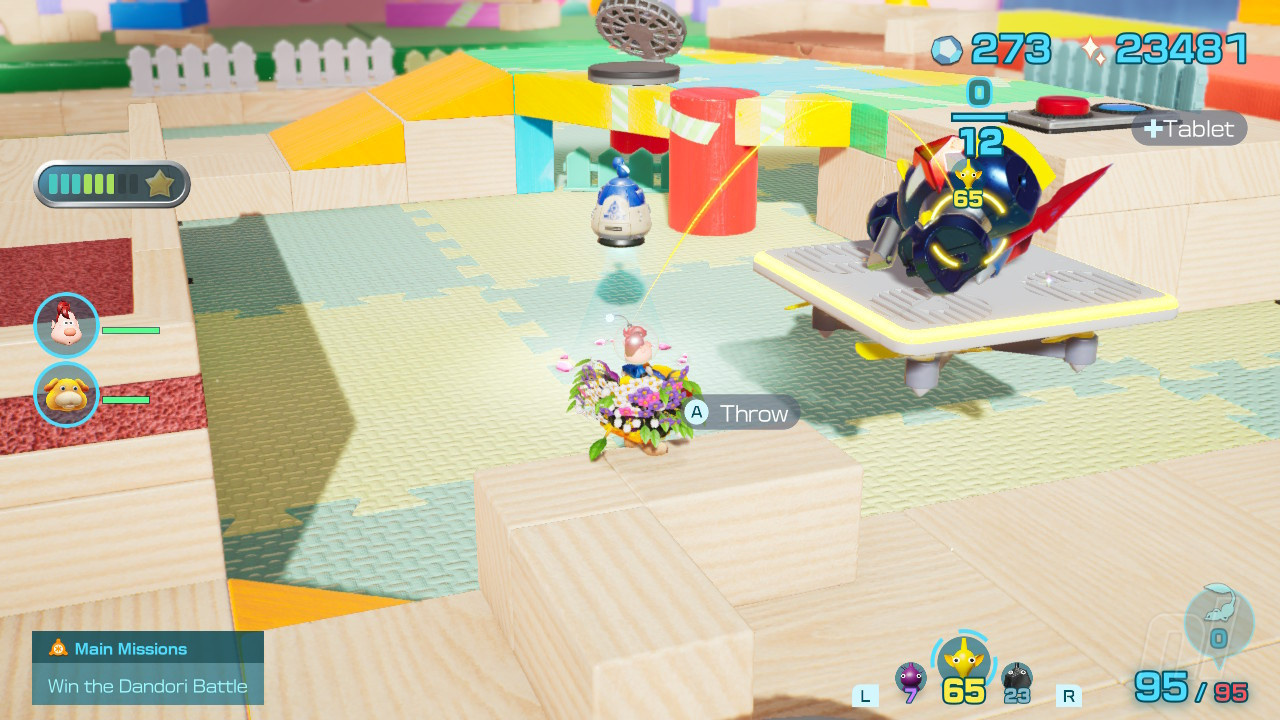
Sublevel 1
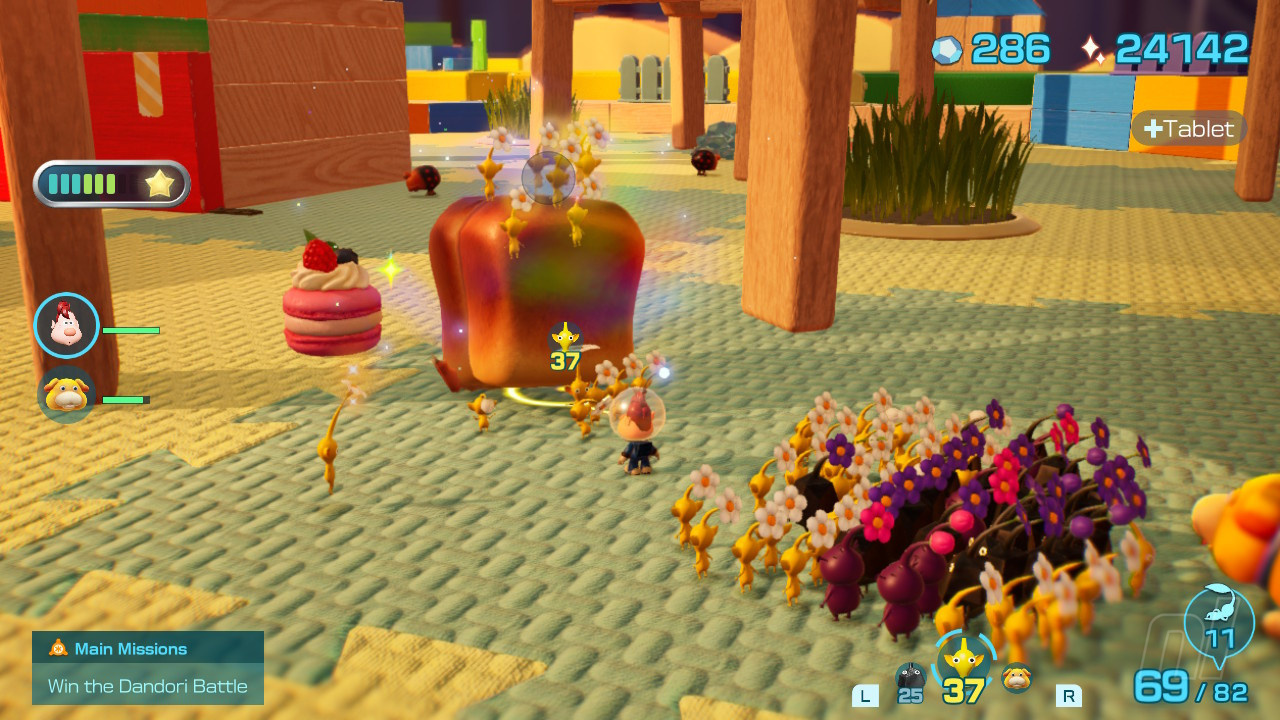
Let's kick off here by taking a look at the orange/red grub looking enemy in front of you. These little guys can be killed but it takes a while due to their hard shells. So, for a quicker battle, ignore them for now and take out one of the bigger electrified foes wandering the area. As you carry it back to base the grub will get involved and you'll need to make sure to have enough Pikmin to beat its pulling power. Get the grub back to the Beagle as it struggles to best you and it will smash its head off the base camp and die quickly.
Disc of Sorrowful Wisdom x 2
Now make your way over to the dirt mound ahead to excavate the DISC OF SORROWFUL WISDOM.
Disk of Surprising Wisdom
Take out the dirt wall then excavate the next dirt mound then walk up the small ridge to grab another DISK OF SURPRISING WISDOM.
Solar-Powered Computing Machine
There's also a SOLAR-POWERED COMPUTING MACHINE hidden in a small patch of grass here!
Go-With-The-Flow Totem x 2
Now throw four Pikmin up into the fan on the upper level to have them land over at two GO-WITH-THE-FLOW TOTEMS.
Long-Shot Totem
There's a blue LONG-SHOT TOTEM, and the final treasure in this area, sat on the top of the entry to the exit tunnel. Give one of the pillars here a bash to knock it down and we can make our way to the next area.
Sublevel 2
From our starting point let's move to the crystal wall and take it out with our rock Pikmin, as there's a bunch more rock Pikmin to recruit here once you're done helping them best a foe. Beat all the enemies here, smash up the crystals and get all the raw materials back to the Beagle.
Dimension Converter
Head up the small ledge to another pile of raw materials and keep on moving round to defeat some small bird enemies. Now use the fan to blast up onto the high platform, pluck more rock Pikmin and nab the DIMENSION CONVERTERS.
Kick-Start Combobot
Now head over to the other ramped platform in the centre area and hit the button here to change the airflow to the other fan in order to grab the KICK-START COMBOBOT. Drop back down to the bottom level and continue around to find yet more rock Pikmin, help them out and recruit them, then grab the GOLD NUGGETS and break the crystal wall to make a shortcut.
Nexus Combobot
Finally on this level, head back up to where the exit is and fire over 12 Pikmin to grab the NEXUS COMBOBOT off the floating platform. All done!
Sublevel 3
We've got a large spiky enemy to deal with on this level so let's circle around the main platform on which it's positioned and let it fire off its four segments of spiked artillery. These are easy to dodge by keeping on the move and, once they're all spent we can fling a whole bunch of our Pikmin at the beast to get as much damage in as we can and then recall them with our whistle before the spikes spring up again.
Two or three repetitions of this tactic will see you through and we'll get our hands on another castaway, TWYLA as a reward.
Sublevel 4
Let's kick off this area by heading left and taking out the crystal wall, now we can mop up any foes in this small area. Watch out for the flying armoured bug here, it'll flick out its tongue and instantly kill any Pikmin it hits, so make sure to get around its back to the soft spot here and take it down.
Planetary Rubber Cutie
When taking bodies back to the Beagle make sure to overpower any annoying grubs that try to take your prize. Now head through the patch of grass in the corner to swing around into a closed area and grab the PLANETARY RUBBER CUTIE.
Talisman of Life (Rain)
Now let's head up to the ledge near the fan and switch to nab a TALISMAN OF LIFE (RAIN) then we can send a few yellow Pikmin over the gap to knock down the string that allows us to reach the switch.
Ride the fan over to the exit area and drop the next ball of string down here, then head back over to the switch, hit it to switch the airflow and go back to the exit area and fire some rock Pikmin into the airstream so they travel over to the platform opposite and defeat the enemy here.
BLUE AND WHITE POKER CHIPS X2
There are a total of 4 Poker Chips to grab out of the dead enemy now so fire as many Pikmin over as it takes to grab them. This part can be a little finicky as the Pikmin sometimes land too far away to register the chips but they'll eventually get the idea!
Disk of Amusing Wisdom X2
There's also a DISK OF AMUSING WISDOM to nab from the same enemy. Now grab the GOLD NUGGETS from the small tin below the platform and dig the dirt mound to find another DISK OF AMUSING WISDOM.
Memory Fragment (Bottom Left)
You'll also find a MEMORY FRAGMENT (BOTTOM LEFT) to the right of the dirt mound here, so fling a few Pikmin up onto the ledge to nab it. With this done we can now make our way down to the next stage!
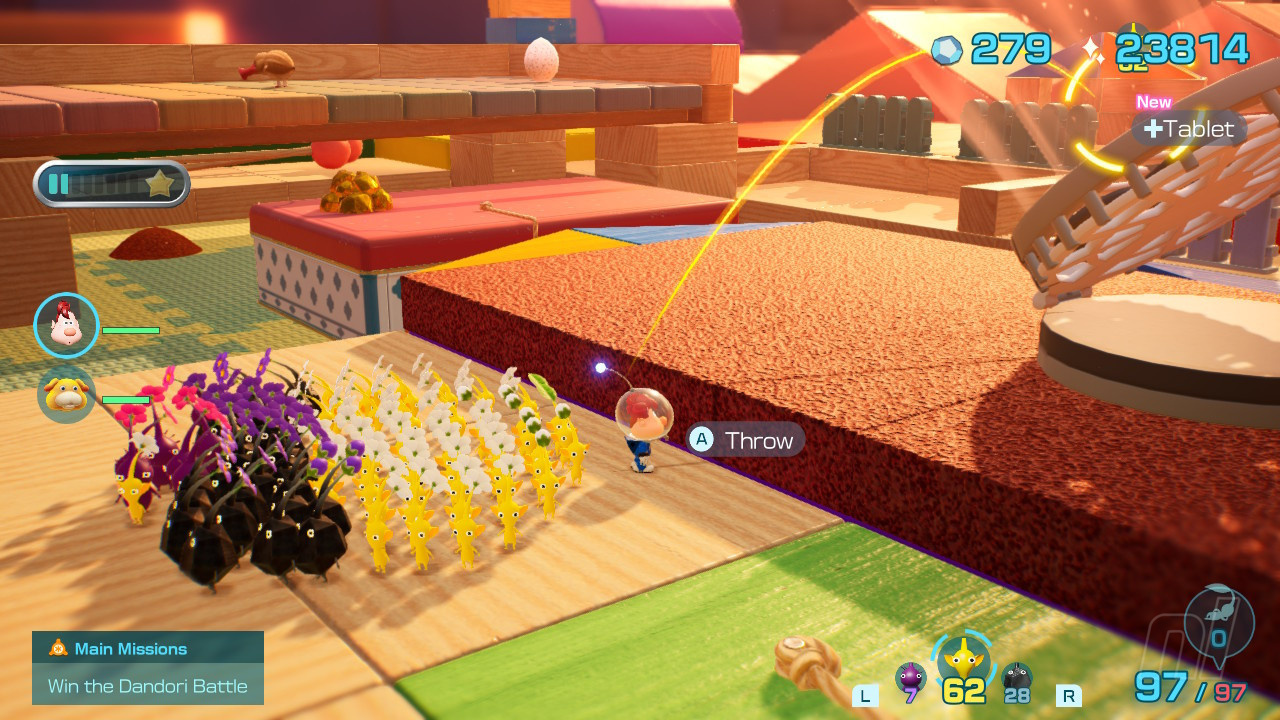
SUBLEVEL 5
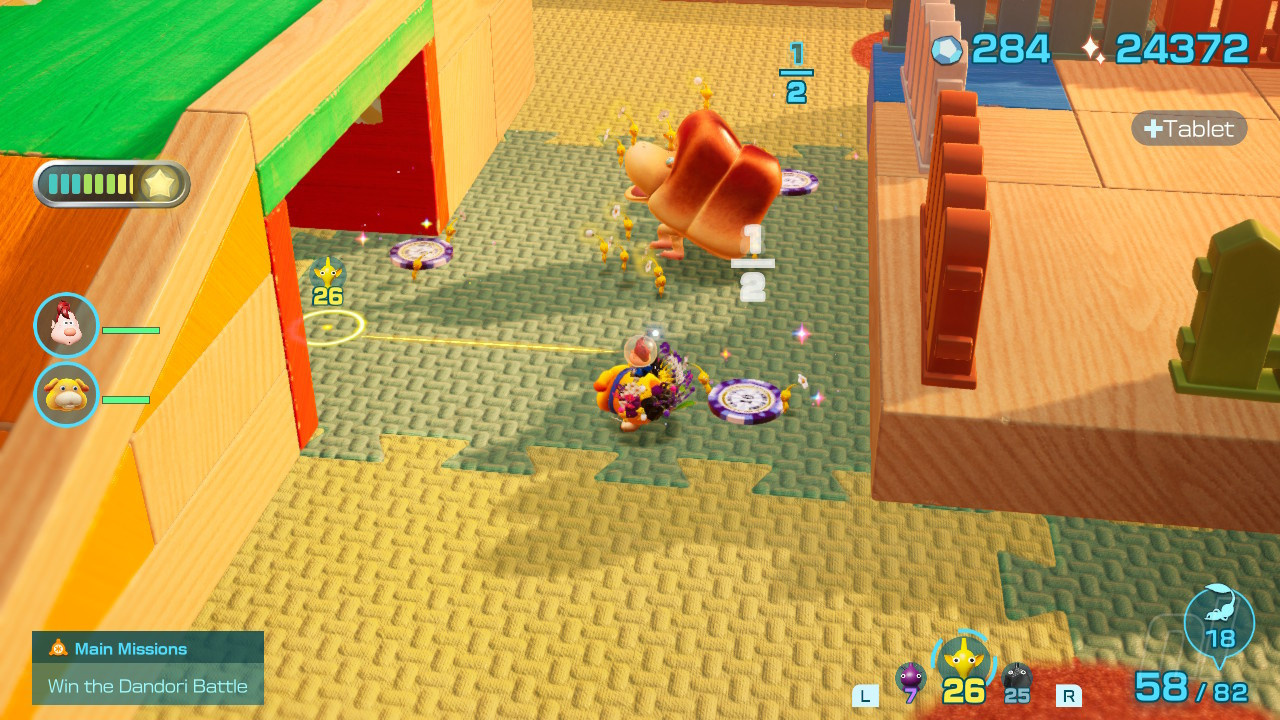
This final area is fairly big so you may want to do a sweep with your drone to get an idea of the layout, then we'll sweep around the entire bottom floor starting by smashing the crystal wall and then heading off to the left to deal with the large enemy and his little pal here.
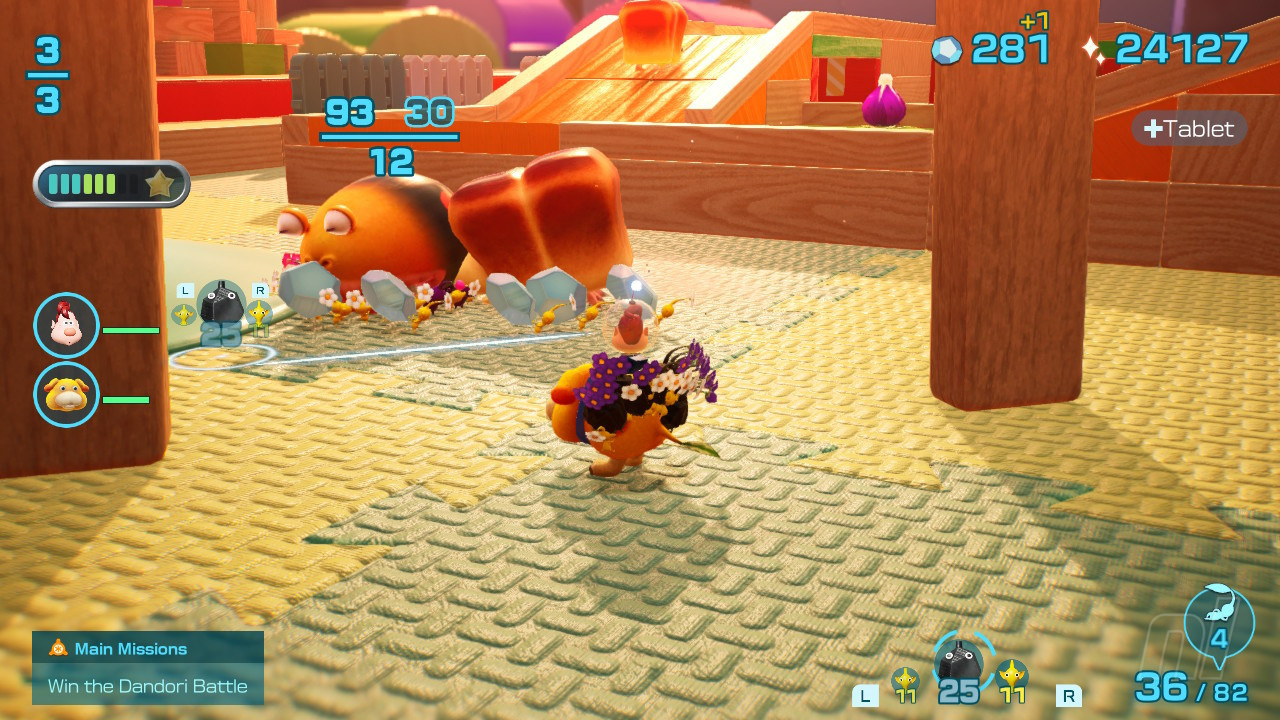
Once you start to move the carcasses back to the Beagle you'll find the great big funny looking loaf dogs down here will get involved and try to tear your treasure away from you. Simply overwhelm them in the tug of war to have them dragged back to base where they'll bang their heads and lose most of their energy. Then use yellow Pikmin to mount their backs and finish them off. Only yellows can reach as far as the height of their backs!
S.S Berry
Once you finish off the first of these big loaf dogs, you'll get yourself an S.S. BERRY as a reward. Now let's keep on taking out small foes and nabbing raw materials from around the floor level.
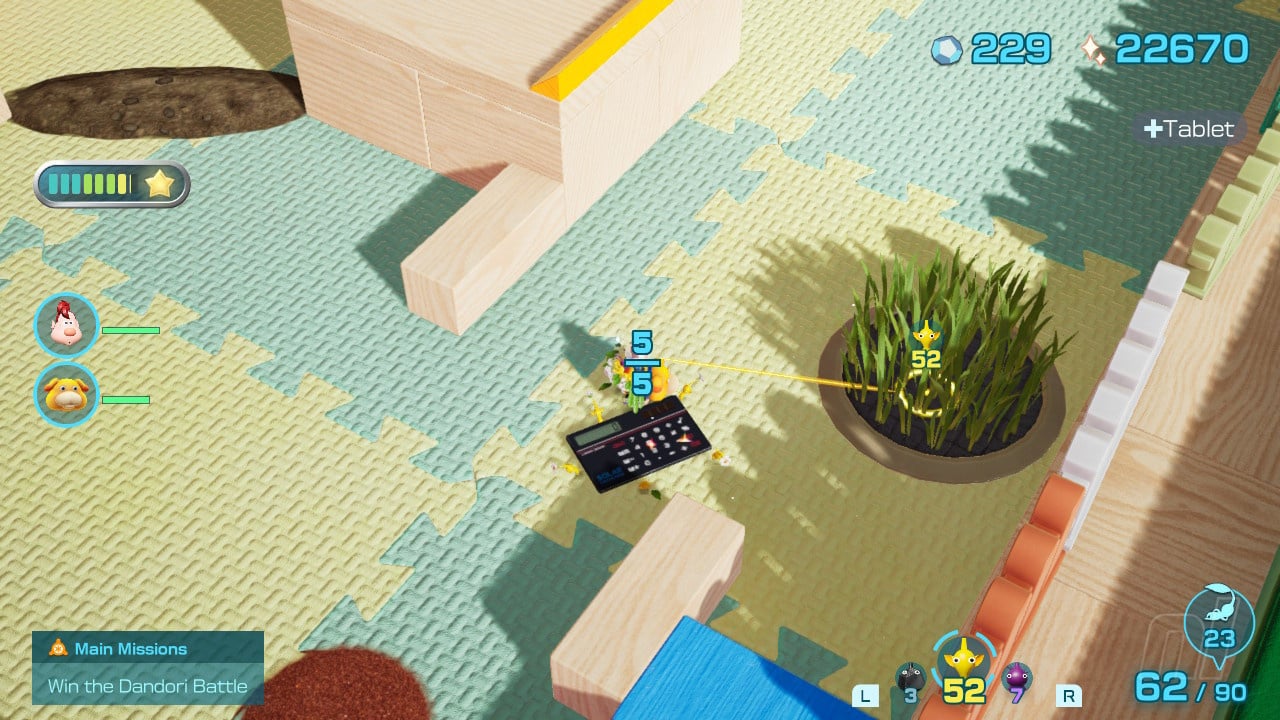
Perforated Raft
There's a single PERFORATED RAFT hidden in the grass patch in the centre of the area, as shown below.
Love's Fortune Cookie
As you move around the floor area you'll spy two treats on a ledge, one of which is the LOVE'S FORTUNE COOKIE.

Hearty Container
And the other treasure up on this little platform is HEARTY CONTAINER.
You'll also notice that the exit down here is behind a wall with a 01 counter on it, meaning there's a big enemy to take out somewhere. Let's now make our way upwards.
Sweet Stumble-Not
Before doing so let's make sure we've got the huge big SWEET STUMBLE-NOT from the dirt mound on the ground floor, it's sat right in the corner and then we can mend the clay ramp down here to begin our ascent!
As soon as you begin to move up the hill here you'll spot another large loaf do, and this one is carrying our castaway in its mouth. Let's take it out with our yellow Pikmin, being careful to watch for its charge attacks, then get the castaway back to base.
Disk of Angry Wisdom X3
You'll also nab three DISK OF ANGRY WISDOM from this guy once he's done and dusted!
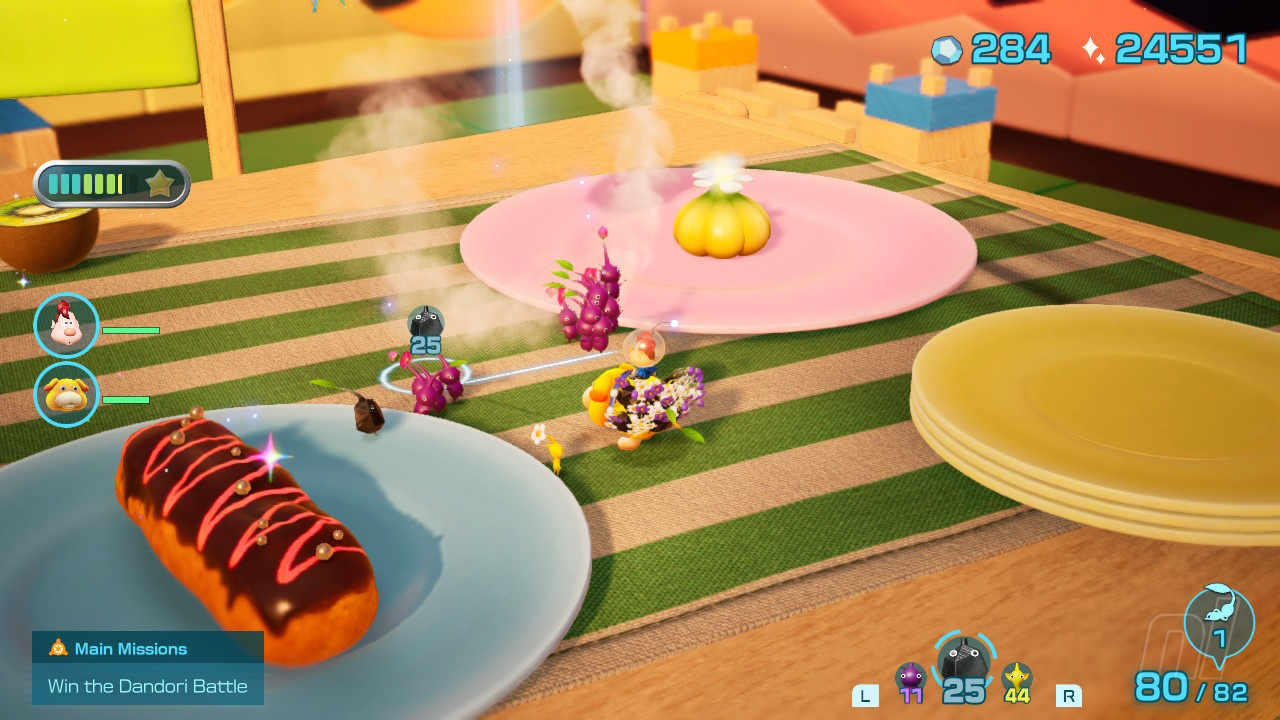
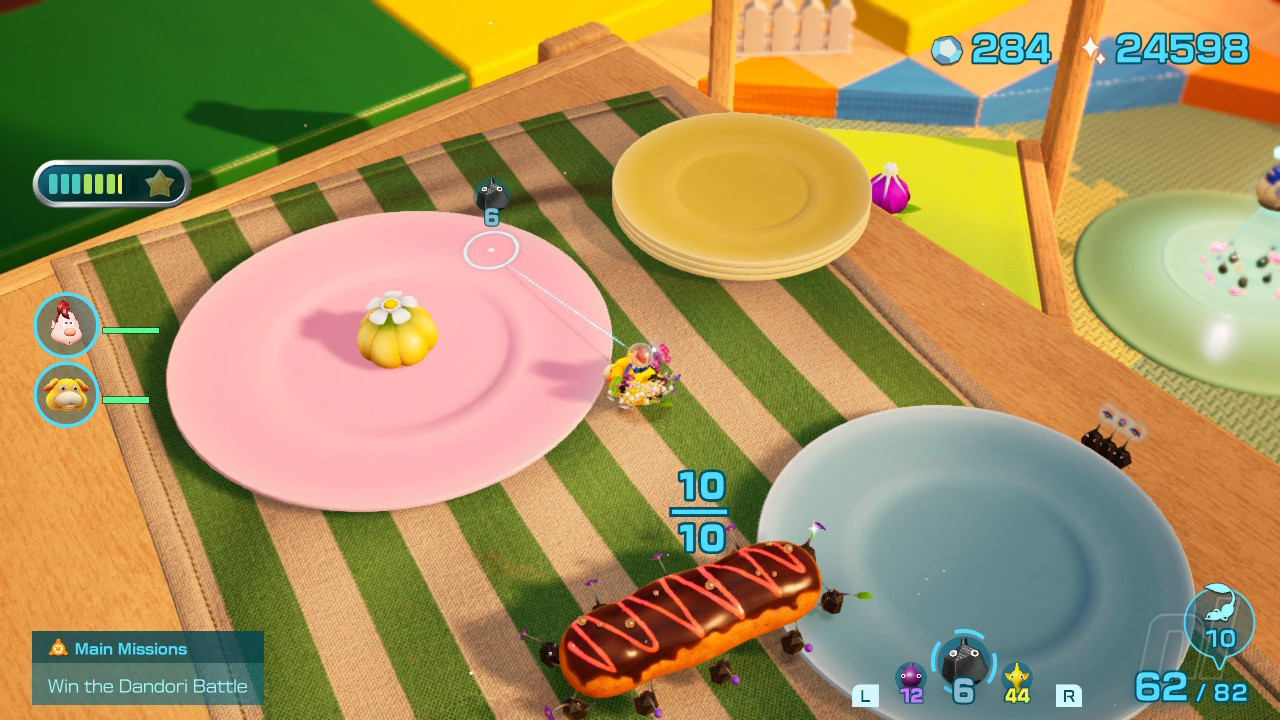
Now let's head up and around the top level to grab a few purple Pikmin from the Candypop Bud, then ride the platform right up onto the table that's looming over the entire level.
Disguised Delicacy
Before grabbing the DISGUISED DELICACY from the plate up here, take out the hovering enemy by using your heavy purple Pikmin.
Sweet Torrent
You can now also grab the SWEET TORRENT from the plate opposite the Disguised Delicacy.
FLARLIC UPGRADE #9
And finally, there's a Flarlic sat up on the table for you to nab and up your Pikmin count.
With all of that done you can now make your way down to the bottom floor and out of the exit to the surface.
Investigation Complete!
Make sure to check out our full Pikmin 4 Walkthrough Hub for more guides, hints and tips!


Comments 0
Wow, no comments yet... why not be the first?
Leave A Comment
Hold on there, you need to login to post a comment...