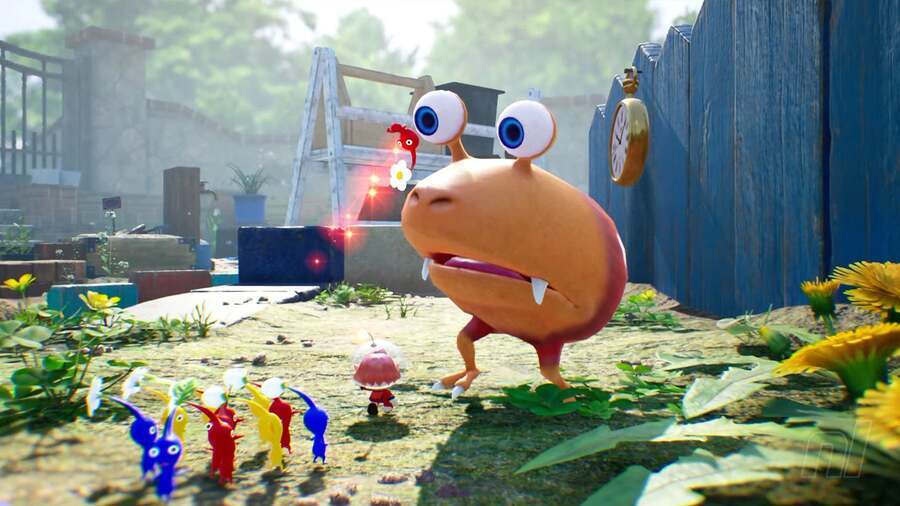
Welcome to Nintendo Life's Pikmin 4 Engulfed Castle walkthrough. In our Pikmin 4 guide series, we'll be showing you All Treasure Locations, all Gear and Item Upgrades, all Oatchi Abilities, all Pikmin Type Locations, all Onion Upgrade and Flarlic locations, All Region Walkthroughs, All Dungeon Walkthroughs and more besides!
Let's get stuck into Industrial Maze!
On this page: Industrial Maze Full Walkthrough & All Treasure Locations
Industrial Maze Full Walkthrough & All Treasure Locations
Sublevel 1
Once you drop down into this underground area, you’re going to need to reunite your squad with Oatchi who has found himself on the other side of a barrier. At this point the game explains that you can switch to control Oatchi in the Actions menu.
So, switch to Oatchi and use him to bash through the nearby barrier wall to clear a path to an entrance. Before using it, you’ll want to backtrack and head to your right to find a switch that controls the direction of the surrounding walkways. Switch this and then shift between control of Oatchi and your squad as needed in order to reunite up here.
Memory Fragment (Top Right)
Once you have the team back together you need to pluck the YELLOW PIKMIN from the ground. At this point Collin will explain that your party size can be larger underground, so get the yellow Pikmin added to your group and then proceed to head back down and around to the area shown in our map where you’ll find a MEMORY FRAGMENT (TOP RIGHT).
Remember too that Oatchi’s rush ability can get you over walkways, no matter the direction they are moving. Make sure to switch the walkways for the Pikmin to carry the treasure back to base though, as they can't make it across otherwise. Now we can head down the entrance that you discovered a little earlier behind the barrier wall, making sure we pick up and collect any raw materials as we head there.
Sublevel 2
Stately Rubber Cutie
As soon as you arrive on this second level Collin will detect another castaway. We can’t reach them yet so first let’s smash the nearby pots to grab a STATELY RUBBER CUTIE.
Detective's Truth Seeker
Now head over the moving platform to switch the iron gates in the area so they are down. Go back across the platform, through the lowered bars and push the packet out of the way to clear a path to the DETECTIVE’S TRUTH SEEKER. You can take a moment to drop down and collect raw materials and a bunch of yellow pikmin from below the moving platform now and then ride the wind column up again when you’re done.
Unlimited Locomotive
Next up, move towards the glowing electric fence and start to dismantle it with your yellow Pikmin, who are of course immune to electricity. You can now unearth the large UNLIMITED LOCOMOTIVE here and move your base over to this section of the dungeon.
Now move to the platform that’s hovering in the air with the castaway on top of it. Throw three yellow Pikmin up to gather the castaway, who turns out to be acclaimed treasure appraiser Schnauz!
Personal Injury Plank
We can now head back to the surface, however there is still a PERSONAL INJURY PLANK down here, so we’ll need to return to SUBLEVEL 1 to retrieve it by bashing into the platform it's sat on with Oatchi.
Investigation Complete!
Make sure to check out our full Pikmin 4 Walkthrough Hub for more guides, hints and tips!


Comments 0
Wow, no comments yet... why not be the first?
Leave A Comment
Hold on there, you need to login to post a comment...