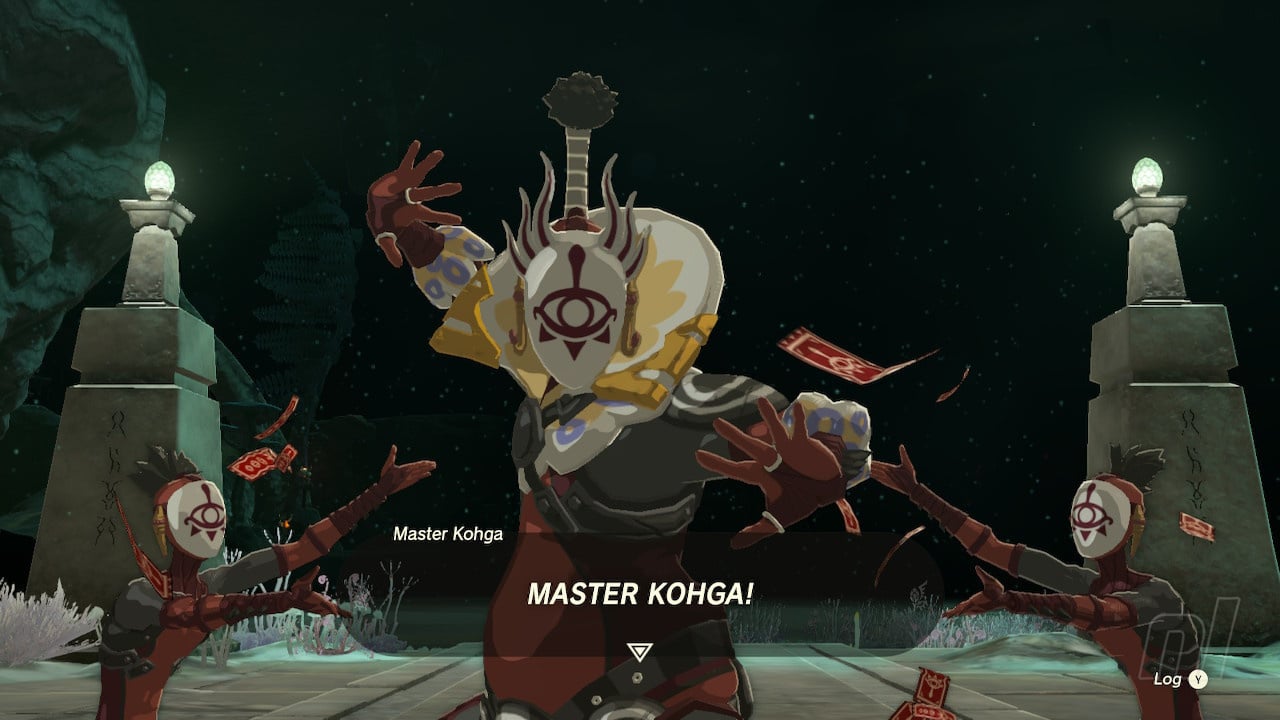
The illustrious, stylish and completely unstoppable leader of the Yiga Clan (or so he thinks), Master Kohga returns in Zelda: Tears of the Kingdom to cause Link even more hassle. This time around he's attempting to build the ultimate weapon in order to align himself with the Demon King, a pursuit that sees him visit various mines in the Depths to retrieve Zonai Construct blueprints in the form of Schema Stones.
Let's take a look at how to kick off Master Kogha's side adventure and, more importantly, how to beat him in battle during this lengthy quest's four boss battles.
Subscribe to Nintendo Life on YouTube849k
Master Kohga Of The Yiga Clan Walkthrough - All Boss Battle Locations & Strategies
How To Begin 'Master Kohga Of The Yiga Clan' Side Adventure
This Side Adventure starts after you've completed which unlocks the . If you're stuck on this quest, check out our walkthrough on how to get Autobuild. You can also see a list of all Zonai Schema Stones in our guide.
You'll first meet Master Kohga during the A Mystery in the Depths main quest. This quest, which you can pick up from Josha in Lookout Landing, tasks you with following a chain of statues that lead to the Great Abandoned Central Mine in the Depths.
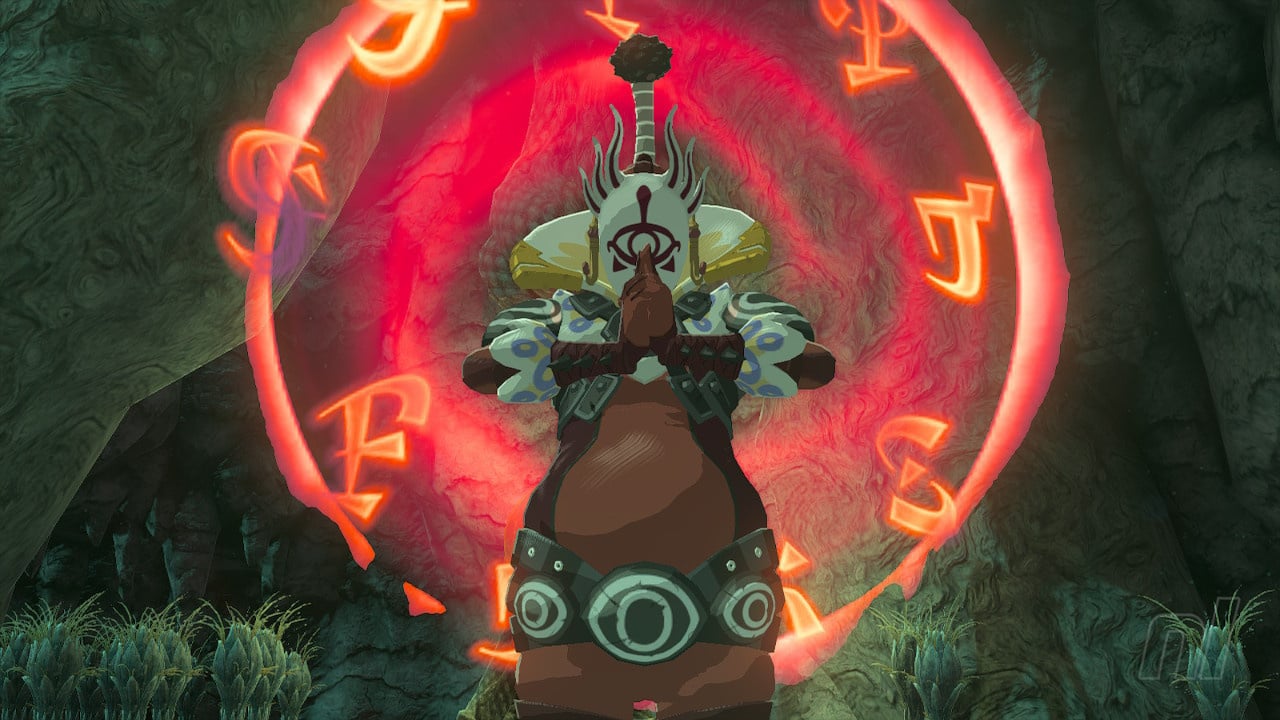
Once at the mine you'll acquire the Autobuild skill for your magical hand from a Construct. After this, Master Kohga will make his presence known. He wants the Autobuild schematic and he's prepared to fight for it!
All Master Kohga Boss Battle Locations
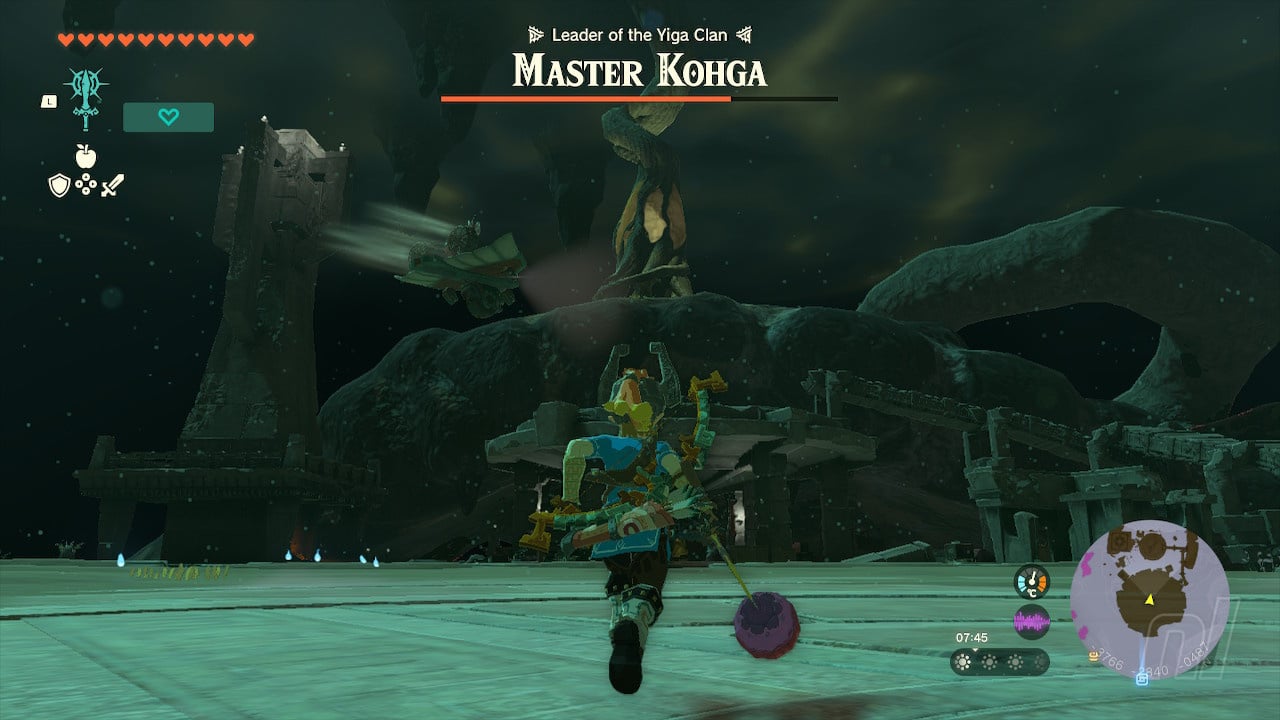
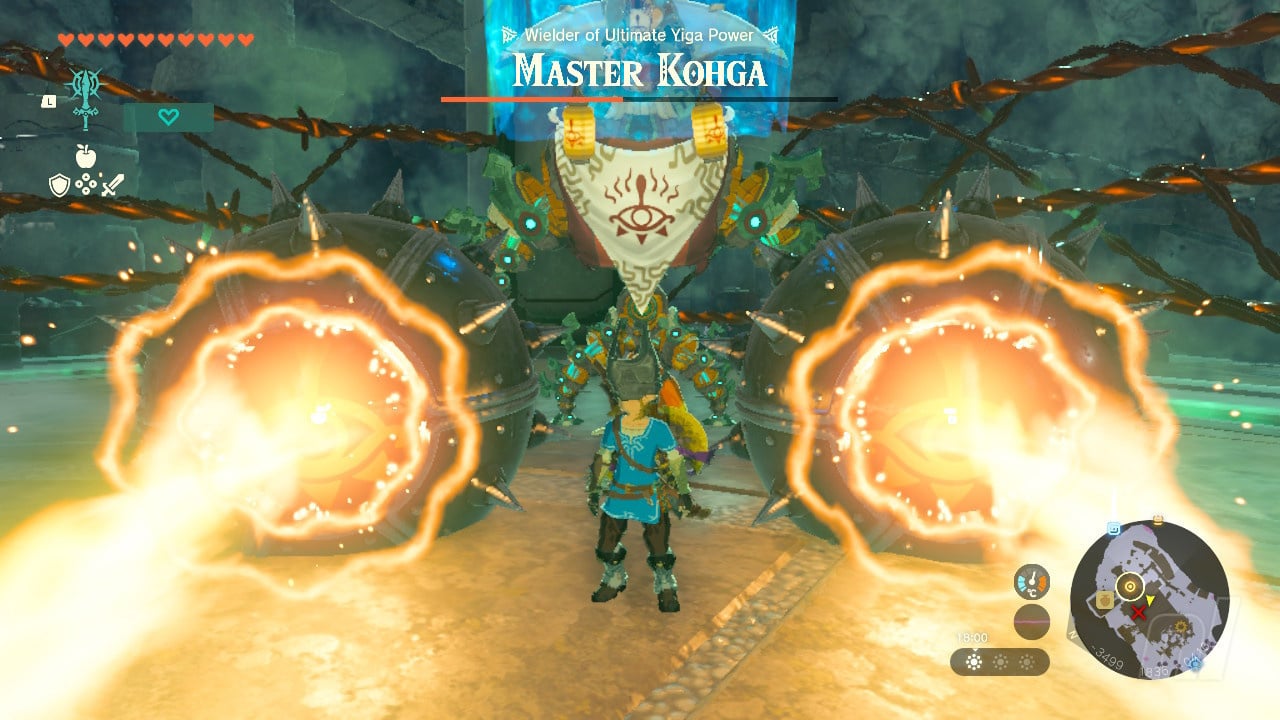
Location 1 - Great Abandoned Central Mine
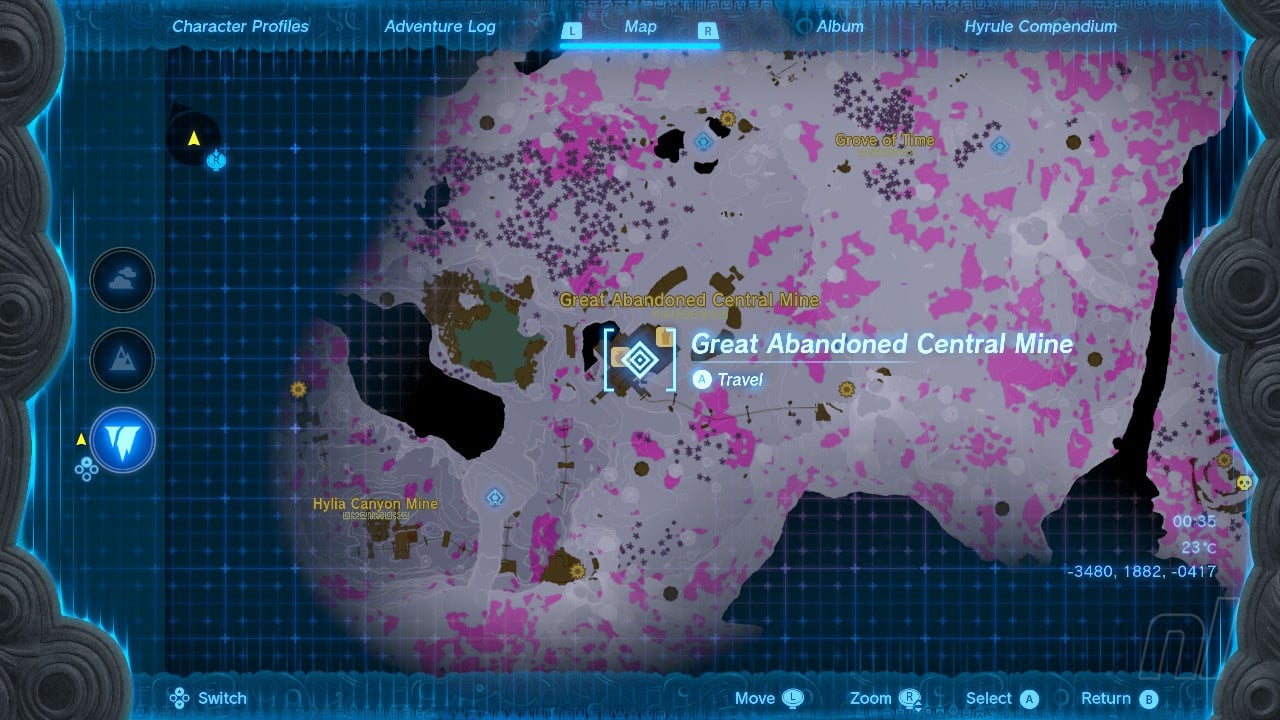
Now that Kohga has revealed himself, the area you are in will become reinforced with a barrier, locking you into battle with the Yiga boss who has built himself a battle car with some spikes on the front of it. Nice.
This fight is a fairly easy one that sees Kohga attempt to ram you with his slow-moving vehicle. What you need to do here is get into the car to damage your foe, a task made much easier by climbing in by scaling the wheels at the sides.
Once you're on the vehicle it's time to whale on Kohga as much as you can before he disappears and things are reset to go again. You can also use arrows during this phase to stun Kohga from range then dash onto the car to batter him. Both approaches work equally as well.
Once he's taken enough damage your enemy will reinforce the vehicle with shields to block your attacks. You need to be a little more careful now as you pick your ranged shots for stuns and when attempting to mount the vehicle. Remember to make us of homing arrows by attaching Keese eyeballs and other tricks to give you the upper hand here and it won't be long before Kogha has had enough and scarpers.
You'll get a nice reward of crystallised charges, which you can use to upgrade your Energy Cells, and a new schematic at the end of this battle, alongside some clues as to the destination of your next confrontation.
Location 2 - Abandoned Gerudo Mine
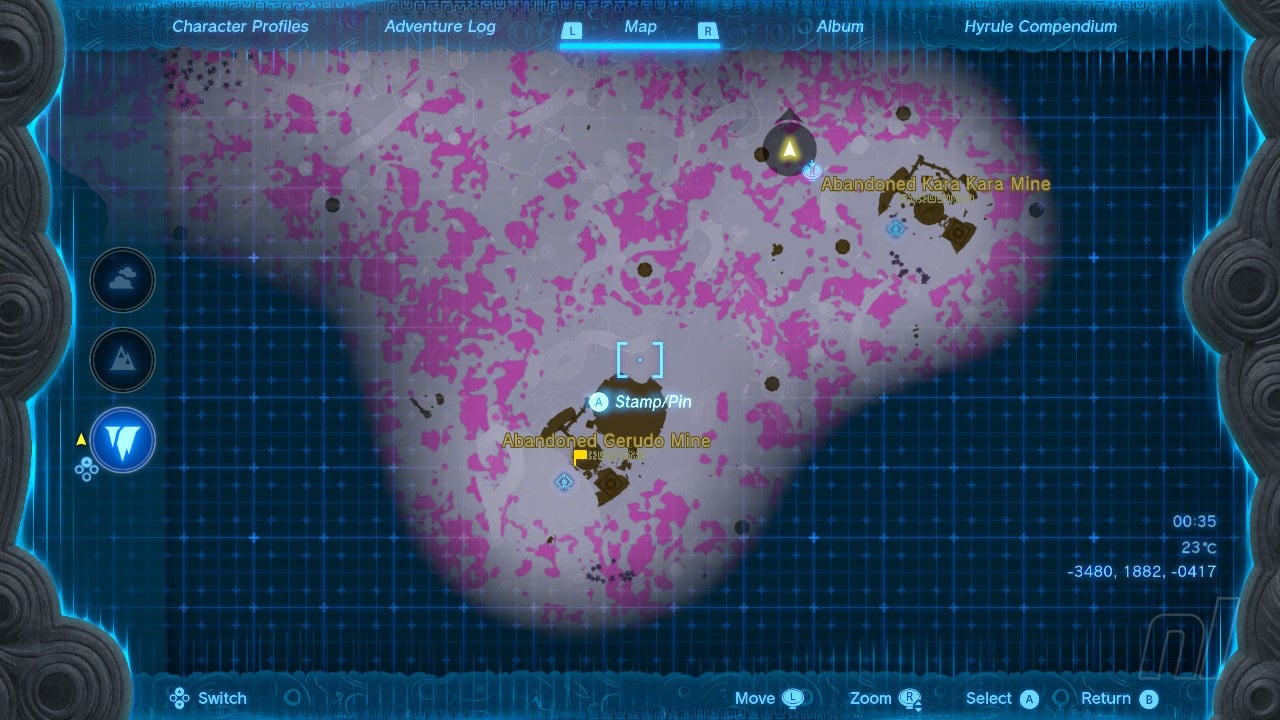
You have the choice of following more statues in the Depths to arrive at this location in the southwest, or you can check out our map, stick a pin down and use the East Gerudo Chasm, then simply head west. The Mine is directly underneath Gerudo Town.
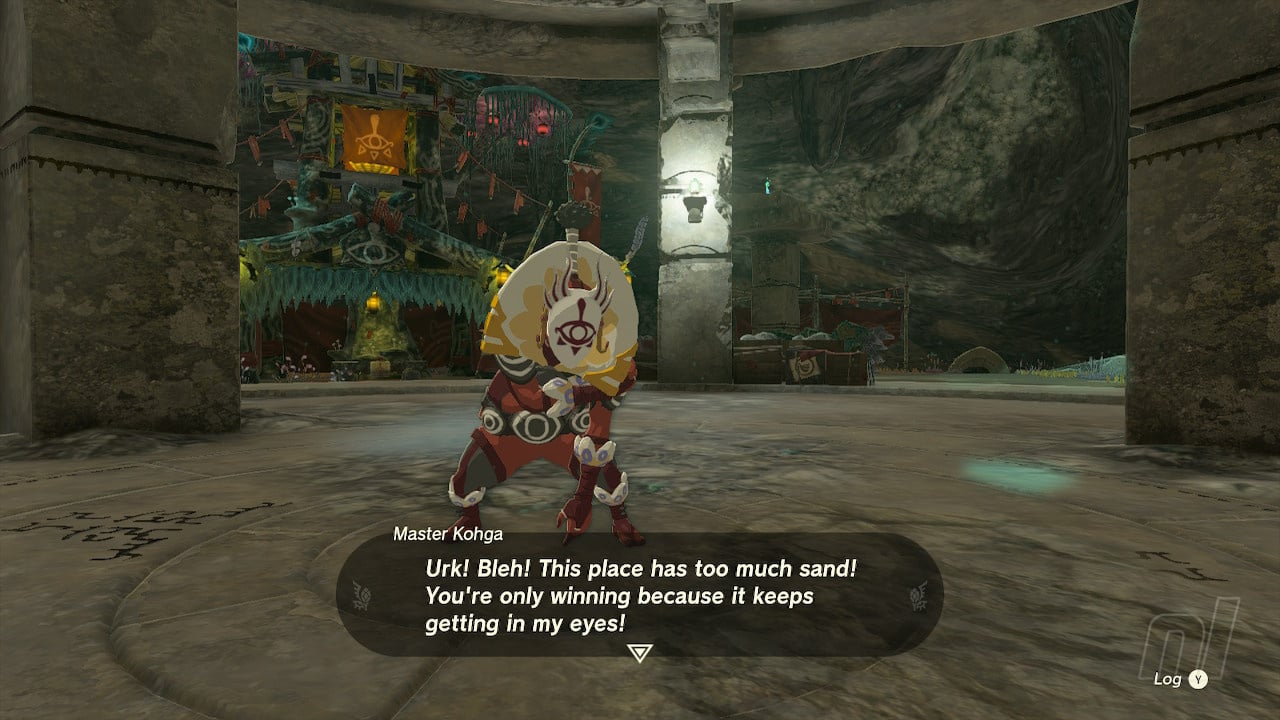
Once at the mine, you'll find Kohga messing with a construct in a vain attempt to retrieve blueprints. When he notices your presence, we're straight into battle again this time with Kohga taking to the skies in a silly little plane.
At the outset, this looks like it could be quite a challenging face-off. However, it's actually pretty easy when you know how to approach it. To the back of the round arena in which this fight takes place, you'll see a large curved tree root that you can climb up to elevate yourself to a level playing field with Kohga's plane.
Now watch as he circles the area and, when he's close enough, you can jump off the root and enter slo-mo with an arrow to pick him off, sending him crashing out of the plane to the ground below. Continue your glide down and land next to him to get some big melee hits in with a powerful weapon of your choice. When he disappears, retreat back to the top of the root, this time standing a back a little from the edge to avoid his now souped-up rocket attacks.
You can now rinse and repeat the same pattern to take him out again, with your position negating all of his most annoying attacks which he'll pummel you with if you decide to stay on the arena floor. Even when he raises his shields, you can ping him and get him out of his plane, so just do that until the fight is over.
Once he's down, you'll get word of his next location as well as more rewards in the form of some crystallised charges and another Schema Stone blueprint to add to your collection. Sweet!
Location 3 - Abandoned Lanaryu Mine

You can, once again, choose to follow statues in the Depths to reach this fight or take a gander at our map and then hop down the South Akkala Plains Chasm, slightly north of the Upland Zorana Skyview Tower. Then head south and you should reach the Mine — directly beneath Zora's Domain — in no time.
Once here, you'll need to deal with Kohga again, this time accompanied by a few of his acolytes on a boat.
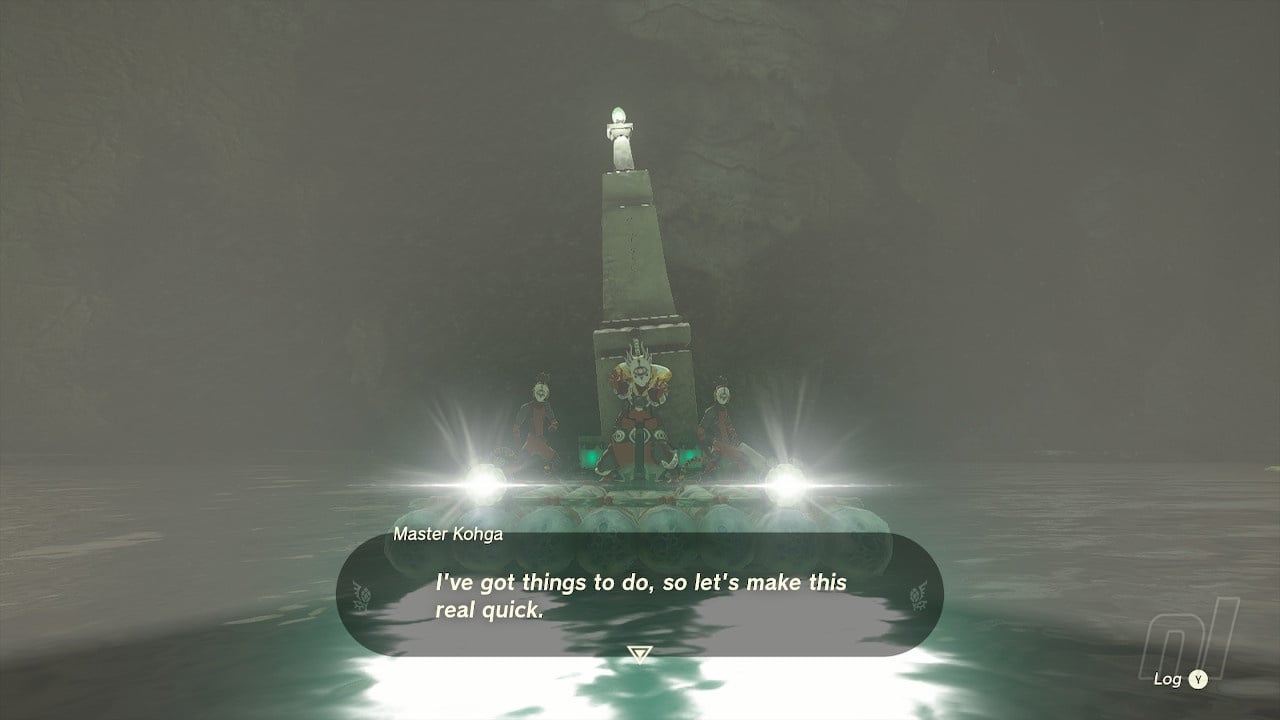
For this fight you'll need to avoid arrows and the occasional boulder flung out from Kohga and his goons, a task made simple by standing on the dock where things kick off and simply pinging the boat with Keese eyeball arrows to damage Kohga. Use Fire Keese eyeballs to do even more damage here and really you can finish the fight without having to move much this way.
Alternatively, you can hop on one of the little jetski-like devices scattered around (or build your own version) and take to the water to pepper your foe with shots. We actually had Yunobo's Sage of Fire ability to make use of here, giving us a great big fiery boulder attack to slap Kohga with.
When he puts up his barriers late in the scrap, make sure to pound him with flaming shots to ensure you still do enough damage to have him stunned and down for you to get attacks in.
Once he's done, you'll get more rewards and a final location marked on your world map where we need to go face this clueless Yiga fool one final time.
Location 4 - Abandoned Hebra Mine

We're finally at the end of this lengthy quest - especially lengthy if you've been following all those statues to the various boss battle locations. This final battle at Abandoned Hebra Mine can be tough to get to to because it's only got one way in and that's from the surface.
Hop up to the surface and head to Rito Village. Now go to the location we've marked on our map below and either glide or climb down the cliff face here to reach a little cavern containing the Rito Village Chasm, which drops you straight down into the mine. Sorted.
Now that we're here, light up the Lightroot for easy fast travel and engage Kohga in his final form atop a great big Mech.
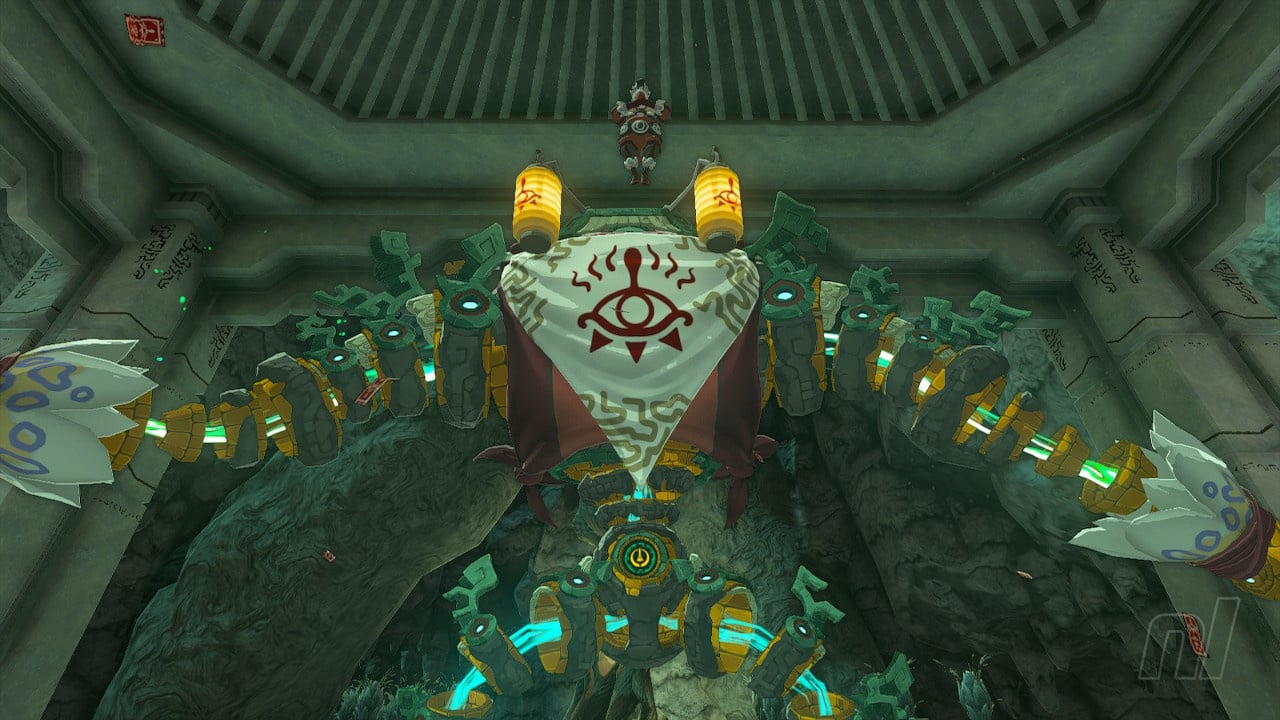
This fight requires you to hit Kohga with arrows (or any other throwable item you've got) to knock him from his position and onto the ground. The mech does little more than rush you on occasion, but this is a slow attack that's easily avoided. Just be careful here that you don't back up too much and press against the electrified fence containing the battle.
Once you've done enough damage Kohga will employ a red shield in an attempt to block your shots. Just wait for him to drop it then get a hit in to knock him to the floor again.
Eventually the big guns will come out and the mech will produce two large cannons that fire lasers at ground level. In order to avoid these, run towards the mech and between the cannons.
Next, the mech produces three large flaming projectiles whilst Kohga shields himself. What you need to do now is make use of Recall, send the side projectiles back where they came from and then Recall the central one so that its destination when reversing is the shielding around Kohga. This might take a few tries, but there's no tough attacks to dodge so simply take your time until you get him onto the floor again for hits.
Alternatively, if you're close to the end of the game and you've completed the final temple, you'll have a much easier way of dealing with this fight. We won't spoil it here, but check out our walkthrough on the 'Guidance of Ages Past' main quest to find out.
With little in the way of troublesome attacks to dodge, once you know to Ultrahand the projectiles, this is a bit of a pushover of a fight and, before long, Kohga will be defeated for a final time. Now sit back and enjoy his demise and ridiculous exit.
For more handy guides, check out our Zelda: Tears of the Kingdom walkthrough for all of your adventuring needs.


Comments 1
Master Kohga's blasting off again!!
Show Comments
Leave A Comment
Hold on there, you need to login to post a comment...