If you're a true completionist, you'll no doubt want to find all 152 Shrines in The Legend of Zelda: Tears of the Kingdom. One helpful tool that will make this much easier is the Shrine Sensor, a returning feature from Breath of the Wild that will make a noise as you get close to a shrine you haven't yet visited.
You don't have this right off of the bat, however, and you'll need to do a couple of quests and Side Adventures in order to get this upgrade for your Purah Pad. Here's how to get the Shrine Sensor in Tears of the Kingdom for you avid shrine hunters.
Subscribe to Nintendo Life on YouTube844k
Zelda: Tears Of The Kingdom: How To Get The Shrine Sensor
How do I get the Shrine Sensor?
To get the Shrine Sensor, you'll first need to complete two different quests — Camera Work in the Depths and A Mystery in the Depths. This will get you the camera and the Autobuild skill.
Not only that, but once you've fixed Robbie's hot air balloon with the Autobuild function, you can speak to him to open up a brand new Side Adventure called Hateno Village Research Lab. This is the quest that will set you on the path to upgrading your Purah Pad.
How to complete the Hateno Village Research Lab Side Adventure
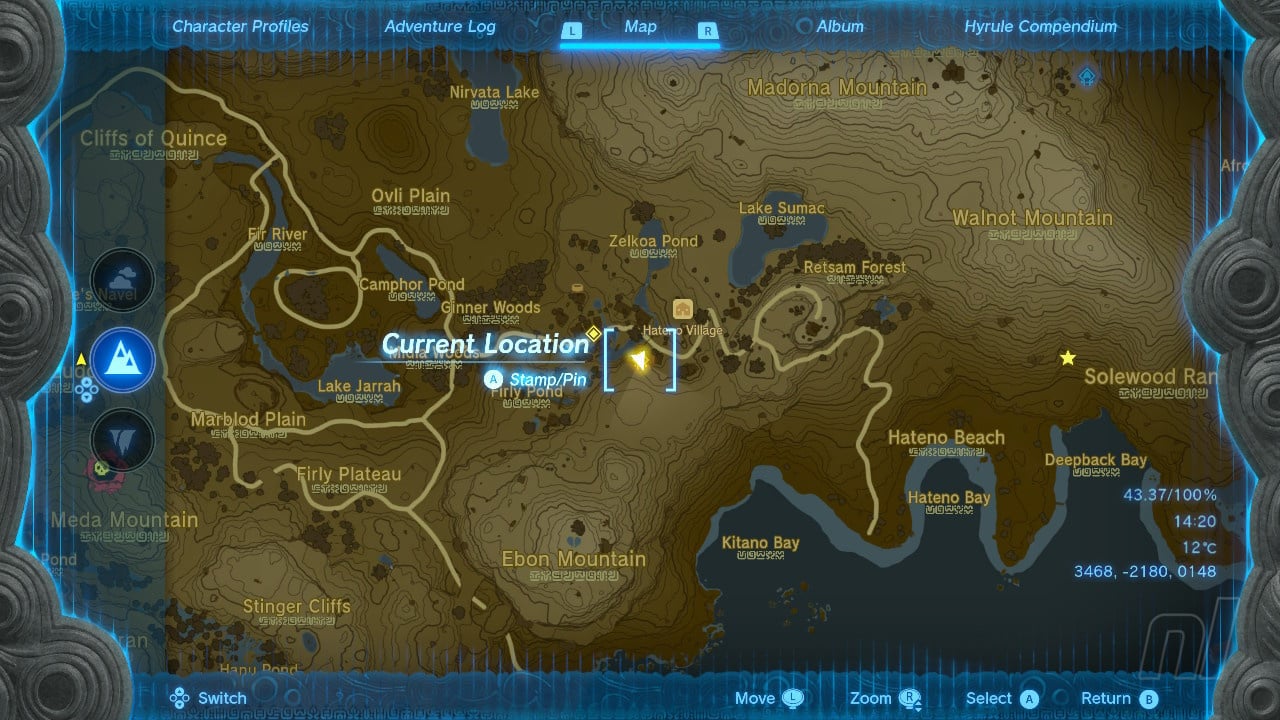
You'll need to follow Robbie to Hateno Village, which is south of Mount Lanayru Skyview Tower and is situated in the Necluda region. You can simply follow the path southeast from Lookout Landing to get there if you haven't been already.
Once you reach Hateno, you need to find the lab itself, and it's right at the very top of the village — the same place as it was in Breath of the Wild. You can take on Sanmik Shrine just outside of the village to give you a fast travel point back to Hateno.
Talk to Robbie and he'll upgrade your Purah Pad with the Shrine Sensor. However, before you can run off and look for every last shrine, you need to find one for Robbie to prove that his creation works.

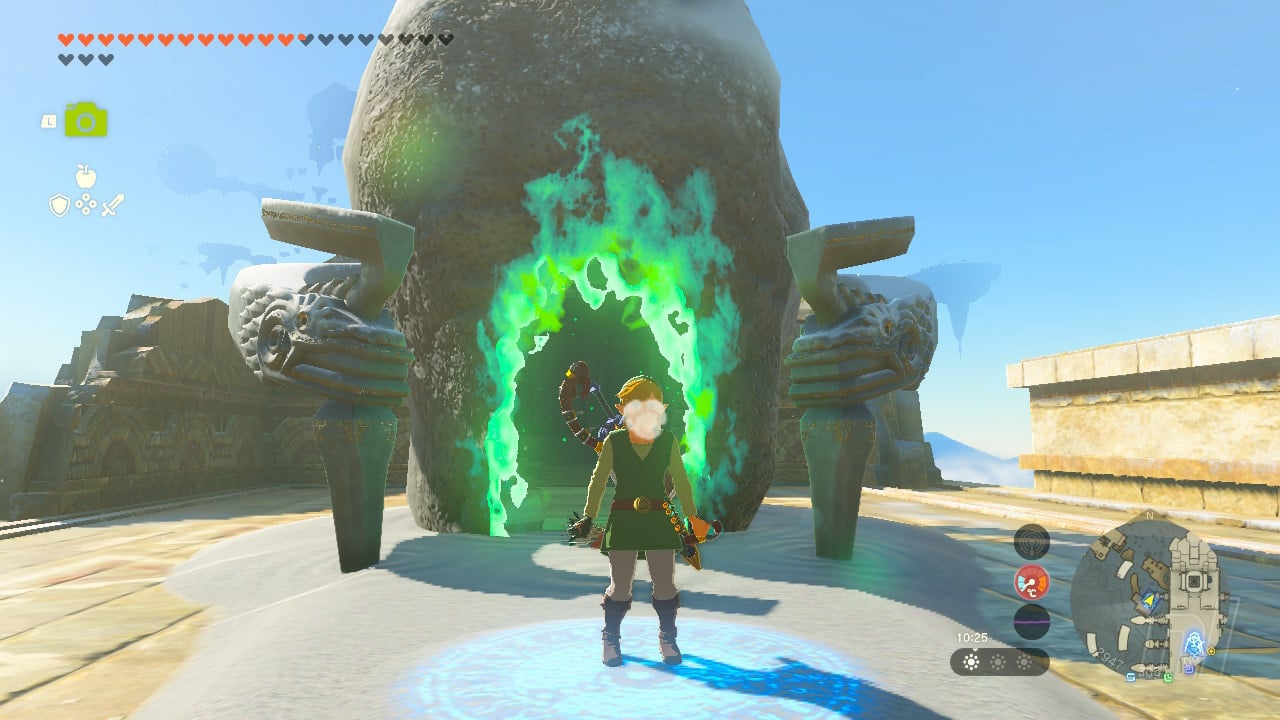
Finding Mayahisik Shrine
Robbie will get you to test the Shrine Sensor in the lab first before sending you off to find a nearby Shrine of Light. It's not very far — in fact, it's underneath you.
Leave the lab and then look down to your right to find a cave covered in rocks behind a field of apple trees. Destroy the rocks with either a bomb or a hammer, and simply walk to the end of the cave, letting your sensor guide you, to find it.
Once you're done, head back to Robbie and you'll now have the Shrine Sensor all to yourself.
How to get Sensor +
That's not the only upgrade you can get for your Purah Pad — Robbie will give you three additional objectives to fulfill, all of which will give your Pad added benefits.
One of these is an upgrade to your Shrine Sensor, Sensor +, through the Side Adventure Presenting: Sensor +!
To clear this, all you need to do is take five pictures of different monsters. Bring the data back to Robbie, and he'll upgrade your sensor, making it much stronger. You can find out how to take pictures using our guide on how to use the camera.
You'll have all of those shrines in no time with the Shrine Sensor. Don't forget, we're also a nice companion to go with that Shrine Sensor. Check out our guide for maps and locations on all Shrines in Hyrule, both Surface and Sky. And for all of our other guides, check out our Tears of the Kingdom walkthrough.


Comments 1
He won’t let me leave to go to the cave!! Help
Show Comments
Leave A Comment
Hold on there, you need to login to post a comment...