
In this hot and arid area, Pokémon such as Tyranitar, Onix and Aerodactyl make their homes.
Be sure to check out our Photodex hub page: New Pokémon Snap Photodex / Pokédex - Pokémon List For All Monsters
- Florio Pokémon List / Pokédex - 001 – 040
- Belusylva Pokémon List / Pokédex - 041 - 079
- Maricopia Pokémon List / Pokédex - 080 - 122
- Voluca Pokémon List / Pokédex - 123 - 154 < YOU ARE HERE
- Durice Pokémon List / Pokédex - 155 - 200
- Aurus Pokémon List / Pokédex - 201 - 214
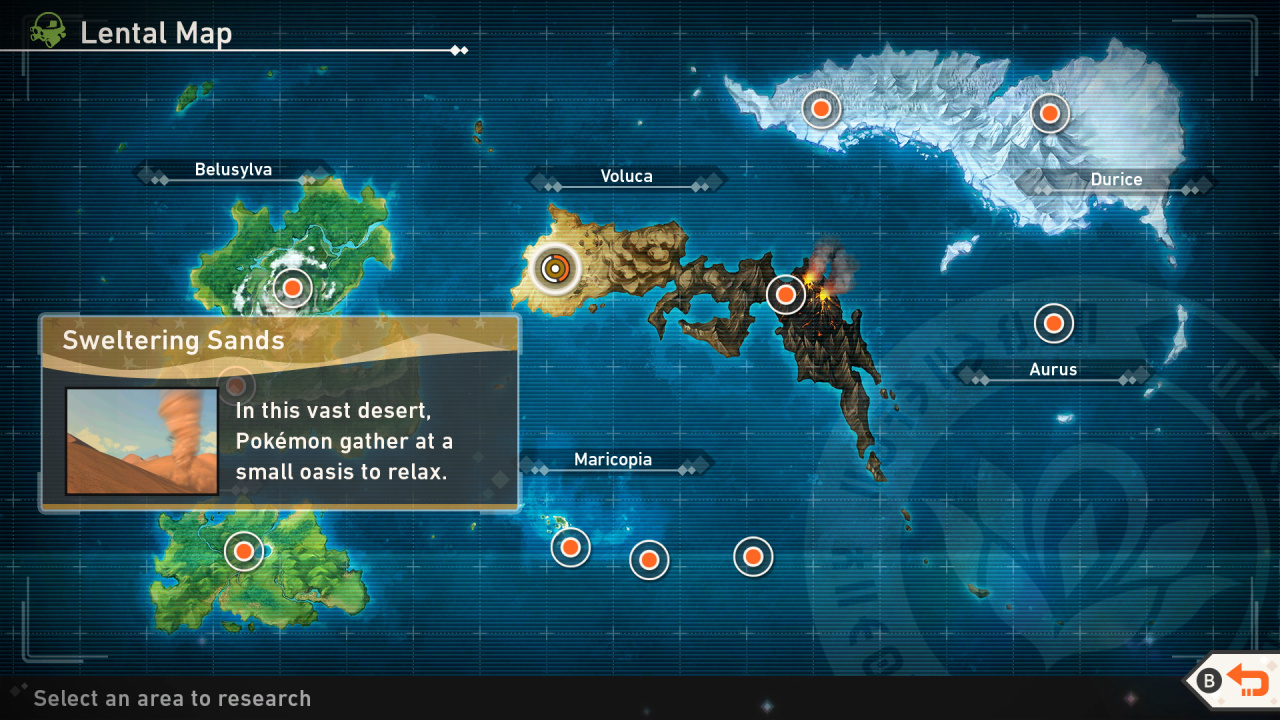
New Pokémon Snap Voluca Pokémon Location Map
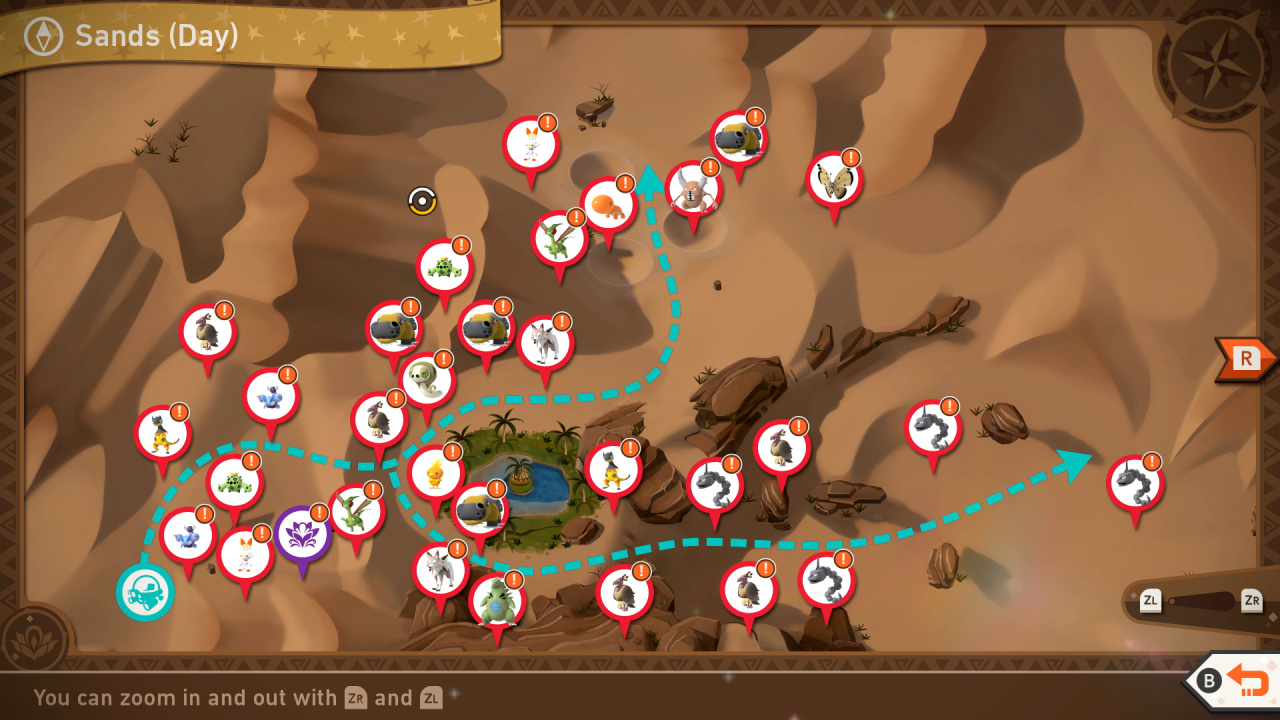
New Pokémon Snap Sweltering Sands Day Map
New Pokémon Snap Sweltering Sands Night Map

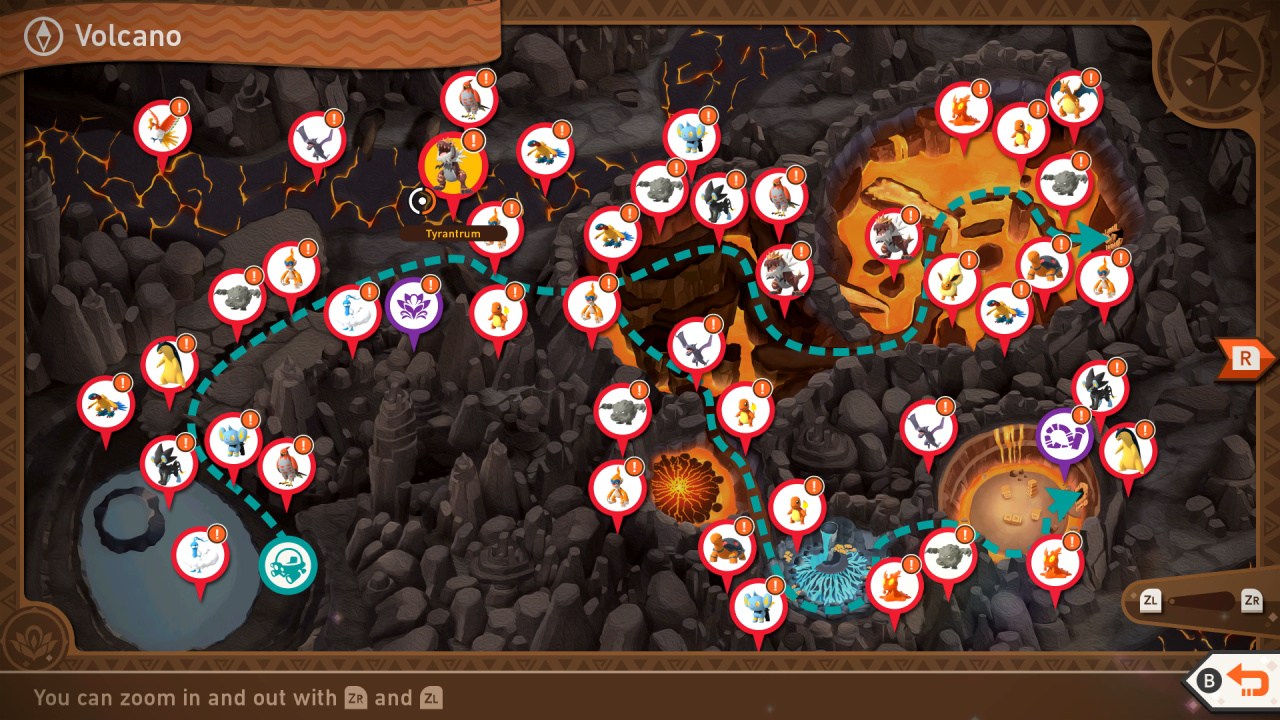
New Pokémon Snap Fireflow Volcano Map
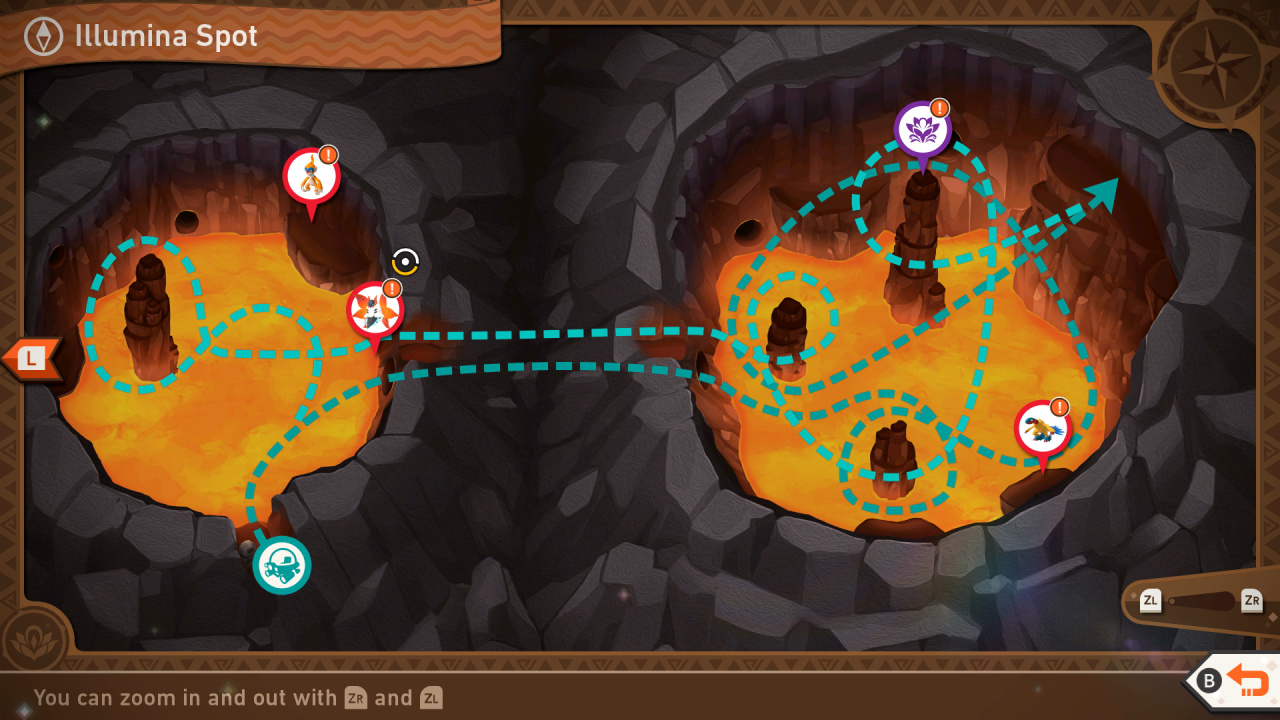
New Pokémon Snap Fireflow Volcano Illumina Spot Map
New Pokémon Snap Voluca Photodex
001: Vivillon (Meadow Pattern)

Vivillon Star Guide / Conditions:
1 Star: Most basic photo of this Pokémon possible
2 Star: In general, throwing a Fluffruit at or scanning a Pokémon will cause it to behave in a way that will get you a 2-star photo.
3 Star: In the second alternate path of the Snow (Night) course, you'll find some Icy Snow Pattern Vivillon flying inside the snow cave; take a close-up shot of Vivillon facing you
4 Star: In Jungle (Day), you'll find Arbok blocking your path. As you get closer, scan the area to discover a new path; take the new path and wait for Aipoms to show up in front of you; throw an Illumina Orb to the Aipom on the right for it to cut the tall grass on your left; this will free the Monsoon Pattern Vivillons that are trapped inside the cave; throw an Illumina Orb at Vivillon and take a close-up shot of it
004: Scorbunny

Scorbunny Star Guide / Conditions:
1 Star: Simple photo of it running or walking around
2 Star: Florio Nature Park (Night): notice Bouffalant pack on right hand side; take photo when it stands next to one of the sleeping Bouffalant, looking around; alternatively, wait until the end of the stage and throw Fluffruit at it while sleeping on Torterra - take photo the moment it is startled
3 Star: At the start of Florio Nature Park (Night), you'll occasionally spot a Scorbunny on top of the wooden sign on the right; when it kicks the air and creates flames, capture your photo.
4 Star: In Florio Nature Park (Day), towards the end of the stage, look for a hidden Pichu on the left side of the flower field; throw a Fluffruit to lure it closer, and Scorbunny will become excited to see its friend; wait for them to run to the Crystalbloom; when Scorbunny begins laughing, take your photo.
013: Pinsir
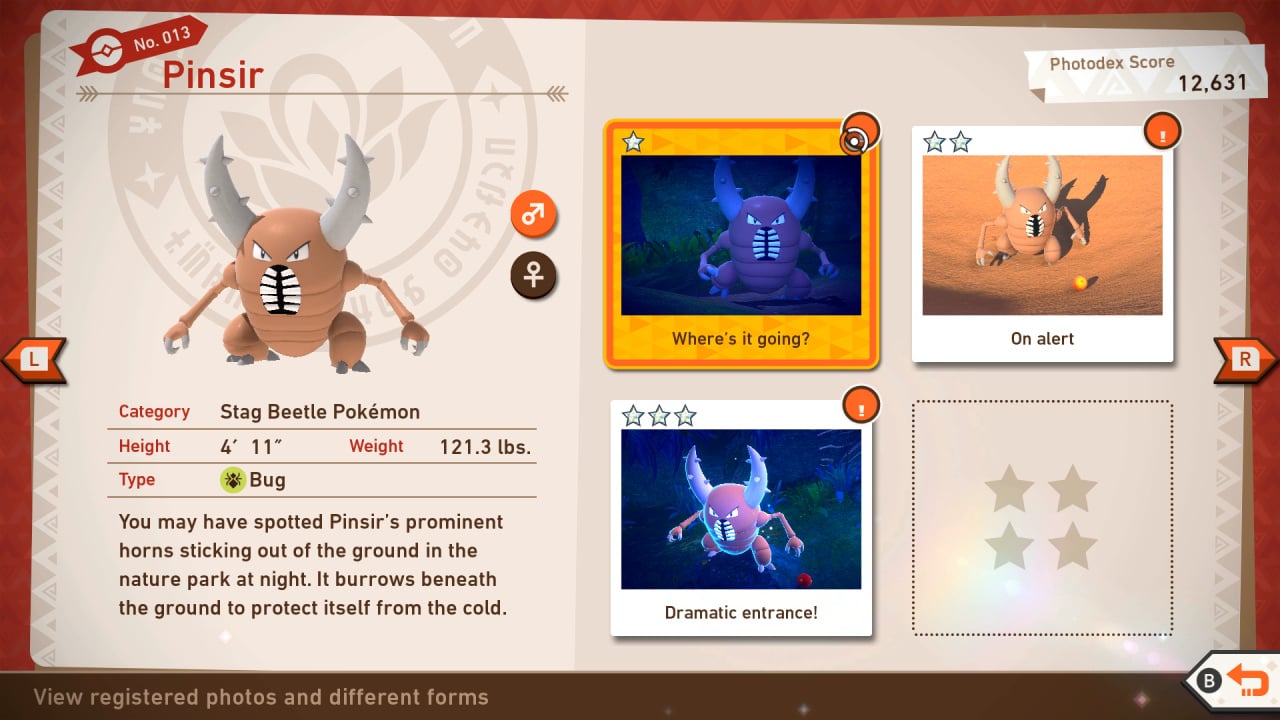
Pinsir Star Guide / Conditions:
1 Star: Most basic photo of this Pokémon possible
2 Star: In general, throwing a Fluffruit at or scanning a Pokémon will cause it to behave in a way that will get you a 2-star photo.
3 Star: In Florio Nature Park (Night) level 2, wake up Pinsir from the hole in the ground by playing a Melody; Pinsir's reaction will cause Heracross to fall to the ground - take your photo then
4 Star: On the other side of the dam wall, look for Pinsir and Heracross roaming the area; watch them until they start fighting; get close enough and snap a photo of the action
123: Skorupi
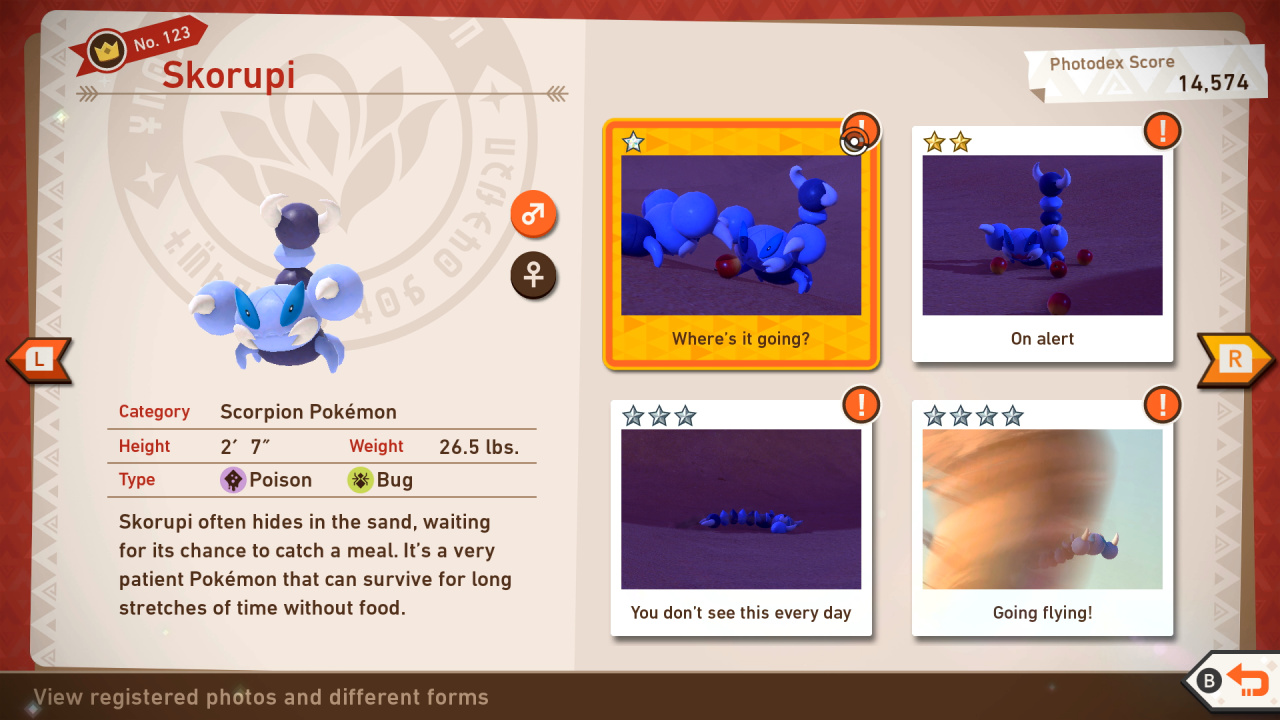
Skorupi Star Guide / Conditions:
1 Star: Most basic photo of this Pokémon possible
2 Star: In general, throwing a Fluffruit at or scanning a Pokémon will cause it to behave in a way that will get you a 2-star photo.
3 Star: Take a picture of Skorupi after it had been hit by Minior in Sands (Night)
4 Star: Take a picture of Skorupi caught in the tornado in Sands (Day) Level 1; Get a picture of Skorupi standing on their tails by removing the Tornado then throwing Illumina orbs at them when the two meet
124: Cacnea
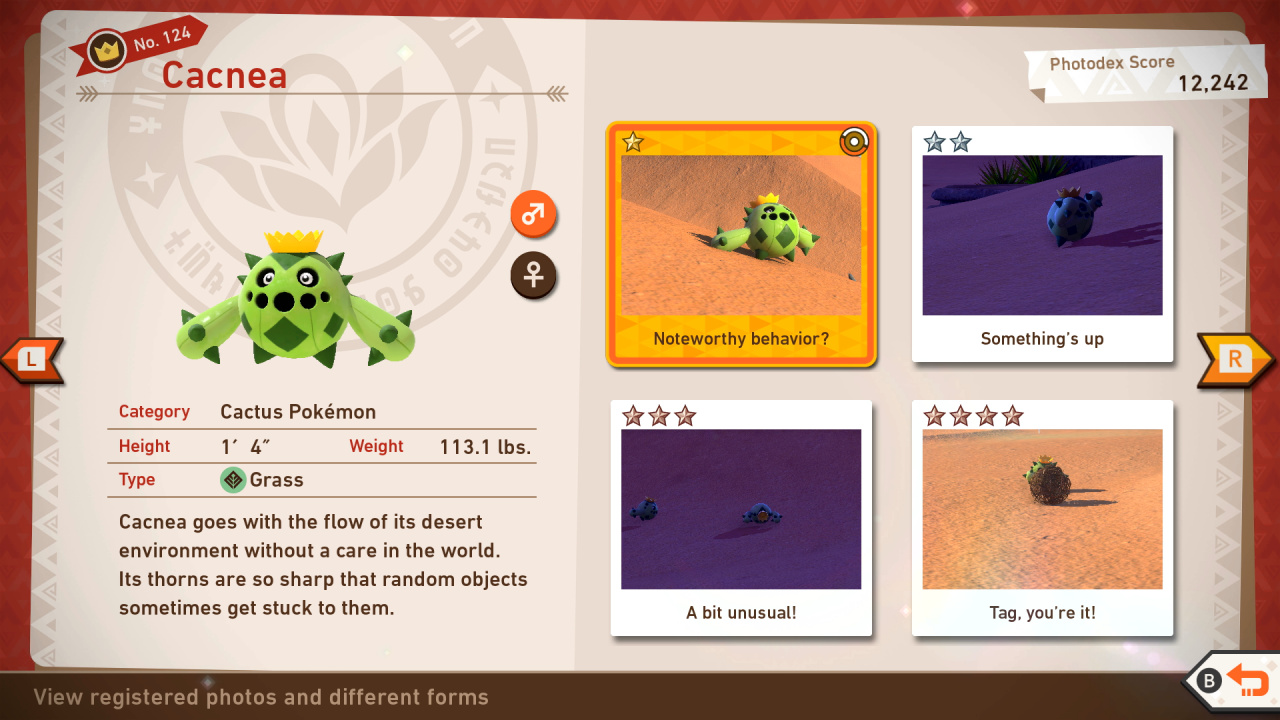
Cacnea Star Guide / Conditions:
1 Star: Most basic photo of this Pokémon possible
2 Star: In general, throwing a Fluffruit at or scanning a Pokémon will cause it to behave in a way that will get you a 2-star photo.
3 Star: Take a picture of Cacnea rolling down a hill
4 Star: Take a picture of Cacnea caught in the tornado in Sands (Day) Level 2; Take a picture of Cacnea chasing a tumbleweed by using scan when you drop down the sandslide. It will appear at the end chasing the tumbleweed; First awaken the two Minior in the first area. Then, use scan when you drop down the sandslide and see the Cacnea to the left. It will appear at the end chasing tumbleweed but then will move to Minior for a closer picture
125: Sandshrew
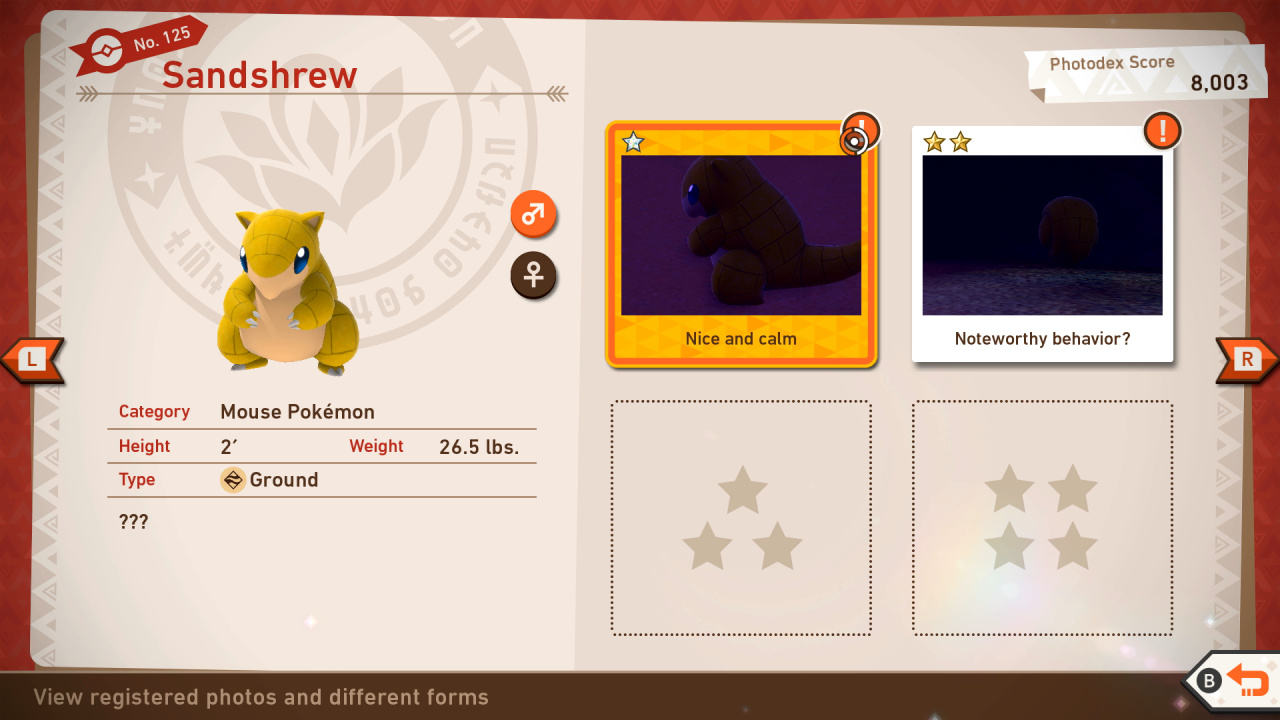
Sandshrew Star Guide / Conditions:
1 Star: Most basic photo of this Pokémon possible
2 Star: In general, throwing a Fluffruit at or scanning a Pokémon will cause it to behave in a way that will get you a 2-star photo.
3 Star: Take a picture of Sandshrew talking to Minior in Sands (Night); Get a picture of Lycanroc Midnight attacking Sandshrew; Get a picture of Sandshrew climbing out of the ground in Badlands (night)
4 Star: Take a picture of Sandshrew after throwing a Fluffruit at a rolling one and knocking it over
126: Trapinch

Trapinch Star Guide / Conditions:
1 Star: Most basic photo of this Pokémon possible
2 Star: In general, throwing a Fluffruit at or scanning a Pokémon will cause it to behave in a way that will get you a 2-star photo.
3 Star: Take a picture of Trapinch jumping out of the sand
4 Star: Take a picture of Trapinch happy with Scorbunny after Flygon has given it a Fluffruit; In Sands (Night), wake the Trapinch in the crater up with a Fluffruit and get a picture of Trapinch with a bit of Minior Shell in its mouth; Take a picture of Trapinch in Sands (Day) being dug up by Scorbunny by throwing Illumina Orbs at Scorbunny
127: Flygon
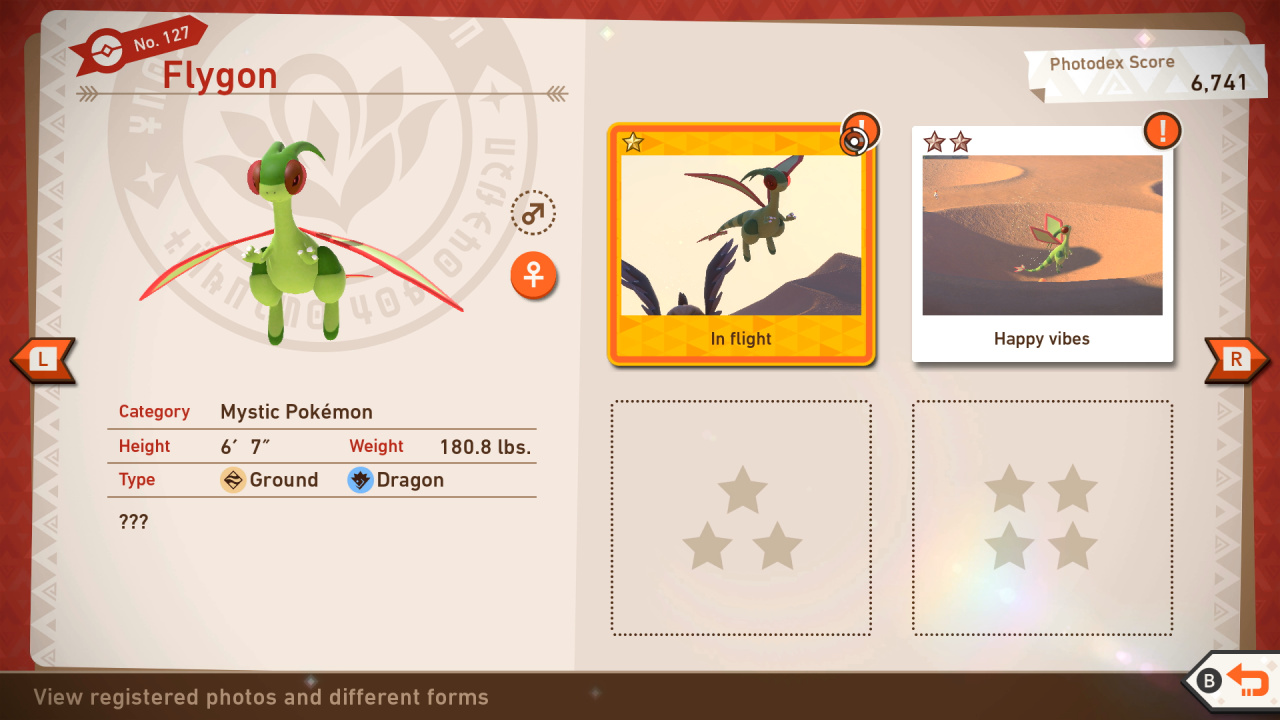
Flygon Star Guide / Conditions:
1 Star: Most basic photo of this Pokémon possible
2 Star: In general, throwing a Fluffruit at or scanning a Pokémon will cause it to behave in a way that will get you a 2-star photo.
3 Star: Take a picture of Illumina enfused Flygon in Sands (Night)
4 Star: Take a picture of Flygon taking a Fluffruit in Sands (Day); In Sands (Night), wake Flygon up with an Illumina Orb and take a picture of it doing Dragon Dance
128: Kangaskhan

Kangaskhan Star Guide / Conditions:
1 Star: Most basic photo of this Pokémon possible
2 Star: In general, throwing a Fluffruit at or scanning a Pokémon will cause it to behave in a way that will get you a 2-star photo.
3 Star: In Sands (Night), play the Melody and throw a Fluffruit at the Kangaskhan watching the meteor show; Take a picture of Kangaskhan roaring at Salazzle in Badlands (Day)
4 Star: Free two Minior that come down by the Crystablooms and watch as they fly to Kangaskhan in the Oasis, letting its guard down. Take a photo of the Kangaskhan playing with its baby; Free two Minior that come down by the Crystablooms and watch as they fly to Kangaskhan in the Oasis, letting its guard down. Take a photo of the Kangaskhan feeding its baby a Fluffruit In Badlands (Day), lure Koffing down to Tepig by hitting it with a Fluffruit. Then, Illumina Orb both and it'll use Smokescreen. Kangaskhan will put Tepig in its pouch. Take a picture of it with Tepig in its pouch
129: Mandibuzz
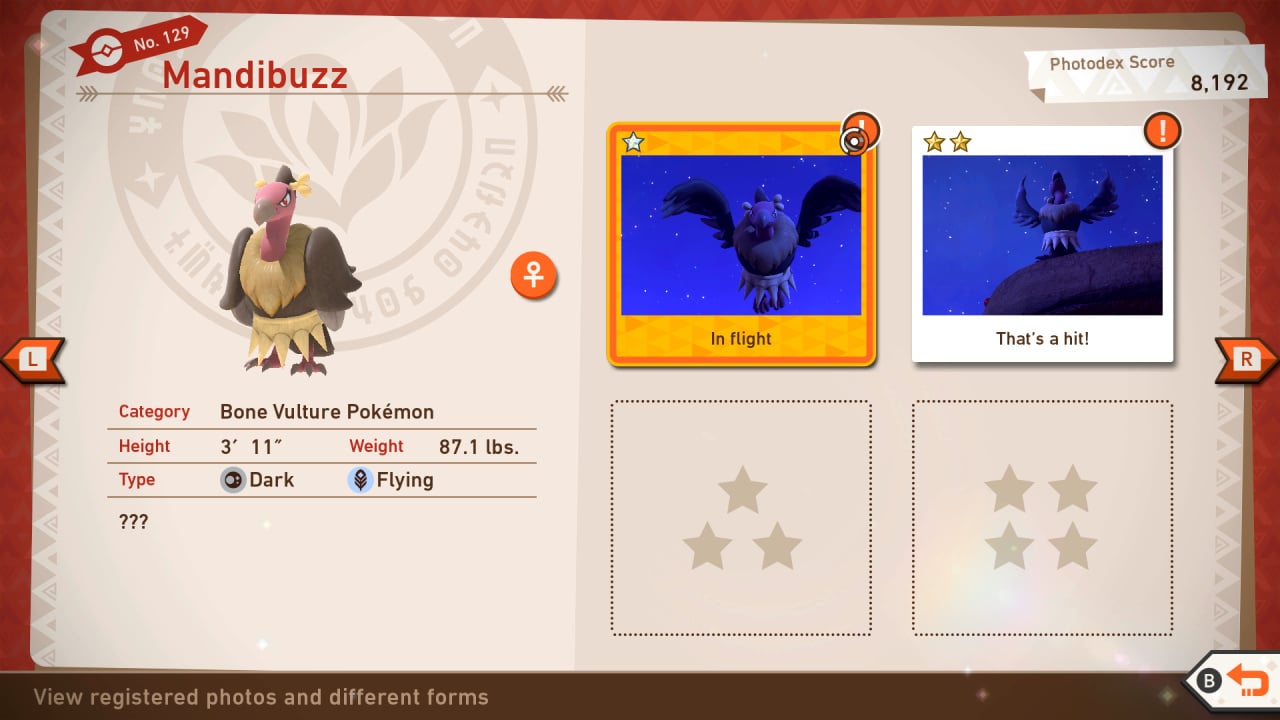
Mandibuzz Star Guide / Conditions:
1 Star: Most basic photo of this Pokémon possible
2 Star: In general, throwing a Fluffruit at or scanning a Pokémon will cause it to behave in a way that will get you a 2-star photo.
3 Star: Take a picture of Mandibuzz on the ground eating a Fluffruit
4 Star: Take a picture of Mandibuzz taking a Fluffruit by throwing it into the coconuts in Sands (Day)
130: Minior (Red Core)
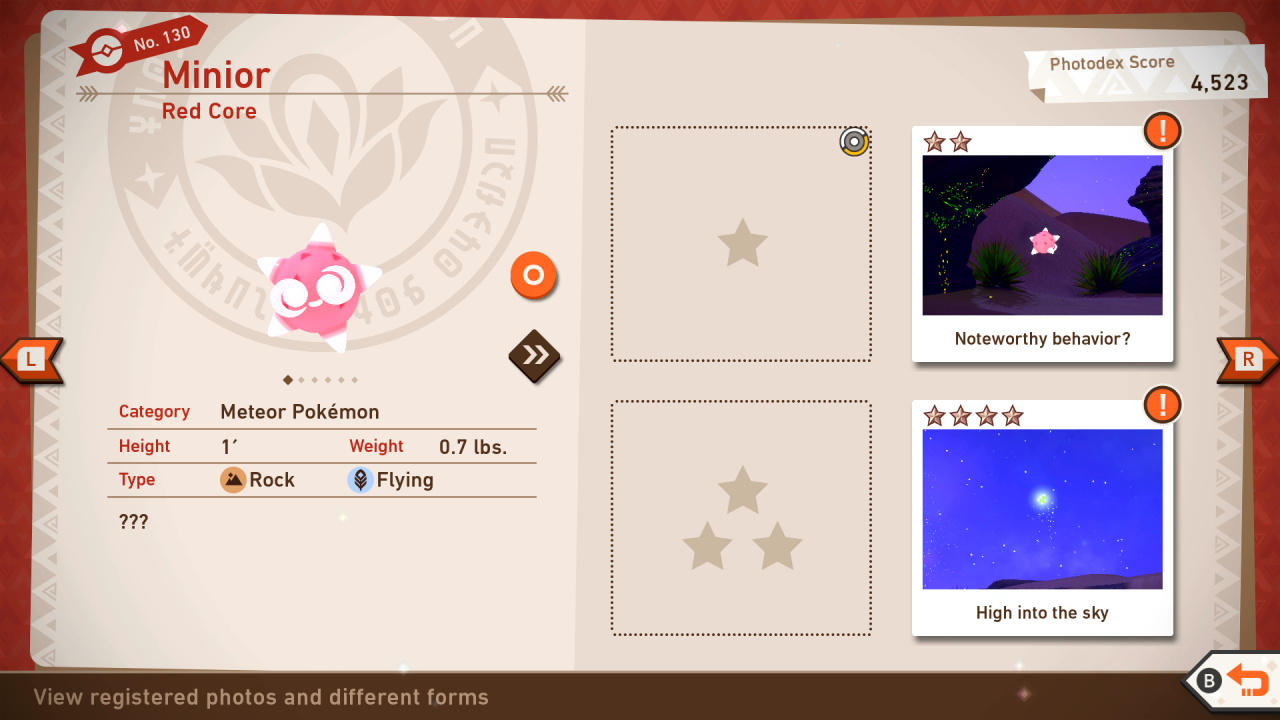
Minior (Red Core) Star Guide / Conditions:
1 Star: Most basic photo of this Pokémon possible
2 Star: In general, throwing a Fluffruit at or scanning a Pokémon will cause it to behave in a way that will get you a 2-star photo.
3 Star: Free the Minior that comes down from lighting the three Crystablooms and take a picture of it spinning; Take a picture of Minior falling from the sky; Take a picture of Minior playing with Sandshrew
4 Star: Take a picture of Minior creating a meteor showed in the final parts of Sands (Night); If you scan right to the bottom right when you start and release the Minior, then release two hidden in the dunes behind Trapinch, then two more hidden by the big rock to your right, then one poking out by the dune with Kangaskhan on, then one more next to Silicobra, then restore the one that hits Skorupi and the two that come down from the Crystabloom, a formating of Minior will fly through the Oasis for a 4 star photo
131: Silicobra
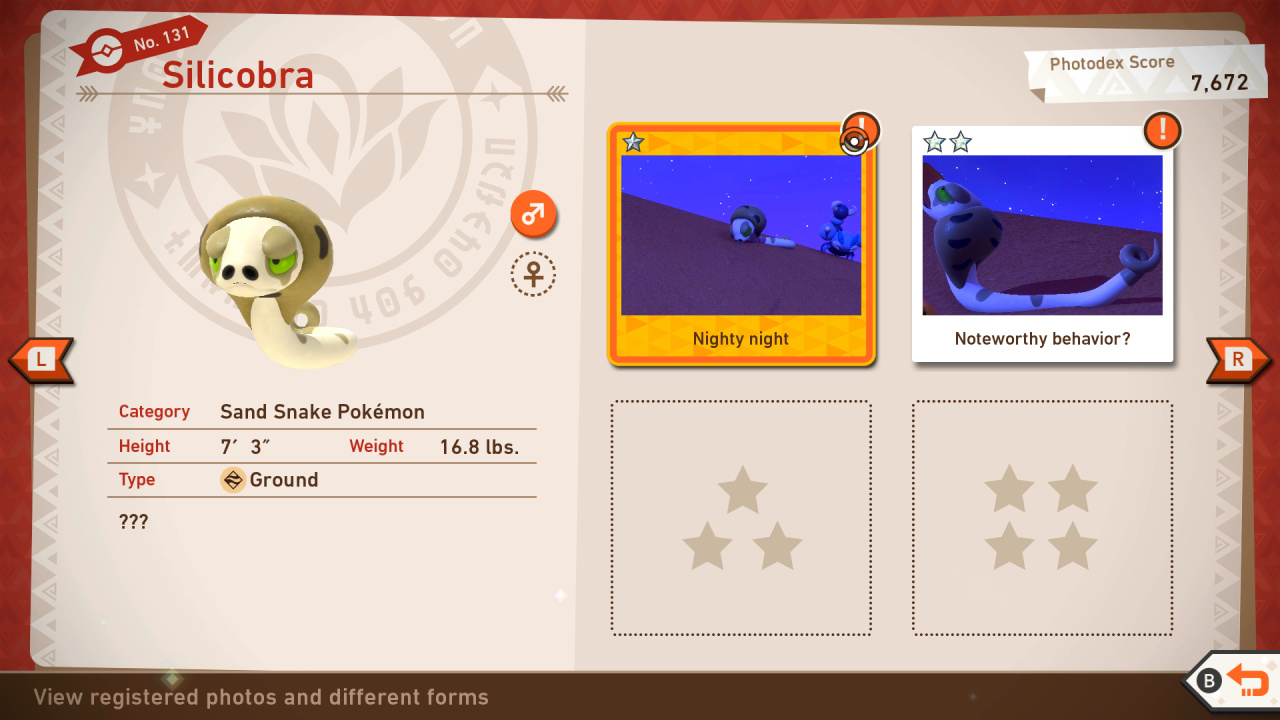
Silicobra Star Guide / Conditions:
1 Star: Most basic photo of this Pokémon possible
2 Star: In general, throwing a Fluffruit at or scanning a Pokémon will cause it to behave in a way that will get you a 2-star photo.
3 Star: Get a picture of Silicobra angry after the fight with Lycanroc; In Badlands (Day), rescue the Silicobra by throwing a Fluffruit at the Scolipede making chase and lighting the Crystabloom. Then, a Silicobra will pop out of a cave hole. Get a picture of it using Sand Spit after hitting it with an Illumina Orb
4 Star: In Sands (Night), lure one to the Oasis by knocking it awake, then out of the sand opposite the Minior Crystablooms. Then, get it to fight with Lycanroc; In Sands (Day), lure the Silicobra out by the final Crystabloom by throwing a Fluffruit and lure Vivillon close by. Get a picture of Silicobra leaping to get the Vivillon In Badlands (Day), rescue the Silicobra by throwing a Fluffruit at the Scolipede making chase and lighting the Crystabloom. Then, a Silicobra will be sleeping in a cave hole. Get a picture of it using Sand Spit after hitting it with a Fluffruit; In Badlands (Day), use an Illumina orb on the Silicobra stuck in the ground after releasing it from the ground. Get a picture of it attacking Tepig
132: Torchic
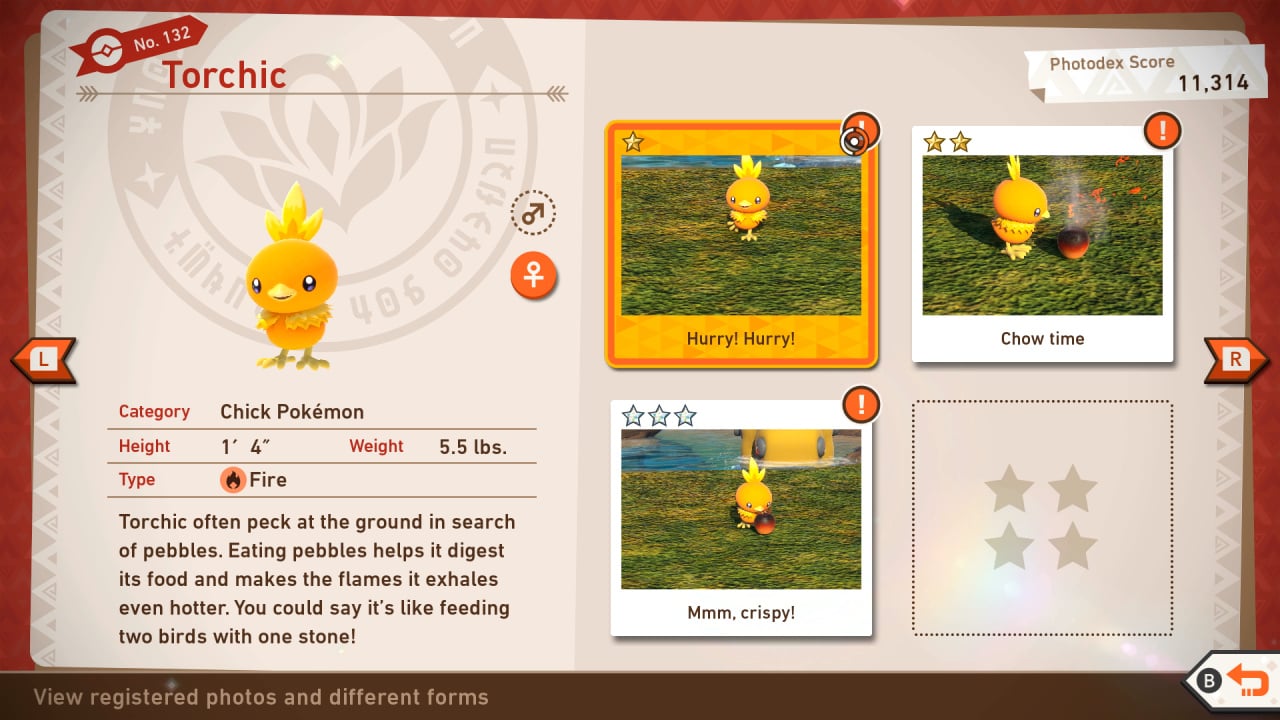
Torchic Star Guide / Conditions:
1 Star: Most basic photo of this Pokémon possible
2 Star: In general, throwing a Fluffruit at or scanning a Pokémon will cause it to behave in a way that will get you a 2-star photo.
3 Star: Take a picture of Torchic setting fire to a Fluffruit
4 Star: Lure Torchic over to Hippowdon and throw an Illumina Orb at it. It will jump onto Hippowdon's back for a picture; Throw multiple Illumina Orbs at Torchic then give it a Fluffruit In Badlands (Day), take the alternate path and there will be three Torchic. Lure them together and Illumina Orb & play melody and a Diglett will pop out, scaring them. Get a picture of them startled.
133: Heliolisk

Heliolisk Star Guide / Conditions:
1 Star: Most basic photo of this Pokémon possible
2 Star: In general, throwing a Fluffruit at or scanning a Pokémon will cause it to behave in a way that will get you a 2-star photo.
3 Star: Use Scan or play the melody to get a picture of Heliolisk with its frills open
4 Star: Take a picture of Heliolisk running on water after being startled by a Magikarp when you throw a Fluffruit into the Oasis; After awakening the Heliolisk, take a picture of the two Heliolisk with their frills open; When Heliolisk has its frills open, throw an Illumina Orb at it and take an image of it using Parabolic Charge
134: Lycanroc
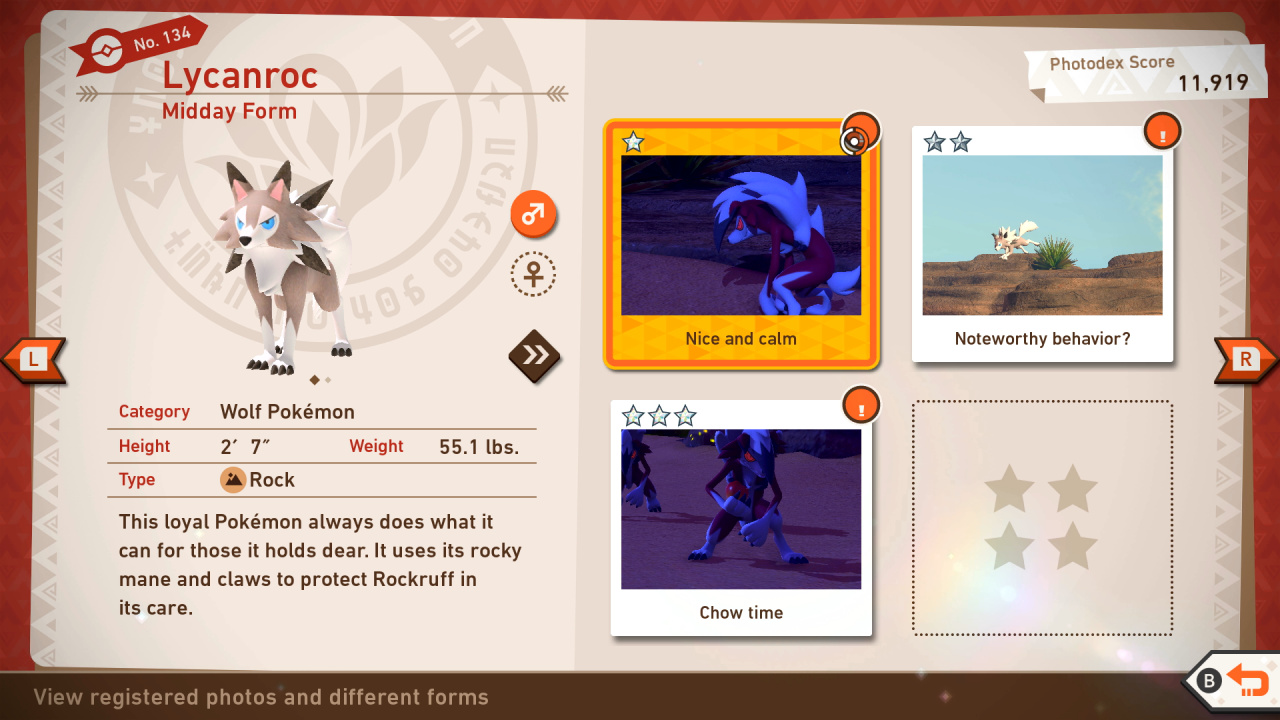
Lycanroc Star Guide / Conditions:
1 Star: Most basic photo of this Pokémon possible
2 Star: In general, throwing a Fluffruit at or scanning a Pokémon will cause it to behave in a way that will get you a 2-star photo.
3 Star: Take a picture of Lycanroc fighting Tyranitar in Sands (Day); Take a picture of Lycanroc fighting Hippowdon in Sands (Day); Use Scan as you go towards the Sandsfall and see Lycanroc on the rock causing it to Howl; Take a picture of Lycanroc Midnight Form fighting Tyranitar in Sands (Night); In Level 1 of Sands (Night), get a picture of Lycanroc throwing your Fluffruit away; Get a picture of Lycanroc Midnight attacking Sandshrew
4 Star: Take a picture of Lycanroc Midday Form howling on the end of a cliff in the right hand side of Sands (Night); Get Lycanroc Midday Form howling in Badlands (night) by waking up Rockruff in Level 1 and having them join together; Get a picture of Lycanroc Midnight Form howling after feeing it a Fluffruit in Levels 2 & 3
135: Hippowdon
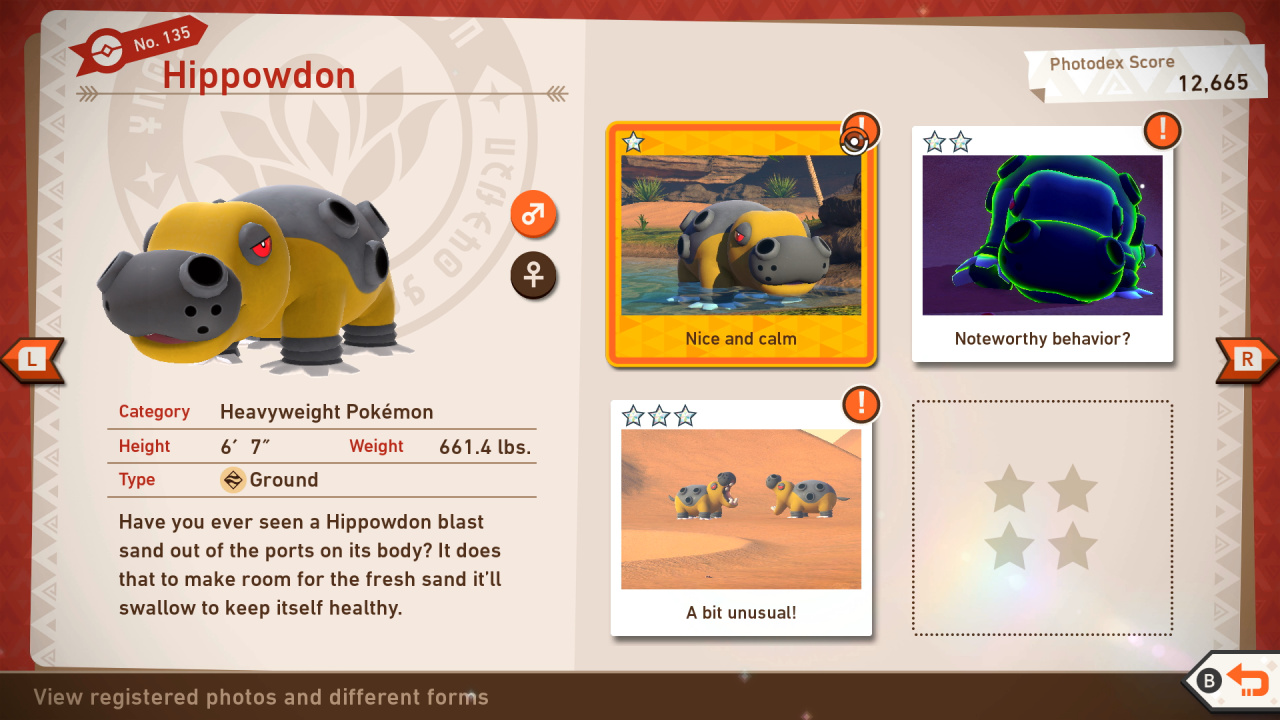
Hippowdon Star Guide / Conditions:
1 Star: Most basic photo of this Pokémon possible
2 Star: In general, throwing a Fluffruit at or scanning a Pokémon will cause it to behave in a way that will get you a 2-star photo.
3 Star: Take a picture of two Hippowdon fighting
4 Star: Lure Torchic over to Hippowdon and throw an Illumina Orb at it. It will jump onto Hippowdon's back for a picture
136: Tyranitar

Tyranitar Star Guide / Conditions:
1 Star: Most basic photo of this Pokémon possible
2 Star: In general, throwing a Fluffruit at or scanning a Pokémon will cause it to behave in a way that will get you a 2-star photo.
3 Star: Take a picture of Tyranitar fighting with Lycanroc Hit Tyranitar with a Fluffruit at Sands (Night) and take a picture of its roar
4 Star: After the fight with Lycanroc, hit Tyranitar with an Illumina Orb and take a photo of it breaking the rock In Sands (Night), activate the Crystabloom in the crater area to show Tyranitar. Then, lure Lycanroc Midnight Form over to get them to fight for a photo
137: Onix
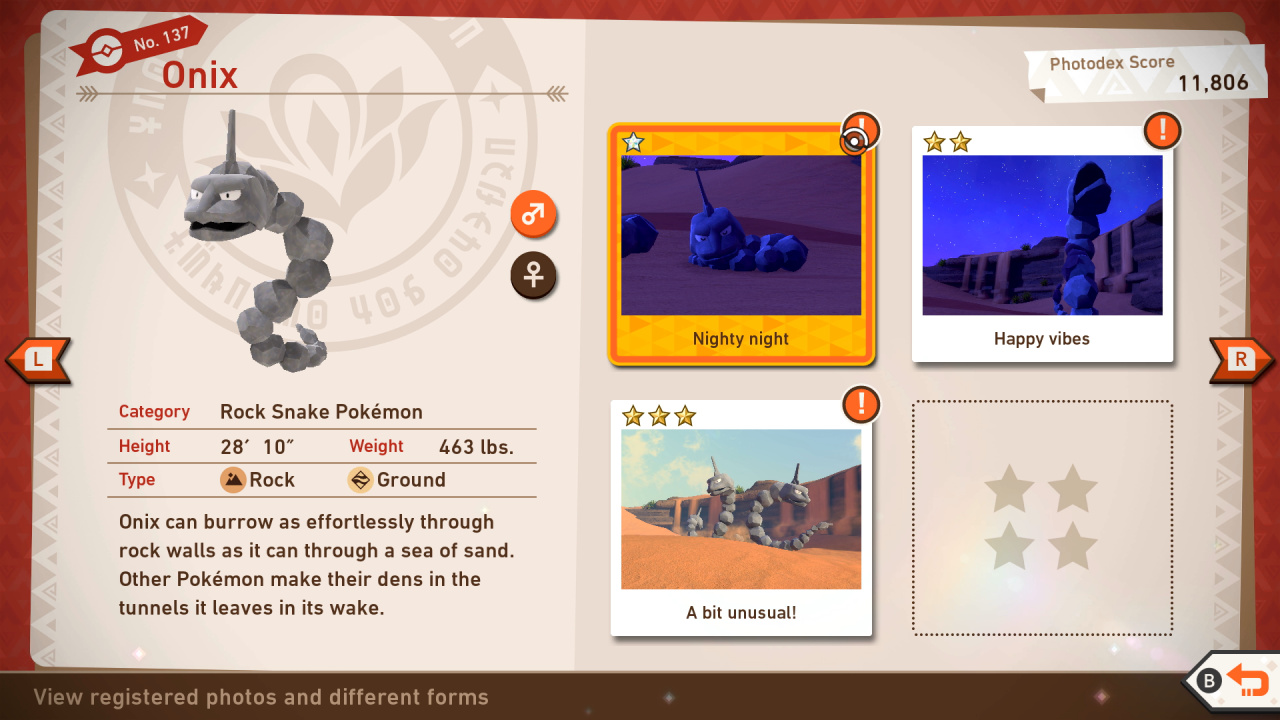
Onix Star Guide / Conditions:
1 Star: Most basic photo of this Pokémon possible
2 Star: In general, throwing a Fluffruit at or scanning a Pokémon will cause it to behave in a way that will get you a 2-star photo.
3 Star: Take a picture of Onix jumping after being hit with an Illumina Orb
4 Star: Take a picture of Onix jumping at 3 Mandibuzz by hitting them with Fluffruit to the right when you come down to the area, then the one to the left, then looking behind you
138: Altaria
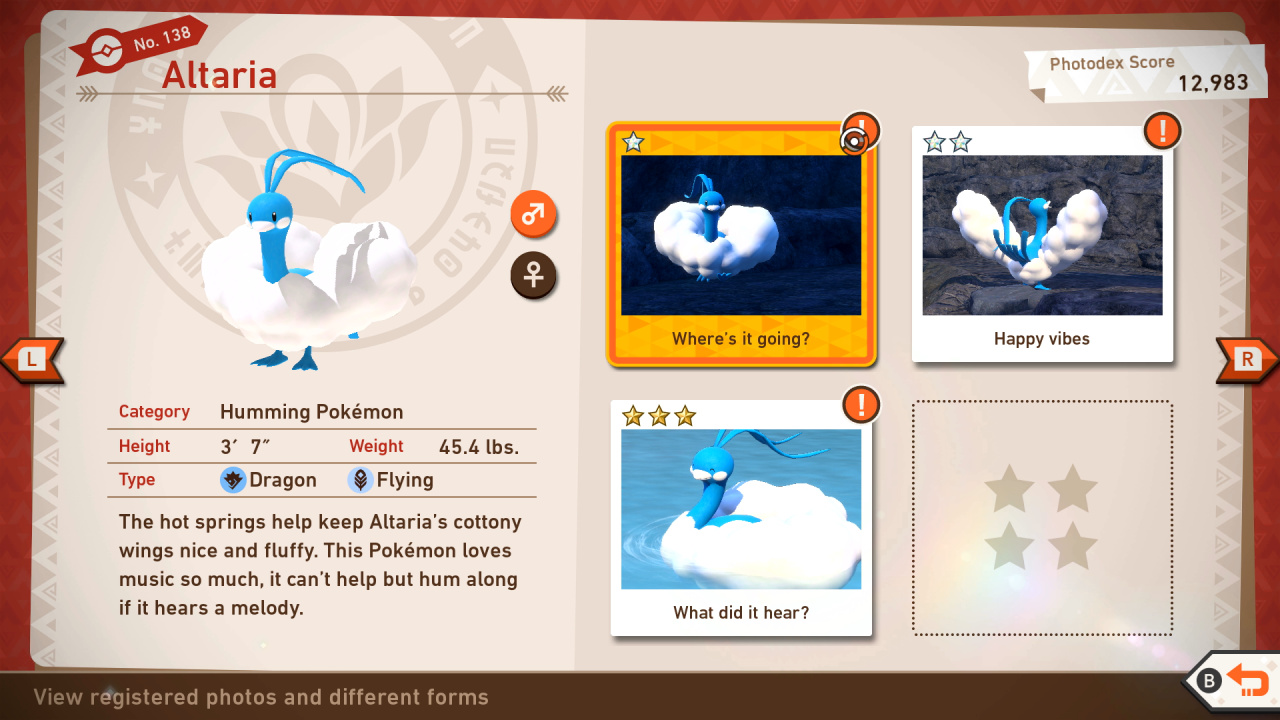
Altaria Star Guide / Conditions:
1 Star: Most basic photo of this Pokémon possible
2 Star: In general, throwing a Fluffruit at or scanning a Pokémon will cause it to behave in a way that will get you a 2-star photo.
3 Star: At the start of the Volcano course at Research Level 2 or higher, look to your left to see the three Altaria sleeping in the hot springs; toss a Fluffruit at one of them to wake them; play the Melody to make it sing and take your photo
4 Star: At the start of the course, look for a flock of Altaria swimming on the far side of the hot spring; toss a Fluffruit at one of the Altaria to make the entire flock fly away; toss another Fluffruit into the pool to the right of the flock of Altaria to make steam come out while they're flying over; take your photo while they're circling the steam
139: Shinx
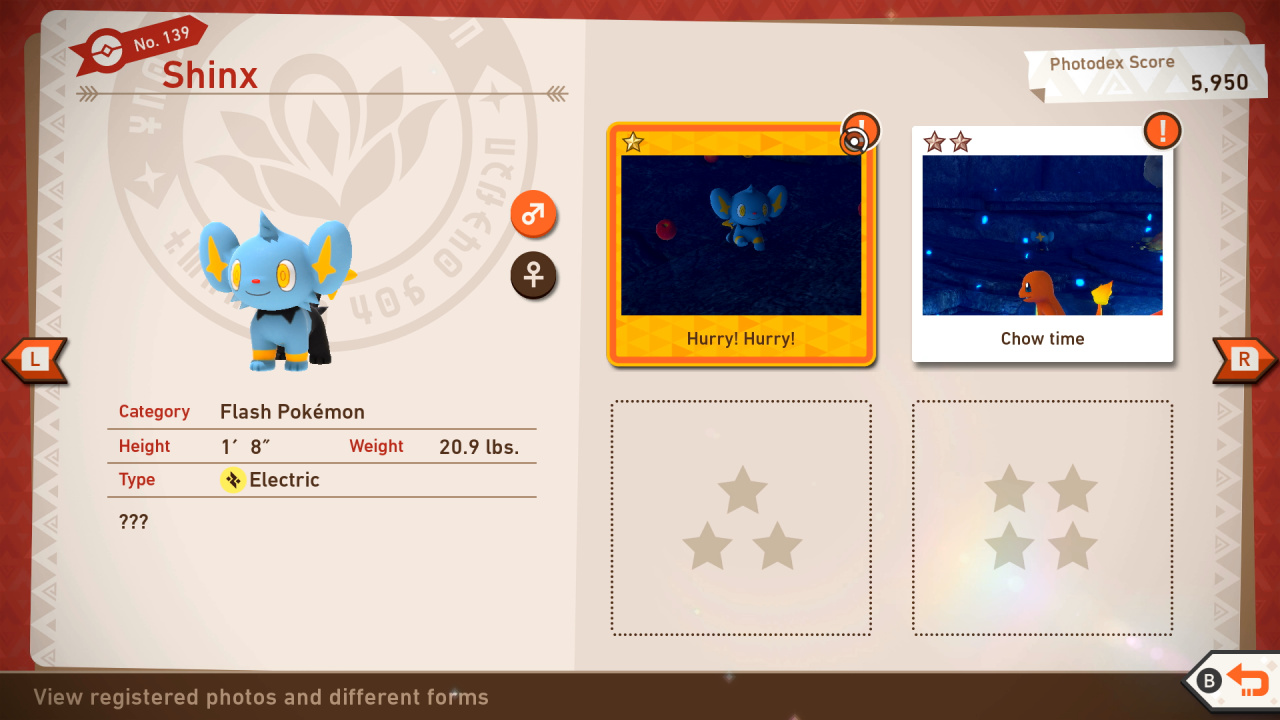
Shinx Star Guide / Conditions:
1 Star: Most basic photo of this Pokémon possible
2 Star: In general, throwing a Fluffruit at or scanning a Pokémon will cause it to behave in a way that will get you a 2-star photo.
3 Star: After taking the alternate route in the cave of the Volcano at Research Level 3, you can find a Shinx sleeping on the path. Take a photo of the Shinx as it sleeps to get a 3 Star photo.
4 Star: Complete the Little Lost Shinx request and take a photo of Shinx as it excitedly stands on its hind legs after reuniting with Luxray.
140: Luxray
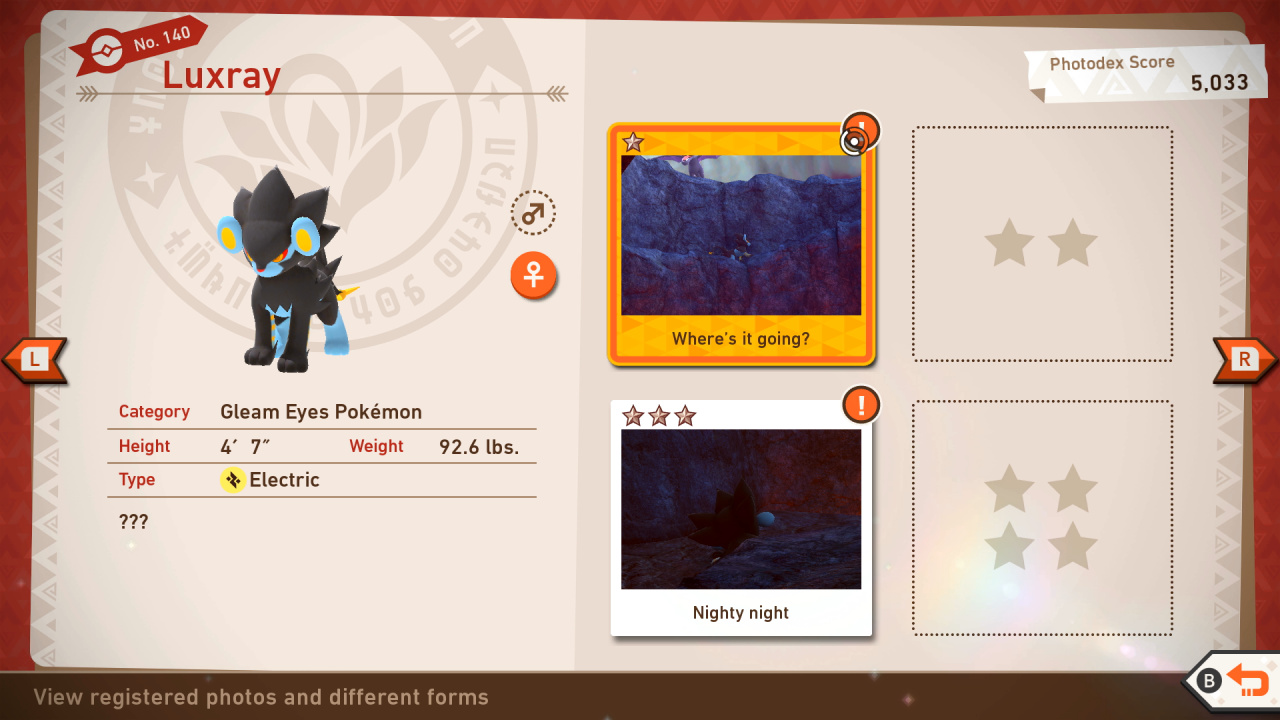
Luxray Star Guide / Conditions:
1 Star: Most basic photo of this Pokémon possible
2 Star: In general, throwing a Fluffruit at or scanning a Pokémon will cause it to behave in a way that will get you a 2-star photo.
3 Star: Right before the enter the cave section of the Volcano course at Research Level 3, a Luxray will run past you and enter the cave. Quickly toss an Illumina Orb at the Luxray while it is running. After you toss the Illumina Orb, continue through the main route of the cave. Before entering the magma chamber, you can spot Luxray sleeping next to Shinx on a ledge to your right. Take a photo of the two sleeping Pokemon, making sure the focus of your shot is on Luxray.
4 Star: Complete the Luxray Vision request and take a photo of the Luxray while its eyes are glowing yellow.
141: Talonflame
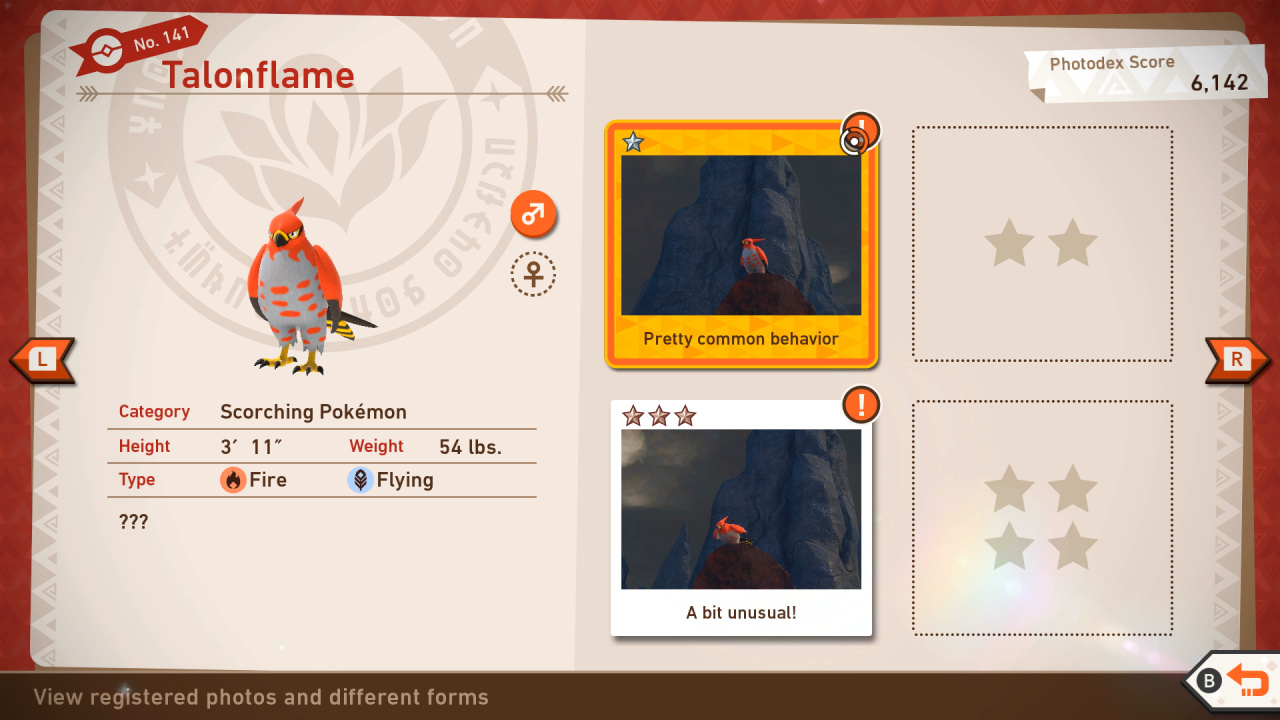
Talonflame Star Guide / Conditions:
1 Star: Most basic photo of this Pokémon possible
2 Star: In general, throwing a Fluffruit at or scanning a Pokémon will cause it to behave in a way that will get you a 2-star photo.
3 Star: Capture a photo of Talonflame eating fluffruit
4 Star: Complete the A Skilled Hunter request and take a photo of the Pokemon as it picks the Fluffruit off the ground.
142: Monferno
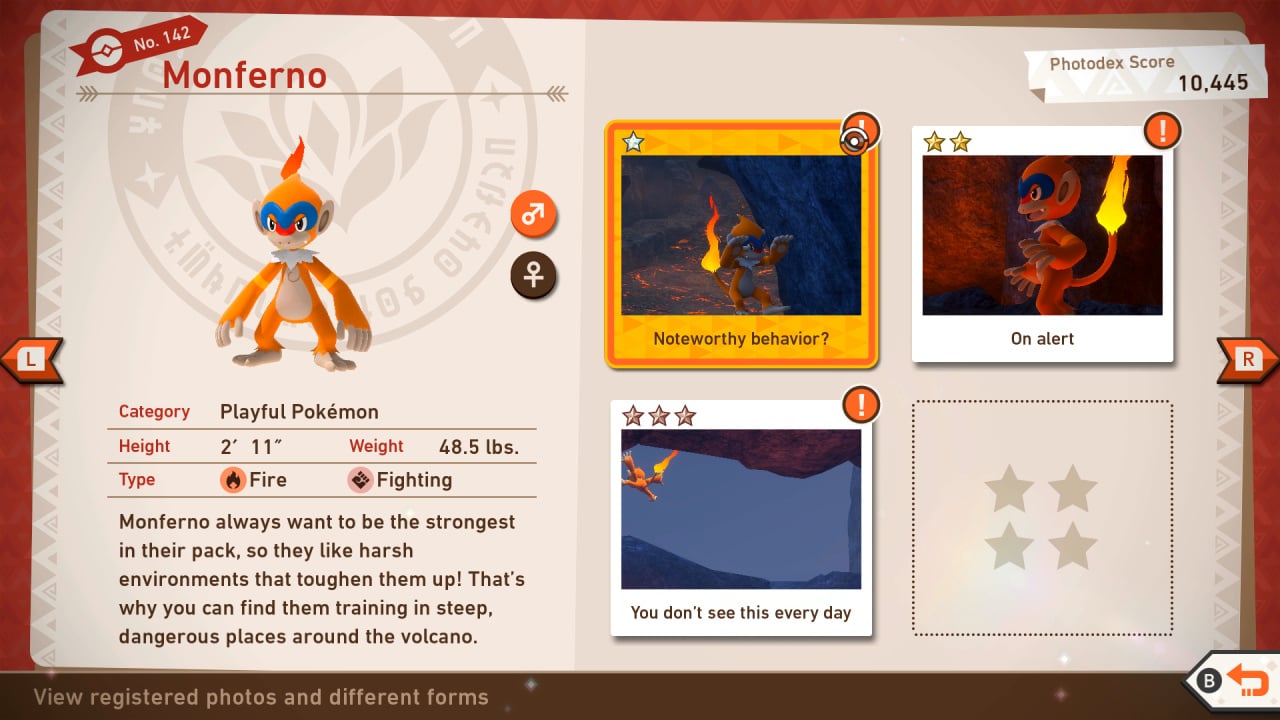
Monferno Star Guide / Conditions:
1 Star: Most basic photo of this Pokémon possible
2 Star: In general, throwing a Fluffruit at or scanning a Pokémon will cause it to behave in a way that will get you a 2-star photo.
3 Star: As you go through the second area of the Volcano course beside the magma path, you can spot two Monferno playing on top of the rocks. The Monferno on the lower rock will eventually jump down and start taunting the player as you pass. Take a photo of the cheeky Monferno to get a 3 Star photo.
4 Star: Get a picture of Monferno doing fighting posses on top of a pillar in volcano in Level 1; In Level 3, get a picture of Monferno going to kick Graveler away inside the volcano
143: Aerodactyl
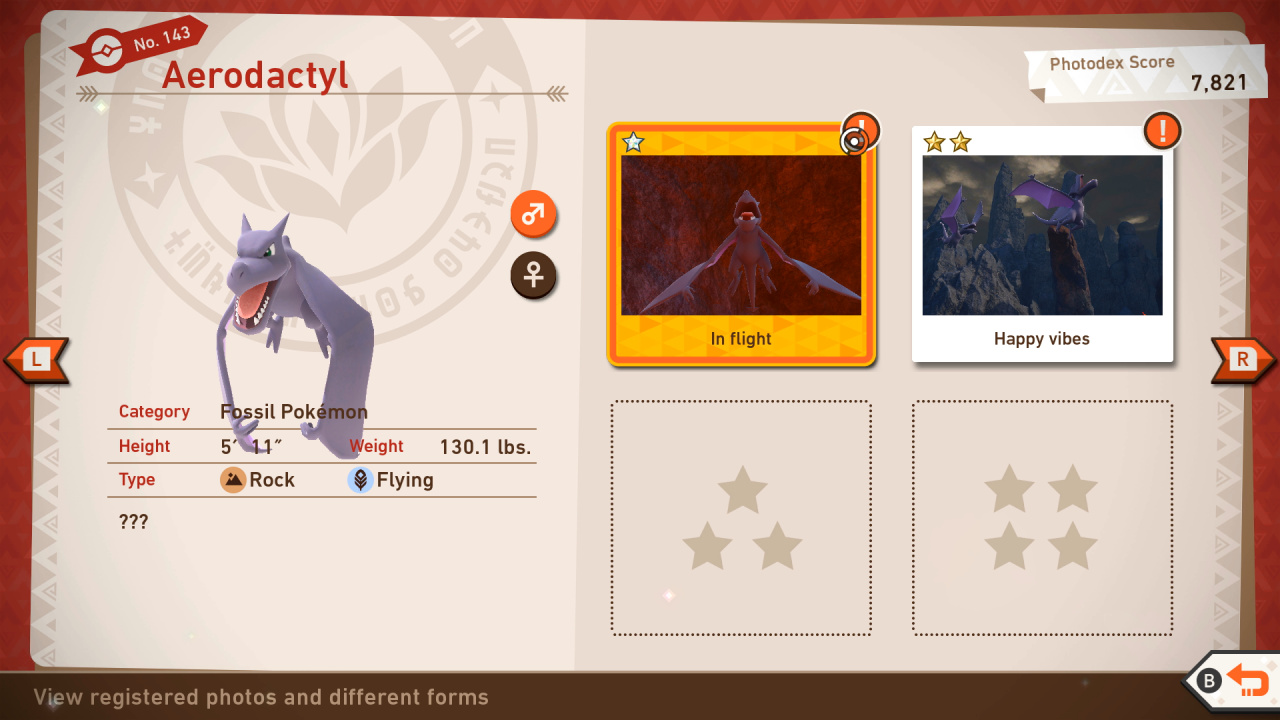
Aerodactyl Star Guide / Conditions:
1 Star: Most basic photo of this Pokémon possible
2 Star: Take a photo of Aerodactyl on a perch on Research Level 3; can also be obtained by throwing an Illumina Orb at a flying Aerodactyl at the entry of the cave, after which it will land on a rock, enabling you to take a 2-star photo
3 Star: Frighten the Typhlosion at the end by throwing Fluffruit at it, causing Aerodactyl to land below - take your photo while it walks on the ground
4 Star: Enter the cave in Voluca and use your scanner to find the alternate route to take; near the end of the course, you will find up to two Typhlosion at the bottom of a chasm; throw a Fluffruit at one from the top of the path to scare them off; an Aerodactyl will fly in and land on the ground; toss it a Fluffruit and take a photo as it eats it.
144: Tyrantrum
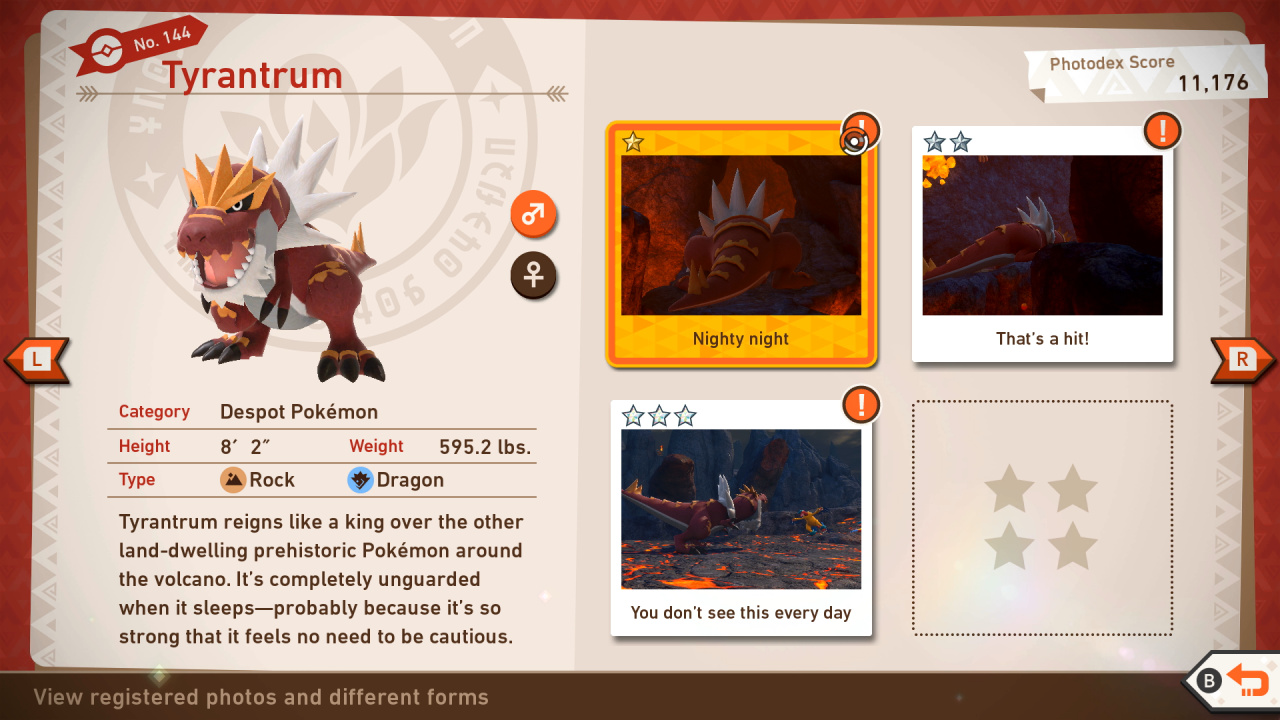
Tyrantrum Star Guide / Conditions:
1 Star: Most basic photo of this Pokémon possible
2 Star: In general, throwing a Fluffruit at or scanning a Pokémon will cause it to behave in a way that will get you a 2-star photo.
3 Star: Take a picture of Tyrantrum roaring
4 Star: Take a picture of Tyrantrum roaring against Charizard; Wake Tyrantrum up by getting the Monferno to jump on its tail. Then take a photo of it as it bumps its head on the wall
145: Graveler
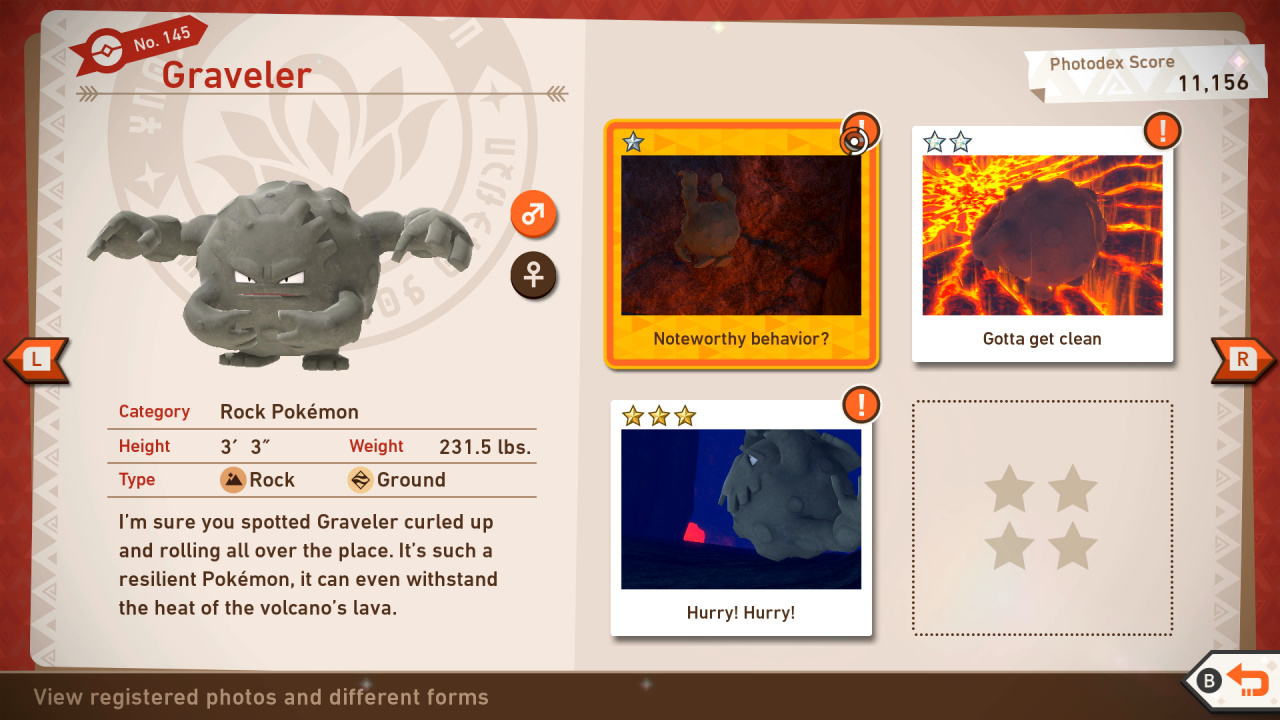
Graveler Star Guide / Conditions:
1 Star: Most basic photo of this Pokémon possible
2 Star: In general, throwing a Fluffruit at or scanning a Pokémon will cause it to behave in a way that will get you a 2-star photo.
3 Star: Take a picture of Graveler rolling
4 Star: Get a picture of Graveler eating a Fluffruit with its inner hands by using scan
146: Archeops
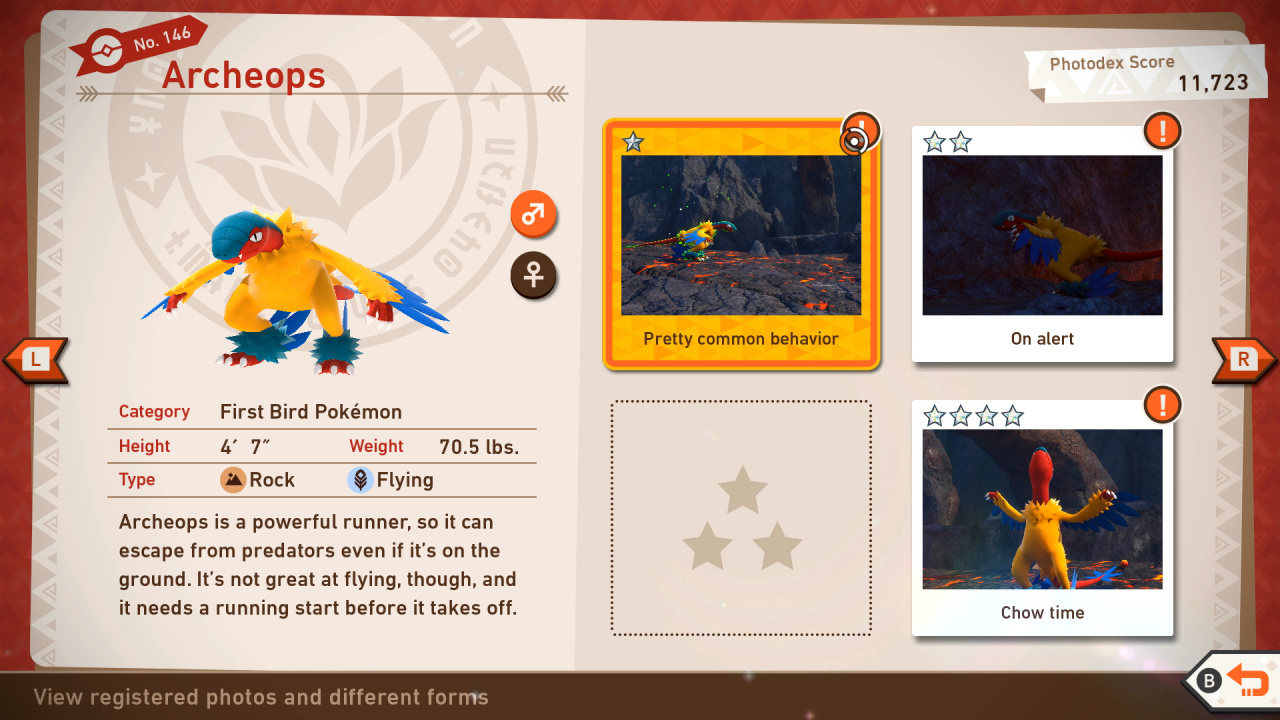
Archeops Star Guide / Conditions:
1 Star: Most basic photo of this Pokémon possible
2 Star: In general, throwing a Fluffruit at or scanning a Pokémon will cause it to behave in a way that will get you a 2-star photo.
3 Star: As you pass the second area of the Volcano course at Research Level 1, a Tryantrum will come running out of the cave as it chases two Monferno; the Archeops on the magma path will run to the side and start taunting the Tyrantrum - take your photo now
4 Star: Complete the Archeops at Ease request and take a photo of the Pokemon while it is eating a Fluffruit
147: Slugma
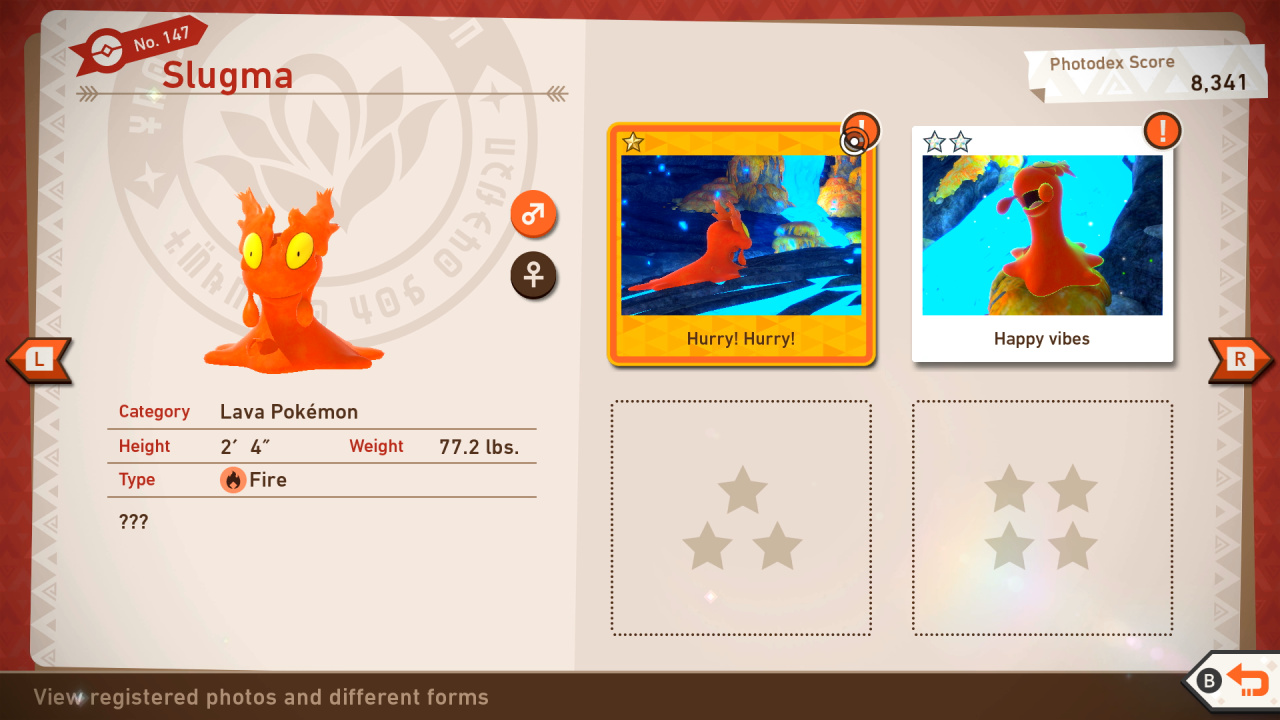
Slugma Star Guide / Conditions:
1 Star: Most basic photo of this Pokémon possible
2 Star: In general, throwing a Fluffruit at or scanning a Pokémon will cause it to behave in a way that will get you a 2-star photo.
3 Star: Get a picture of Slugma falling down a Lavafall; Get a picture of Slugma hanging upside-down from the ceiling
4 Star: In Volcano Level 1, take a picture of Slugma climbing the Lavafall; Get a picture of Slugma eating a Fluffruit in the Blue Magma area and throwing an Illumina Orb at it so it doesn't burn the Fluffruit
148: Torkoal

Torkoal Star Guide / Conditions:
1 Star: Most basic photo of this Pokémon possible
2 Star: In general, throwing a Fluffruit at or scanning a Pokémon will cause it to behave in a way that will get you a 2-star photo.
3 Star: Take a picture of Torkoal eating a Fluffruit
4 Star: Get into the volcano quickly and get a picture of Torkoal on its hind legs
149: Charmander
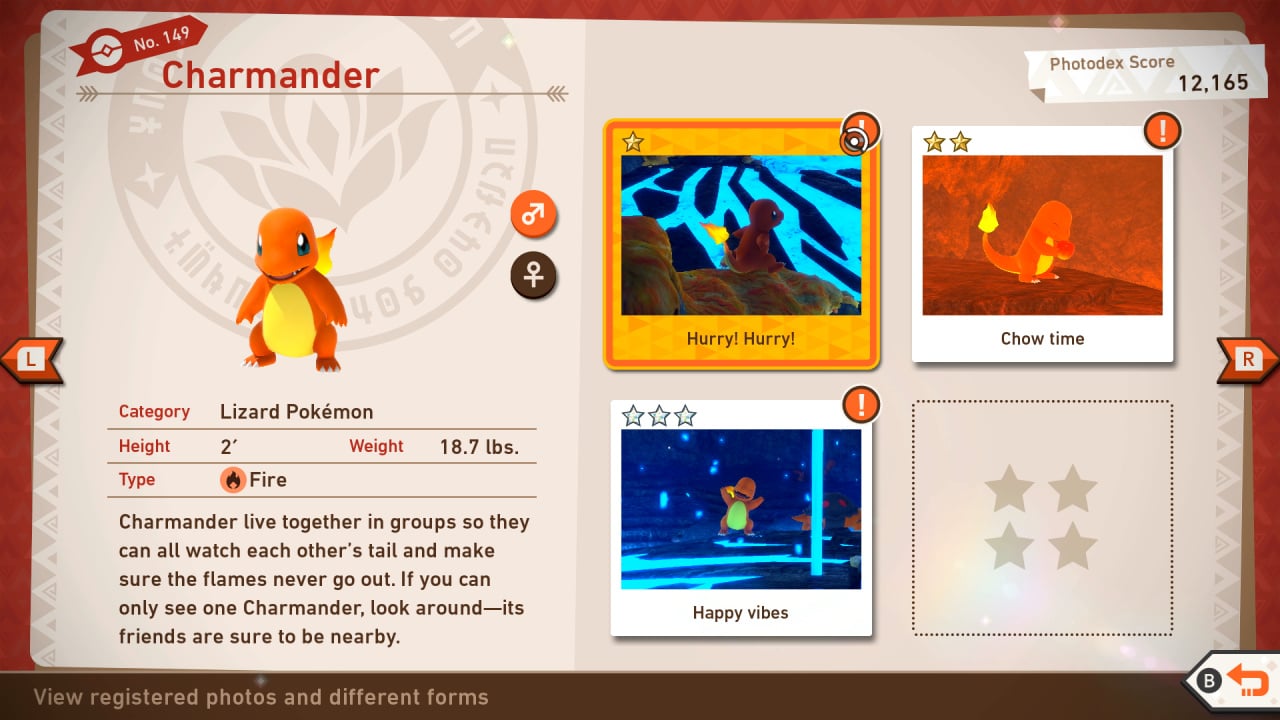
Charmander Star Guide / Conditions:
1 Star: Most basic photo of this Pokémon possible
2 Star: In general, throwing a Fluffruit at or scanning a Pokémon will cause it to behave in a way that will get you a 2-star photo.
3 Star: Take a picture of Charmander happy inside the volcano by playing the melody; Take a picture of Charmander in the crater growling at the other; In Level 3, hit the Crystabloom above Tyrantrum then throw Fluffruit at the Charmander hiding spot to lure Charmander out. Then play Melody and wait for Charizard to land. Take a picture of Charmander celebrating
4 Star: Throw an Illumina Orb at the Charmander talking with Archeops to get it to unleash a Flamethrower; Get a picture of the Charmander growling at Charizard after luring them out in the main volcano; Get a picture of Charmander using Flame Burst by feeding it two Fluffruit
150: Charizard
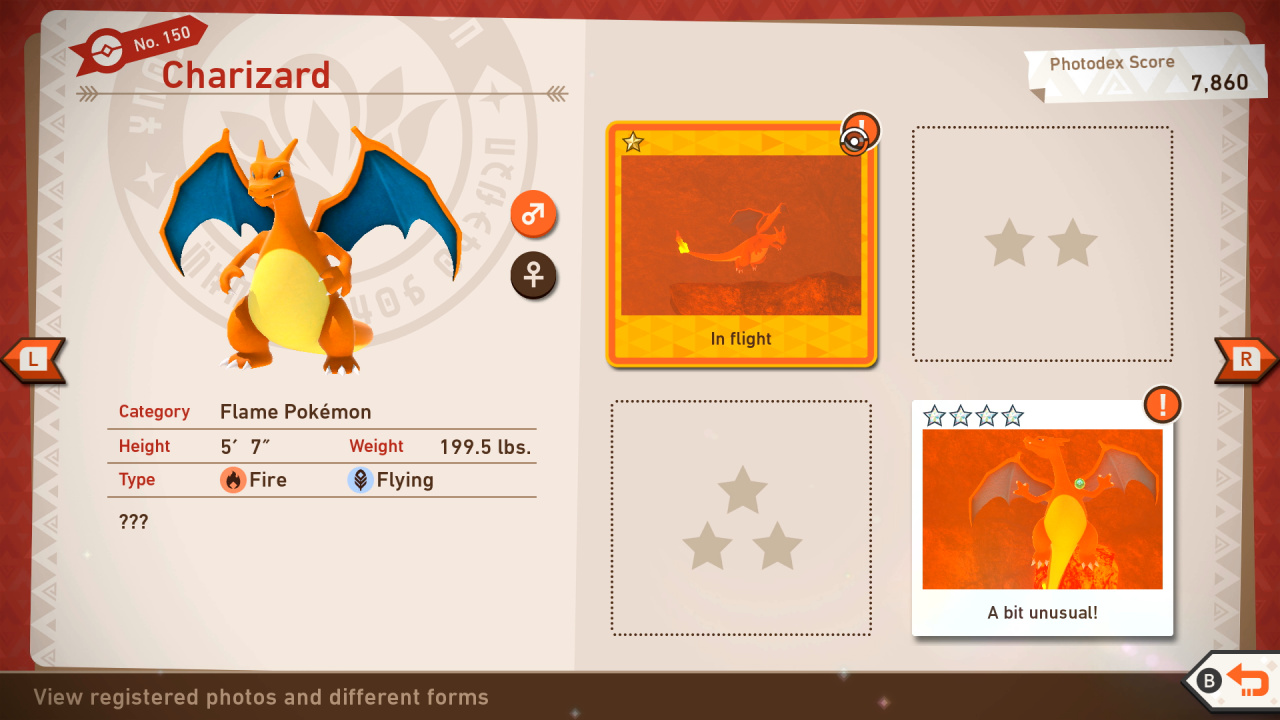
Charizard Star Guide / Conditions:
1 Star: Most basic photo of this Pokémon possible
2 Star: In general, throwing a Fluffruit at or scanning a Pokémon will cause it to behave in a way that will get you a 2-star photo.
3 Star: Take a picture of Charizard doing a flypast of Tyrantrum; Get Charizard to land in the ruins on the Blue Magma path and either battle with Typhlosion or knock Typhlosion away and throw an Illumina Orb at Charizard
4 Star: Take a picture of Charizard roaring; If you Illumina orb the three Charmander on the way into the volcano, one at the start, one by the Crystabloom and one with Archeops, then get to the Blue Magma Path. Throw Illumina Orbs at both Charmander and then knock the Graveler down for a Charizard to appear. This will be a 4 star shot Later, it will be in the main chamber. When it lands, Illumina Orb it for a Flamethrower 4 star photo; Get a picture of Charizard with the Charmander in the main chamber by luring the Charmander out and playing Melody
151: Typhlosion

Typhlosion Star Guide / Conditions:
1 Star: Most basic photo of this Pokémon possible
2 Star: In general, throwing a Fluffruit at or scanning a Pokémon will cause it to behave in a way that will get you a 2-star photo.
3 Star: Take a picture of Typhlosion eating a Fluffruit ;Take a photo of Typhlosion fighting with Charizard by luring Charizard there by Illumina Orbing all Charmander
4 Star: Throw Typhlosion a Fluffruit then throw an Illumina Orb at it. Take a picture of it using Flamethrower; Hit Typhlosion with a Fluffruit at the start of a stage. Then, shortly after, see it interacting with an Aerodactyl. Throw an Illumina Orb to get it to use Eruption
152: Flareon

Flareon Star Guide / Conditions:
1 Star: Most basic photo of this Pokémon possible
2 Star: In general, throwing a Fluffruit at or scanning a Pokémon will cause it to behave in a way that will get you a 2-star photo.
3 Star: Get a picture of Flareon jumping after illuminating the Crystabloom in the Blue Magma room; In the standard room, wake a Flareon up with an Illumina Orb and wait for it to jump down to the lava. Then, throw a Fluffruit at it
4 Star: Take a picture of Flareon eating a Fluffruit after being hit by an Illumina Orb
153: Ho-Oh
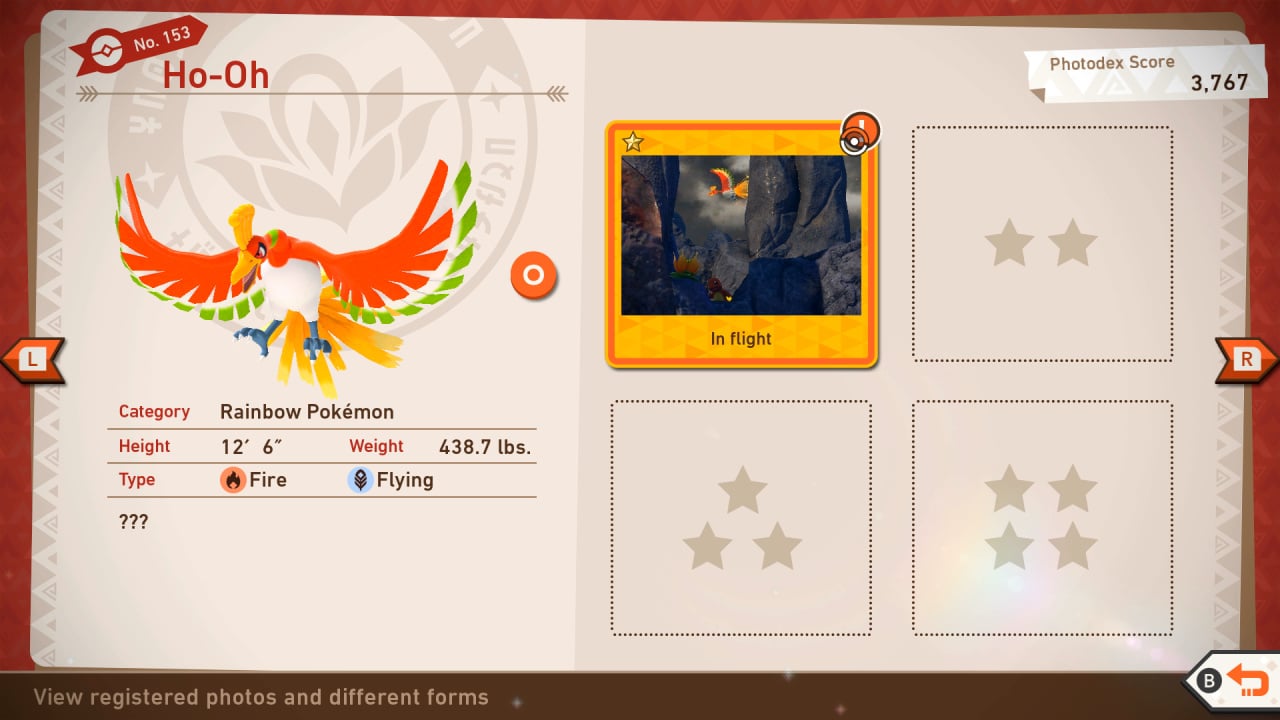
Ho-Oh Star Guide / Conditions:
1 Star: In the second open area of Volcano Level 2, look behind you and towards the top of the corridor you came out of; while looking at the sky here, you'll eventually see Ho-Oh flying, where you can take your photo
2 Star: In the final chamber of Volcano Level 2, Ho-oh will appear again; if you hit two of the three Rainbow Feathers, it will rise from the center of the volcano, when you can take your photo
3 Star: Continuously throw Illumina Orbs as Ho-Oh flies in the chamber; wait for its Barrell Roll and turn on Burst Mode to capture a good photo
4 Star: If you hit three Rainbow Wings, Ho-Oh will descend into the volcano from above, roar, then fly in a circular pattern around the room; photograph it in the air for your photo
154: Volcarona

Volcarona Star Guide / Conditions:
1 Star: Most basic photo of this Pokémon possible
2 Star: In general, throwing a Fluffruit at or scanning a Pokémon will cause it to behave in a way that will get you a 2-star photo.
3 Star: Take a picture of Volcarona performing some acrobatics
4 Star: Take a photo of the two Volcarona dancing around a Crystabloom
New Pokémon Snap Voluca Photodex - Update 2.0
227: Salazzle
Salazzle Star Guide / Conditions:
1 Star: Barren Badlands; Most basic photo of this Pokémon possible
2 Star: In general, throwing a Fluffruit at or scanning a Pokémon will cause it to behave in a way that will get you a 2-star photo.
3 Star: To take Salazzle's 3 Star Photo, start Badlands (Day) at Research 3 and look for the Mandibuzz sitting on a rock. Play the Melody to lure out Salazzle behind the rock. Use the Fluffruit to lure Salazzle towards the sand with an ordor.
4 Star: Those looking for an easy four-star shot of Salazzle should follow the steps required to complete the An Alluring Pose request for Todd in the Badlands (Day) course.
228: Tepig
Tepig Star Guide / Conditions:
1 Star: Barren Badlands; Most basic photo of this Pokémon possible
2 Star: In general, throwing a Fluffruit at or scanning a Pokémon will cause it to behave in a way that will get you a 2-star photo.
3 Star: Tepig roasts its food before eating (like Torchic). Toss it a fluffruit and photograph the moment it sets fire to the fruit.
4 Star: Those hoping to snap a four-star photo of Tepig should complete the A Brave Leap request for Rita.
229: Crustle
Crustle Star Guide / Conditions:
1 Star: Barren Badlands; Most basic photo of this Pokémon possible
2 Star: In general, throwing a Fluffruit at or scanning a Pokémon will cause it to behave in a way that will get you a 2-star photo.
3 Star: Two Crustle should show up next to each other at the beginning of the course after Barren Badlands (Day) Research Level 2. Capture the moment they collide with each other for a three-star photo. They're apparently fighting over the perfect sunbathing spot beside that geyser.
4 Star: Players can snap a four-star shot of Crustle by following the steps required to complete the crust-side-down request for Professor Mirror.
230: Gliscor
Gliscor Star Guide / Conditions:
1 Star: Barren Badlands; Most basic photo of this Pokémon possible
2 Star: In general, throwing a Fluffruit at or scanning a Pokémon will cause it to behave in a way that will get you a 2-star photo.
3 Star: Start Badlands (Night) at Research Level 2 and hit all the Gliscors hanging upside down with a Fluffruit to move them in another location. As you approach the end of the course, look behind you to spot a Gliscor hanging upside down on a tree. Play the Melody and take a photo of it reacting to obtain its 3 Star photo.
4 Star: For a four-star shot of Gliscor, players should follow the steps required to complete the Sleepy Gliscor request in the Badlands (Night) course. Alternatively, they could try completing the Gassy Swamp Battle request and focussing on Gliscor instead of Scolipede.
231: Scolipede
Scolipede Star Guide / Conditions:
1 Star: Barren Badlands; Most basic photo of this Pokémon possible
2 Star: In general, throwing a Fluffruit at or scanning a Pokémon will cause it to behave in a way that will get you a 2-star photo.
3 Star: Start Badlands (Day) at Research Level 3. Throw an Illumina Orb at the Crystabloom near the large boulder to take the alternate route. While descending down the canyon, you will find two Scolipedes fighting. Take a photo of them fighting to obtain Scolipede's 3 Star photo. Be sure to aim the reticule at the Scolipede as the camera might register it as a photo of another Pokemon instead. Use the left thumbstick to move the reticule at the target Pokemon.
4 Star: For a four-star photograph of Scolipede, players can snap the Pokemon fighting with Gliscor as part of the Gassy Swamp Battle request in Badlands (Night).
232: Koffing
Koffing Star Guide / Conditions:
1 Star: Barren Badlands; Most basic photo of this Pokémon possible
2 Star: In general, throwing a Fluffruit at or scanning a Pokémon will cause it to behave in a way that will get you a 2-star photo.
3 Star: To take a 3 Star photo of Koffing, start Badlands (Day) at Research Level 2. Once you reach the toxic swamp area, feed the Koffing near the Crystabloom with a Fluffruit. After it finishes eating the fruit, throw an Illumina Orb at it and Pokemon will inflate itself.
4 Star: For a four-star photo of Koffing, players should complete the Gigantic Koffing request for Phil in the Badlands (Day) course.
233: Swalot
Swalot Star Guide / Conditions:
1 Star: Barren Badlands; Most basic photo of this Pokémon possible
2 Star: In general, throwing a Fluffruit at or scanning a Pokémon will cause it to behave in a way that will get you a 2-star photo.
3 Star: To take Swalot's 3 Star photo, start Badlands (Night) at Research Level 2 and proceed through the toxic swamp area. Throw an Illumina Orb at the Crystabloom on the swamp and wait for the Swalots to jump out. Take a photo of Swalot jumping from the swamp to obtain its 3 Star photo.
4 Star: Completing Rita's Open Wide! request in the Badlands (Day) course will provide players with a four-star photograph of Swalot.
234: Zeraora
Zeraora Star Guide / Conditions:
1 Star: Barren Badlands; Most basic photo of this Pokémon possible
2 Star: In general, throwing a Fluffruit at or scanning a Pokémon will cause it to behave in a way that will get you a 2-star photo.
3 Star: Zeraora runs toward NEO-ONE after its fight with Tyranitar, still glowing with electricity. Capture the moment as it rushes toward you.
4 Star: Players can get a four-star photo of Zeraora attacking Tyranitar as part of the Illusion of The Badlands request in Badlands (Night).


Comments 0
Wow, no comments yet... why not be the first?
Leave A Comment
Hold on there, you need to login to post a comment...