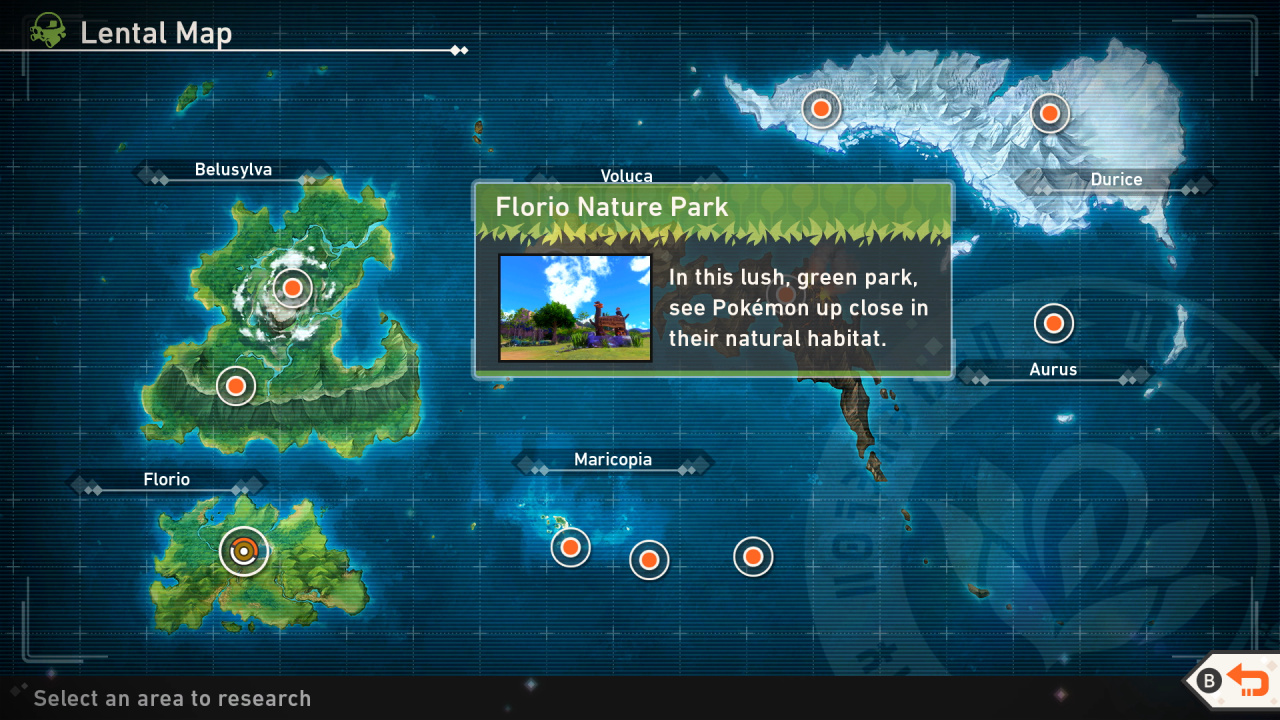
In this lush, sun-kissed region, you'll find famous Pokémon like Scorbunny, Sylveon, Eevee and Pikachu.
Be sure to check out our Photodex hub page: New Pokémon Snap Photodex / Pokédex - Pokémon List For All Monsters
- Florio Pokémon List / Pokédex - 001 – 040 < YOU ARE HERE
- Belusylva Pokémon List / Pokédex - 041 - 079
- Maricopia Pokémon List / Pokédex - 080 - 122
- Voluca Pokémon List / Pokédex - 123 - 154
- Durice Pokémon List / Pokédex - 155 - 200
- Aurus Pokémon List / Pokédex - 201 - 214
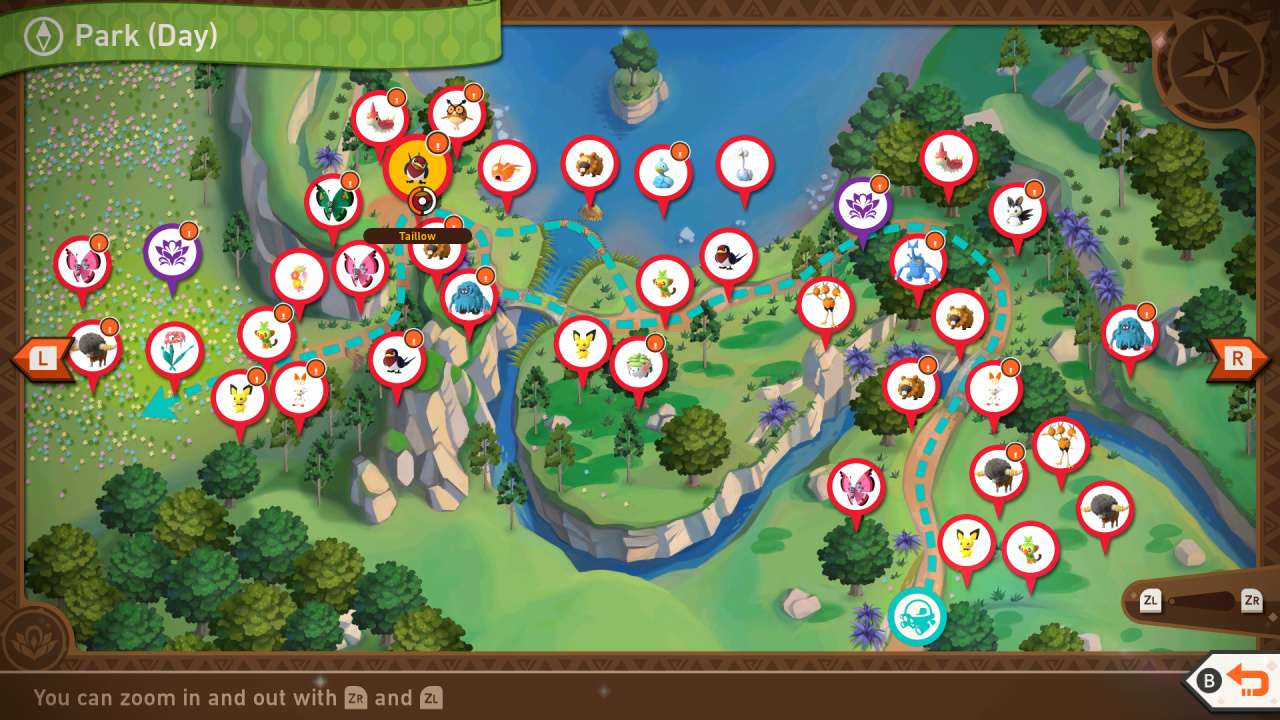
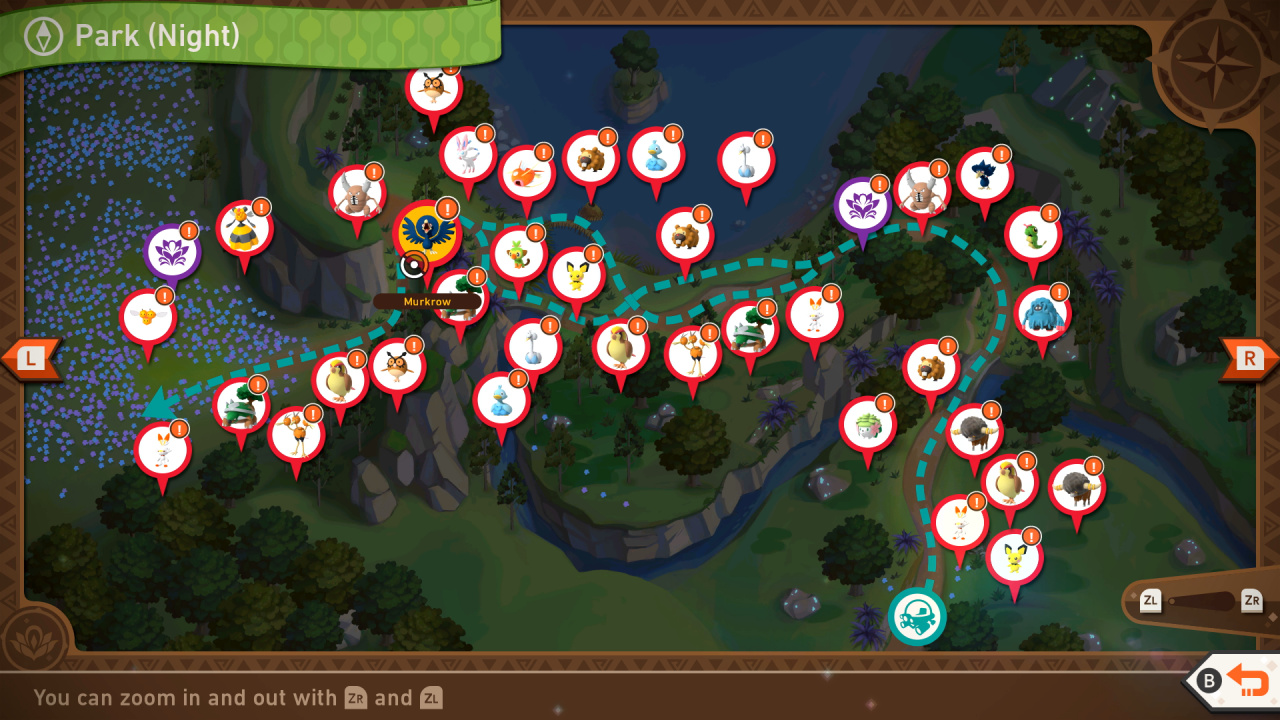
New Pokémon Snap Florio Pokémon Location Map
New Pokémon Snap Florio Nature Park - Day Map
New Pokémon Snap Florio Nature Park - Night Map
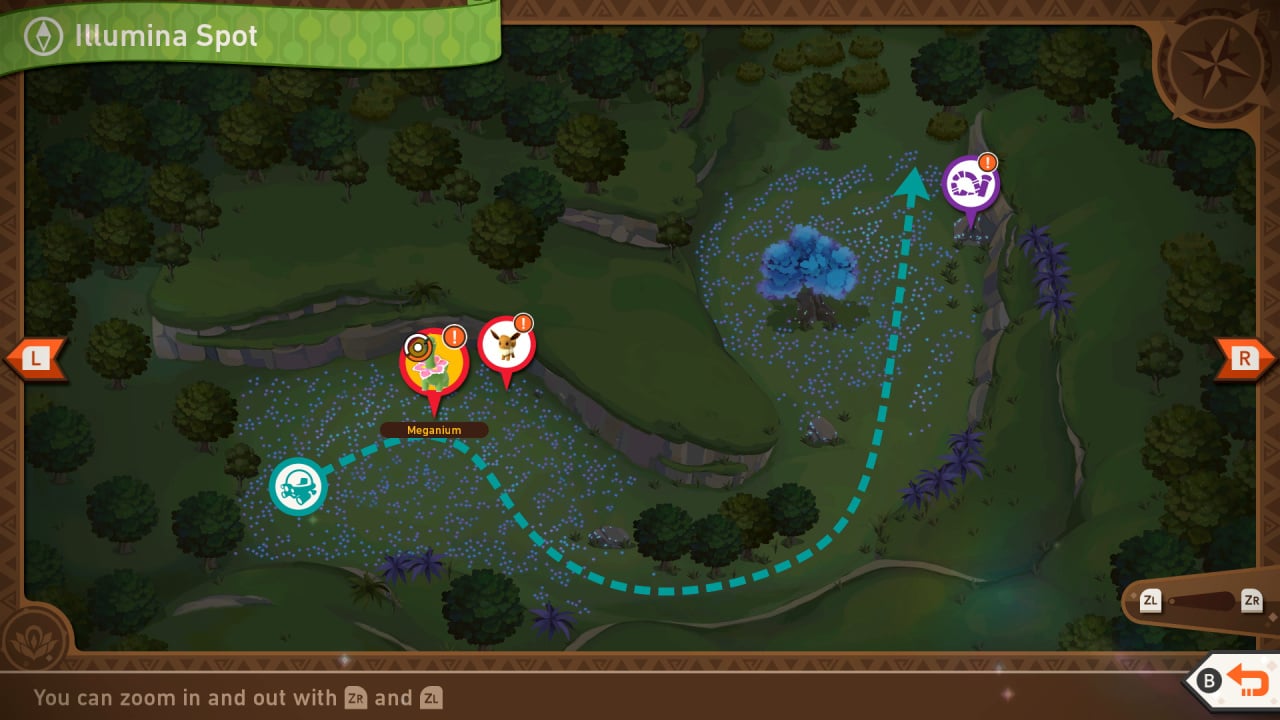
New Pokémon Snap Florio Nature Park - Illumina Spot Map
New Pokémon Snap Florio Nature Park - Research Camp

New Pokémon Snap Florio Photodex
001: Vivillon

Vivillon Star Guide / Conditions:
1 Star: Most basic photo of this Pokémon possible.
2 Star: In general, throwing a Fluffruit at or scanning a Pokémon will cause it to behave in a way that will get you a 2-star photo.
3 Star: In the second alternate path of the Snow (Night) course, you'll find some Icy Snow Pattern Vivillon flying inside the snow cave; take a close-up shot of Vivillon facing you
4 Star: In Jungle (Day), you'll find Arbok blocking your path. As you get closer, scan the area to discover a new path; take the new path and wait for Aipoms to show up in front of you; throw an Illumina Orb to the Aipom on the right for it to cut the tall grass on your left; this will free the Monsoon Pattern Vivillons that are trapped inside the cave; throw an Illumina Orb at Vivillon and take a close-up shot of it
002: Pichu
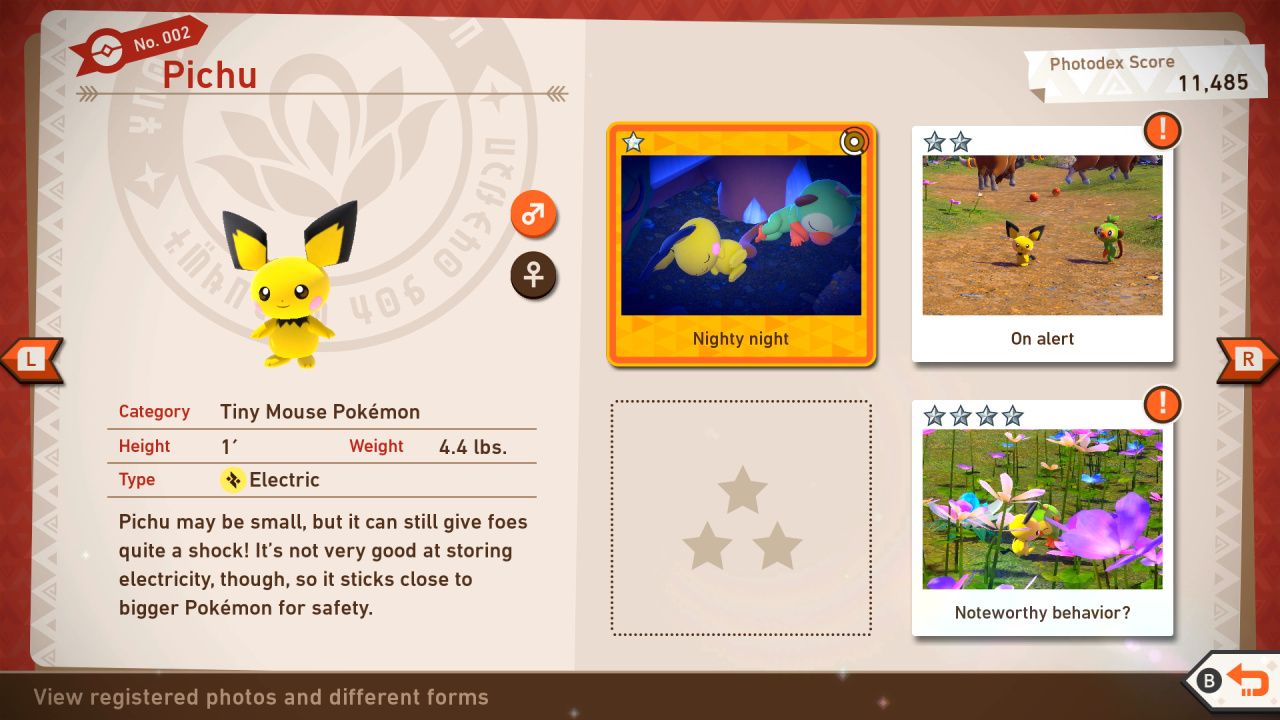
Pichu Star Guide / Conditions:
1 Star: Simple photo of it running around Florio
2 Star: At the very start of the first stage, daytime: use Scan or zoom noise from camera to startle it and Grookey on the right side of the road, walking
3 Star: At the end of the course, look to your left at the pile of flowers; inside, Pichu will be hiding - throw a Fluffruit to get it to come out, and take your photo when it's on top of the pile, looking at you.
4 Star: Similar to the 3-star photo, take your picture when Pichu pops up from the pile of flowers, just before it lands; the timing is tricky here.
003: Grookey

Grookey Star Guide / Conditions:
1 Star: Most basic photo of this Pokémon possible
2 Star: In general, throwing a Fluffruit at or scanning a Pokémon will cause it to behave in a way that will get you a 2-star photo.
3 Star: Take a close-up shot of Grookey dancing to the tune of the melody by visiting the last part of Park (Day); look for Grookey and Scorbunny roaming around the fields of flowers, and focus your camera on Grookey, then play a Melody to make it dance
4 Star: At the beginning of Park (Day) research-level 3, you'll find Grookey and Pichu on the pathway; focus your camera on Grookey and play a Melody; once Grookey hears the Melody, it will walk to the right side and jump to the top of the signboard; take a close-up shot of Grookey jumping and dancing at the top of the signboard
004: Scorbunny

Scorbunny Star Guide / Conditions:
1 Star: Simple photo of it running or walking around
2 Star: Florio Nature Park (Night): notice Bouffalant pack on right hand side; take photo when it stands next to one of the sleeping Bouffalant, looking around; alternatively, wait until the end of the stage and throw Fluffruit at it while sleeping on Torterra - take photo the moment it is startled
3 Star: At the start of Florio Nature Park (Night), you'll occasionally spot a Scorbunny on top of the wooden sign on the right; when it kicks the air and creates flames, capture your photo.
4 Star: In Florio Nature Park (Day), towards the end of the stage, look for a hidden Pichu on the left side of the flower field; throw a Fluffruit to lure it closer, and Scorbunny will become excited to see its friend; wait for them to run to the Crystalbloom; when Scorbunny begins laughing, take your photo.
005: Bouffalant
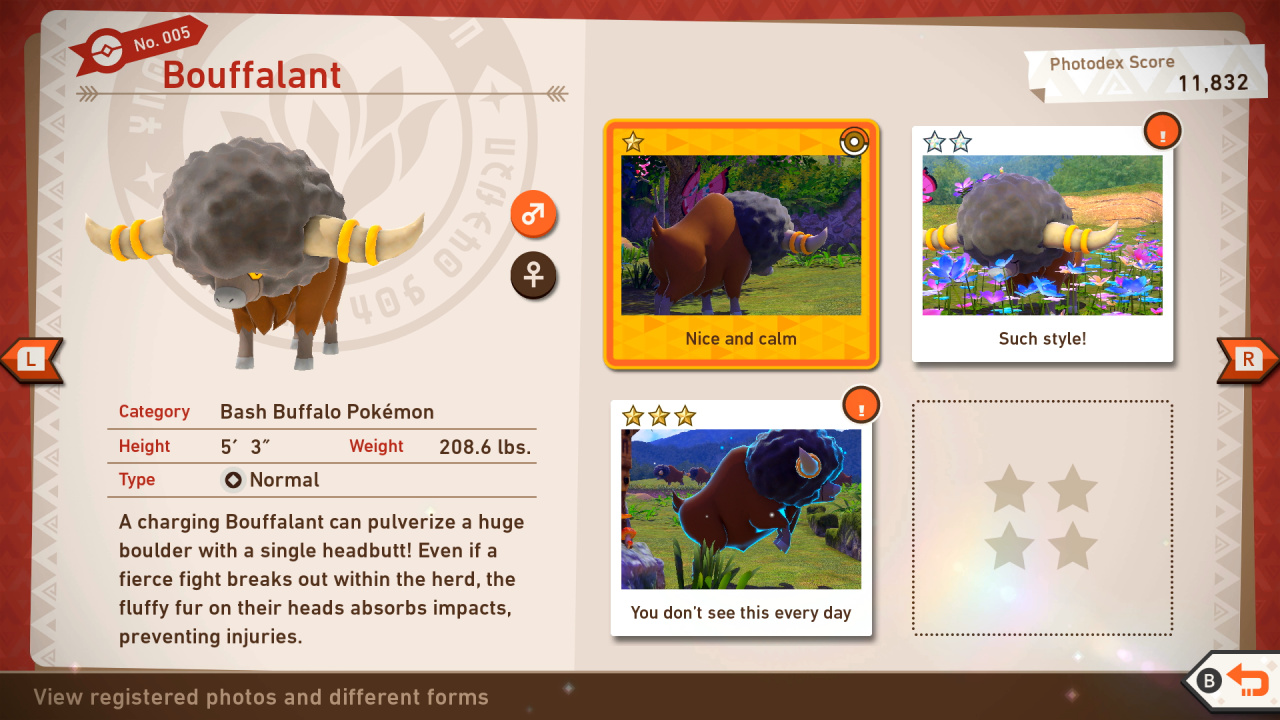
Bouffalant Star Guide / Conditions:
1 Star: Simple photo, even from afar at the beginning of the first stage
2 Star: Any photo of it sleeping
3 Star: Throw a Fluffruit on top of a Bouffalant; when it becomes annoyed, take your photo - its eyes will be closed and its body will be shaking
4 Star: In the very first area of Florio Nature Park (Day), where the Bouffalant herd is at, try to use your Melody. Bouffalants will scatter, seemingly annoyed, and one of them will bump into the one being closest to you. After a couple of seconds, they will start headbutting each other, which makes for a great photograph. Take the picture and enjoy your 4-Star rating.
006: Pidgeot
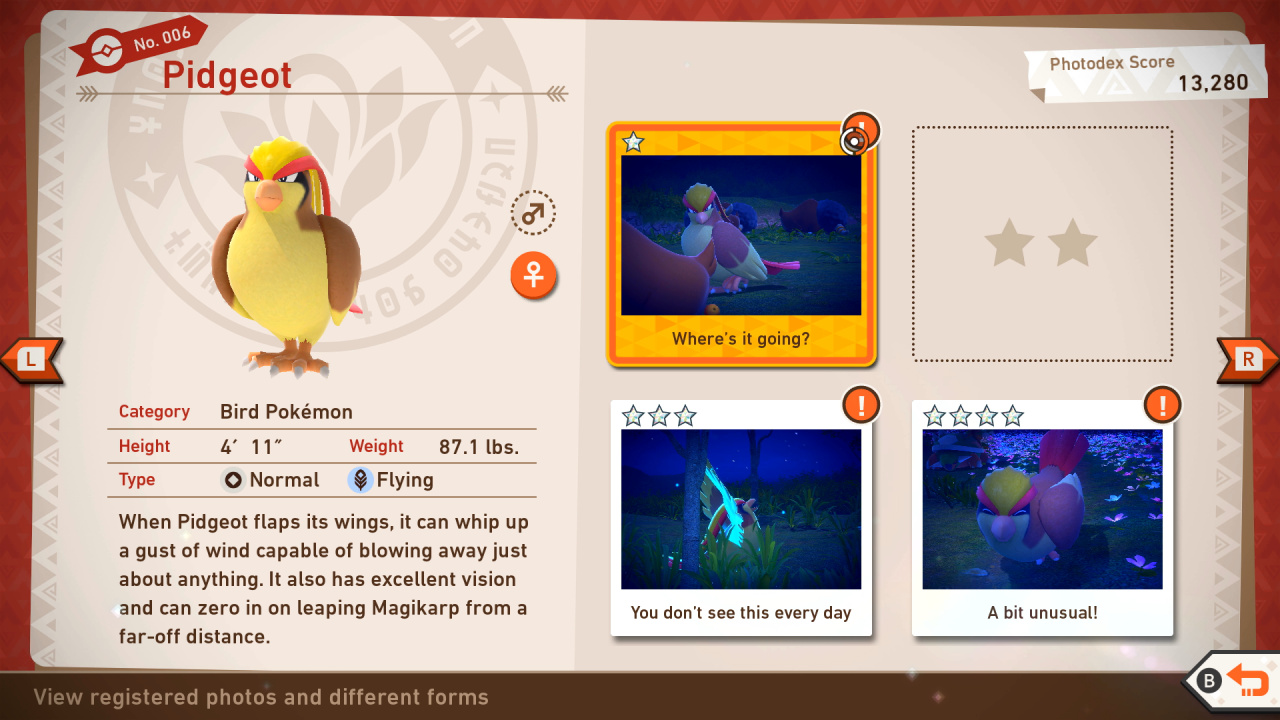
Pidgeot Star Guide / Conditions:
1 Star: Simple photo of it flying or resting
2 Star: Use your Scan to startle it; take photo when it turns its head to look at you
3 Star: At the Florio Nature Park (Day), annoy a Pidgeot with Fluffruits until it flies around the place; wait for it to land on top of a tall tree near the water; when it swoops down for a Magikarp, take a photo with the poor Pokémon in its claws.
4 Star: In Florio Nature Park (Night), at the beginning of the stage, look to the right; you'll see a Pidgeot flying above a Bouffalant herd; throw Fluffruits on the ground so it lands and eats them; it will then screech and fly away; continue through the stage until you come to the place where Hoothoot stands, and the Pidgeot will fly down in front of you; when your vehicle stops, it will start singing - take your photo now.
007: Tangrowth
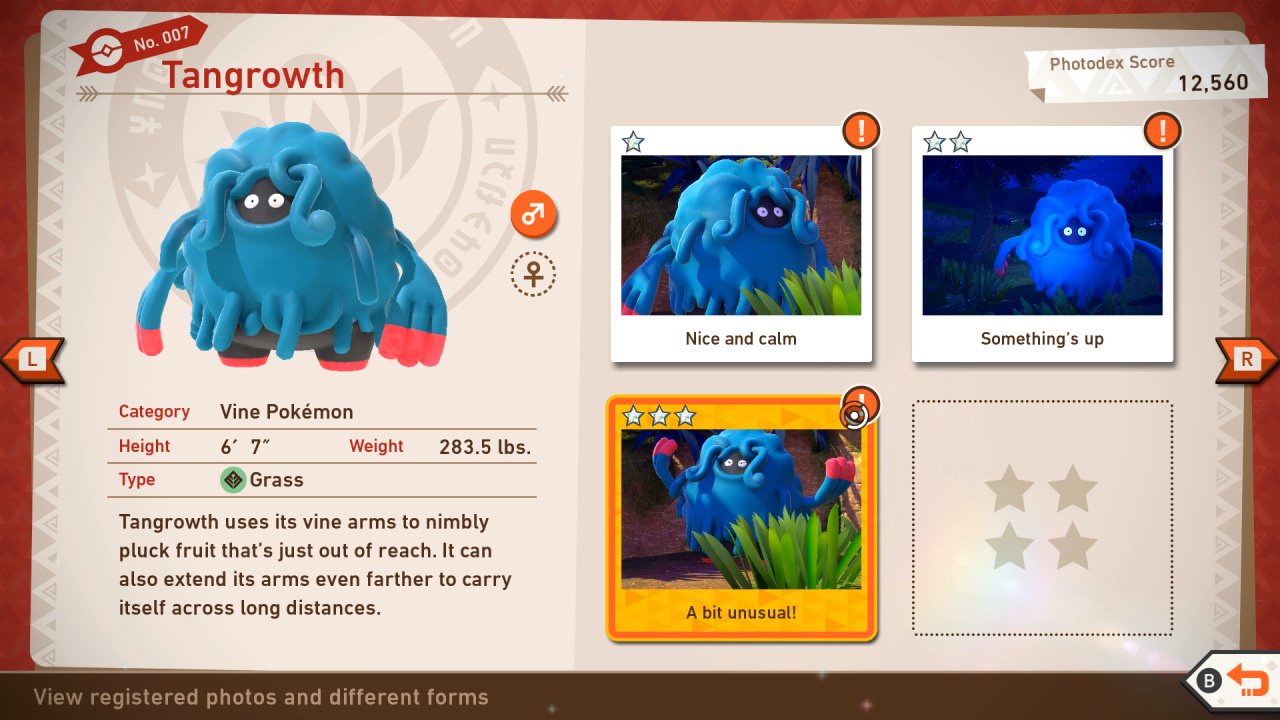
Tangrowth Star Guide / Conditions:
1 Star: Simple photo as you go past it; no interaction
2 Star: Florio Nature Park (Day): find it on the left side of the road, halfway through the stage; try throwing Fluffruits a bit away from where it stands to get it to extend its arm and try to catch them; once it catches one, becomes happy and begins to eat it, take the photo
3 Star: Hit Tangrowth with a Fluffruit; when it appears annoyed and begins to throw a fit, moving its arms, take a photo.
4 Star: In Florio Nature Park (Night), look for the sleeping Tangrowth on the right side of the road, near a pack of Bouffalant; throw an Illumina Orb at it, and wait for it to stretch forward and leap to the nearby cliff; take your photo while it's mid-jump
008: Emolga
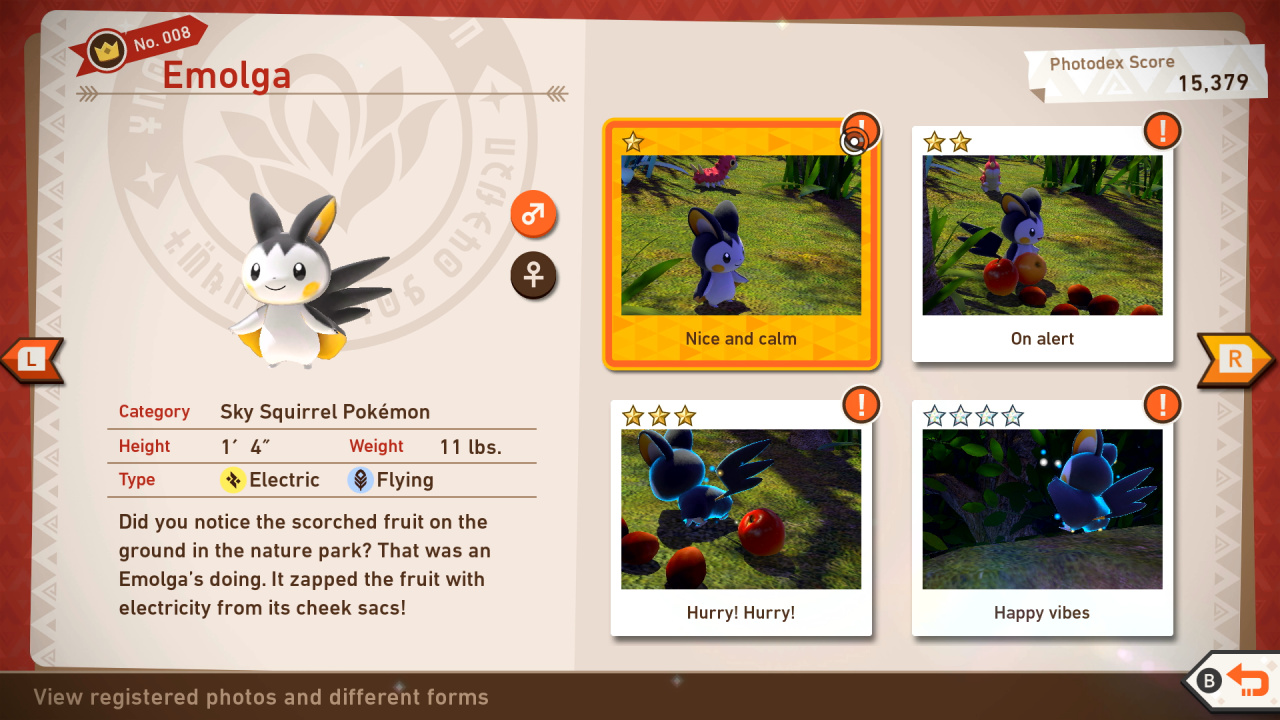
Emolga Star Guide / Conditions:
1 Star: Simple photo standing on top of tree branches
2 Star: Take photo as it glides in the air
3 Star: Throw Fluffruit at the spot where you see some burned fruits on the ground next to a tree, and Emolga will come down to eat it; time your photo for the moment it reaches for the Fluffruit - try startling it with your camera, too.
4 Star: Do the same thing for the 3-star photo, but avoid frightening the Emolga with your camera; just throw the Fluffruit from far away, and don't make any noise; while it reaches for the fruit, it will start using Thunder Shock to "cook" it, at which point you can get a 4-star photo.
009: Wurmple

Wurmple Star Guide / Conditions:
1 Star: Most basic photo of this Pokémon possible
2 Star: In general, throwing a Fluffruit at or scanning a Pokémon will cause it to behave in a way that will get you a 2-star photo.
3 Star: Thow a Fluffruit at Wurmple to make it dizzy, then take your photo
4 Star: Look for a flying Taillow near the lake; after you pass a tree with a sleeping Hoothoot, look to your left, and you'll see Taillow attacking Wurmple; toss an Illumina Orb at Wurmple, and it will attack Taillow with Poison - take your photo now.
010: Murkrow
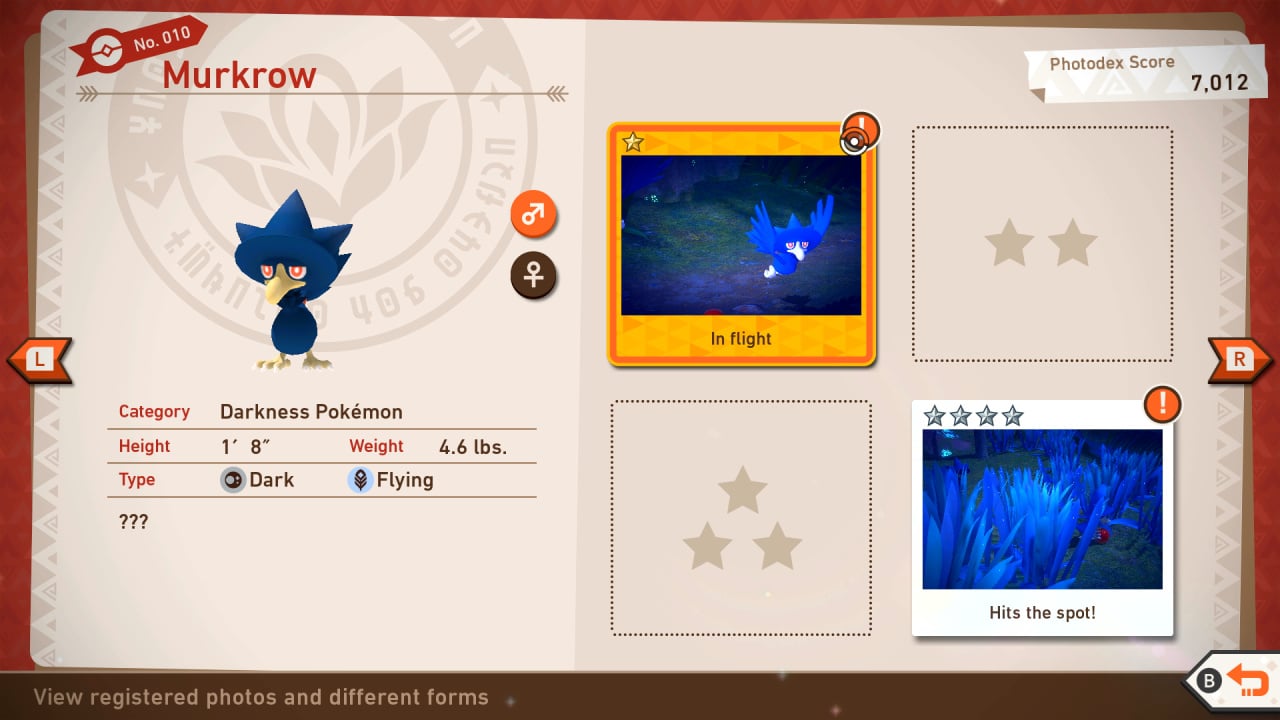
Murkrow Star Guide / Conditions:
1 Star: Simple photo from afar as they walk around on the ground
2 Star: Throw Fluffruits at it to startle it (or a group); take photo at the moment they are about to fly away
3 Star: In the Florio Nature Park (night), you'll notice Murkrow landing on the ground just before the bridge; take many photos here, because you'll need to capture a high-scoring picture that shows Murkrow staring at you, standing completely still.
4 Star: In the same 3-star photo spot, wait for a moment when there are no Murkrow on the ground, and begin throwing Fluffruits into the open grassy area on the right, after the bridge; doing this may attract a flock of Murkrow; continue tossing some Fluffruits over without scaring them off, until a few begin coming closer to you, and start eating them; this is your moment.
011: Caterpie

Caterpie Star Guide / Conditions:
1 Star: Simple photo as it stands relaxed next to the pathway
2 Star: Throw a Fluffruit and take photo as it begins eating
3 Star: In Florio Nature Park (Night), wait for a Murkrow to fly over Caterpie; it will jump towards the Murkrow - capture it midair
4 Star: Watch Caterpie from far away until it starts swirling around and throwing its String Shot; take your photo at this moment
012: Heracross

Heracross Star Guide / Conditions:
1 Star: Most basic photo of this Pokémon possible
2 Star: In general, throwing a Fluffruit at or scanning a Pokémon will cause it to behave in a way that will get you a 2-star photo.
3 Star: When approaching the first crystabloom in Park (Night), scan to reveal Pinsir's horns; throw an Illumina orb at them for Pinsir to pop out; after Pinsir starts walking away, throw Fluffruit onto or behind the dirt mound it came from; scan a second time and a Heracross should fall down from a tree; take a photo of the Heracross on the ground with the Pinsir looking over it
4 Star: After getting the 3-star photo, Heracross and Pinsir will meet up again before the final area of the course; they will fight eac other, at which point you can take a close-up photo
013: Pinsir
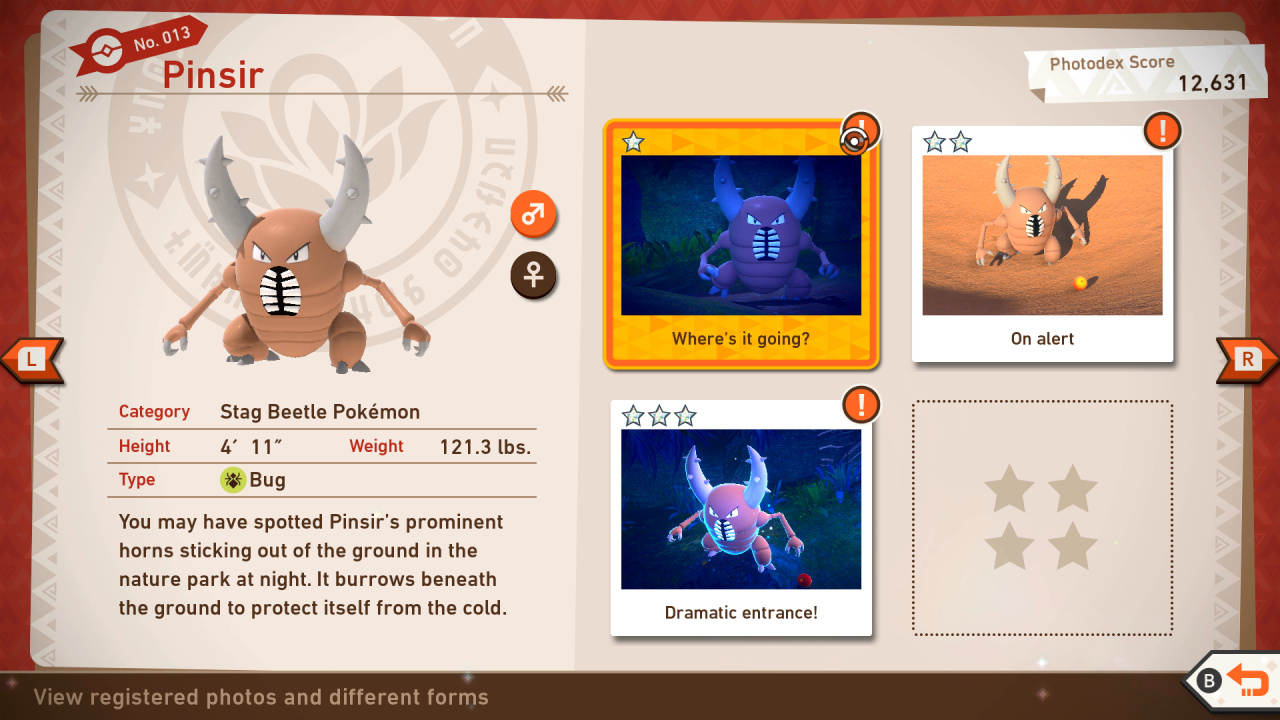
Pinsir Star Guide / Conditions:
1 Star: Most basic photo of this Pokémon possible
2 Star: In general, throwing a Fluffruit at or scanning a Pokémon will cause it to behave in a way that will get you a 2-star photo.
3 Star: In Florio Nature Park (Night) level 2, wake up Pinsir from the hole in the ground by playing a Melody; Pinsir's reaction will cause Heracross to fall to the ground - take your photo then
4 Star: On the other side of the dam wall, look for Pinsir and Heracross roaming the area; watch them until they start fighting; get close enough and snap a photo of the action
014: Dodrio

Dodrio Star Guide / Conditions:
1 Star: Most basic photo of this Pokémon possible
2 Star: Florio Nature Park (Day) - at the point before the bridge where some Taillow are resting in front of you; take photo close up, wait for Dodrio to jump up on your left at the same spot, scaring them away and looking around; take photo right before it lands, or after it landed on its feet, looking around
3 Star: Throw some Fluffruits in front of a Dodrio, and take your phtoo when it begins eating one
4 Star: Throw an Illumina Orb at a Dodrio to make it jump and move its legs; take a photo of this while it's midair
015: Ducklett
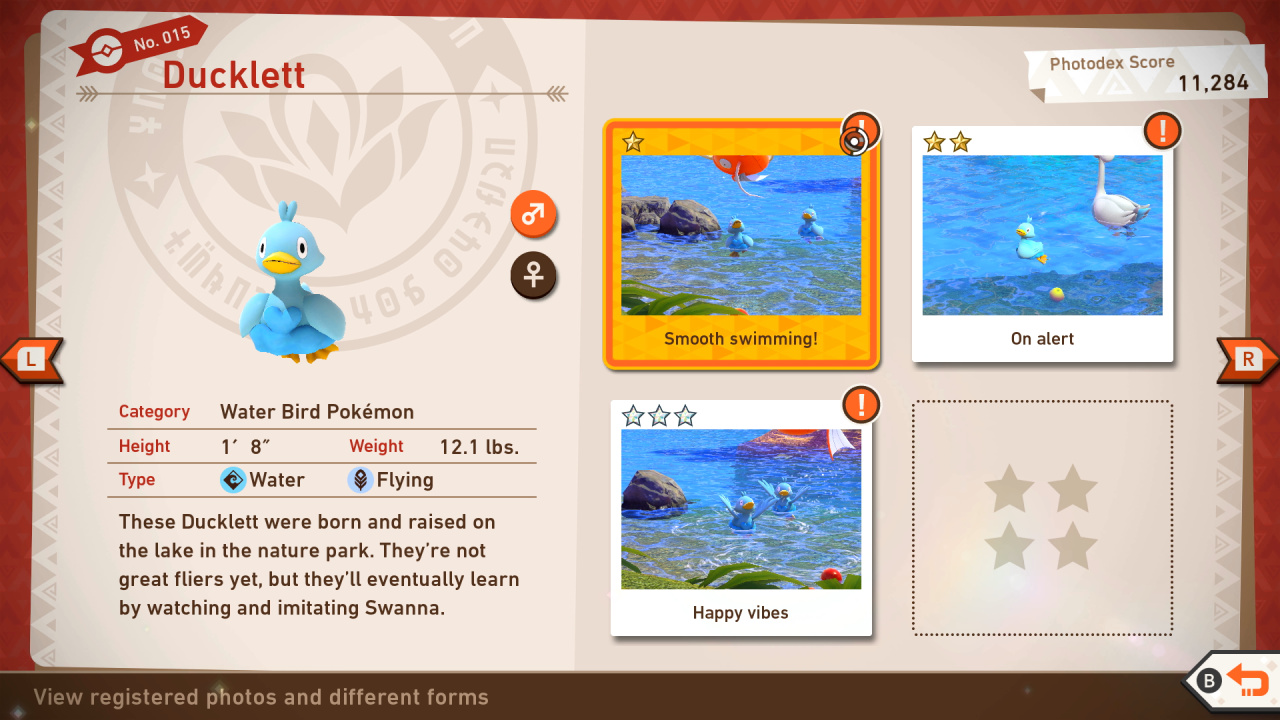
Ducklett Star Guide / Conditions:
1 Star: Simple photo of it swimming around
2 Star: Throw a Fluffruit and take photo as it begins eating
3 Star: Startle the Ducklett with a Fluffruit, and take your photo as it flaps its wings
4 Star: When you see Ducklett flying together with Swanna, which can be rare, take your 4-star photo
016: Swanna
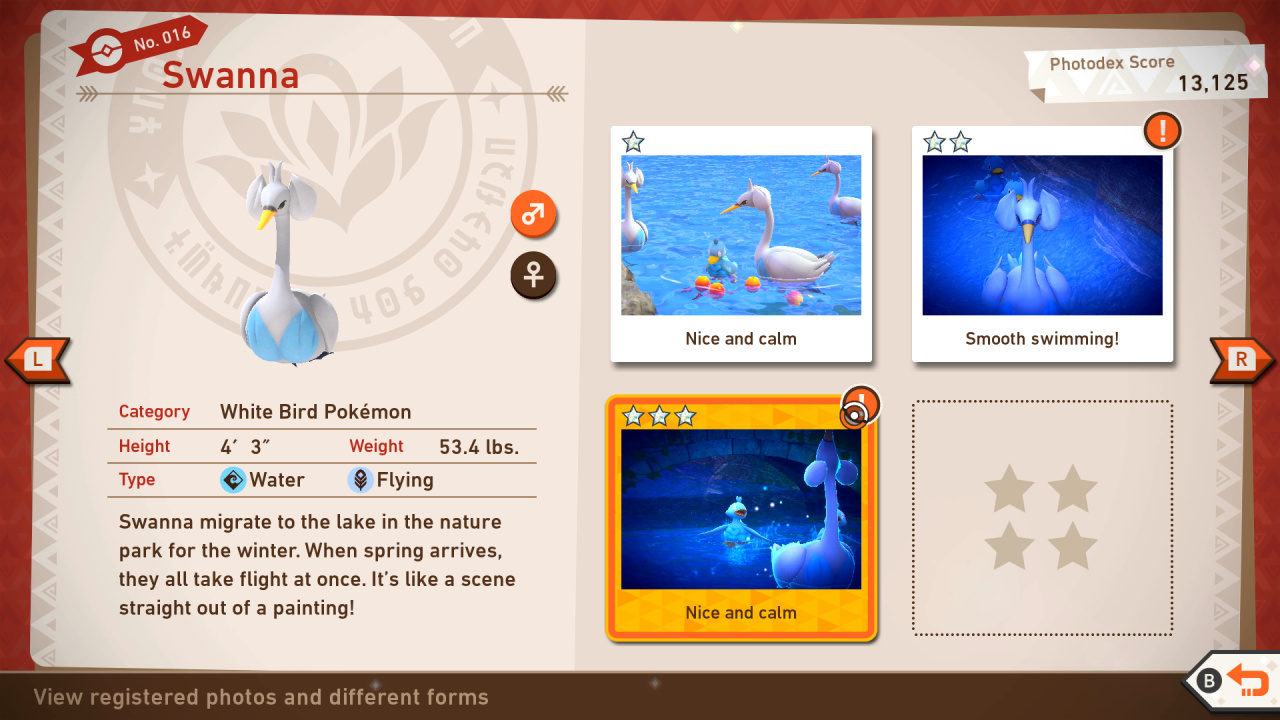
Swanna Star Guide / Conditions:
1 Star: Simple photo of it swimming around
2 Star: Use Scan to surprise it and take photo when its mouth opens
3 Star: Capture a well-timed photo of a Swanna flying during any time of the day.
4 Star: In Florio Nature Park (Night), look to the right to spot a group of Swanna in the water; the lead Pokémon may trigger the Illumina effect - at this point, it will fly into the sky with the others - take your photo of the pack flying
017: Bidoof
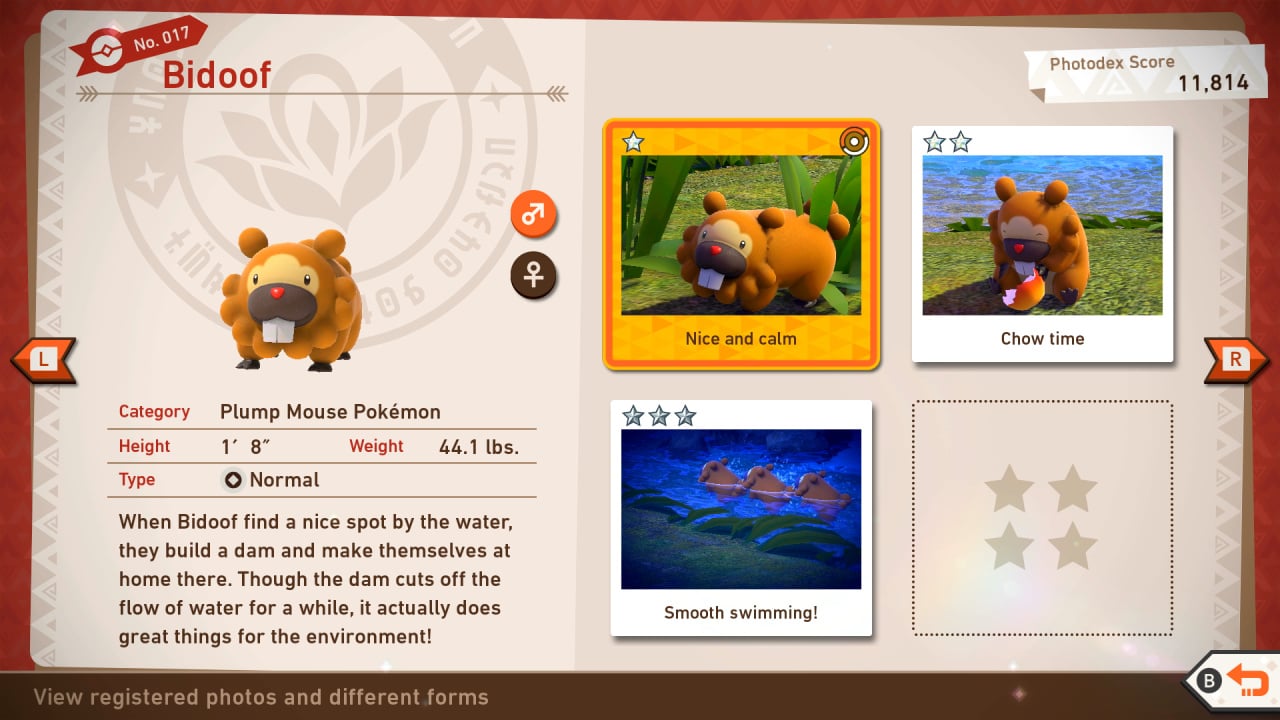
Bidoof Star Guide / Conditions:
1 Star: Simple photo walking around or swimming; no interaction
2 Star: Hit with Illumina Orb / Fluffruit and take photo of it startled or eating
3 Star: In Florio Nature Park (Night), look for the place where a lot of Torterra are sleeping; to the right and behind a group of them, you'll notice some Bidoof swimming together in a straight line; take your photo of these scene
4 Star: In Florio Nature Park (Day), look for the area on your right that has some Bidoof huts in the water - one looks like a pyramid nest; throw a Fluffruit onto it, and a Bidoof will pop out - take your photo now
018: Taillow
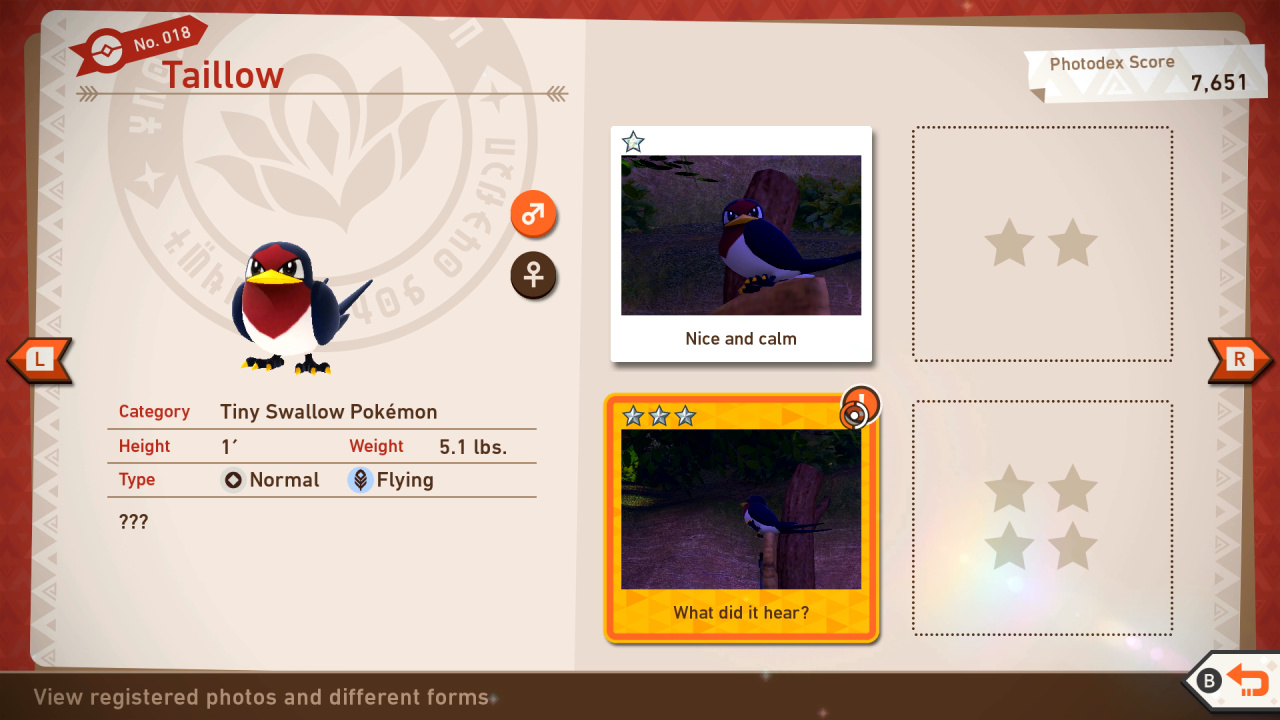
Taillow Star Guide / Conditions:
1 Star: Most basic photo of this Pokémon possible
2 Star: In general, throwing a Fluffruit at or scanning a Pokémon will cause it to behave in a way that will get you a 2-star photo.
3 Star: Make Taillow dance by getting close to it, throwing an Illumina Orb at it and playing a Melody for it to start dancing
4 Star: In Park (Day) research-level 3 near the river, take the original path and focus the camera on the sky; as you get to the bridge, a flock of Taillows will fly to the tree on the hill; take a photo of them flying and they will fly near some Wurmples; after landing, they will start squawking at the Wurmples; help the Wurmples fight the Taillows by throwing an Illumina Orb at the farthest Wurmple, then take a close-up shot of them fighting
019: Torterra
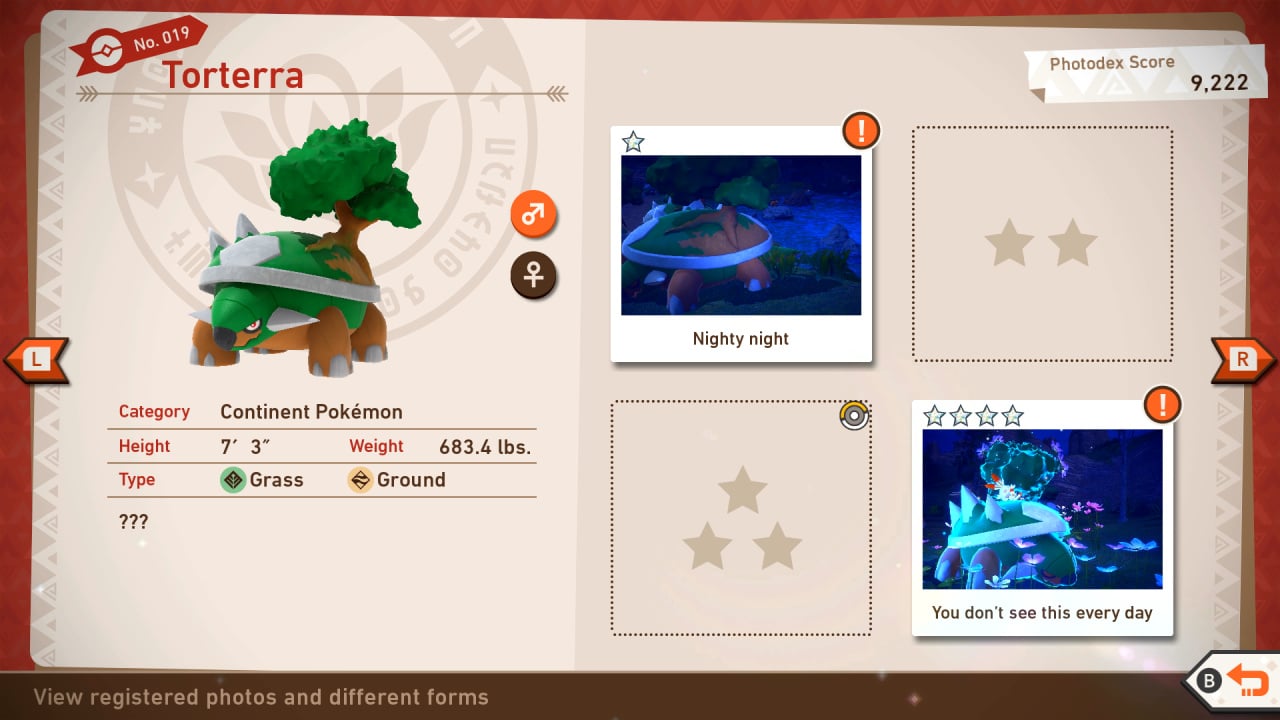
Torterra Star Guide / Conditions:
1 Star: Most basic photo of this Pokémon possible
2 Star: Hit with Fluffruit; the moment it is startled, take photo
3 Star: Towards the end of Florio Nature Park (Night), look for the Torterra sleeping with a Scorbunny on its back; take your photo from the side without waking them, and ensure Scorbunny is highly visible.
4 Star: Any time you encounter a sleeping Torterra, wake it up with a Fluffruit; after it opens its eyes, it will begin to yawn - take your photo now.
020: Magikarp

Magikarp Star Guide / Conditions:
1 Star: Most basic photo of this Pokémon possible
2 Star: Throw Fluffruit at it; take photo as it jumps high
3 Star: At the wooden bridge in the second stage, look to the right and down to see a Magikarp swimming; throw Fluffruits near it; once it begins eating them, take your photo
4 Star: At Florio Nature Park (Day), look for the open area with Swanna and Magikarp in the water, and a Pidgeot in front of you; annoy Pidgeot until it flies off into a tall tree - then throw a Fluffruit to Magikarp to make it jump high, causing Pidgeot to see it and fly down to (gulp) grab the Magikarp; take your photo of this... less than appetizing moment.
021: Hoothoot
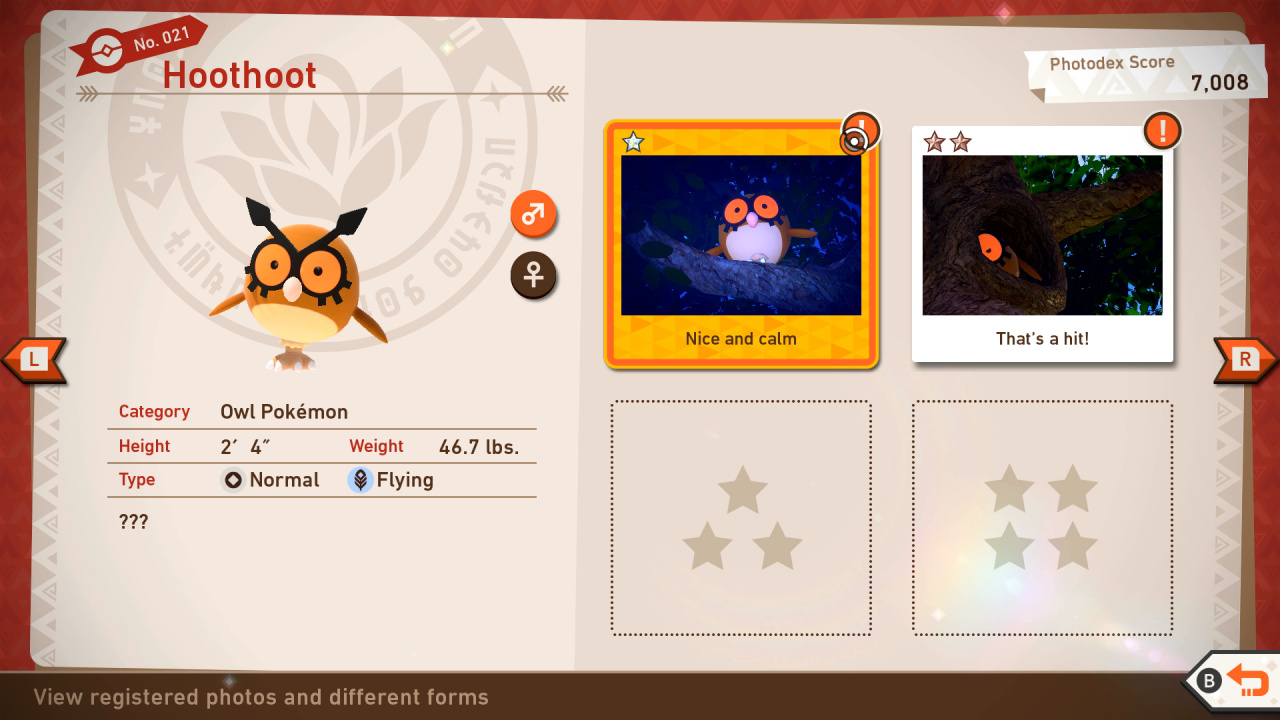
Hoothoot Star Guide / Conditions:
1 Star: Simple photo first time you encounter it, in the trunk of a tree that you scan
2 Star: Use your Scan to startle it on top of wooden pillar; take photo at this moment
3 Star: Throw Fluffruit at Hoothoot to make it lose its balance; once its feet appear, take your photo
4 Star: Unlock the Melody tool; play music when you see a Hoothoot in the trees; when it starts dancing, take your photo
022: Comfey
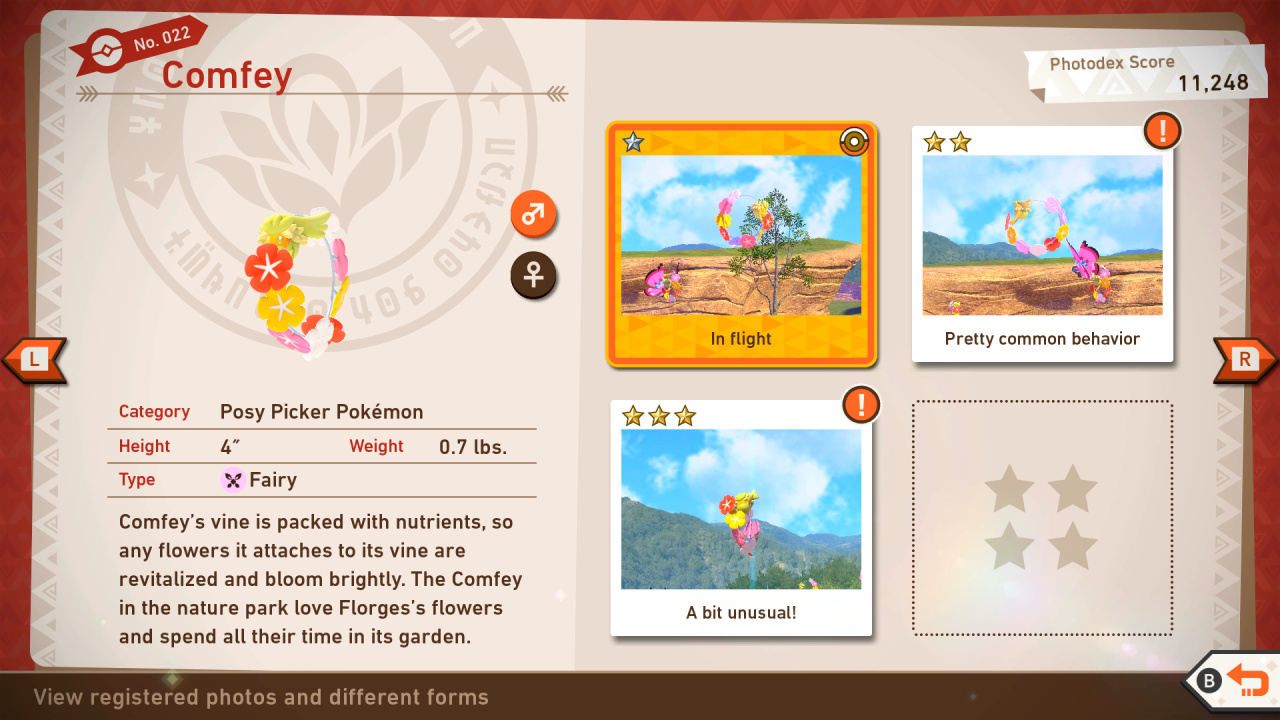
Comfey Star Guide / Conditions:
1 Star: Simple photo of it levitating; no interaction
2 Star: Hit it with Fluffruit and take photo at that moment, as it becomes annoyed
3 Star: Take a picture of a Comfey that on the left side of the flower field, near the end of the first stage, while it's levitating above you with its red flower in front; be sure to get high points for 3 stars
4 Star: Unlock the Melody and use it in the flower field in Florio Nature Park to make some Comfey come to that area and begin dancing; take your photo of this dance
023: Florges
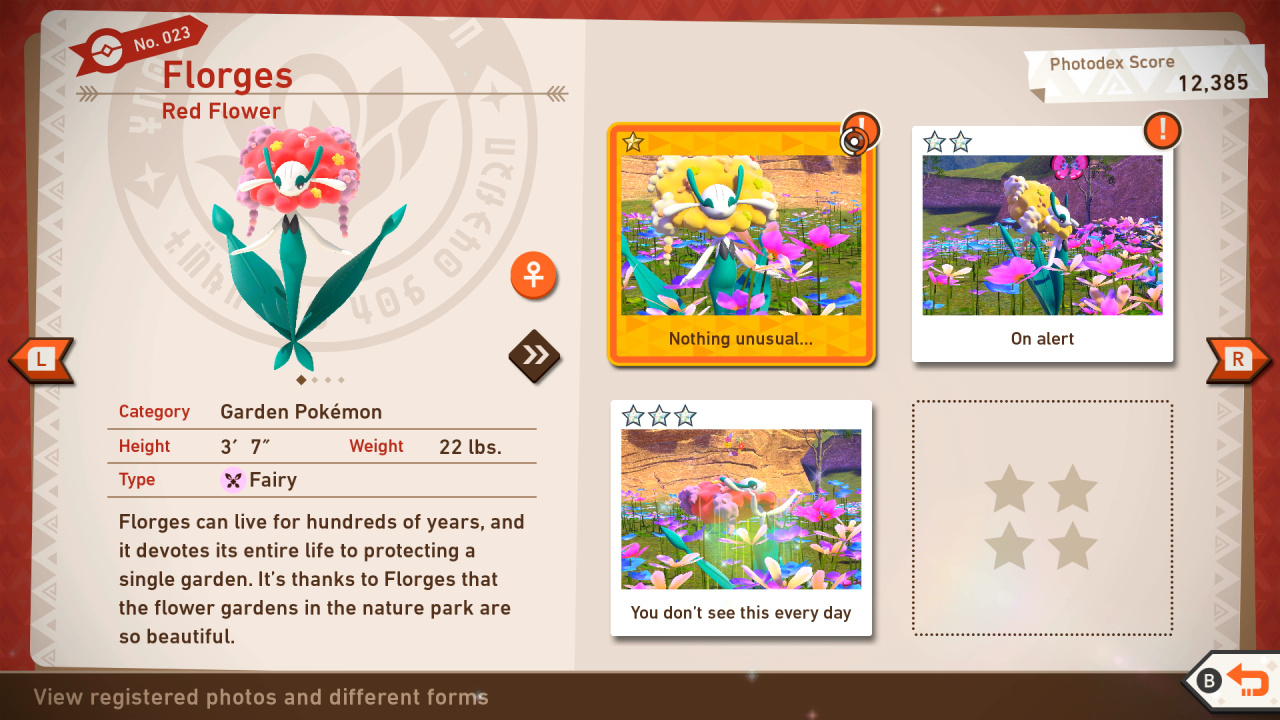
Florges Star Guide / Conditions:
1 Star: Simple photo from afar, walking around
2 Star: Use Scan to surprise it; take photo the moment it opens its mouth in surprise
3 Star: Throw a Fluffruit near Florge before you get too close; it will pick it up and eat it; get closer, and after it eats the entire fruit, it will wave at you, at which point you'll need to take your 3-star photo.
4 Star: Unlock the Melody, then head to the flower field; use Melody here; when Florges starts dancing, take your photo.
024: Combee

Combee Star Guide / Conditions:
1 Star: Most basic photo of this Pokémon possible
2 Star: In general, throwing a Fluffruit at or scanning a Pokémon will cause it to behave in a way that will get you a 2-star photo.
3 Star: Capture of photo of Combee as they fly around Vespiquen.
4 Star: Capture of photo of Combee as it performs a flip while dancing with Vespiquen.
025: Vespiquen
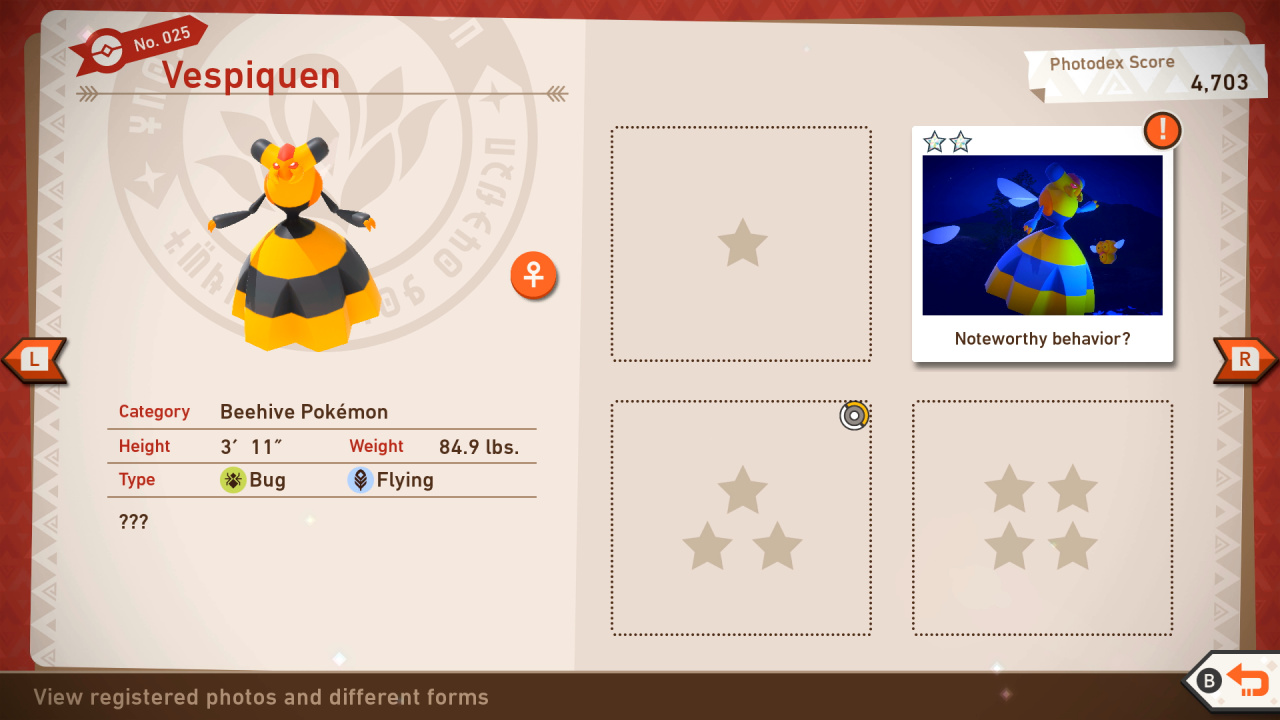
Vespiquen Star Guide / Conditions:
1 Star: Most basic photo of this Pokémon possible
2 Star: In general, throwing a Fluffruit at or scanning a Pokémon will cause it to behave in a way that will get you a 2-star photo.
3 Star: Snap a photo as Vespiquen does a flip while dancing with the Combees
4 Star: Light the Crystabloom in the field of flowers, and watch as Vespiquen flies into the field; after throwing an Illumina Orb directly at Vespiquen and playing a Melody, watch as it begins performing an all-new behavior and take your photo
026: Sylveon
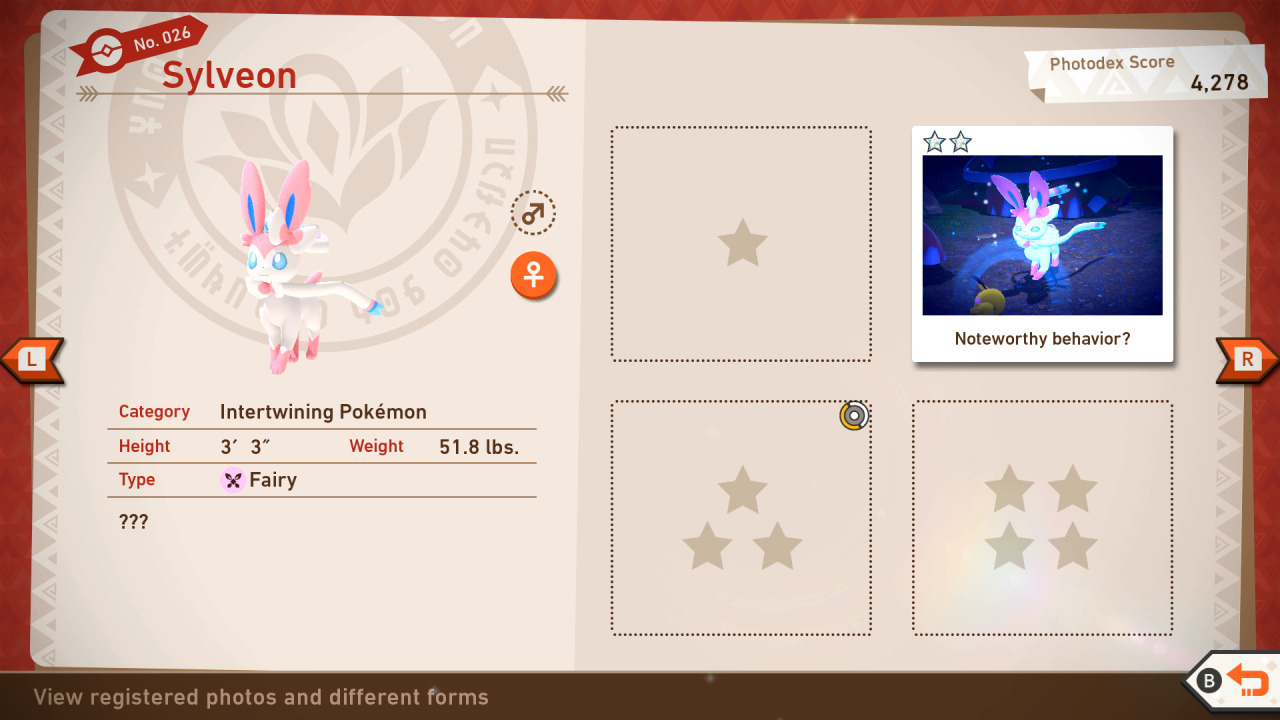
Sylveon Star Guide / Conditions:
1 Star: Simple photo in Illumina Spot stage, or during nighttime in Florio Nature Park
2 Star: Startle it with any item while sleeping; take photo when it wakes up frustrated
3 Star: Wake up the Sylveon in the Illumina Spot stage, on the right side at the beginning, using an Illumina Orb or Fluffruit; when it wakes up and leaps off the cliff, take a picture now or after it lands for 3 stars.
4 Star: Do the same thing as for the 3-star photo, but wait for it to run up to Meganium on the left; as it gets close, it will begin leaping around - take a photo of this.
027: Shaymin
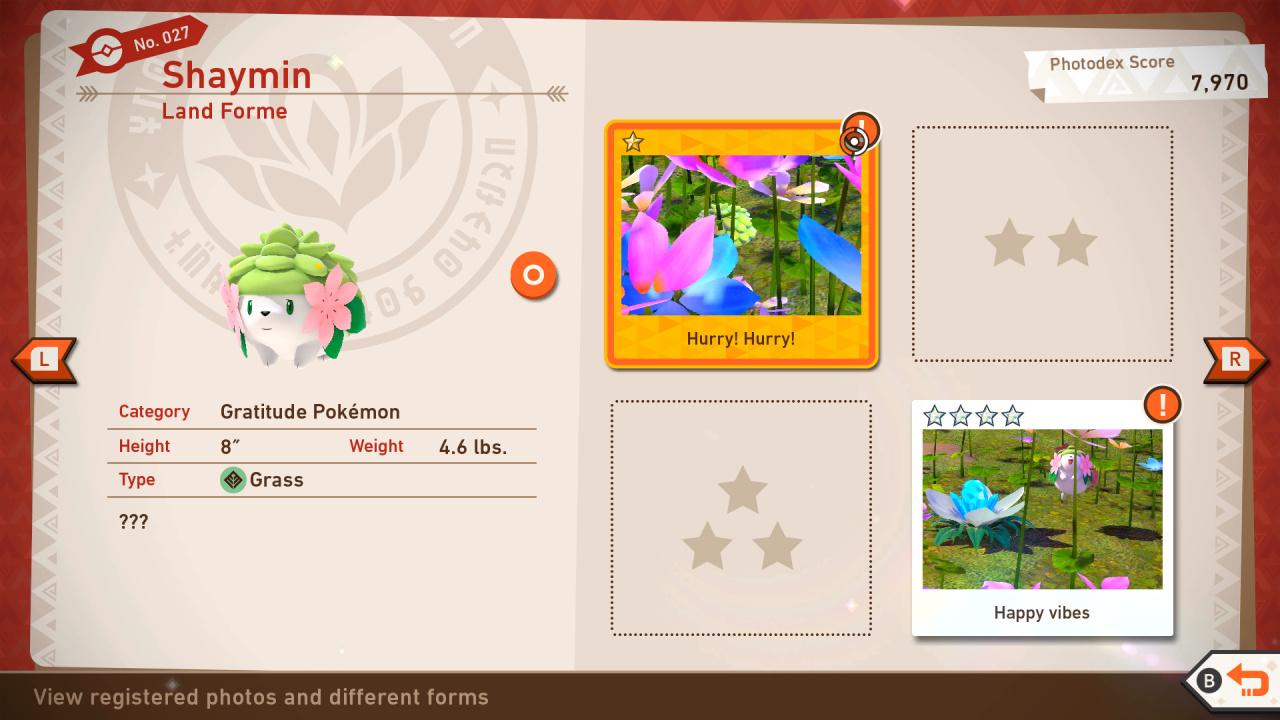
Shaymin Star Guide / Conditions:
1 Star: Head to Florio Illumina Spot Level 2; beyond the first tree, look for a small cliff; throw an Illumina Orb up onto it to see a Shaymin run over to the edge and take your first photo
2 Star: In general, throwing a Fluffruit at or scanning a Pokémon will cause it to behave in a way that will get you a 2-star photo.
3 Star: Head to the Park (Day) at Research Level 3; at the last curve into the field of flowers, look for Scorbunny, Grookey, Pichu, and Shaymin run down the path ahead of you; take a photo here for 3 stars
4 Star: Light up the final flower in the course with an Illumina Orb to wake up Shaymin, and take a 4-star photo once you do (but be sure your camera registers Shaymin, not the Crystalbloom)
028: Meganium
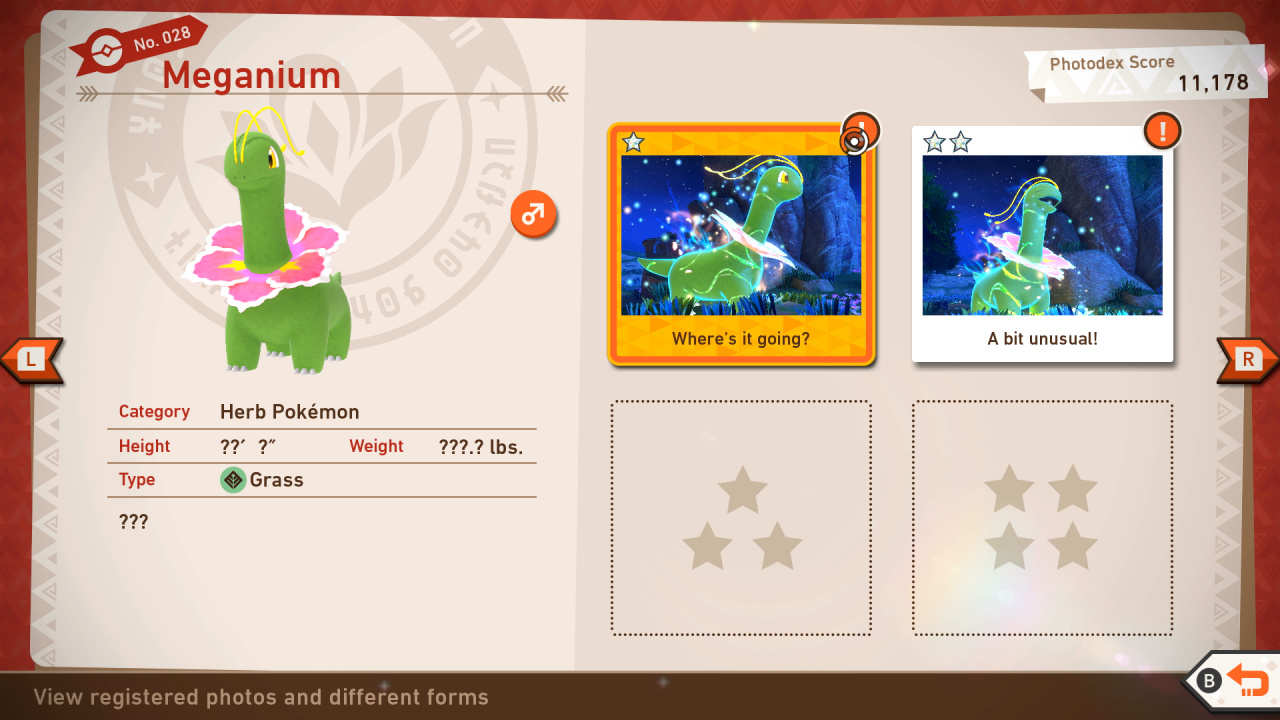
Meganium Star Guide / Conditions:
1 Star: Most basic photo of this Pokémon possible
2 Star: Take photo of it interacting with Crystalblossom, after the Illumina effect takes place, and it begins growling happily
3 Star: Wait for Meganium to stop walking and look around; take your photo at the moment it turns its head
4 Star: Take your 4-star photo while Meganium runs through the field at the last part of the area
029: Eevee
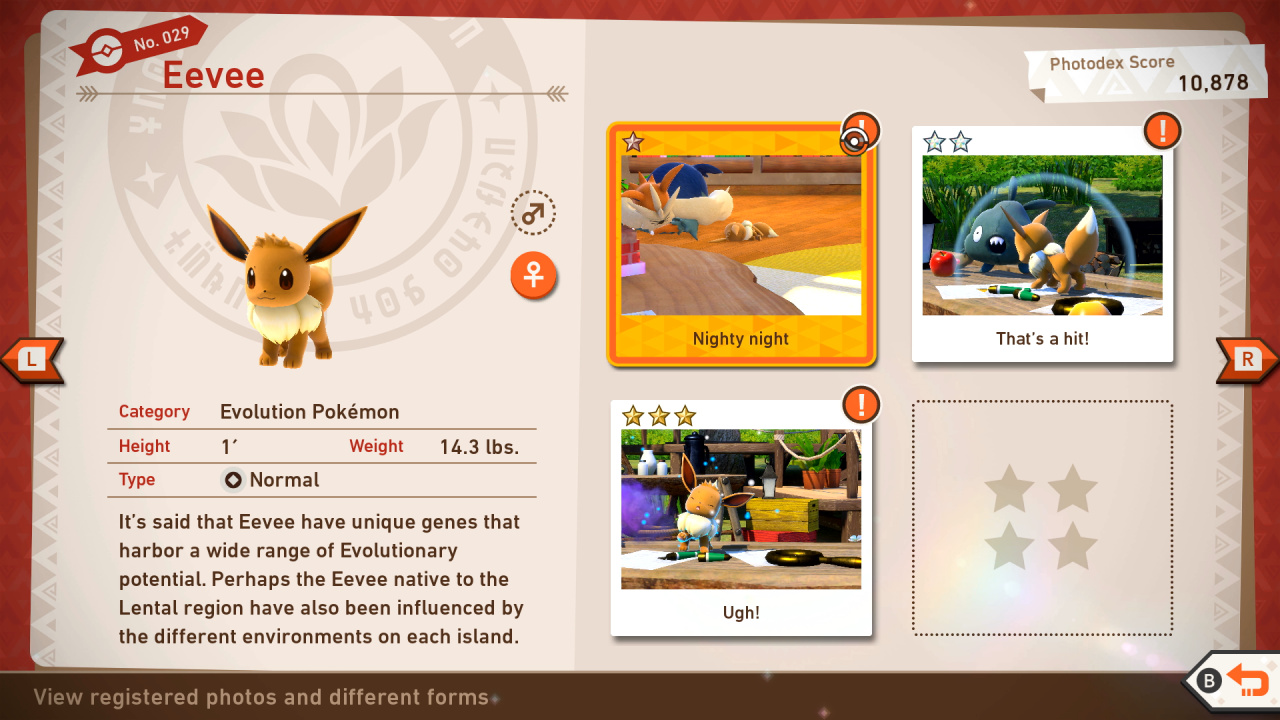
Eevee Star Guide / Conditions:
1 Star: Most basic photo of this Pokémon possible
2 Star: In general, throwing a Fluffruit at or scanning a Pokémon will cause it to behave in a way that will get you a 2-star photo.
3 Star: Before throwing a Fluffruit at Trubbish, make sure you are close enough to see Eevee's reaction; take a close-up shot of an angry Eevee
4 Star: As you approach the lab, scan to reveal the branching path to enter the lab; once inside you should find Audino and Dedenne; with Eevee at the center of the room and the Cutiefly nearby, throw Illumina Orbs at them until Eevee chases them around Stoutland; keep throwing Illumina Orbs if possible so that the Cutiefly will maintain their glow; take a photo when Eevee sits down
030: Pikachu
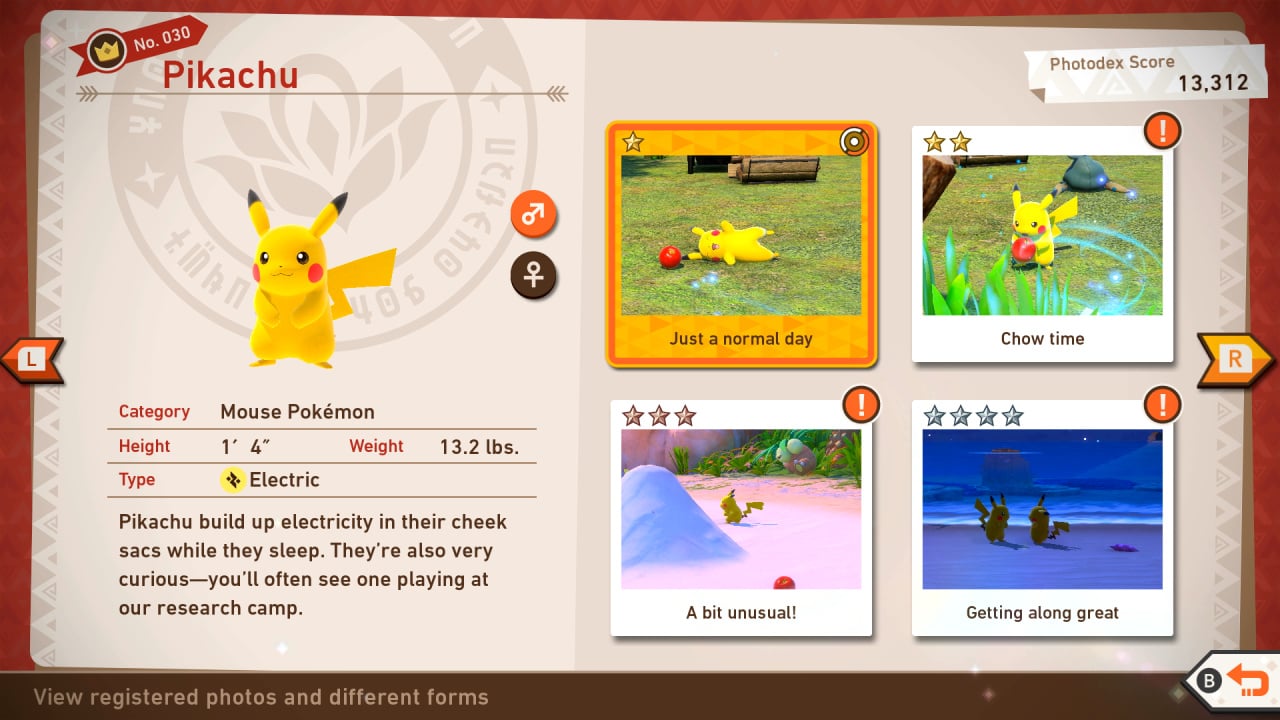
Pikachu Star Guide / Conditions:
1 Star: Most basic photo of this Pokémon possible
2 Star: In general, throwing a Fluffruit at or scanning a Pokémon will cause it to behave in a way that will get you a 2-star photo.
3 Star: Throw some Fluffruits near Pikachu and lure it to go near the Neo-One; when Pikachu gets closer, it will run and play on top of Neo-One; throw an Illumina Orb at it and wait till it poses like it is falling; zoom in on your camera and capture that moment
4 Star: Take a close-up shot of Pikachu spreading its arms or doing a cool pose
031: Cutiefly
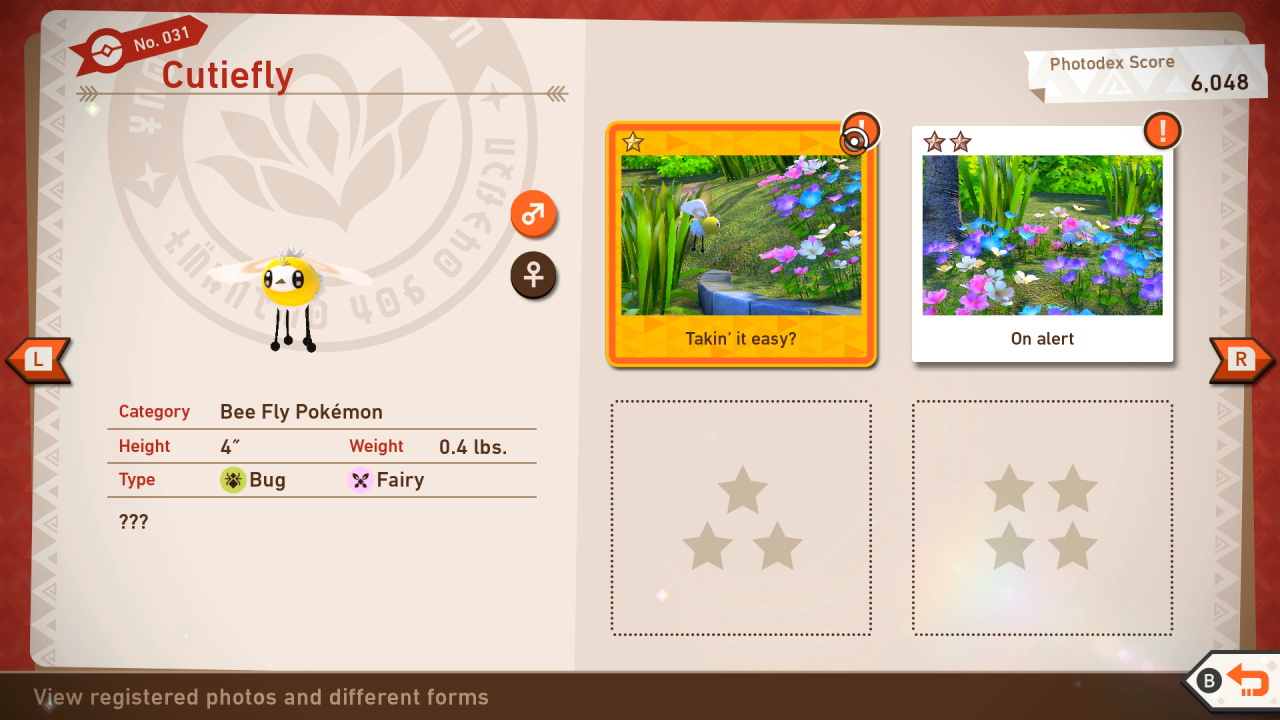
Cutiefly Star Guide / Conditions:
1 Star: Most basic photo of this Pokémon possible
2 Star: In general, throwing a Fluffruit at or scanning a Pokémon will cause it to behave in a way that will get you a 2-star photo.
3 Star: After Cutiefly eats the Fluffruit, focus your camera on Cutiefly and wait till it gets closer to Audino. Once closer, Cutiefly will start swirling around in the air. Take a close-up shot of Cutiefly swirling in the air
4 Star: Start the course on the Research Lab side; after passing through the lamp post near a Crystabloom, look to the garden on the right side and scan the area to find a flock of Cutiefly flying around; throw an Illumina Orb to the closest one to you, then play a Melody to make it dance and make a cute pose, which you can take a photo of
032: Bunnelby
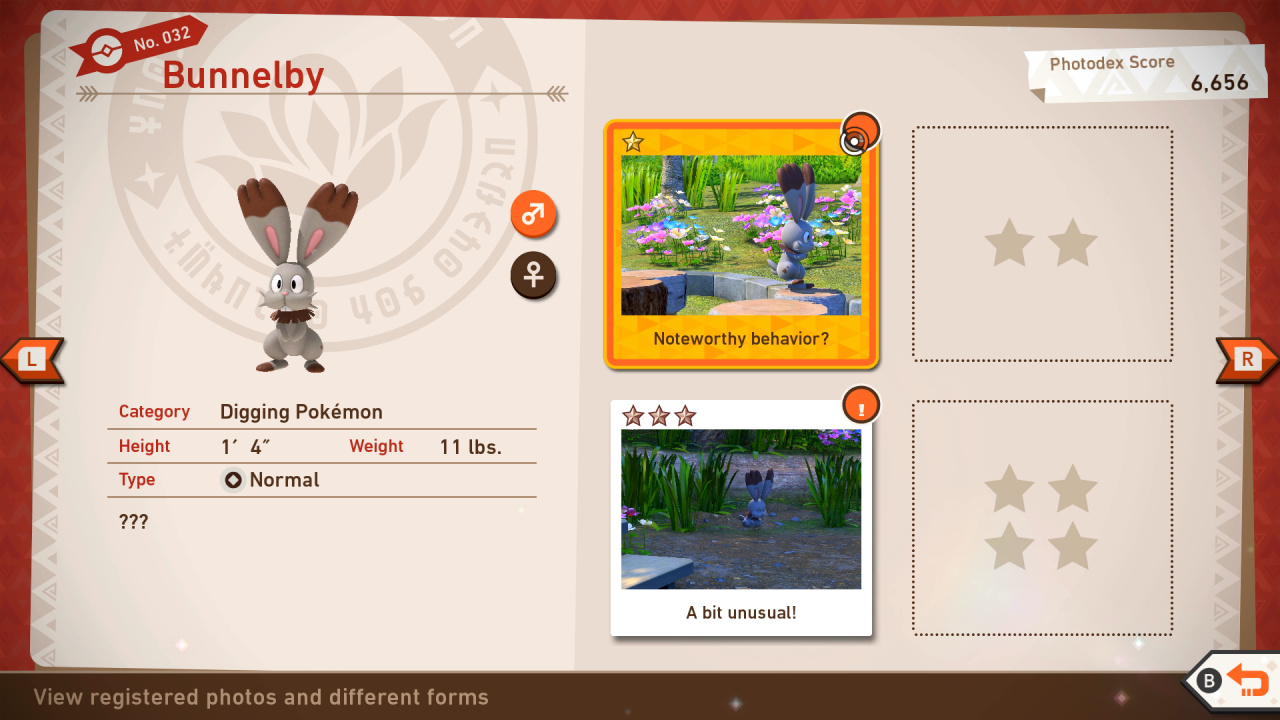
Bunnelby Star Guide / Conditions:
1 Star: Most basic photo of this Pokémon possible
2 Star: In general, throwing a Fluffruit at or scanning a Pokémon will cause it to behave in a way that will get you a 2-star photo.
3 Star: Start the course on the entrance side of the Research Camp; upon reaching the water trough, look for Bunnelby hopping on the tree logs buried in the ground near it; while Bunnelby is hopping to each tree log, throw two Illumina Orbs at it to make it jump in the air and do a flip, then take a close-up shot of Bunnelby flipping in the air
4 Star: Make Bunnelby jump higher by throwing an Illumina Orb at it before hitting it with a Fluffruit; after hitting it with a Fluffruit, quickly throw two Illumina Orbs at it to make it jump higher and take a close-up shot
033: Stoutland
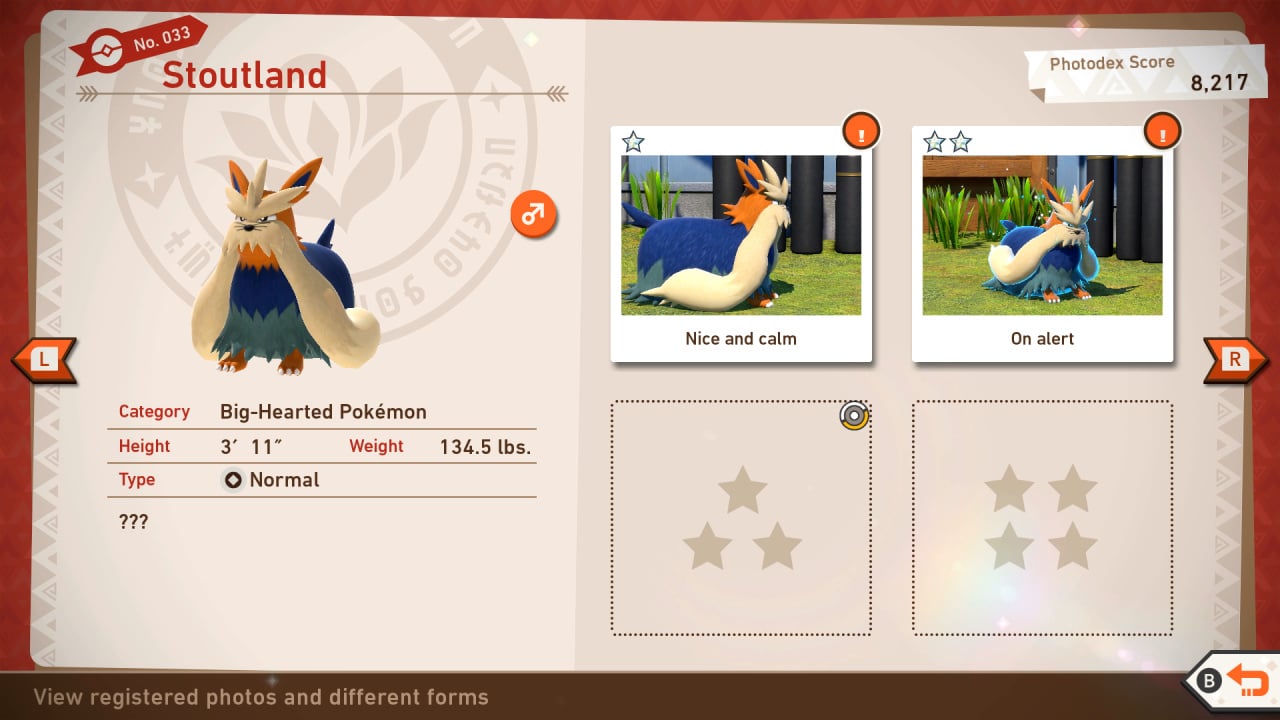
Stoutland Star Guide / Conditions:
1 Star: Most basic photo of this Pokémon possible
2 Star: In general, throwing a Fluffruit at or scanning a Pokémon will cause it to behave in a way that will get you a 2-star photo.
3 Star: Start the course at the entrance of the Research Camp; when you get closer to the porch of the Research Lab, scan the area to discover the alternate path; take that path to enter the Research Lab; once you are inside the lab, throw an Illumina Orb at Stoutland and use the Scan to wake it up, then take your close-up photo
4 Star: Start on the Lab Side of the course; Stoutland can be spotted next to the NEO-ONEs - feed it at least two Fluffruits so that it'll be enticed to move towards the middle of the camp; later, throw an Illumina Orb at Stoutland and it'll begin to glow; Eevee will be in awe as Stoutland lights up; this will excite Eevee and, in turn, trigger Stoutland to spin in place, when you can take your photo
034: Starly
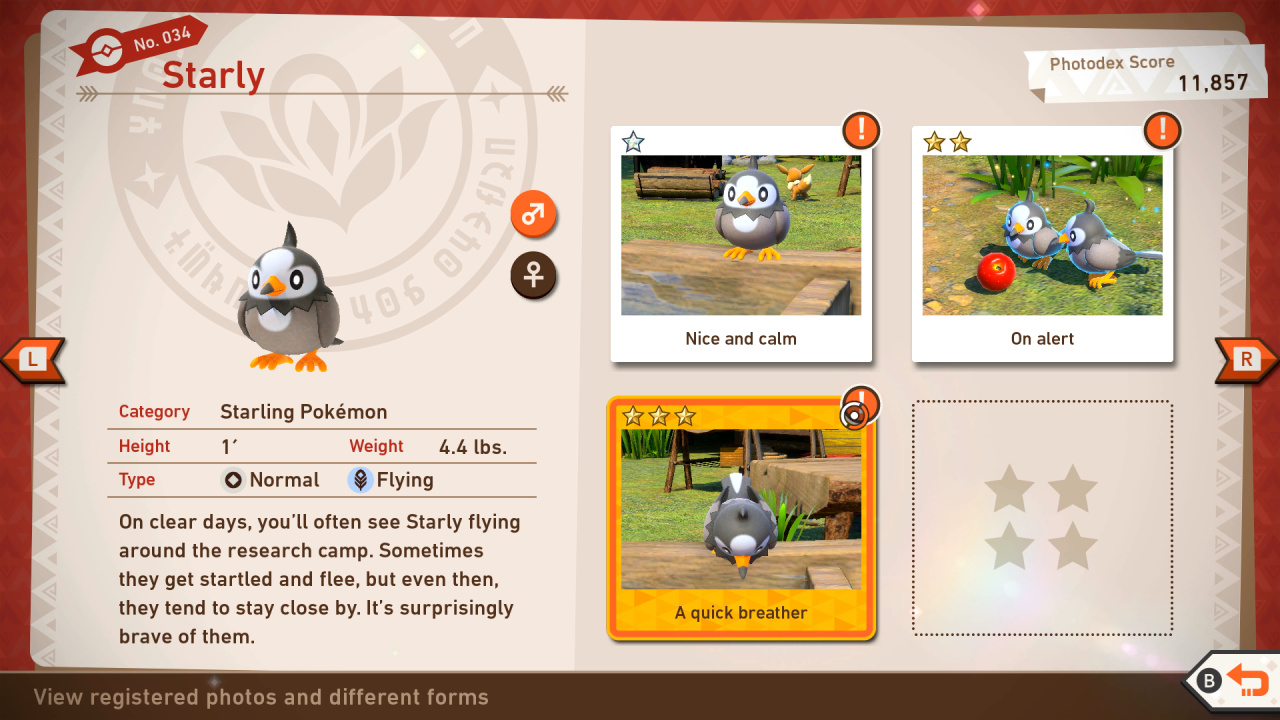
Starly Star Guide / Conditions:
1 Star: Most basic photo of this Pokémon possible
2 Star: In general, throwing a Fluffruit at or scanning a Pokémon will cause it to behave in a way that will get you a 2-star photo.
3 Star: Take a photo of Starly while it is drinking water from the water trough, but make sure not to play a Melody or do a scan, it can scare Starly and fly away
4 Star: Feed Starly with a Fluffruit twice; after eating the Fluffruit, Starly will pose with one wing and will smile at you, at which point you can take your photo
035: Meowth

Meowth Star Guide / Conditions:
1 Star: Most basic photo of this Pokémon possible
2 Star: In general, throwing a Fluffruit at or scanning a Pokémon will cause it to behave in a way that will get you a 2-star photo.
3 Star: Start the course on the entrance side of the Research Camp and use the alternative path to enter the Research Lab; once you are inside the lab, throw plenty of Fluffruit to the second floor to disturb Meowth and wait for it to go near the ladder; focus the camera on the ladder and wait for Meowth to do a roaring pose; while it is posing, throw an Illumina Orb and take a close-up shot
4 Star: Start the course near the Neo-One; throw a Fluffruit near Meowth to wake it up. Once Meowth notices the Fluffruit, throw some more and lure it to go near the porch; once Meowth reached the porch, it will go underneath it and chase Rattata; after chasing Rattata, Meowth will go near the campfire; once you are on the other side of the camp, wait till you get closer to Meowth and feed it with two Fluffuit; after it eats the Fluffruits, Meowth will start rolling around in the grass, when you can take a close-up photo
036: Audino
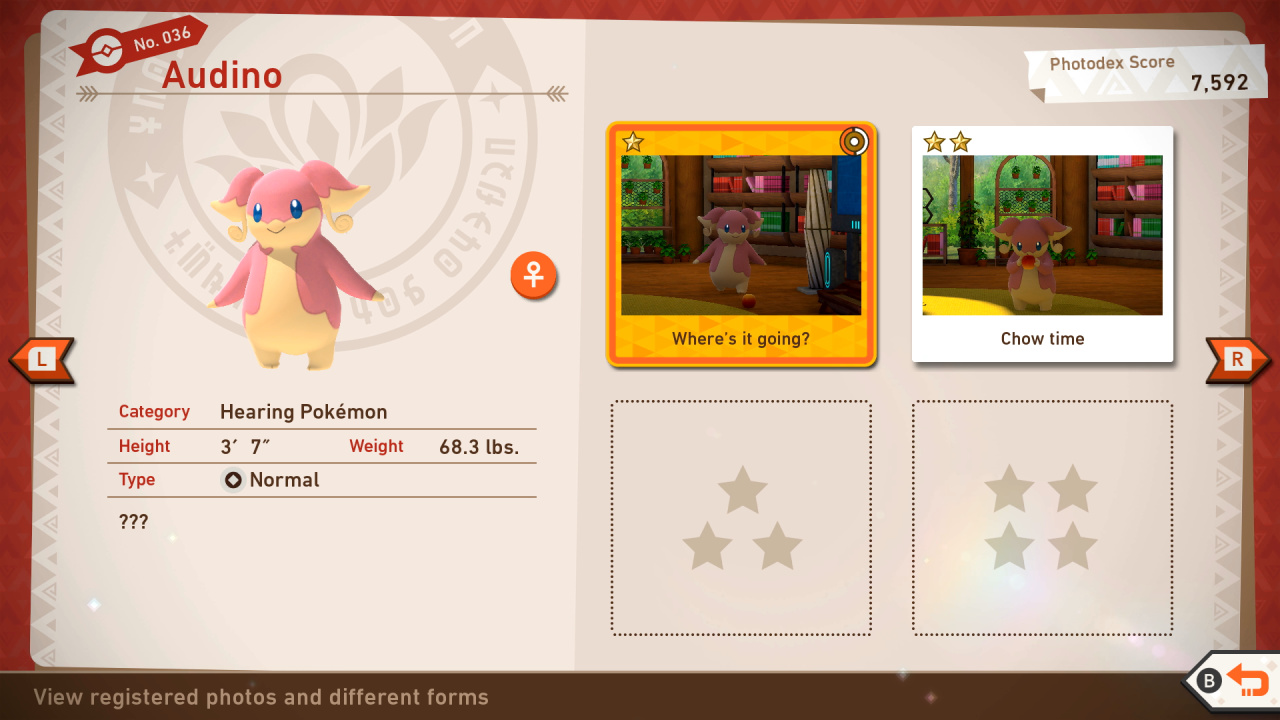
Audino Star Guide / Conditions:
1 Star: Most basic photo of this Pokémon possible
2 Star: In general, throwing a Fluffruit at or scanning a Pokémon will cause it to behave in a way that will get you a 2-star photo.
3 Star: Play a Melody instead of feeding it with a Fluffruit and wait till it shakes its tail; take a whole-body shot of Audino shaking its tail
4 Star: Feed Cutiefly with a Fluffruit in the grass near the porch of the Research Lab; once Cutiefly is done with its Fluffruit, it will fly and go near Audino; play a Melody to make Audino dance and throw an Illumina Orb at it while it is dancing, then take your photo
037: Rattata
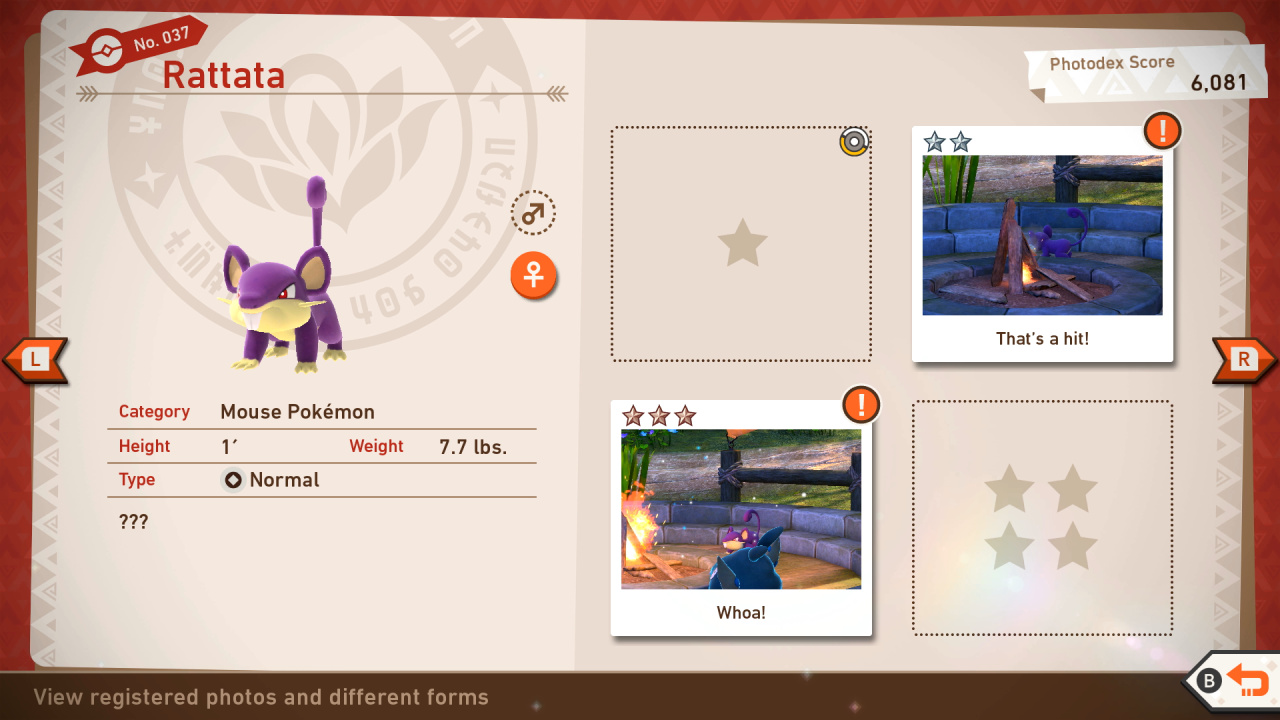
Rattata Star Guide / Conditions:
1 Star: Most basic photo of this Pokémon possible
2 Star: In general, throwing a Fluffruit at or scanning a Pokémon will cause it to behave in a way that will get you a 2-star photo.
3 Star: Start the course at the entrance of the Research Camp; position yourself where you can see Rattata's reaction; once you get closer to the campfire, throw an Illumina Orb at the fire; this will scare Rattata and Trubbish; focus the camera on Rattata and once it starts running and jumping out of the campfire place, snap a nice close-up shot
4 Star: As you move past the campfire, Sudowoodo will be in a small clearing next to the cabins; look for the Crystabloom on the grass near Sudowoodo and light it up once Sudowoodo gets closer - this will trigger Sudowoodo, Trubbish, and Rattata to move to the center of the field; once they reached the center of the field, play a Melody to make them dance; take a close-up shot of Rattata dancing
038: Trubbish
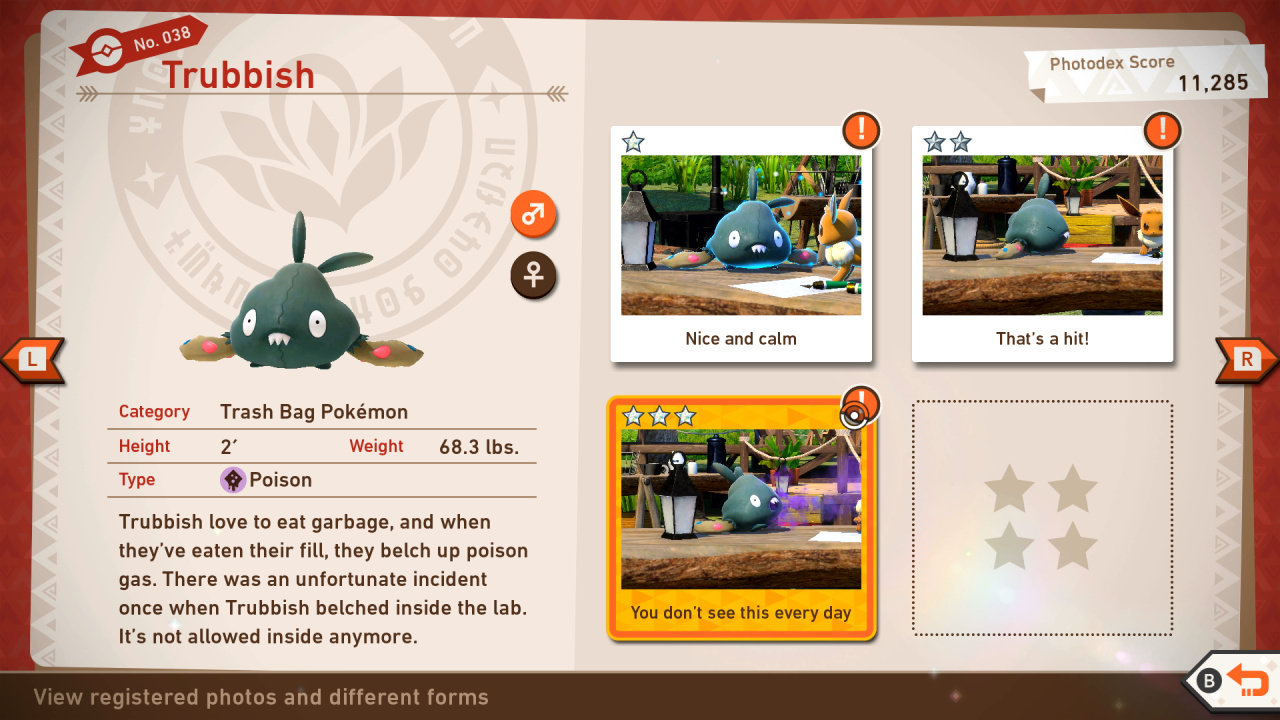
Trubbish Star Guide / Conditions:
1 Star: Most basic photo of this Pokémon possible
2 Star: In general, throwing a Fluffruit at or scanning a Pokémon will cause it to behave in a way that will get you a 2-star photo.
3 Star: Light up the campfire using the Illumina Orb to scare Trubbish; make sure to ready your camera before throwing the Illumina Orb to make sure you'll catch Trubbish's reaction; take a close-up shot of a frightened Trubbish
4 Star: Light the Crystabloom near the campfire area once Sudowoodo gets closer to it; then, Sudowoodo will start marching towards the center of the field - this will also lure Trubbish and Rattata to go in the center of the field; once they reached the center, play a Melody to make them dance, and take a close-up picture of a dancing Trubbish
039: Sudowoodo
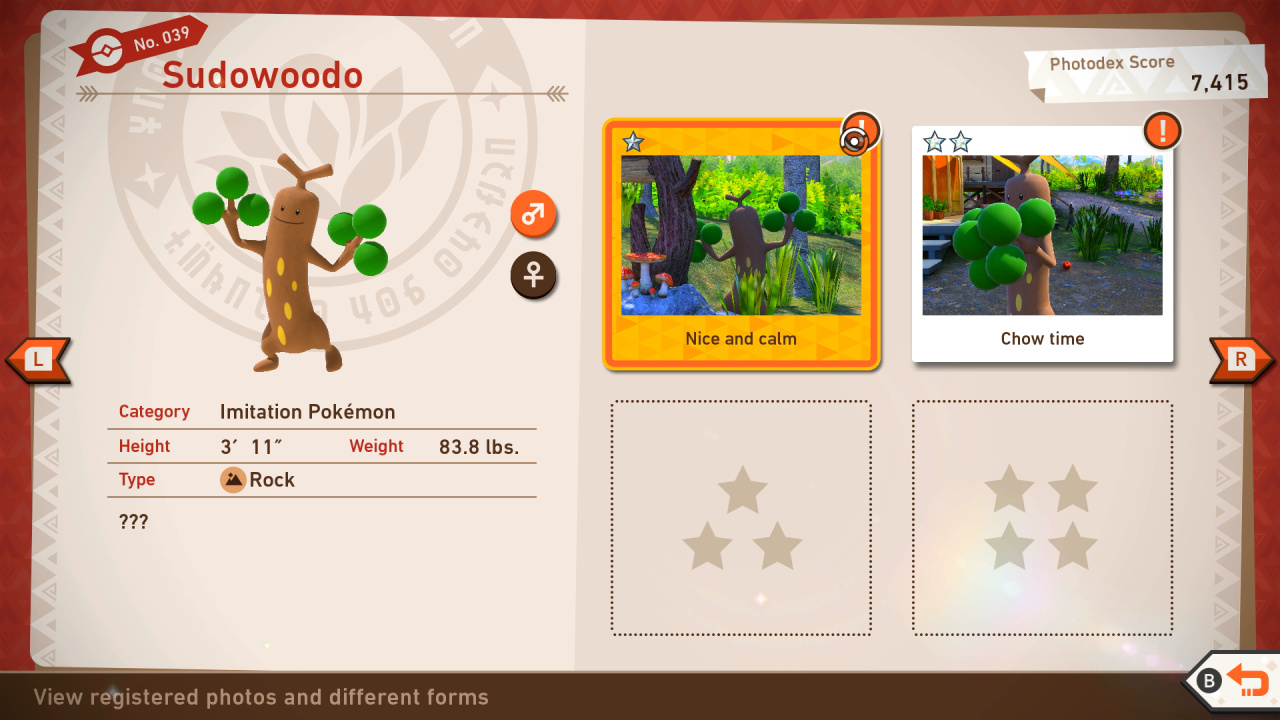
Sudowoodo Star Guide / Conditions:
1 Star: Most basic photo of this Pokémon possible
2 Star: In general, throwing a Fluffruit at or scanning a Pokémon will cause it to behave in a way that will get you a 2-star photo.
3 Star: Take a photo of Sudowoodo running away by hitting the water in the tree log using a Fluffruit; this will make Sudowoodo run away (tip: hit the water after passing through Sudowood and not before); this will give you a perfect angle to take a close-up shot.
4 Star: Near the campfire, you'll find Sudowoodo walking around the area; wait till Sudowoodo gets near to the Crystabloom; once near, light up the Crytabloom; lighting up the Crystabloom will trigger Sudowoodo to march and go to the center of the field; wait for an angle where Sudowoodo's face is visible in the frame and play the Melody to make it dance; once it starts dancing, take a close-up shot of Sudowoodo
040: Dedenne
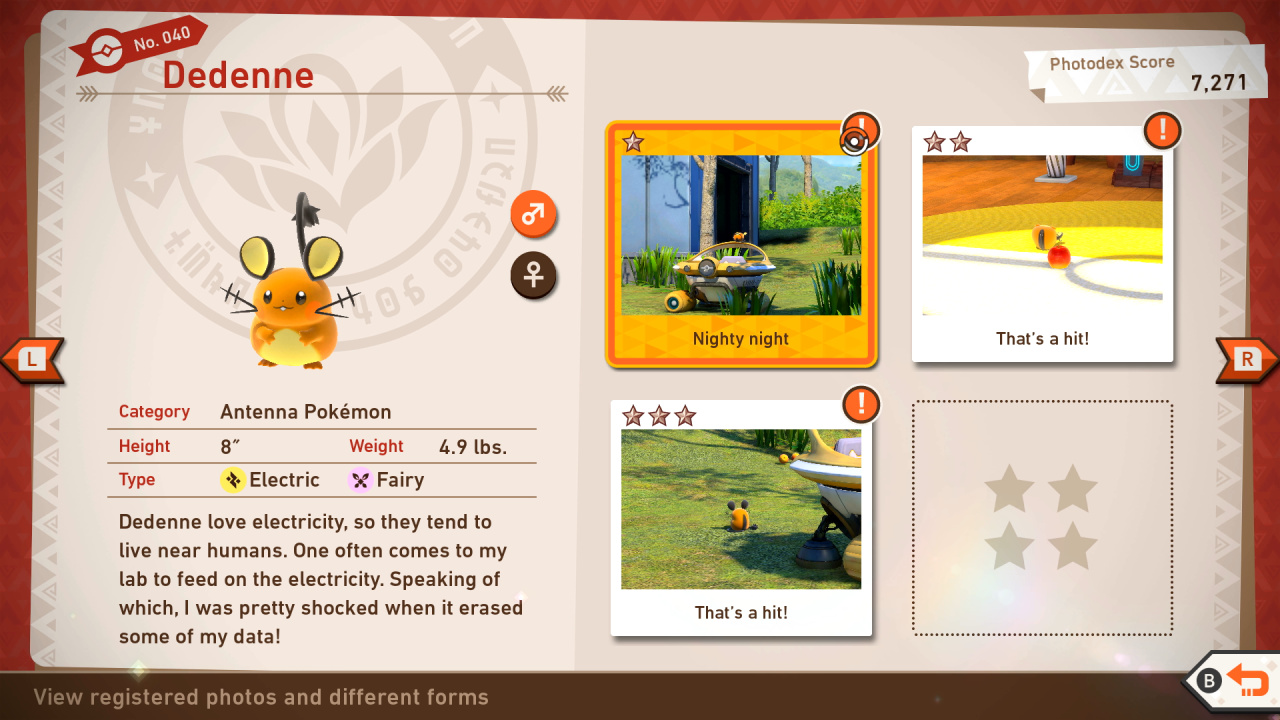
Dedenne Star Guide / Conditions:
1 Star: Most basic photo of this Pokémon possible
2 Star: In general, throwing a Fluffruit at or scanning a Pokémon will cause it to behave in a way that will get you a 2-star photo.
3 Star: After Dedenne eats the Fluffruit, it will clean itself and the floor with its tail; take a close-up shot of Dedenne removing some dirt; this is entirely random but to have the perfect shot, make sure to throw the Fluffruit in the center to have an angle where Dedenne is facing you
4 Star: Throw some Fluffruits on the floor to lure Dedenne to go near the computer system. Once near, Dedenne will be electrified. Take a close-up shot of an electrified Dedenne
New Pokémon Snap Florio Photodex - Update 2.0
215: Shroomish
Shroomish Star Guide / Conditions:
1 Star: Secret side path; Most basic photo of this Pokémon possible
2 Star: In general, throwing a Fluffruit at or scanning a Pokémon will cause it to behave in a way that will get you a 2-star photo.
3 Star: Get Shroomish into a groove for a three-star photo. Take the Secret Side Path (Day) default route to find a clearing of Shroomish with a Crystabloom. Light the Crystabloom and play a melody to get them to dance.
4 Star: Those wanting to take a four-star photo of Shroomish can do so by completing Rita's Dancing Trio request.
216: Foongus
Foongus Star Guide / Conditions:
1 Star: Secret side path; Most basic photo of this Pokémon possible
2 Star: In general, throwing a Fluffruit at or scanning a Pokémon will cause it to behave in a way that will get you a 2-star photo.
3 Star: You can technically take the three-star photo from either Secret Side Path (Night) route. However, the default route has the closest and clearest opportunity. A group of Foongus can be seen carrying fluffruit to Snorlax's sleeping space. Also, one of them is standing on top of another. Catch these hard workers in the act to check off the three-star photo.
4 Star: To take a four-star photo of Foongus, players should carry out the steps required to fulfill the Parachute request for Todd.
217: Snorlax
Snorlax Star Guide / Conditions:
1 Star: Secret side path; Most basic photo of this Pokémon possible
2 Star: In general, throwing a Fluffruit at or scanning a Pokémon will cause it to behave in a way that will get you a 2-star photo.
3 Star: Catch Snorlax in mid-meal to fulfill the three-star photo requirement. This means feeding it a fluffruit while its sleeping or tossing it into the field for it to eat.
4 Star: Players can get a four-star photo of Snorlax by completing the Snorlax Dash request for Professor Mirror.


Comments 0
Wow, no comments yet... why not be the first?
Leave A Comment
Hold on there, you need to login to post a comment...