In this jungle-like area, you'll find the likes of Aipom, Arbok, Toucannon and Venusaur.
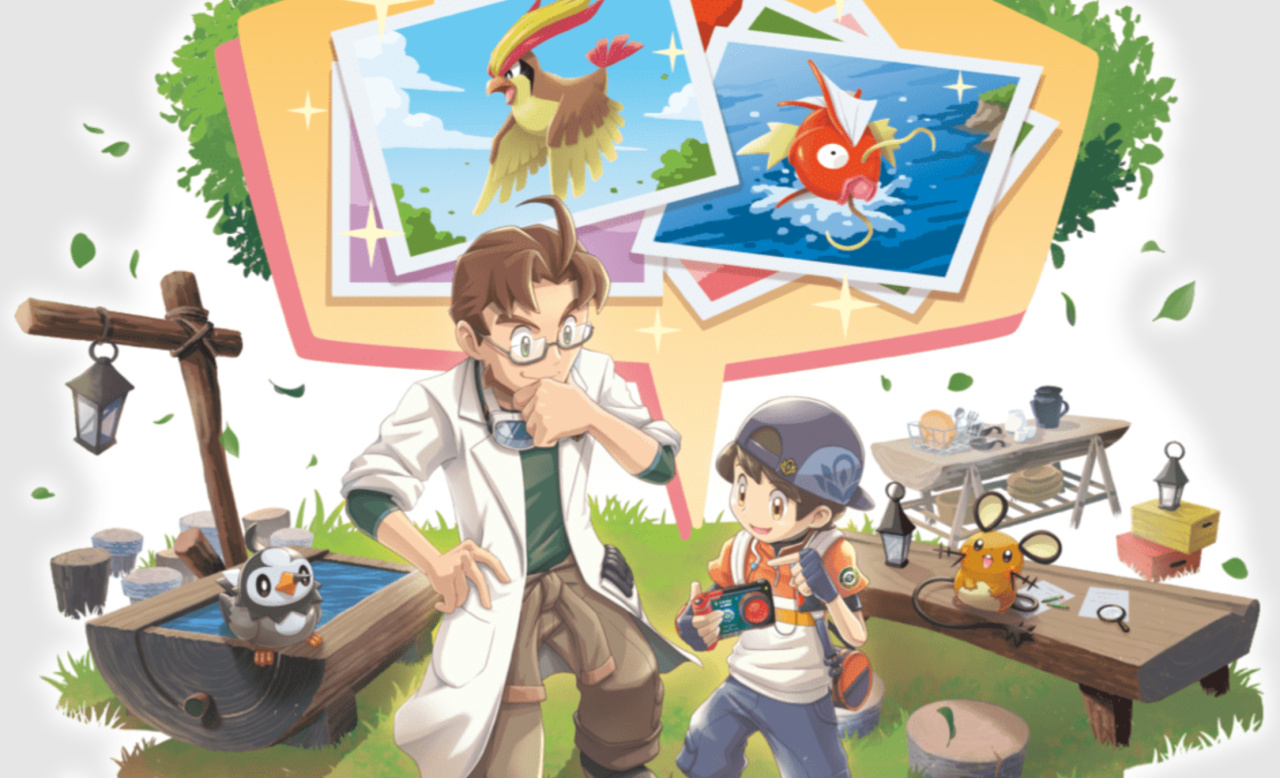
Be sure to check out our Photodex hub page: New Pokémon Snap Photodex / Pokédex - Pokémon List For All Monsters
- Florio Pokémon List / Pokédex - 001 – 040
- Belusylva Pokémon List / Pokédex - 041 - 079 < YOU ARE HERE
- Maricopia Pokémon List / Pokédex - 080 - 122
- Voluca Pokémon List / Pokédex - 123 - 154
- Durice Pokémon List / Pokédex - 155 - 200
- Aurus Pokémon List / Pokédex - 201 - 214
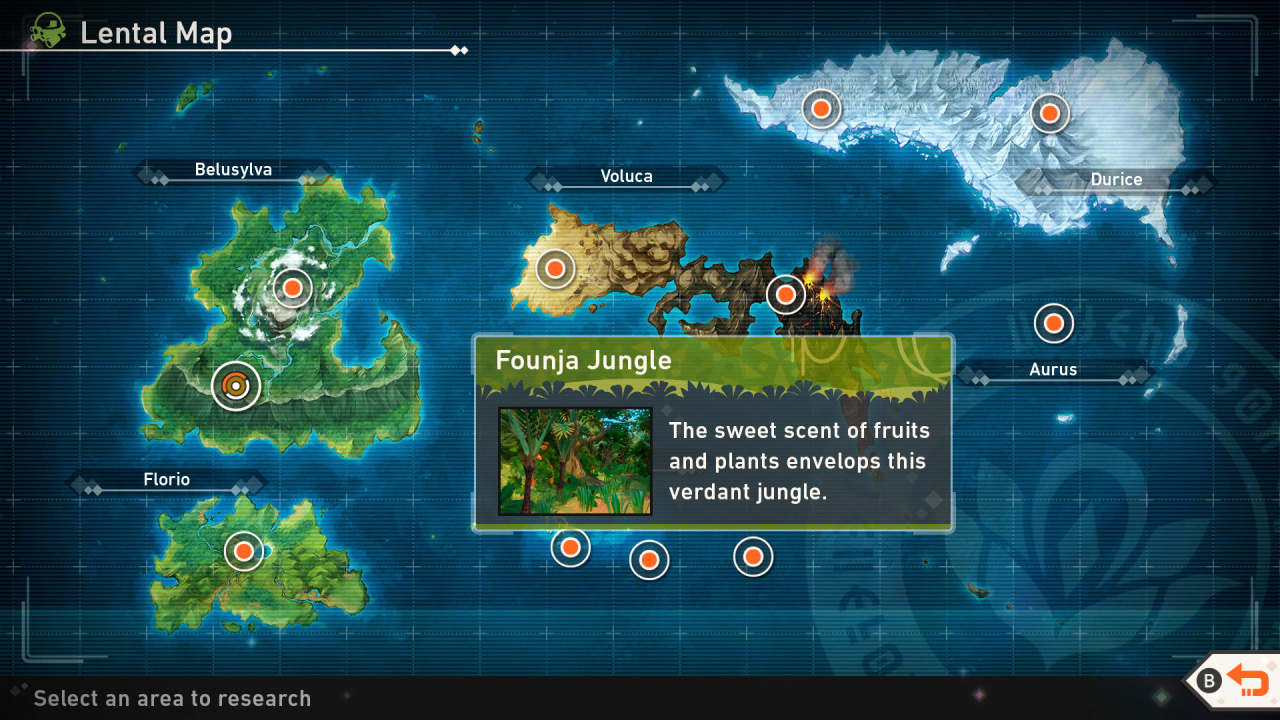
New Pokémon Snap Belusylva Pokémon Location Map
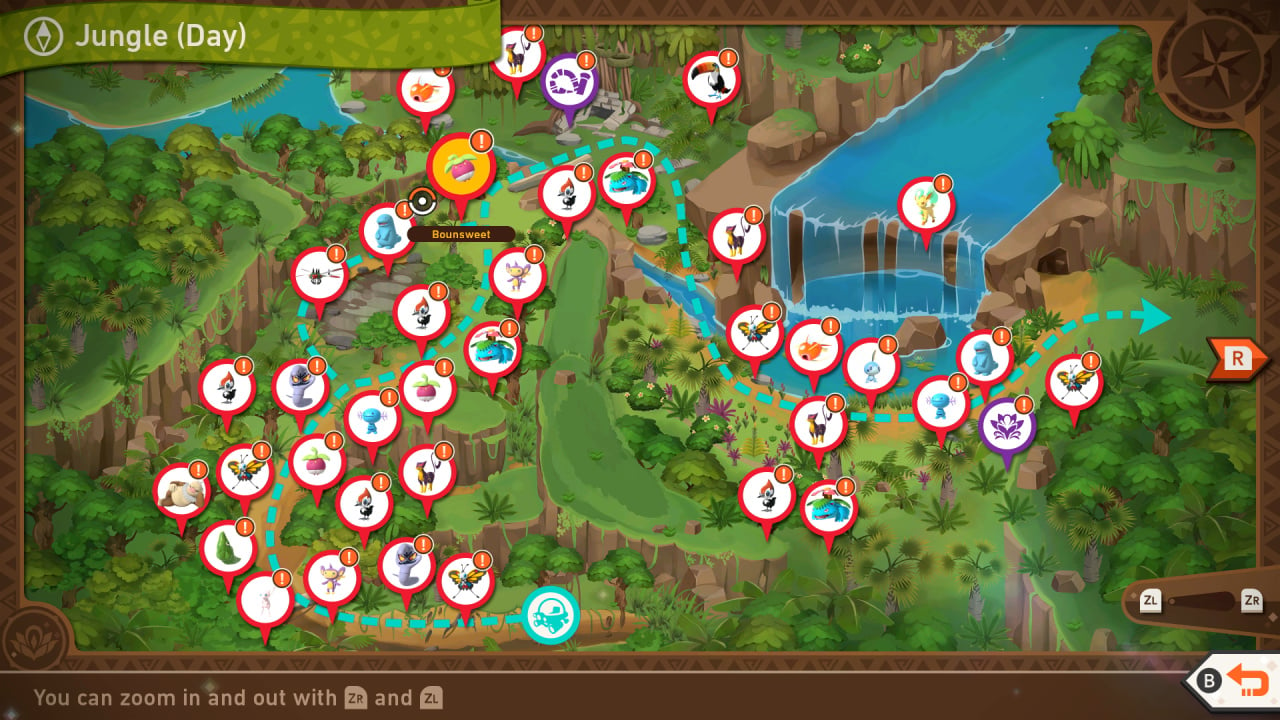
New Pokémon Snap Founja Jungle - Day Map
New Pokémon Snap Founja Jungle - Night Map

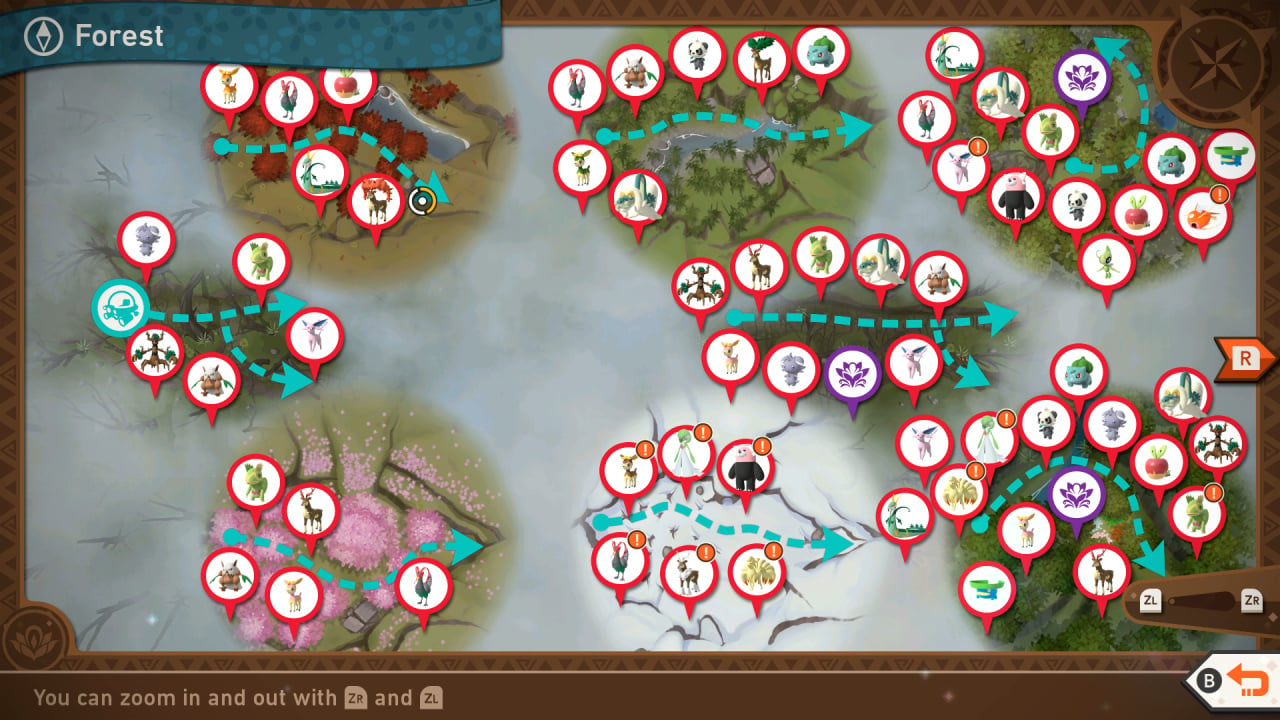
New Pokémon Snap Elsewhere Forest Map
New Pokémon Snap Elsewhere Forest Illumina Spot Map

New Pokémon Snap Belusylva Photodex
020: Magikarp
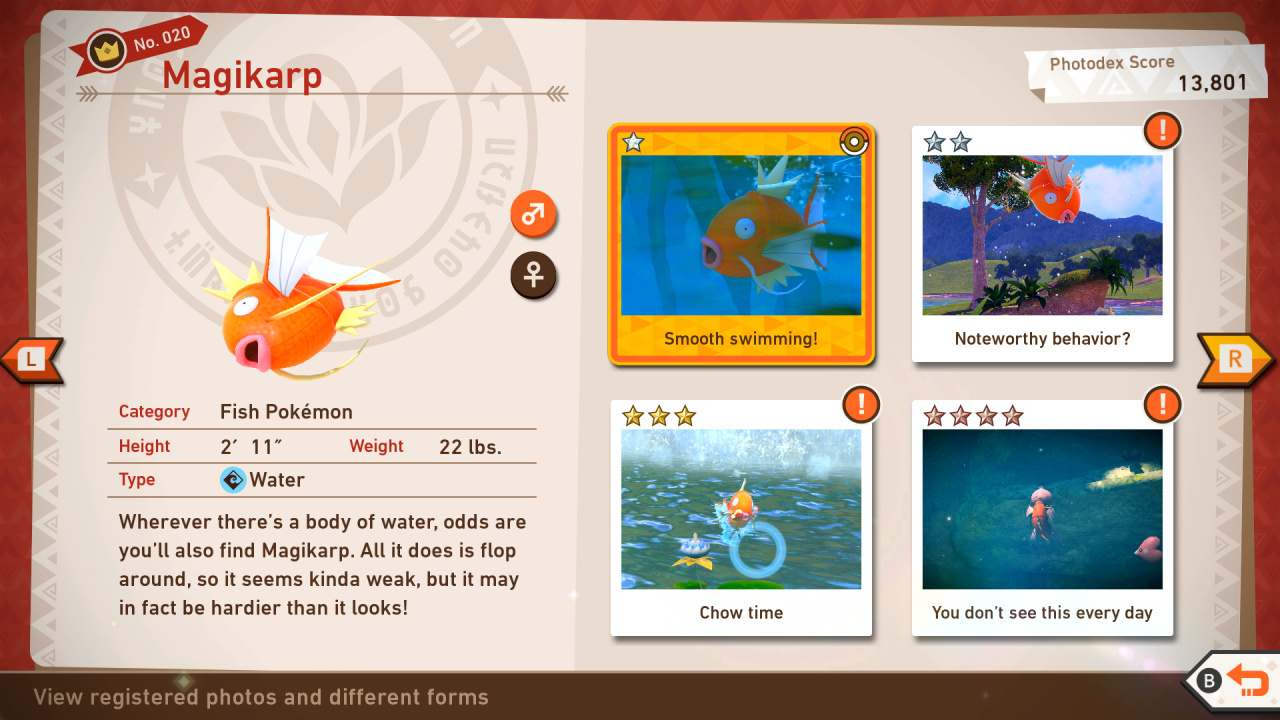
Magikarp Star Guide / Conditions:
1 Star: Most basic photo of this Pokémon possible
2 Star: Throw Fluffruit at it; take photo as it jumps high
3 Star: At the wooden bridge in the second stage, look to the right and down to see a Magikarp swimming; throw Fluffruits near it; once it begins eating them, take your photo
4 Star: At Florio Nature Park (Day), look for the open area with Swanna and Magikarp in the water, and a Pidgeot in front of you; annoy Pidgeot until it flies off into a tall tree - then throw a Fluffruit to Magikarp to make it jump high, causing Pidgeot to see it and fly down to (gulp) grab the Magikarp; take your photo of this... less than appetizing moment.
041: Aipom
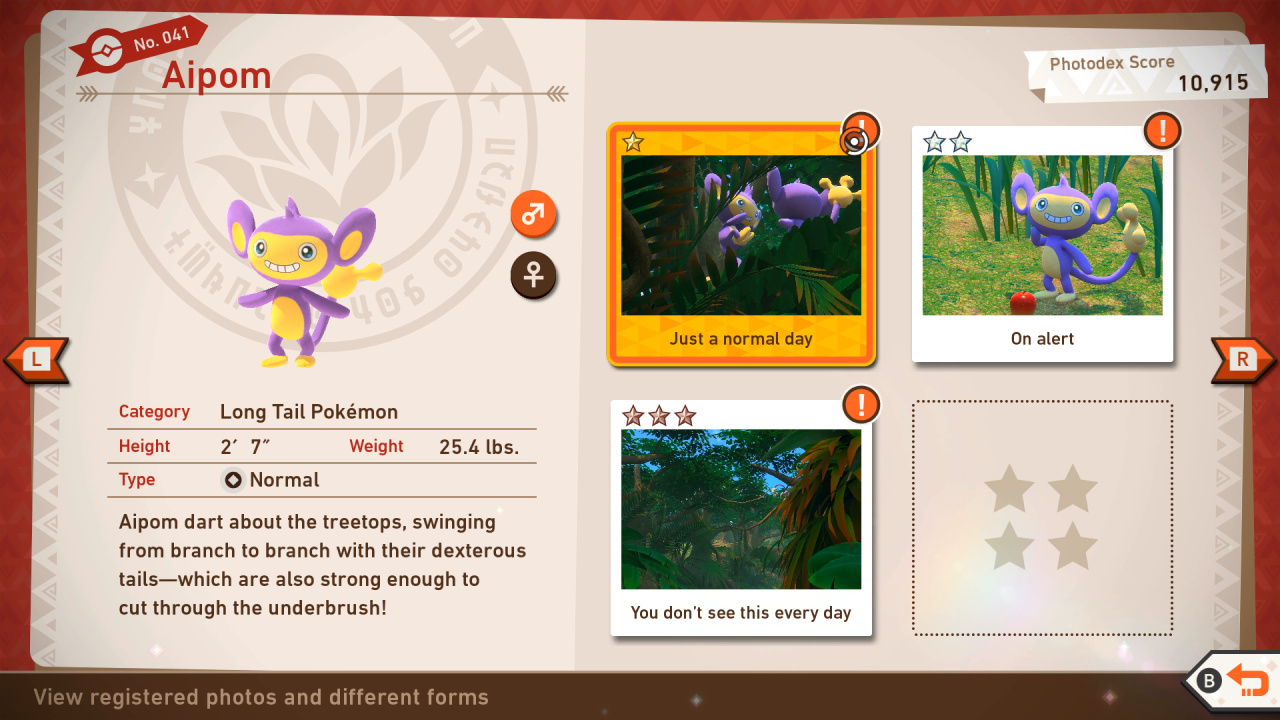
Aipom Star Guide / Conditions:
1 Star: Most basic photo of this Pokémon possible
2 Star: In general, throwing a Fluffruit at or scanning a Pokémon will cause it to behave in a way that will get you a 2-star photo.
3 Star: In Founja Jungle (Day), at Level 2, grab a 3-star photo of Aipom as it swings on the vine at the beginning of the course nap a photo of Aipom swinging on the vine at the very beginning of the course
4 Star: Visit Founja Jungle (Day) at research level 3; enter the alternate swamp path and hit the Aipom there with Illumina Orb; take a photo of it cutting the grass
042: Bounsweet
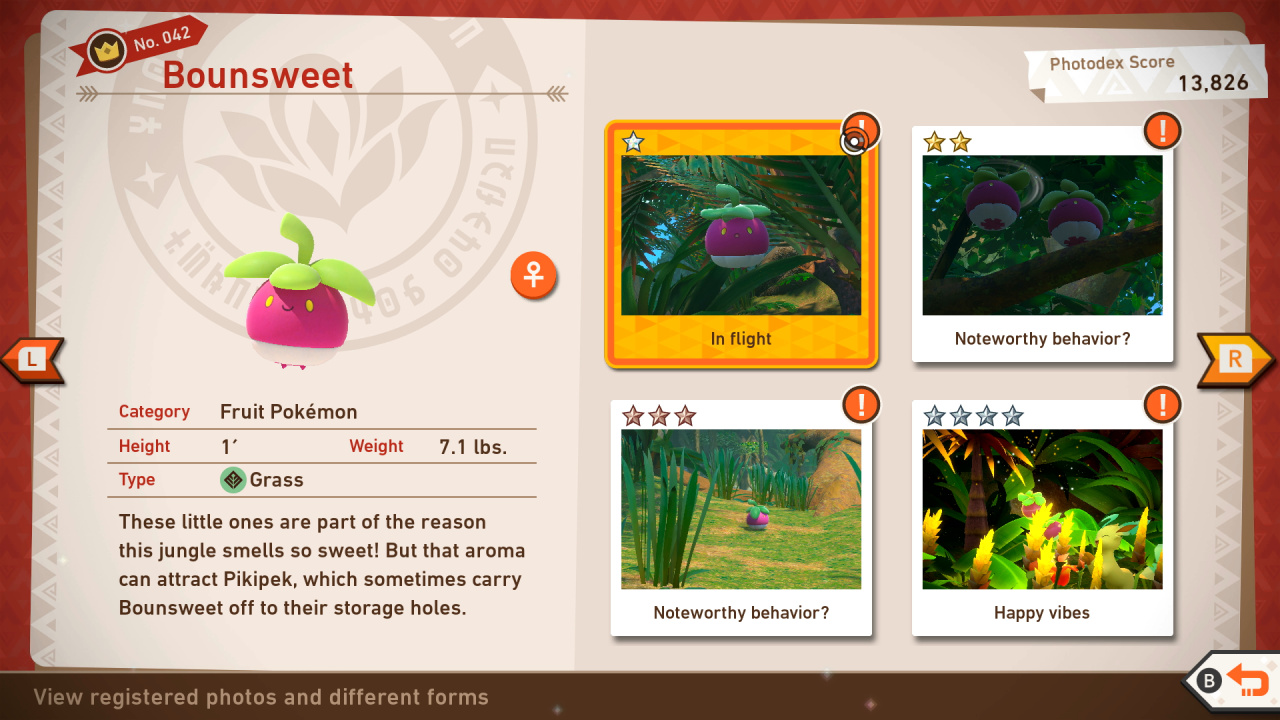
Bounsweet Star Guide / Conditions:
1 Star: Most basic photo of this Pokémon possible
2 Star: In general, throwing a Fluffruit at or scanning a Pokémon will cause it to behave in a way that will get you a 2-star photo.
3 Star: Founja Jungle, night - Level 2: Snap a photo of Bounsweet's startled reaction.
4 Star: Founja Jungle, night - Level 2: Wake up Ariados with Fluffruit, then snap a photo of Bounsweet's startled reaction as the Ariados moves closer to where they are stuck on the web.
043: Metapod
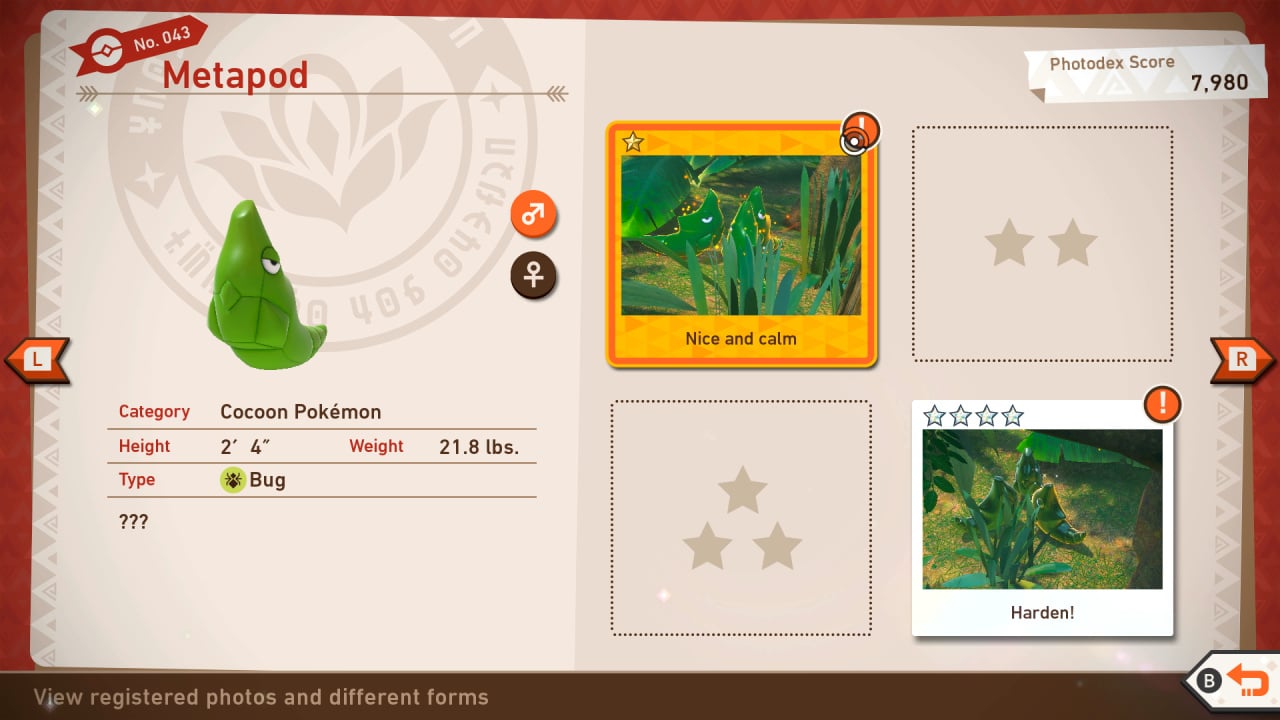
Metapod Star Guide / Conditions:
1 Star: Most basic photo of this Pokémon possible
2 Star: In general, throwing a Fluffruit at or scanning a Pokémon will cause it to behave in a way that will get you a 2-star photo.
3 Star: Take a close-up photo of Metapod while it is hanging from the tree branch.
4 Star: Founja Jungle, day - Level 3: Near the waterfall at the end of the course, look to the right of the rock with the Liepard for some Metapod beneath a tree; take a photo of their behavior as they jump in and out of camouflage.
044: Beautifly

Beautifly Star Guide / Conditions:
1 Star: Most basic photo of this Pokémon possible
2 Star: In the area where you find Slaking, you'll also find Beautifly flying and will go near you; use the scan on Beautifly and take a close-up shot
3 Star: In the area where you find Slaking, you'll also find Beautifly flying and will go near you; use the scan on Beautifly and take a close-up shot
4 Star: Look for the Beautifly in a tree near the lake, and focus your camera on it, then use Scan; Beautifly will then move to the right, near Venusaur; scan Beautifly again to make it stop flying away - then quickly throw an Illumina Orb at Venusaur to make Beautifly go near it; take a close-up shot of Beautifly at this point
045: Arbok
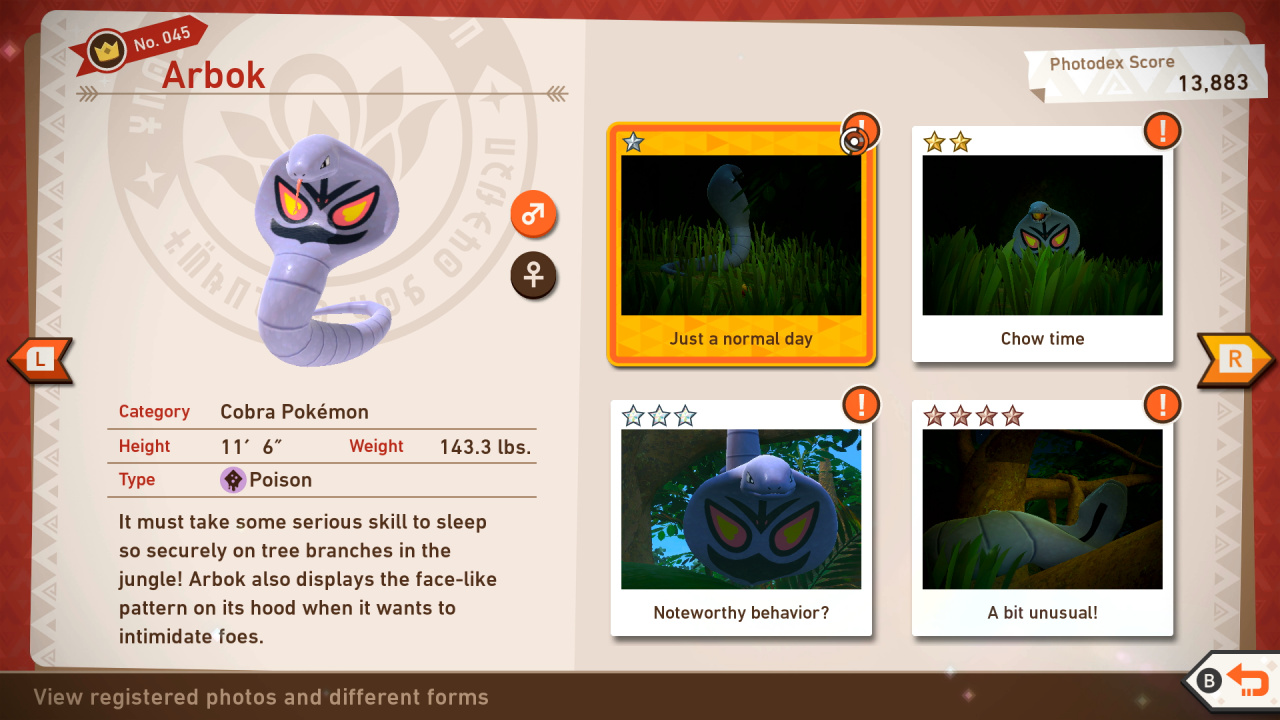
Arbok Star Guide / Conditions:
1 Star: Most basic photo of this Pokémon possible
2 Star: Hit with a Fluffruit and take photo when it is startled
3 Star: Founja Jungle (Day): aim your camera up to the trees, above where this Pokemon can often be seen on the ground; when it stretches down the tree with only its tail holding on, take a photo for 3 stars
4 Star: Sometimes can be spotted early into the Founja Jungle (Day) stage near a Wooper; try to scare it off and it'll end up in the open area nearby; here, throw Fluffruits next to it and wait for Arbok to try catching one in midair; once it does, take a photo of it screeching.
046: Yanmega
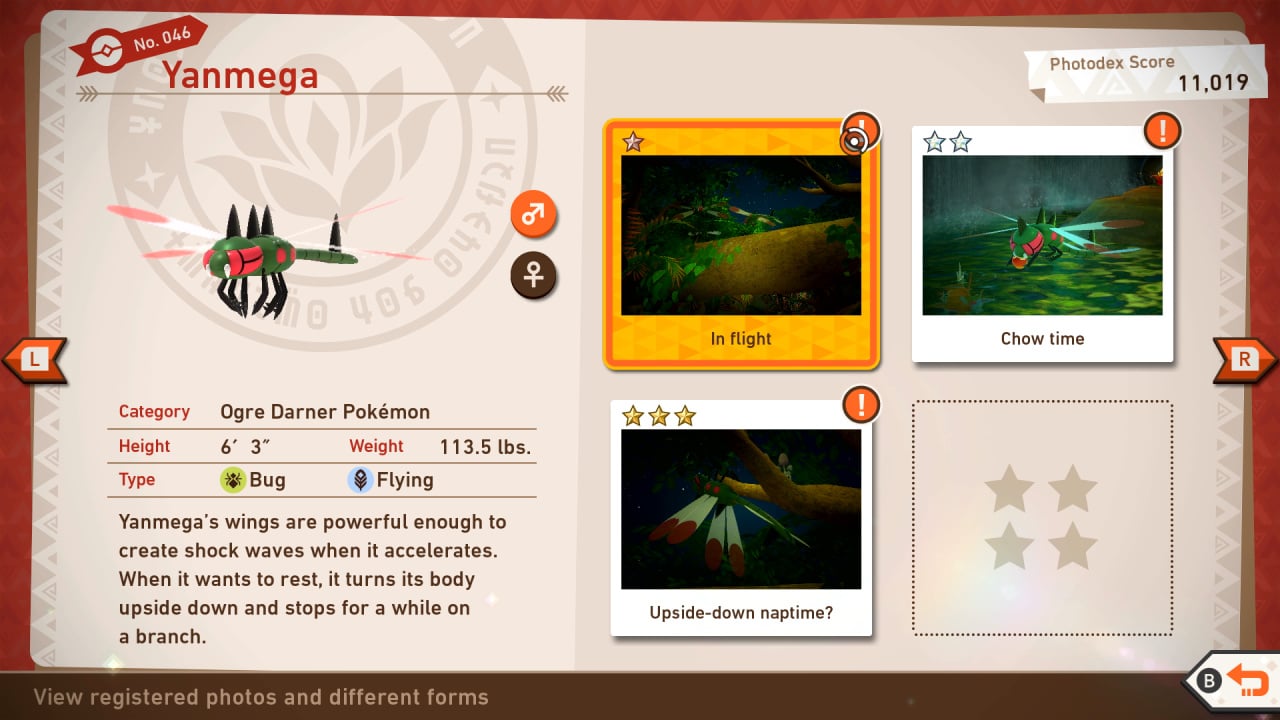
Yanmega Star Guide / Conditions:
1 Star: Most basic photo of this Pokémon possible
2 Star: In general, throwing a Fluffruit at or scanning a Pokémon will cause it to behave in a way that will get you a 2-star photo.
3 Star: Lure Yanmega to go to the river in the last part of the Jungle (Night) course research-level 1 by playing a Melody at the beginning of the course, before passing the lake area (first alternate path); once the Yanmegas appear and go to the river, focus your camera on one of them - then, throw a Fluffruit at it and wait till it eats it; after it eats the Fluffruit, throw an Illumina Orb at it and Yanmega will twirl in the air - take a close-up shot of Yanmega celebrating
4 Star: Pass through the swamp route of the Jungle by tossing an Illumina Orb at the Crystabloom to reveal footprints; scan the footprints to access the swamp route; before you go through the grass and into the swamp, play the Melody and Yanmega should come out of the brush to your right and fly away; in the swamp, play the Melody again to attract Yanmega; the Ariados from inside the hole will come out to fight with the Yanmega; once Ariados is face to face with the Yanmega, toss an Illumina Orb at it - this will attract the two other Ariados from the grass and they will all start facing the Yanmega; take a photo of the Ariados as they use String Shot on Yanmega
047: Pikipek

Pipipek Star Guide / Conditions:
1 Star: Most basic photo of this Pokémon possible
2 Star: In general, throwing a Fluffruit at or scanning a Pokémon will cause it to behave in a way that will get you a 2-star photo.
3 Star: Founja Jungle, day - Level 1: Capture a Pikipek pecking a hole in the trunk of a tree near the small pond located near the beginning of the course
4 Star: Jungle (Day) research, level 3: while crossing the bridge, use Scan to find the location of the Crystabloom - be sure to zoom in on your camera to slow down the Neo-One; light up the Crystabloom and look behind you, where Pikipek will grab a piece of fruit and fly in front of you - take your photo now
048: Toucannon
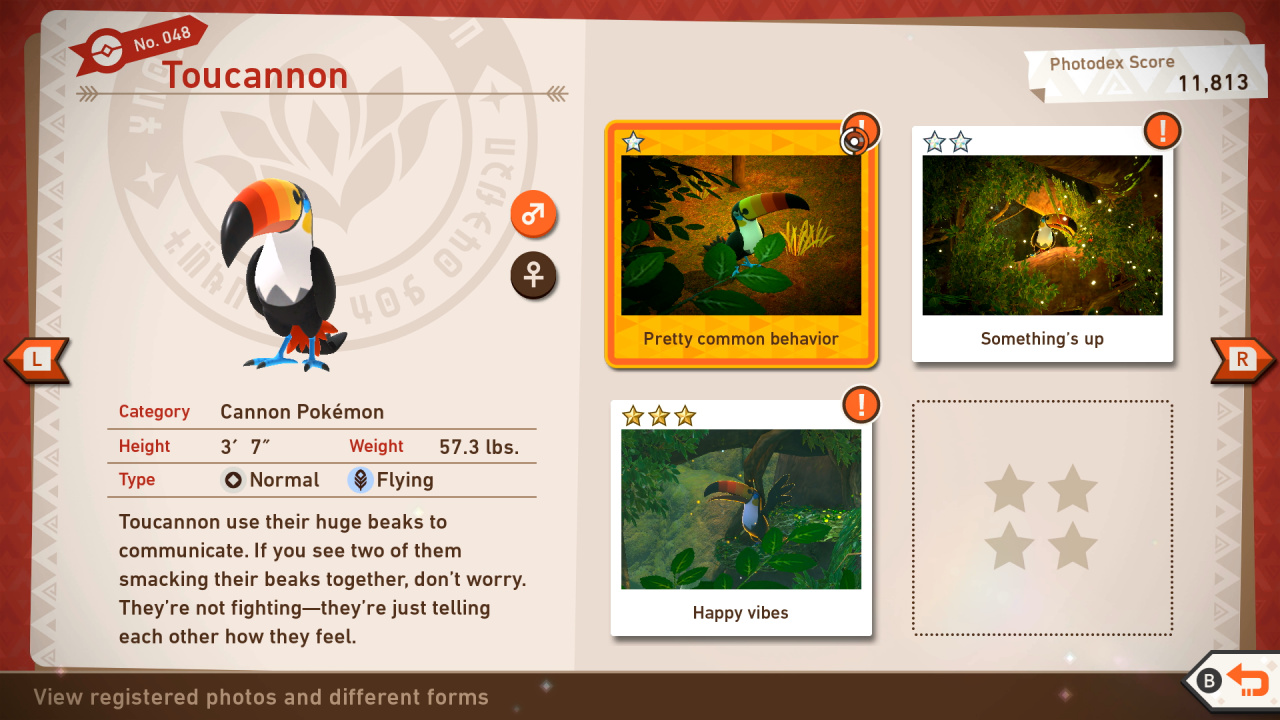
Toucannon Star Guide / Conditions:
1 Star: Most basic photo of this Pokémon possible
2 Star: In general, throwing a Fluffruit at or scanning a Pokémon will cause it to behave in a way that will get you a 2-star photo.
3 Star: Founja Jungle, day - Level 2: Near the middle of the course, look for several nests above the Ancient Ruins; quickly snap a photo of Toucannon, as Pekipek leaves the nest.
4 Star: Instead of lighting up the Crystabloom once, light it up three times to trigger Toucannon to fly away; take a close-up photo of it as it does
049: Ariados
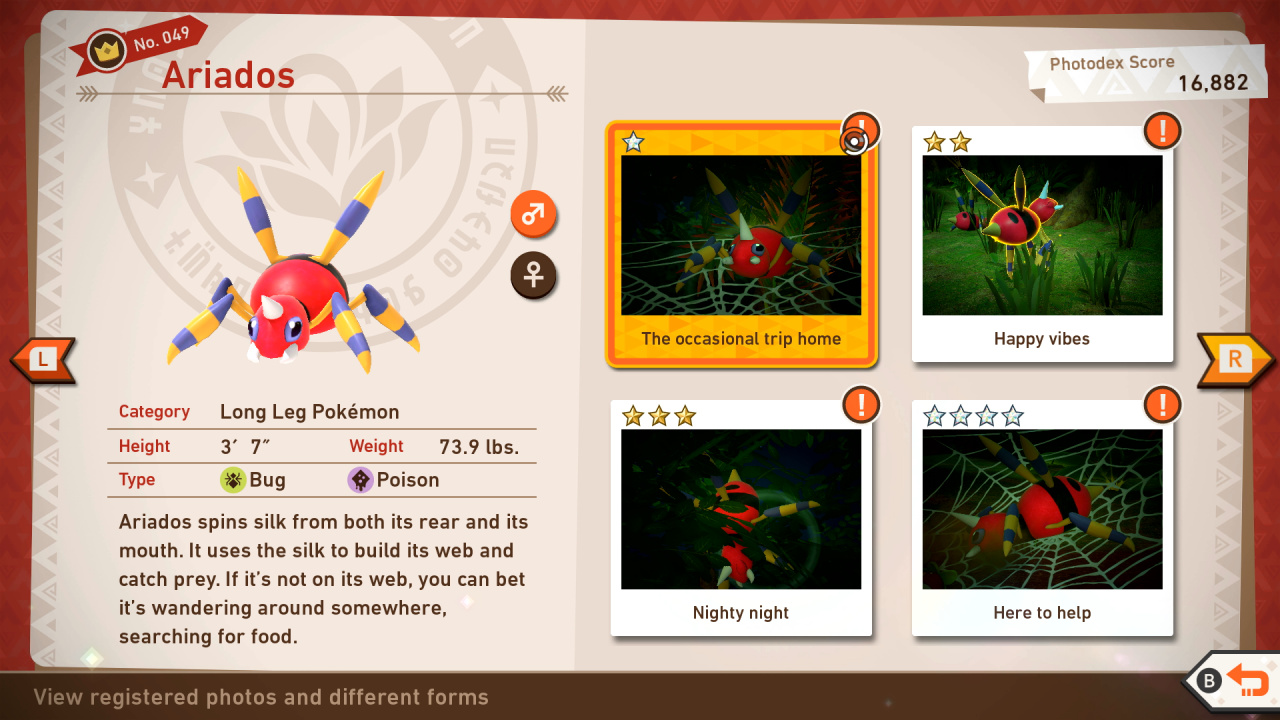
Ariados Star Guide / Conditions:
1 Star: Most basic photo of this Pokémon possible
2 Star: In general, throwing a Fluffruit at or scanning a Pokémon will cause it to behave in a way that will get you a 2-star photo.
3 Star: Near a lake on the left side where you'll see Swampert, some sleeping Ariados are hanging in a tree with Morelull; take a close-up shot of Ariados sleeping in a tree
4 Star: At the beginning of the Jungle (Night) course, play the Melody until you reach the area where you'll find Ariados sleeping on the web; hit Ariados with a Fluffruit 3 times to wake it up; capture the moment where Ariados starts screeching on Bounsweet
050: Morelull

Morelull Star Guide / Conditions:
1 Star: Most basic photo of this Pokémon possible
2 Star: In general, throwing a Fluffruit at or scanning a Pokémon will cause it to behave in a way that will get you a 2-star photo.
3 Star: Founja Jungle (Night) - Level 1: Near the small pond at the beginning of the course, look for three Morelulls walking near the path; toss a Fluffruit and snap a photo as you go over one of the Morelull
4 Star: Founja Jungle (Night) - Level 2: Near the small pond at the beginning of the course again, look for a large rock near the bend in the path; use Illumina Orbs and take a photo of all four Morelull sleeping on the ground
051: Slaking

Slaking Star Guide / Conditions:
1 Star: Most basic photo of this Pokémon possible
2 Star: In general, throwing a Fluffruit at or scanning a Pokémon will cause it to behave in a way that will get you a 2-star photo.
3 Star: In Jungle (Day) research-level 3. At the start of the course, look to the left side and you'll find Slaking resting on the ground. Focus your camera on Slaking and play a Melody. Once it turned around, take a close-up photo to achieve 3 stars
4 Star: While Slaking is standing on the rock, play a Melody for Slaking to stand up and roar. Take a nice shot of a roaring Slaking to achieve 4 Star Diamond.
052: Venusaur
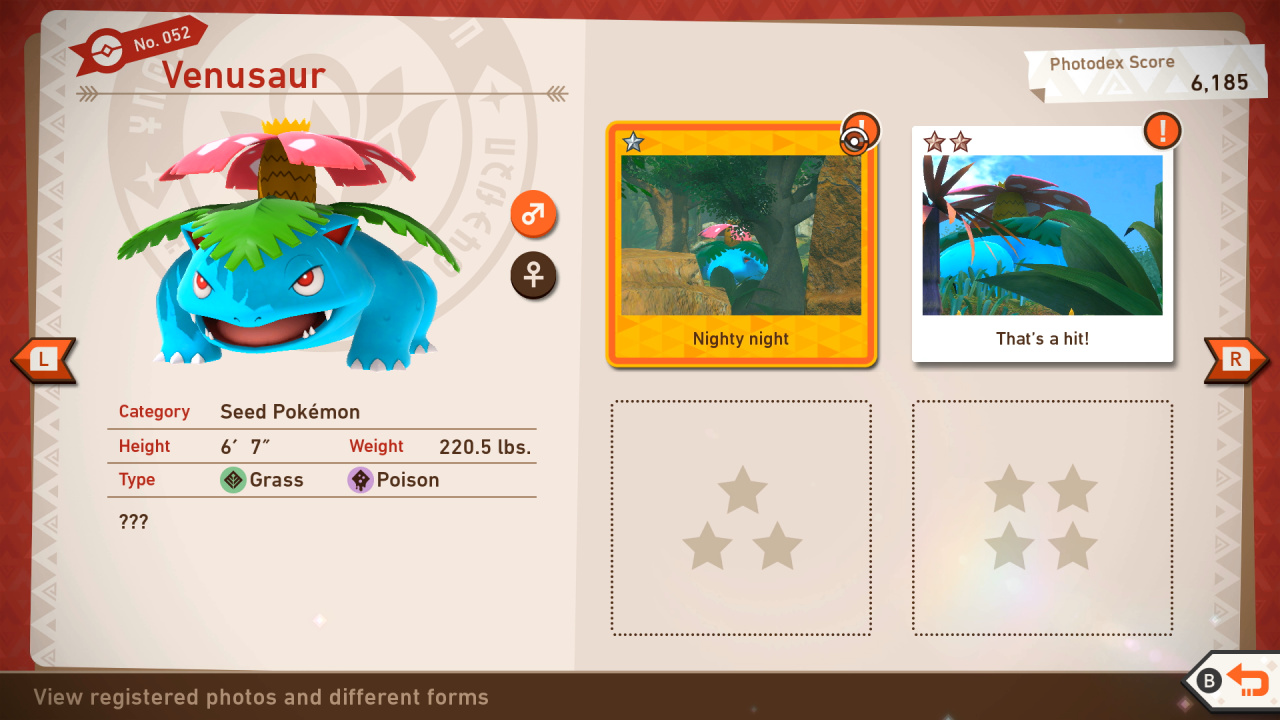
Venusaur Star Guide / Conditions:
1 Star: Most basic photo of this Pokémon possible
2 Star: In general, throwing a Fluffruit at or scanning a Pokémon will cause it to behave in a way that will get you a 2-star photo.
3 Star: Once Venusaur starts running away, take a close-up shot to achieve 3 Star Diamond. This can be tricky to take, use the Burst mode for a higher chance of capturing the perfect pose.
4 Star: Take a photo of Venusaur looking surprised. To do this, throw an Illumina Orb at the Crystabloom on the rock near Venusaur. After lighting up the Crystabloom, the Sobbles will start spitting some water to Venusaur. Take a close-up shot of Venusaur's reaction to achieve 4 Star Diamond.
053: Liepard
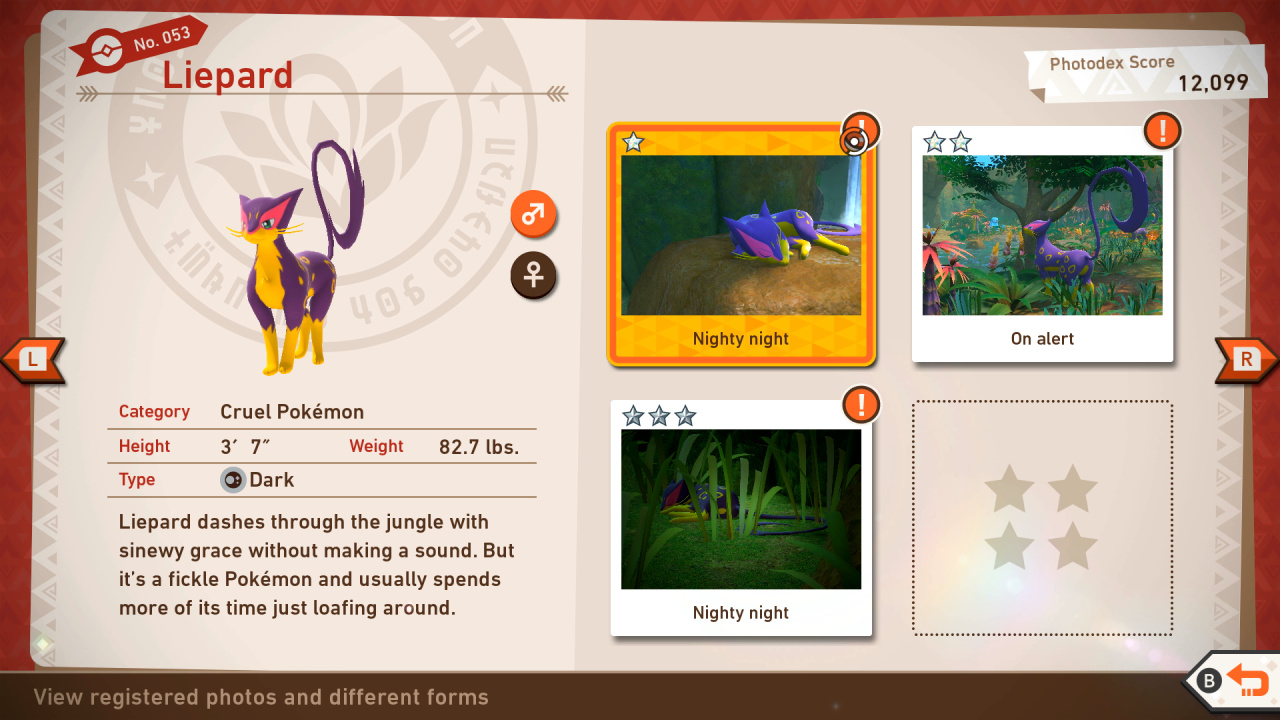
Liepard Star Guide / Conditions:
1 Star: Most basic photo of this Pokémon possible
2 Star: In general, throwing a Fluffruit at or scanning a Pokémon will cause it to behave in a way that will get you a 2-star photo.
3 Star: Take a photo of Liepard feeling happy to achieve 3 Star Diamond. Near the exit of the course, you'll notice a Liepard in the trees on the right. Before getting near those, throw a Fluffruit on the pathway to make Liepard eat it. After it eats the Fluffruit, Liepard will stretch and looks so happy. Capture that moment and make sure that the whole body of Liepard is visible in the frame!
4 Star: Clear the "Figure of Beauty" request. Make sure the whole-body of Liepard is visibile in the frame to achieve 4 Star Diamond.
054: Wooper
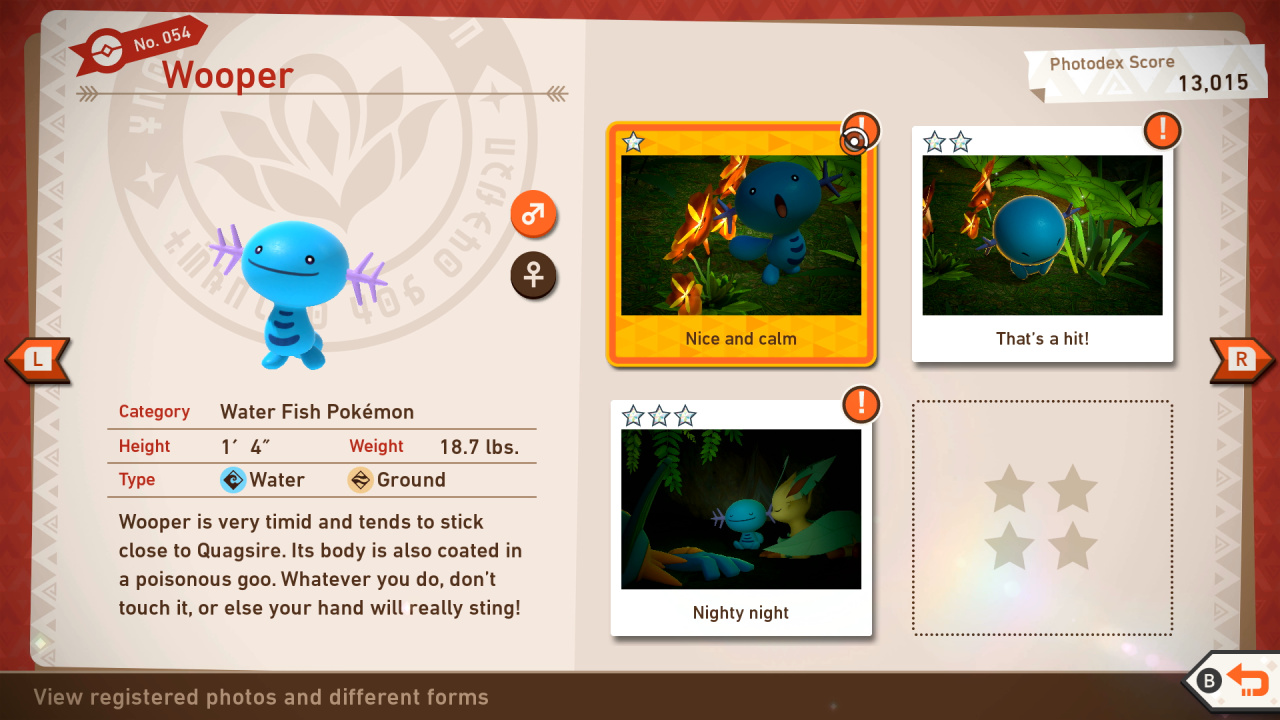
Wooper Star Guide / Conditions:
1 Star: Most basic photo of this Pokémon possible
2 Star: In general, throwing a Fluffruit at or scanning a Pokémon will cause it to behave in a way that will get you a 2-star photo.
3 Star: After saving Wooper from Arbok, it will make a cute pose. Wait till it closes its eyes. Then, capture that moment to achieve 3 Star Diamond.
4 Star: Finisht the "Clear Jungle Buddies" request. Then, take a close-up photo of them while walking to achieve 4 Star Diamond.
055: Quagsire
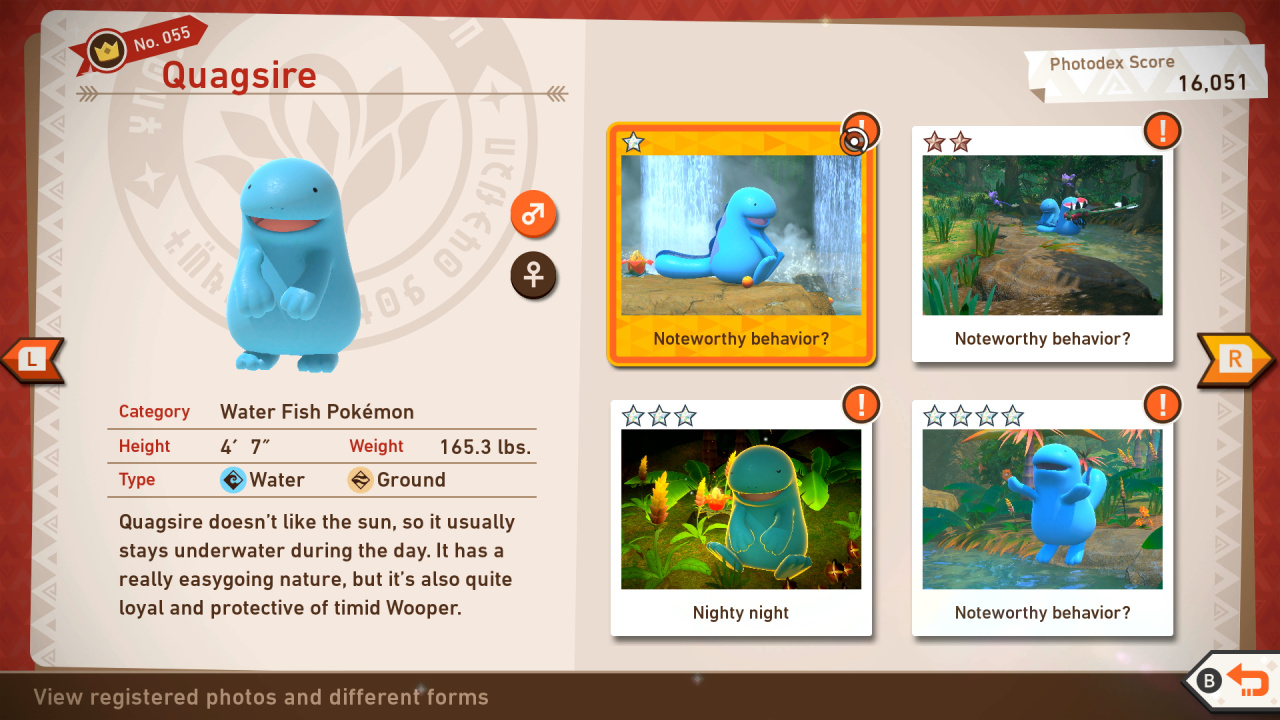
Quagsire Star Guide / Conditions:
1 Star: Most basic photo of this Pokémon possible
2 Star: In general, throwing a Fluffruit at or scanning a Pokémon will cause it to behave in a way that will get you a 2-star photo.
3 Star: In Jungle (Night), near the end of the course, you'll find Quagsire sitting on the ground next to a Crystabloom. Light up the Crystabloom using the Illumina Orb and take a close-up shot of Quagsire to achieve 3 Star Diamond.
4 Star: In the waterfall area of Jungle (Day), you'll find Quagsire with Sobble walking towards the lake. Focus your camera on Quagsire and zoom it in. Take a photo of Quagsire jumping into the water to achieve 4 Star Diamond.
056: Swampert
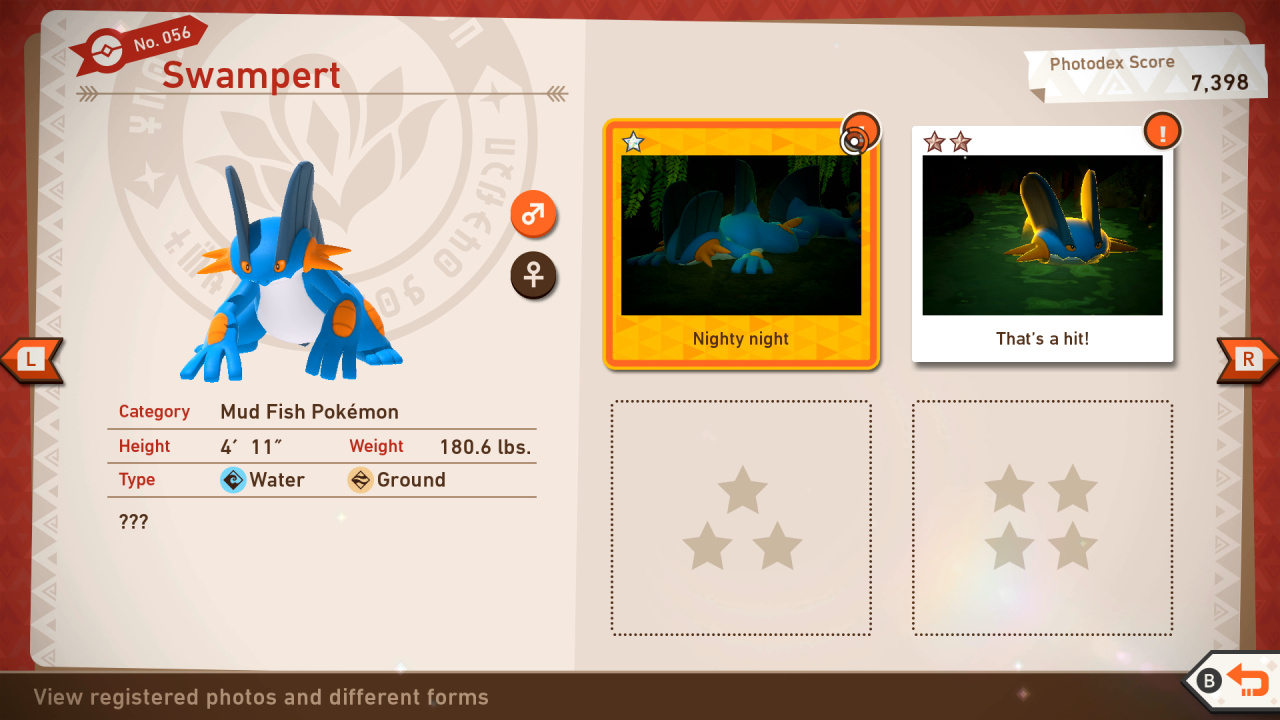
Swampert Star Guide / Conditions:
1 Star: Most basic photo of this Pokémon possible
2 Star: Hit it with Fluffruit, submerged or not, and take photo while it's startled
3 Star: Head towards the Leafeon on the alternate route and throw a Fluffruit at it to make it head into the path; here, use Melody to make it play with Ariados and Bouncesweet; once it goes into the water, Swampert will pop up - here, you can take your photo.
4 Star: Just as with the 3-star photo, when Swampert jumps out of the water, throw an Illumina orb at it; it will splash Leafeon with water, and they'll start playing - snap a photo of Swampert throwing water and playing.
057: Ledian
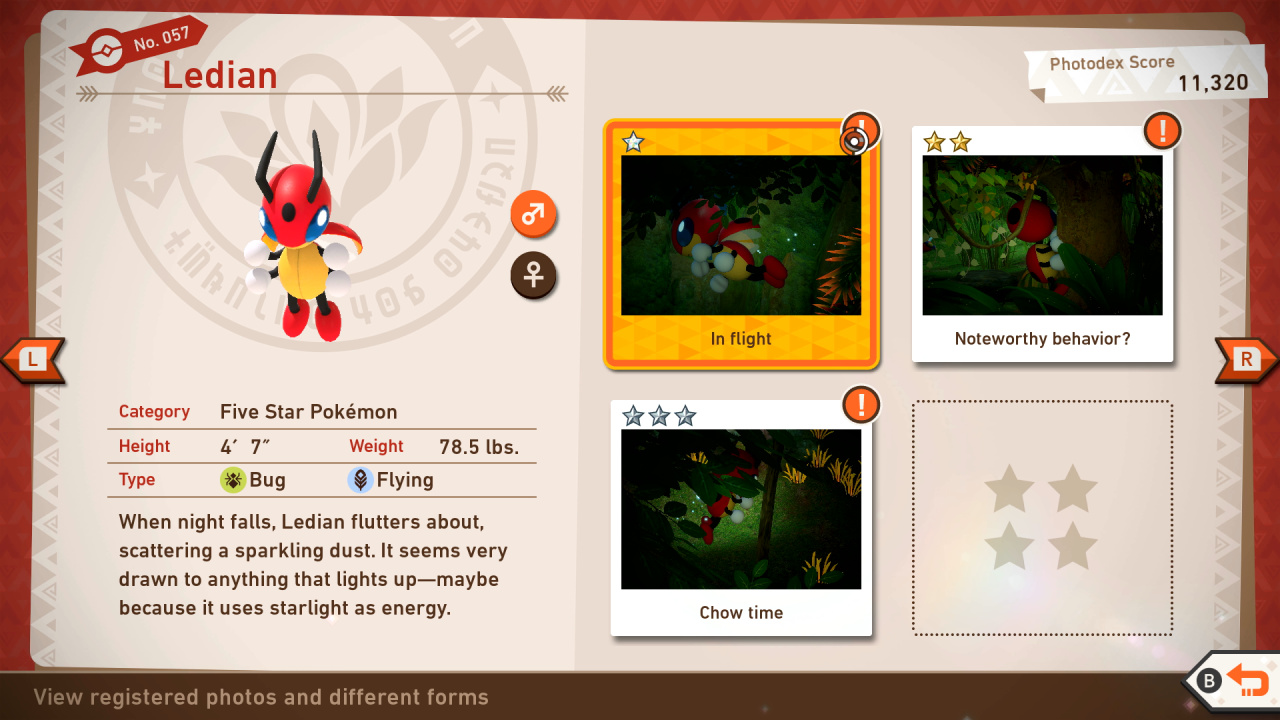
Ledian Star Guide / Conditions:
1 Star: Most basic photo of this Pokémon possible
2 Star: In general, throwing a Fluffruit at or scanning a Pokémon will cause it to behave in a way that will get you a 2-star photo.
3 Star: Start Jungle (Night) at Research Level 1. While passing through the bridge, look for the Crystabloom near the Ancient Ruins below. Once you are closer, light up the Crystabloom for the Ledians to appear. Use the Turbo mode to go near the cliff where a Liepard sleeps and then look to the far right. Take a close-up shot of a Ledian flipping in the air to achieve 3 Star Diamond.
4 Star: While crossing the path made of a tree branch, look for the Crystabloom near the Ancient Ruins below. Light up the Crystabloom and the Ledians will start flying. Focus the camera on the Ledians and watch where they will go. One of the Ledian will go near the river just under the path. Throw a Fluffruit to lure it in the open and wait for it to eat it. Take a nice photo of Ledian eating a Fluffruit to achieve 4 Star Diamond.
058: Sobble
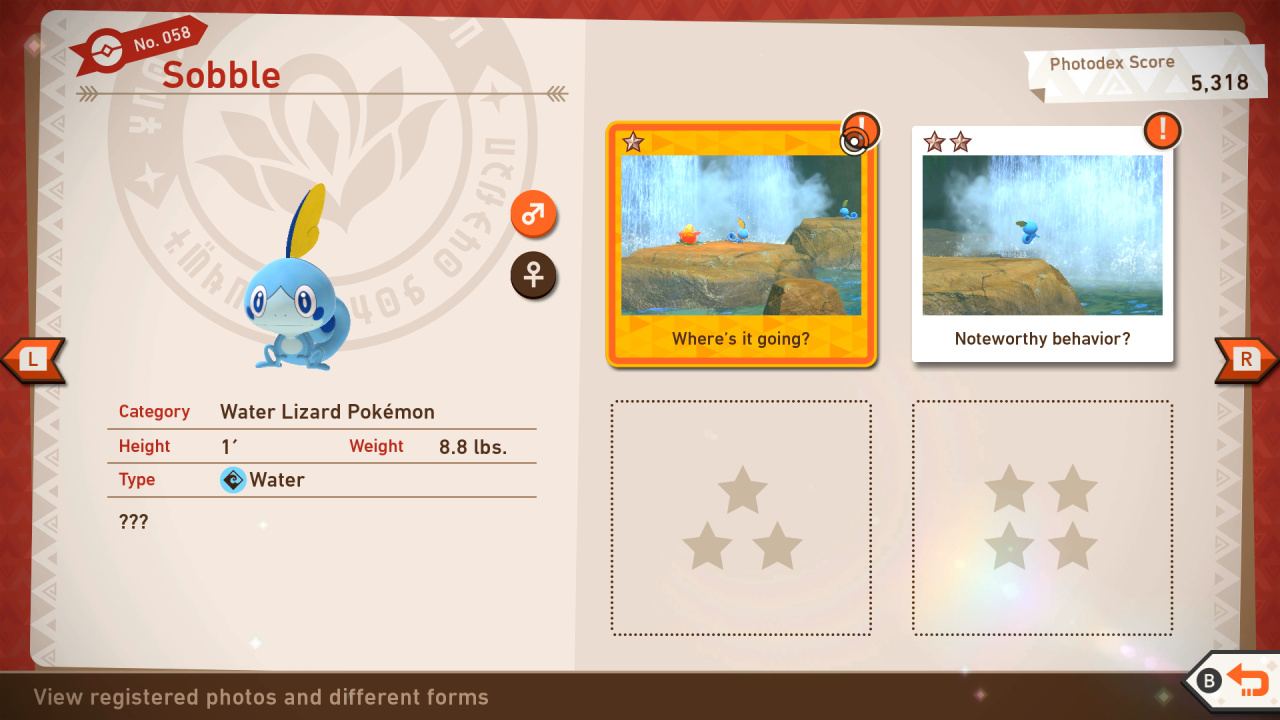
Sobble Star Guide / Conditions:
1 Star: Most basic photo of this Pokémon possible
2 Star: In general, throwing a Fluffruit at or scanning a Pokémon will cause it to behave in a way that will get you a 2-star photo.
3 Star: Repeat the steps on how to get 1 Star photo of Sobble and wait till it eats the Fluffruit. Take a close-up photo of Sobble while it is eating the Fluffruit to achieve 3 Star Diamond.
4 Star: For a 4 Star photo of Sobble, hit Sobble with a Fluffruit twice. Once it starts crying, take a close-up shot to achieve 4 Star Diamond.
059: Leafeon

Leafeon Star Guide / Conditions:
1 Star: Most basic photo of this Pokémon possible
2 Star: In general, throwing a Fluffruit at or scanning a Pokémon will cause it to behave in a way that will get you a 2-star photo.
3 Star: At the last part of the Jungle (Night) research-level 2, you'll find Leafeon roaming around the area and end up sitting near the Crystabloom. Light up the Crystabloom using the Illumina Orb and take a close-up shot of Leafeon to achieve 3 Star Diamond.
4 Star: Play a Melody while passing through the lake area of the Jungle (Night) course. Once Leafeon and Morelull collide, take a picture of them while sleeping to achieve 4 Star Diamond.
060: Mew

Mew Star Guide / Conditions:
1 Star: At the beginning of the Jungle (Night) Level 2, turn around and play the Melody; a pink orb will appear and fly down the track; try to hit it with a Fluffruit, and if you're successful, Mew will appear briefly, when you need to take a photo.
2 Star: After your first photo, Mew will return to the orb and appear again later; repeat the process to get your next photo.
3 Star: For a third time, look for the orb, hit it yet again with a Fluffruit, and take your third photo.
4 Star: If you've gotten all three of the first photos in one round, Mew will appear a fourth time as you go over a tree trunk by the Ruins, play the Melody and look to your left; Mew will appear again; take one more photo now if you haven't gotten a 3-star picture yet; as you round the corner, though, Mew will teleport in front of you, at which point you can take your 4-star photo
061: Trevenant
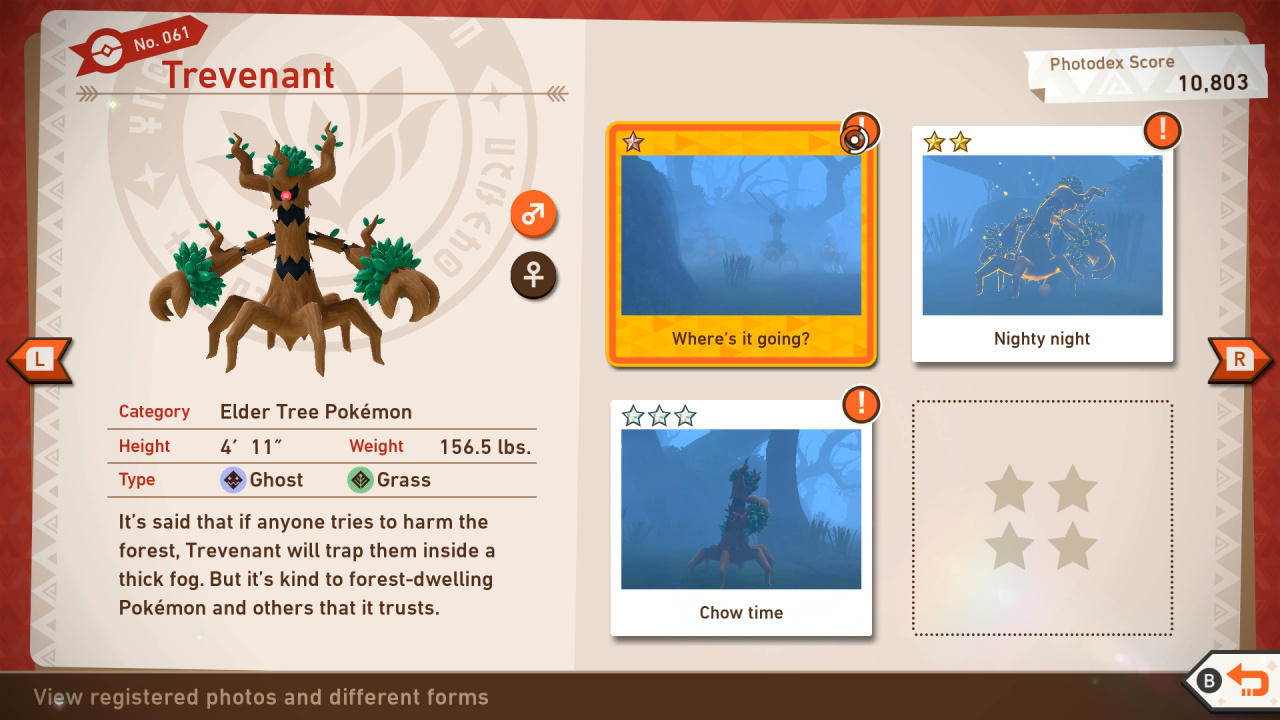
Trevenant Star Guide / Conditions:
1 Star: Most basic photo of this Pokémon possible
2 Star: In general, throwing a Fluffruit at or scanning a Pokémon will cause it to behave in a way that will get you a 2-star photo.
3 Star: Take a photo of Trevenant while it is roaring to achieve 3 Star Diamond.
4 Star: Go to the Forest course research-level 3. While going through the path, look for an Espurr on the cliff on the right side. Once you find Espurr, focus your camera on it and do a Scan. Continue scanning till Espurr lands on the ground and then throw an Illumina Orb at it. Trevenant will approach Espurr and offers its hand. While Espurr is in Trevenant's hands, take a full-body photo of Trevenant to achieve the 4 Star Diamond.
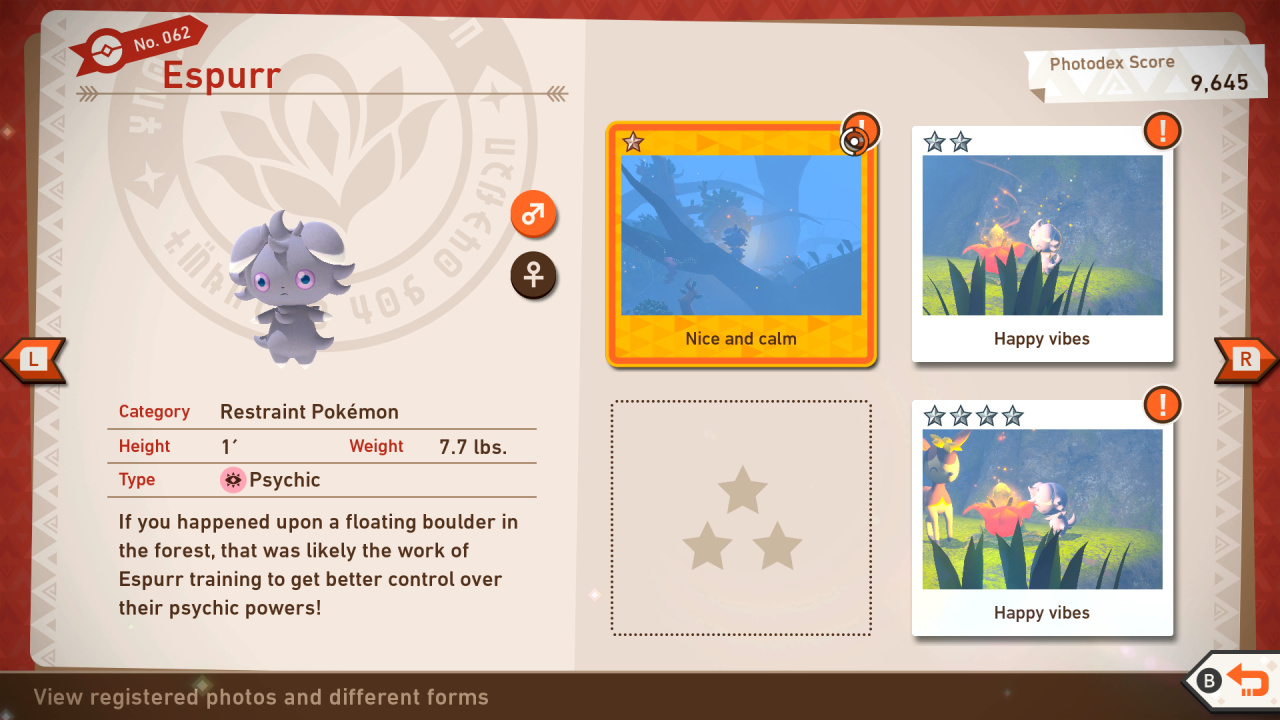
062: Espurr
Espurr Star Guide / Conditions:
1 Star: Most basic photo of this Pokémon possible
2 Star: In general, throwing a Fluffruit at or scanning a Pokémon will cause it to behave in a way that will get you a 2-star photo.
3 Star: In the Forest course research-level 3, take the first alternate path. While going through the path, look behind you and you'll find three Espurr lifting a stone. Take a close-up photo of them to achieve 3 Star Diamond.
4 Star: Clear the Little Lost Deerling request. But instead of lighting up the Crystabloom at the back, light up the one in front of you. Once they start celebrating, take a close-up photo to achieve 4 Star Diamond.
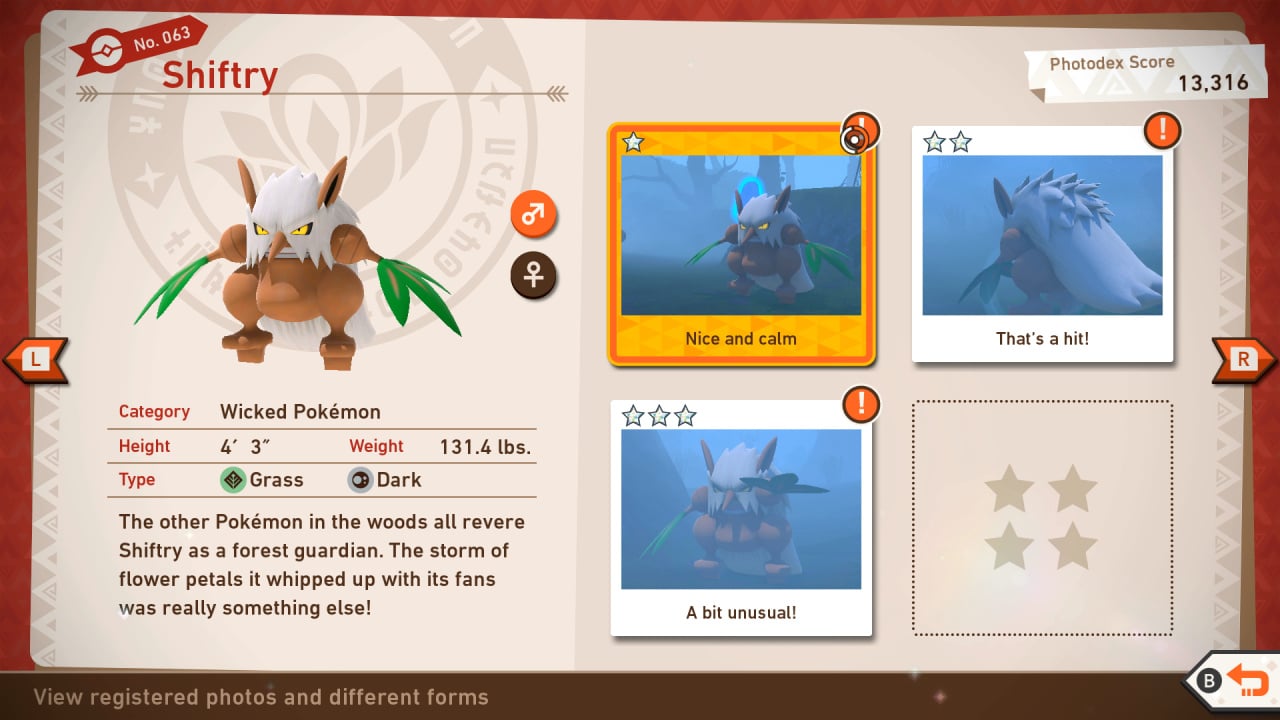
063: Shiftry
Shiftry Star Guide / Conditions:
1 Star: Most basic photo of this Pokémon possible
2 Star: In general, throwing a Fluffruit at or scanning a Pokémon will cause it to behave in a way that will get you a 2-star photo.
3 Star: Focus your camera on shiftry while it is giving a command to Pancham; take a close-up photo to achieve 3 Star Diamond.
4 Star: Go to Spring season of the Forest course research-level 3. Upon entering the area, look to the right and you'll find Shiftry on a tree. Throw a Fluffruit at it to make it jump over the branches and go closer to the Unfezant near a pile of leaves. While Shiftry is walking around, throw an Illumina Orb at it. This will prompt Shiftry to create a gust of wind while it is on top of a pile of leaves. Take a close-up shot of Shiftry to achieve 4 Star Diamond.
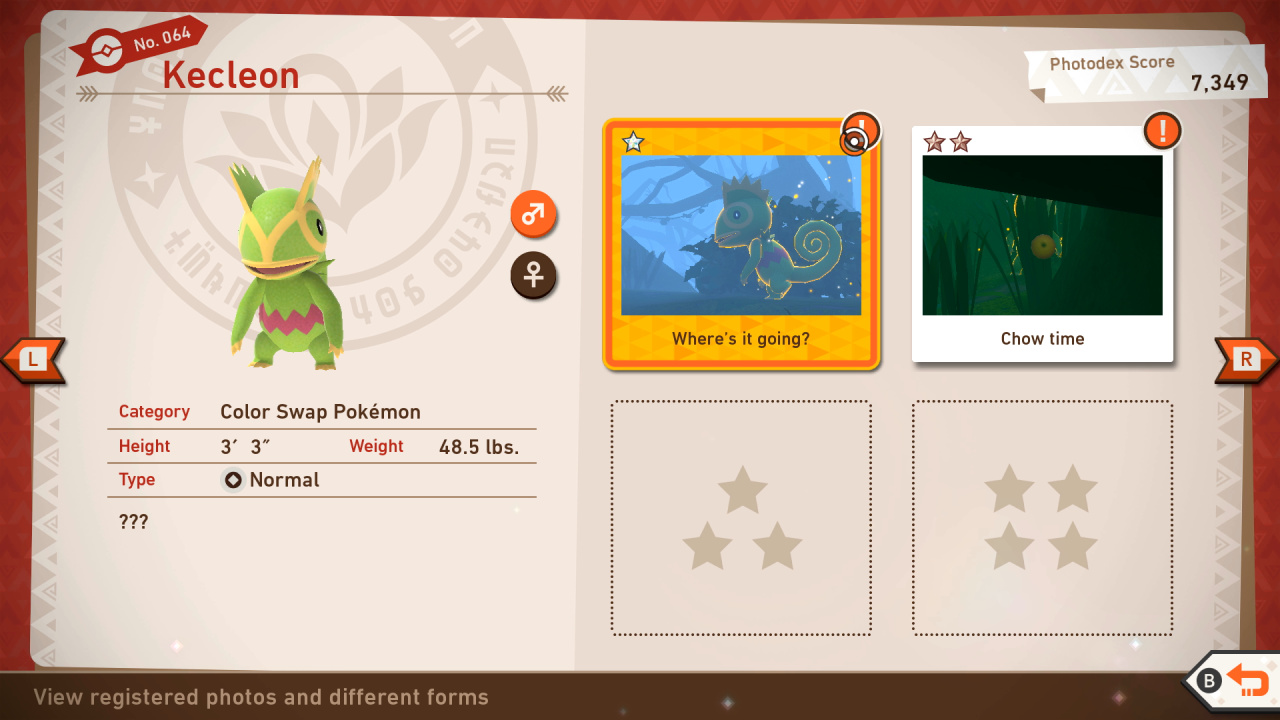
064: Kecleon
Kecleon Star Guide / Conditions:
1 Star: Most basic photo of this Pokémon possible
2 Star: In general, throwing a Fluffruit at or scanning a Pokémon will cause it to behave in a way that will get you a 2-star photo.
3 Star: Feed Kecleon with a Fluffruit. Once it starts celebrating, take a close-up shot to achieve 3 Star Diamond.
4 Star: Upon entering the second foggy area of the Forest course research-level 1, look immediately to the left side and throw an Illumina Orb near the tree. Once Kecleon is visible, take a close-up shot to achieve 4 Star Diamond.
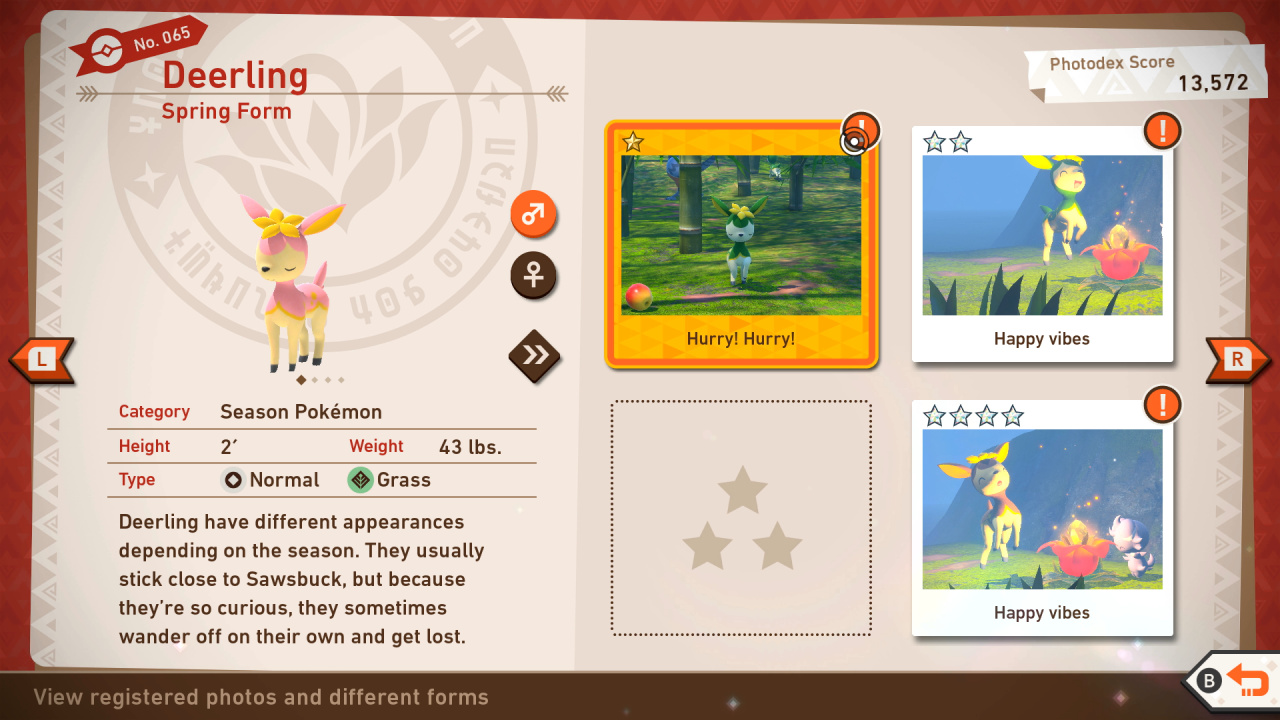
065: Deerling
Deerling Star Guide / Conditions:
1 Star: Most basic photo of this Pokémon possible
2 Star: In general, throwing a Fluffruit at or scanning a Pokémon will cause it to behave in a way that will get you a 2-star photo.
3 Star: Clear the Little Lost Deerling request. Make sure everyone is in the frame to achieve 3 Star Diamond.
4 Star: In the third part of the Forest course research-level 3, look to the right side and throw an Illumina Orb at the Crystablooms. Once you reach the area where you find two Crystabloom, make sure to only light up the one in the foreground. Lighting up the one at the back will make Deerling go there instead. Keep lighting the Crystabloom till Deerling and Espurr arrives. Once they start smiling, take a close-up shot to achieve 4 Star Diamond.
066: Sawsbuck
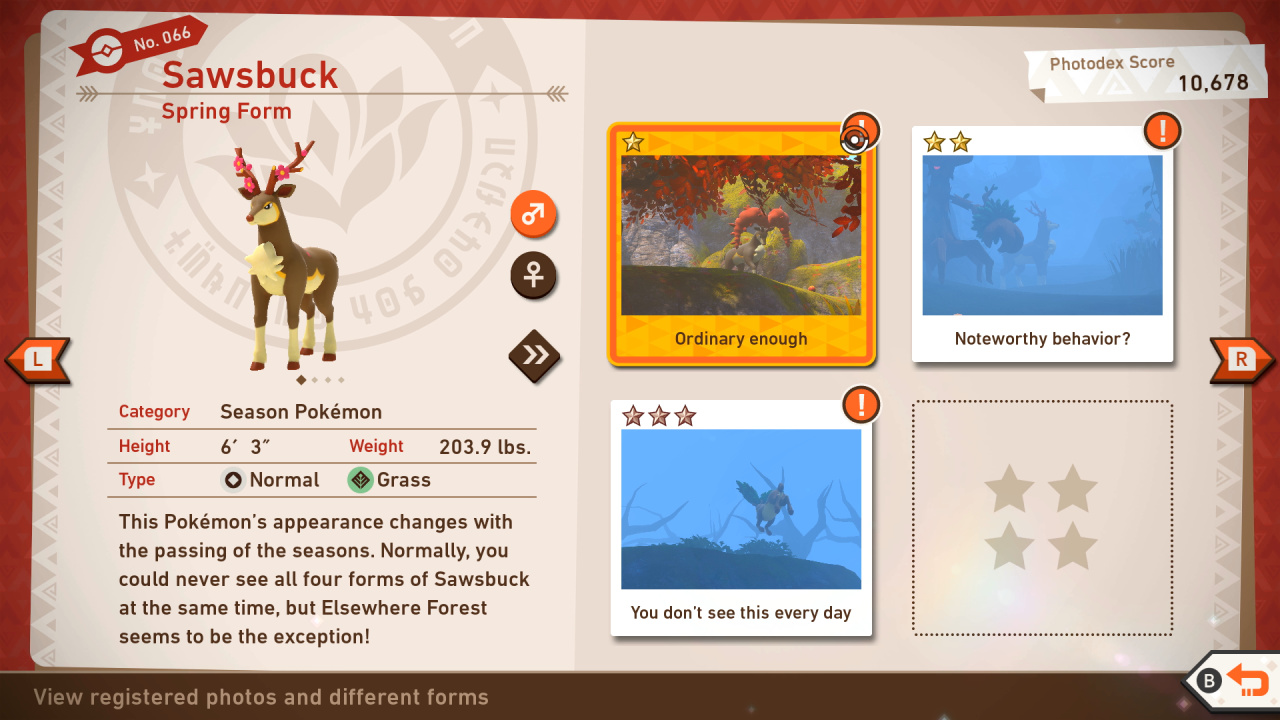
Sawsbuck Star Guide / Conditions:
1 Star: Most basic photo of this Pokémon possible
2 Star: In general, throwing a Fluffruit at or scanning a Pokémon will cause it to behave in a way that will get you a 2-star photo.
3 Star: Go to the Summer season of the Forest course research-level 3. Sawsbuck will then again go up the cliff, wait till it scratches its ear. Once it starts scratching its ear, take a close-up shot to achieve 3 Star Diamond.
4 Star: Follow the steps on how to clear the Little Lost Deerling request. Make sure your camera is targetting Sawsbuck to achieve 4 Star Diamond photo.
067: Unfezant
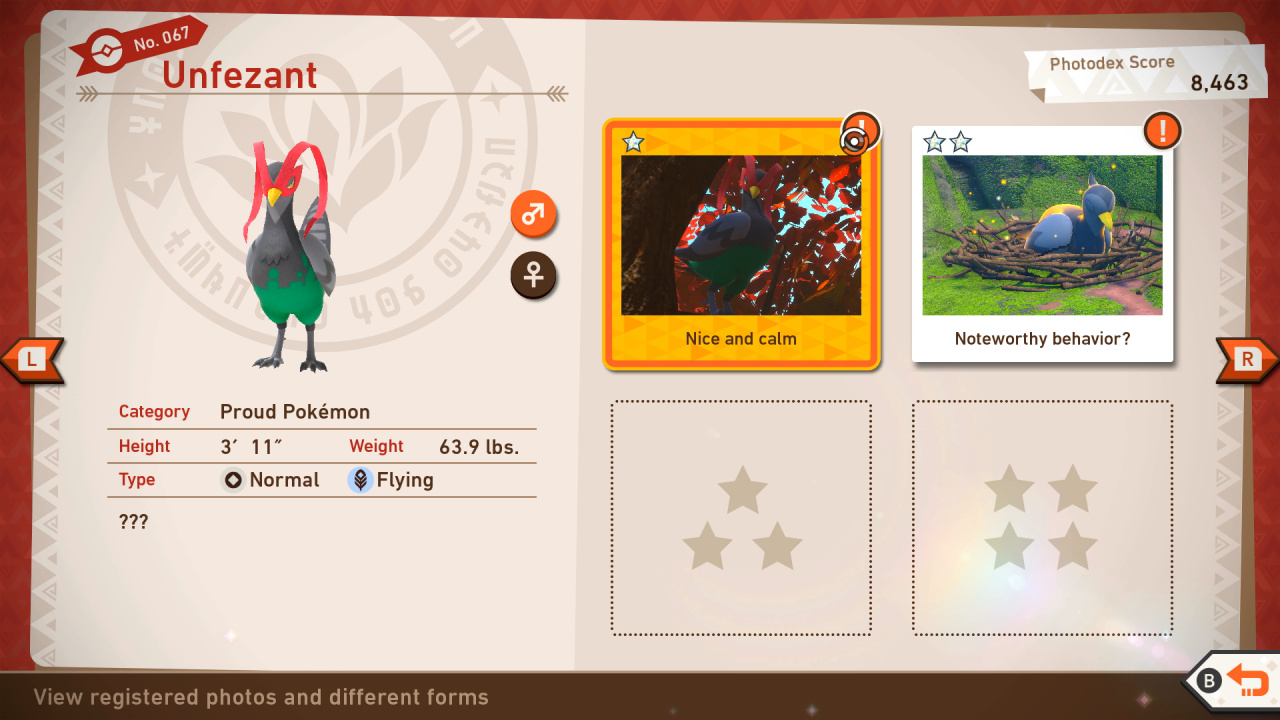
Unfezant Star Guide / Conditions:
1 Star: Most basic photo of this Pokémon possible
2 Star: Go to Spring season of the Forest course research-level 3. Upon reaching the area, look to the left side and you'll find three Unfezant roaming around near a big tree. Focus your camera on the Unfezant without a partner and scan it. Take a close-up photo of Unfezant in an alert pose to achieve 2 Star Diamond.
3 Star: Take a 2 star photo, but instead of focusing on the one without a partner, zoom in on your camera at the couple Unfezant. Take a close-up shot of them dancing to achieve 3 Star Diamond.
4 Star: Go to the Summer season of the Forest course research-level 3. Near the exit of the area, look to the left side and you'll find two Unfezant. Focus your camera on the Unfezant at the nest and throw a Fluffruit at it. Once it gets angry, take a close-up photo to achieve 4 Star Diamond.
068: Drampa
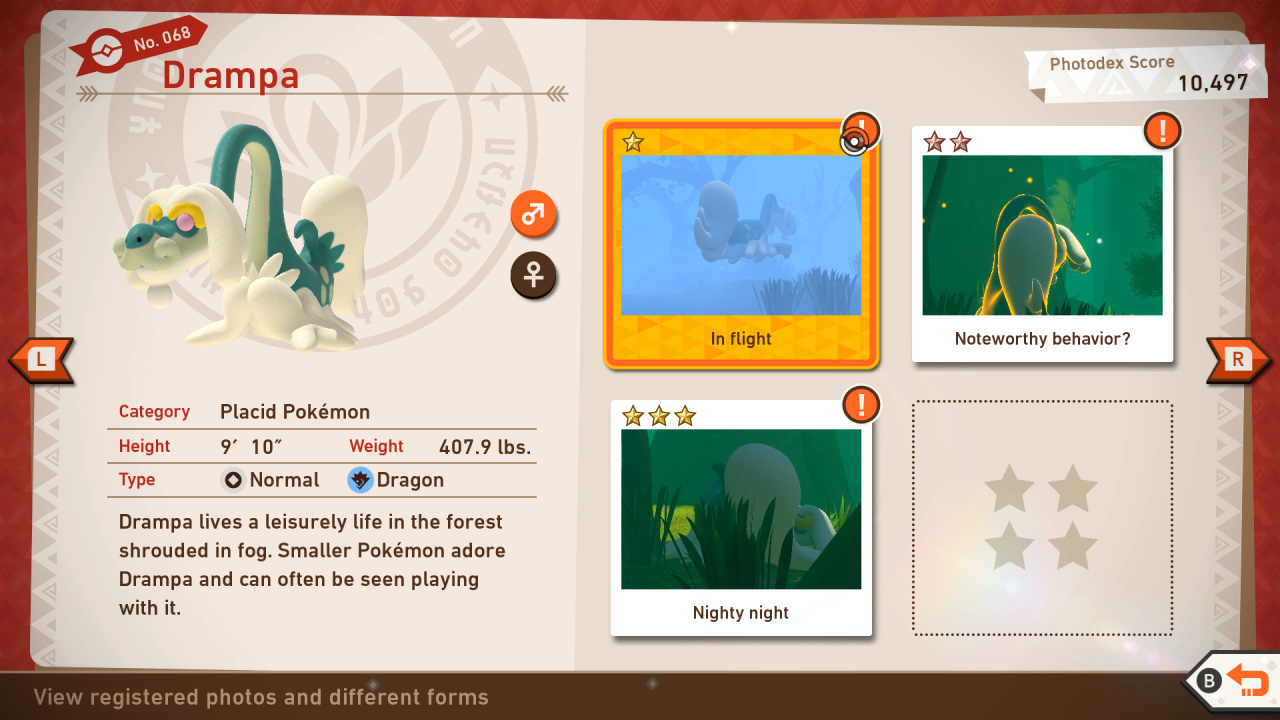
Drampa Star Guide / Conditions:
1 Star: Most basic photo of this Pokémon possible
2 Star: In general, throwing a Fluffruit at or scanning a Pokémon will cause it to behave in a way that will get you a 2-star photo.
3 Star: As you are passing under a small cave in the last part of the Forest course research-level 3, look to the left side to find Drampa. Take a close-up shot of Drampa while it is sleeping to achieve 3 Star Diamond.
4 Star: In the Forest course research-level 3, go to Summer season and throw an Illumina Orb at Drampa across the creek. In the third part of the course, take the alternate path near the end of the area to access the Sunny Spot. Upon entering the Sunny Spot area, use the Turbo on your Neo-One to get closer to Drampa, Bulbasaur and Pancham as soon as possible. Take a whole-body shot of Drampa with Bulbasaur and Pancham visible in the frame to achieve 4 Star Diamond.
069: Pancham
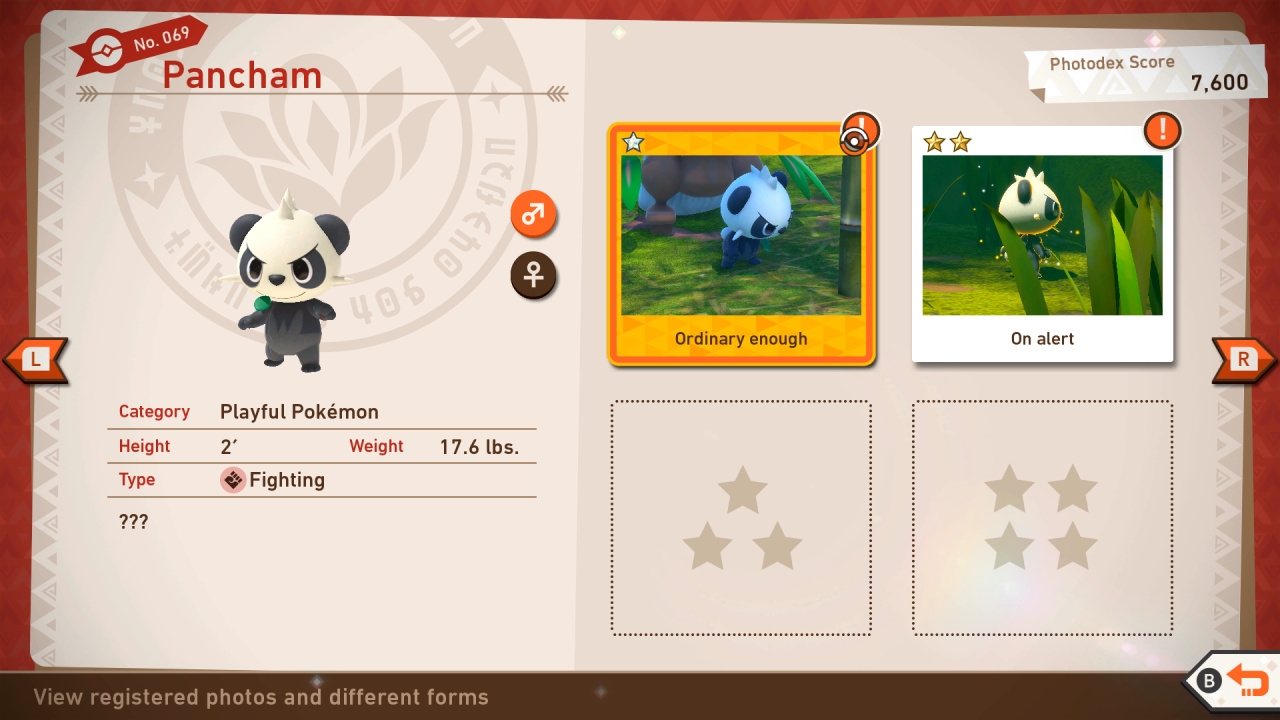
Pancham Star Guide / Conditions:
1 Star: Most basic photo of this Pokémon possible
2 Star: In general, throwing a Fluffruit at or scanning a Pokémon will cause it to behave in a way that will get you a 2-star photo.
3 Star: Go to the Forest course research-level 3. In the first area, you'll find Espeon running away and will sit on the right side. Throw an Illumina Orb at Espeon to trigger the Summer season in the second area. Upon entering the area, you'll find two Pancham in the center of the path and will run up on the hill once you get closer. When they reached the bamboo tree on the left side, zoom in on your camera and throw an Illumina Orb at them. Once they start punching the tree, take a close-up shot to achieve 3 Star Diamond.
4 Star: Trigger the Summer season. Look for Drampa across the creek. Wait till you get closer to Drampa and throw an Illumina Orb at it. In the next foggy area, take the alternate path to enter the Sunny Spot. Upon entering the Sunny Spot, use the Turbo until you get closer to the creek. Zoom in on your camera and focus it on the tree in front of you across the creek. When Drampa passes through, you'll find Pancham on top of Drampa's head. Use the Scan mode at Pancham until it starts smiling and throw an Illumina Orb at it as soon as possible. Take a close-up shot of Pancham to achieve 4 Star Diamond.
070: Bulbasaur
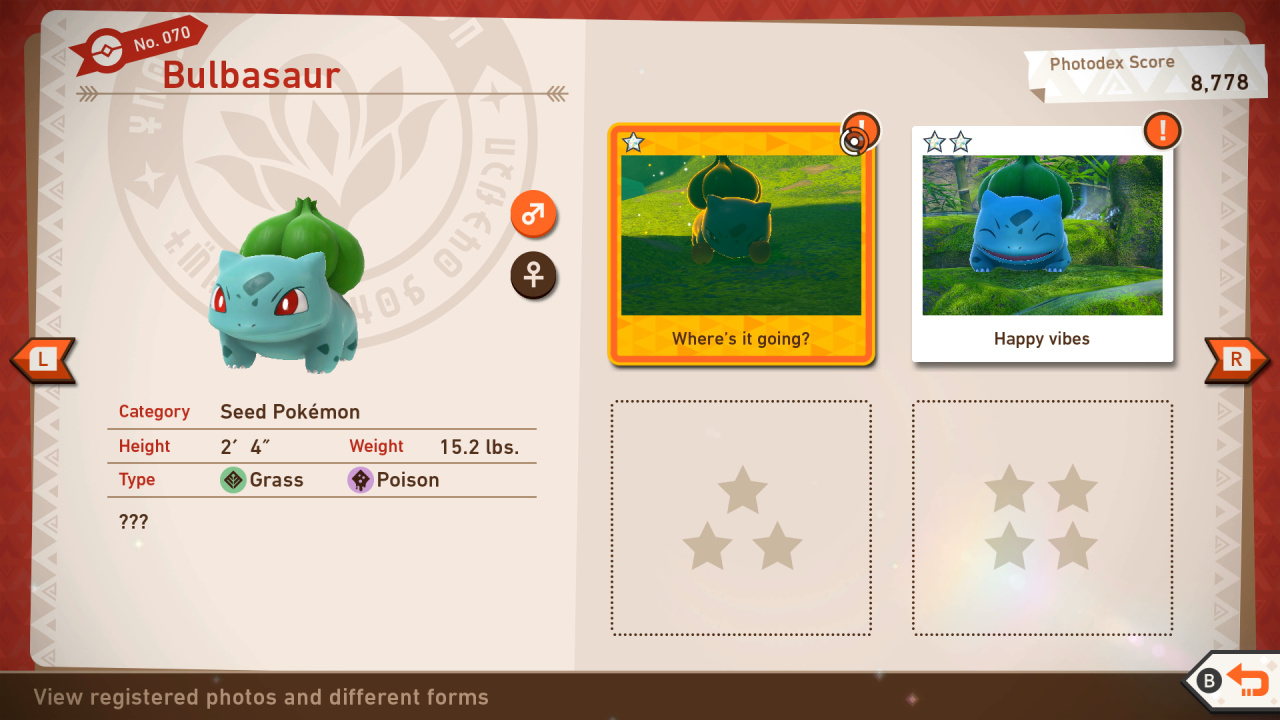
Bulbasaur Star Guide / Conditions:
1 Star: Most basic photo of this Pokémon possible
2 Star: In general, throwing a Fluffruit at or scanning a Pokémon will cause it to behave in a way that will get you a 2-star photo.
3 Star: In research-level 3, take a close-up shot of Bulbasaur while it is jumping to achieve 3 Star Diamond.
4 Star: In the Forest course research-level 3, go to Summer season and throw an Illumina Orb at Drampa across the creek. In the third part of the course, take the alternate path near the end of the area to access the Sunny Spot. Upon entering the Sunny Spot area, use the Turbo on your Neo-One to get closer to Drampa, Bulbasaur and Pancham as soon as possible. Take a close-up shot of Bulbasaur while it is riding Drampa to achieve 4 Star Diamond.
071: Serperior
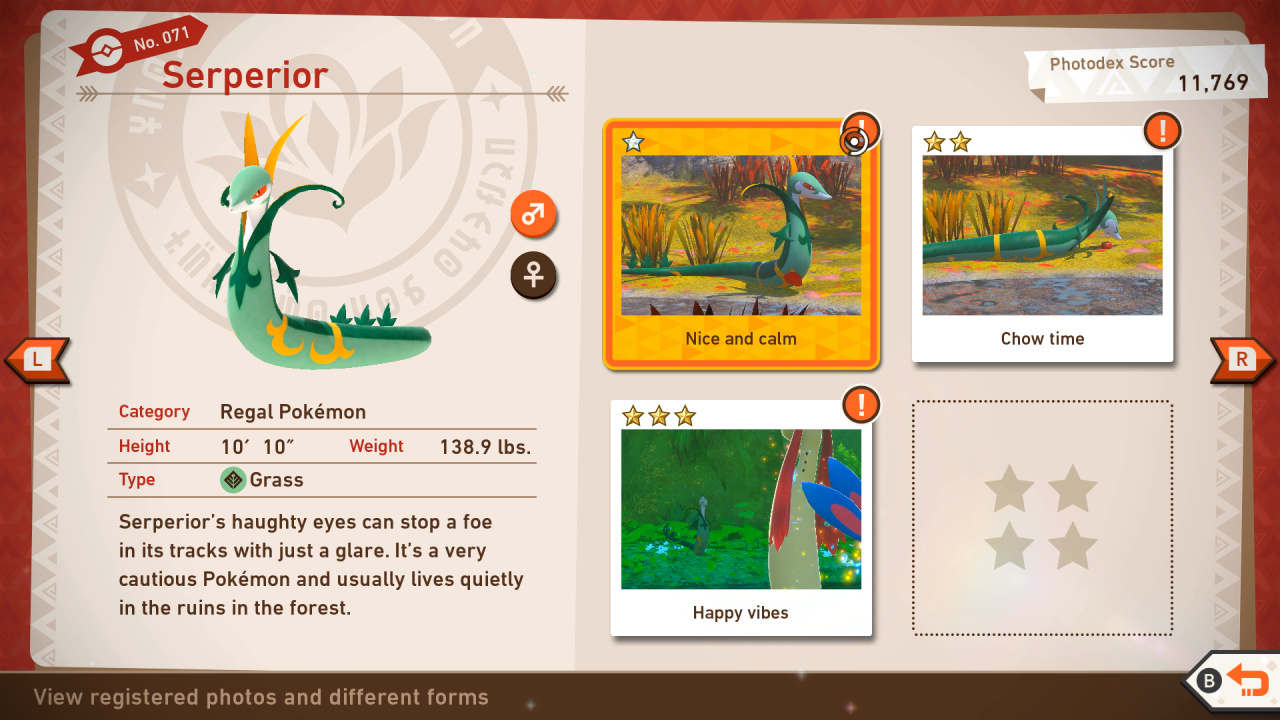
Serperior Star Guide / Conditions:
1 Star: Most basic photo of this Pokémon possible
2 Star: In general, throwing a Fluffruit at or scanning a Pokémon will cause it to behave in a way that will get you a 2-star photo.
3 Star: Go to Autumn season of the Forest course research-level 3. Once you are near the creek, play a Melody until Serperior reunites with Sawsbuck and Deerling. While they are smiling, take a close-up shot to achieve 3 Star Diamond.
4 Star: Repeat the steps on how to take a 3 Star photo. But instead of taking a photo of them while smiling, take a photo of Serperior while it is using a Leaf Storm.
072: Applin
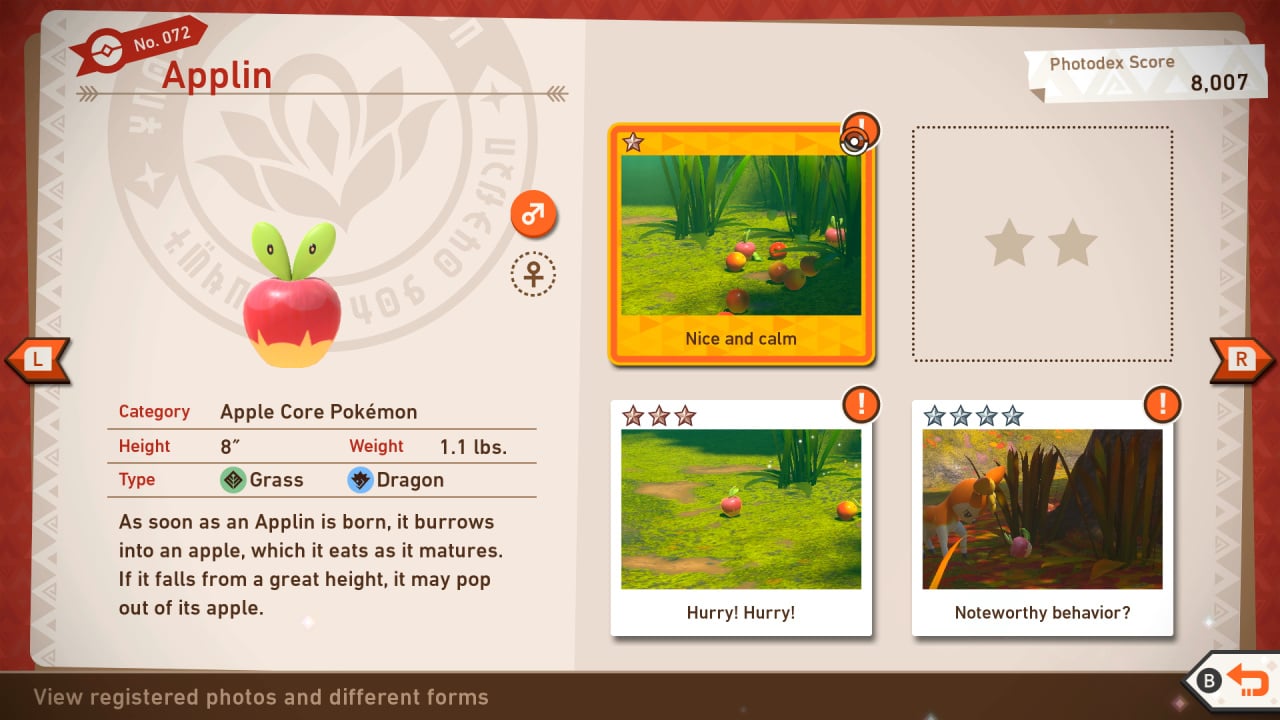
Applin Star Guide / Conditions:
1 Star: Most basic photo of this Pokémon possible
2 Star: In general, throwing a Fluffruit at or scanning a Pokémon will cause it to behave in a way that will get you a 2-star photo.
3 Star: Take a photo of Aplin rolling around on the ground.
4 Star: Choose the Autumn season in the Forest course and go to Sunny Spot by taking the second alternate path; look for Applin hanging in a tree near Trevenant; once close enough, throw a Fluffruit at it to make it fall and take a close-up shot of it while it is out of the Apple
073: Bewear
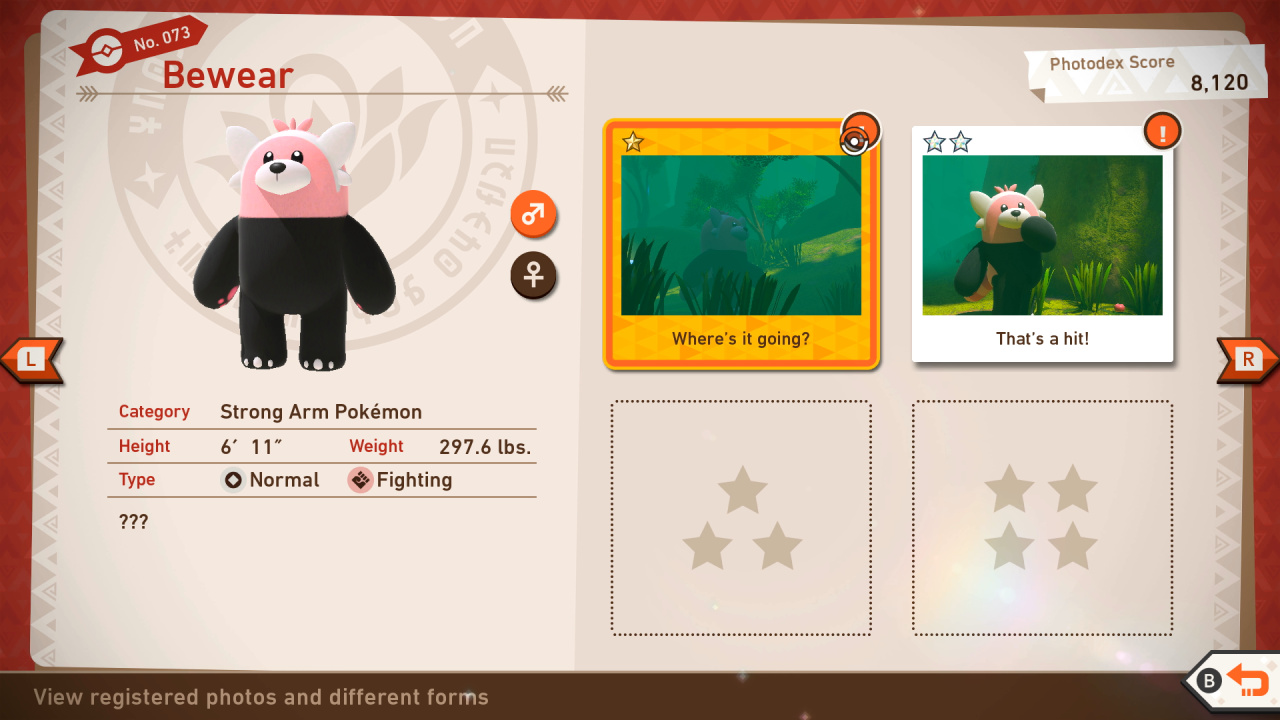
Bewear Star Guide / Conditions:
1 Star: Most basic photo of this Pokémon possible
2 Star: In general, throwing a Fluffruit at or scanning a Pokémon will cause it to behave in a way that will get you a 2-star photo.
3 Star: In research level 3, upon arriving at the last part of the Forest course, look for the Bewear closest to the Crystabloom. Once Bewear gets near it, throw an Illumina Orb at the Crystabloom and wait for Bewear's reaction. Take a close-up shot of it to achieve 3 Star Diamond. Also, make sure Bewear is facing you! Wait for the right angle before throwing the Illumunia Orb.
4 Star: Repeat the steps on how to get 3 Star Diamond of Bewear. But instead of taking a photo of its initial reaction, take a photo of Bewear while it closes its eyes with both hands.
074: Gardevoir
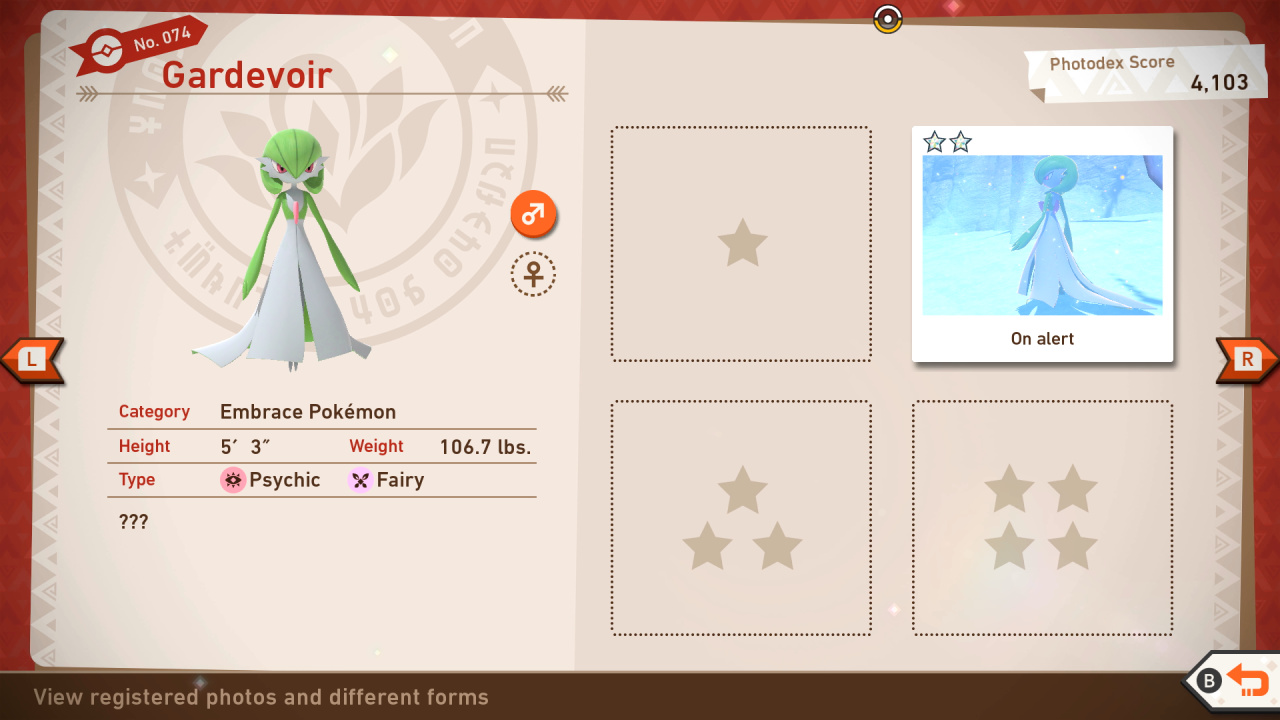
Gardevoir Star Guide / Conditions:
1 Star: Most basic photo of this Pokémon possible
2 Star: In general, throwing a Fluffruit at or scanning a Pokémon will cause it to behave in a way that will get you a 2-star photo.
3 Star: While Gardevoir is on the tree, throw an Illumina Orb at it to make it teleport again. Once it teleports on the ground, focus your camera on it and take a close-up shot while it is playing with the snow.
4 Star: Clear the Winter Wonders request. Make sure to use the Burst mode 3 photos for a higher chance to get the 4 Star Diamond pose.
075: Ninetales
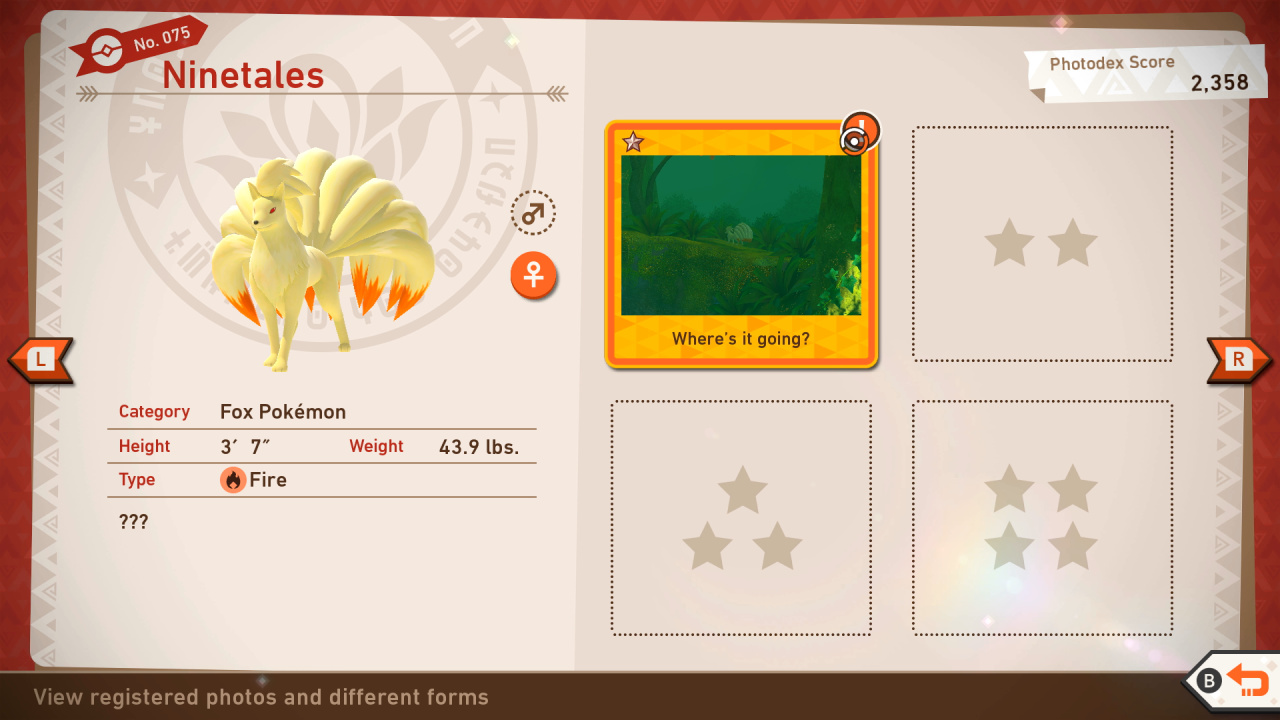
Ninetales Star Guide / Conditions:
1 Star: Most basic photo of this Pokémon possible
2 Star: In general, throwing a Fluffruit at or scanning a Pokémon will cause it to behave in a way that will get you a 2-star photo.
3 Star: Go to the Winter season of the Forest course research-level 3 and look to the hills on the right side. Once Ninetales appears and walks closer to the edge of the hill, throw a Fluffruit at it. Zoom in on your camera and take a photo of Ninetales while it is raising its tails up to achieve 3 Star Diamond.
4 Star: Clear the Flickering Flames request. Take a close-up photo of Ninetales to achieve 4 Star Diamond.
076: Lotad
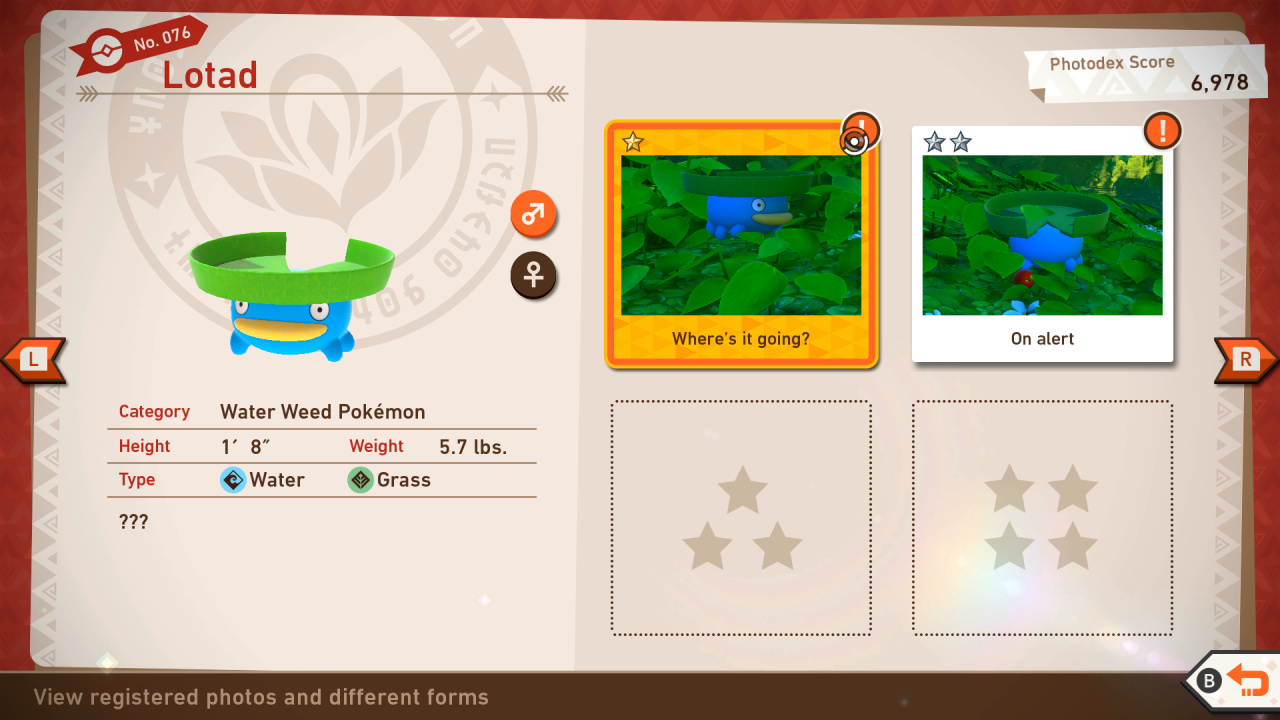
Lotad Star Guide / Conditions:
1 Star: Most basic photo of this Pokémon possible
2 Star: In general, throwing a Fluffruit at or scanning a Pokémon will cause it to behave in a way that will get you a 2-star photo.
3 Star: Go to the Autumn season of the Forest course research level 3, and enter the Sunny Spot area after. On the other side of the creek, there are two Lotad walking around. Play a Melody and they will start jumping. Take a close-up shot of them jumping to achieve 3 Star Diamond. Make sure to use the Burst mode for a higher chance of getting the perfect shot.
4 Star: Clear A Tad Happy request. Make sure to take a close-up shot to achieve 4 Star Diamond.
077: Espeon
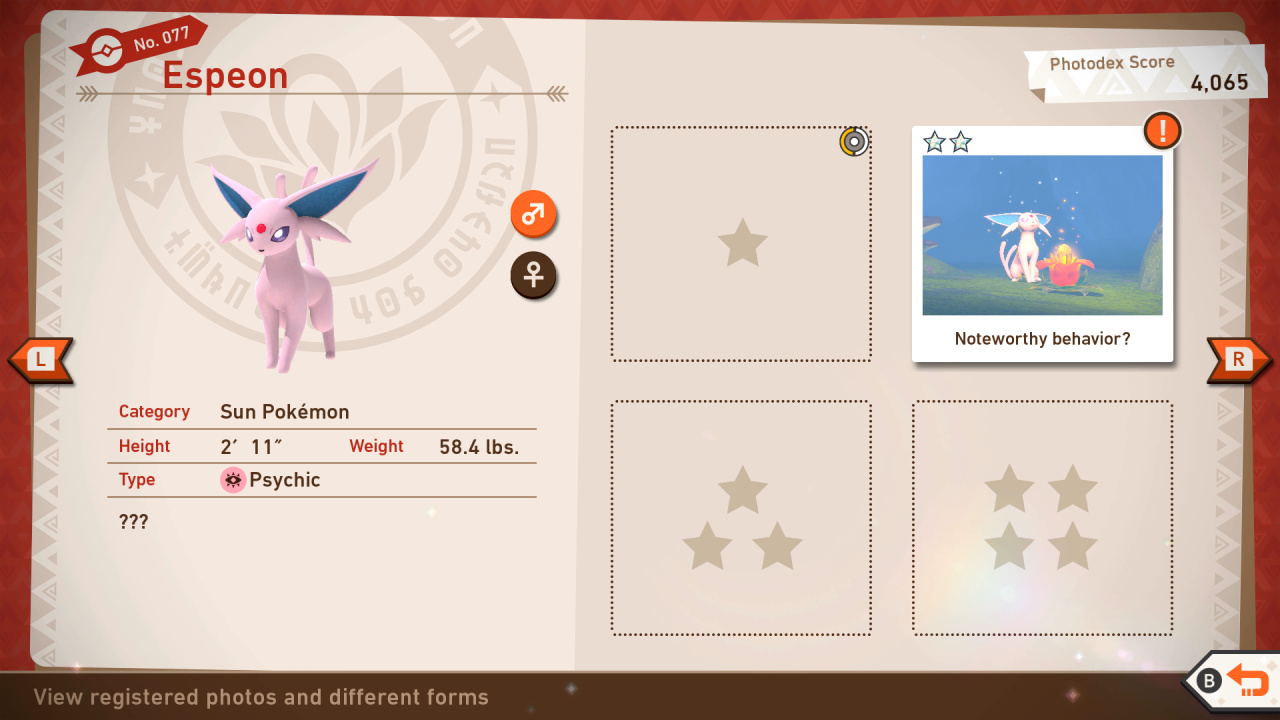
Espeon Star Guide / Conditions:
1 Star: Most basic photo of this Pokémon possible
2 Star: In general, throwing a Fluffruit at or scanning a Pokémon will cause it to behave in a way that will get you a 2-star photo.
3 Star: Clear the Little Lost Deerling request. But before Deerling and Sawsbuck get reunited, take a close-up photo of Deerling and Espeon to achieve 3 Star Diamond.
4 Star: Clear the Little Lost Deerling request. Make sure your camera is targetting Espeon to achieve 4 Star Diamond.
078: Celebi
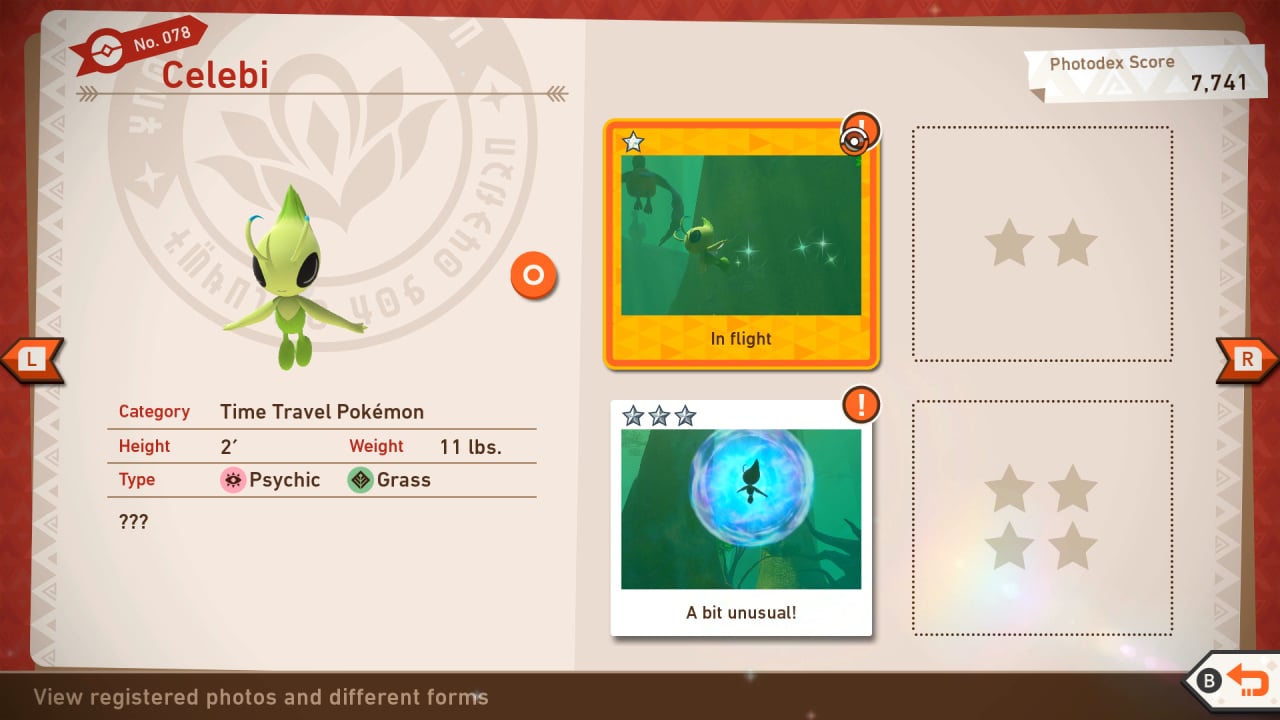
Celebi Star Guide / Conditions:
1 Star: In the final part of Forest Level 2, take any photo of Celebi flying around
2 Star: While Celebi is flying around, hit it with an Illumina Orb to make it teleport away, then quickly take your photo
3 Star: In the small, enclosed tunnel in Forest Level 2, look for a group of Fluffruit on the ground on the right side; throw a Fluffruit near the group, and Celebi will reappear to eat it, when you can take your photo
4 Star: From the 3-star instructions, do not throw an Illumina Orb at the Celebi here; after exiting the tunnel, look for the small ruins, where Celebi will appear and sit down; hit both Celebi and the nearby Crystabloom with Illumina Orbs and more will appear; play a melody here to make them dance, and take your photo now
079: Milotic

Milotic Star Guide / Conditions:
1 Star: Most basic photo of this Pokémon possible
2 Star: In general, throwing a Fluffruit at or scanning a Pokémon will cause it to behave in a way that will get you a 2-star photo.
3 Star: Set the Research Level to Level 2 for this pose. After Milotic leaps over the giant root in the first area, follow it to the next where more Pokemon are found. While Milotic is circling the area, throw a Fluffruit at it then throw 2 Illumina Orbs to make it illuminated. Wait for Milotic to stop and meet a Serperior before taking the photo.
4 Star: In the area past the giant root, throw a fluffruit then a few Illumina orbs to Milotic to make it enter the Illumina state. If done correctly, Milotic will surface to where Trevenant and Ninetales are and check on the Crystabloom. Milotic will soon go back underwater and revert to normal form. Throw another fluffruit and some more Illumina orbs to trigger an event where Milotic leaps up high and create a twister. Be ready for this leap. While the first twister is active, quickly throw an Illumina orb at Milotic. If it hits, Milotic will create another twister. Take a picture of Milotic with the second twister to get the 4-star pose
New Pokémon Snap Belusylva Photodex - Update 2.0
218: Feraligatr
Feraligatr Star Guide / Conditions:
1 Star: Mightwide River; Most basic photo of this Pokémon possible
2 Star: Throw Fluffruit at it; take photo as it jumps high
3 Star: Catch Feraligatr in the middle of a wide, toothy roar. You can catch it roaring when it pops out of the river to your right during your ride through Mightywide River (Day), or on top of the cliff above the river during Mightywide River (Night).
4 Star: Players hoping to get a four-star photograph of Feraligatr should visit the River (Night) course and complete the steps need for Todd's Diving Spot request.
219: Tropius
Tropius Star Guide / Conditions:
1 Star: Mightwide River; Most basic photo of this Pokémon possible
2 Star: Throw Fluffruit at it; take photo as it jumps high
3 Star: Feed Tropius to capture its thankful reaction. It smiles and wobbles around after eating a fluffruit.
4 Star: Players can snap a four-star shot of Tropius as part of the Overhead Friend request in the River (Day) course.
220: Psyduck
Psyduck Star Guide / Conditions:
1 Star: Mightwide River; Most basic photo of this Pokémon possible
2 Star: Throw Fluffruit at it; take photo as it jumps high
3 Star: Photograph Psyduck any time during its escape from Aipom. This could be any time during the chase to the moment it stops at the palm tree, surrounded by smiling purple monkey Pokemon.
4 Star: To get a four-star photo of Psyduck, players simply need to complete the Psychic Sidekick request in the River (day) course.
221: Ursaring
Ursaring Star Guide / Conditions:
1 Star: Mightwide River; Most basic photo of this Pokémon possible
2 Star: Throw Fluffruit at it; take photo as it jumps high
3 Star: To get Ursaring's 3 Star photo, start River (Day) at Research Level 3. Look to your left to find the Psyduck running away from the group of Aipoms. Throw an Illumina Orb at Psyduck and wait for it to cast Confusion. If done correctly, Ursaring will growl at Psyduck after perfoming the move
4 Star: There are a few different ways to get a four-star shot of Ursaring, though the easiest arguably comes in the Majestic Ursaring request in River (Night).
222: Drilbur
Drilbur Star Guide / Conditions:
1 Star: Mightwide River; Most basic photo of this Pokémon possible
2 Star: Throw Fluffruit at it; take photo as it jumps high
3 Star: At the start of River (Day) at Research Level 3, you can spot an Arbok to your left. After it submerges into the water, a bunch of bubbles will appear where it sank. Toss an Illumina Orb at the bubbles to make it come back up and scan to make it jump onto the shore. After jumping onto the shore, a bunch of Drilbur will pop out of the ground. Take a photo of any of the Drilbur as they pop up.
4 Star: Four a four-star photo of Drilbur, players can simply complete the Drilbur Propeller request for Todd.
223: Cleffa
Cleffa Star Guide / Conditions:
1 Star: Mightwide River; Most basic photo of this Pokémon possible
2 Star: Throw Fluffruit at it; take photo as it jumps high
3 Star: Watch Cleffa closely after feeding it or playing music to see if it uses Metronome. See the little pink sparkles coming from its stubby arms? That's it.
4 Star: Players can snap an easy four-star photograph of Cleffa while completing the Cleffa's Training request in the River (Day) course.
224: Gyarados
Gyarados Star Guide / Conditions:
1 Star: Mightwide River; Most basic photo of this Pokémon possible
2 Star: Throw Fluffruit at it; take photo as it jumps high
3 Star: Snap a picture of Gyarados mid-meal to earn an easy three-star photo.
4 Star: To get a four-star photo of Gyarados, players can make the Pokemon climb the waterfall in River (night) as part of the Lurking in the Water request.
225: Diglett
Diglett Star Guide / Conditions:
1 Star: Mightwide River; Most basic photo of this Pokémon possible
2 Star: Throw Fluffruit at it; take photo as it jumps high
3 Star: To take a 3 Star Photo of Diglett, start Badlands (Night) at Research Level 2. At the beginning of the course, look to the left to find two Sandshrews. Throw an Illumina Orb at the Sandshrew on the left and it will roll down towards the slope.
4 Star: For a four-star photograph of Diglett, players can complete the Let's Play request for Rita.
226: Rockruff
Rockruff Star Guide / Conditions:
1 Star: Mightwide River; Most basic photo of this Pokémon possible
2 Star: Throw Fluffruit at it; take photo as it jumps high
3 Star: Get Rockruff and Diglett to interact for one of its three-star photo requirements: Drive Diglett away from the front of the course towards the geyser. Players can tell when these little nuggets are around thanks to their dust trails. Once a Diglett pops up, throw a fluffruit to scare it back underground. Do this until you notice them burrowing closer to the geyser. Two Diglett pop up next to each other with Rockruff spectating between them. Toss a fluffruit right next to one of the Digletts to have them start a game of fluffruit volleyball. Their game amuses Rockruff, who prances beside them in excitement. Take a picture of the pup during its glee spree to earn a three-star photo.
4 Star: Players can get themselves a four-star photo of Rockruff roaring by completing the Guardian of Friends request for Todd in the Badlands (Night) course.


Comments 1
*Venusaur. As in Venus Fly Trap.
Show Comments
Leave A Comment
Hold on there, you need to login to post a comment...