Death Mountain, the iconic home of the Goron through the Zelda series, is once again your destination when you set off to help the rocky fellows in Tears of the Kingdom. However, as with all of the Regional Phenomena quests, something is a bit different about the volcano this time around.
We recommend you do this questline second, after visiting the Rito Village. But you can visit the Goron and help them out at any time. A small warning, some of these screenshots will have minor spoilers as we chose to visit the Goron region third. Therefore, you may spot things that you haven't seen in your playthrough yet — don't fret, it's nothing major!
Subscribe to Nintendo Life on YouTube845k
This guide will cover the Eldin Region, Death Mountain, and Goron City, along with how to get to the city, and what to expect from the Eldin region.
Zelda: Tears Of The Kingdom: How To Get To Goron City
How to prepare for the Eldin Region
Goron City is in the Eldin region, right by Death Mountain. If you've been observant when diving through the sky, you'll notice some of that nasty goop has been seeping out of the volcano since The Upheaval. And you'll have to deal with that when you visit.
When you first get to Eldin, you'll be largely okay. However, venture inside the mountain or deep into any caves, and you'll start to burn. So, we recommend buying the Flamebreaker Armour Set as soon as you get to Goron City. As you travel up the mountain, you can also pick up any Fireproof Lizards you see to make some elixirs, but unless you've bought some from Beedle at a stable, you likely won't have any before you venture there.
As things heat up, any wooden weapons you have will catch fire. This is okay for arrows (creating some easy fire arrows) but for sticks, wooden shields, and wooden bows, they'll hurt you, so you'll want to largely stick to metal or Zonaite weapons. Plus, make sure you have some Brightbloom Seeds for later. You'll understand why when you get there.
How to get to the Eldin Region
Eldin is northeast of Lookout Landing, and it's probably the easiest locale to spot because of the huge volcano, Death Mountain, towering above the rest of the world. You'll head to Woodland Stable on the way, and this is the first Stable where you'll be able to unlock one of the Great Fairies via the Serenade to a Great Fairy Side Adventure.
Eldin Canyon Skyview Tower is also directly west of the stable and is well worth unlocking to get the map for the region. It's also how we got to the Eldin region proper, by diving down from the sky and gliding towards the mountain. If you're less adventurous, you can also follow the path north, but you won't be able to take a horse.
How to find Goron City
As we mentioned above, the region's Skyview Tower is probably the best way to get to Goron City, and there are a few landmarks on the way that will give you a sense of progress. You can also get Dragon's Tear #3 from here by going south from the Tower.
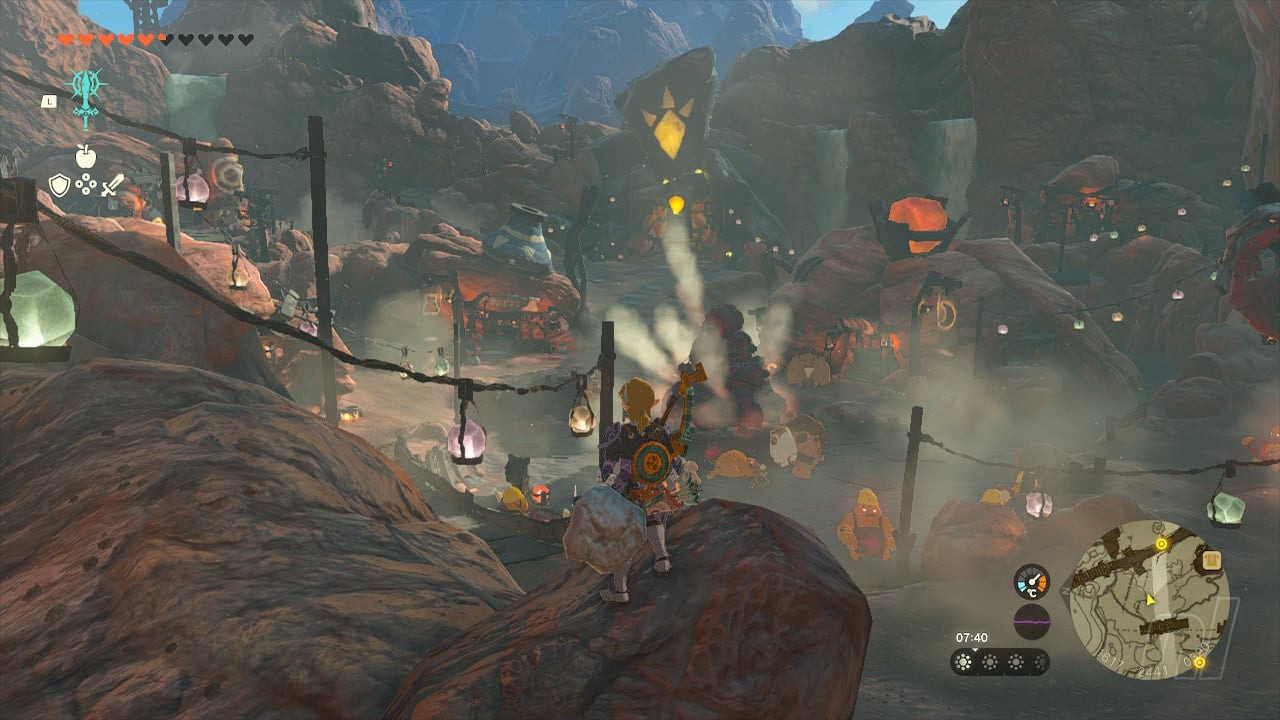
Bedrock Bistro near Goronbi Lake, on the south side of the mountain, is a good place to get on your map, and Timawak Shrine is also right by it. Talking to the people here will give you an insight into what's going on in Goron City, and you'll find out about the marbled rock roast. Hmmm...
Getting to Goron City from here is actually relatively easy — all you need to do is follow the path north. A lot of the lava has solidified, so you won't need to worry about taking damage. However, if you want to venture inside the many caves in the region, you will absolutely need to have flame-proof elixirs. Follow the lanterns and the mining signs for a steady path to the city.

Don't worry about any of the minecart rails yet — you'll get to have fun with those later. You'll come across Ramella the precious stone dealer right before you hit Goron City, too.
What to do at Goron City
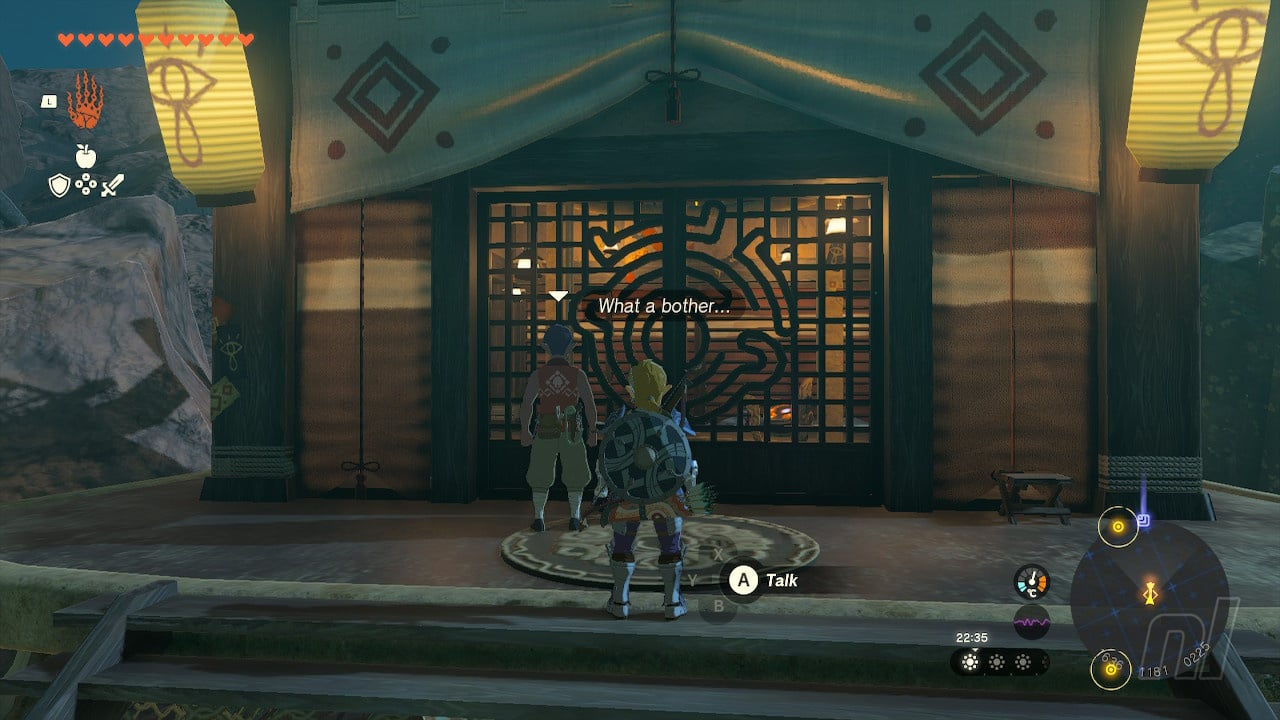
You'll notice things are a bit different at Goron City compared to Breath of the Wild. Namely, there's a huge pile of that marbled rock roast in the centre of the city. Plus there's a collapsed Goron in front of it. That's where you start your quest.
Now's the time to pick up that Flamebreaker Armour Set from the store. Sell your precious stones to get as much of it as possible, because it'll make life so much easier. When you're ready, start the Goron Regional Phenomena quest and you'll meet a familiar friend, who's a bit different than he used to be — Yunobo.
Yunobo of Goron City Main Quest
Where to find Yunobo
The other Goron are also concerned, and they want you to follow your once-friend to Yunobo HQ, which is north of Goron City. Head to the north side of town and ride the minecart across the canyon. You can also take Dugbo over with you to get The Ancient City of Gorondia Side Quest out of the way.
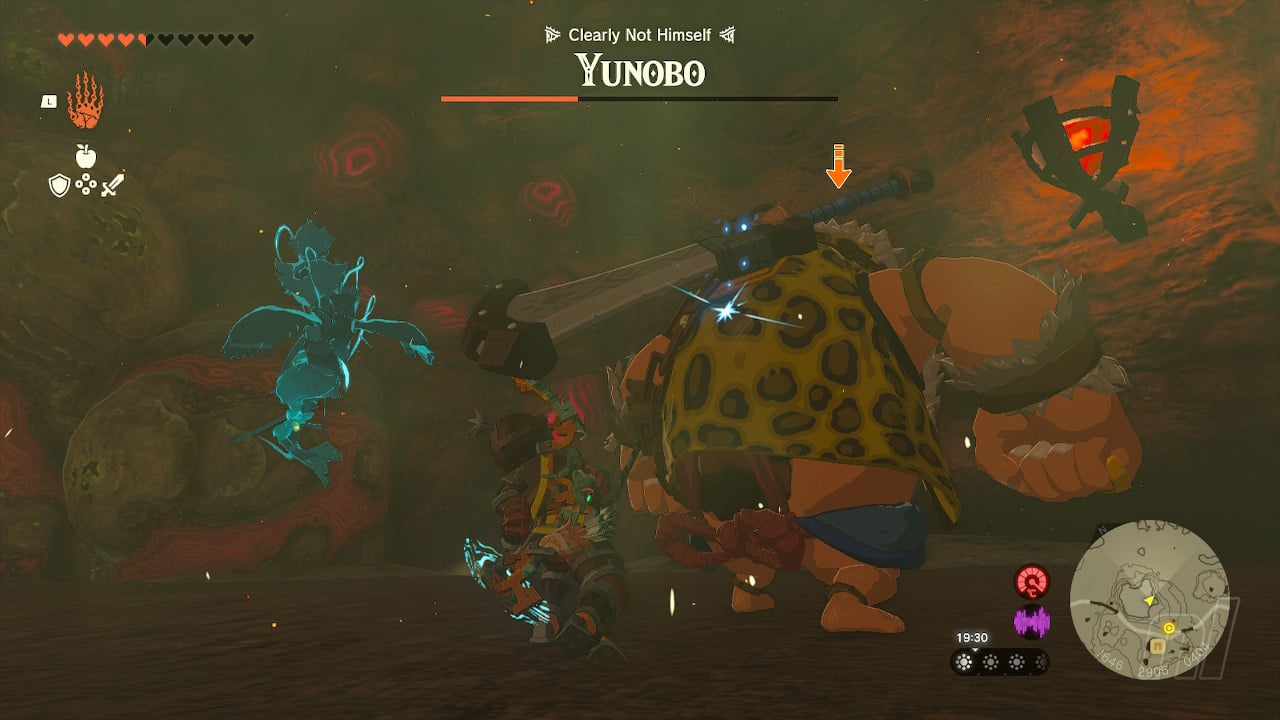
Follow the path until you reach a cave, and talk to Offrak and Slergo, who will tell you that Yunobo has been acting weird since he got a new mask. And since he got that mask, he's been demanding everyone mine that marbled rock roast. Head inside the cave and confront Yunobo.
Yep, you have to fight your buddy Yunobo. It's a pretty easy fight, however. Yunobo will charge up a roll attack and aim it at you. Keep running around until he unleashes it and crashes into a wall. Hit him, and his mask will crack. Do this three times and it's over. Yunobo is free and he'll now accompany you on your journey throughout Goron City.
First, you'll need to break out of this cave. Yunobo's charge ability is excellent for this — he'll roll up into a ball and break the boulder you aim him towards. He's also the only thing that can break these red-marbled boulders. Keep that in mind for later. Your next destination is the top of Death Mountain.
How to climb Death Mountain
Despite how big Death Mountain is, it's pretty easy to reach the top of the volcano. Remember all of those minecart tracks on your way to Goron City? That's how we'll reach the top. Though there are plenty of ways you can get there — rockets, climbing, etc.
The minecart track you want is on the west side of Death Mountain, just north of Goron City, so head back there first and glide from the top of the town (from Marakuguc Shrine). The minecart is near Death Mountain West Tunnel, and if you pop a battery and fan on it, you'll have a smooth ride up to the top. Well, except for the Fire Keese, Octoroks, and Moblins. You can use Yunobo's charge ability while riding the minecart. So take that, foes. Just aim at them, and press 'A' to launch him at the enemies for a convenient way of taking blockades and nuisances down.
You'll eventually come to a standstill at the top. Walk along the wooden platforms towards the figure that you're chasing down. She will disappear, and with that, a huge creature will emerge from the top of Death Mountain.
How to defeat Moragia
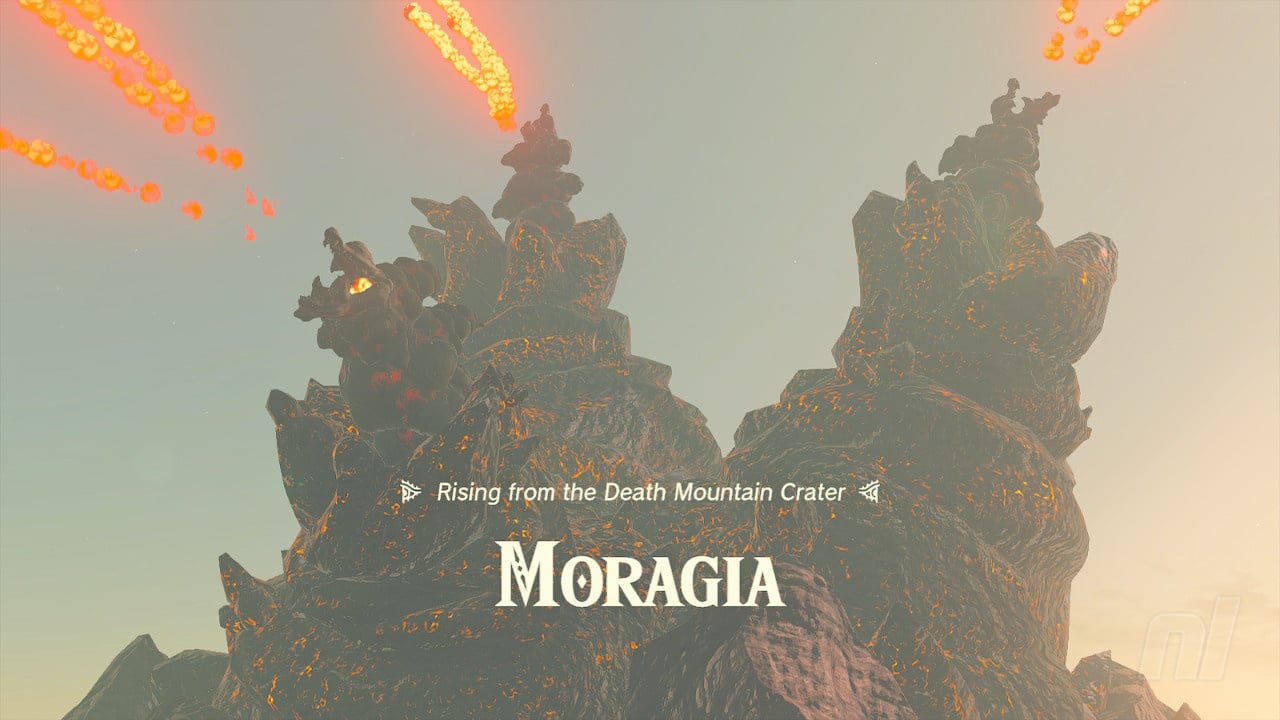
Moragia is one of the coolest bosses in Tears of the Kingdom, and unless you struggle with aiming Yunobo's rolling ability, this will be a relatively easy, but spectacular, fight.
So, Moragia is absolutely massive, which means you can't hit it from the ground. Luckily there's a makeshift Zonai vehicle nearby which you can ride. The Wing is outfitted with four fans, two big batteries, and a steering stick, meaning you can control your flying vehicle. Add the fact that you can use Yunobo to attack while you're riding the vehicle and you're essentially on an aerial assault against a gigantic rocky dragon. Use Ultrahand to flip it around, then get on it.
The hardest part of the fight is getting used to the steering if you've never used a steering stick before. You'll need to avoid Moragia's flames and lava balls by steering out of the way, but you want to try and get close to each of its heads so you can fire Yunobo into them. There are three heads, and you only need to hit each of them once to defeat it.
Once that's done, you'll get a cutscene, and both Link and Yunobo will decide to dive into the depths of Death Mountain. We're going underground, folks.
Where to go in Eldin Canyon Depths
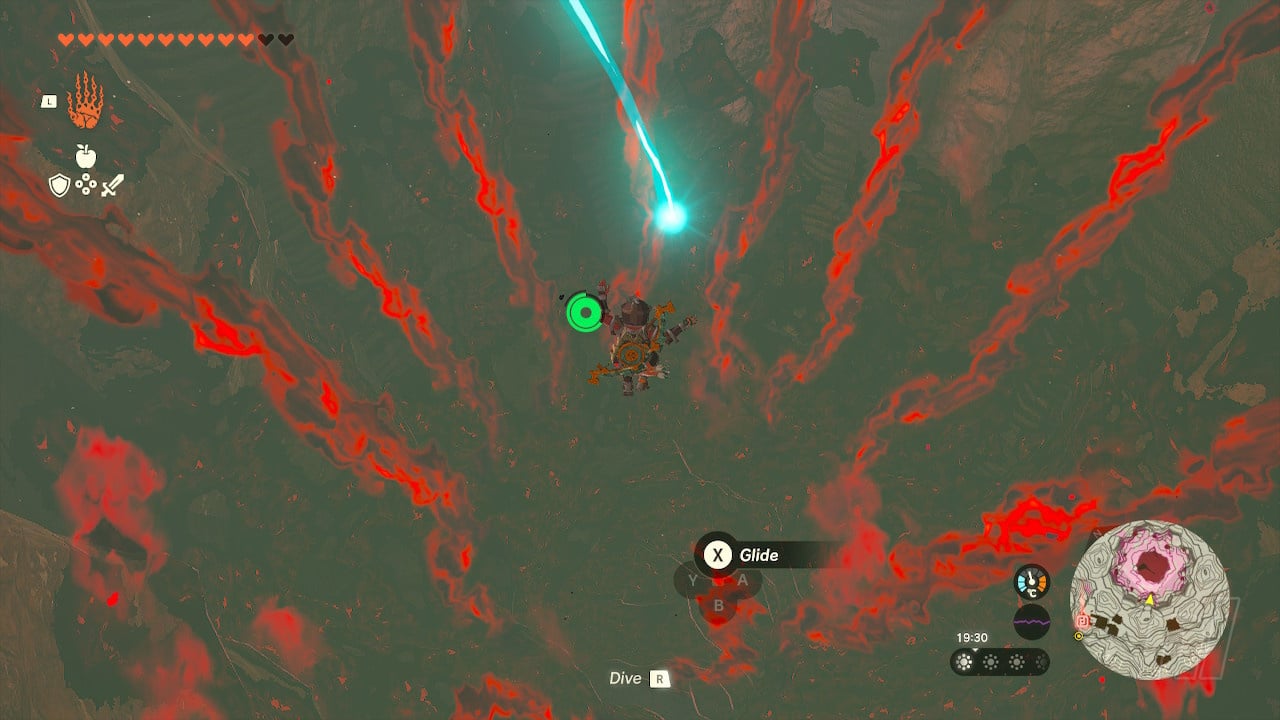
If you've been down The Depths before, Eldin Canyon is a little tamer than the rest of them — except there's lava everywhere. This is where you'll need those Brightbloom Seeds. Take a deep breath and jump down the Death Mountain Chasm to reach the Eldin Canyon Depths.
As you descend, you'll spot Mustis Lightroot to the west. Land as close to it as possible and activate it to light up the area and reveal a portion of the map. Then talk to Yunobo to get a brief cutscene, which will direct you to the far west of your location.
There are lots of red rocks around, which Yunobo can break to make the path a little clearer for you. The further away you get from the Lightroot, the darker it will get, so don't be afraid to use Brightbloom Seeds if you're worried — though the lava is pretty easy to spot. For now, just head west, breaking any boulders out of the way if you need to.
Eventually, you'll see a steering stick which is stuck to something. Get on it and activate it to reveal a huge vehicle, which you can use to transport you across the lava. Near the vehicle is a slope that you can access by using Yunobo's charge. Walk up it and grab the poes along the way. You'll also find a second Lightroot — Misisi Lightroot. Activate it, and light up the area. Katoji Lightroot is also north of here. Keep heading west of Misisi towards the large structure. There's a camp of enemies inflicted with gloom on the way, so be careful not to get hit by them.
If you continue to head west, you'll see a broken bridge across a huge lava river. You need to glide to the nearest platform, but you're too low from where you are. Get under the archway and use Ascend to get up top. Then glide across to the chest with a Strong Construct Bow — or as near to it as you can.
When you have the bow, glide to the slope, walk up, and you'll be at the entrance of the next dungeon — the Fire Temple. Head inside by breaking the marbled boulder, and head to the central room.
Can you handle the heat? Your next step will be tackling the huge Fire Temple. But if you're looking for other hints, tips, tricks, or more, then check out our full Zelda: Tears of the Kingdom walkthrough.


Comments 0
Wow, no comments yet... why not be the first?
Leave A Comment
Hold on there, you need to login to post a comment...