Welcome back to our full walkthrough of Metroid Prime Remastered. In this section, we'll be diving into the intimidating Phazon Mines.
This is probably the most combat-heavy area featured in Metroid Prime and it's absolutely crawling with Space Pirates. By this point, though, you should have a formidable arsenal at your disposal, so keep your Arm Cannon straight and your head held high. Let's do this.
Subscribe to Nintendo Life on YouTube846k
Metroid Prime Remastered: Walkthrough - Phazon Mines
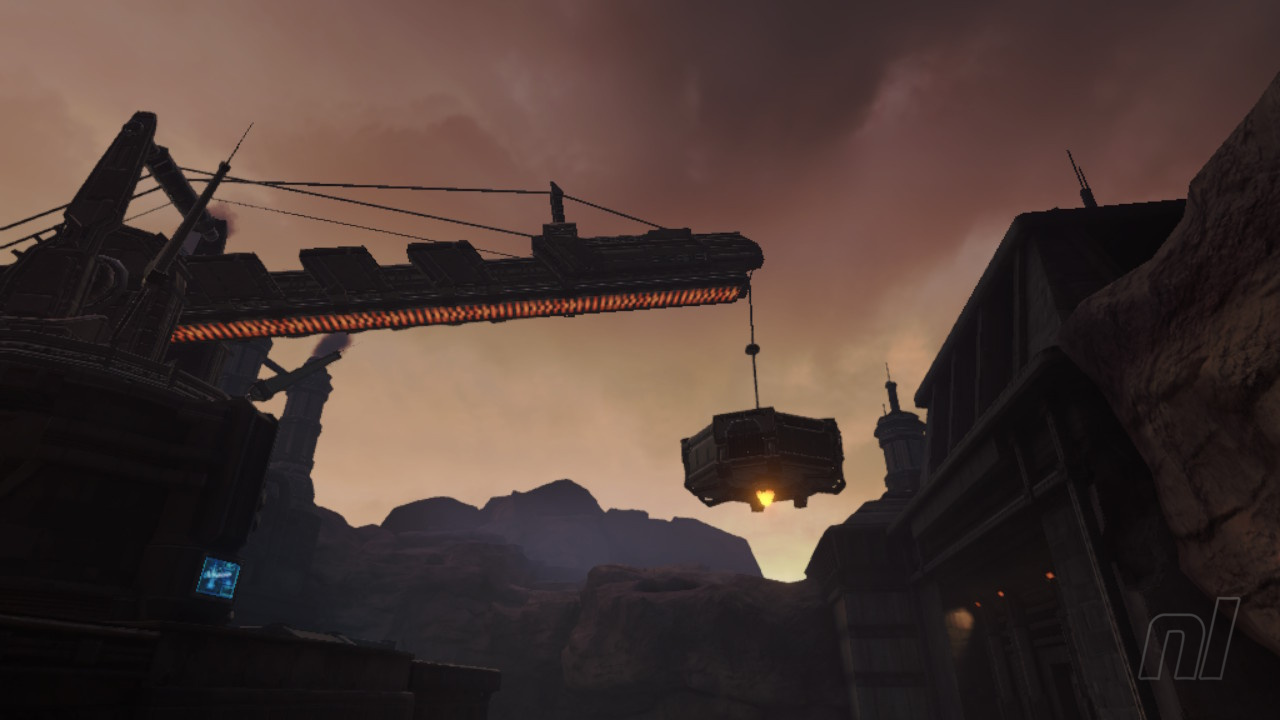
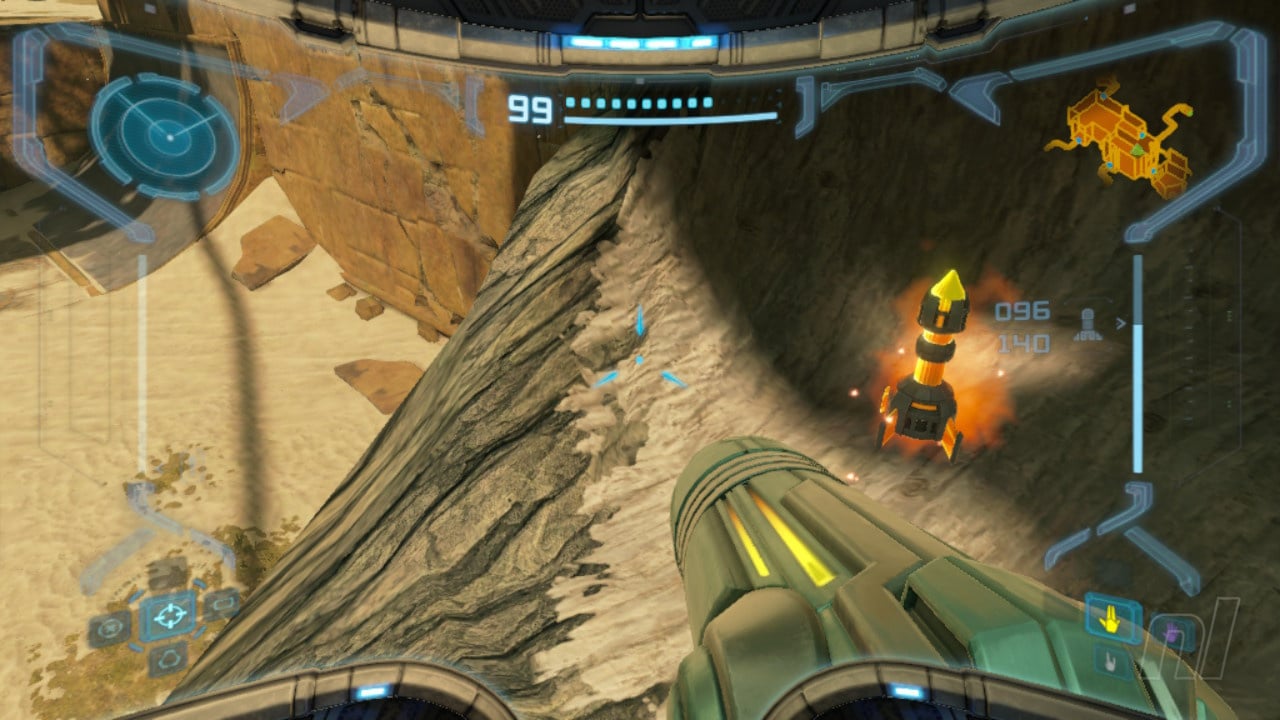
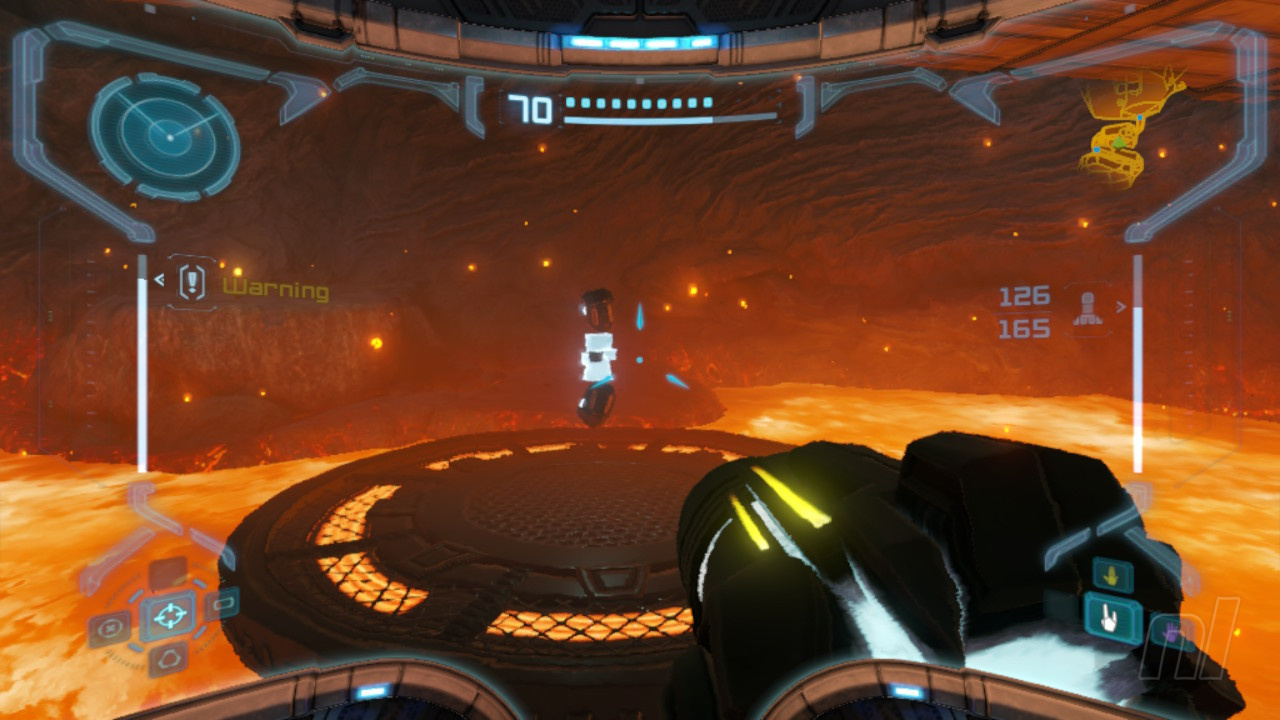
Stepping out of the elevator, you'll arrive in a fairly large outdoor area featuring a crane, a bunch of Space Pirates, and a couple of Auto Turrets. Don't bother with any of the enemies at first. Head to the left and you'll see a Spider Track leading to a Wave Door.
Head through here and turn left. Scan the icon to open the barrier, revealing a Save Station. Save your game. Phazon Mines is a large area with very few Save Stations, so if you need to backtrack here to save your game, by all means, do so.
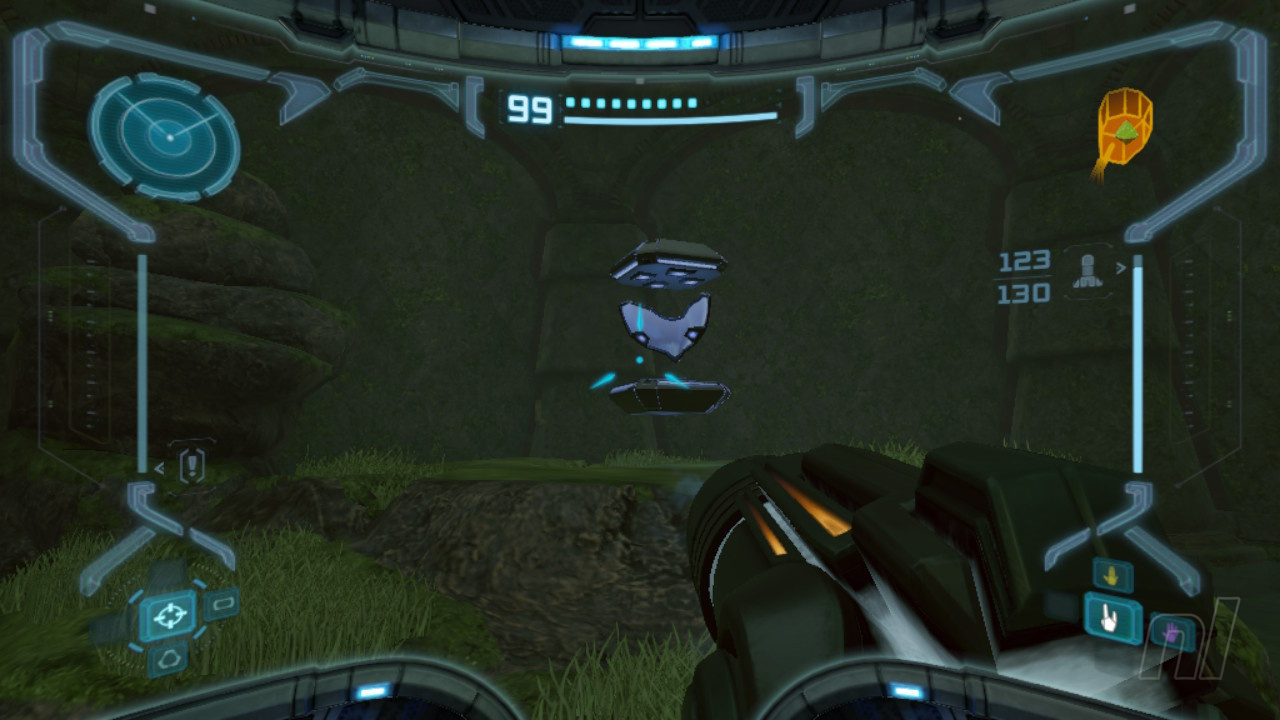
Missile Expansion 23 - Main Quarry
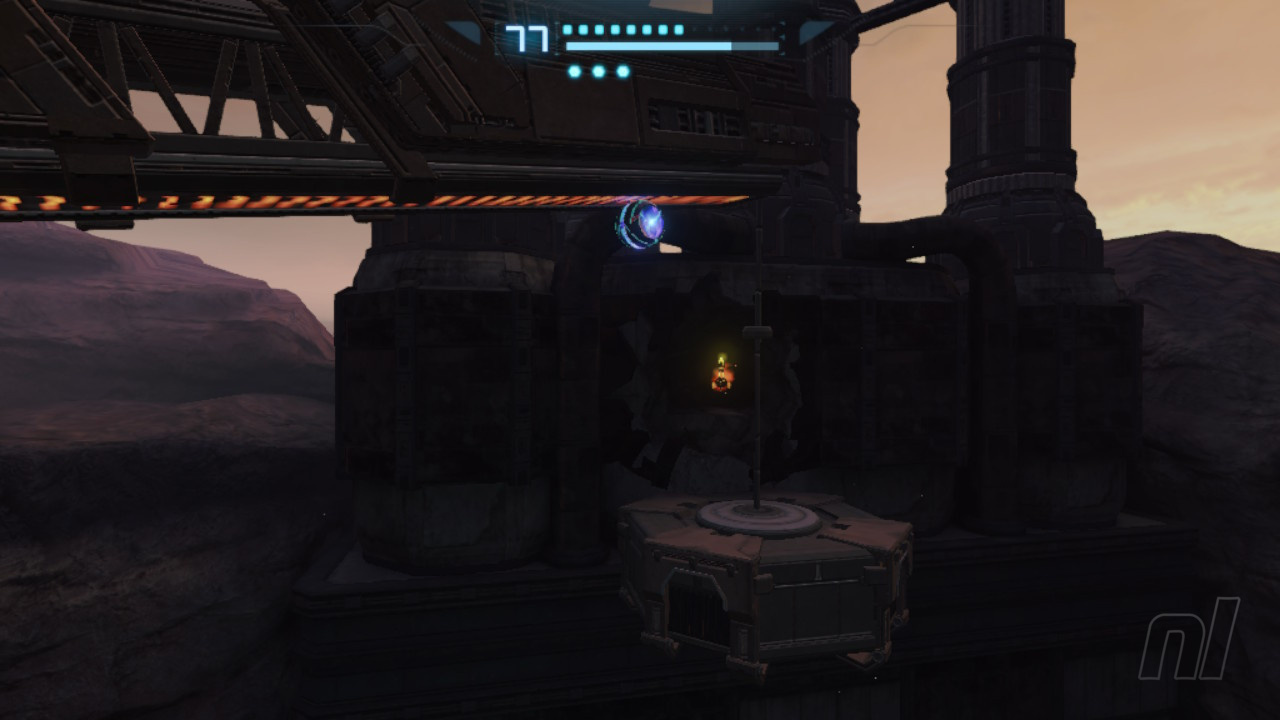
Head back into the Main Quarry. To your left, you'll see a walkway leading to what looks like a control room. Head up here and dispatch the Space Pirates that appear.
At the top, whip out your Thermal Visor and you'll see a power conduit on the back of the giant crane. Shoot this with your Wave Beam, then scan the terminal inside the control room. This will cause the crane to shift positions, allowing you to ride the Spider Track up and across, reaching a Missile Expansion on the far side.
Now, drop down and scope the orange force field to the left of the Spider Track leading to the Save Station. To open this, scan two terminals in the area just ahead of the force field. Now go through and shoot the Ice Door.
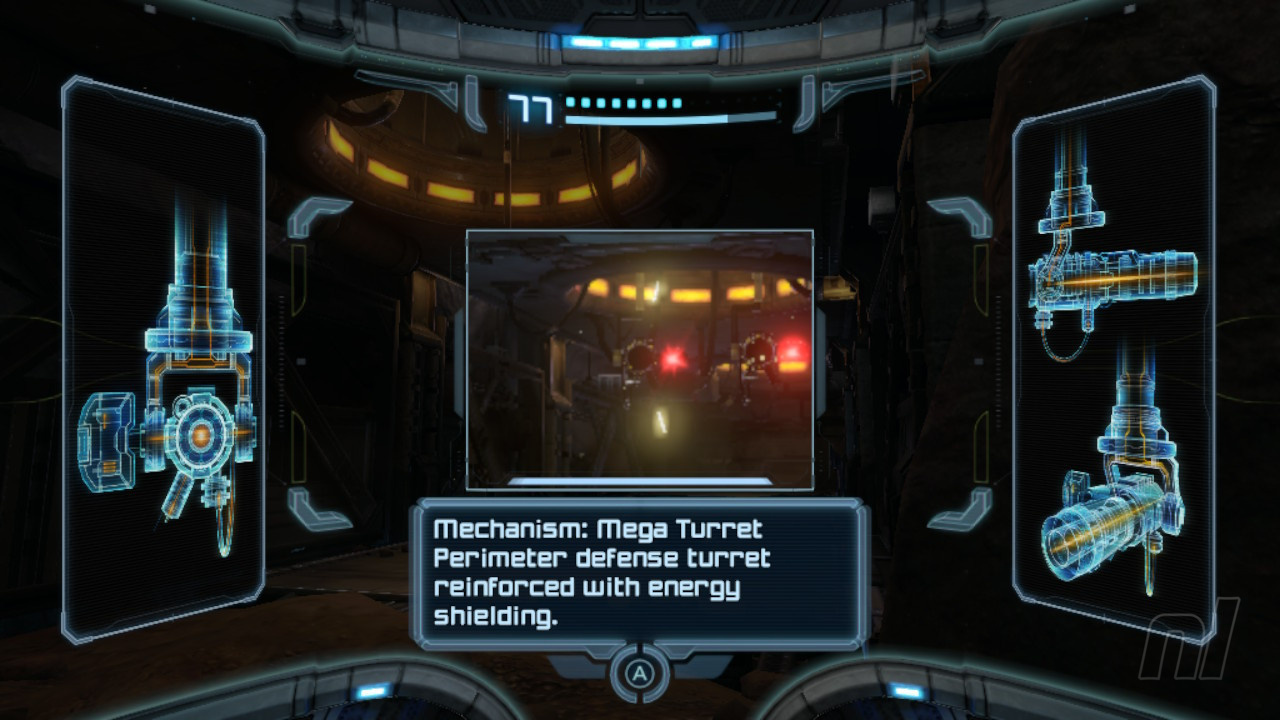
Scan Entry - Mega Turret
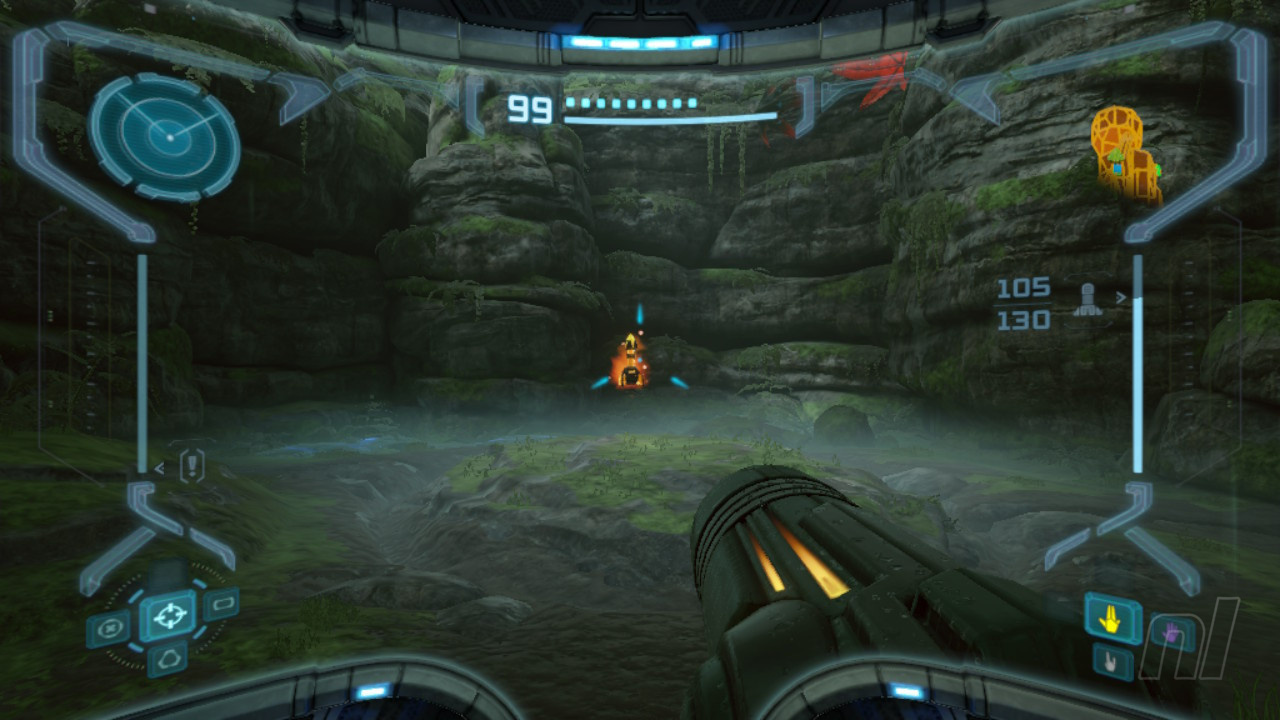
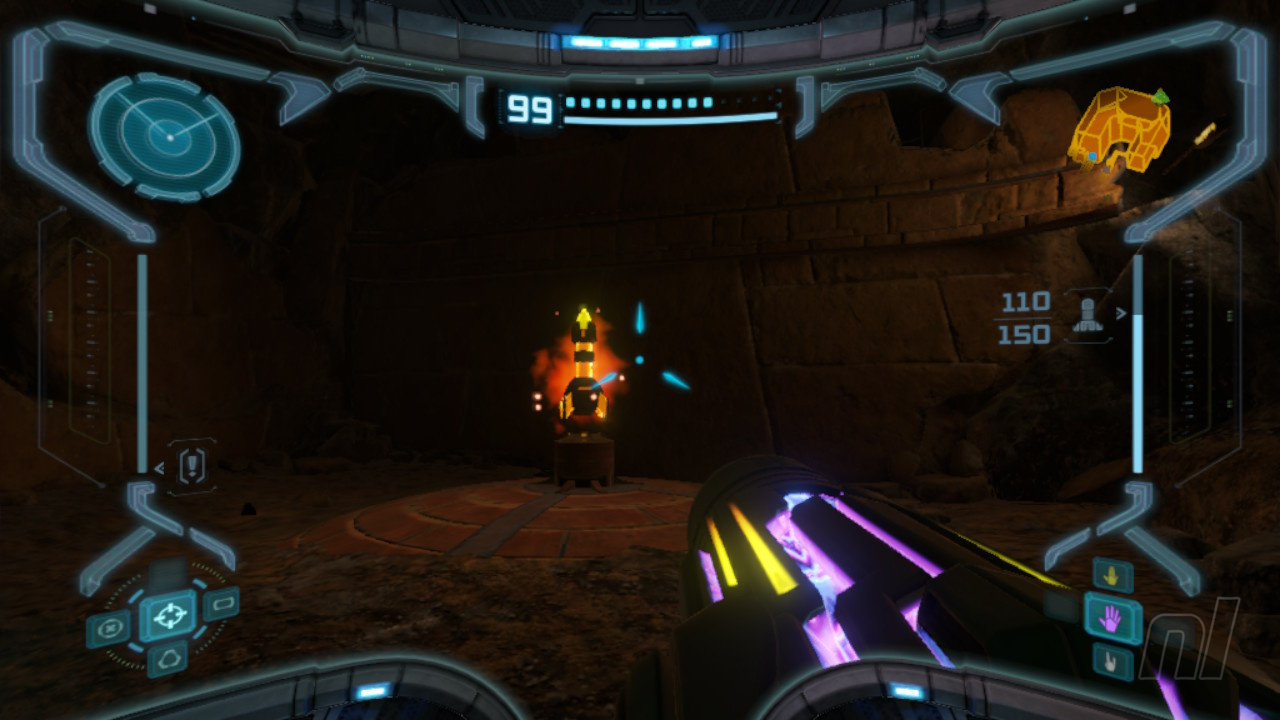
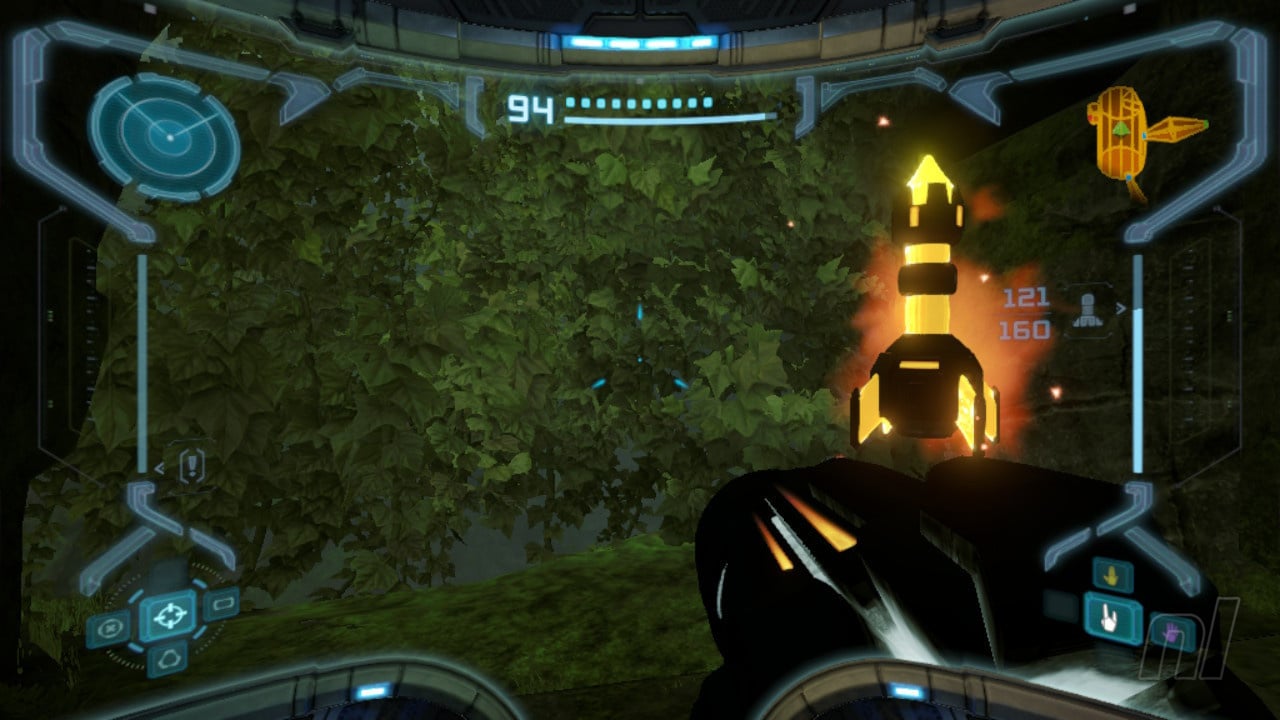
Through the door, two Mega Turrets will activate and fire at you. These are different from the standard Auto Turrets, so scan one of them. The easiest way to take them down is to freeze them with your Ice Beam and then fire a bunch of missiles at them.
In the next room, three Shadow Pirates will immediately attack you. Get rid of them and head up the winding corridor.
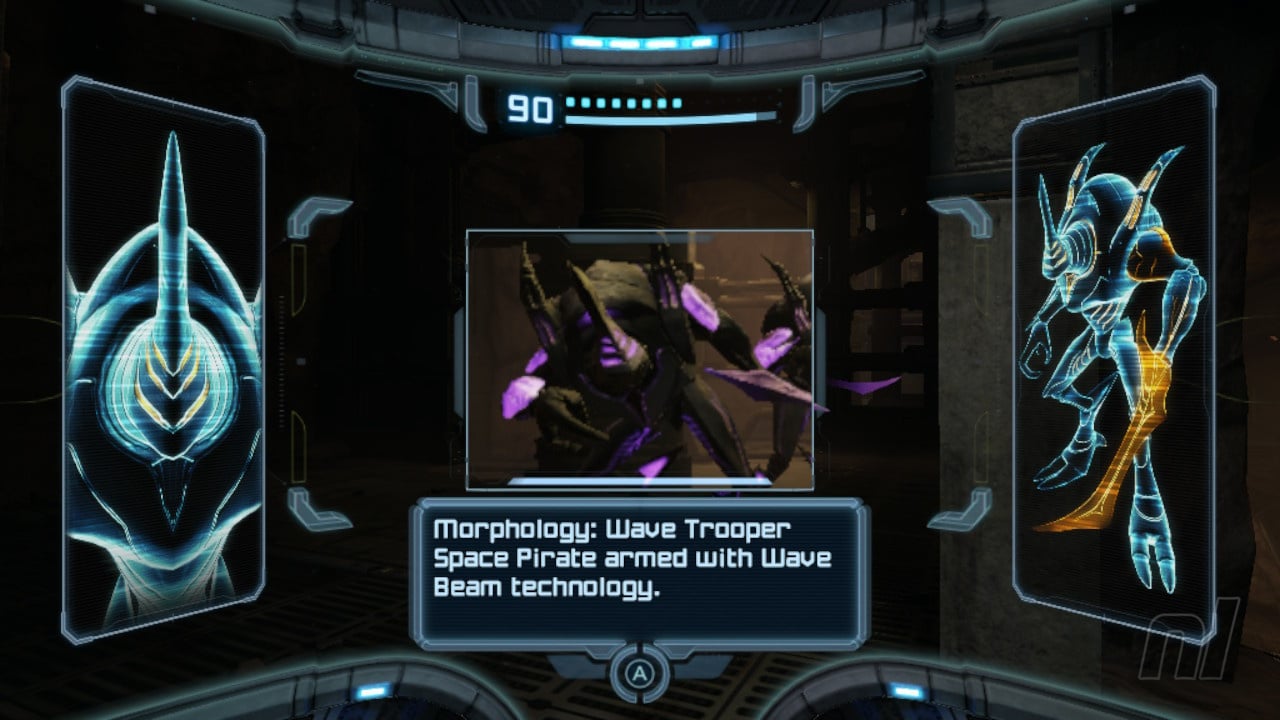
Scan Entry - Wave Troopers
A cutscene will commence to introduce the Wave Troopers: Space Pirates with a purple tint that are invulnerable to all types of beam except the Wave Beam. Scan one of them, then equip your Wave Beam. A few charged shots each should be enough here.
Move through the next corridor, killing the Shadow Pirates as you go.
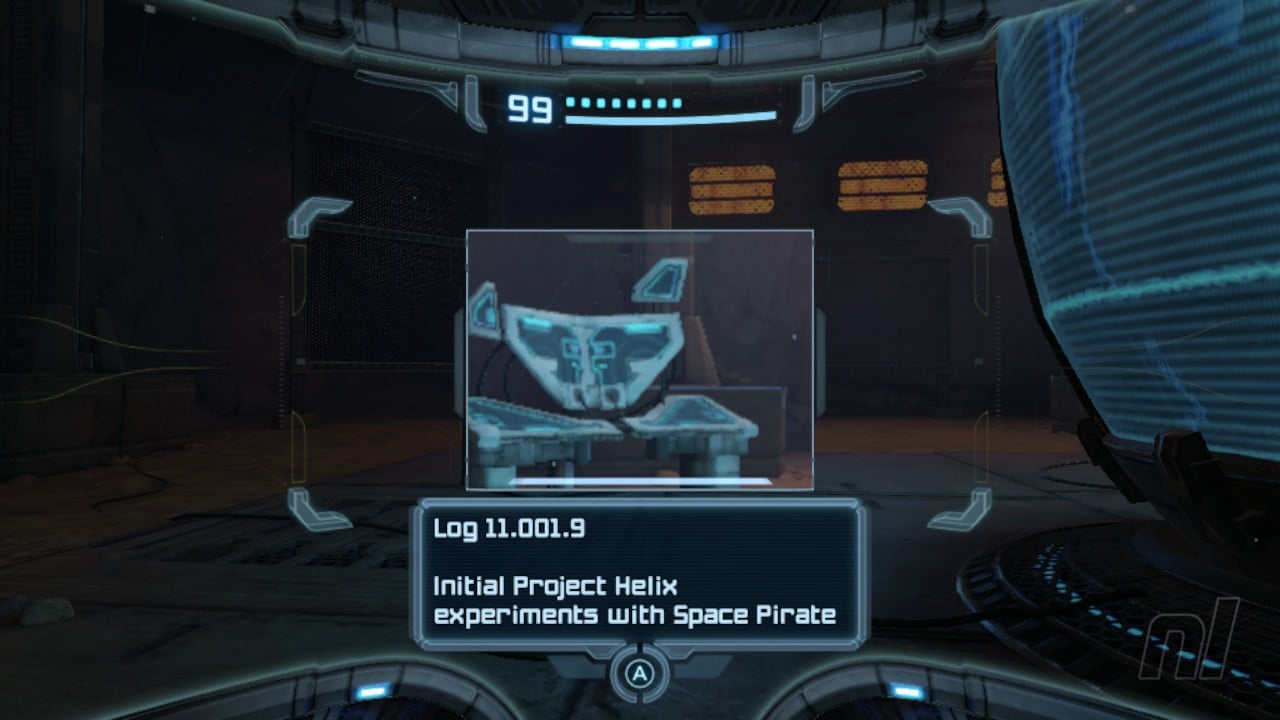
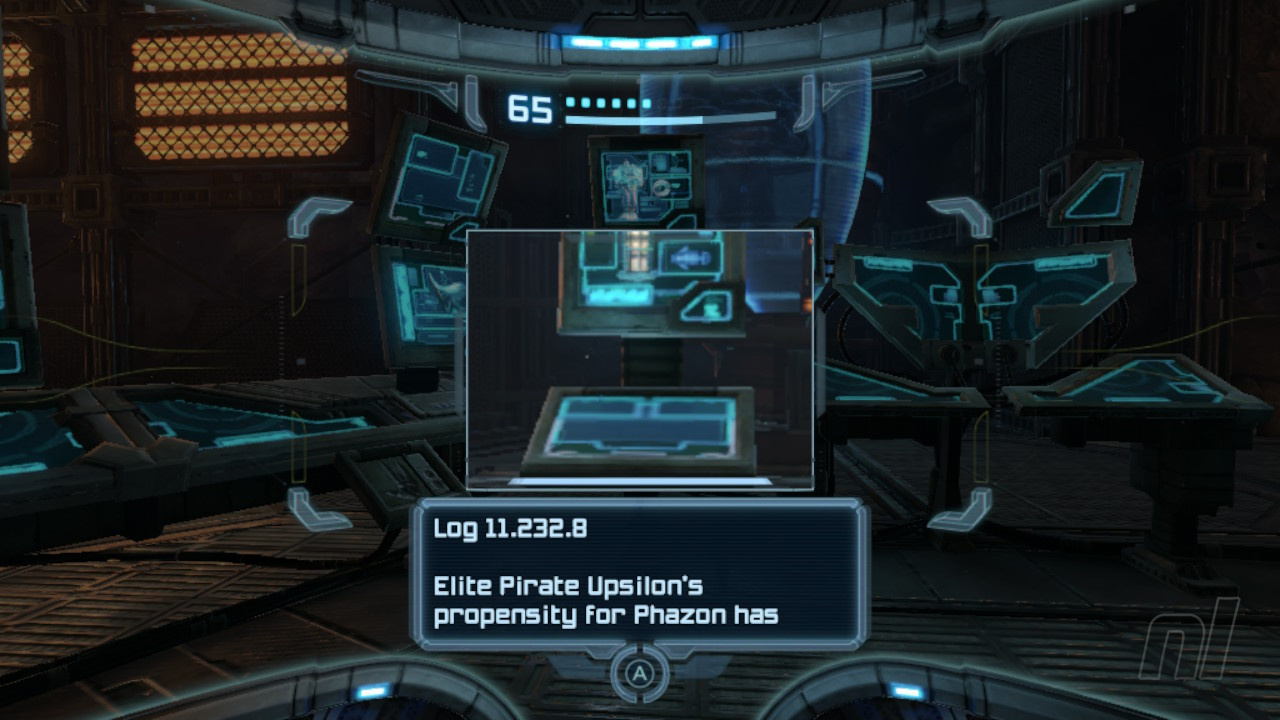
Scan Entry - Pirate Log - Elite Research
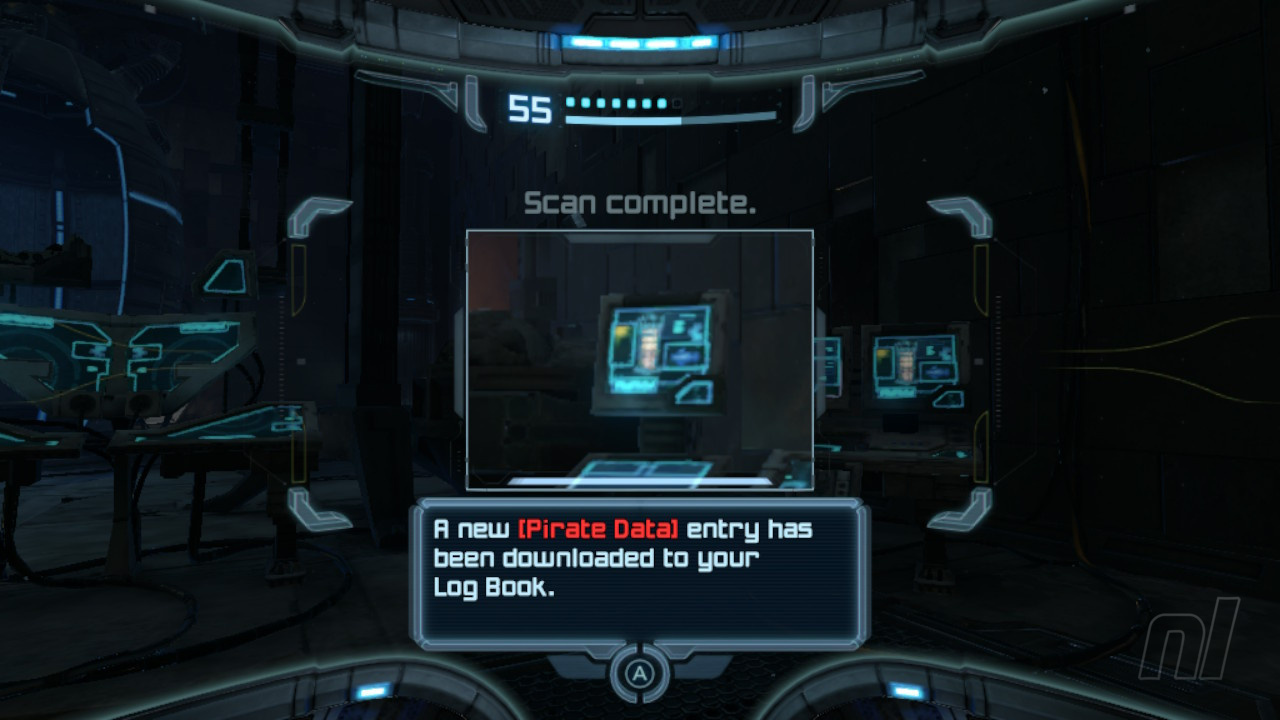
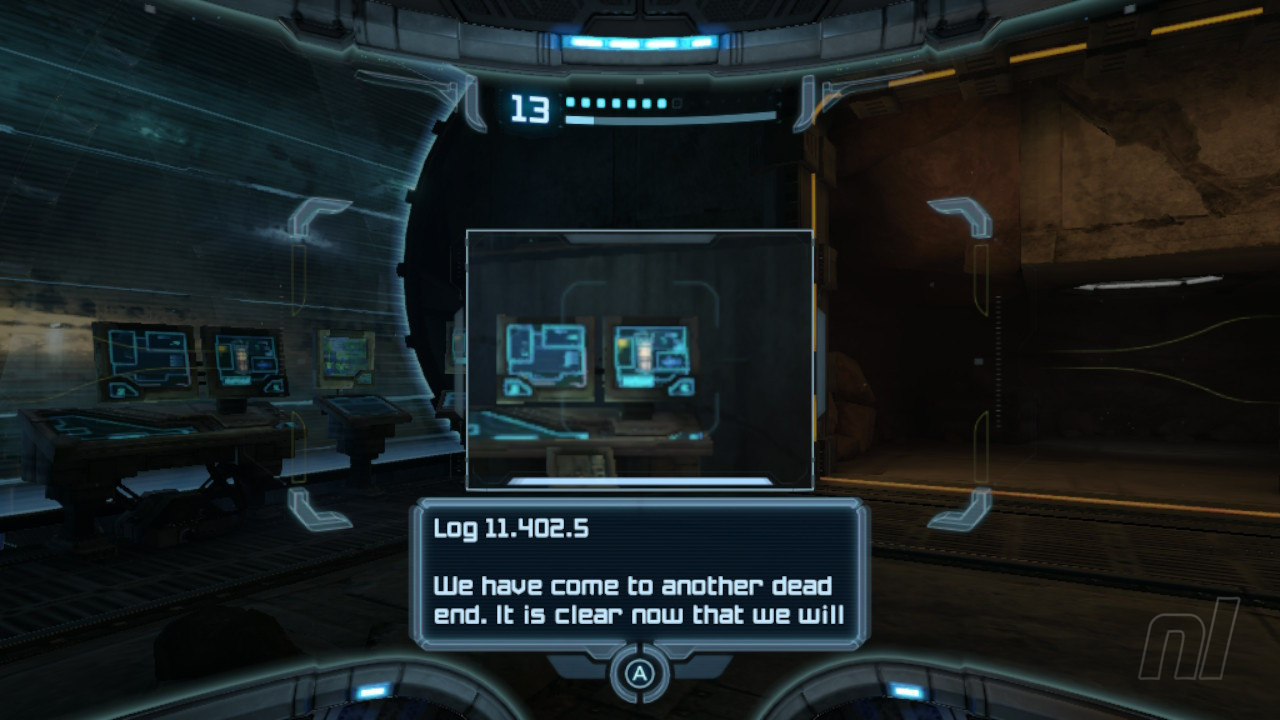
In the next room - Elite Research - dispatch the Space Pirates and then scan the terminal to the left of the containment tank to nab yourself a pirate log.
Now scan the terminal to the right to activate some platforms. Head up to the next level. A group of Wave Troopers will attack - get rid of them and scan the terminal here to activate another set of platforms. Jump up!
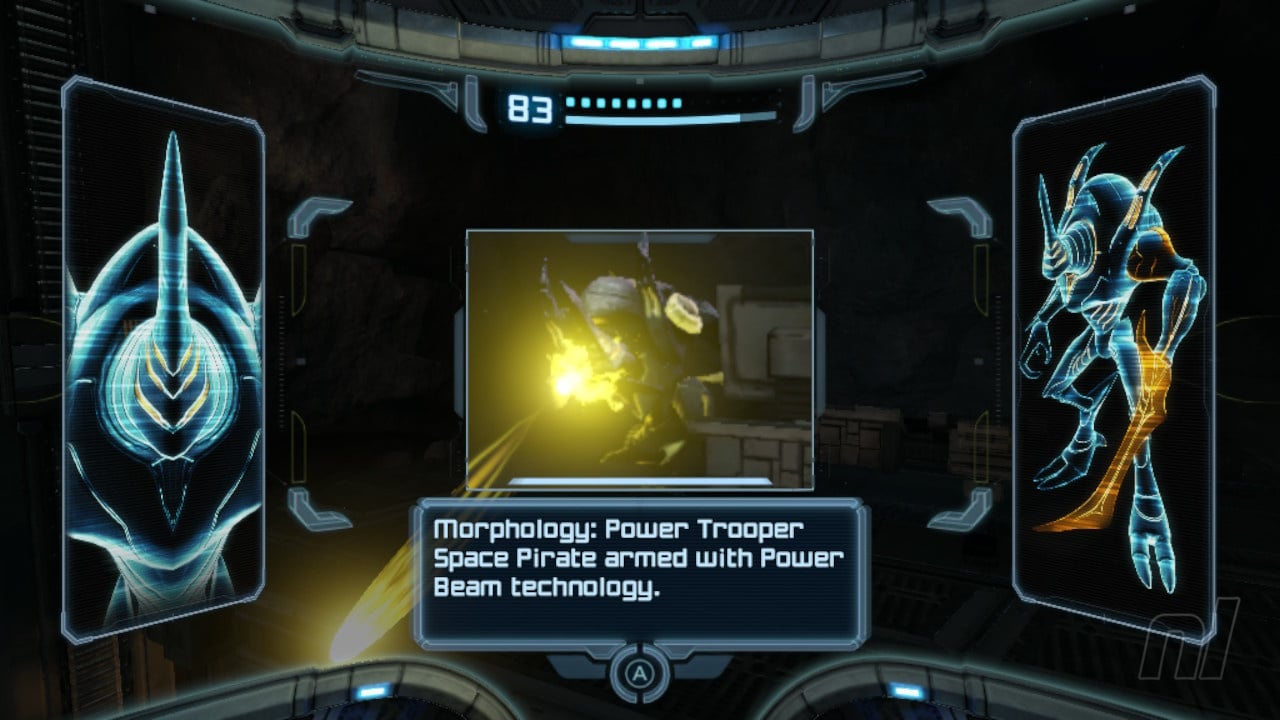
Scan Entry - Power Trooper
Some Power Troopers will now attack you. Similar to the Wave Troopers, these guys are only vulnerable to the Power Beam, so scan one and unleash hell.
At the top, you'll see a giant laser gun that's controlled via a Boost Ball slot and a scan terminal.
Missile Expansion 24 - Elite Research
First, boost in the slot until the gun is facing directly to the left. Scan the terminal to fire the laser. A wall should be destroyed leading directly to a Missile Expansion.
Now turn the gun so that it's facing directly ahead and fire again. This will reveal an Ice Door. Yay! Go through.
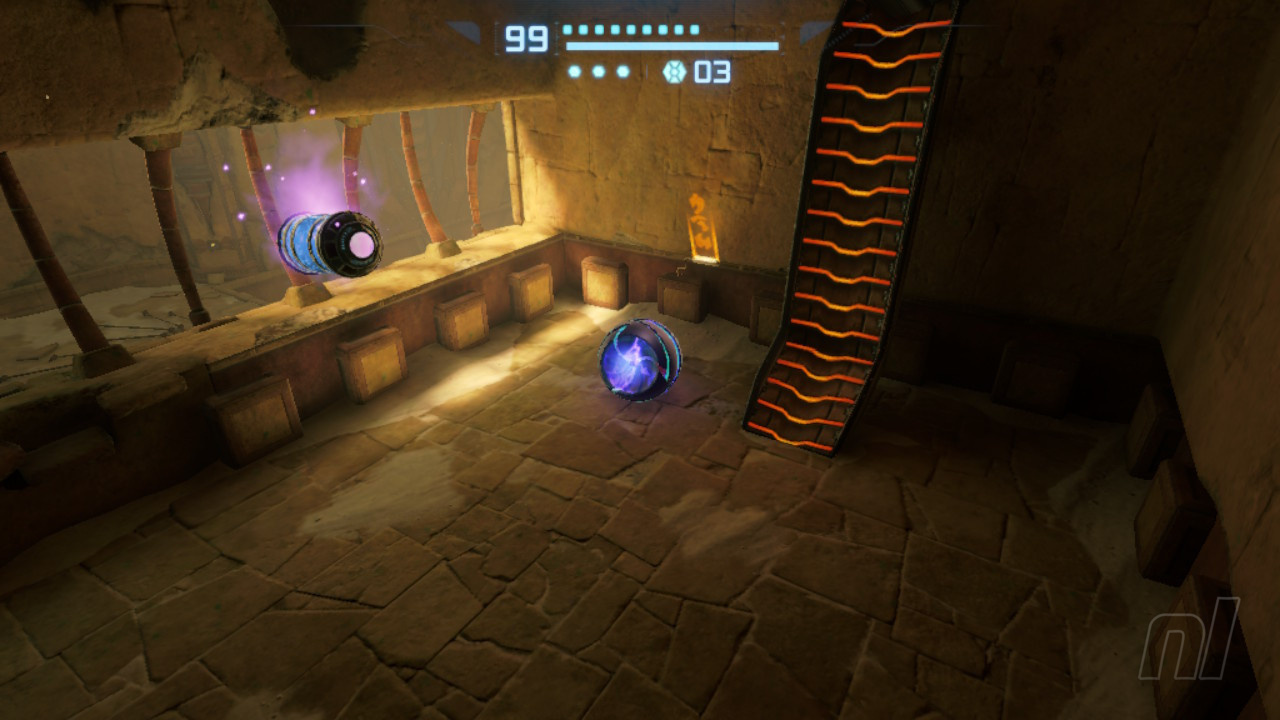
The next room will be dominated by a central pillar comprised of coloured Spider Tracks. You'll need to bomb the slots on each floor to turn each segment, lining up the tracks in order to gain access to higher floors. It's pretty easy thanks to the holographic representation of the pillar next to each bomb slot.
For now, line up the red track to reach the third floor. Go up the Spider Track and through the Ice Door.
Missile Expansion 25 - Elite Control Access
In this short corridor, you'll notice a small crate above you. Shooting this will cause it to explode, destroying a nearby vent in the process and revealing your next Missile Expansion. Grab it.
Now go through into Elite Control.
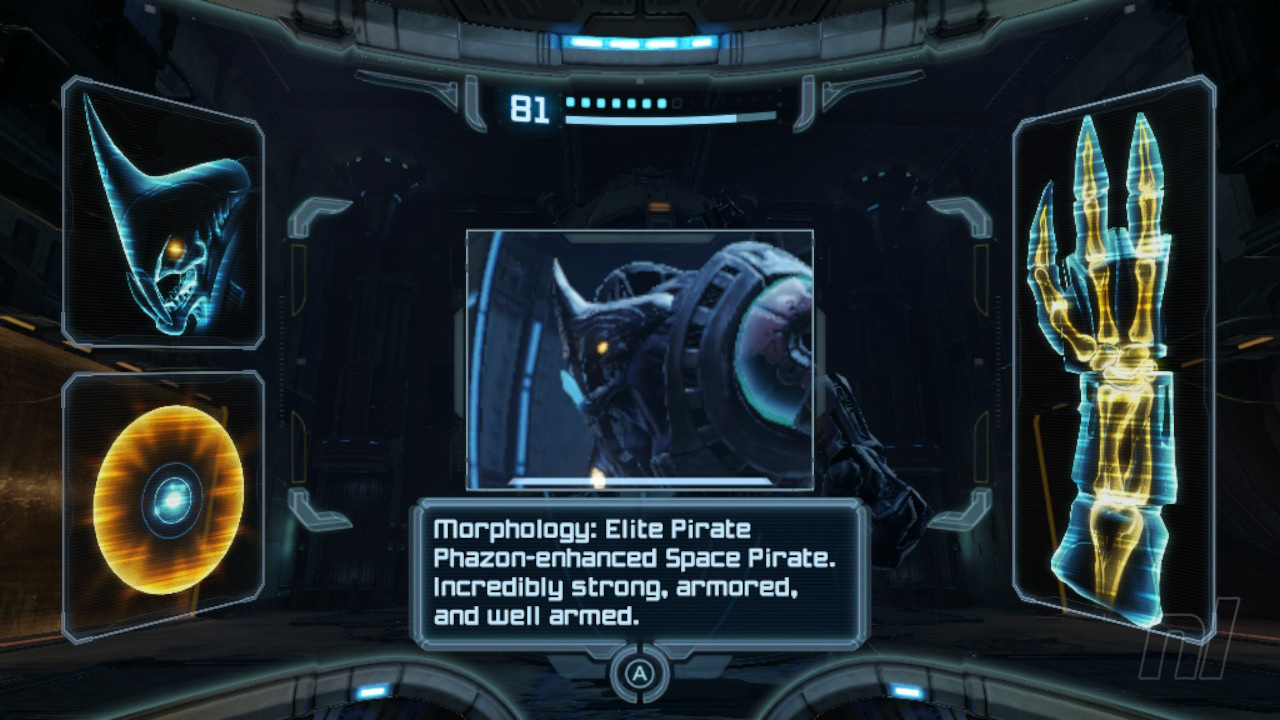
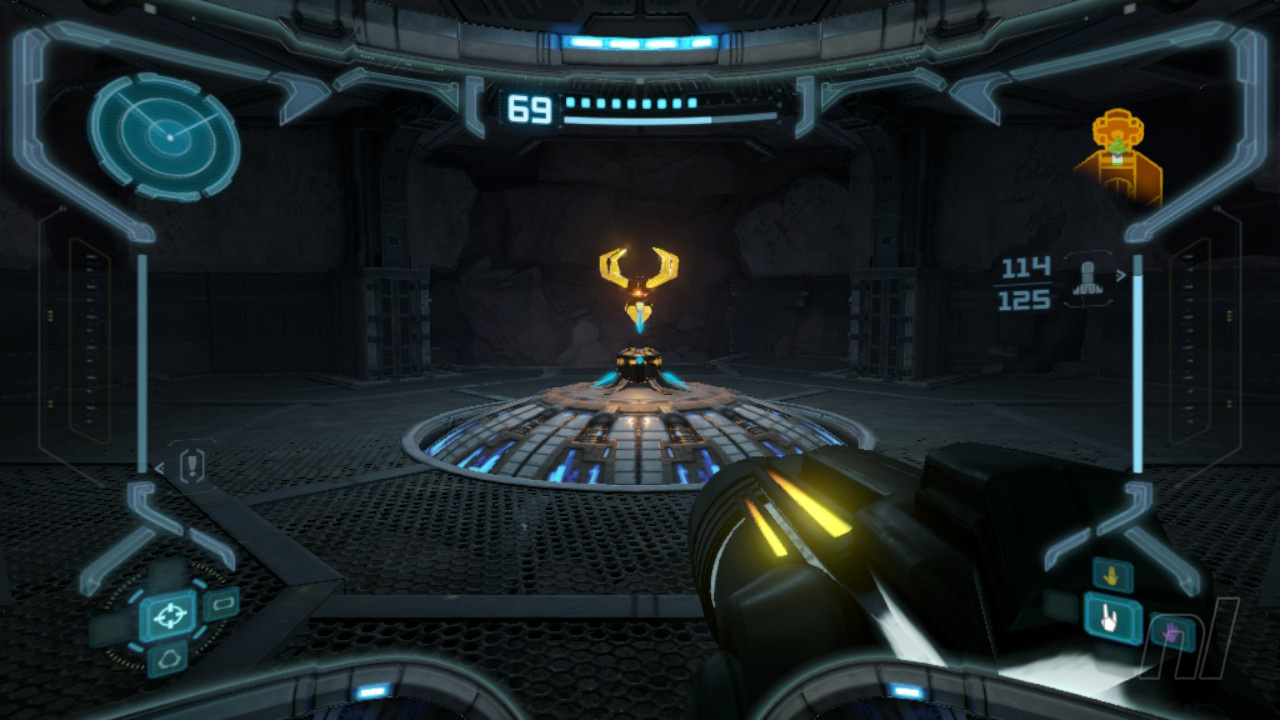
Scan Entry - Elite Pirate
An Elite Pirate will emerge from its tank. This thing is a mini-boss of sorts, so scan it. Defeating it should be pretty easy. Simply wait until its hand is no longer raised, as this will absorb your attacks. Two Super Missile attacks should be enough to take this thing down.
Scan Entry - Pirate Log - Elite Control
Once the Elite Pirate is down, there will be three Pirate Log entries on the lower floor. Scan them all.
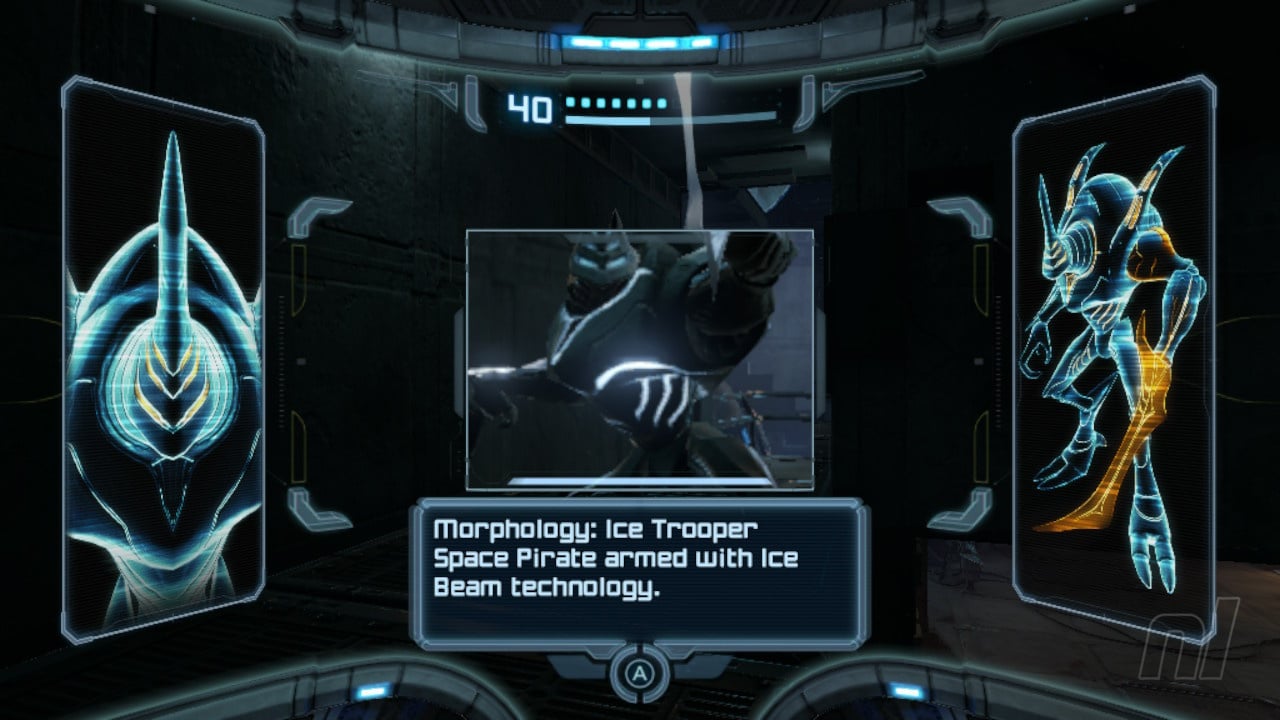
Scan Entry - Ice Trooper
Now head up the walkway to the right. As you move up, an Ice Trooper will emerge around the corner. Scan it, and take it down with the Ice Beam
On the third floor, there will be five more Pirate Logs to scan along with a terminal to remove the force field. Get scanning.
Move through the next room. It will fill with poisonous gas but don't worry about that for now. Head on through the Ice Door.
Scan Entry - Pirate Log - Omega Research
Now you'll be attacked by Wave Troopers and Power Troopers at the same time, so be on your guard here. Once they're dispatched, there will be a Pirate Log terminal on the lower floor - scan it. It references something called an 'Omega Pirate'. Oooh... More on that later.
Now head through the Ice Door. Go through the corridor and into Central Dynamo.
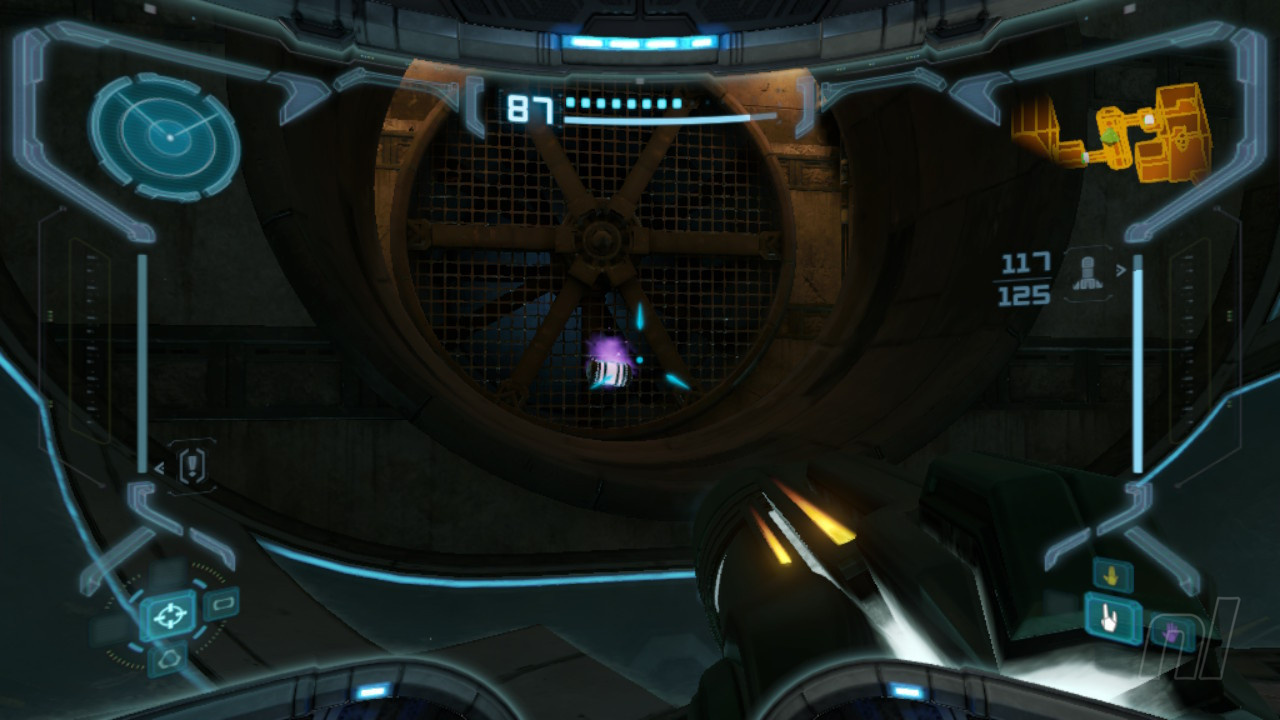
Here, an invisible drone will attack you. You can't scan it or lock onto it, so just keep it in your sights (you can see it, just) and keep firing. Once it's down, the subsequent explosion will destroy a grating in the floor.
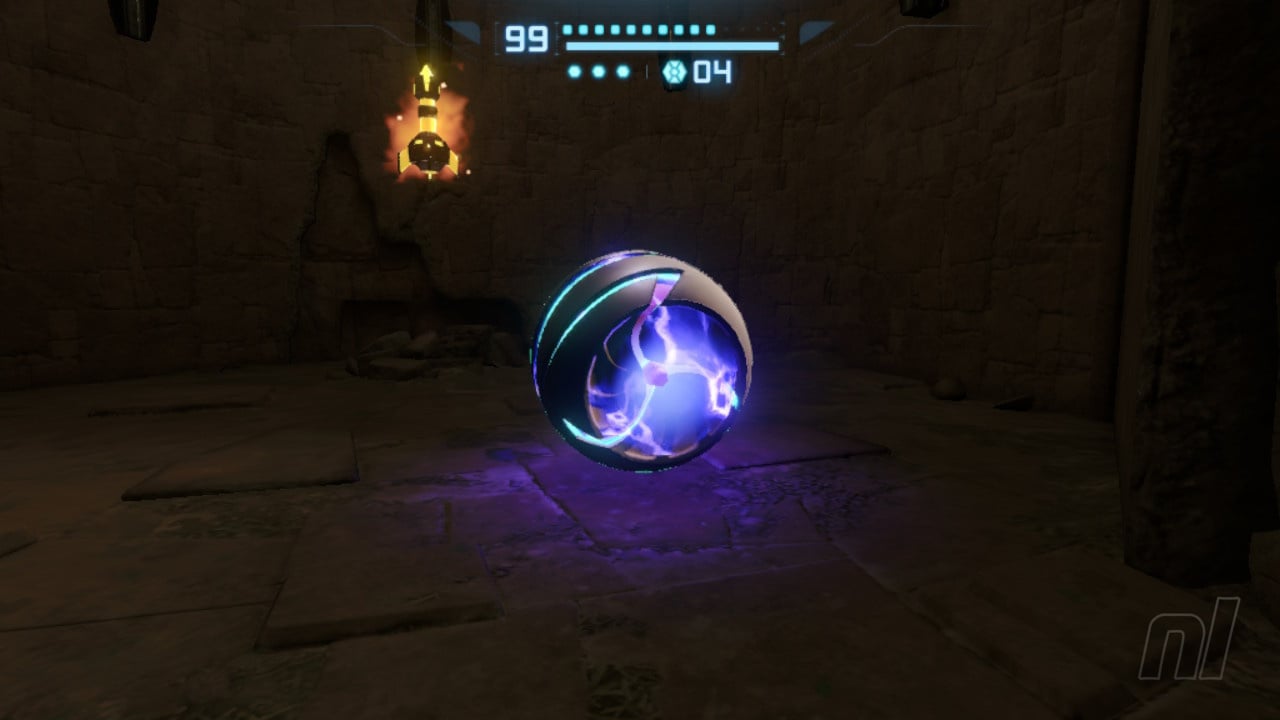
Power Suit Upgrade - Power Bomb
Drop down the grating via your Morph Ball. You'll now need to navigate what is essentially an electrified maze. Move around slowly and use your bomb to destroy any pools of slime to open up pathways. Eventually, you'll reach the Power Bomb.
There's an Ice Door in this room that's accessible, and it will lead to a Save Station. Now is a good time to save, so get to it.
Now, the Ice Door on the opposite side of the room is blocked by collapsed Bendezium. Use your new Power Bomb to get rid of it and head on through.
In this corridor, a bunch of Auto Turrets will attack. You can either destroy these or make your way through a Morph Ball tunnel underneath to pass by unharmed. On the other side, there will be a terminal to scan which will disable all the turrets.
Now head on through into Metroid Quarantine A. Immediately, you'll see a terminal to remove a force field. This will unleash a bunch of Metroids that will help dispatch the Space Pirates before attacking Samus. Get rid of everything, Bounty Hunter.
The force field will reveal a giant pool of Phazon that, for now at least, will be inaccessible. It's time to head back to Tallon Overworld, but there will be a few things to pick up along the way.
Make your way back to Omega Research. Another Elite Pirate will break through a force field and attack you. Get rid of it with Super Missiles. Now head to the top floor and you'll see an Ice Door blocked by Bendezium. Use your Power Bomb to clear it. A Map Station will be revealed, so download the data.
Now go through the Ice Door on the opposite side. You'll be back in the room with the poisonous gas. Dispatch a Power Bomb directly ahead where a Bendezium grating lies in wait. Morph Ball down into the opening.
Energy Tank 10 - Ventilation Shaft
On the other side of the short Morph Ball tunnel, you'll see a terminal. Scan it. This will get rid of the poisonous gas. In the process, the Puffer enemies floating about will crash into a giant grating into the wall, revealing your next Energy Tank.
Now make your way back to Ore Processing, where you previously set up the red Spider Track. Now, you'll want to set up the yellow one. On the second floor, some Bendezium is blocking the bomb slot, so get rid of this to complete the yellow track.
Power Suit Upgrade - Grapple Beam
Once the track is all set up, roll up to the top floor and destroy the Bendezium blocking the Ice Door. Go through and grab the Grapple Beam.
Now use the Grapple Beam to reach the Ice Door on the other side. In Waste Disposal, make your way through the Morph Ball section, using the bubbles to jump high enough to reach certain ledges. You'll eventually find yourself in the Quarry.
Head to the Save Station, save your game, and then go back into the Elevator to Tallon Overworld.
Move up the Great Tree Hall until you reach the top. Go through the Ice Door.
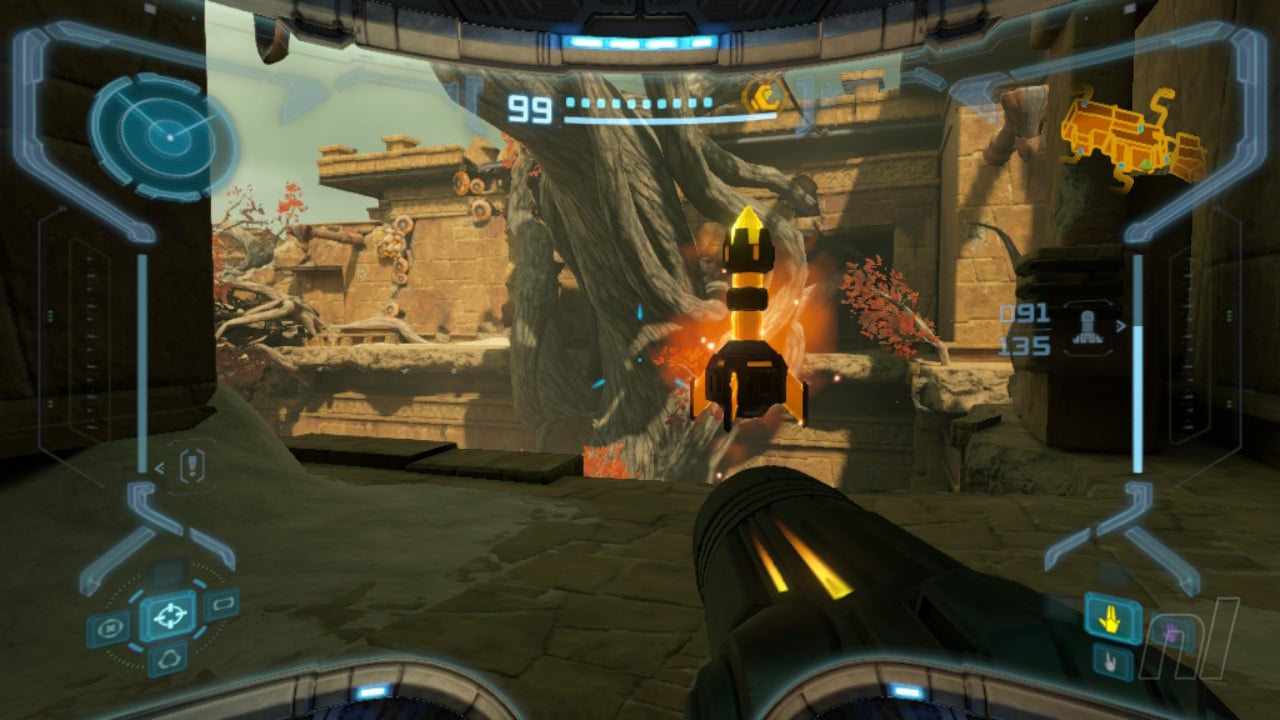
Missile Expansion 26 - Life Grove Tunnel
In the next room, destroy the Bendezium blocking your way. Now use your Morph Ball to navigate through the short tunnel. There will be a half-pipe segment, so boost your way up to the top and bomb the middle of the platform. You'll drop down and nab yourself a missile expansion.
Now go through and into the Life Grove.
Power Suit Upgrade - X-Ray Visor
Immediately, you'll drop into a room containing the X-Ray Visor, so grab it.
Once you've got the visor, equipping it will reveal that the walls surrounding you lead to a much larger area. Drop a Power Bomb to destroy them. You'll need to head around the Morph Ball tunnel to the left and up the platforms. About halfway around, some Chozo Ghosts will show up. Now that you have the X-Ray Visor, you can keep track of where they are at all times.
Once they're defeated, you can head back out into the Great Tree Hall. Head on down and whip out your X-ray Visor. You should notice a new platform appear as if out of nowhere. Jump over to reach the standard door on the other side.
Missile Expansion 27 - Great Tree Chamber
Inside the door is a small room, in the centre of which lies a Missile Expansion. Grab it!
Now head to Chozo Ruins via the Transport to Chozo Ruins South. From here, you'll want to go to the Magma Pool via the Ruined Fountain. Once there, use your Grapple Beam to cross the lava.
Power Bomb Expansion 1 - Magma Pool
On the other side of the lava, drop a Power Bomb against the Bendezium wall. It will reveal a Power Bomb Expansion.
Scan Entry - Chozo Lore - Magma Pool
Not only will you grab a Power Bomb Expansion, but there's also a Chozo Lore entry on the wall. Scan it!
Missile Expansion 28 - Training Chamber Access
Before heading into the Training Chamber, you'll see some red leaves to your left. Hop into your Morph Ball and you'll be able to get through a short tunnel to your next Missile Expansion.
In the next room, the Training Chamber, defeat the Chozo Ghosts, then use the halfpipe to bomb the two Morph Ball slots. The one on the right will cause a small platform to descend, leading to a Spider Track.
Energy Tank 11 - Training Chamber
Quickly head to the small platform and ride across the Spider Track. Eventually, you'll drop down into a small room containing the Energy Tank.
Now head through the Morph Ball tunnel at the end of the room. Move through the short maze until you reach the Main Plaza.
Missile Expansion 29 - Main Plaza
Use your Grapple Beam on the hook above. You'll swing across to a platform containing a Missile Expansion.
Missile Expansion 30 - Main Plaza
Now, whip out your Scan Visor and you'll see that a tree trunk opposite is weakened. Use your Super Missile to destroy it, then double jump across to grab your next Missile Expansion.
Now head to the Watery Hall.
Missile Expansion 31 - Watery Hall
Inside, you'll find a deep body of water on the far side. Jump in. Now that you have your Gravity Suit, you can jump up to the ledge and bag your latest Missile Expansion.
Now head to the Ruined Shrine.
Missile Expansion 32 - Ruined Shrine
Use the half-pipe to reach the ledge on the right-hand side (as the camera faces). Move through the Morph Ball tunnel and into a small room containing the expansion.
Now let's go back to Tallon Overworld via the Main Plaza.
Make your way to the Root Cave.
Missile Expansion 33 - Root Cave
Head up via the Grapple Beam hook and jump up the platforms. When it looks like you can't go any further, slap on your X-Ray Visor and you'll see some invisible platforms taking you even higher. When you reach the top, jump across and grab the missile expansion.
Now jump all the way down and head to Transport to Magmoor Caverns East.
Make your way to the Shore Tunnel via Fiery Shores.
Power Suit Upgrade - Ice Spreader
In the corridor, drop a Power Bomb. This will destroy the glass enclosure, letting you drop below and grab the Ice Spreader.
Now make your way to the Geothermal Core. It's time to grab the Plasma Beam.
Once you're in the room, use the Grapple Beam to access one of the central columns. From there, jump onto each one and use your Boost ability in the slots to move the platforms vertically. Keep jumping up until you reach a bomb slot.
Now, you can access a very elaborate Spider Track. Be careful here and take your time, avoiding the enemies as you make your way around.
Once you've made your way to the end platform, drop a Power Bomb to destroy the Bendezium blocking the Ice Door.
Power Suit Upgrade - Plasma Beam
In the next room - Plasma Processing - the Plasma Beam upgrade will be waiting for you in the centre. Grab it.

Once you're done, it's time to head back to Phazon Mines and, more specifically, the Metroid Quarantine area - to get there, go to the Workstation Tunnel and get rid of the Bendezium blockage with a Power Bomb. Head down via the Elevator.
Now would also be a good time to save, so head back to the Save Station next to the Central Dynamo.
Check out our full Metroid Prime Remastered walkthrough for more tips and tricks.


Comments 3
"Now head to Chozo Ruins via the Transport to Chozo Ruins South."
Missing a step here. If you've been following this guide you likely haven't been to the Chozo Ruins South Transport yet, only East and West. You need to take Transport Tunnel D off the Great Tree Hall to get there.
"Missile Expansion 32 - Ruined Shrine"
Another correction here. Both the Wavebuster upgrade and another Chozo artifact are right past here and obtainable now, but aren't mentioned.
"it's time to head back to Phazon Mines and, more specifically, the Metroid Quarantine area - to get there, go to the Workstation Tunnel"
Workstation tunnel is another area you won't have been to yet following this guide, so giving instructions to go there is confusing. You need to go to Magmoor Workstation first and then head to the unopened blue door there.
Show Comments
Leave A Comment
Hold on there, you need to login to post a comment...