Welcome back to our full walkthrough for Metroid Prime Remastered.
Now that we're done fighting Thardus, it's time to head back to the Chozo Ruins and Tallon Overworld to explore some additional areas and grab us some more much-needed power-ups.
Let's get cracking.
Subscribe to Nintendo Life on YouTube846k
Metroid Prime Remastered: Walkthrough - Hall of Elders & Sunken Frigate
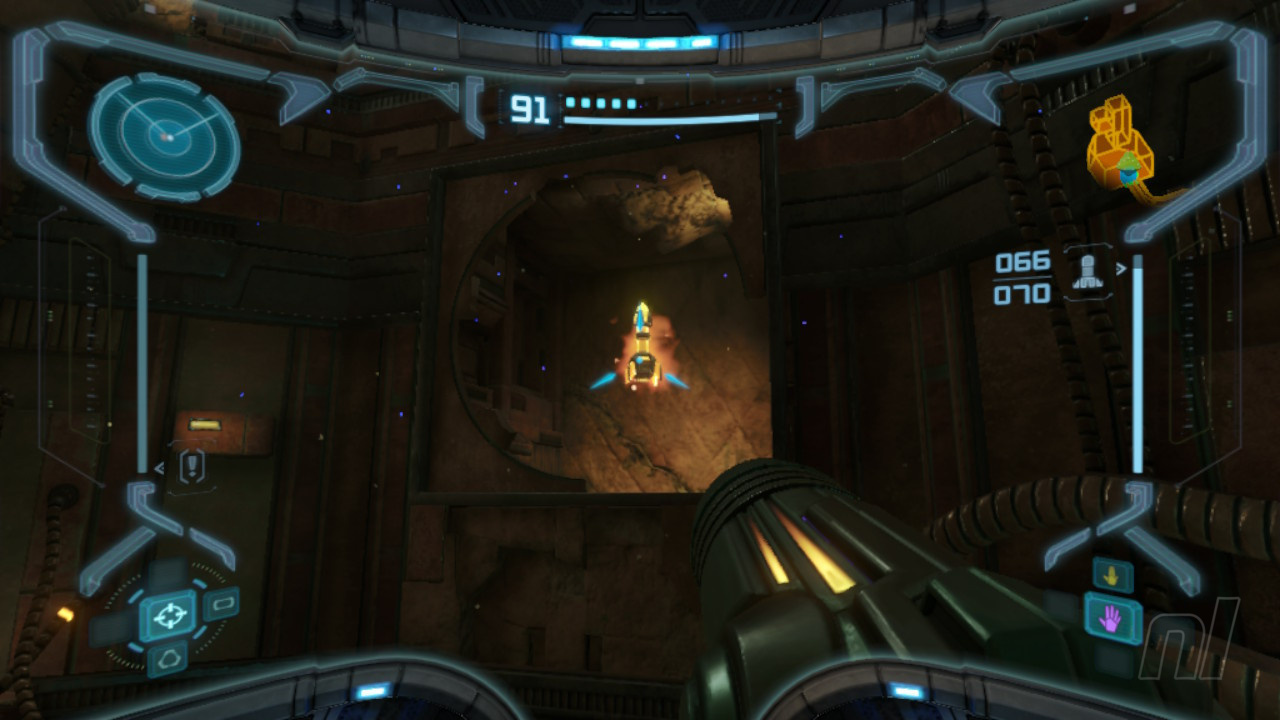
So to start off, you'll want to head back to Chozo Ruins via Magmoor Caverns, winding up back in the Main Plaza.
Missile Upgrade 12 - Main Plaza
First up, there's another missile upgrade to grab. In the Main Plaza, you'll notice a half-pipe formation on the lower level. Use your boost ball ability to make your way up into a little alcove and grab the expansion.
Missile Upgrade 13 - Ruined Fountain
Now, head to the upper level and through the door. Move into the Ruined Fountain. You can now access the Spider Track weaving around the room, but to do so, you'll need to drop into the fountain and allow the water to shoot you up onto the track.
Move around and drop down into a small alcove to pick up another missile upgrade.
Want more? Okay. Head over to the Watery Hall (where you previously picked up the Charge Beam).
Missile Upgrade 14 - Dynamo
In the Watery Hall, you'll notice a morph ball tunnel to the right of where the Charge Beam was housed. Bomb the wall and head on through. Shoot missiles at the doors to unlock them and move into the Dynamo. Here, there will be a short Spider Track moving up into a small alcove. Grab the missile upgrade.
But wait! There's more...
Missile Upgrade 15 - Dynamo
Before you leave, check out the grating on the wall. You'll see another missile expansion inside. Simply fire a missile to clear the grating and grab it.
Missile Upgrade 16 - Gathering Hall
Fancy another one? For goodness sake. Okay, head back to the Gathering Hall (you can save here while you're at it) and jump up to the upper level where the doorway to the East Atrium awaits. You'll see a pair of red lights on either side of the doorway; hop onto one of these and then double-jump up onto the platform above. Bomb the wall and grab the missile expansion hidden within.
You'll now want to move into the East Atrium and keep proceeding until you reach the Furnace. Here, you'll immediately notice a Spider Track leading up into a new area. Head up, then quickly move across the disappearing blocks, using 'X' to hop up while in the Morph Ball.
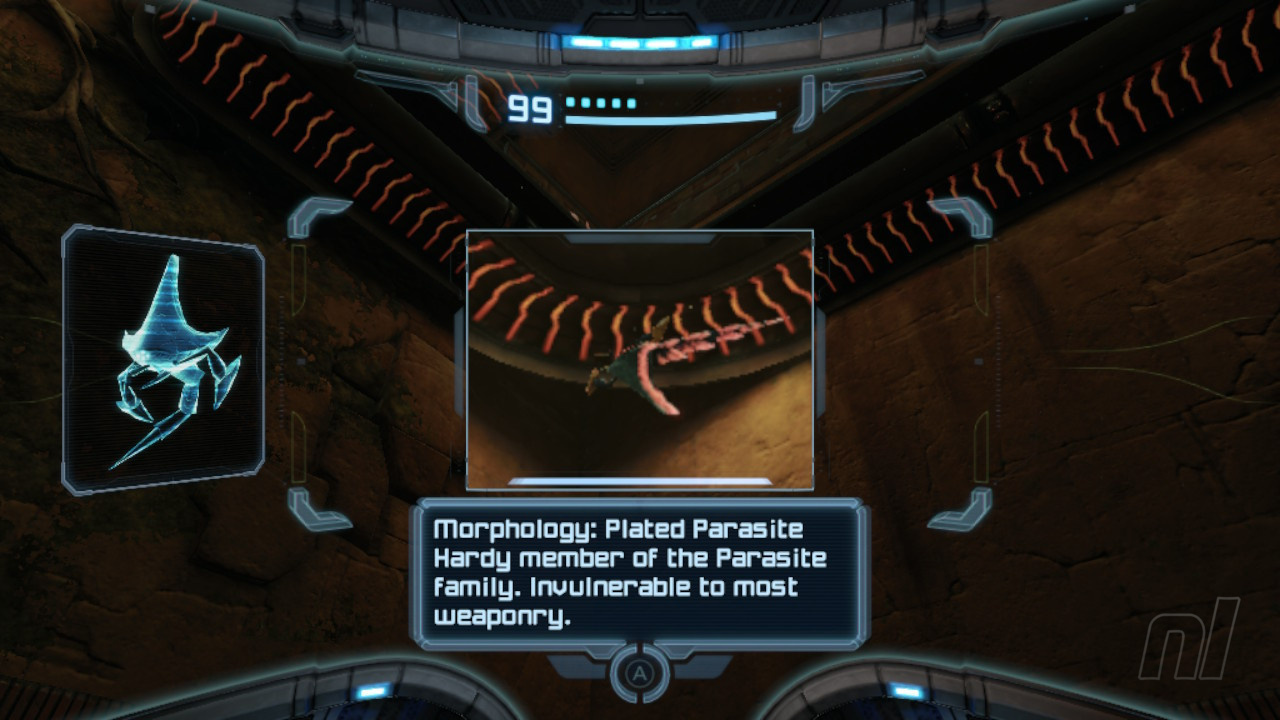
Scan Entry - Plated Parasite
In the main room of the Furnace, look to the left and you'll see a Spider Track above you, with some curious creatures skittering around it. These are Plated Parasites - scan one!
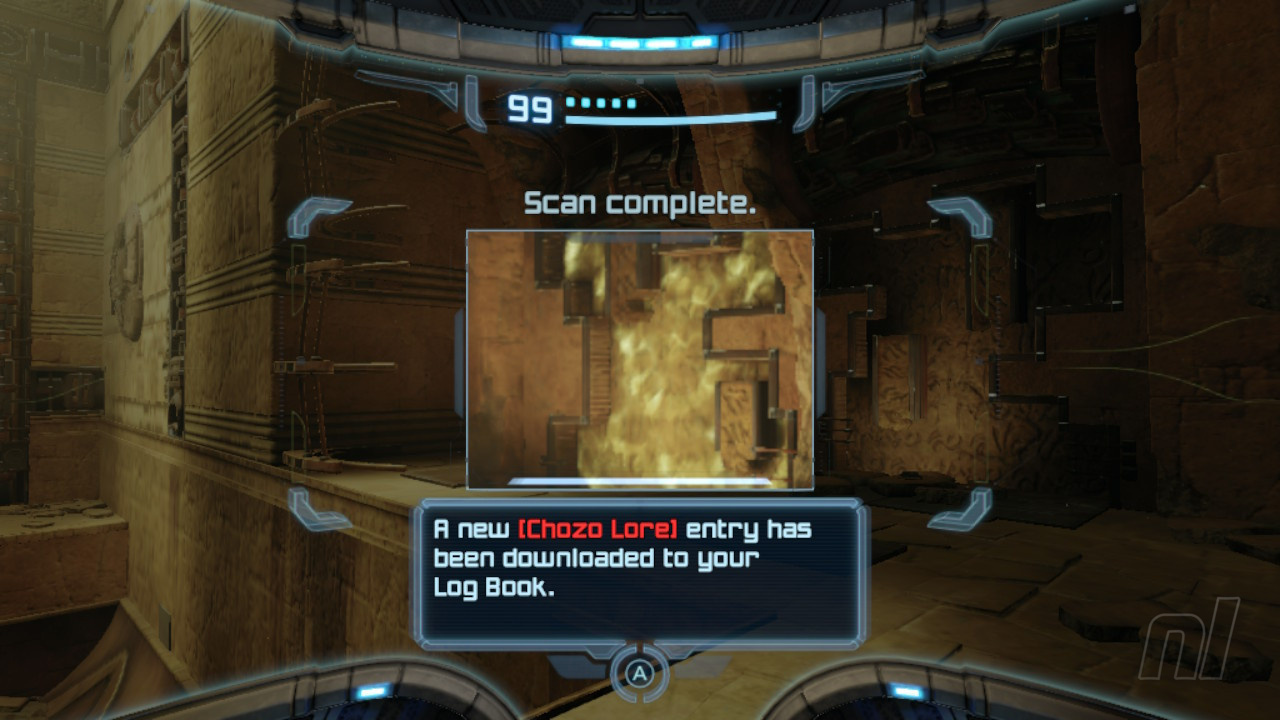
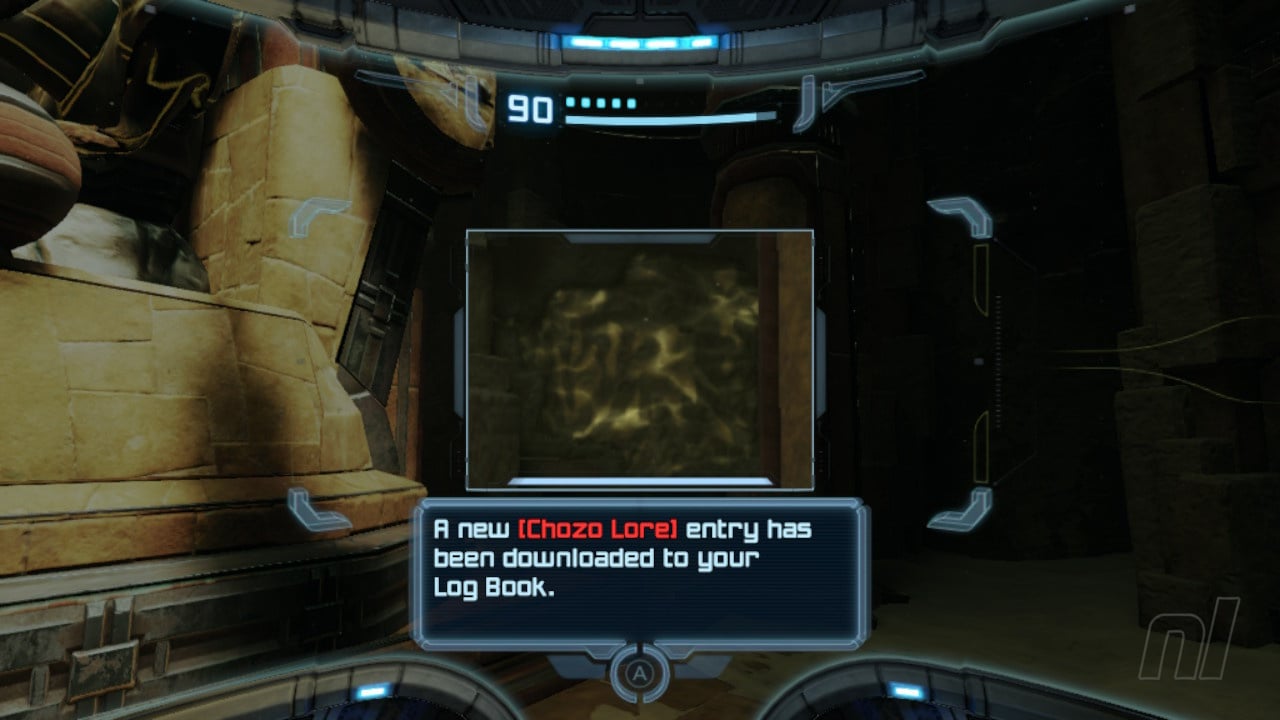
Scan Entry - Chozo Lore - Furnacer
Now turn around and you should immediately see a Chozo Lore entry on the wall on the far side, next to a Morph Ball tunnel. Scan it.
Now enter the Morph Ball tunnel and make your way through until you reach the Crossway.
Scan Entry - Chozo Lore - Crossway
Use your Boost Ball on the half-pipe in front of you to reach the other side of the room. To the left is now one, not two, but three Chozo Lore entries - scan all of them.
Missile Upgrade 17 - Crossway
Now, you'll want to blast a Cordite section on the adjacent wall, revealing a purple rune. Scan it. This will activate a Spider Track on the opposite side of the room, way up high. Use your Boost Ball to reach it and activate the bomb slot. Another track will activate on the other side. Use the same method to activate this bomb slot.
Next, a Morph Ball platform will open up. Ride it up and move through the short tunnel to get the next missile expansion.
Head through the archway and proceed until you reach the Hall of the Elders.
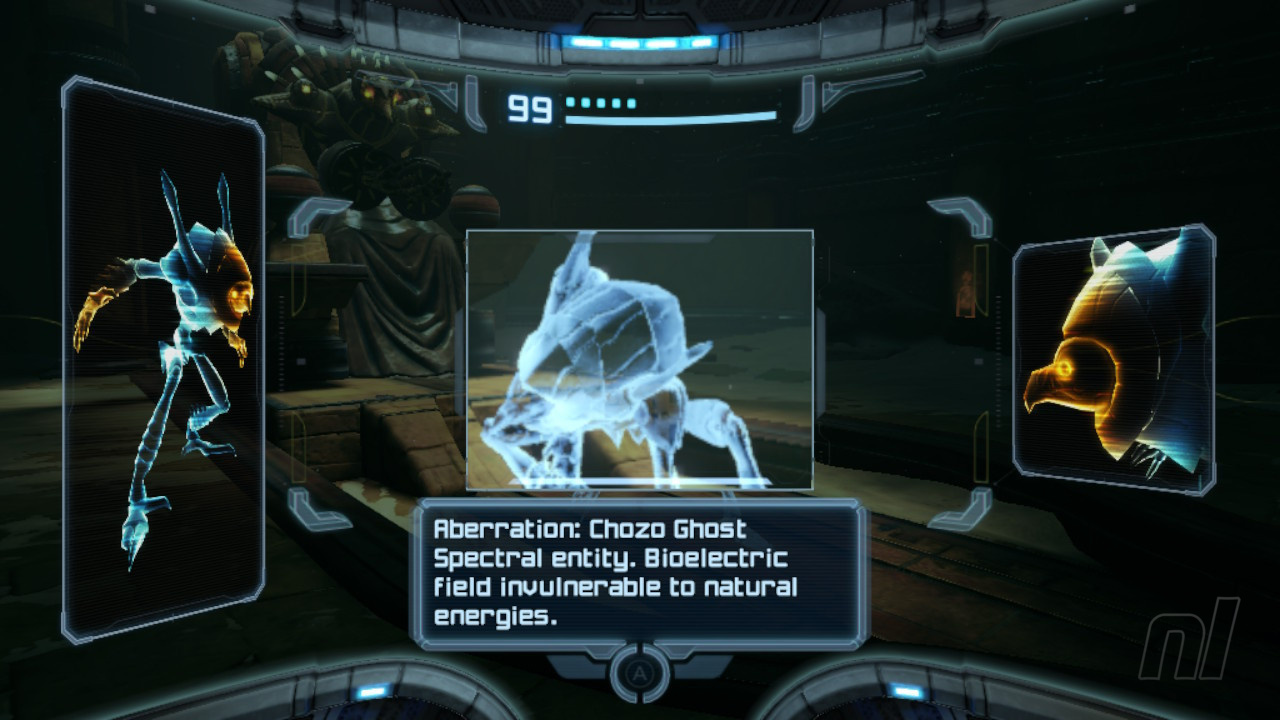
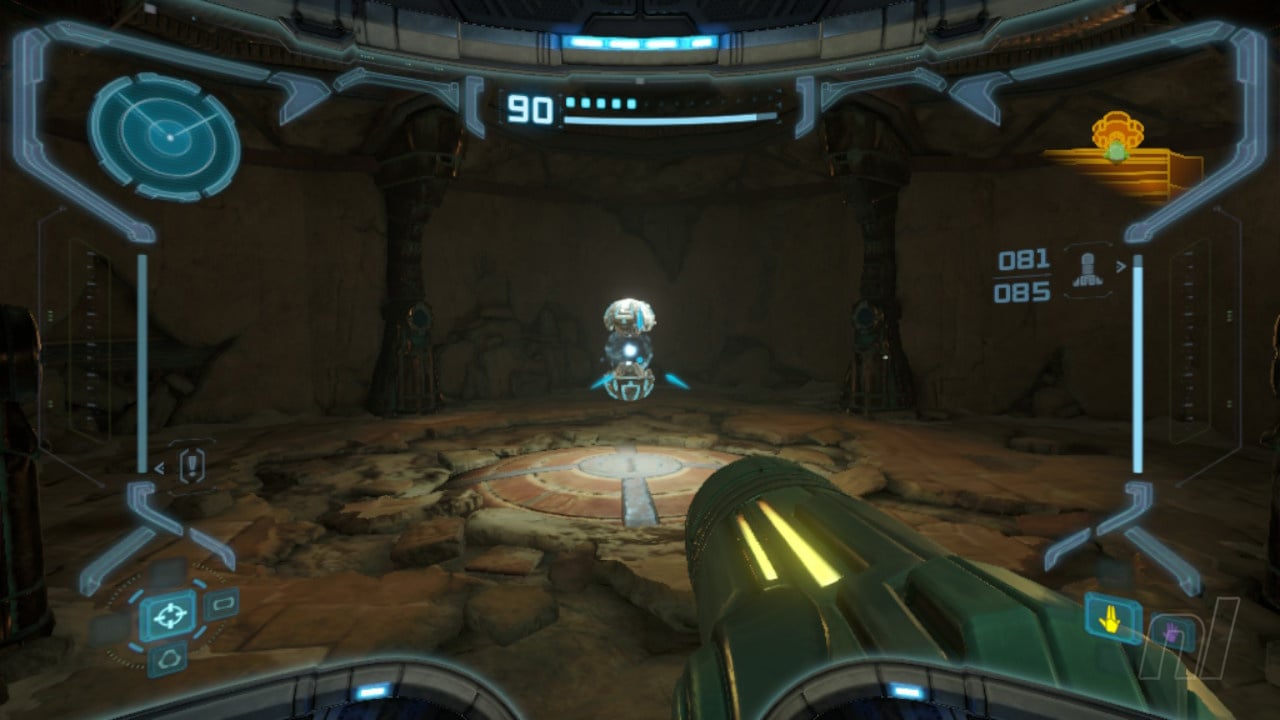
Scan Entry - Chozo Ghost
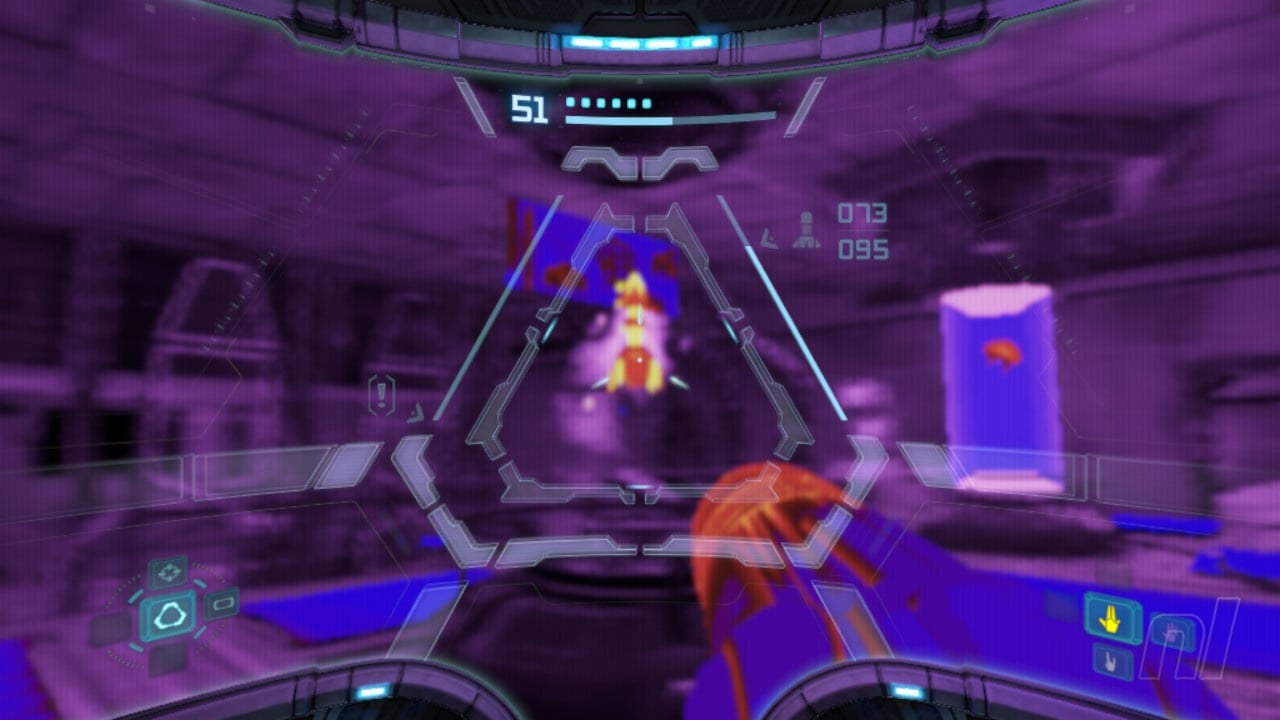
Upon entering this room, a battle with some Chozo Ghosts will commence. Scan one of them. These guys aren't too difficult, but they can be tricky to see thanks to their invisibility. They will disappear when moving from one spot to the next, so simply unleash a rain of bullets on them with the Power Beam when they reappear.
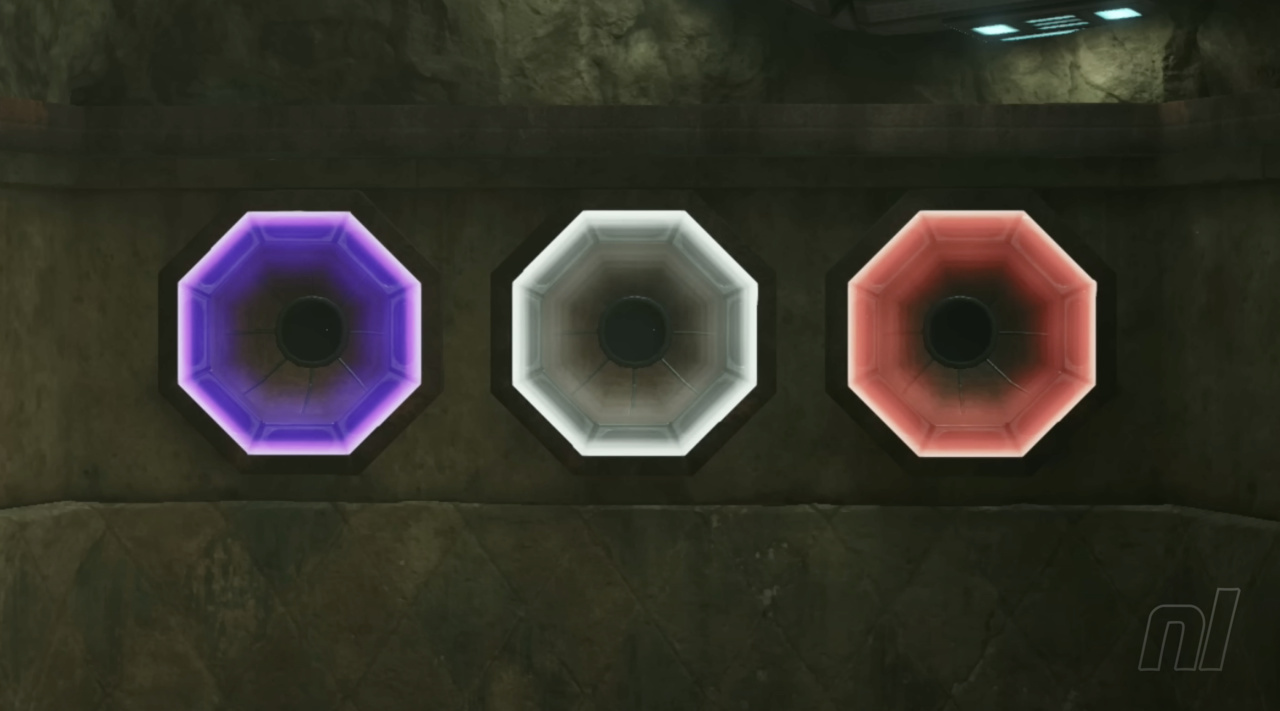
With that out of the way, you'll see a friendly-looking Chozo statue in the middle of the room. Jump into its hands and turn into a Morph Ball. A short cutscene will commence to show the statue move and chuck Samus into a track lying below. The momentum will send you flying up onto a Spider Track above, so stick to it and bomb the slot next to it.
This will activate three coloured bomb slots on the other side of the room: purple corresponds to your Wave Beam, white to your Ice Beam, and Red to your Plasma Beam (you won't have the latter two just yet).
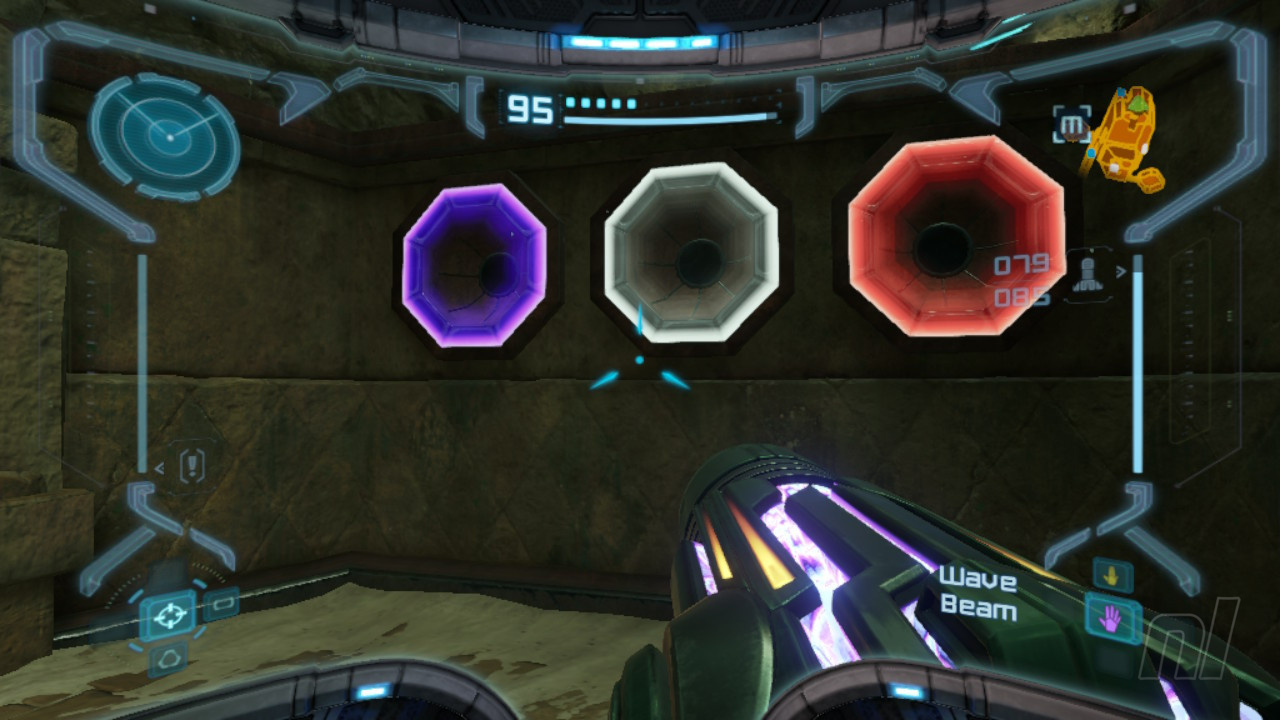
Hop over to the three slots and fire your Wave Beam at the purple one. This will cause a mechanism in the floor to move. Now jump into the Chozo's hands again. It will fling you once more, but this time, you'll wind up in a new location. Scan the rune to cause the forcefield to disappear. You can now move through and into the Reflecting Pool.
But before we do so...
Scan Entry - Chozo Lore - Hall of the Elders
Pop around the back of the Chozo statue and scan the Chozo lore on the wall. Okay, done? Let's move on to the Reflecting Pool.
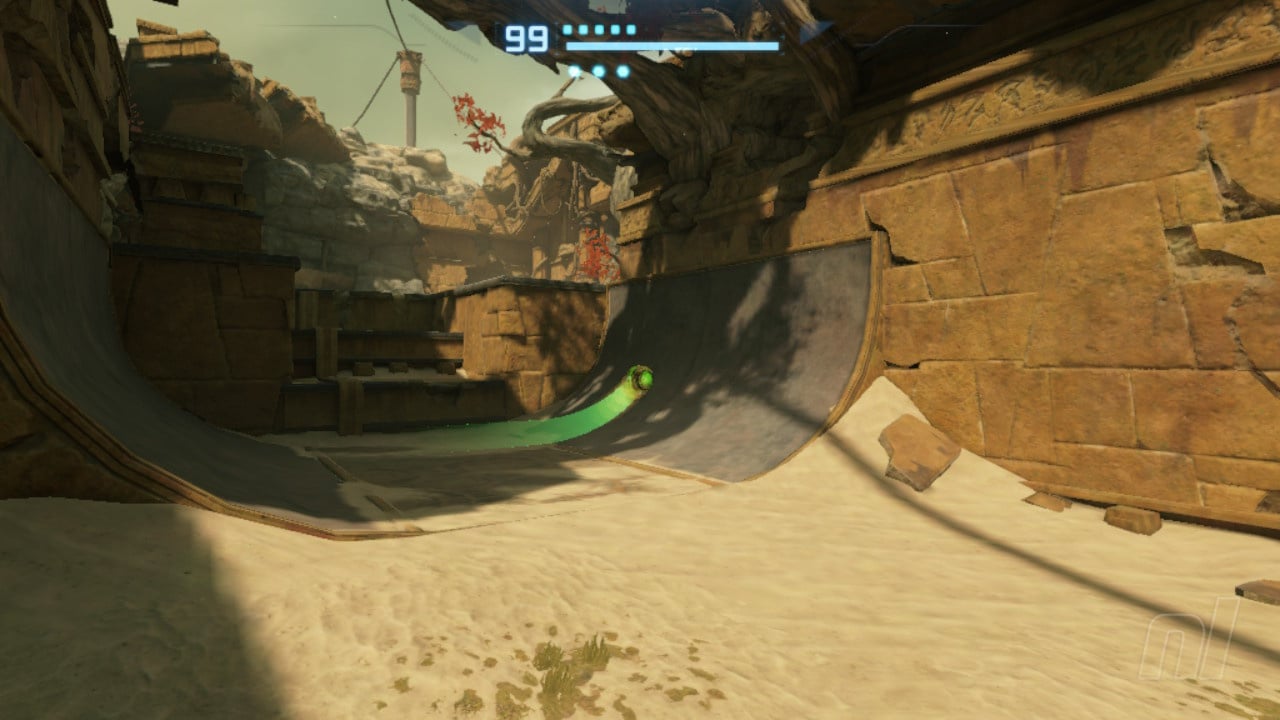
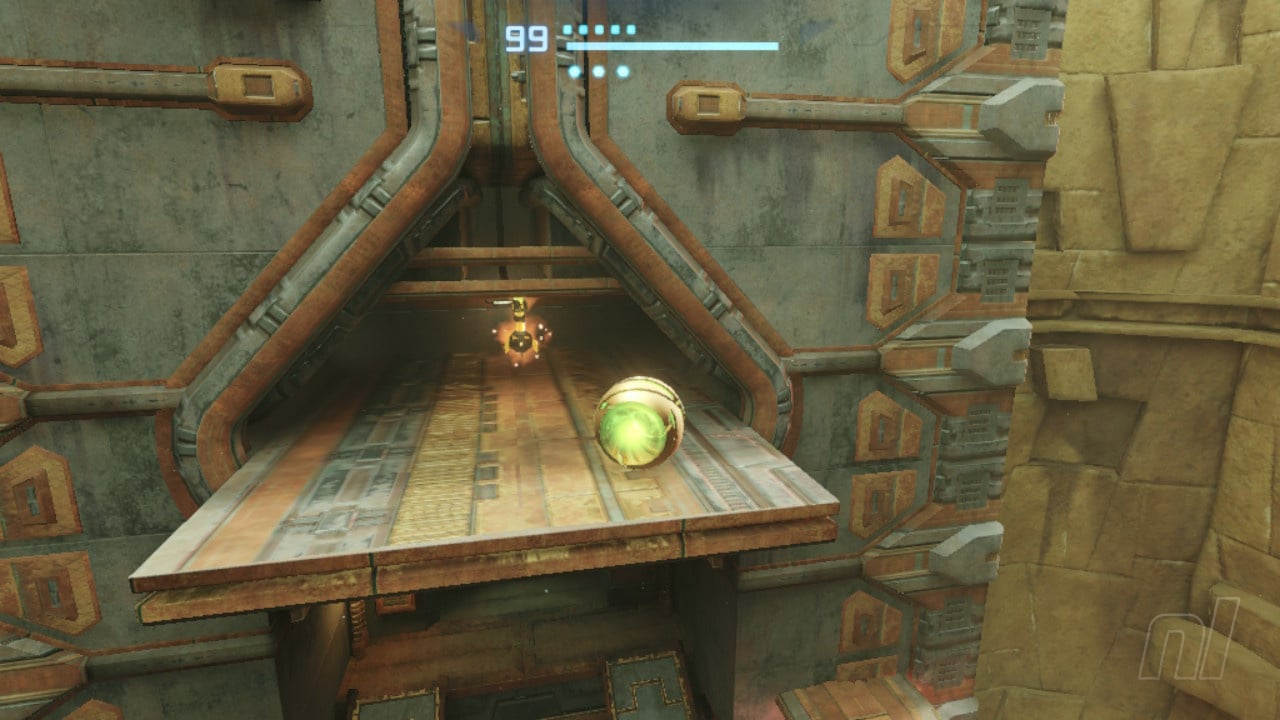
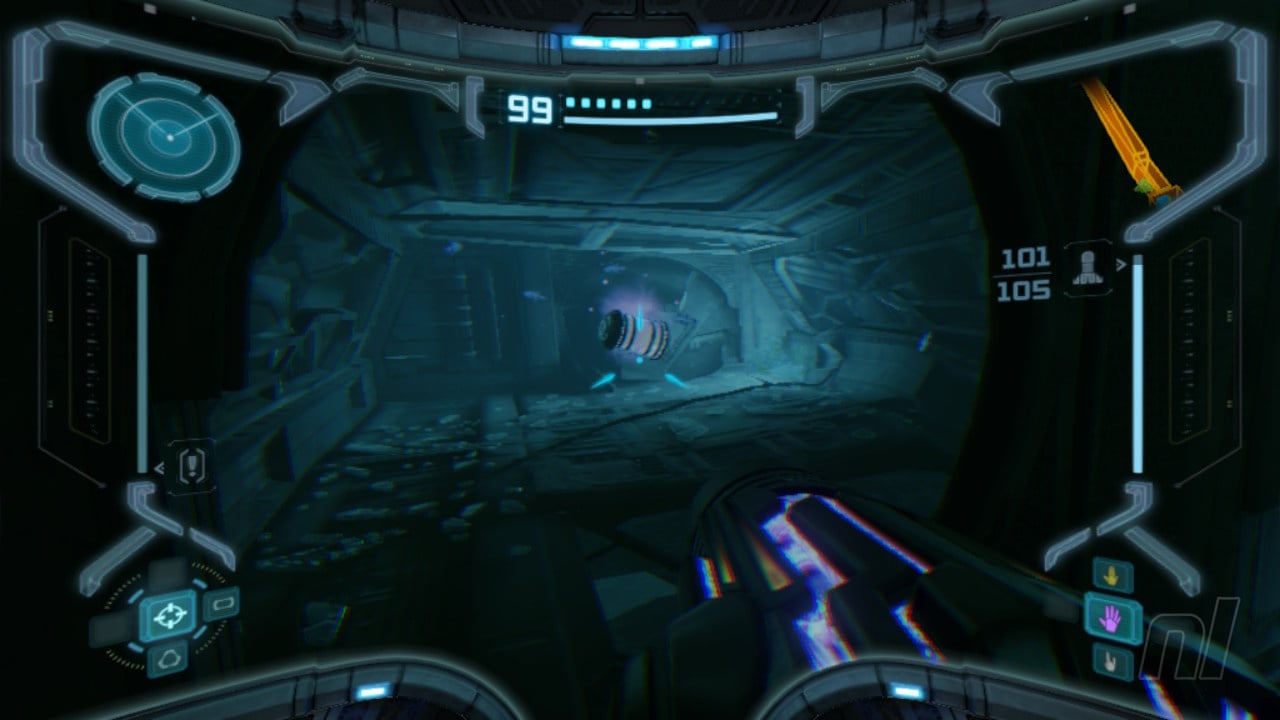
Here, you'll see a half-pipe filled with water, with some Stone Toads resting on the edges. You'll want to dive into the water and bomb the stone plug in the centre, draining the whole thing.
Once that's done, boost your way up the half-pipe, bombing any Stone Toads you happen to run into along the way and fire a missile at the door to the left on the second floor.
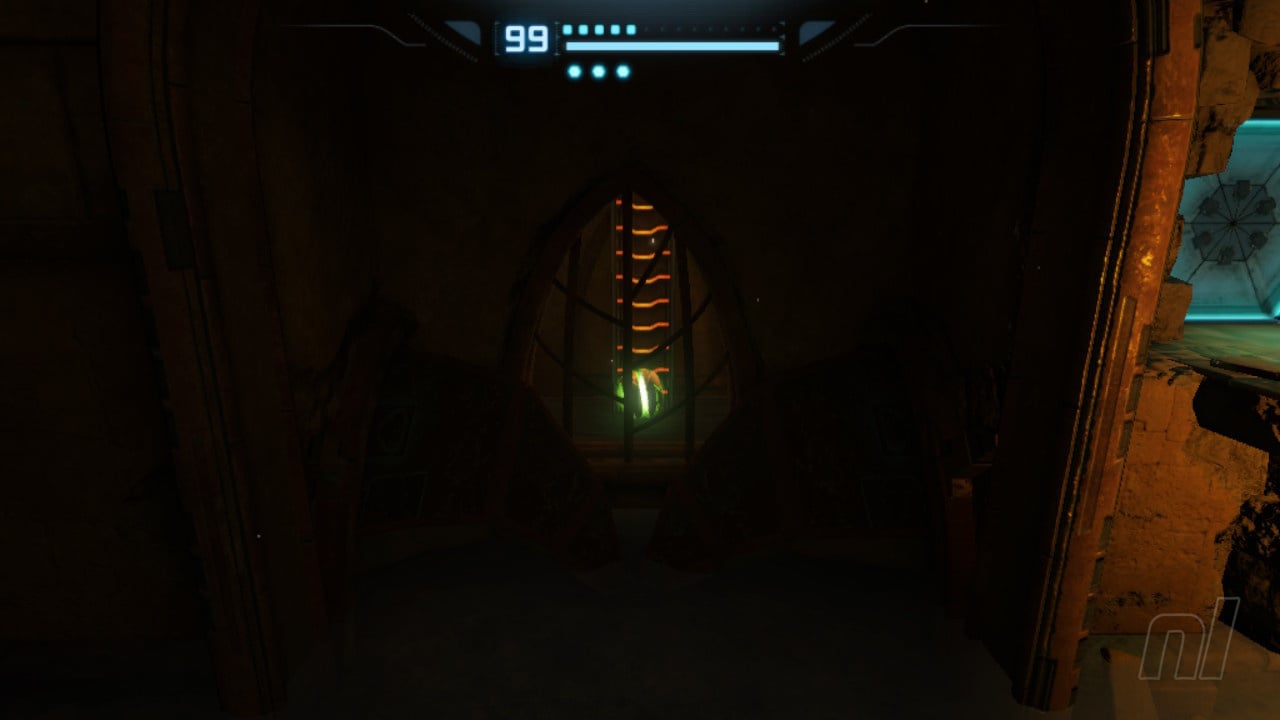
Power Suit Upgrade - Ice Beam - Antechamber
In this small room, you'll see the Ice Beam ready and waiting. Grab it!
Now that you've got the Ice Beam, head back into the Hall of the Elders for a moment.
Energy Tank 7 - Hall of the Elders
Remember those coloured bomb slots? Shoot your Ice Beam at the white one and jump back into the Chozo Statue's hands. It will chuck you down a new path leading to an Energy Tank. Nice!
Now it's time to head to the Sunken Frigate in Tallon Overworld. Before we do so, however, we need to grab the Gravity Suit from Phendrana Drifts. First, let's go to Tallon Overworld; there's a Missile Expansion we need to grab.
Once you're in Tallon Overworld, make your way through the linear corridors.
Missile Expansion 18 - Overgrown Cavern
Once you get into the Overgrown Cavern, a Missile Expansion will be waiting for you. You can't miss it, but just be wary of those vines sticking out of the ground. Shoot them first to cause them to retract, then grab the upgrade and move on.
Now head to Phendrana Drifts in whichever way you deem fit. We're going to head straight to the Research Core and go through the Ice Door at the bottom. The best way from here is probably via the Root Cave in Tallon Overworld, which will lead you through Magmoor Caverns and back to the Phendrana Shorelines.
Missile Expansion 19 - Phendrana Shorelines
While we're here, double dump over to the area which leads to the Chozo Ice Temple. On the wall, you'll see a Cordite shield. Blast it with a Super Missile. Scan the remains to activate a secret area containing a short Spider Track. Ride it up to grab the next Missile Expansion.
Now head to the Research area via the Ruined Courtyard. Before we get to the end goal of the Research Core, we're going to stop off at Research Lab Hydra.
Missile Upgrade 20 - Research Lab Hydra
Work your way up Research Lab Hydra, getting rid of the Space Pirates and the Auto Turret along the way. On the top floor, you'll see a large Cordite pillar next to a Metroid tank. Fire a Super Missile at it and grab the missile upgrade hidden within.
Now work your way straight to the Core. At the bottom, shoot the Ice Door and move through the corridor and into the Frozen Pike.
Jump down to the Wave Door in the middle of the room. Roll through the next corridor until you enter the Frost Cave. Here, there are two ew creatures to scan.
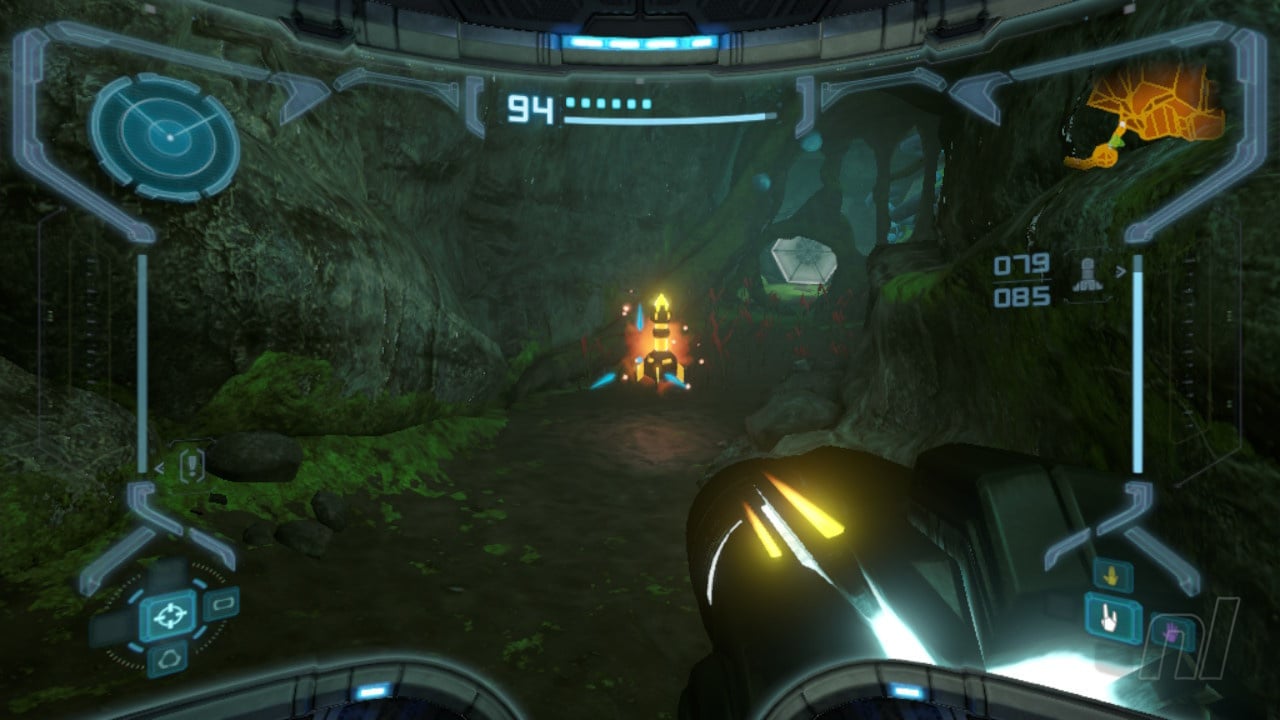
Scan Entry - Hunter Metroid
The first is a Hunter Metroid, which kind of looks like a regular Metroid that's been on the Keto diet. Scan it, then shoot it will missiles and charged beam shots to take it down.

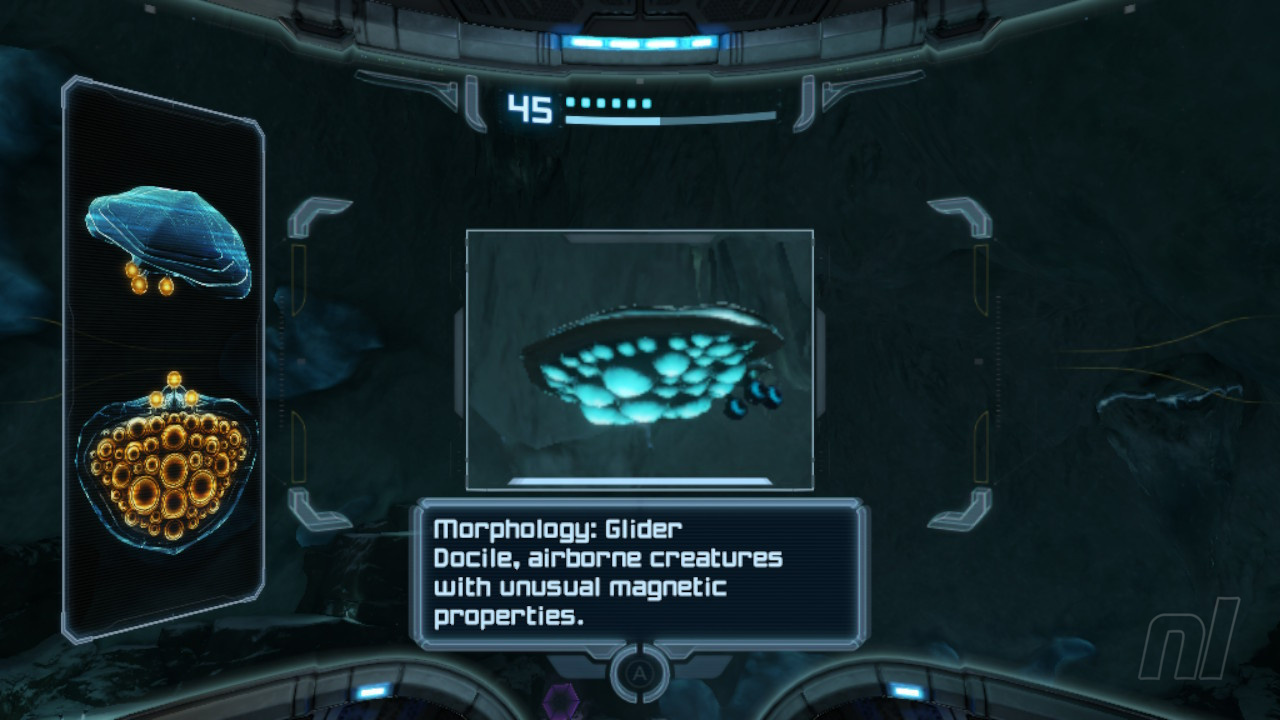
Scan Entry - Glider
Floating above is the Glider. You don't need to worry about this for now, but scan it while you're here.
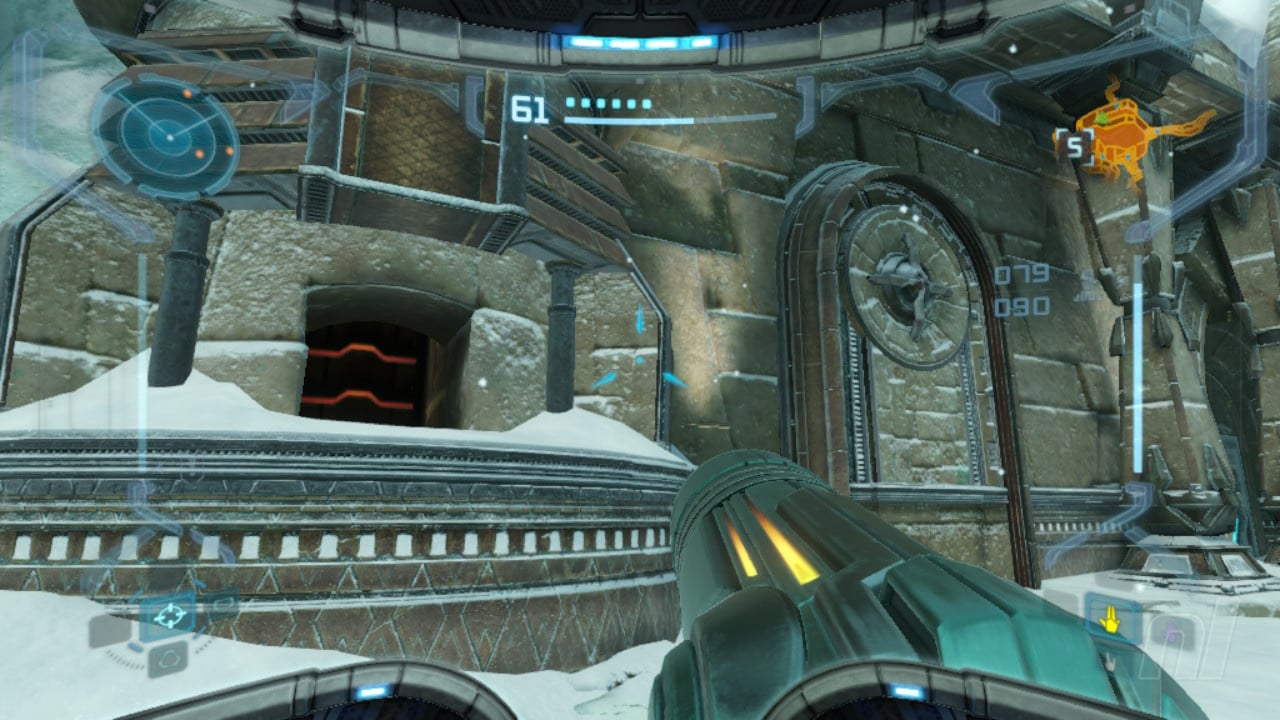
For now, shoot the two stalactites on the ceiling with missiles. The door on the right will lead to a handy Save Station, while the one on the left will lead to Phendrana's Edge. Get rid of the enemies here and jump down into the water below.
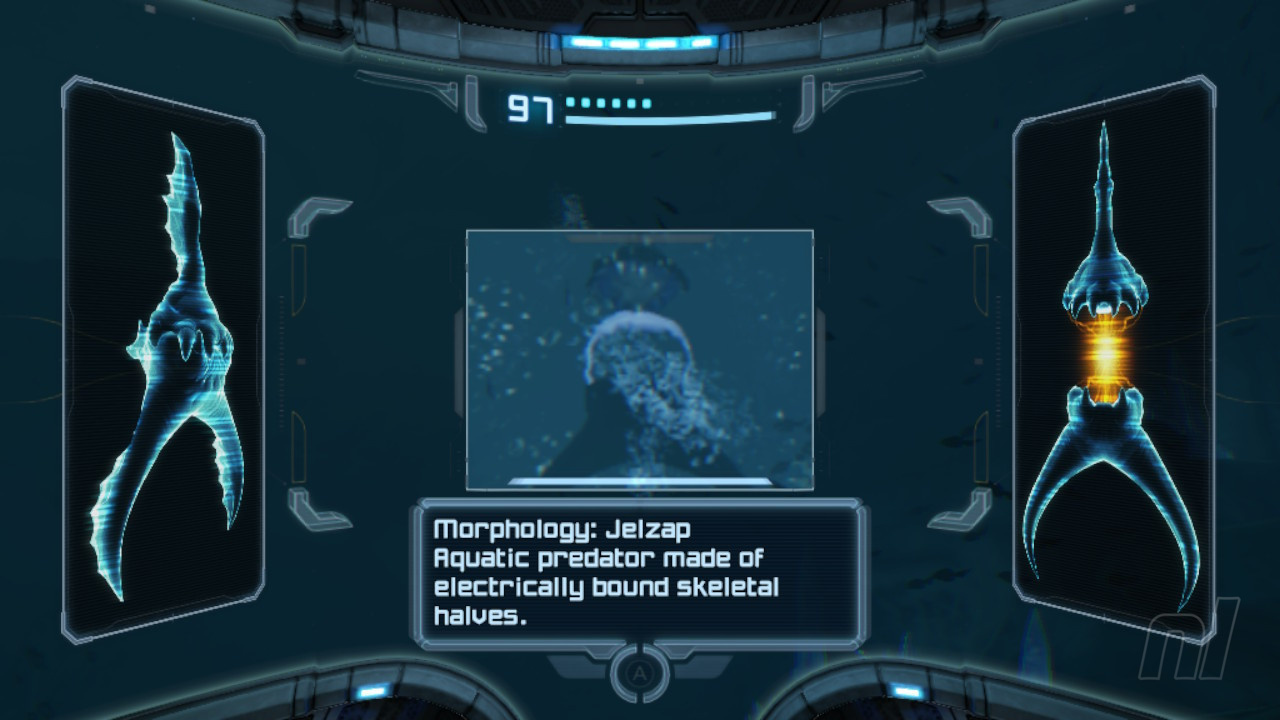
Scan Entry - Jelzap
Floating in the water are Jelzaps. Scan one of them. Defeating these is very straightforward; simply wait until their bodies split, exposing a weak spot. Hit it with any beam and it should explode.
Move through the Wave Door in the water and work your way through the corridor until you reach the Hunter Cave. You'll immediately see three more stalactites on the ceiling, so shoot these down. Hop across them and up onto the ledge to move through the next Wave Door and into the Gravity Chamber.
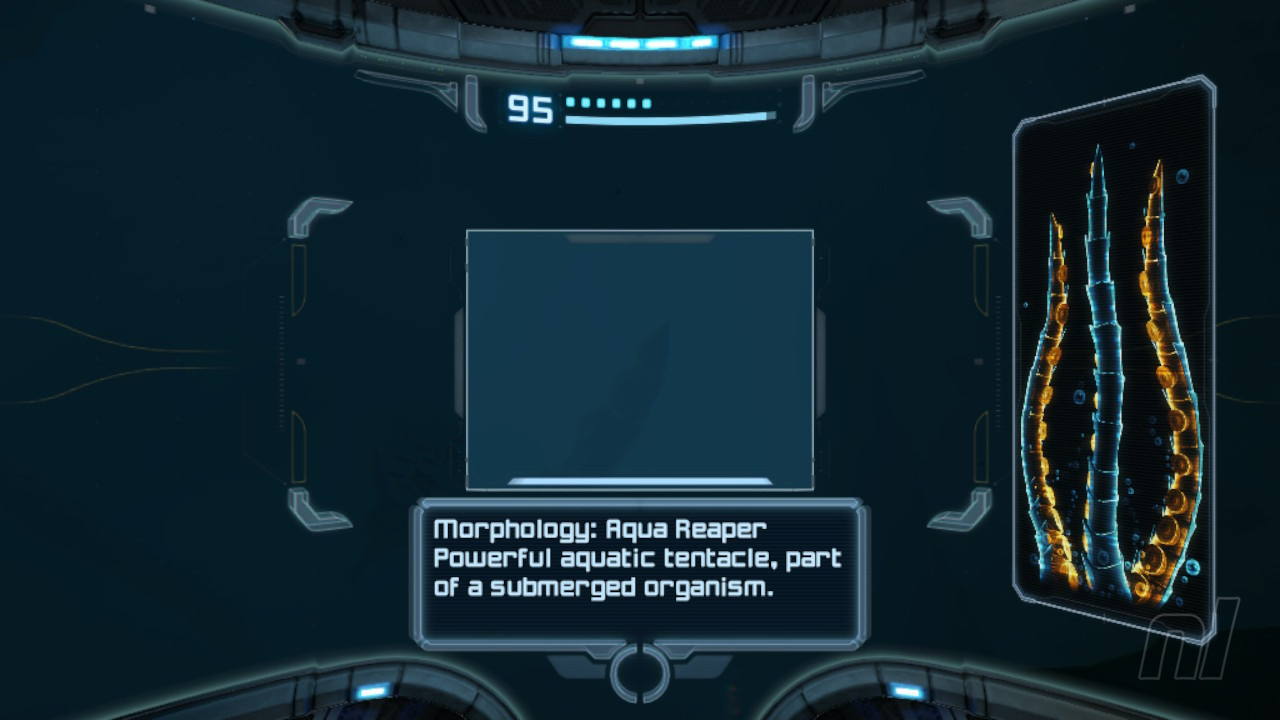
Scan Entry - Aqua Reaper
You'll see some tentacles swishing around from the ground. Scan one of these, then shoot them to cause them to retract.
Move through the Gravity Chamber (it's a bit muggy, but fairly easy to navigate) until you come across...
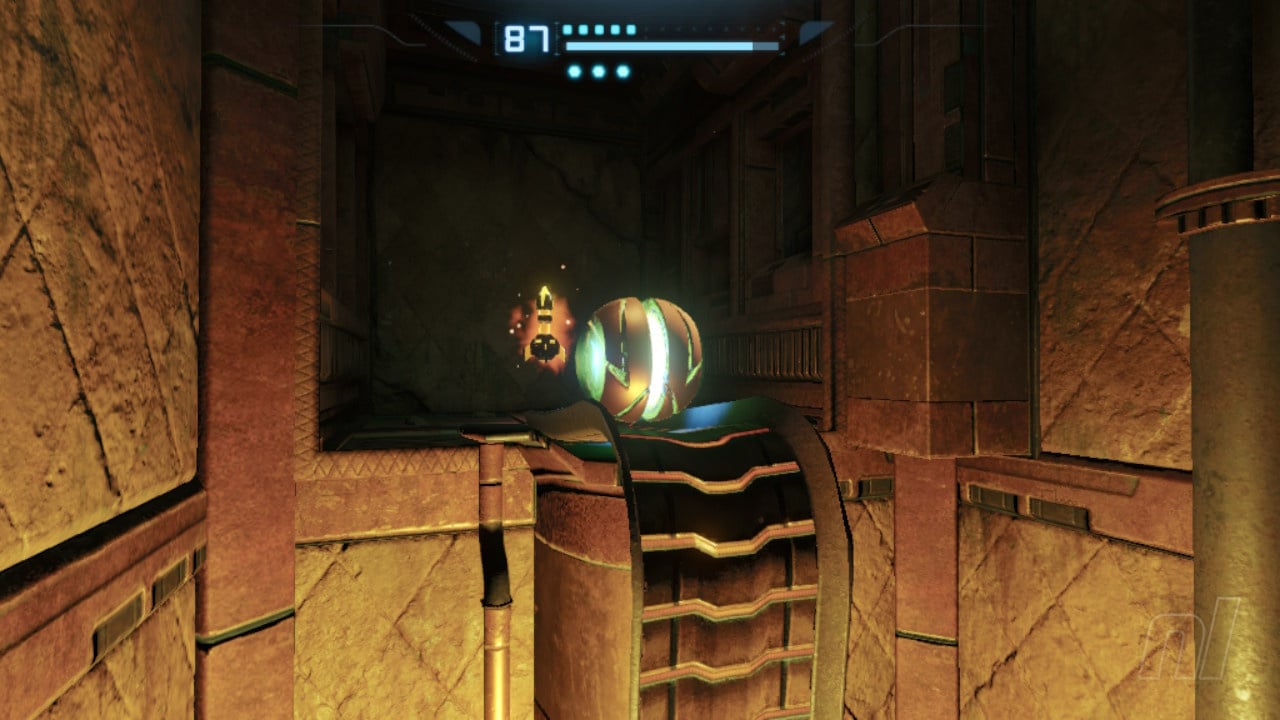
Power Suit Upgrade - Gravity Suit
Yes, the Gravity Suit! This will be very handy for navigating underwater from now on, as it will effectively render any weird gravity effects null. Great stuff.
Now head back to the Frozen Pike and make your way right to the top. Move through the next room and you'll wind up the Transport to Magmoor Caverns South. Take the elevator.
From here, make your way to Tallon Overworld via the West elevator access and work your way back to the Landing Site.
There will be a doo hiding to the left of a waterfall. Go through this and past the next area to reach the Frigate Crash Site. Deal with the Space Pirates, then dive into the water.
Missile Upgrade 21 - Frigate Crash Site
in the rocks to the left, a missile expansion will be nestled in a small alcove. Use your double jump to reach it.
Now, move to the other side of the lake and roll through a short morph ball tunnel. You'll wind up on the other side and can now move to the left and enter the Sunken Frigate via the Ice Door.
Make your way around the linear corridor until you reach a room containing a locked door and two auto-turrets. Get rid of the turrets, then switch to your Thermal Visor. Use your Wave Beam on the revealed power conduit and head through the door.
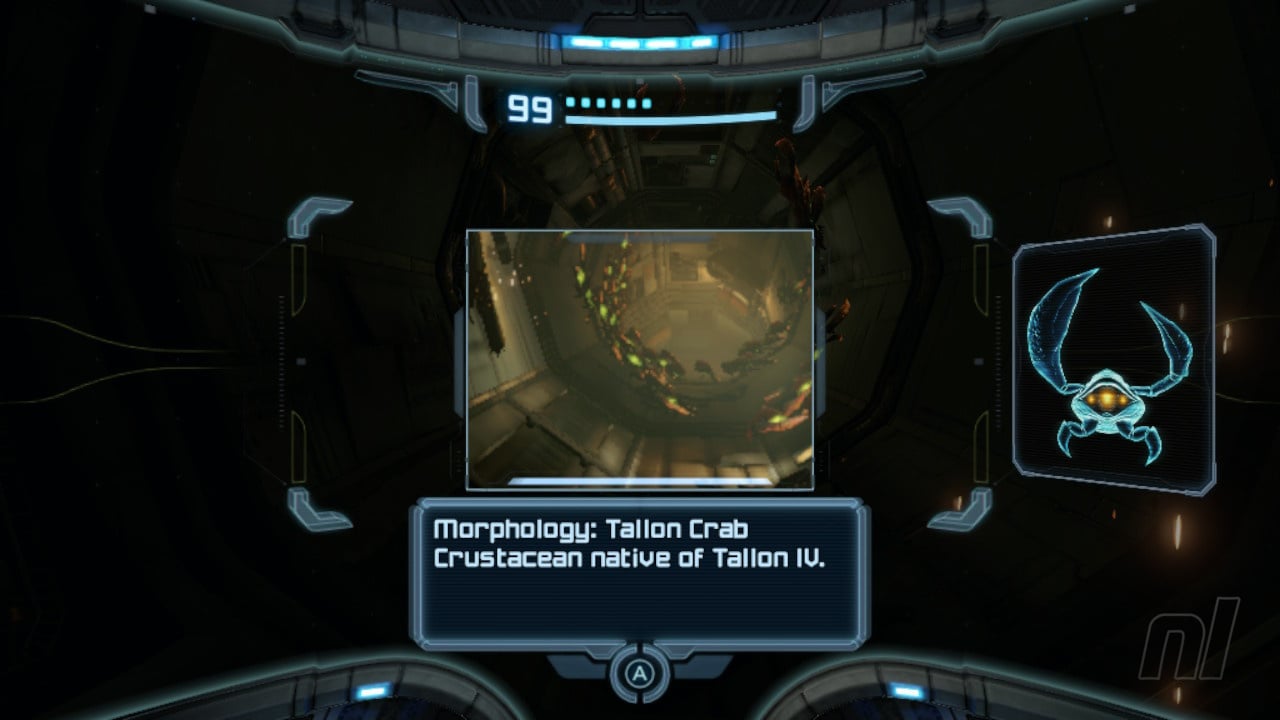
Scan Entry - Tallon Crab
In the next room, a bunch of Tallon Crabs will scurry over to you. Don't mistake these for Parasites - make sure to scan them!
Now, the next room is pretty big, but don't worry, we've got you.
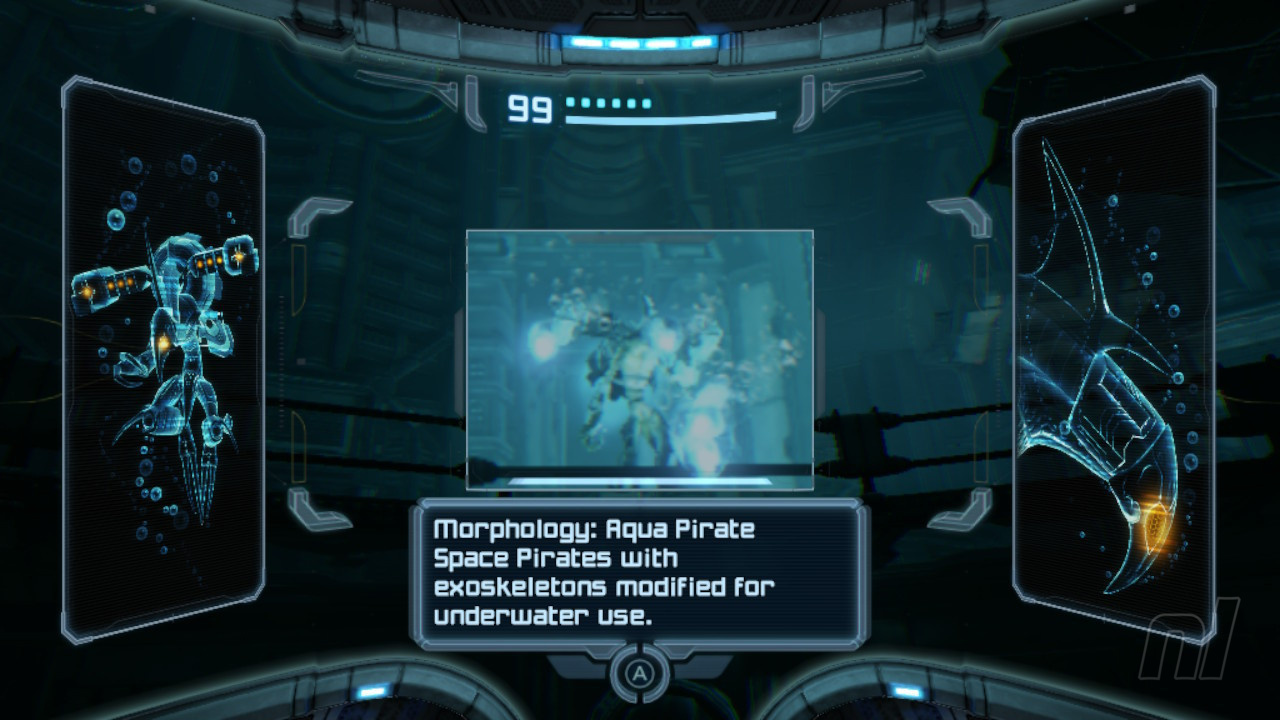
Scan Entry - Aqua Pirate
First up, you'll notice what looks like a couple of Flying Pirates whizzing around. These are actually Aqua Pirates, so get your scan visor out for them.
Now, you'll want to activate four power conduits to open the big door in the middle portion of the room. Three can be located at the bottom, with the fourth lying right next to the locked door.
In the next room, repeat the process with the two power conduits, and make sure to save your progress in the room to your right. Now proceed.
Energy Tank 8 - Cargo Freight Lift to Deck Gamma
In the next room — the terribly named Cargo Freight Lift to Deck Gamma — you'll see a broken elevator ahead of you. Used a charged beam shot against the glass window, then head on through to pick up an Energy Tank.
Now there are more power conduits to hit with your Wave Beam, so whip out your Thermal Visor to locate them as you work your way up. There will be three in total: one at the bottom, one halfway up, and one at the top.
Move through the next corridor and into Biohazard Containment.
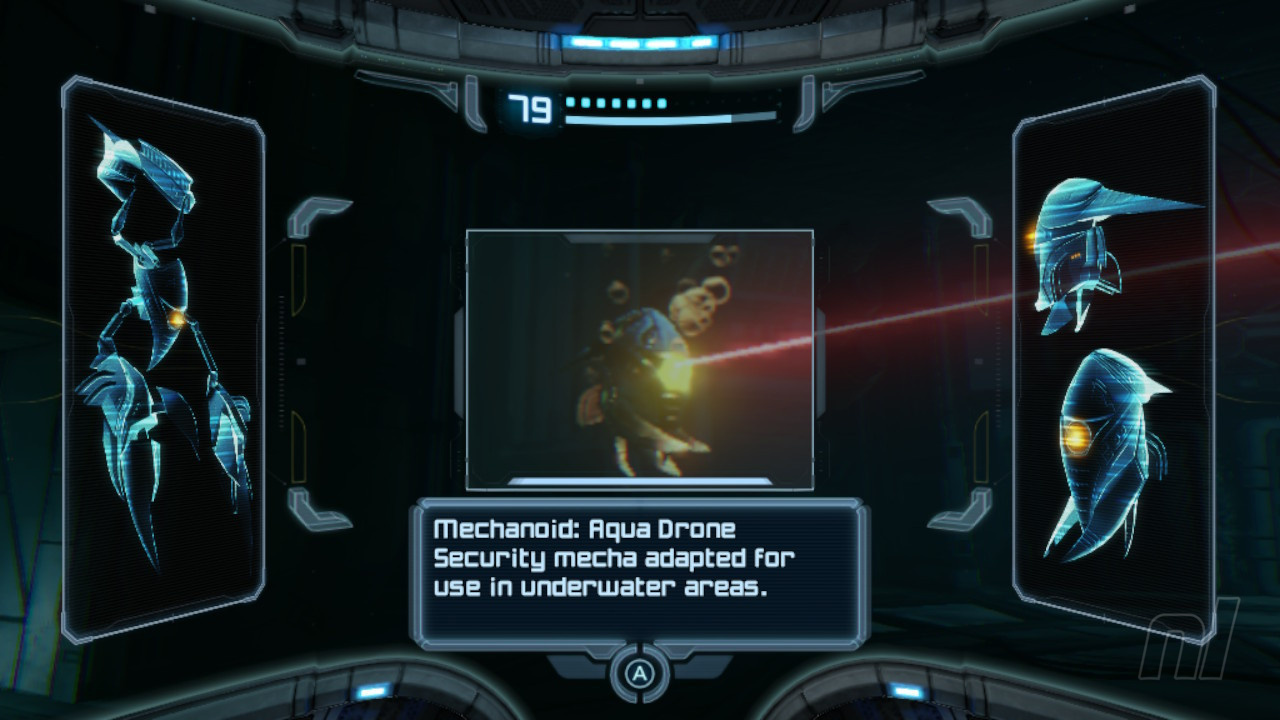
Scan Entry - Aqua Drone
Jump into the water. Immediately, you'll be greeted by two Aqua Drones. Scan one of them, then defeat them with some charged shots.
Missile Expansion 22 - Biohazard Containment
See those containers embedded in the walls that look like futuristic cupboards? One of them is made of Cordite, so fire a Super Missile at it to grab your next Missile Expansion.
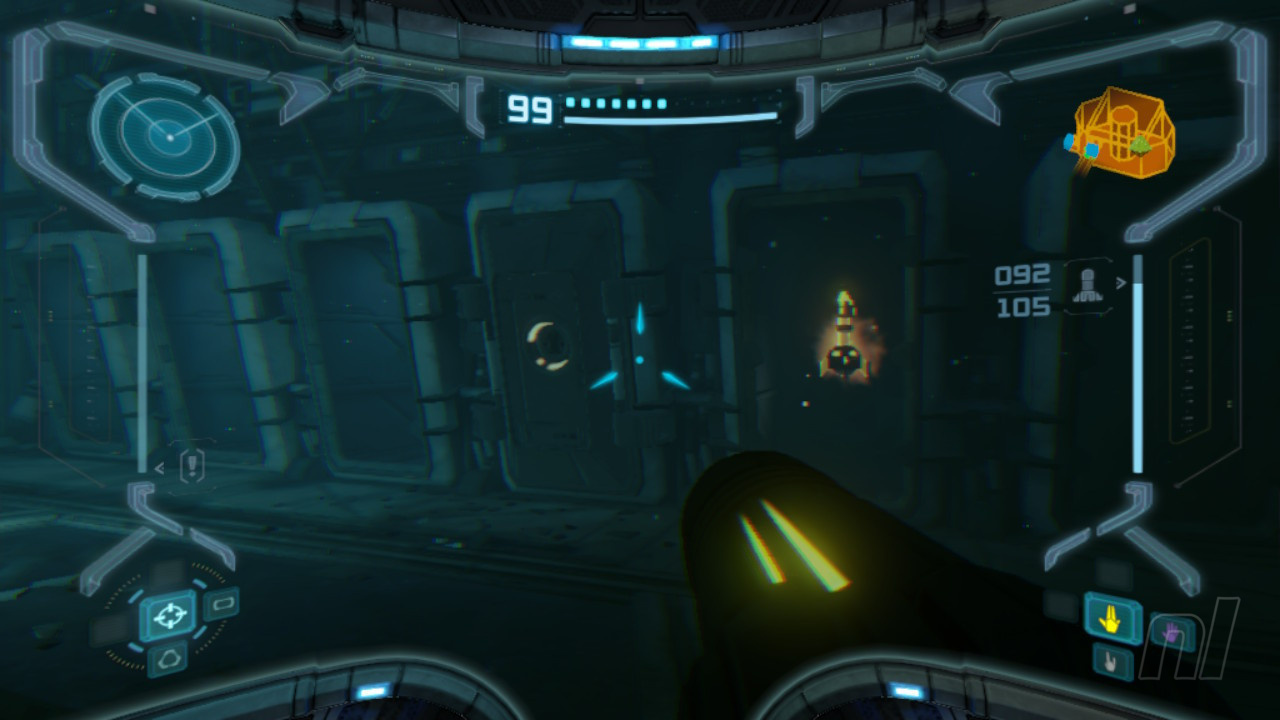
Now you'll want to activate three more power conduits, so whip out your Thermal Visor and locate them. Two are on the upper floor with the third on the lower. Now head through the unlocked door.
Get rid of the Aqua Pirates in the next room, then locate three more power conduits. Once you've activated them, head through to Connection Elevator to Deck Beta.
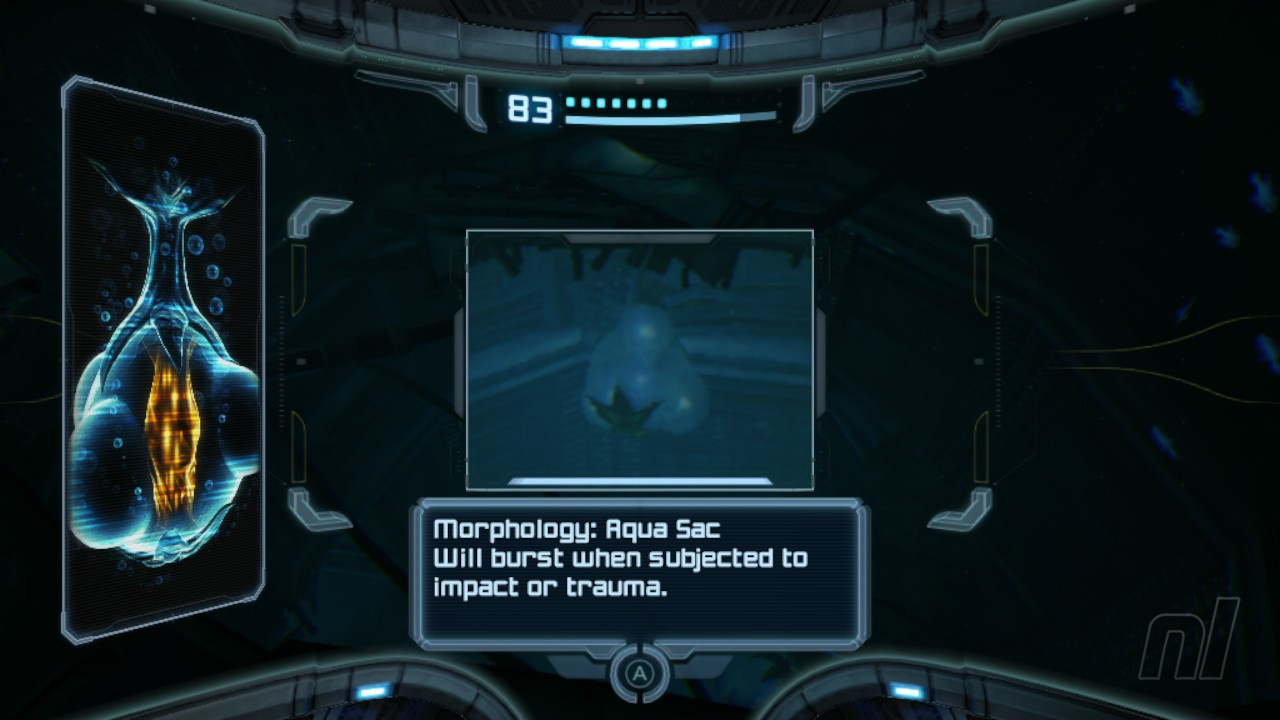
Scan Entry - Aqua Sac
Floating in the vertical space, you'll see an Aqua Sac - these things are pretty harmless, but scan it while you're here. Jump down to the bottom and go through the door.
Energy Tank 9 - Hyrdro Access Tunnel
In this room, the view will shift to allow for a short Morph Ball puzzle. The bubbles coming up from the ground will allow for a sense of lower gravity. In the long vertical shaft, combine your jump and your bombs to reach the top and grab the Energy Tank. Now work your way to the right and out of the room.
You'll wind up in the Great Tree Hall, so you're out of the Sunken Frigate! Head to the lowest Ice Door and move through. Eventually, you'll come to an elevator to the next major area, the Phazon Mines.
Check out our full Metroid Prime Remastered walkthrough for more tips and tricks.


Comments 2
This guide has been very good so far, but this part is extremely confusing, as well as missing critical info:
"Now it's time to head to the Sunken Frigate in Tallon Overworld. Before we do so, however, we need to grab the Gravity Suit from Phendrana Drifts. First, let's go to Tallon Overworld; there's a Missile Expansion we need to grab. Once you're in Tallon Overworld, make your way through the linear corridors."
It starts out saying "it's time" go to the Sunken Frigate in Tallon Overworld, but wait, no, it's not time, we're actually going to Phendrana Drifts first. Then it immediately says that we're going to a different spot in Tallon Overworld without missing a beat. WTF? Just say, "Before we do anything else, there's a missile expansion we can get". Why keep mentioning other things that we have to do "first" when clearly we aren't doing them first?
That isn't even the really confusing part though. The problem is that after getting the ice beam, the walkthrough doesn't mention the elevator hidden behind the save point near the Antechamber which is a new path back to Tallon that you need to follow to get this next missile expansion.
The walkthrough just says "once you're in Tallon Overworld", leaving you to assume you need to walk the long way back to Tallon, only to find out the Overgrown Cavern is inaccessible from that direction. I had to check a different guide to find out how I was supposed to get into that cavern and then go all the way back to that save point by the ice beam.
Okay. I have used IGN ever since I started gaming for walkthroughs, but NintendoLife Guides are the literal BEST! I got through Wonder so quickly because of this. Thanks so much! The traveling to different areas instructions are kind confuzzling
Show Comments
Leave A Comment
Hold on there, you need to login to post a comment...