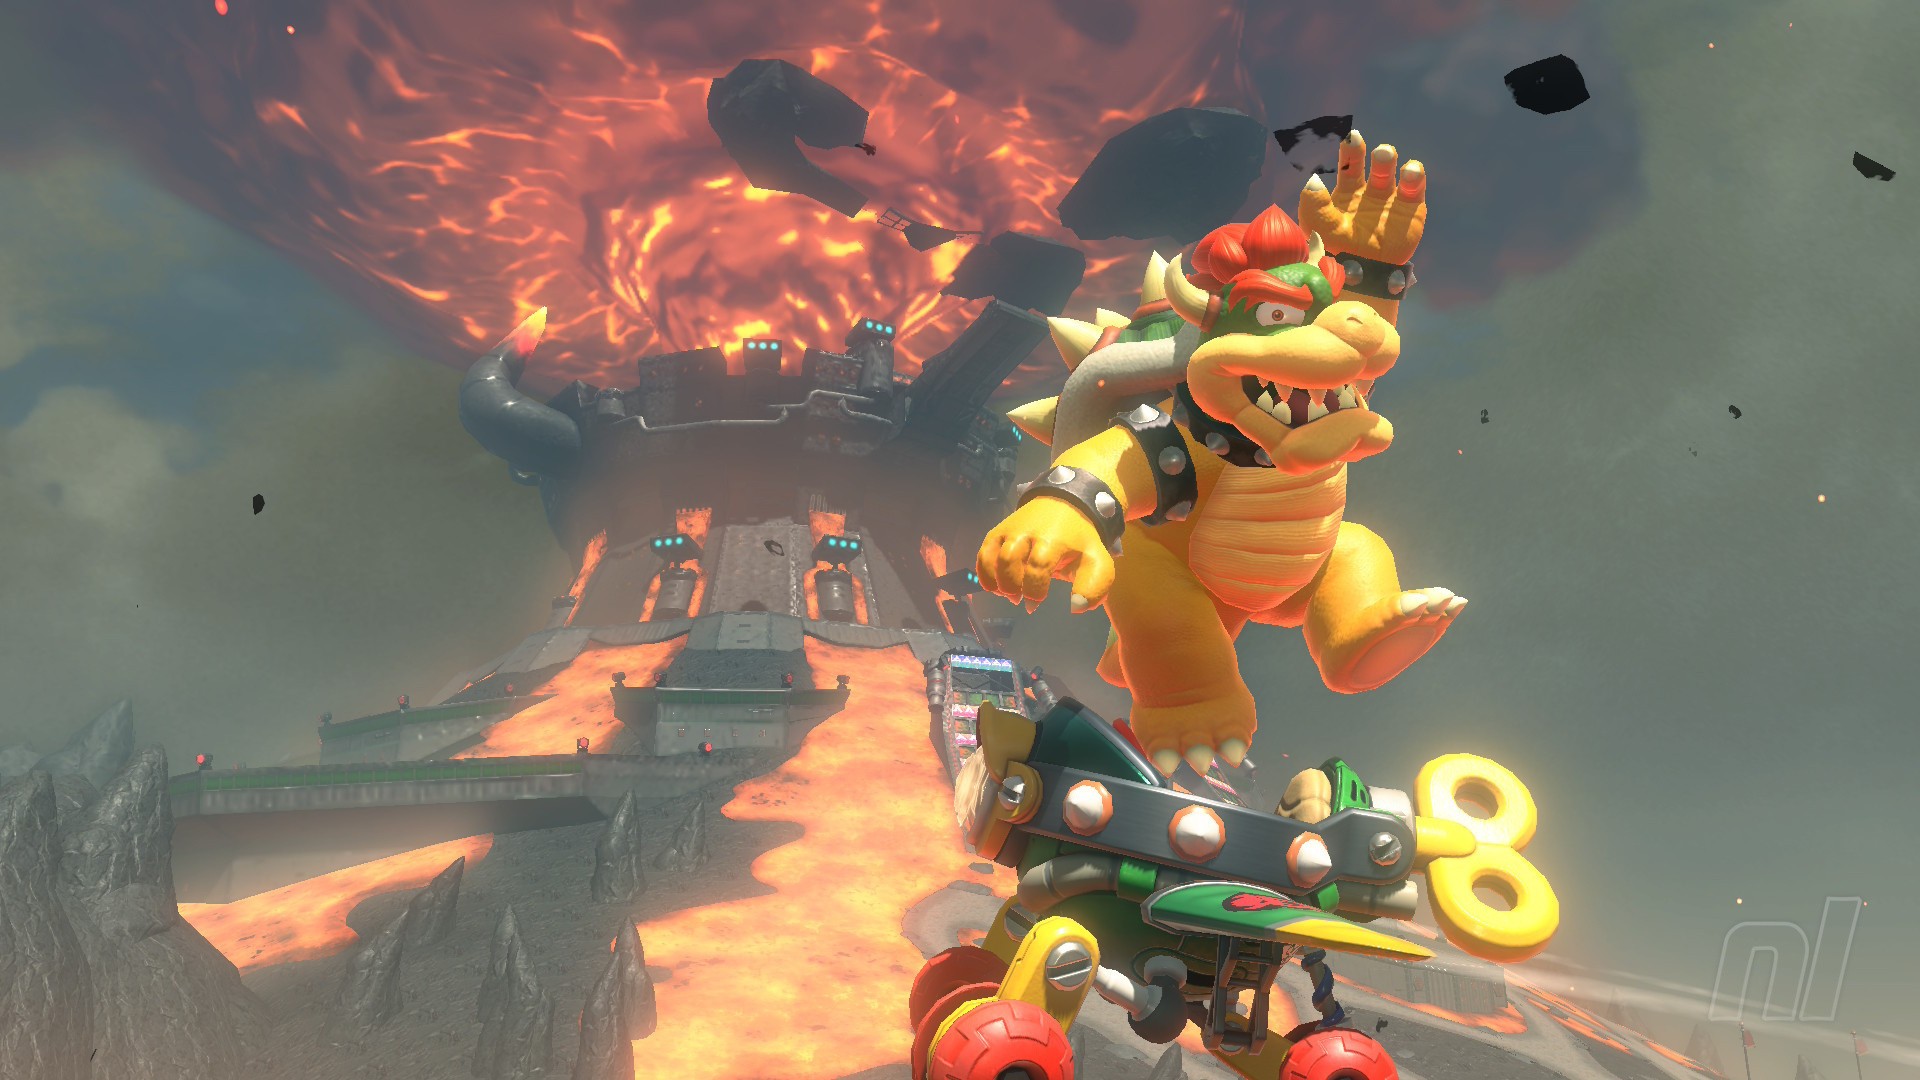
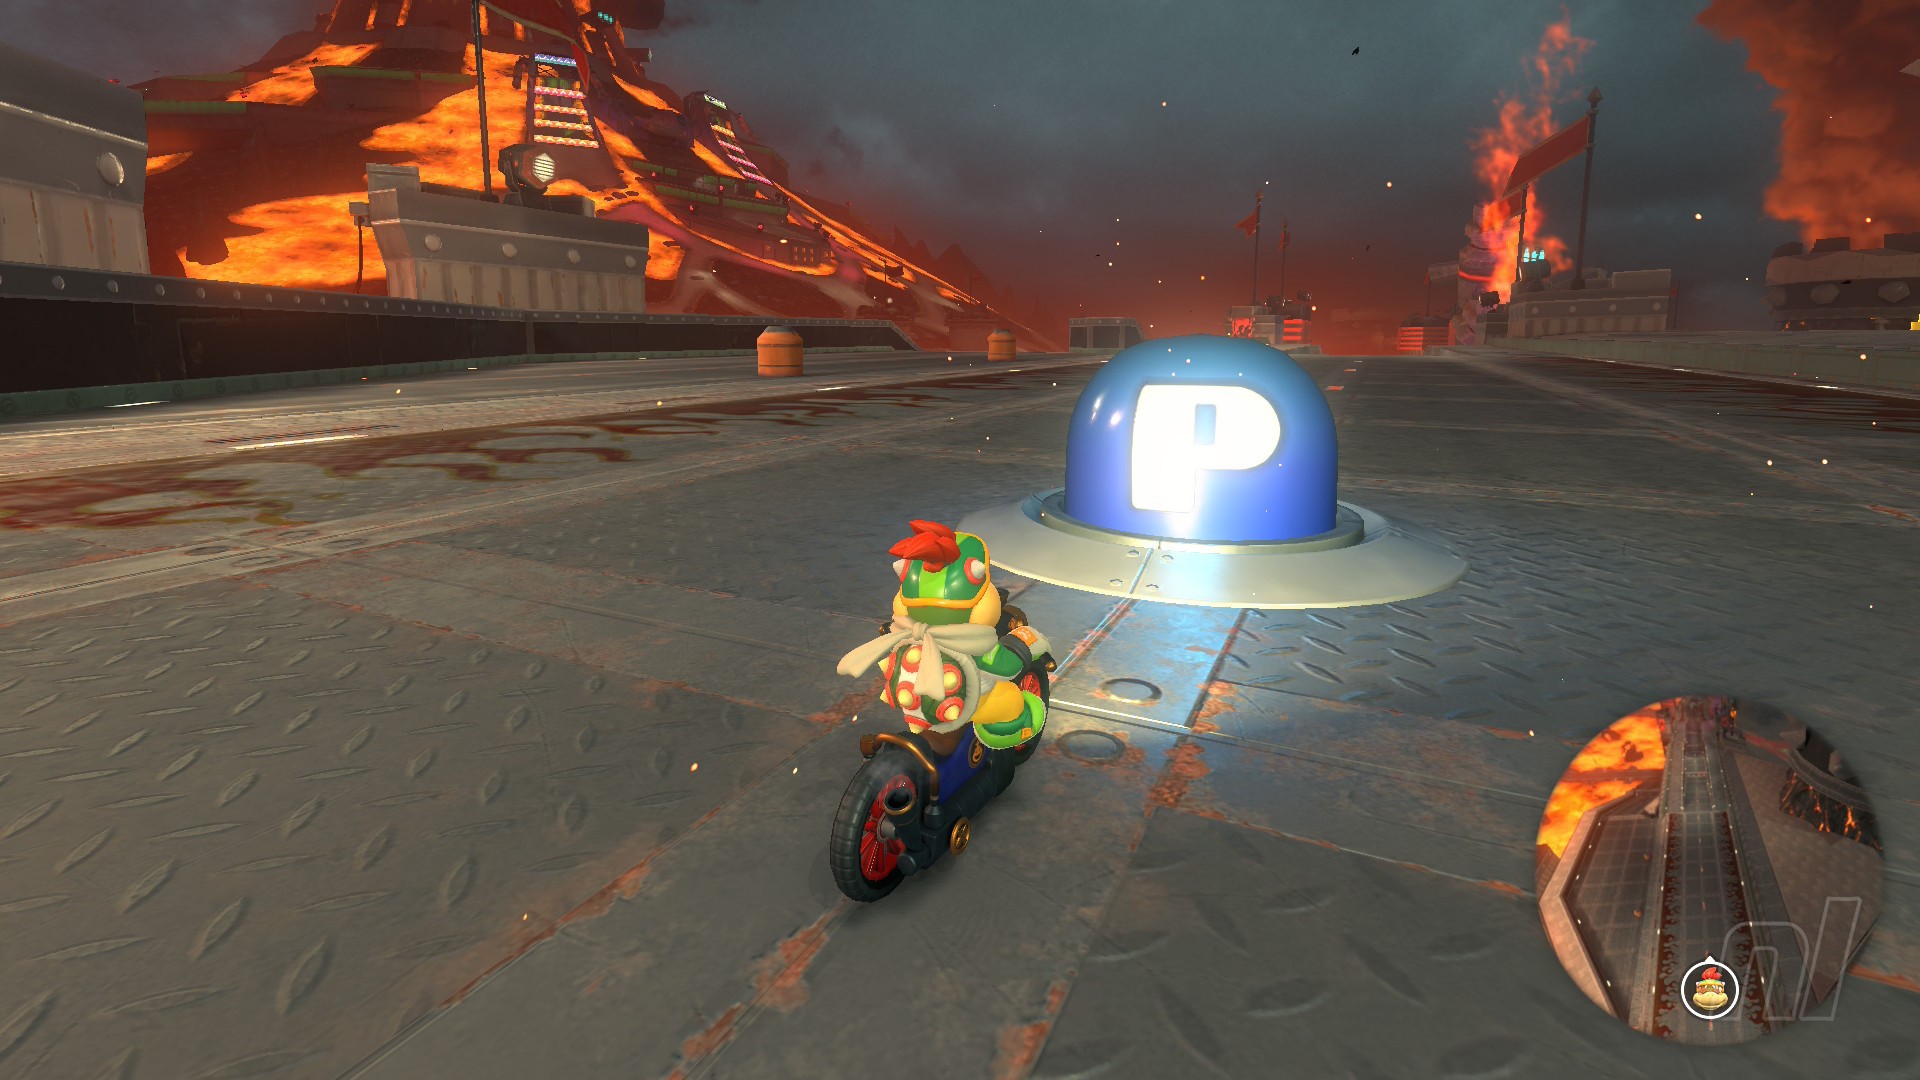
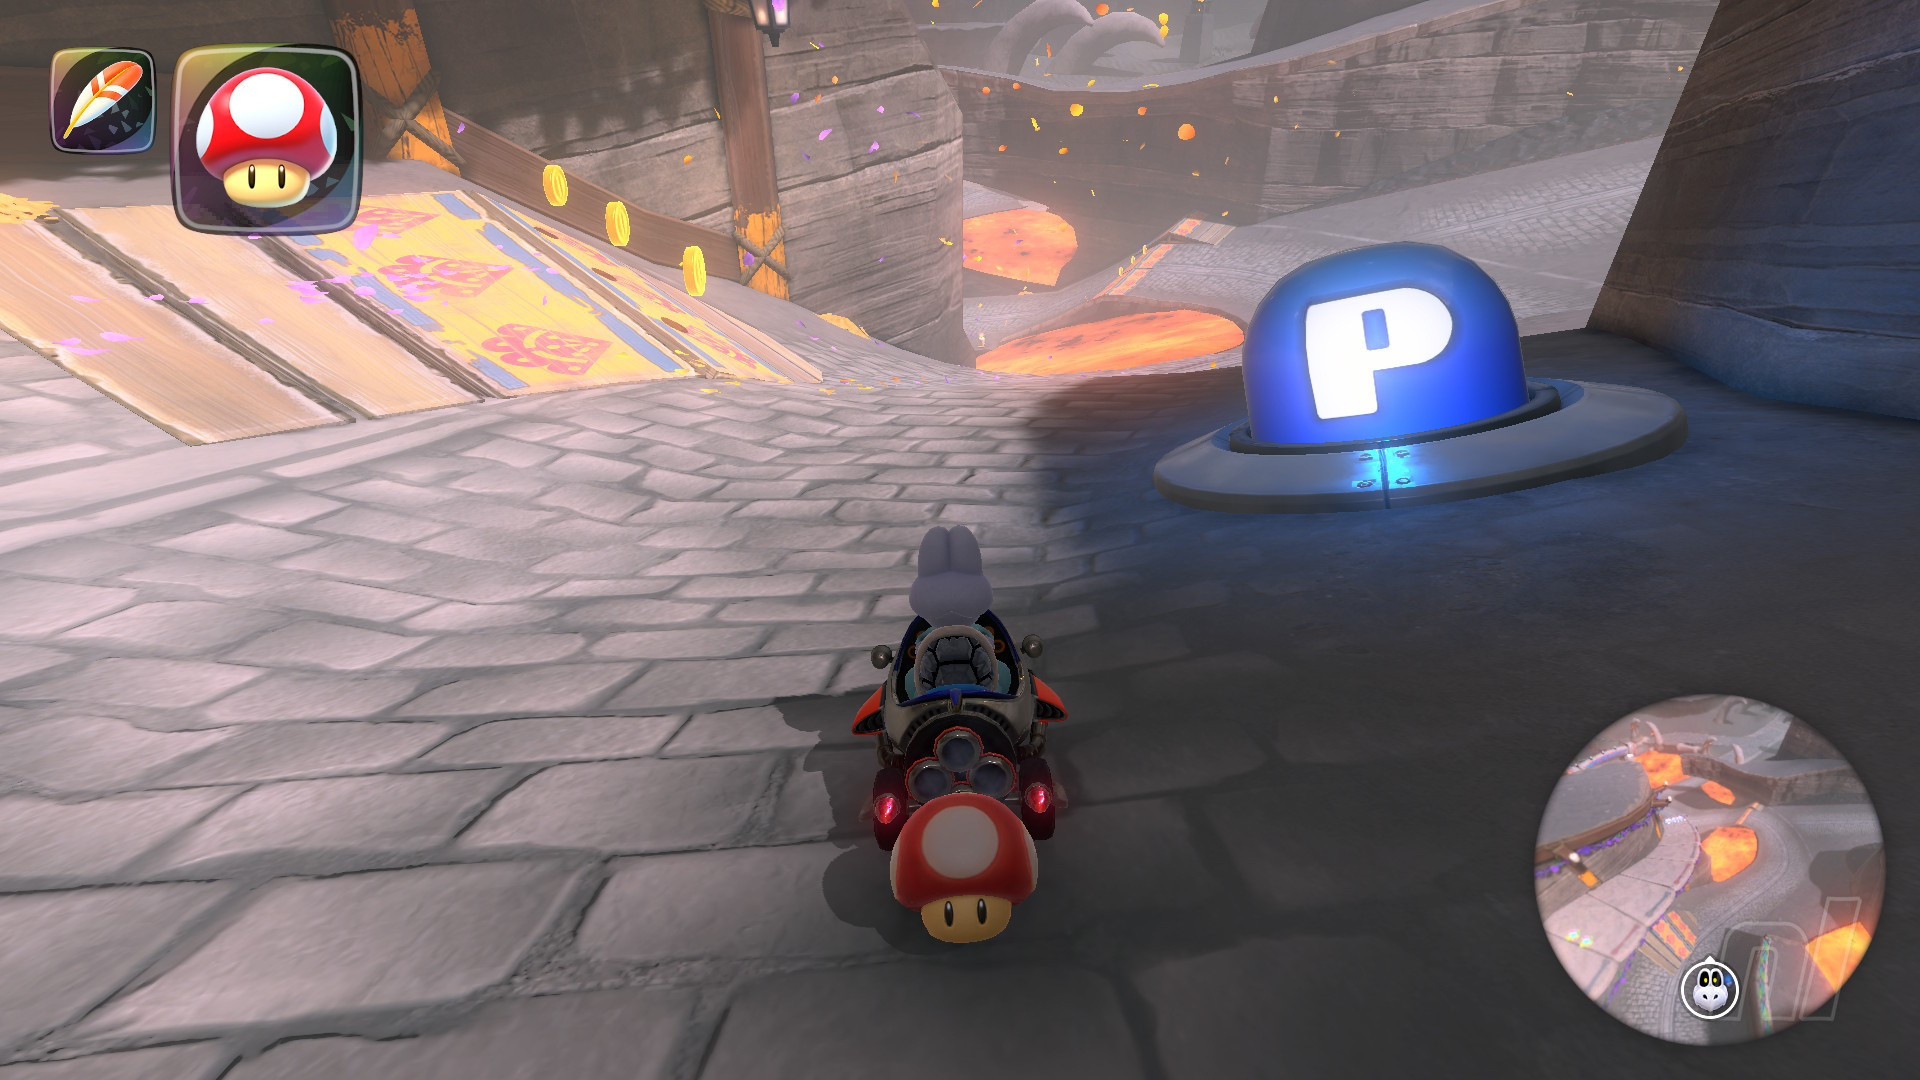
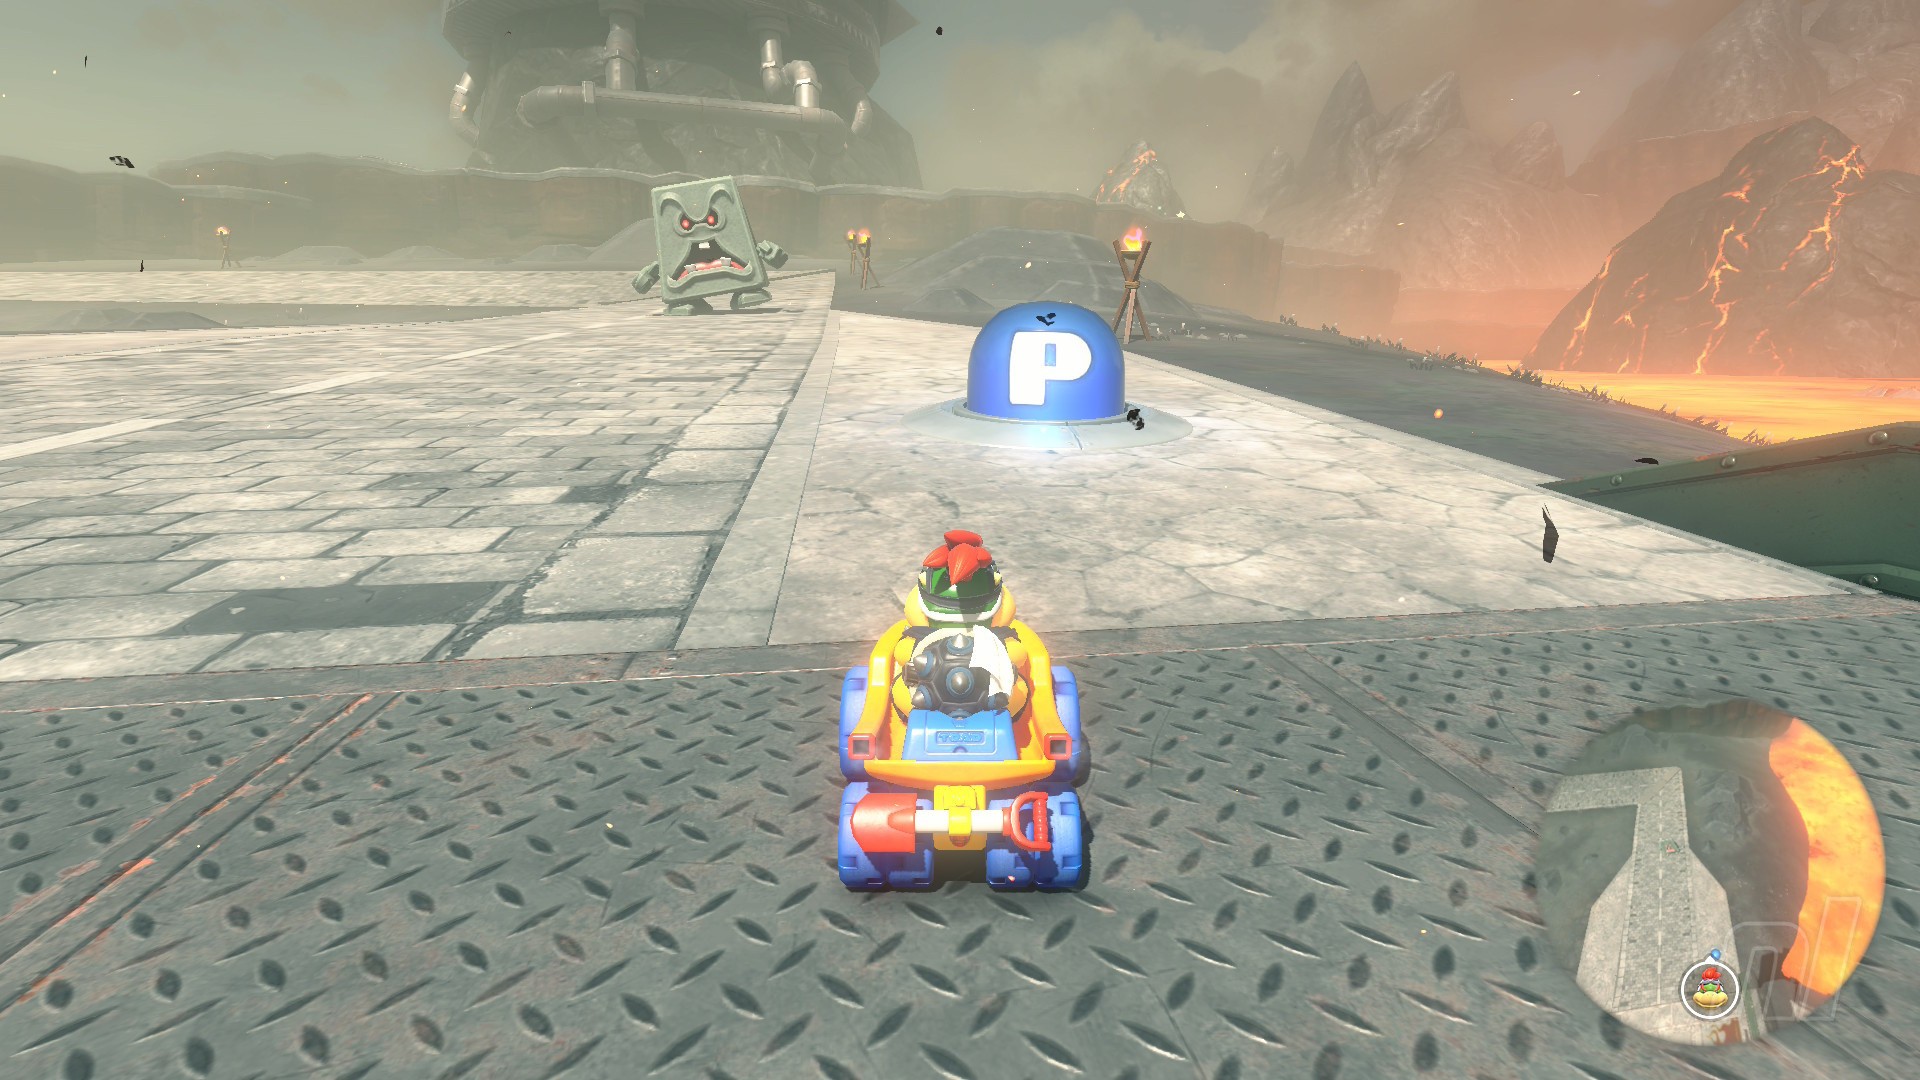
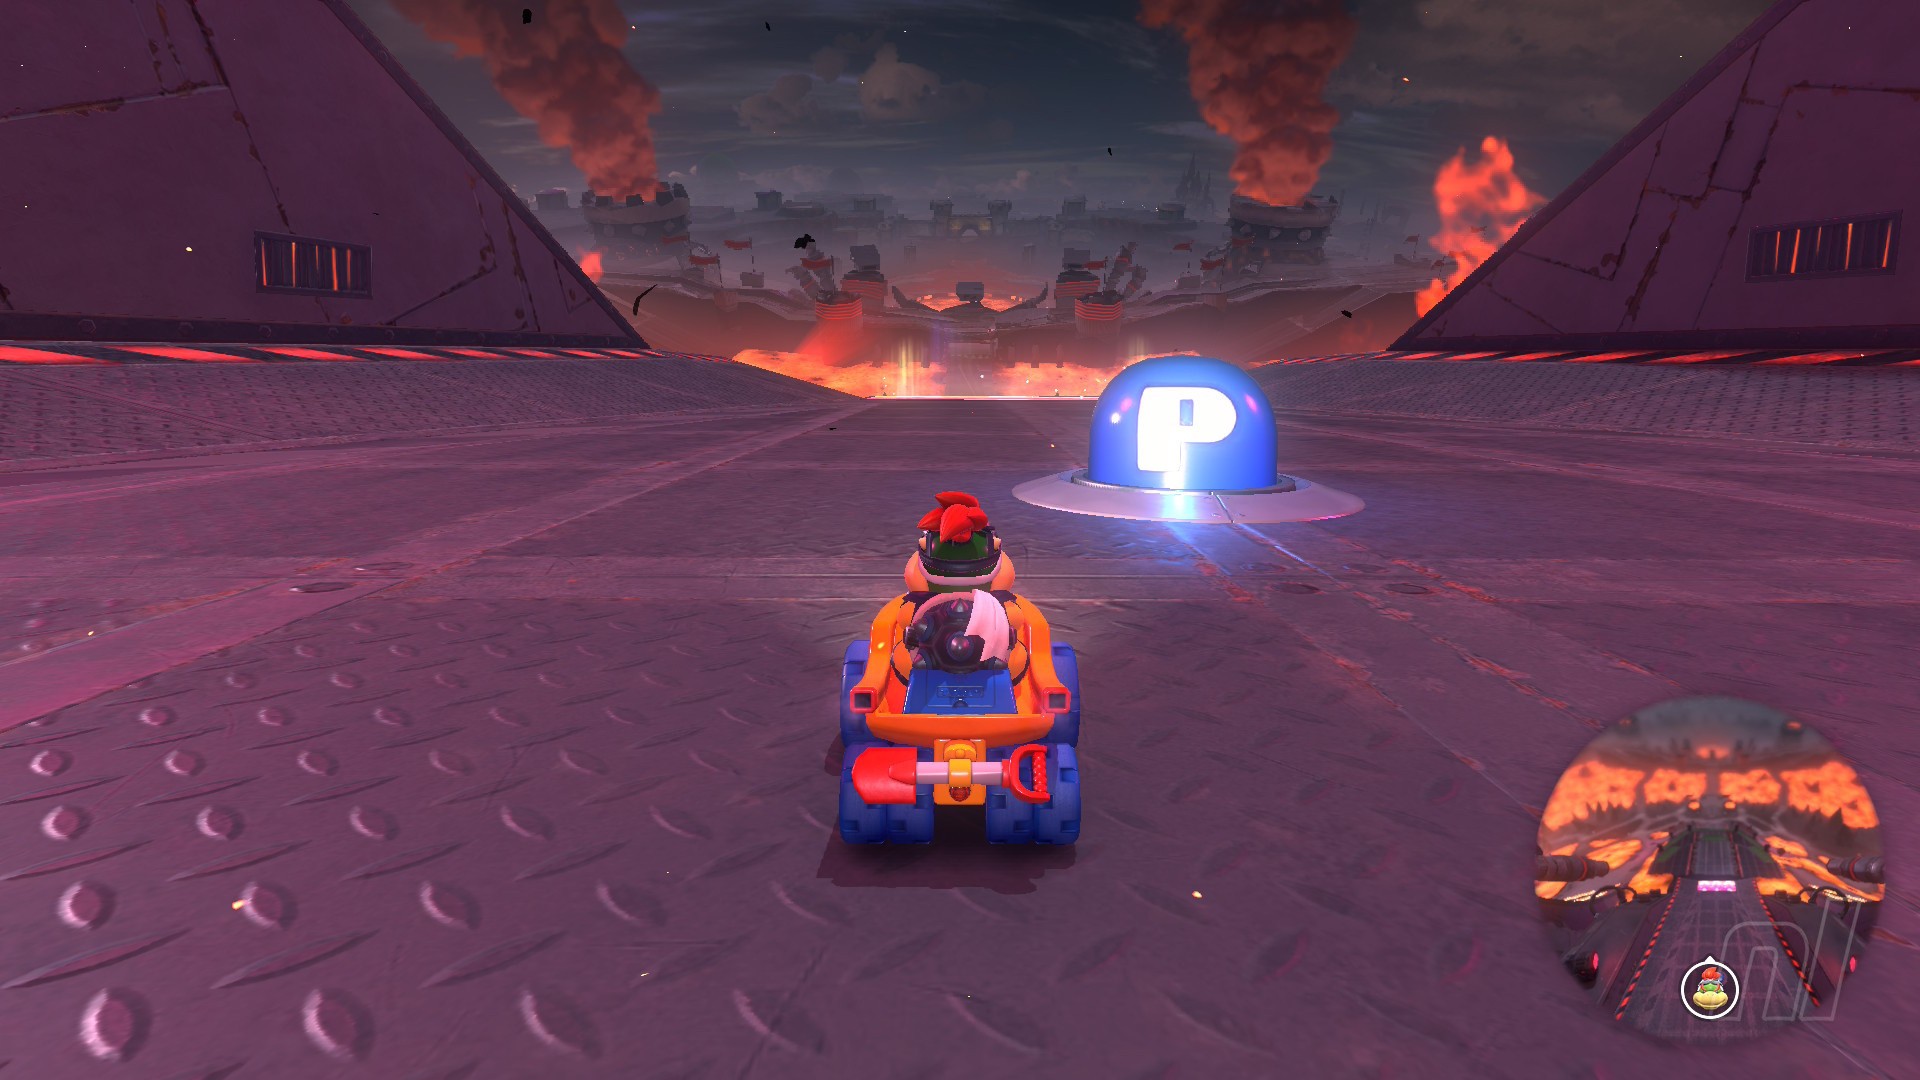
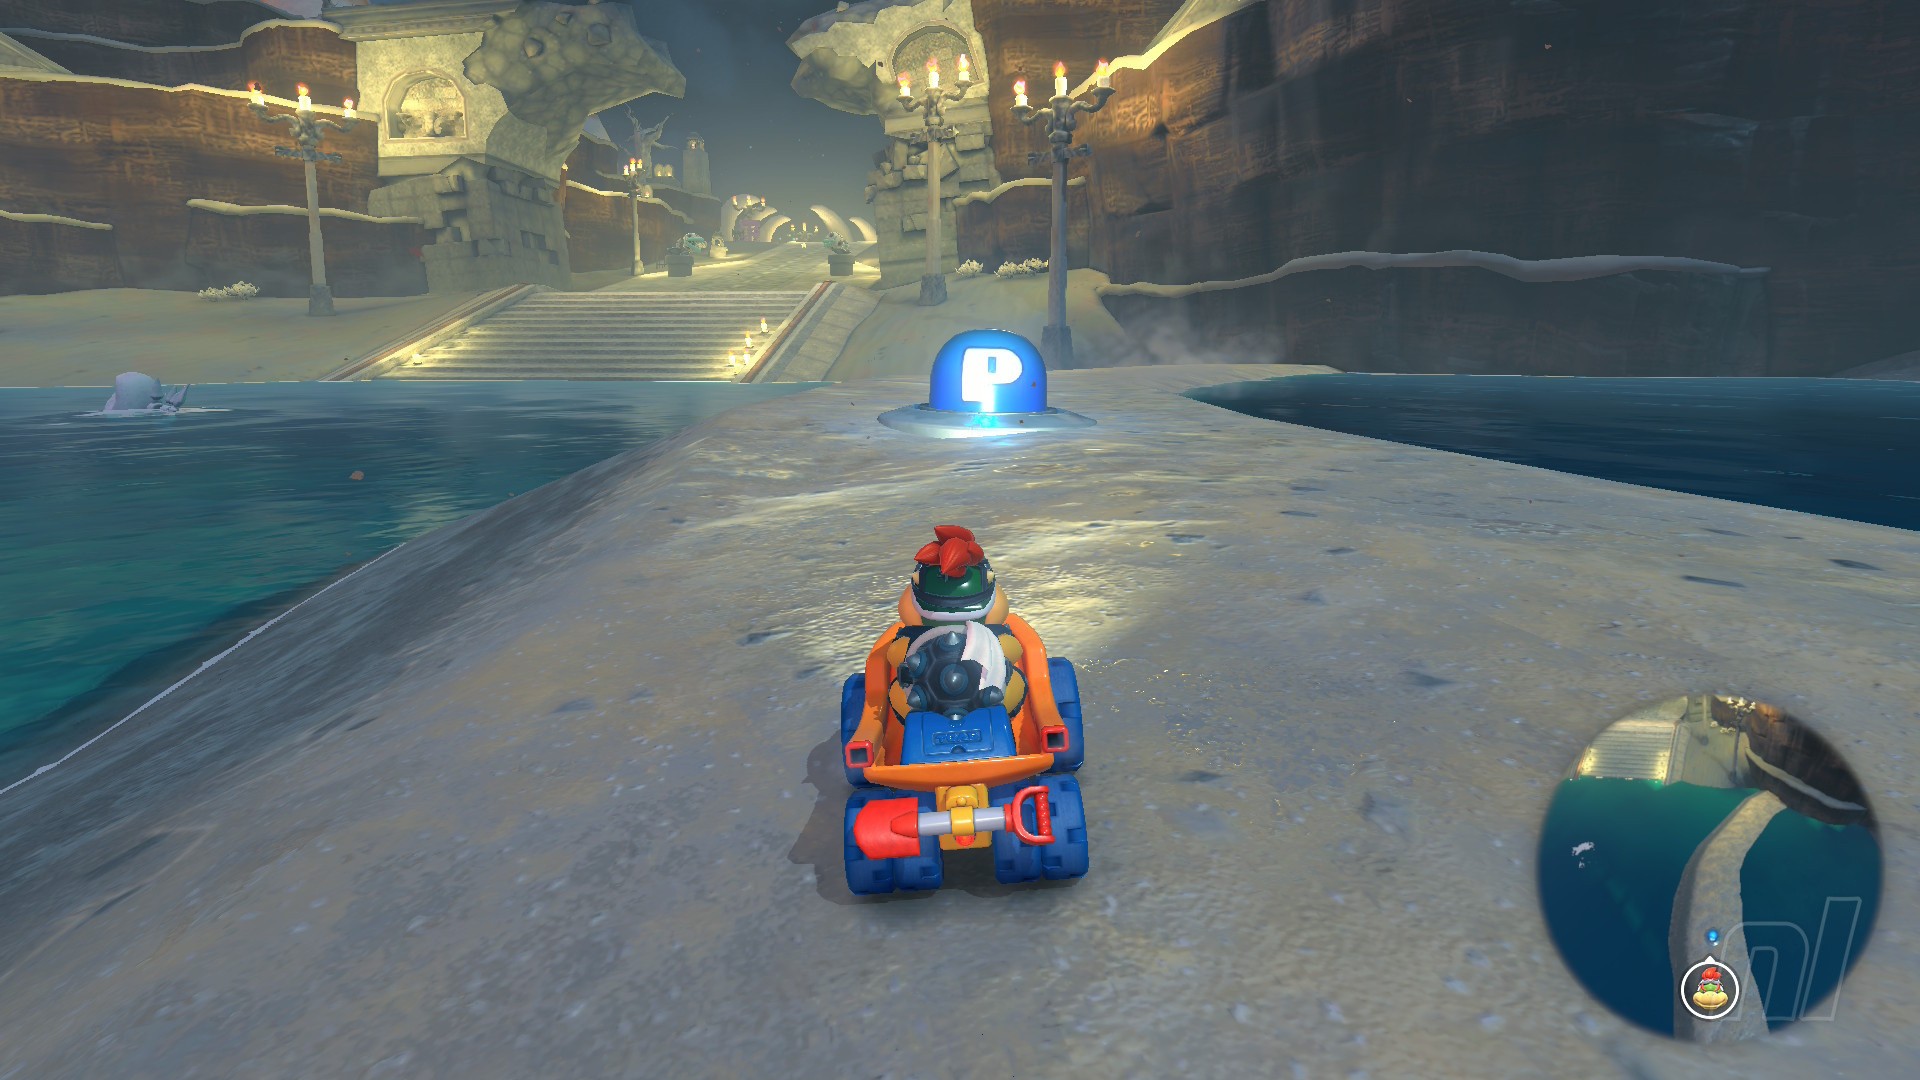
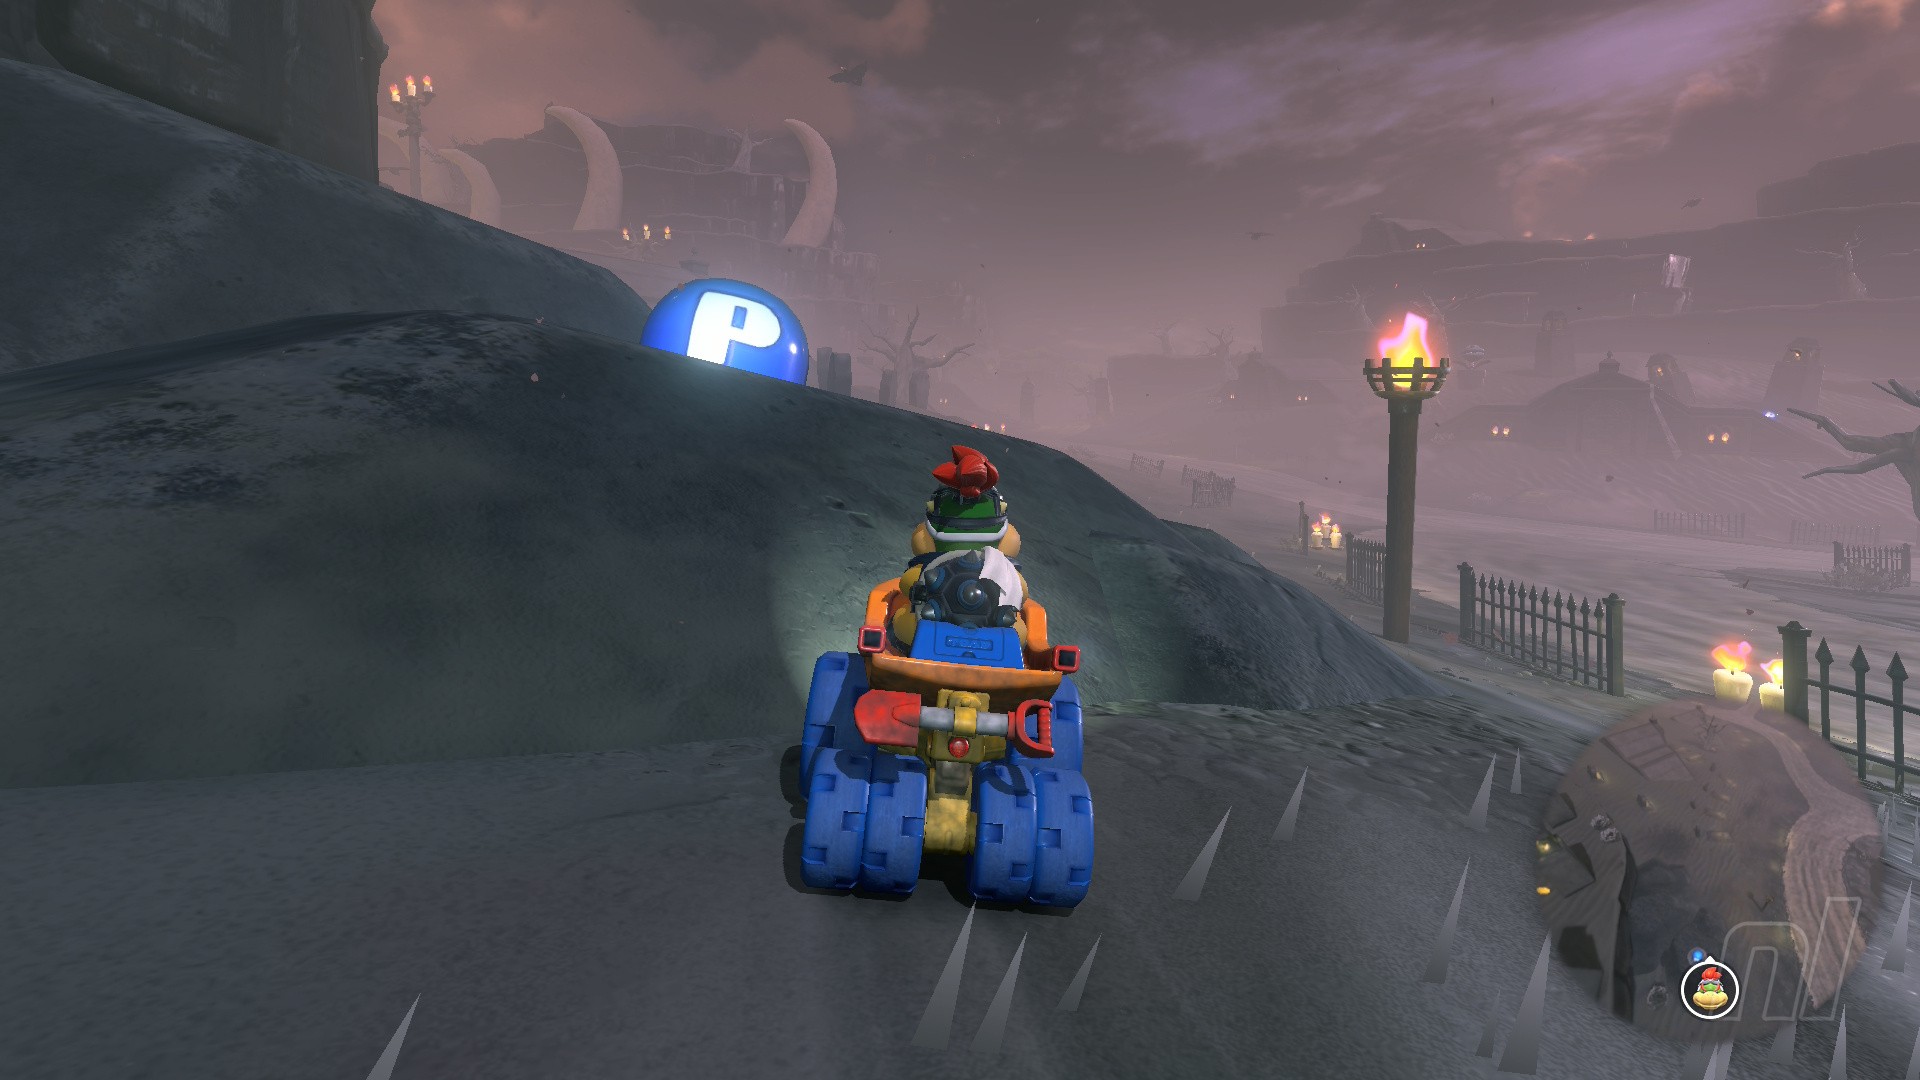
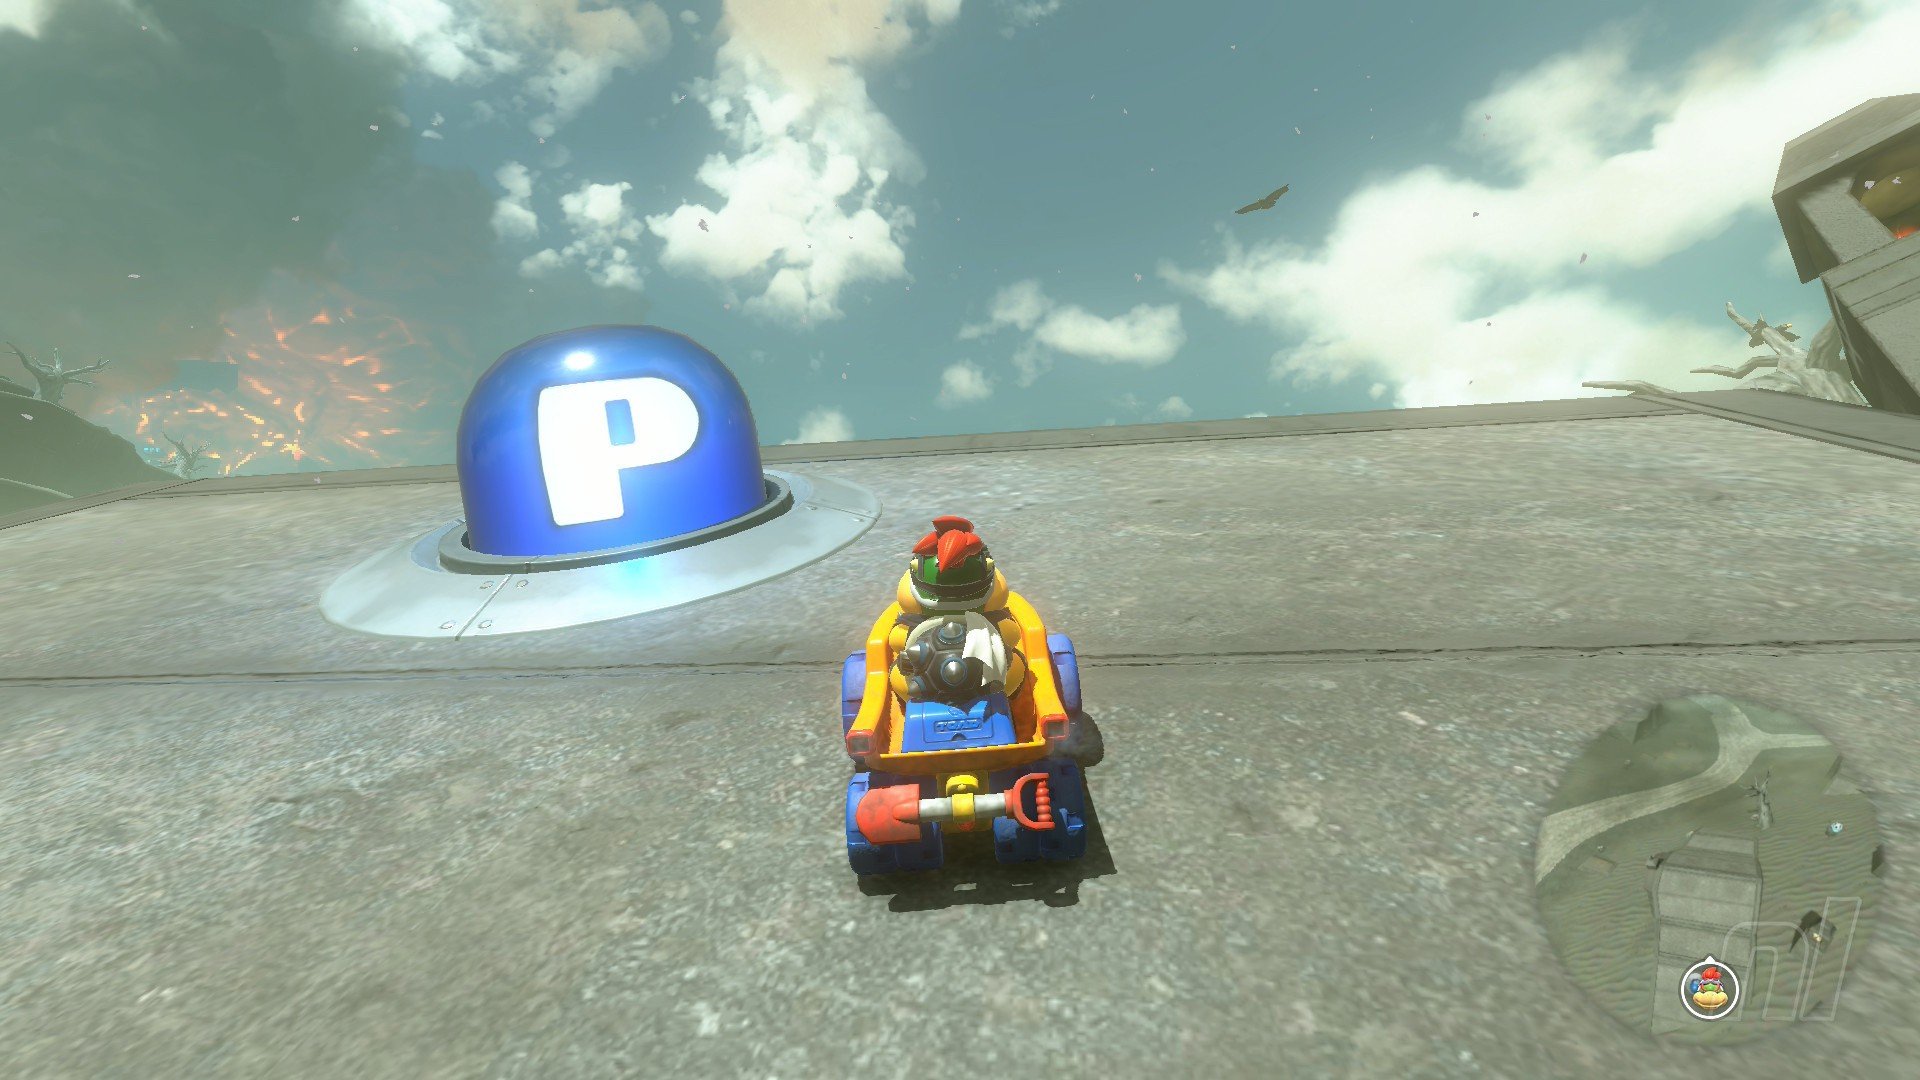
The darkest, most dangerous region in Mario Kart World's Free Roam? Well, it's got to be that dark, ashen region in the northwest, right? Home of Bowser? Residence of a big volcano? Yep, that's the Lava Region for you.
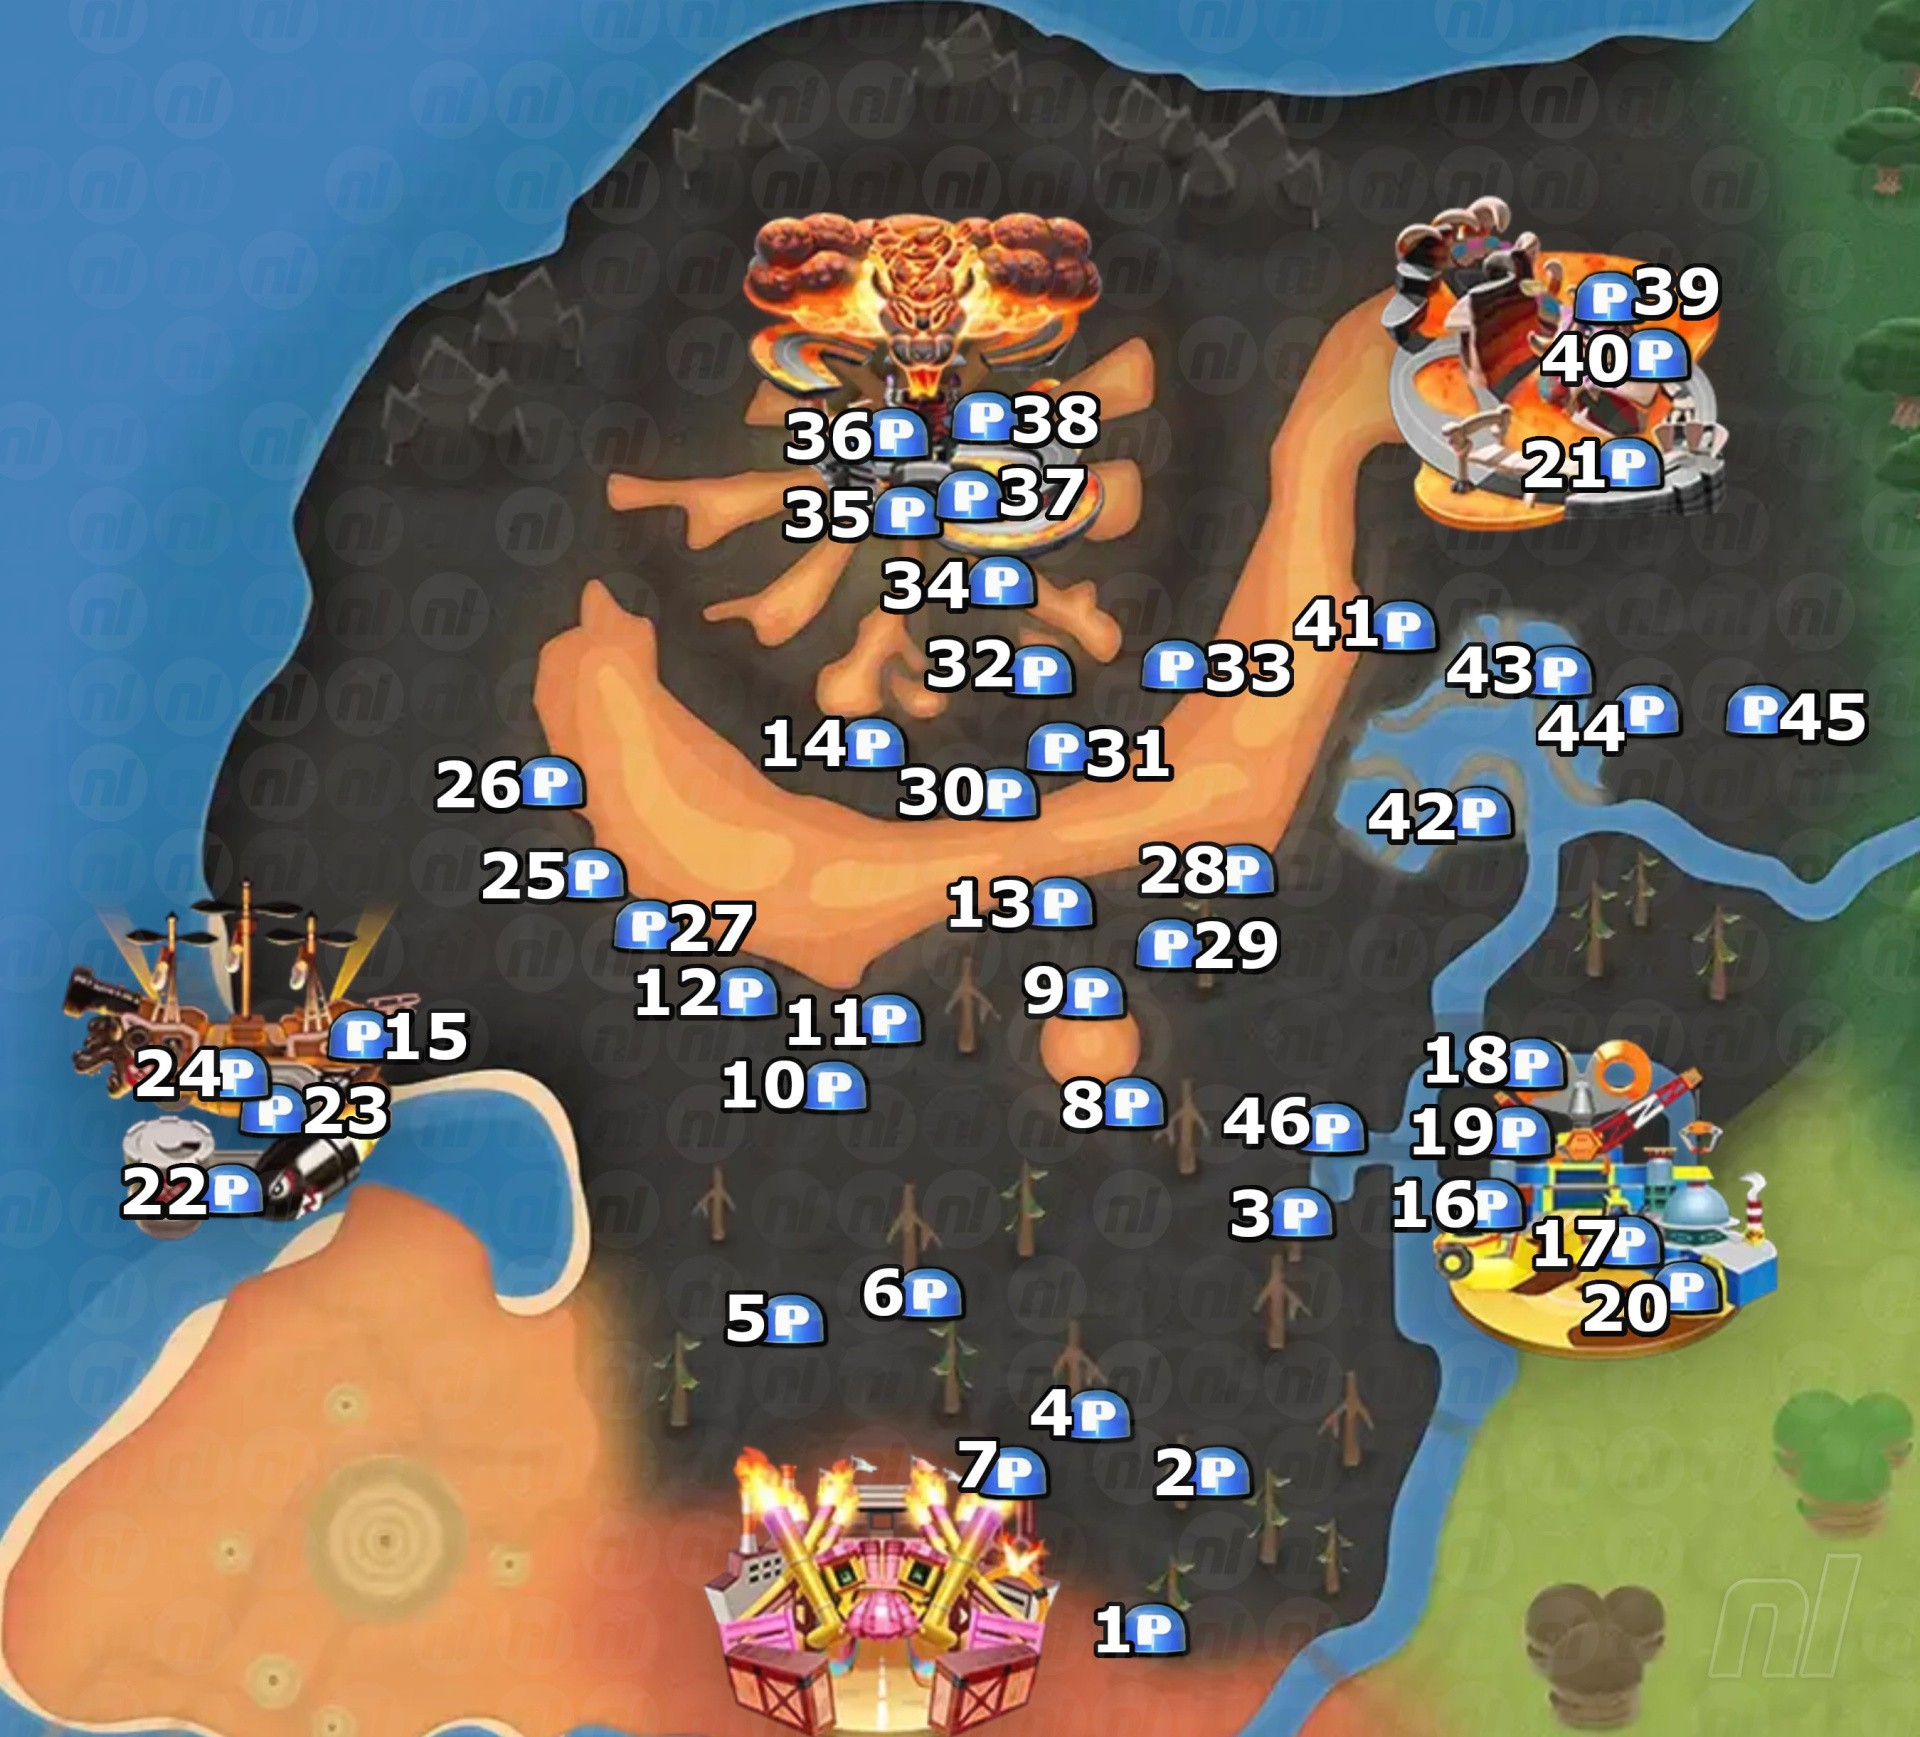
Between Bowser's Castle and Toad's Factory, there's lots of boiling magma to avoid and collectibles to discover. We'll be going over where all of those big blue buttons and Peach coins are. But don't forget, there are plenty of other regions and courses to explore, so have a look through our P Switch and Peach Medallion hubs to see our regional map breakdown and guides for all sections of the world.
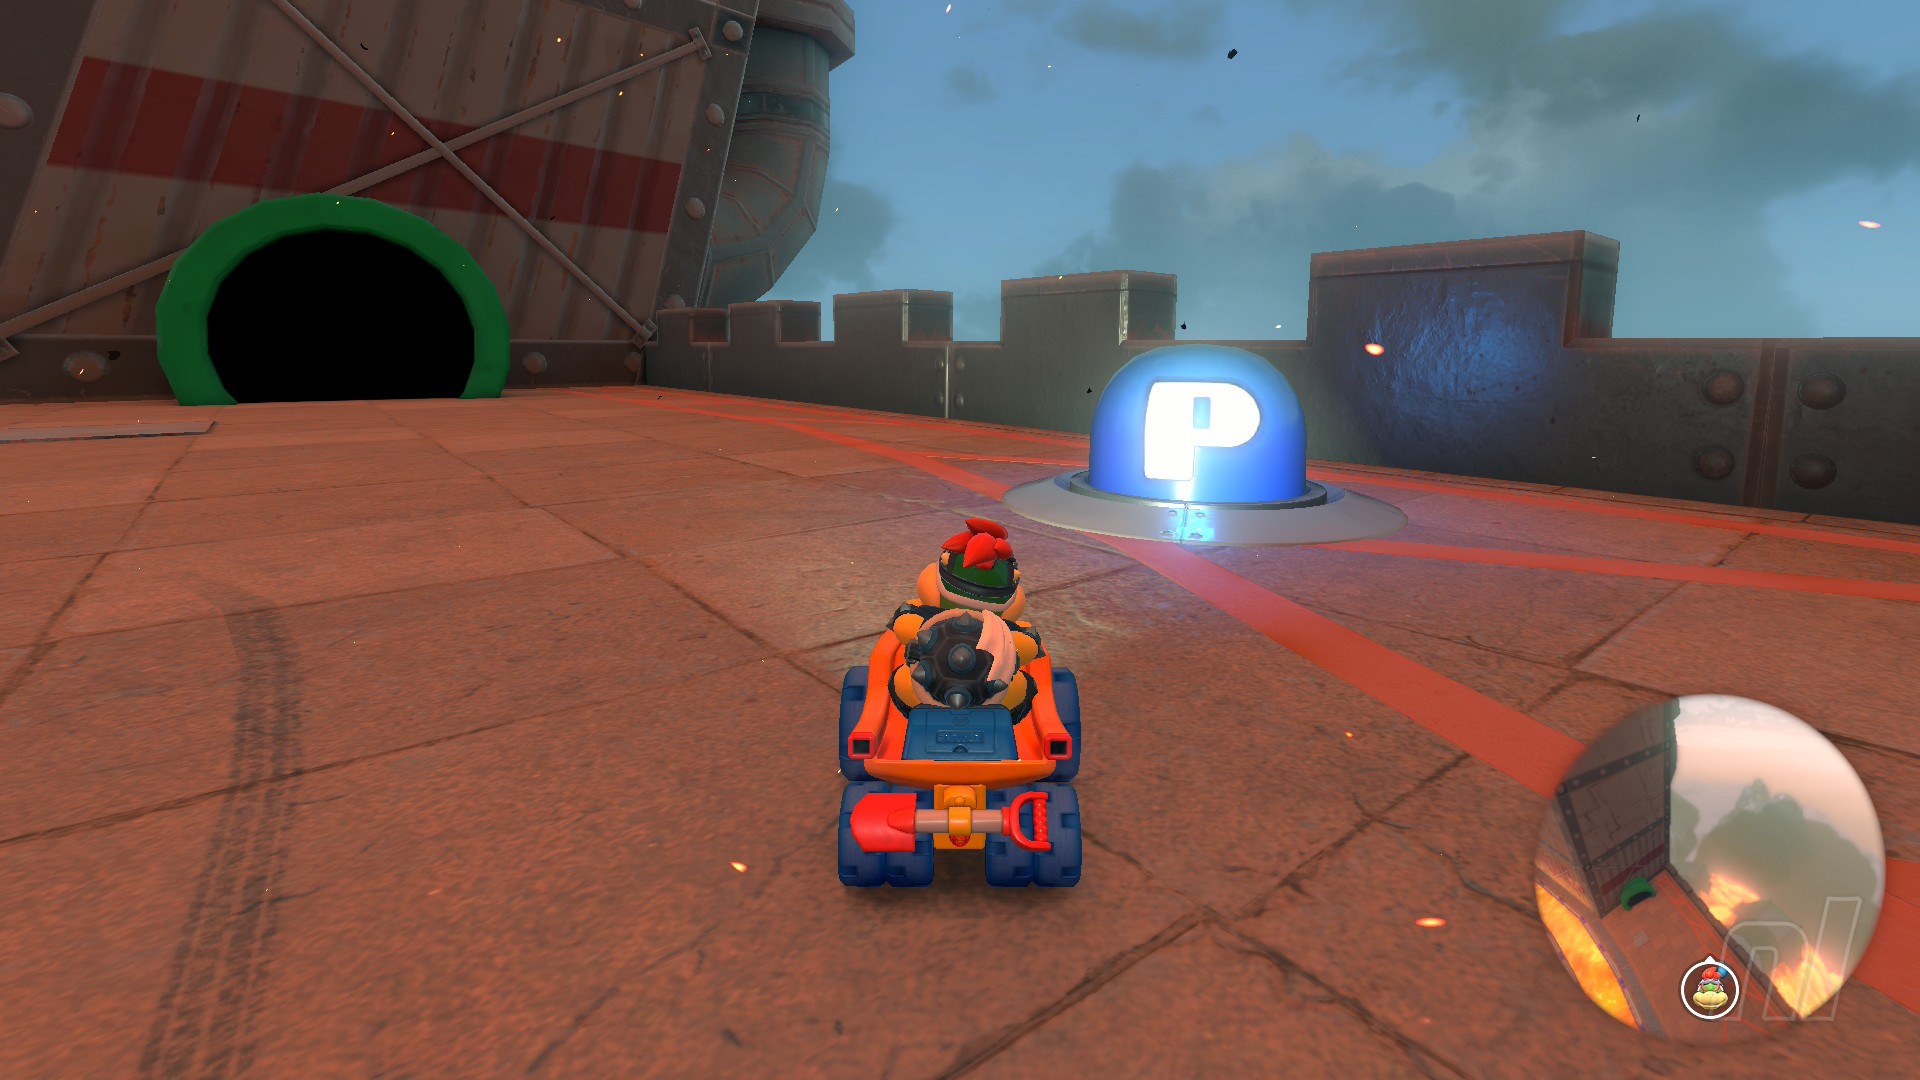
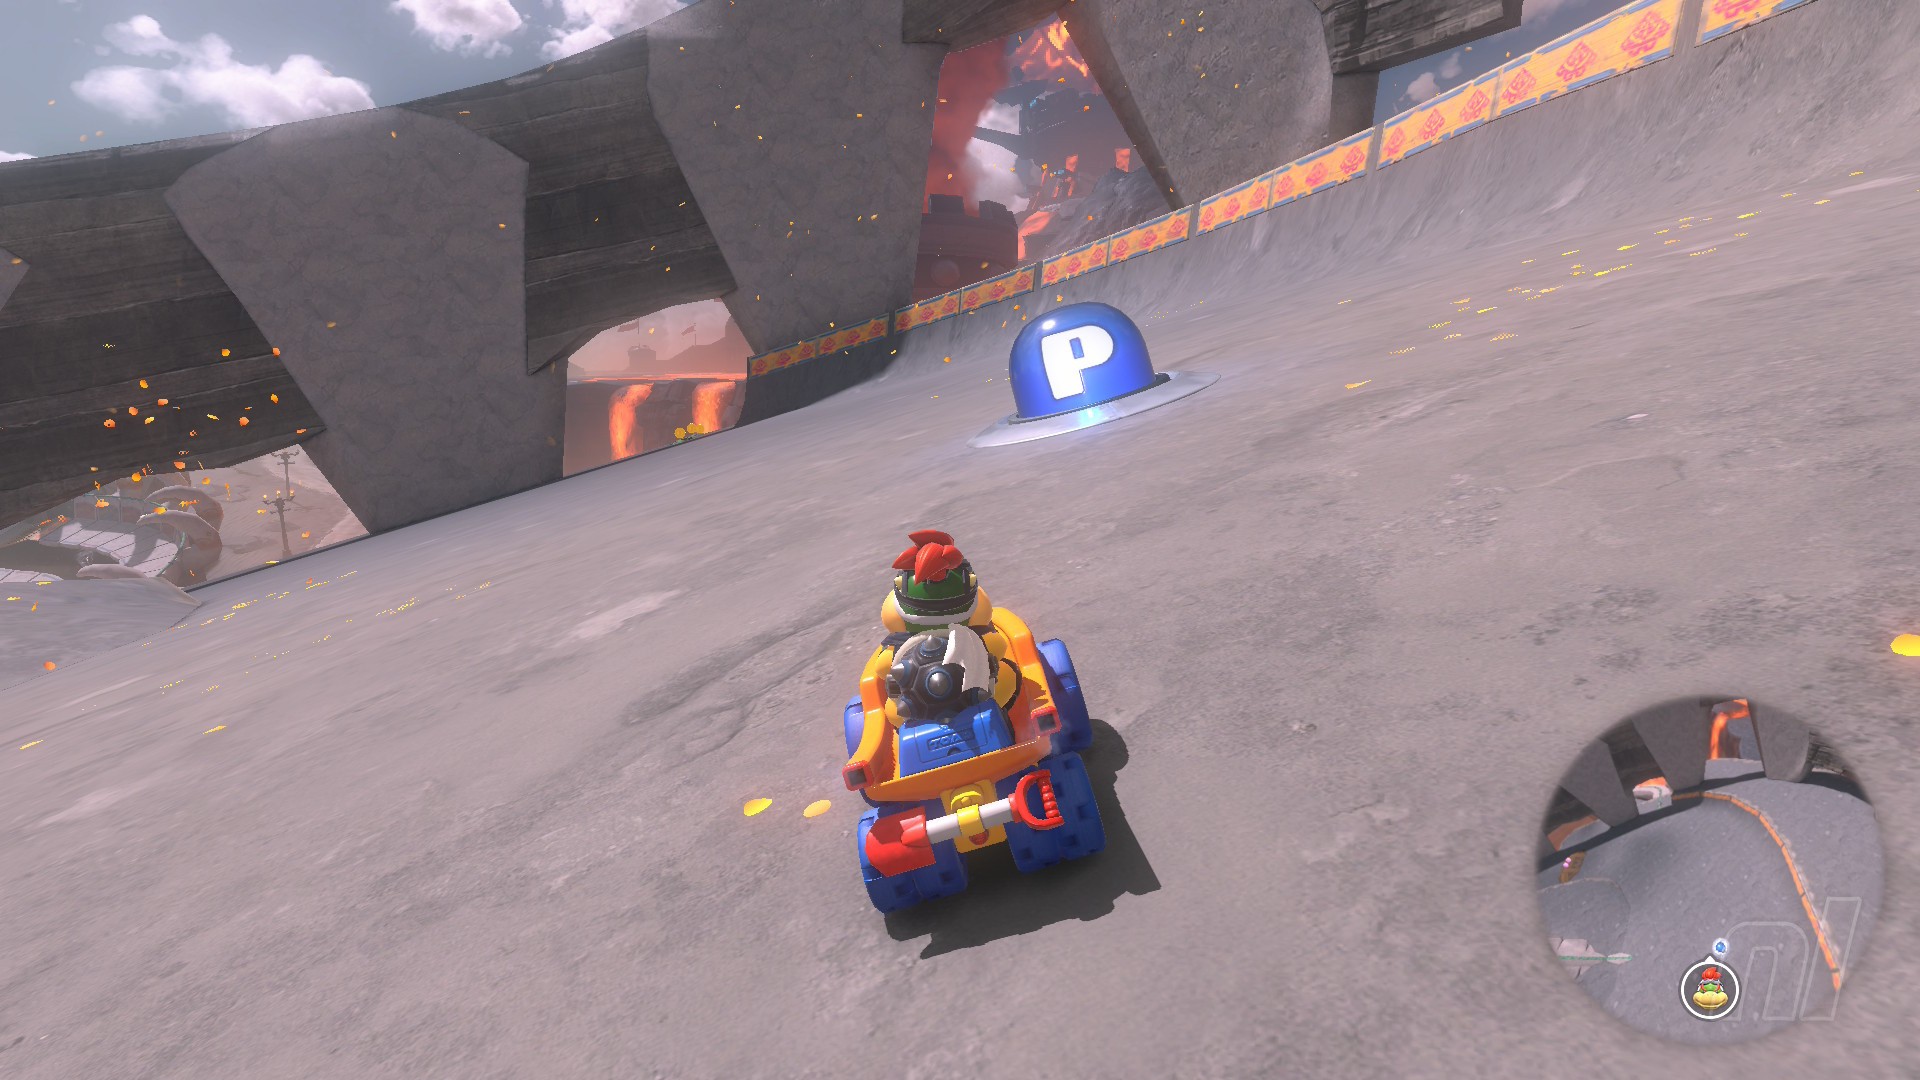
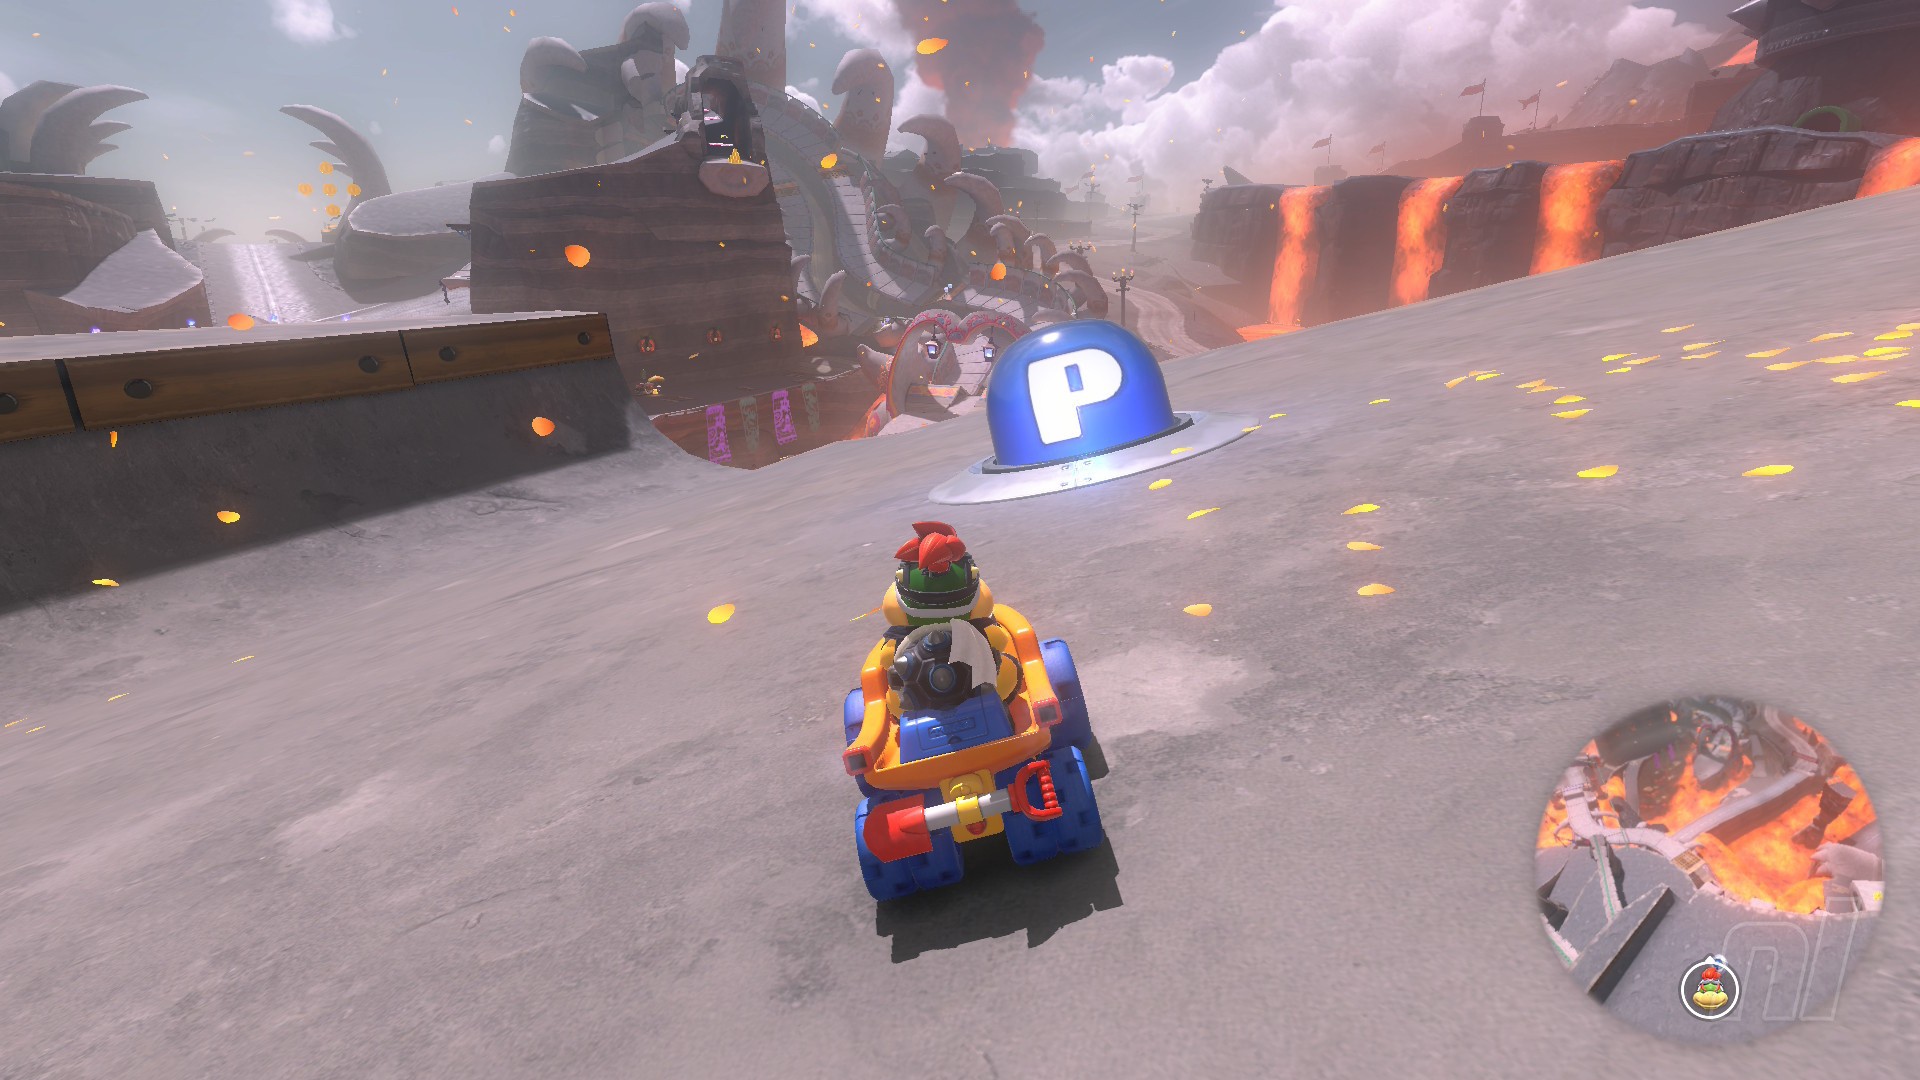
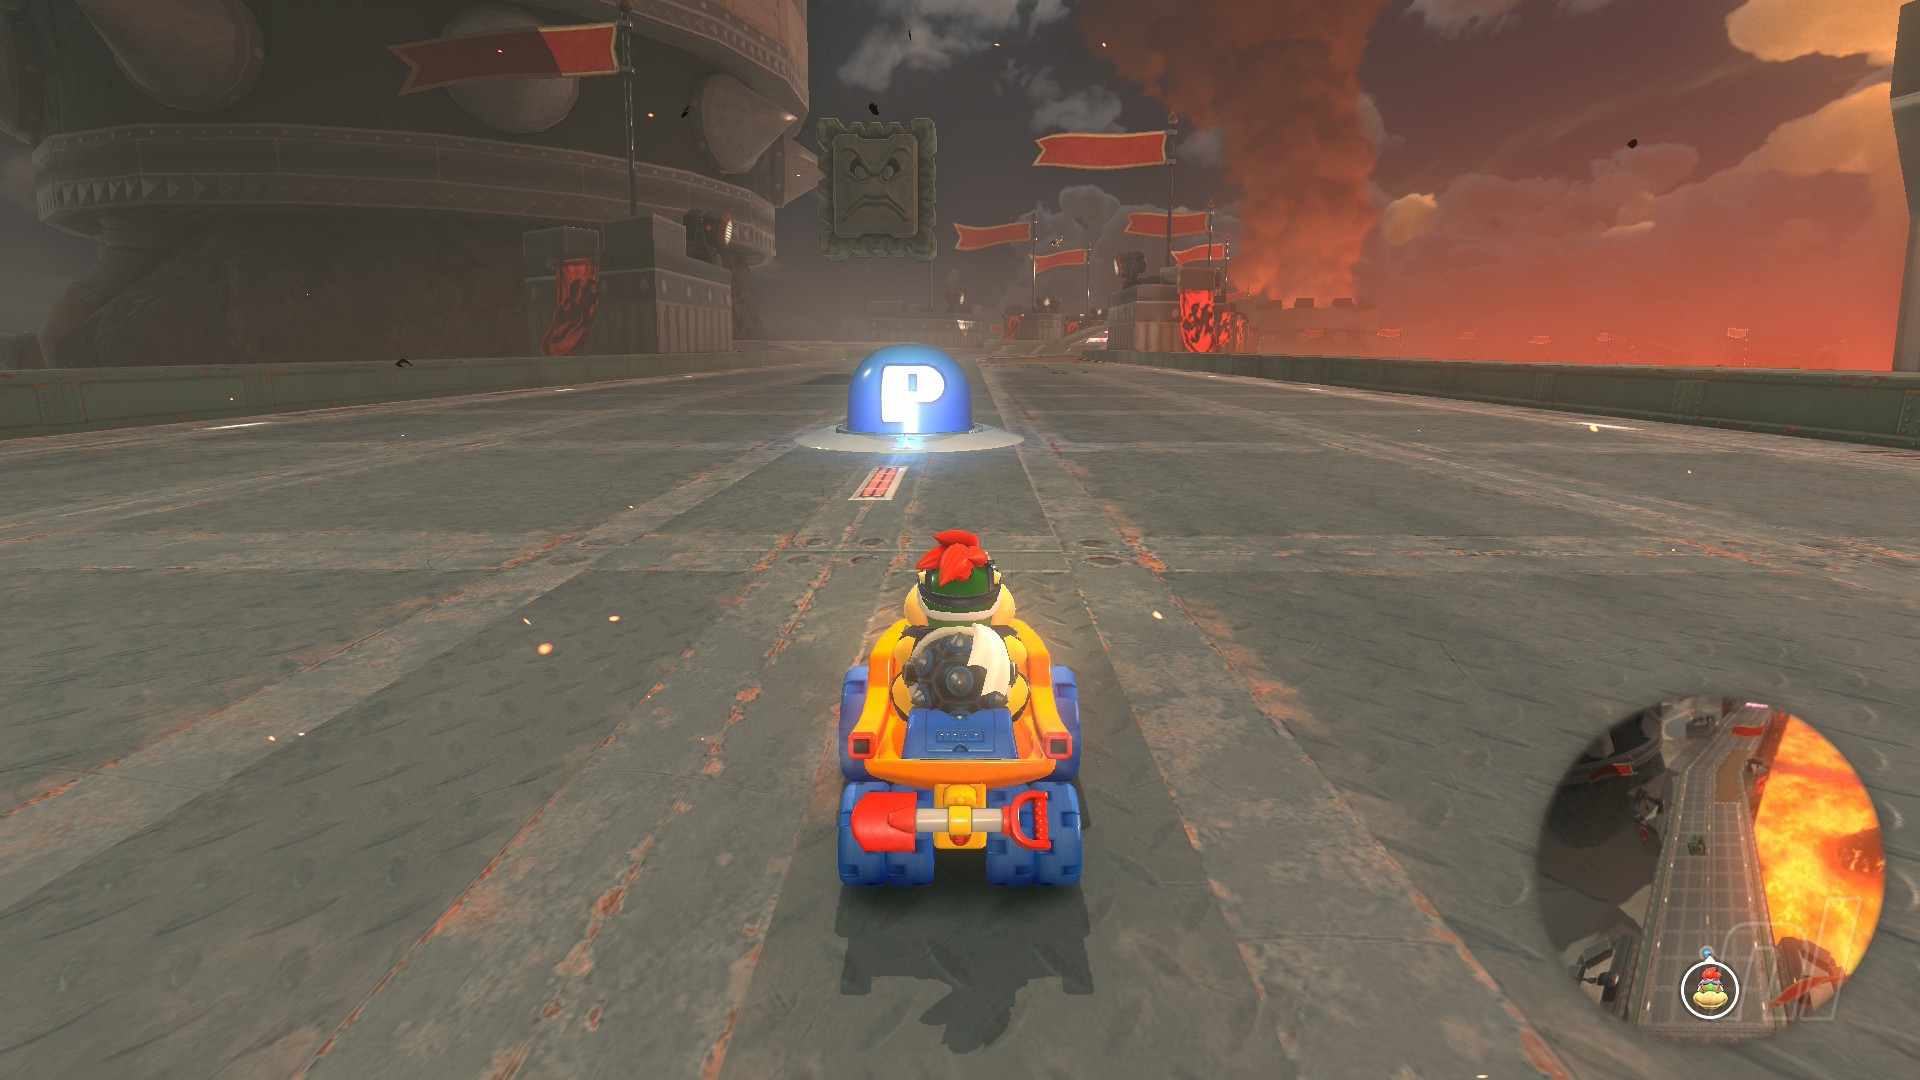
P Switch Missions - 'Lava Region'
'Lava Region' P Switch Map
The Volcanic Region covers the entire northwest dark area in the corner of the Mario Kart World map. That means there are Airship Fortress, Bowser's Castle, Dry Bones Burnout, and Toad's Factory are all to be found here, alongside a whole load more covering the ashen areas and volcano.
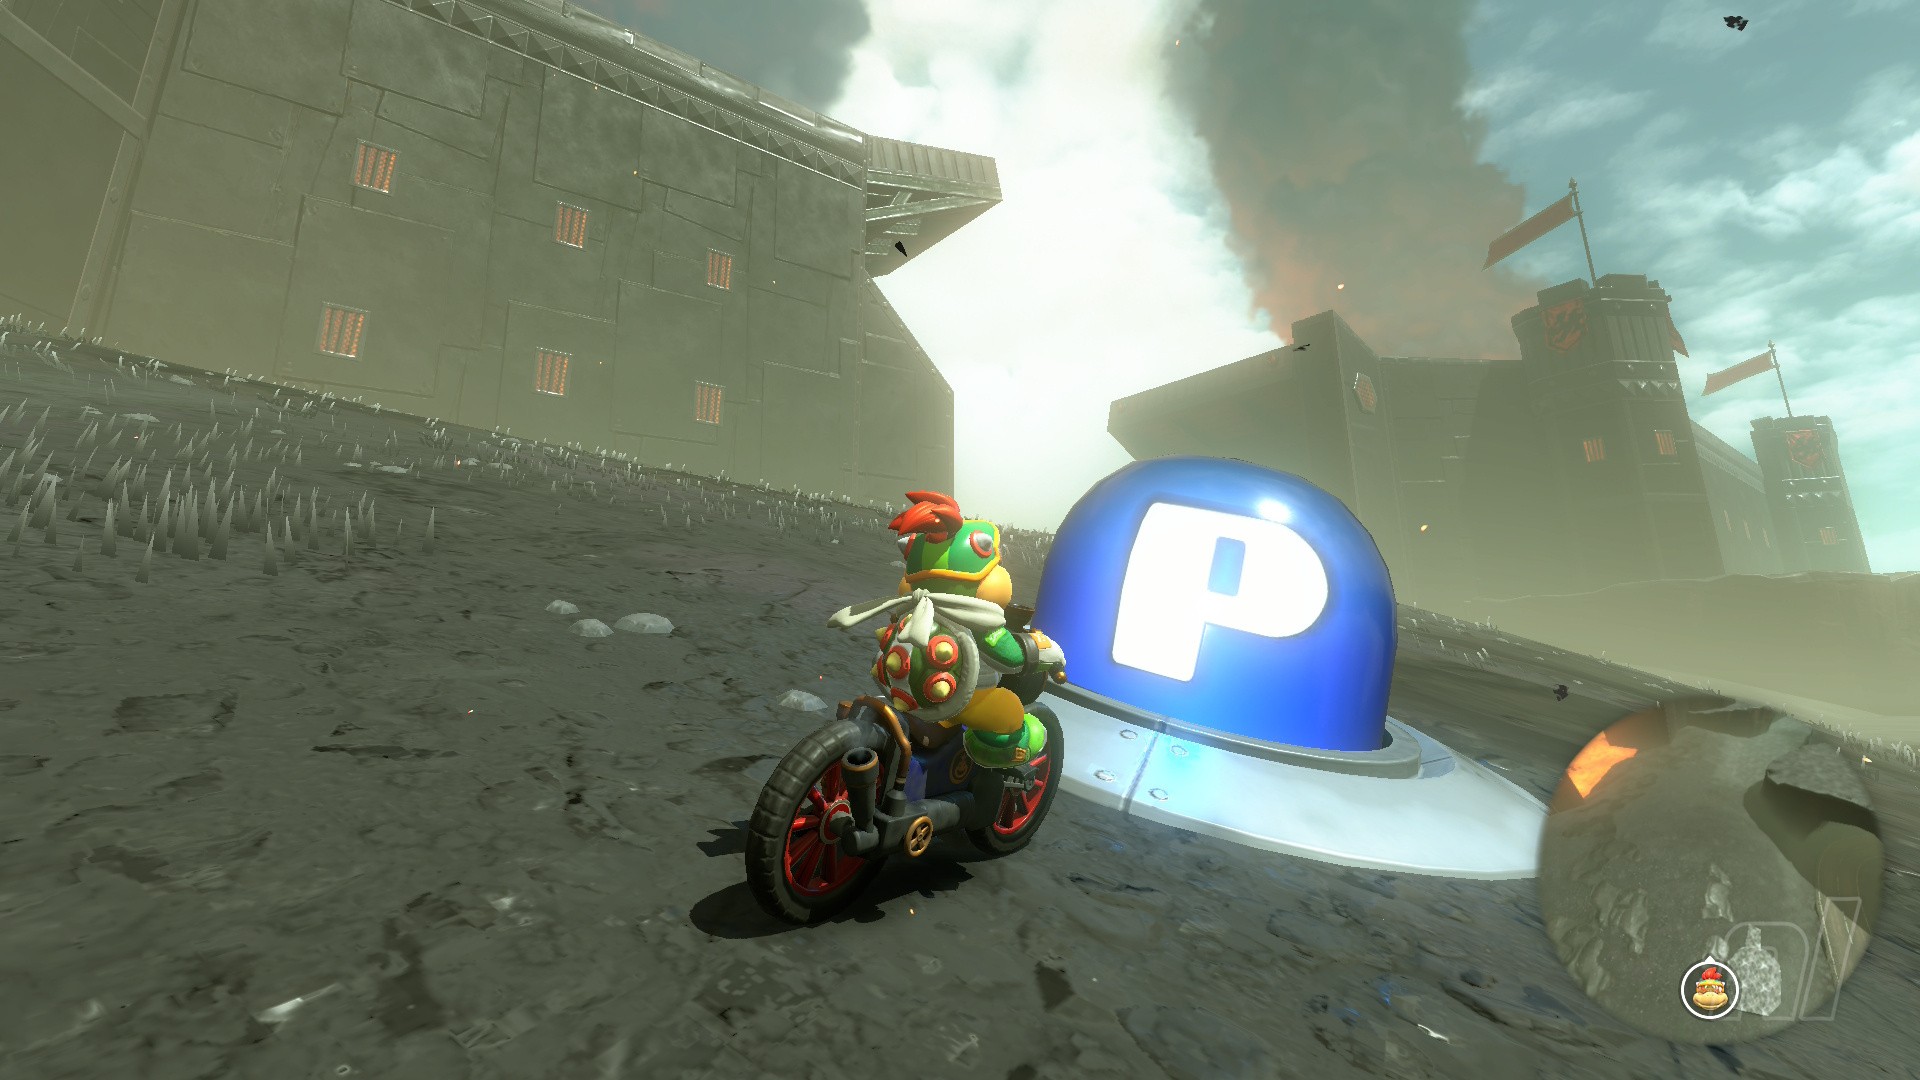
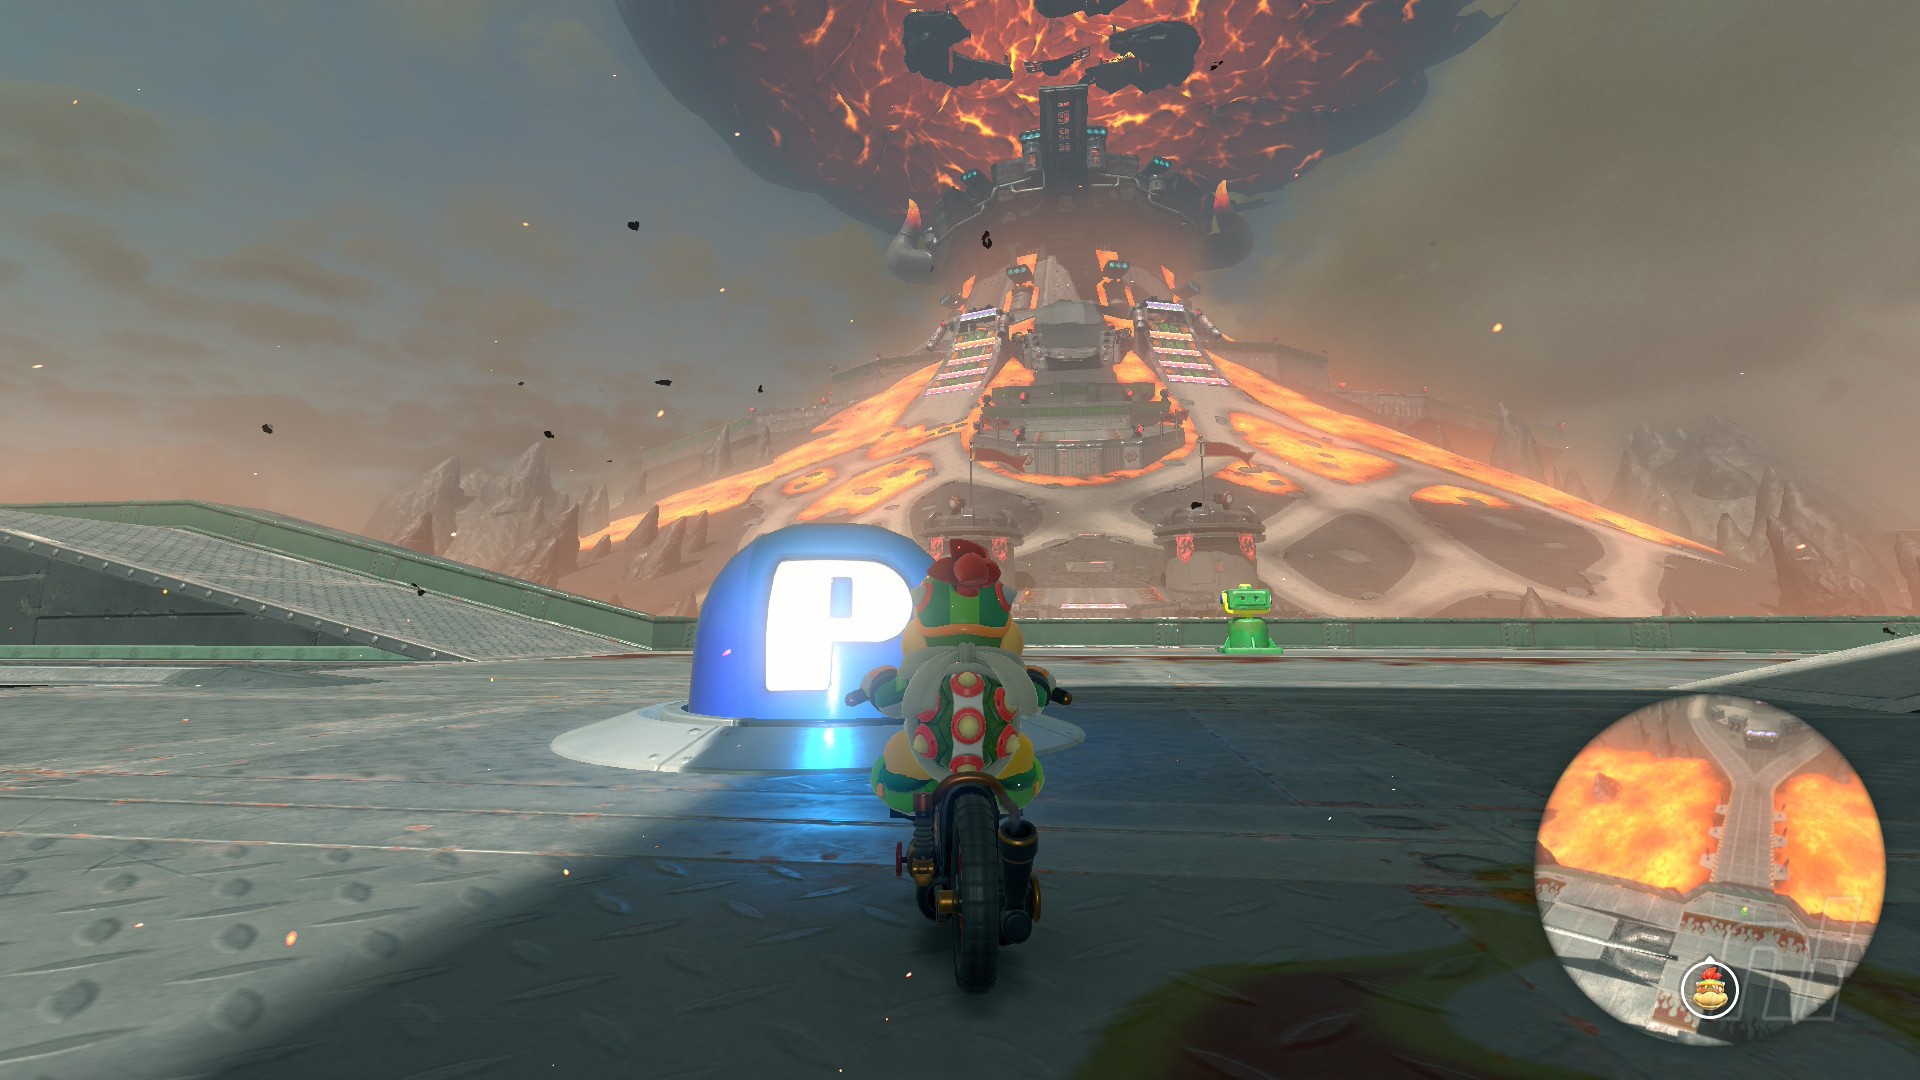
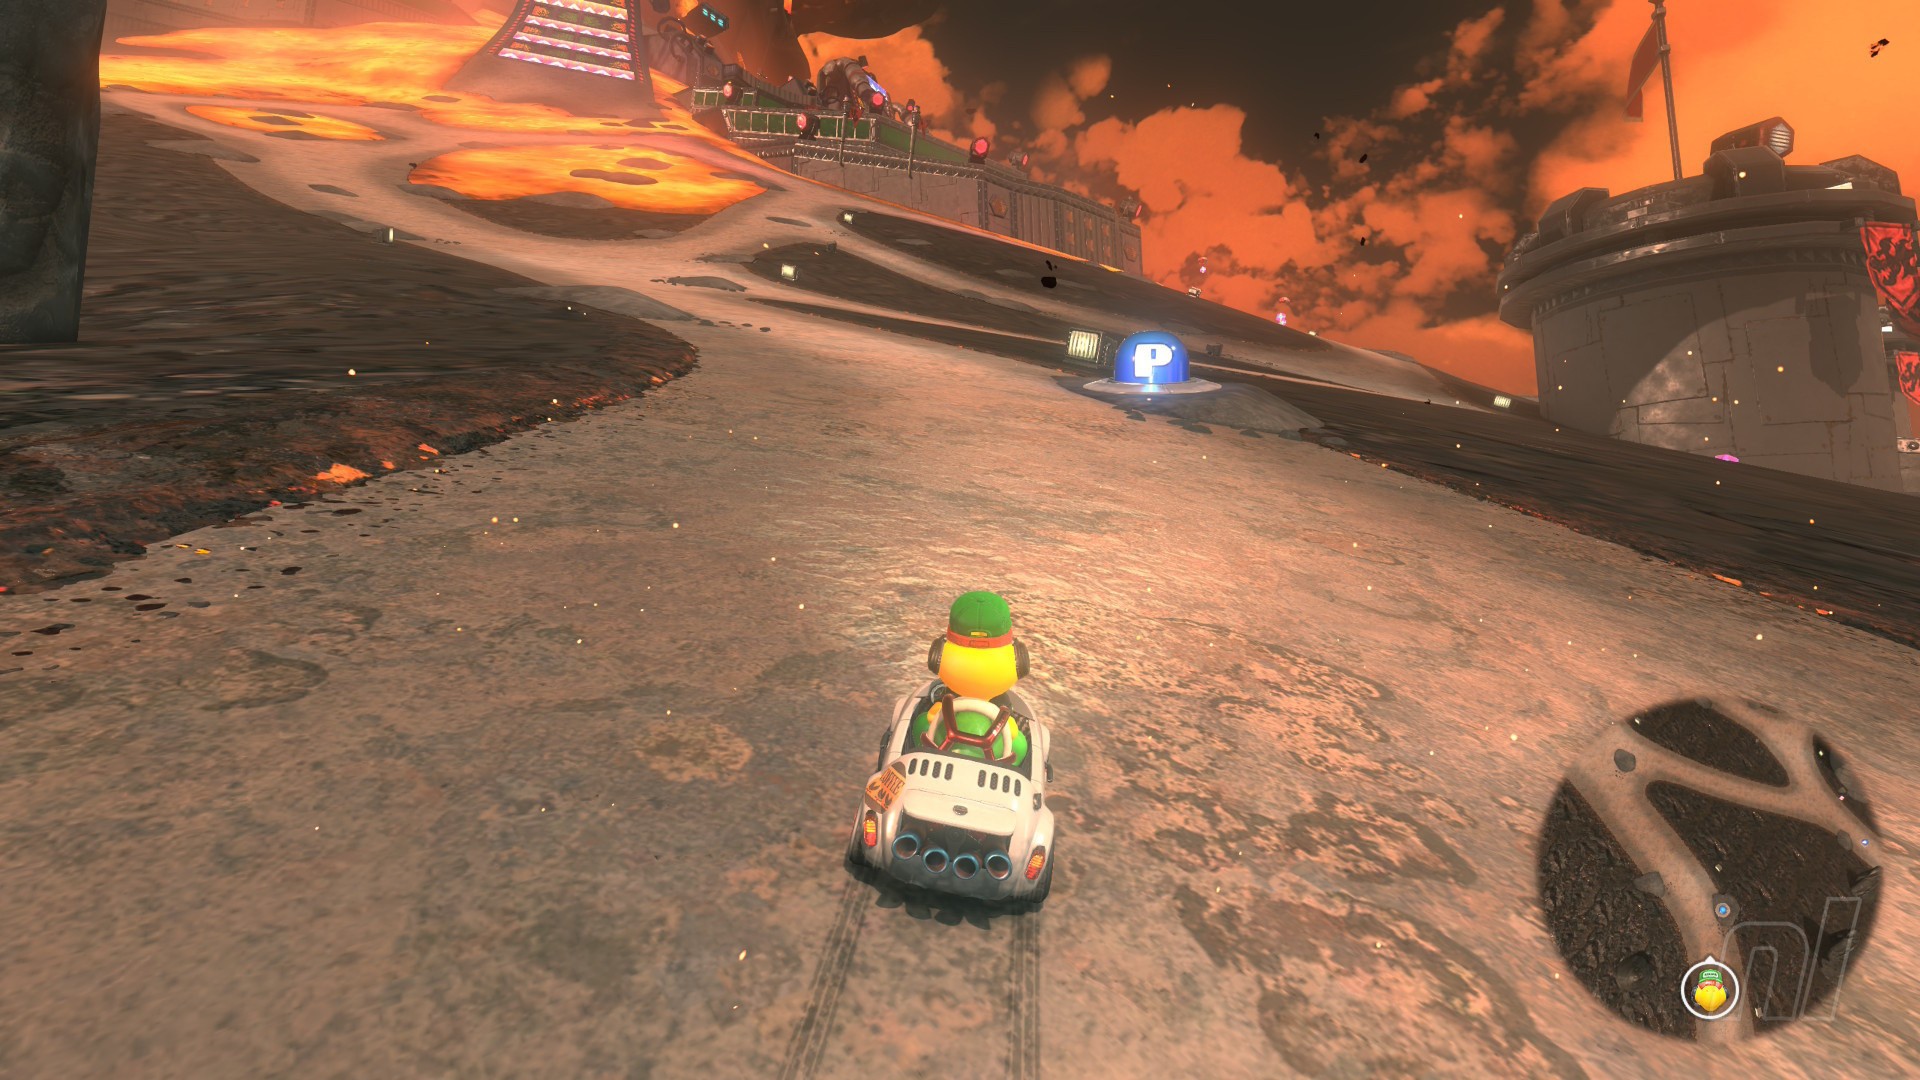
It's a spicy one, so make sure you take this map with all 46 P Switch locations with you!
All Lava Region Mission Locations
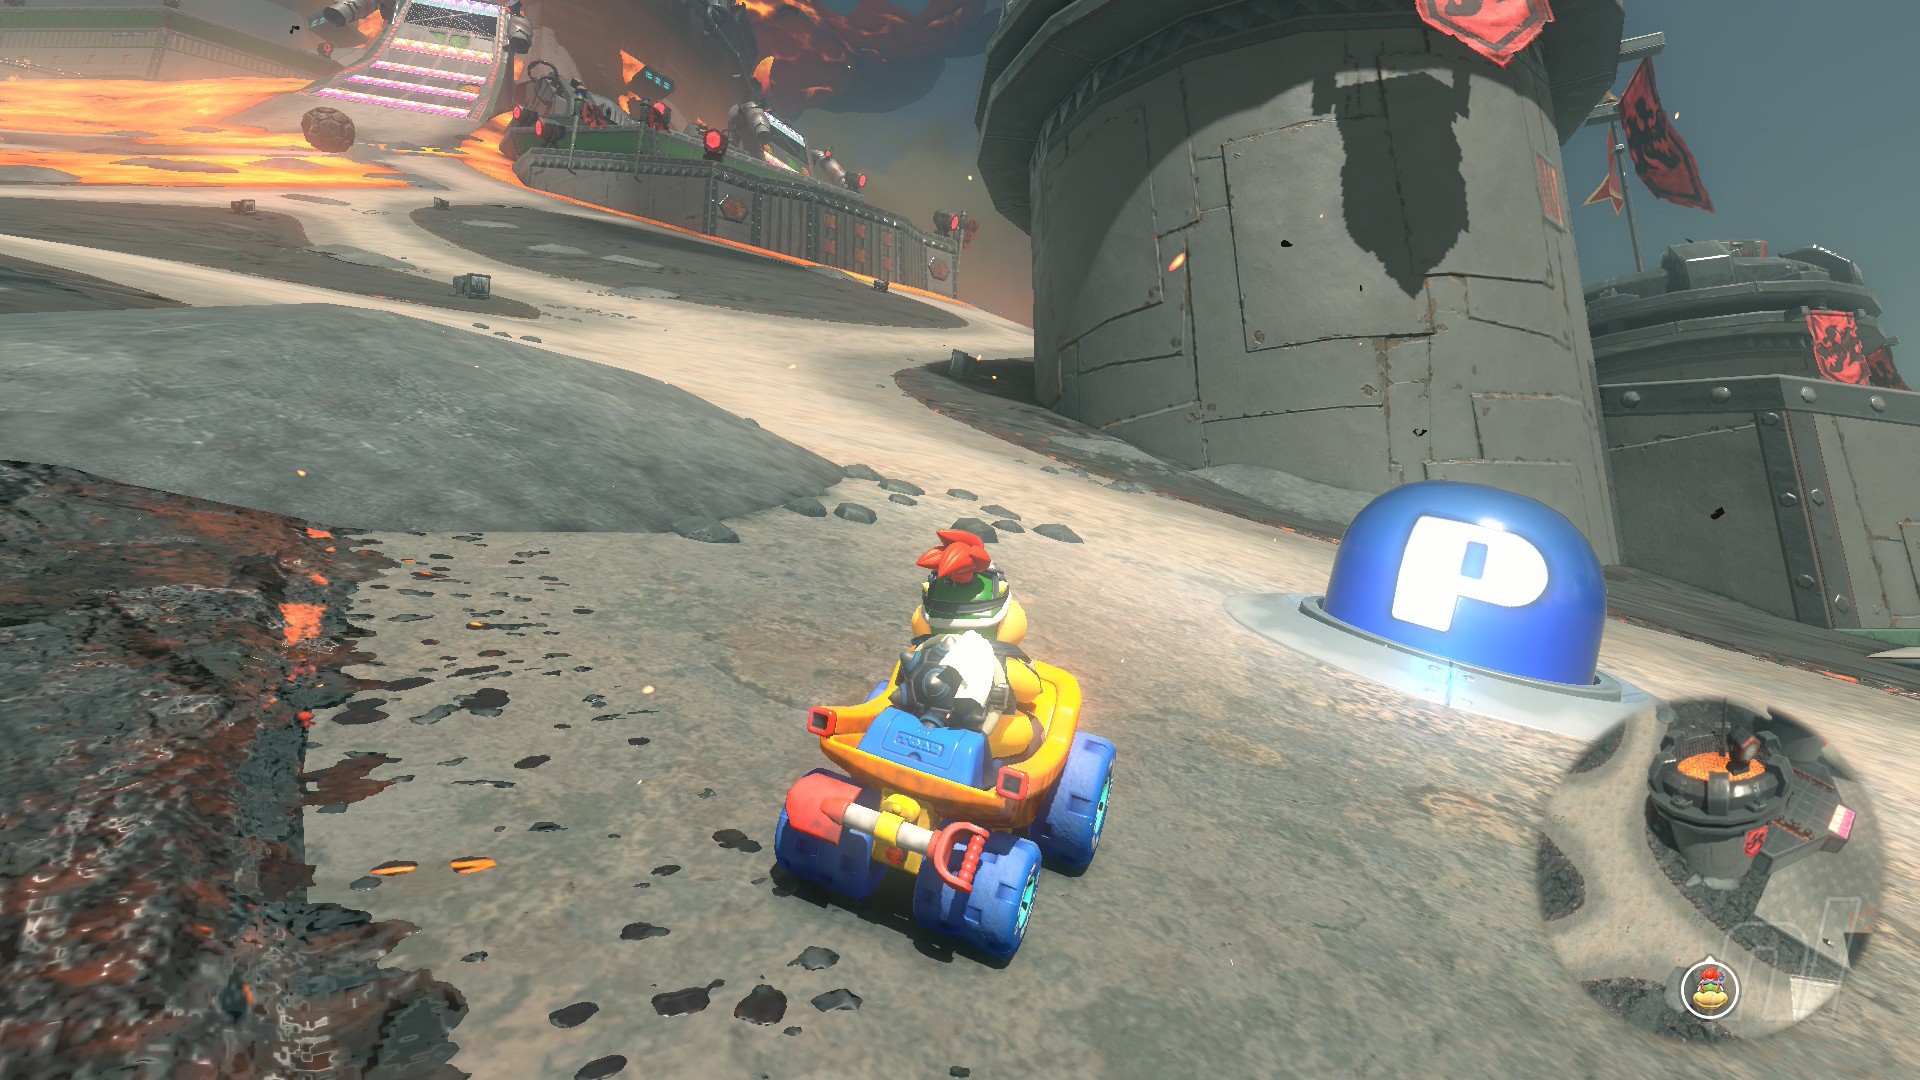
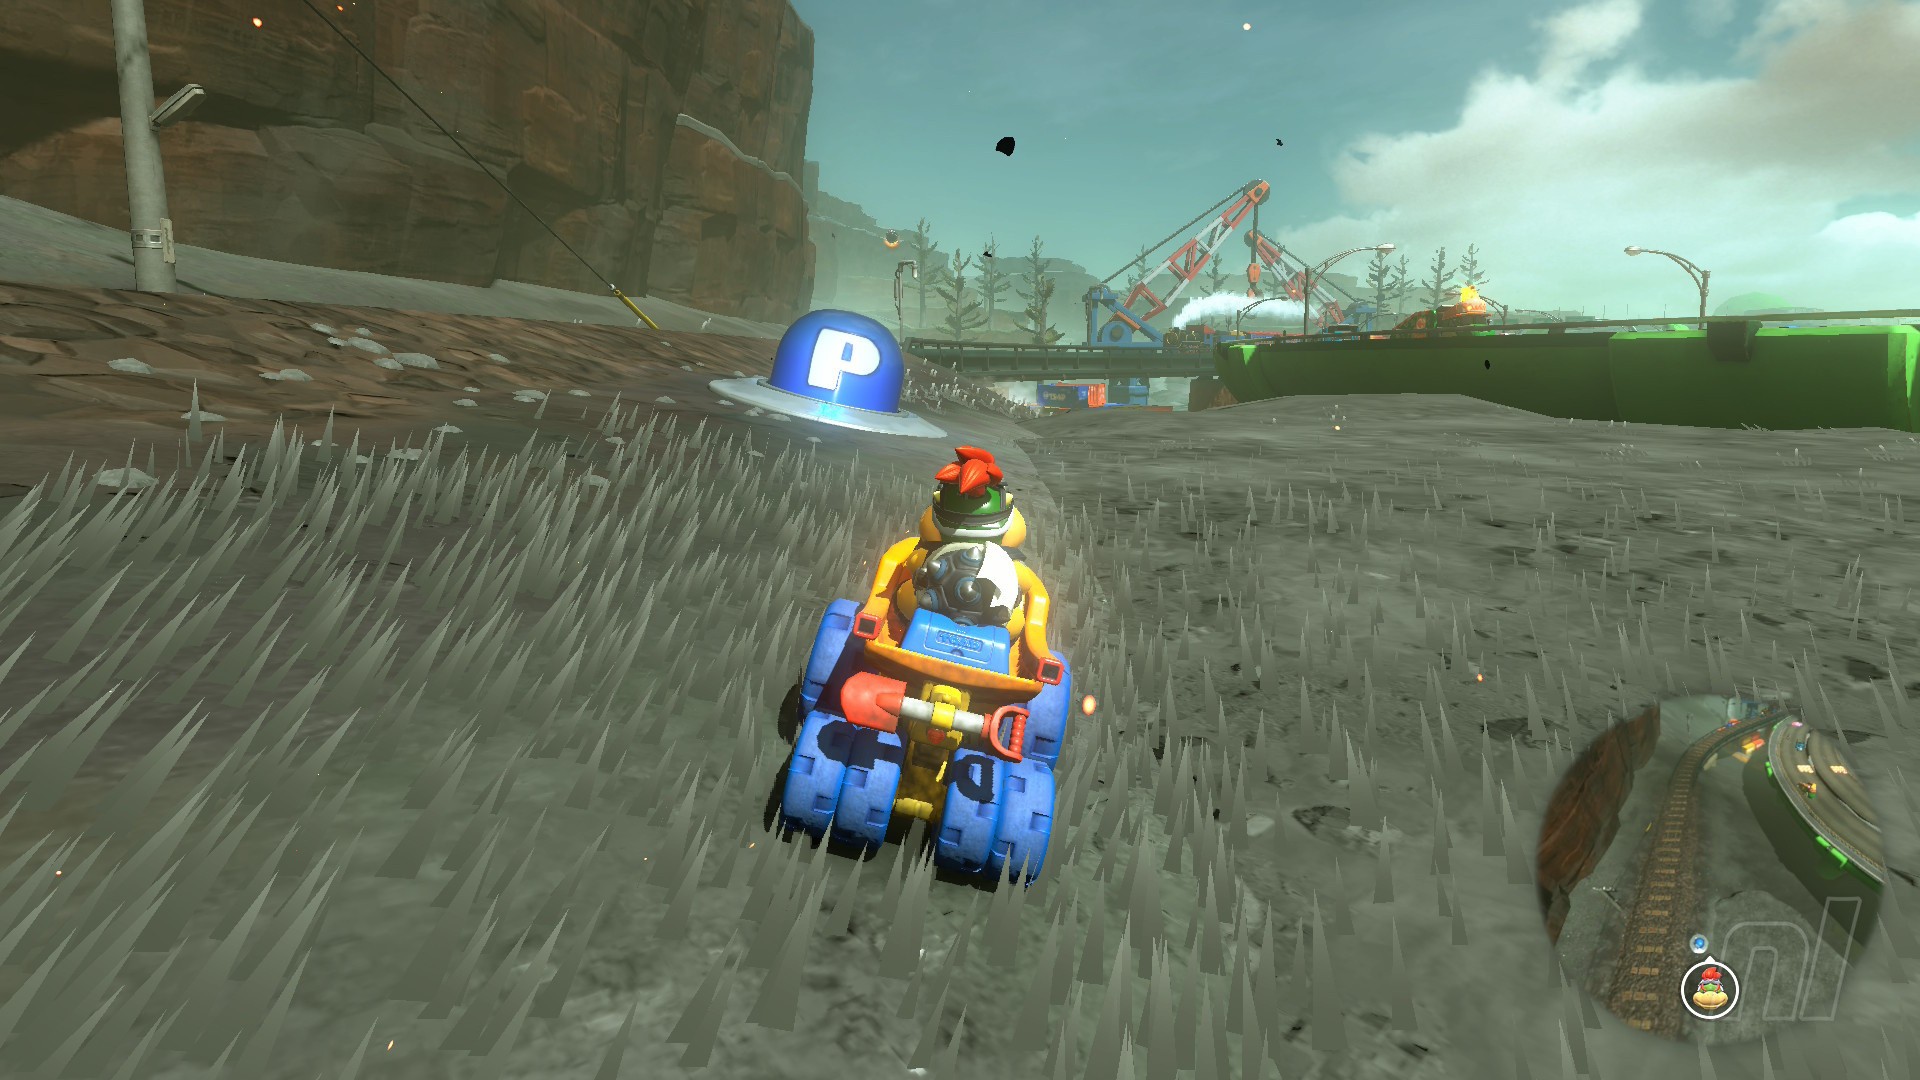
Mission 1
Mission: "Survive the spicy Fire Piranha Plant gauntlet!"
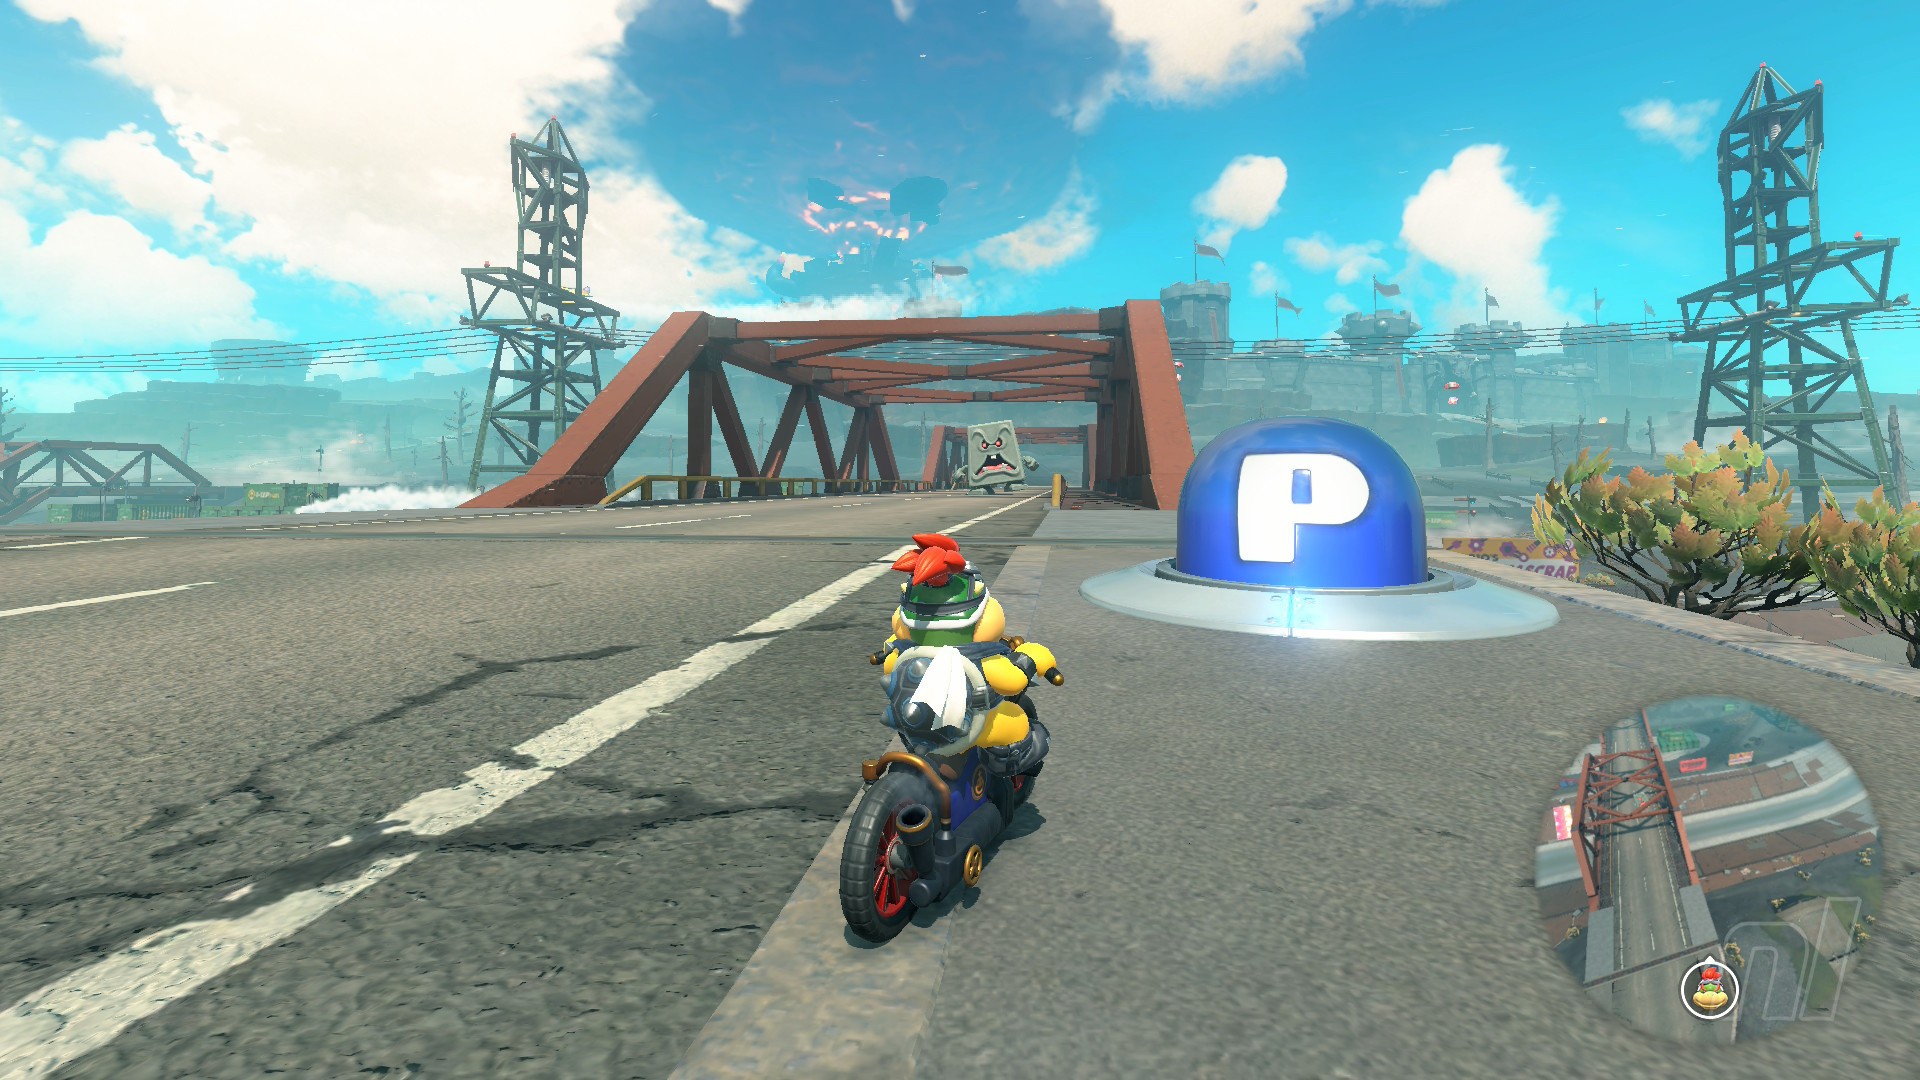
Location: East of Wario Stadium, just past the border between Lava and Wild West regions
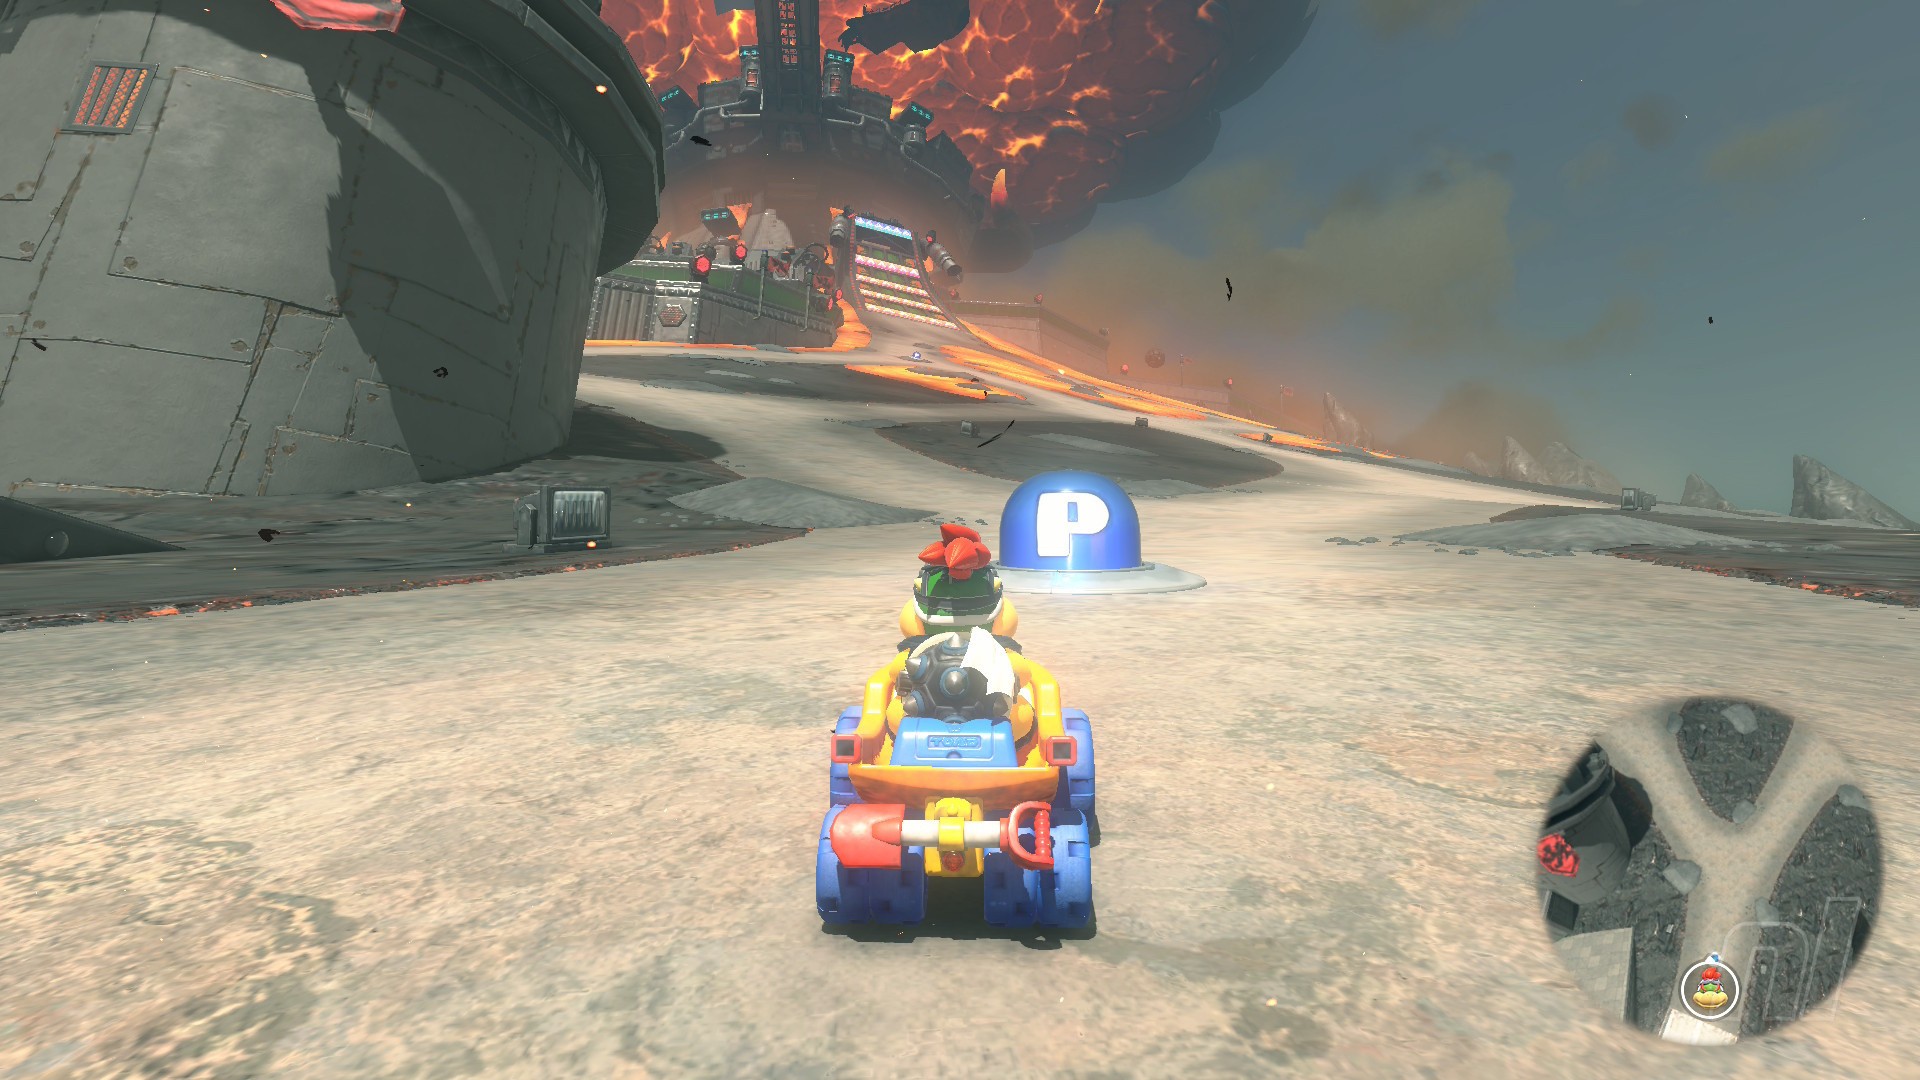
Mission 2
Mission: "Borrow the truck and smash through!"
Location: On the road northeast of Wario Stadium
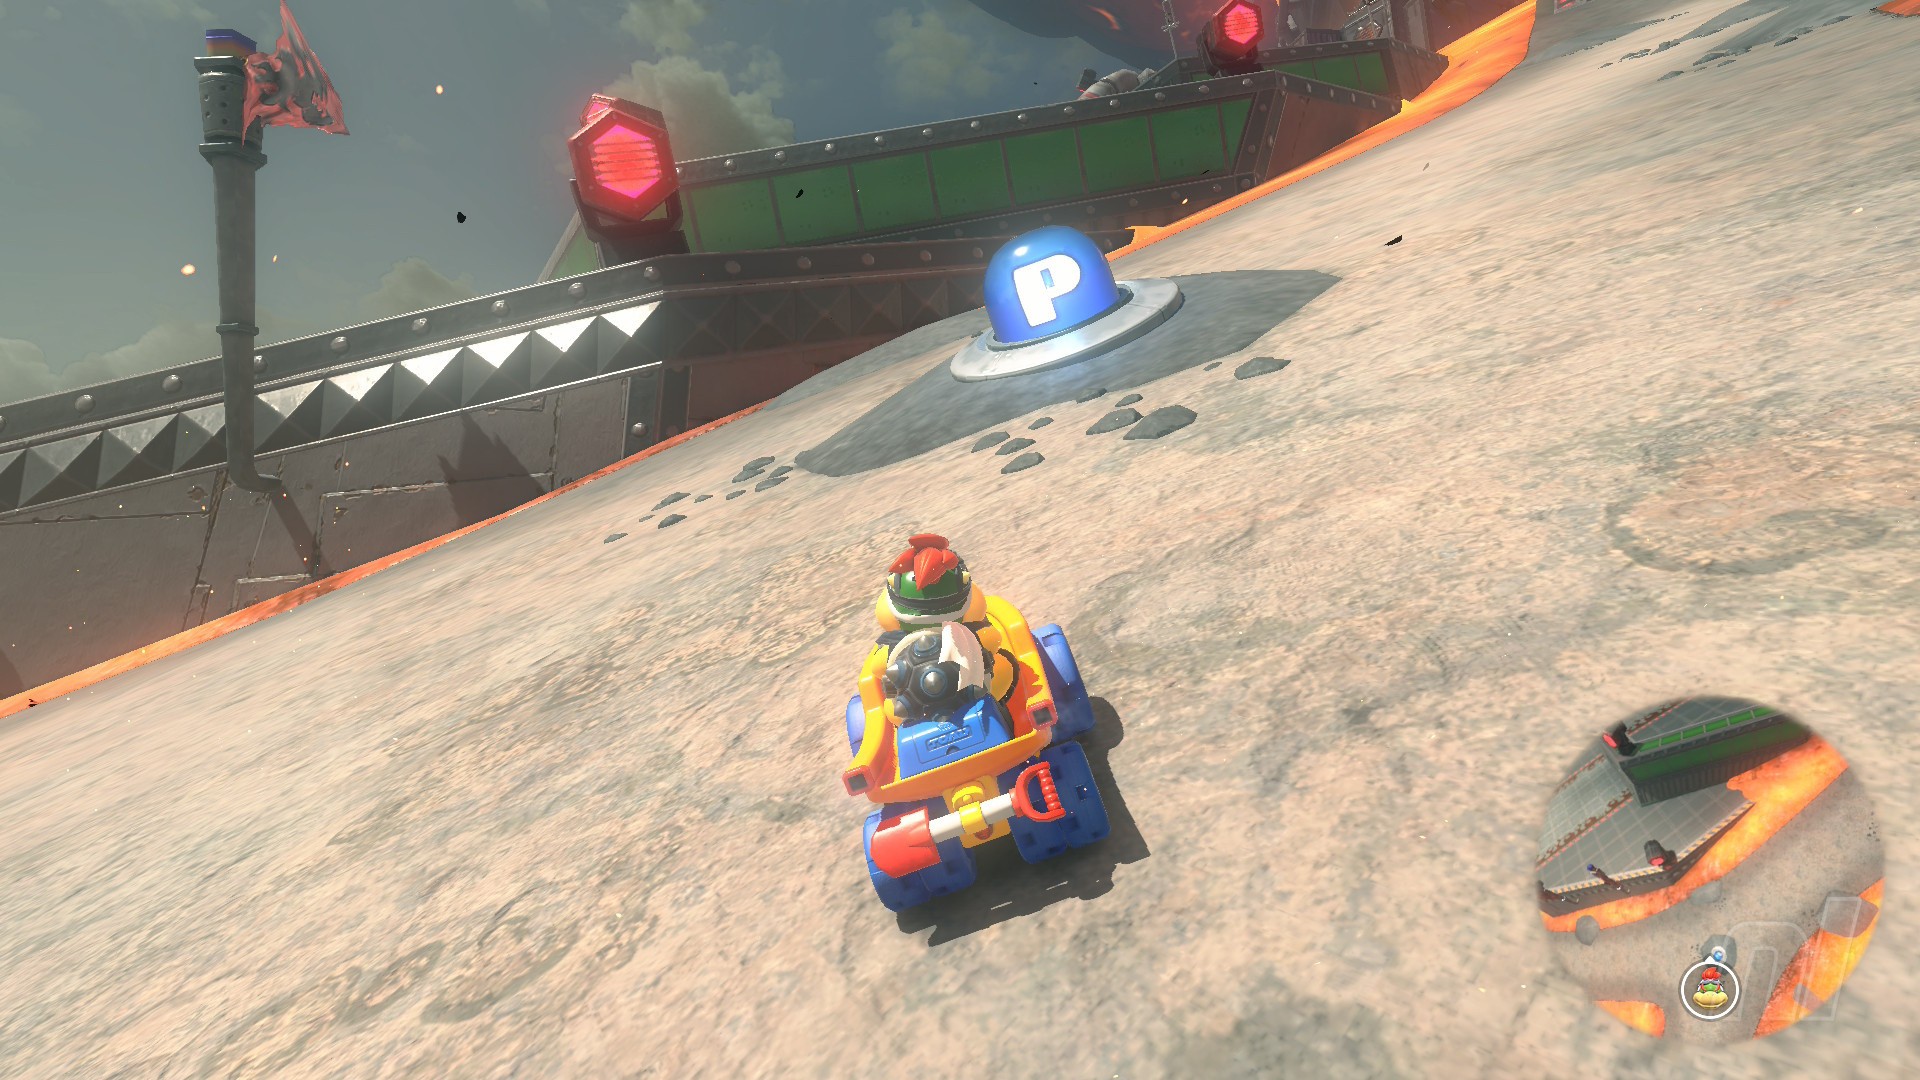
Mission 3
Mission: "Climb one crane, then dodge the other!"
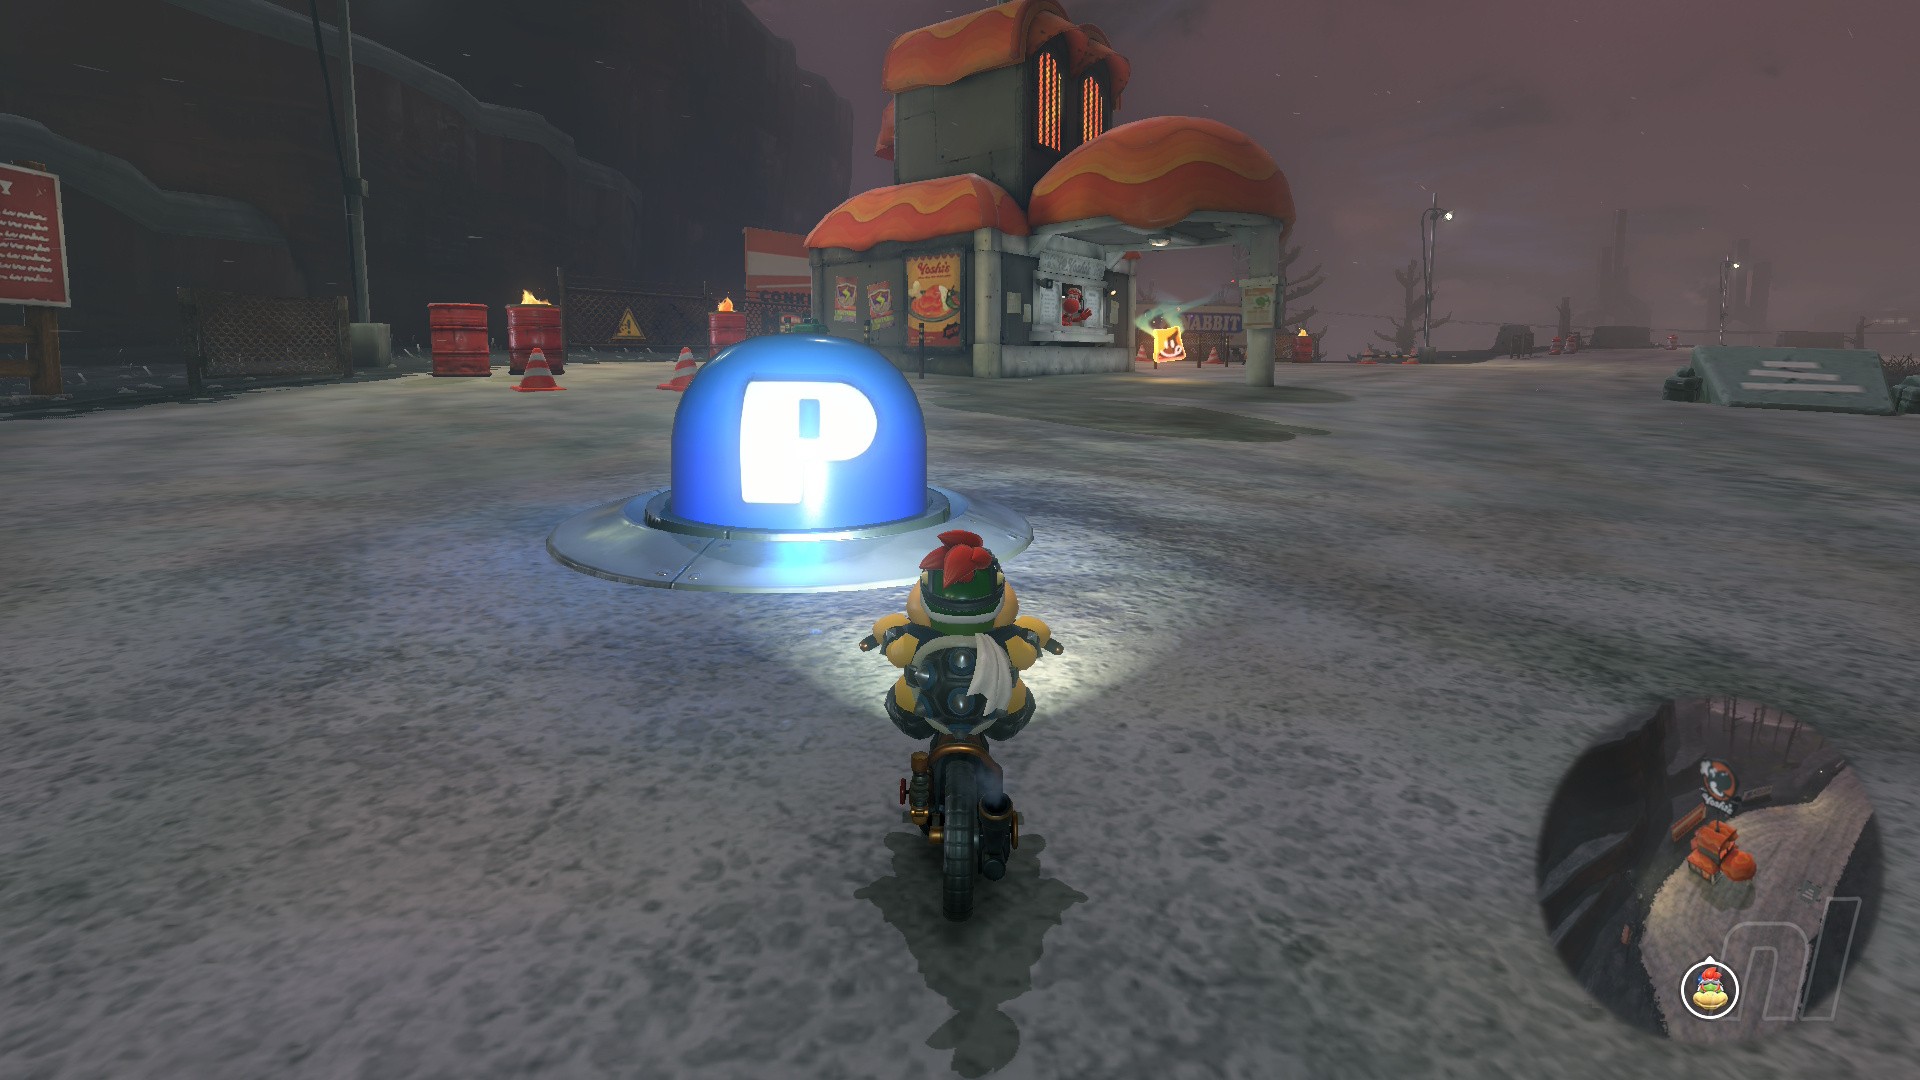
Location: Next to the Dash Food pit stop, west of Toad's Factory
Mission 4
Mission: "Thread the gaps in the steel supports!"
Location: In the underpass northeast of Wario Stadium, between two red bridges
Mission 5
Mission: "Show off serious tightrope-riding skills!"
Location: End of the underpass, north of Wario Stadium
Mission 6
Mission: "Cross the beams of the busted bridge!"
Location: Next to a broken bridge over the underpass, north of Wario Stadium
Mission 7
Mission: "Drive through the Treaded Grrrol crossing!"
Location: On another red bridge, northeast of Wario Stadium
Mission 8
Mission: "Snag a couple snacks in a race around big doughnut!"
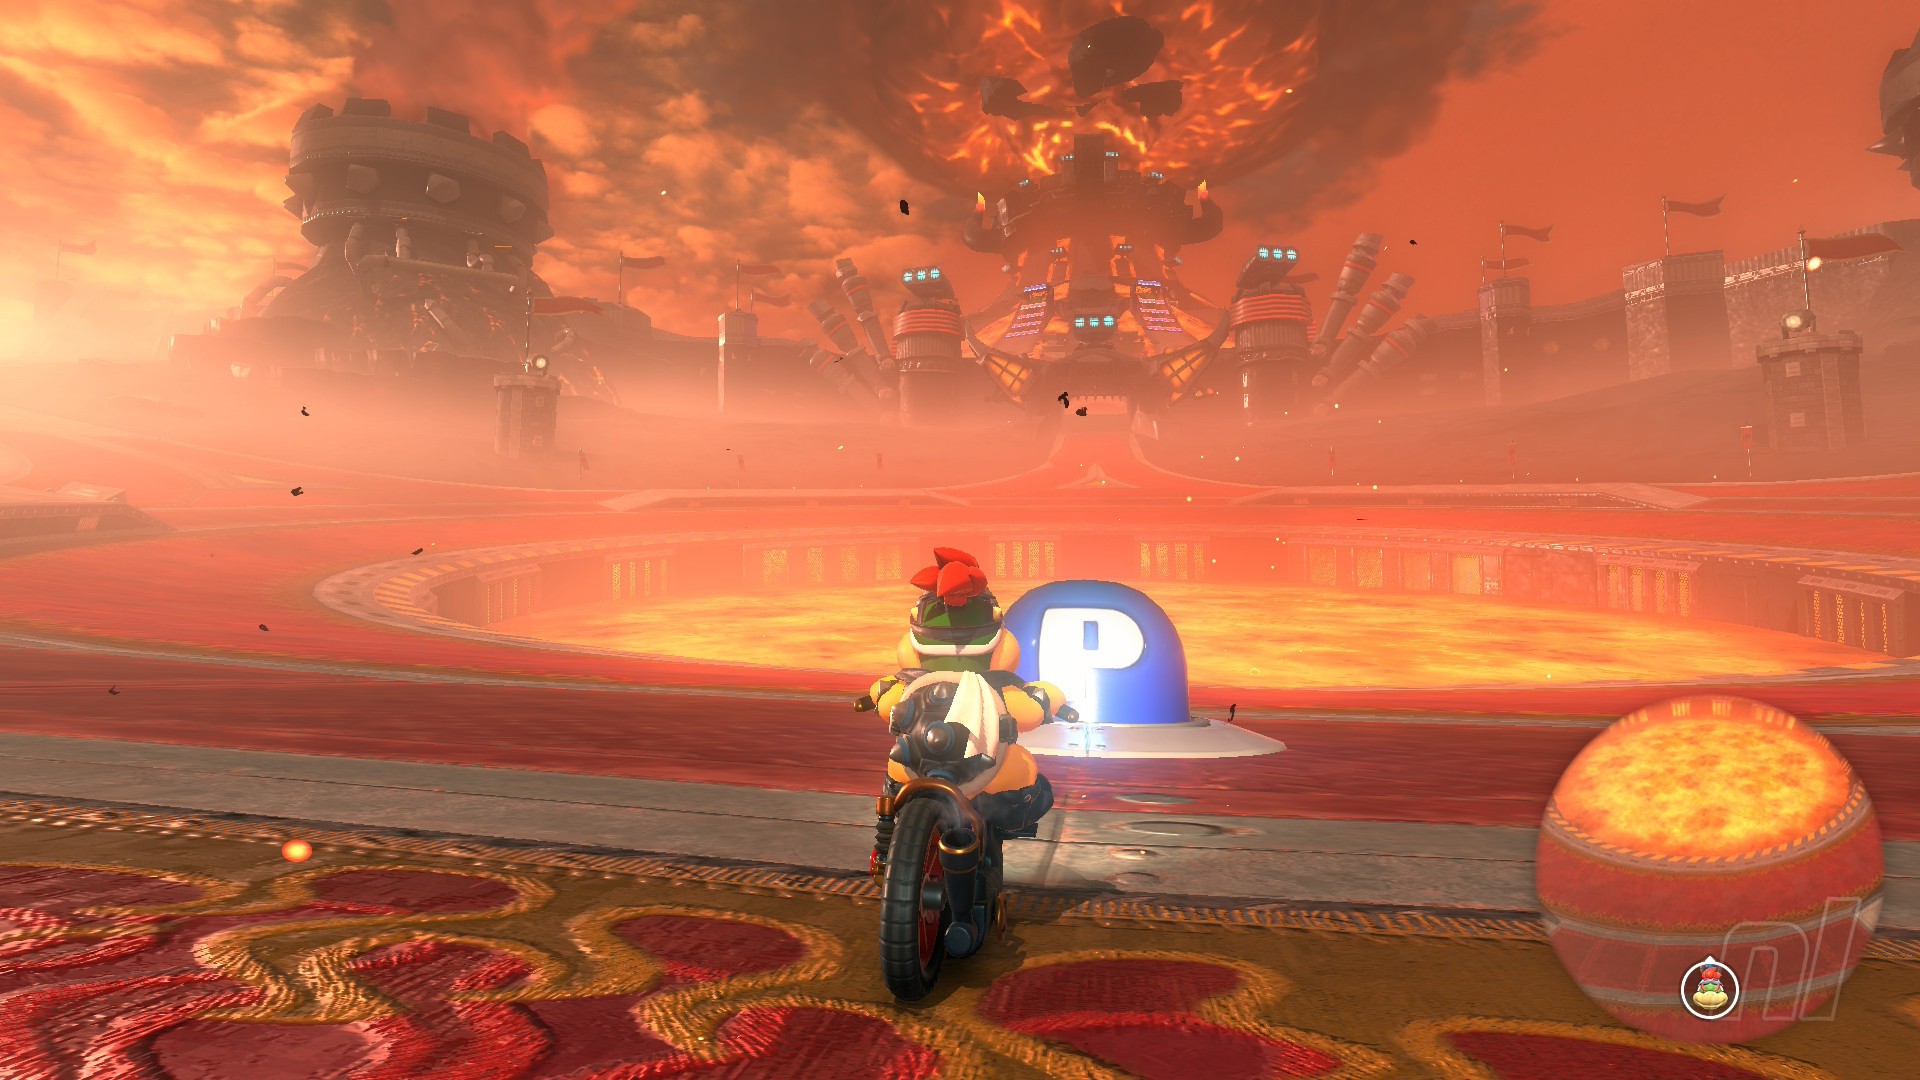
Location: On the southern side of the lava lake in the central castle
Mission 9
Mission: "Blitz past Bullies while gathering blue coins!"
Location: On the northern side of the lava lake in the central castle
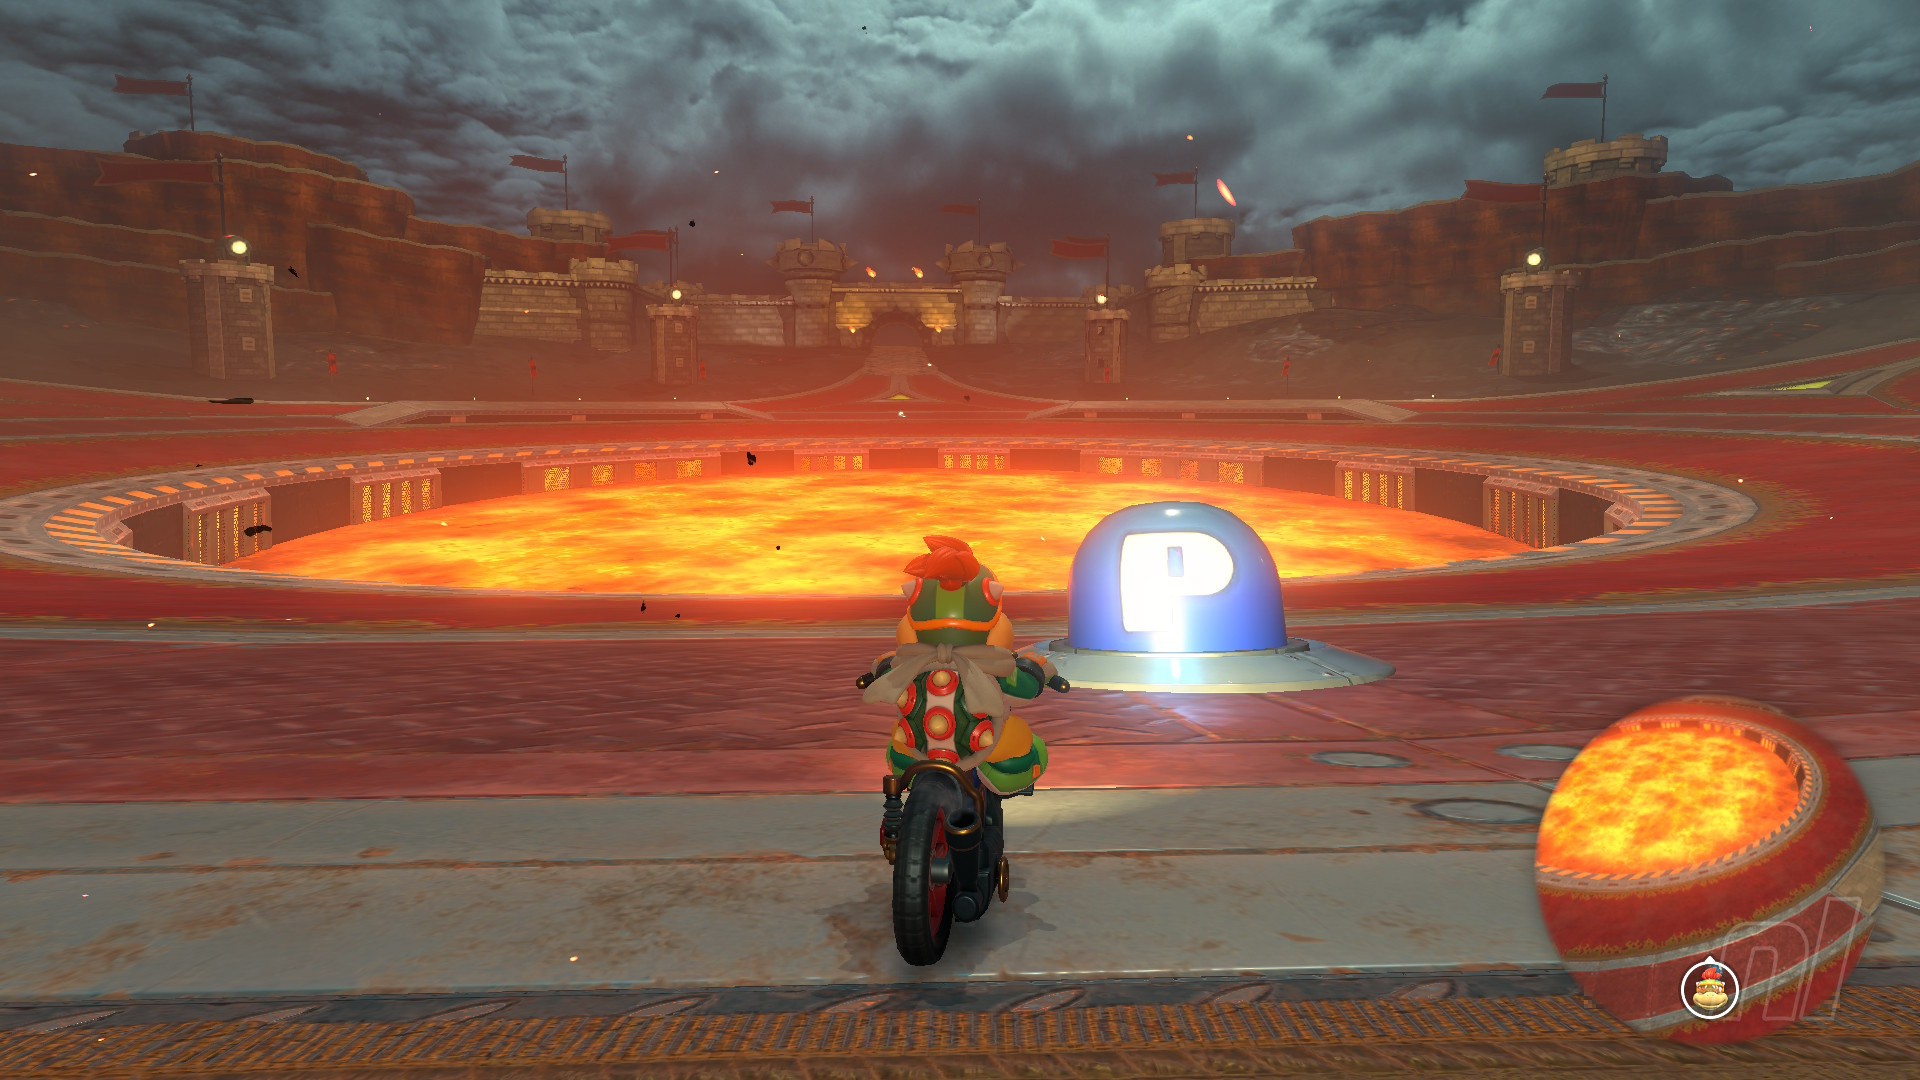
Mission 10
Mission: "Race to the top of the castle wall!"
Location: At a crossroads near a Yoshi drive-thru, west of the circular lava lake
Mission 11
Mission: "Gather blue coins along a narrow road!"
Location: On the castle wall, below the ascent to Bowser's Castle
Mission 12
Mission: "Show the lava that you're a super star!"
Location: Travel south from the jump in the castle wall
Mission 13
Mission: "Tear up the track with trick after trick!"
Location: Middle of the castle wall, below the ascent to Bowser's Castle
Tip: Unless you're a wall-riding pro, we'd recommend taking a boost item into this one and using it after the second time ring
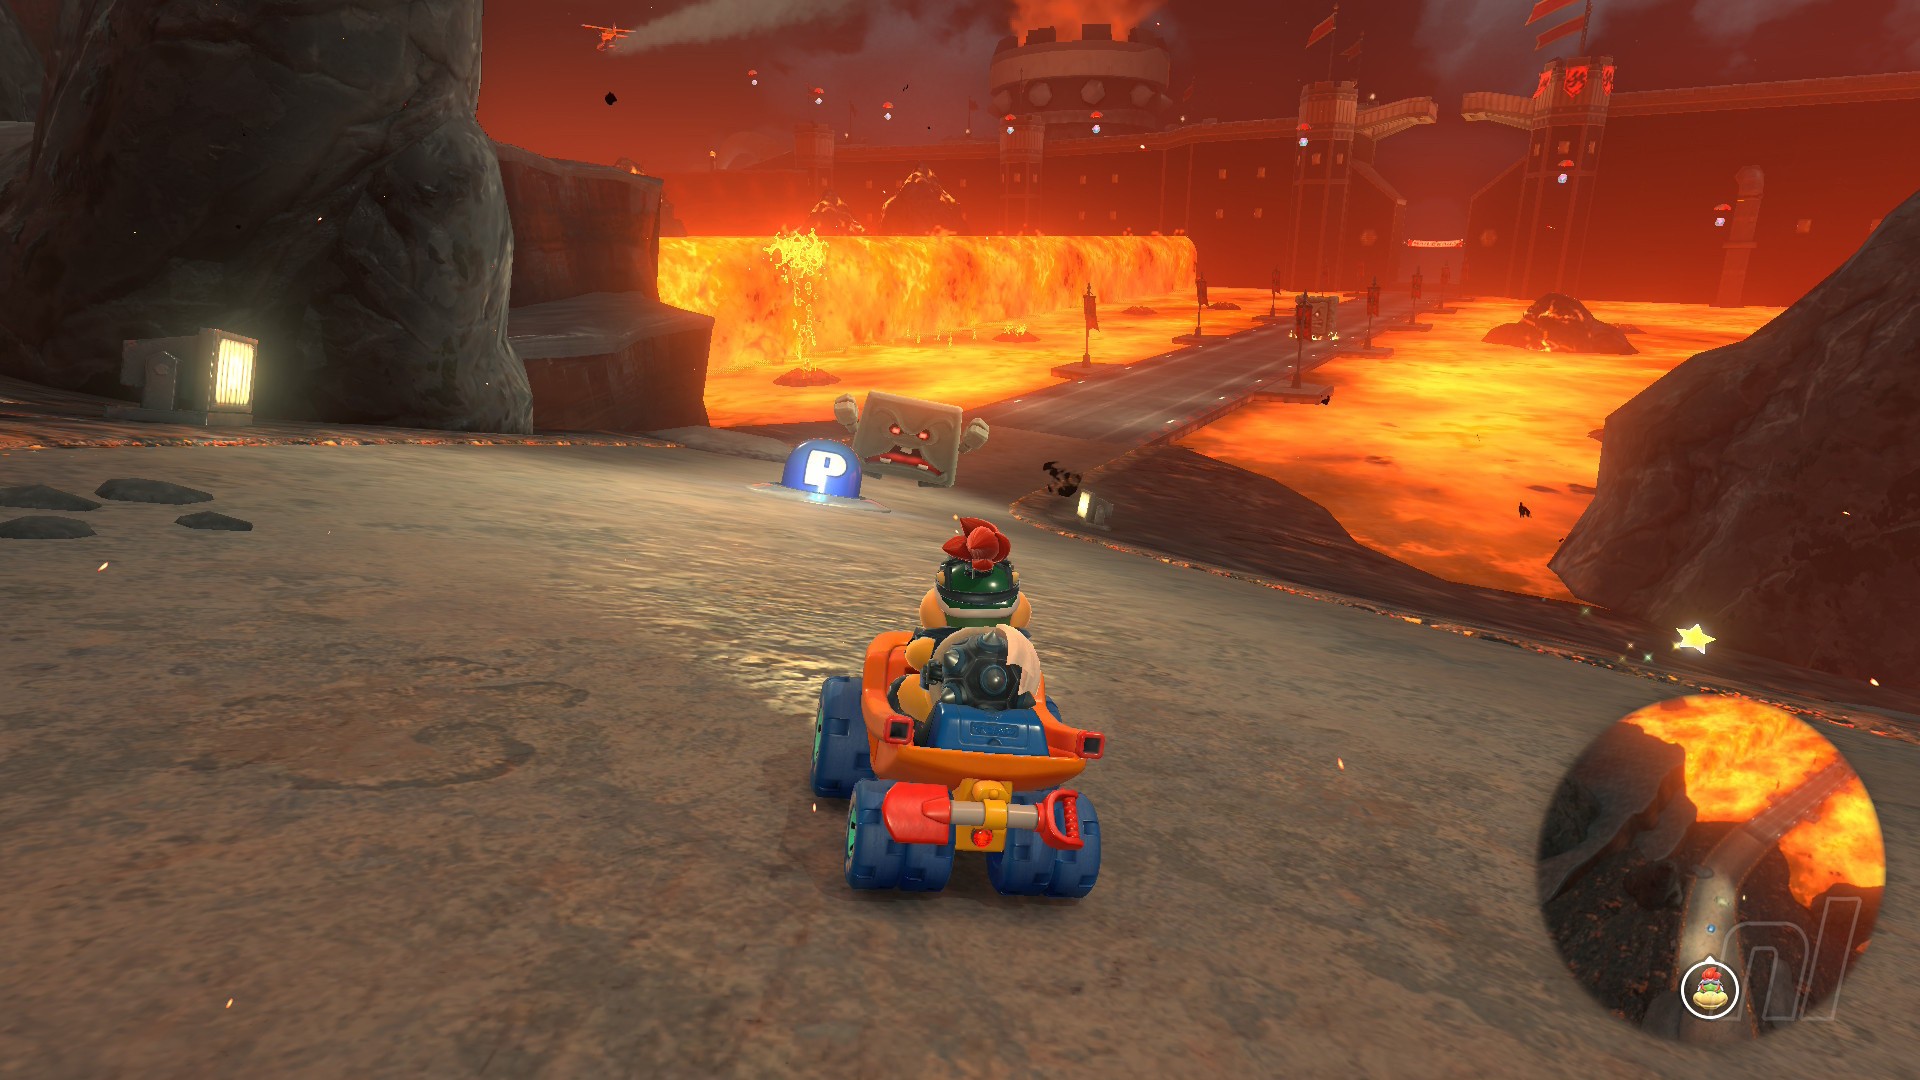
Mission 14
Mission: "Slide by waves of fireballs! Don't get singed!"
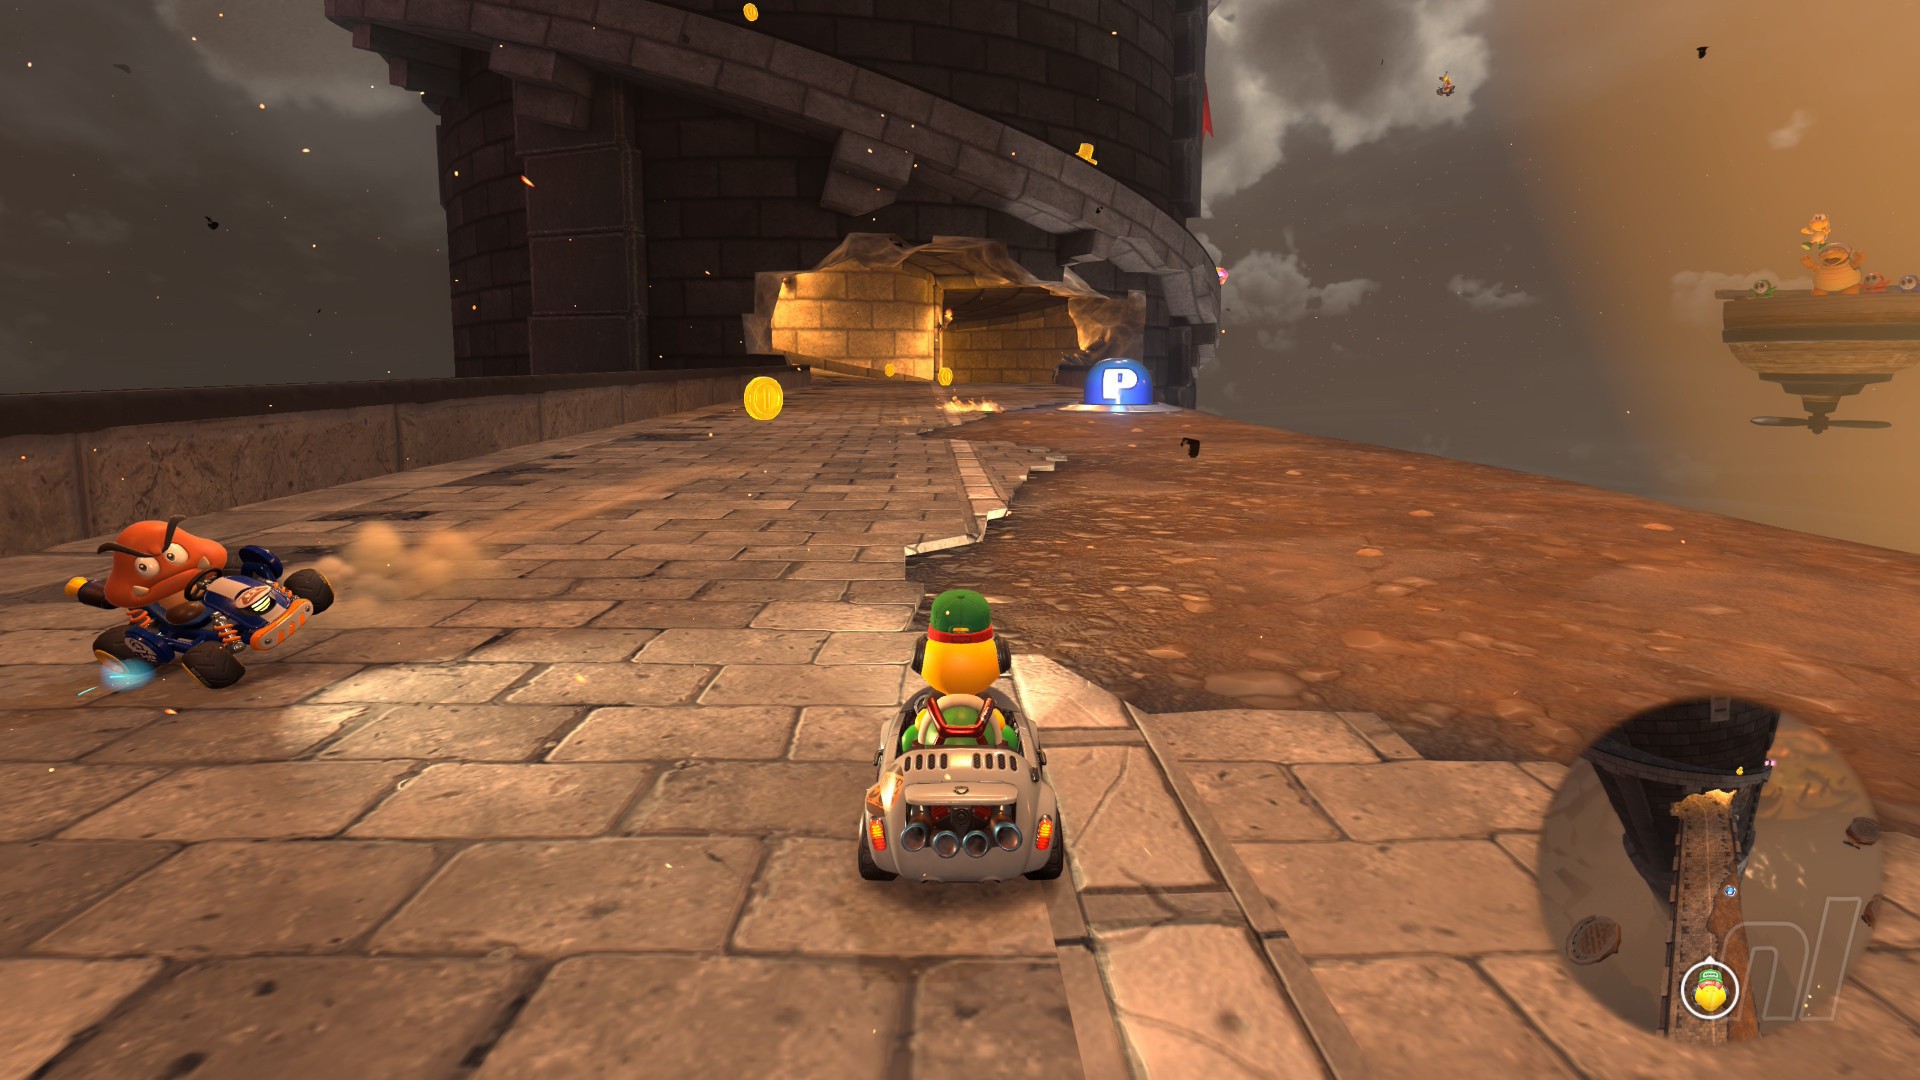
Location: Below Bowser's Castle, on the top of a strip ov lava (third from left)
Mission 15 (Airship Fortress)
Mission: "Drift to the top of the twisting tower!"
Location: On the road leading to the fortress turret to the left of Airship Fortress' start line.
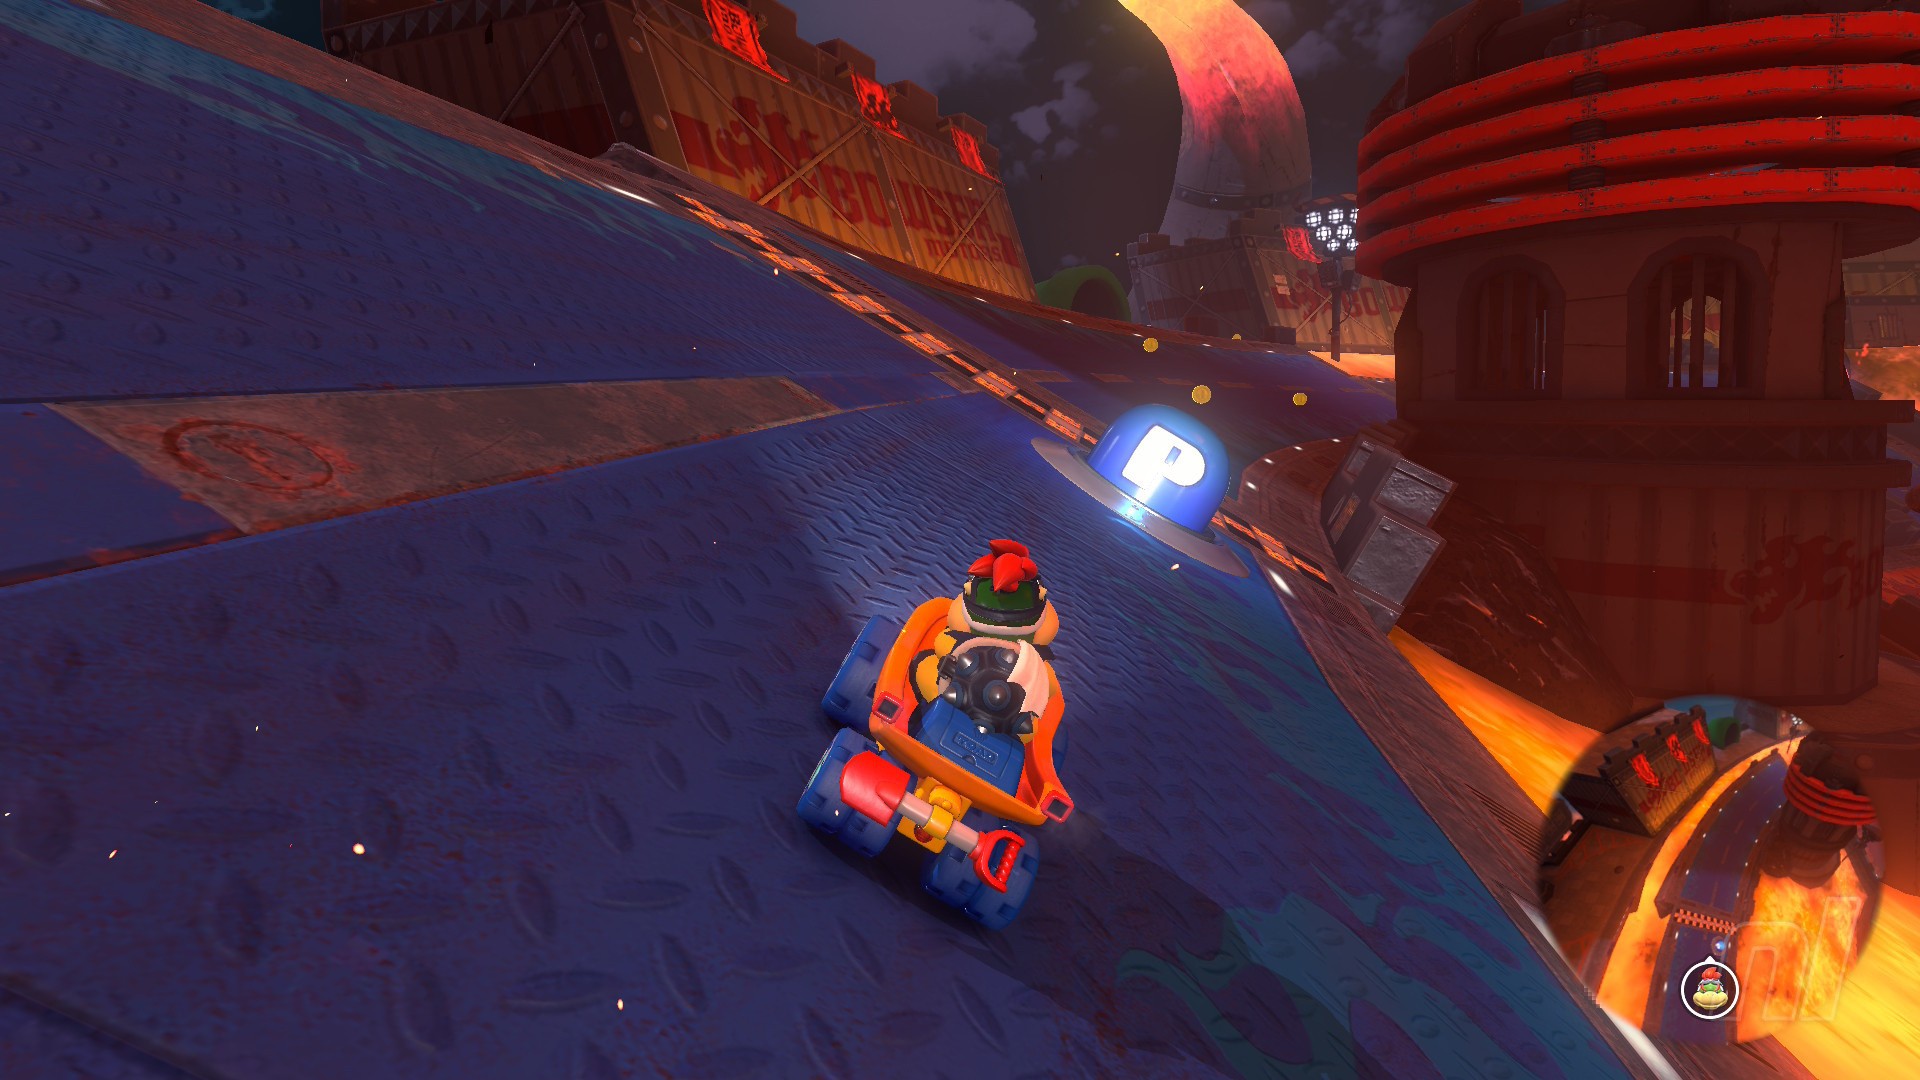
Mission 16 (Toad's Factory)
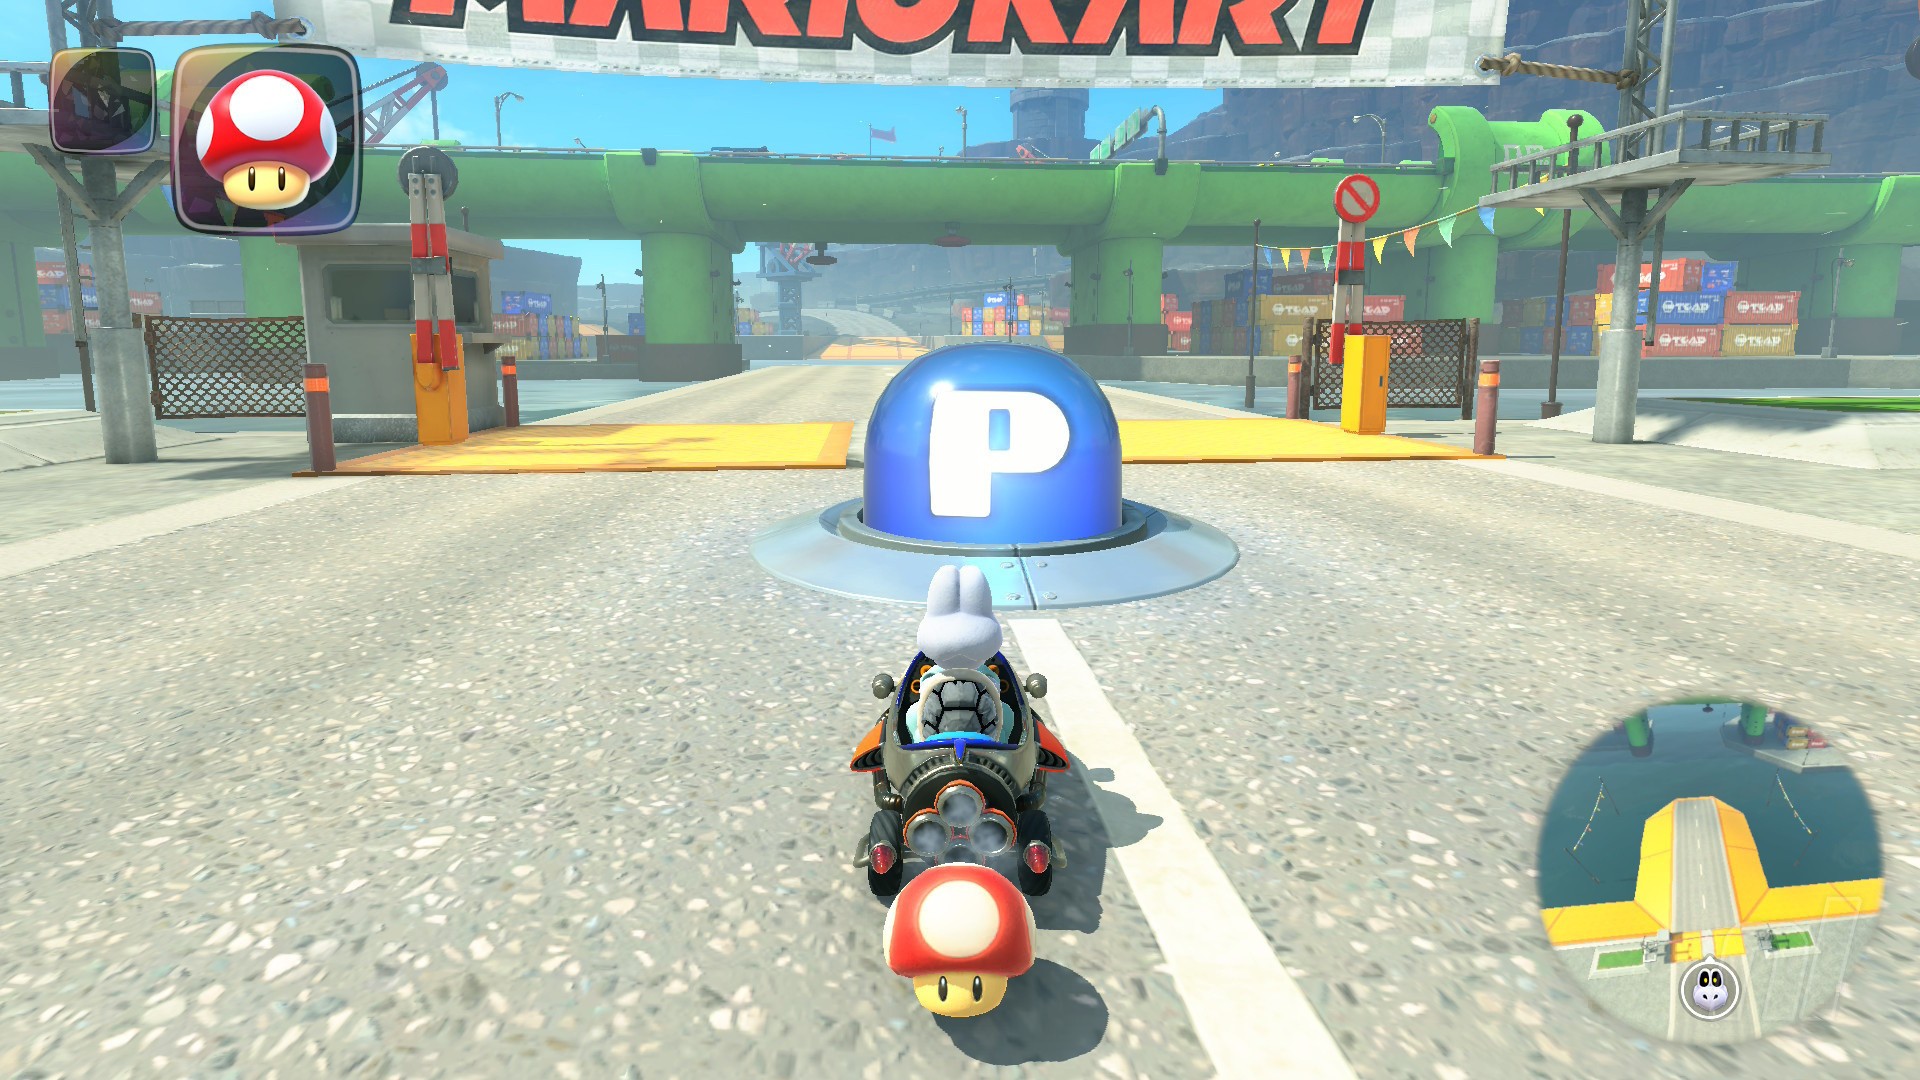
Mission: "Take a tour of Toad's Factory!"
Location: Close to the western exit of Toad's Factory that leads to the ashen area. You'll see that the button is right in front of a shallow waterway
Mission 17 (Toad's Factory)

Mission: "Forgive the messy nature of prototype testing!"
Location: Go right from the start line of Toad's Factory and you'll spot this Switch at the bottom of a ramp leading up to a domed building.
Mission 18 (Toad's Factory)
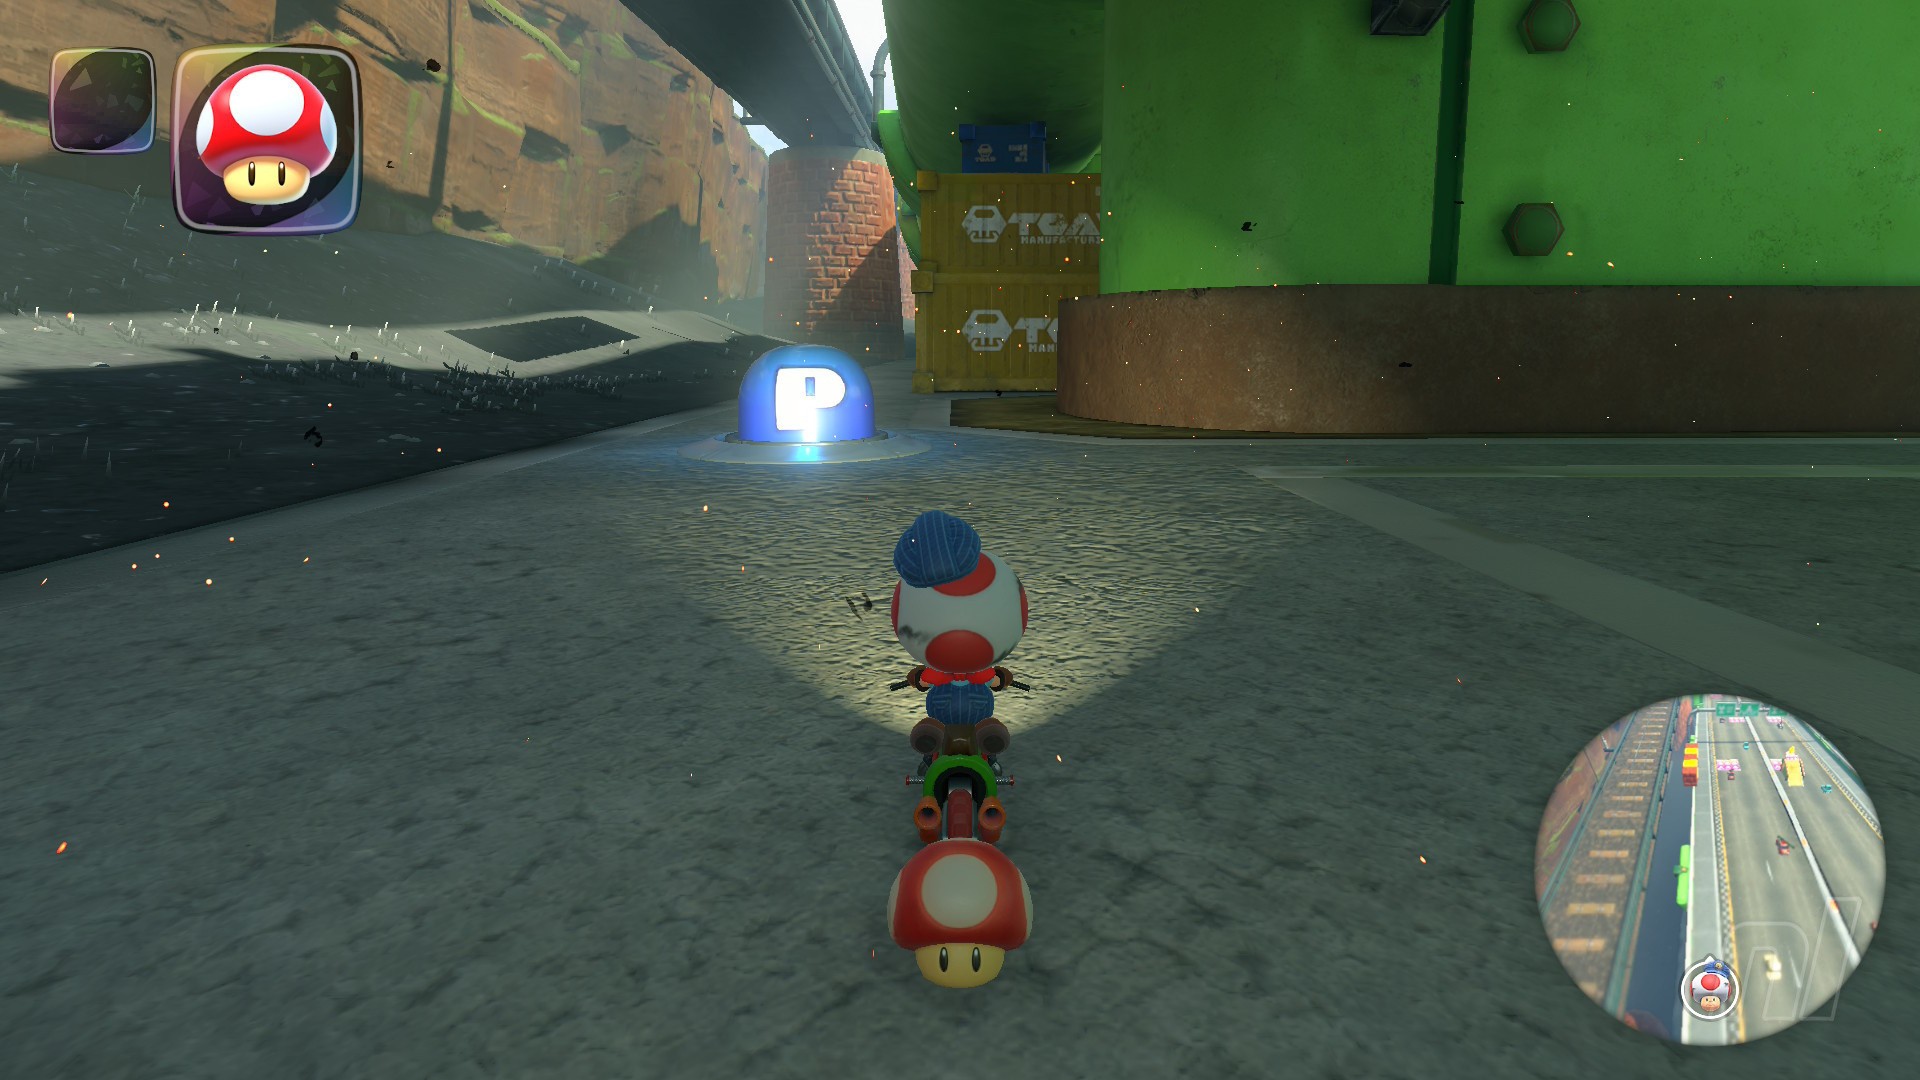
Mission: "Gather the scattered blue coins!"
Location: Underneath the green pipe bridge on the north side of Toad's Factory - you might need to drive into the water to reach this.
Mission 19 (Toad's Factory)

Mission: "Race up to the very top of the crane!"
Location: Opposite the green pipe bridges, use the red rail to grind to a metallic grid area, and a P Switch
Mission 20 (Toad's Factory)
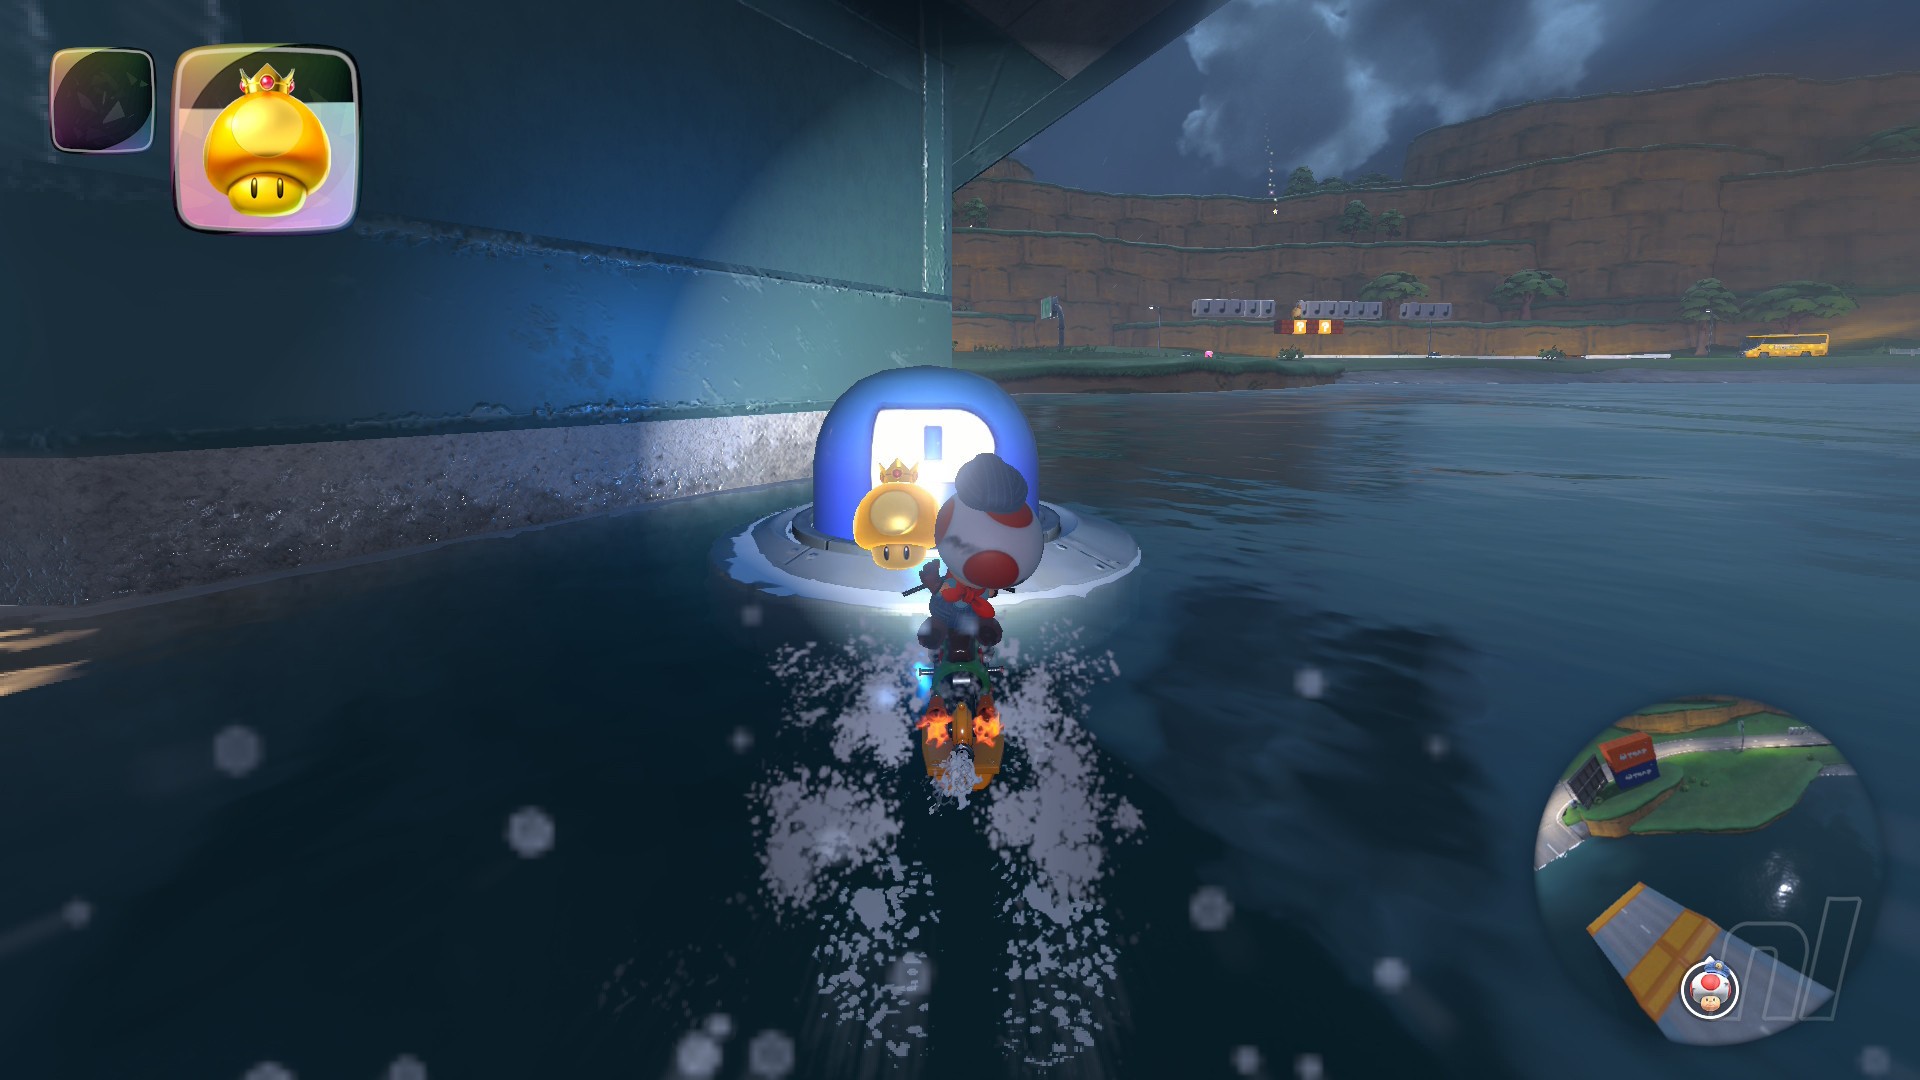
Mission: "Prove yourself in a SPECIAL test of skill #2"
Location: On the water right underneath the road outside of Toad's Factory. From the musical boxes outside, you can hit the water and ride directly ahead
Mission 21 (Dry Bones Burnout)
Mission: "Show everyone how to ride the wall!"
Location: Turn around from the starting line of Dry Bones Burnout and then follow the road back to find the button at the top of some ramps
Mission 22 (Airship Fortress)
Mission: "Take a long flight for a hole in one!"
Location: Follow the track from the Airship Fortress start line, turning right once you enter the ship to head to the lower levels. After the moving flames, keep right, and ride the cannon boost to a smaller ship with the P Switch
Mission 23 (Airship Fortress)
Mission: "Slip by line after line of Rocky Wrenchers!"
Location: On the left side of the main Airship Fortress ship, near the cannon
Mission 24 (Airship Fortress)

Mission: "Show your stuff in this Airship Fortress time trial!"
Location: Hop over the wall at the end of Airship Fortress' opening Bullet Bill run and drive through the factory room straight in front to find this Switch
Mission 25
Mission: "Scoop up blue coins while riding the rails!"
Location: Next to the cannon entrance to Airship Fortress, northeast of the track
Mission 26
Mission: "Weave your way through the Whamps!"
Location: At the end of the wall that follows the long lava river, southwest of Bowser's Castle
Mission 27
Mission: "Make a connecting flight to the Airship Fortress!"
Location: Follow the raised walkway from Mission 26 to find this Switch on a raised section of wall to the right
Mission 28
Mission: "Fly safely above the lake of lava!"
Location: Continue along the same raised walkway from Mission 27 to find this Switch northeast of the circular lava lake
Mission 29
Mission: "Navigate a path of pipes and rings!"
Location: At the end of the raised walkway that runs along the lava river, close to the patterned lake
Mission 30
Mission: "Zip up the left-hand path, mushroom free!"
Location: Immediately east of Mission 14, next to the turrets on the ascent up to Bowser's Castle
Mission 31
Mission: "Use Mushrooms to zip up the right-hand path!"
Location: On the other side of the turrets from Mission 30
Mission 32
Mission: "Bullet Bill through the fiery barrage!"
Location: Just before the right-hand boost ramp up to Bowser's Castle
Mission 33
Mission: "Gather blue coins and watch out for Thwomps!"
Location: At the bottom of the rightmost path up the volcano, near the bridge across the lava
Mission 34
Mission: "Hitch a ride in the helicopter and flee a fiery fate!"
Location: Between the boost ramps up to Bowser's Castle. Ride up the edge of a ramp without hitting the boosts to easily drop down to the Switch
Mission 35 (Bowser's Castle)
Mission: "Race along a course filled with Bowser's minions!"
Location: On the path immediately left from the Bowser's Castle start line
Mission 36 (Bowser's Castle)
Mission: "Hop along the walls of Bowser's Castle!"
Location: Take the blue path to the left of the Bowser's Castle start line and grind along the outer rail. Jump to the wider outer rail (left) and ride until you see a section of ground with a warp pipe. Stop Rail Riding and turn around before the pipe to find the Switch
Mission 37 (Bowser's Castle)
Mission: "Gather blue coins around the spicy food court!"
Location: Drive straight at the Bowser's Castle start line and Rail Ride up the big chain on the left. The P Switch will be straight ahead
Mission 38 (Bowser's Castle)
Mission: "Perform tricks without plunging into lava pools!"
Location: Take the left path from the Bower's Castle start line and Rail Ride the outermost rail to the left. Keep going until you see the Switch on your left
Mission 39 (Dry Bones Burnout)
Mission: "Balance on the tightrope to gather blue coins!"
Location: Follow the track right from the Dry Bones Burnout start line, then off-road to the left before the Yoshi's van. Follow the dirt path upwards, and you'll find the Switch near a ramp at the top
Mission 40 (Dry Bones Burnout)
Mission: "Dodge the fireballs and collect blue coins!"
Location: Follow the same path as you did for Mission 39, but turn around at the off-road section with the wooden crates buried in the ground. The P Switch is nearby
Mission 41
Mission: "Slip past shocking sumo stomps!"
Location: On the ramp onto the raised walkway along the lava river, on the northwest bank of the lake
Mission 42
Mission: "Collect blue coins in the hot springs!"
Location: On the lowest sand path in the hot springs below Dry Bones Burnout
Mission 43
Mission: "Ride geysers and shoot through rings to the goal!"
Location: On an eastern sand path in the hot springs, near the steps up to Dry Bones Burnout
Mission 44
Mission: "Grab the blue coins around the spooky graveyard!"
Location: Just off the southeastern road out of the hot springs, on a rock
Mission 45
Mission: "Weave through the road crowded with Dry Bones!"
Location: On a roof on the east side of the graveyard to the south of Dry Bones Burnout
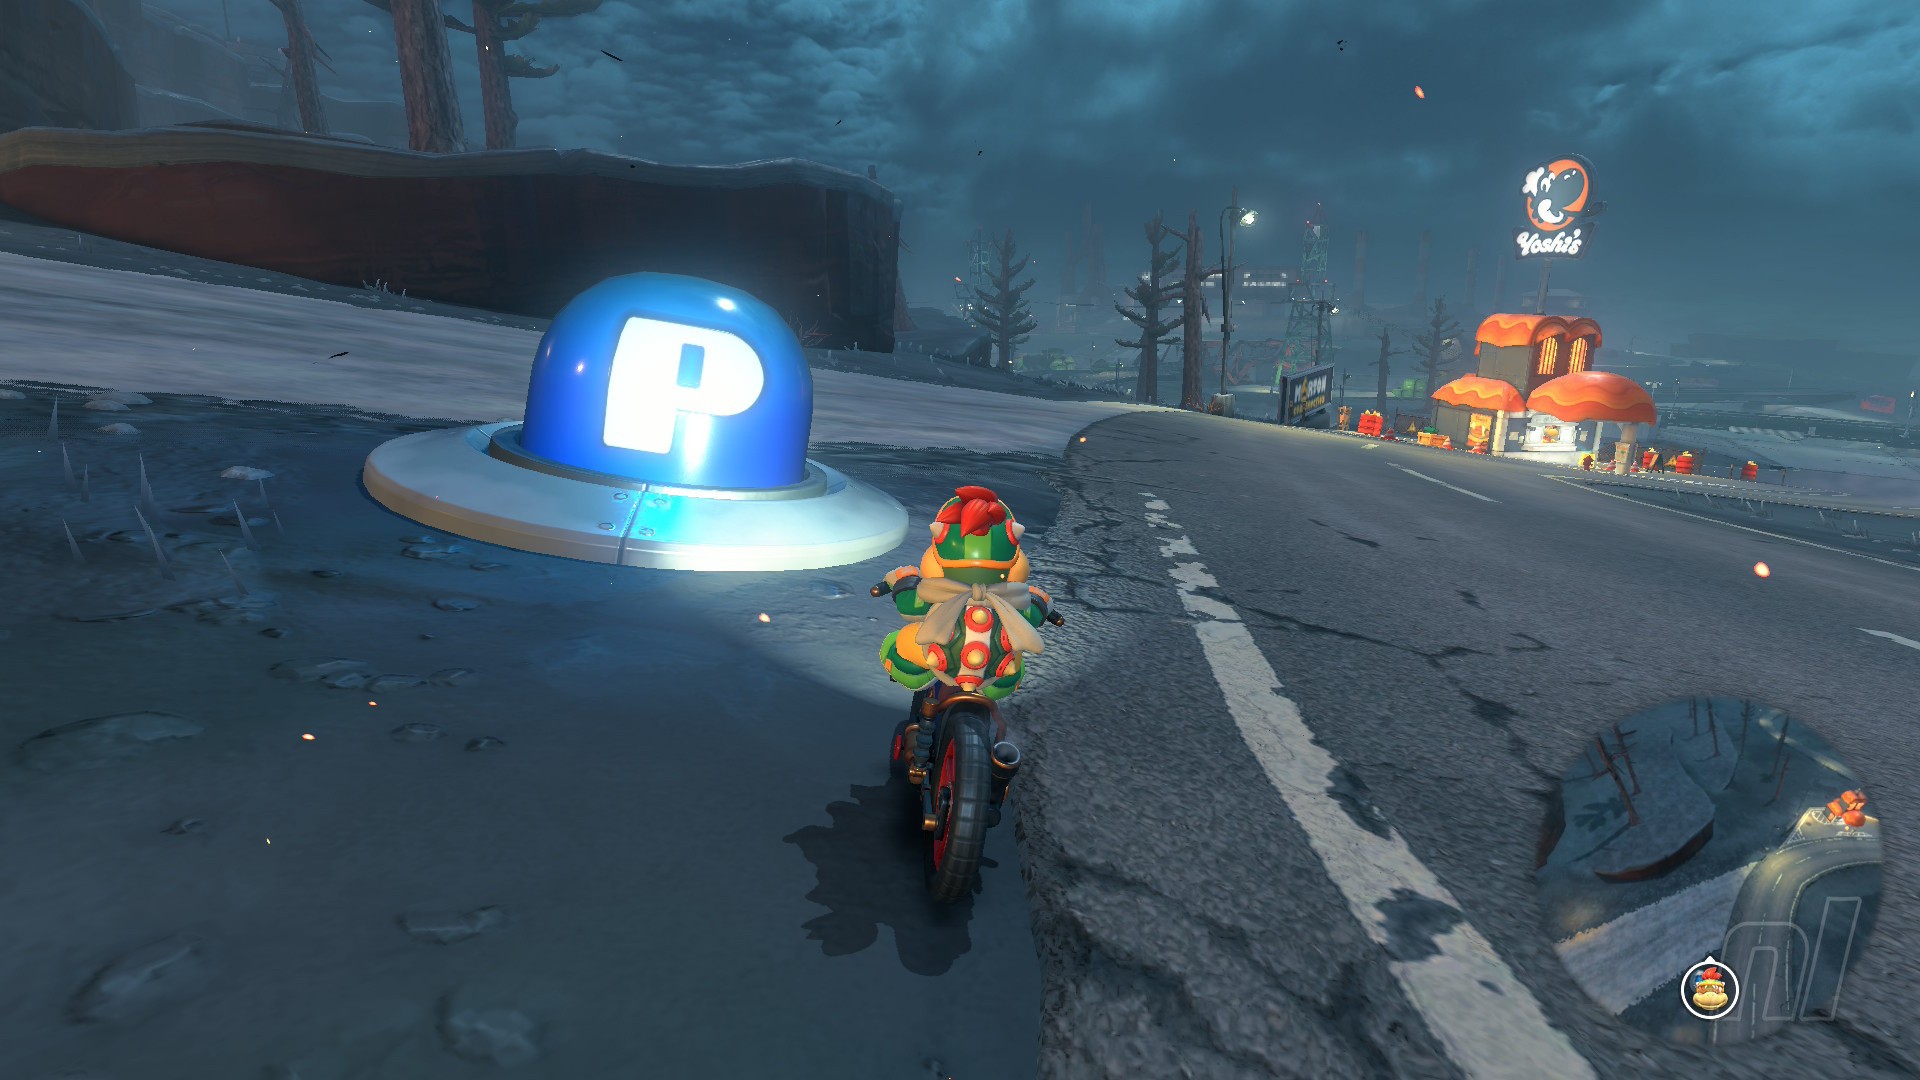
Mission 46
Mission: "Hop from rail to rail to grab the blue coins!"
Location: Next to the train tracks, west of Toad's Factory