For past me, the idea of 3D printing — just the mention of it, the sound of the words — always conjured up images of stuff like Tom Cruise and his wee red balls in Minority Report.
I know, the 'precog' machine in that particular movie wasn't really a 3D printer, and Tom's wee red balls seemed to be made of some sort of weird wood rather than filament, but it was the same sort of magic inside my simple mind, and the first time I'd considered a machine that could create a fully 3D object in this way. So the two are forever connected, I'm afraid.
Subscribe to Nintendo Life on YouTube845k
Now that I am the owner of a 3D printer, now that we live in the actual future, and not that far off from where Tom Cruise and his wee red balls (and that really angry dude with the blonde hair) exist, I have to say, it feels rather mind-blowing to be able to create so many things so very readily.
I'm excited, is what I'm trying to say, and as a very excited gamer, you can bet your bottom Rupee that the first thing I've done with my precious new printer is dive headlong into a whole new world of knocking out my own accessories and smart little bits and bobs for my beloved Nintendo consoles. Oh yes, my sweet babies, daddy is going to take care of you now, you better believe it.
Sorry. Yes. I've been busy pumping rolls of filament into a big noisy machine that's currently located in my sitting room (*cries in wife*), browsing all of the sites and taking all of the notes on the best unofficial docks, grips, cartridge holders (and lots more) that are currently out there for 3D-printing fiends.
So, without any more nonsense, let's get on with taking a look at some of the best I've found and printed thus far, shall we?
A quick lesson in 3D printing jargon
To be as helpful as possible to anyone who might be browsing for something to 3D-print, I'll be dropping the time it takes to print off each of the objects I've made, as well as how much filament I've used to create each one. So, let's talk about a few simple things first.
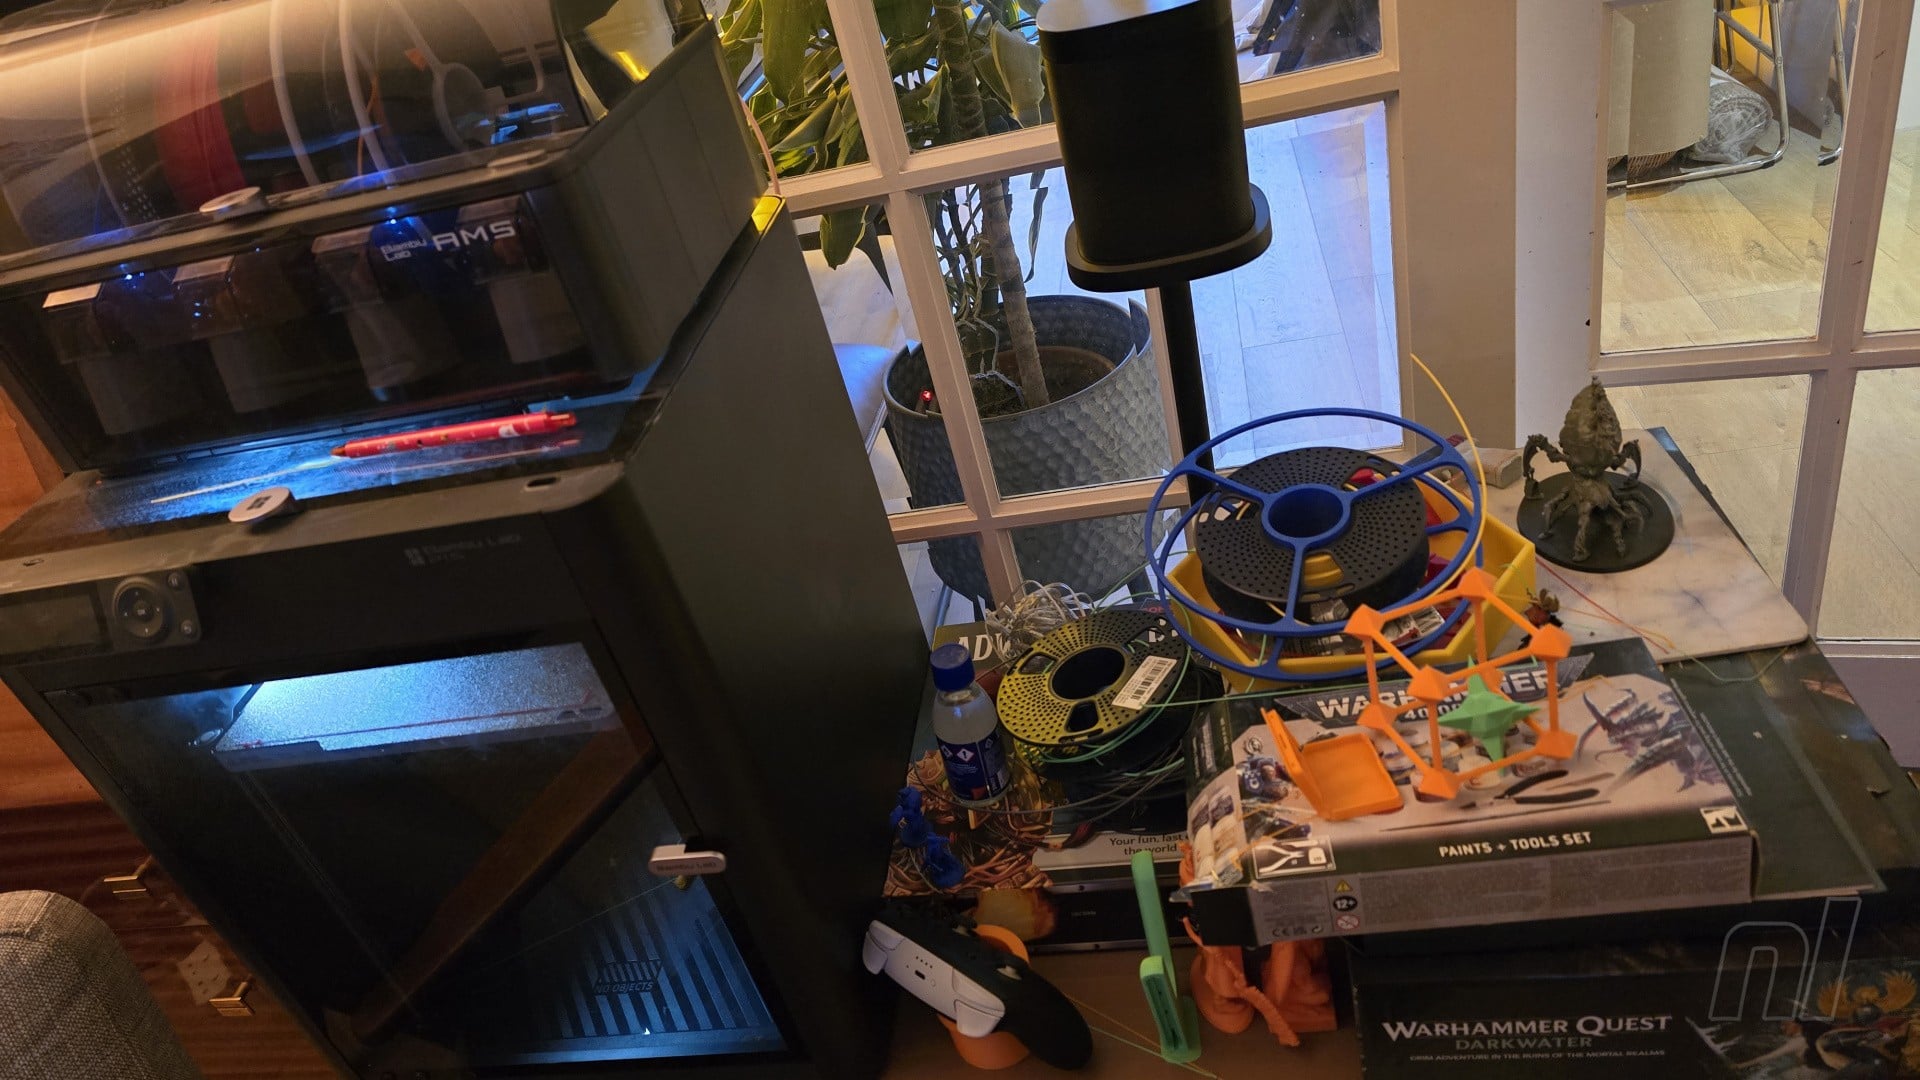
There are different types of 3D printer out there. You could go with a resin one, which I have heard does slightly better fine details on models, or, like me, roll with a filament machine. This was an easy choice in my case as I have a busy house and some companies, such as Bambu Labs (other brands are available, but it's Bambu Labs' P1S with AMS that I'm using here) have got a sort of Apple design aspect going on that makes it so you can have a printer in your house and it almost looks nice, and without any unreasonably bad mess or fuss. Well, it's a bit noisy sometimes, but not so much that it keeps me awake on a night print.
Filament is bought in rolls of colour ranging from bog-standard to fancy with reflective textures, wood effect, glow in the dark, holographic - basically anything you can think of. There are also different types, grades and levels of filament for different jobs. Oh, and you can change out your printing plate for different textured finishes on your plastic creations, too. So maybe you'll want a brick-grid one for Mario walls, that sort of thing.
For the models below, I'm keeping everything as cheap as possible, using basic PLA filament from a generic brand, but you could also grab PLA+ and onwards and upwards into tough and hard-wearing varieties, or go in other directions for the appropriate material to build, for example, a light and flexible insole for your shoe.
Where to find the designs to print
All of the designs I've used can be found at Makerworld.com, or you can also grab them off the Bambu Handy app, if you've already got that installed on a device, and I'll drop links to the creations as we go through them as well!
All the best stuff I've 3D-printed so far
Mario Warp Pipe Controller Stand (with storage for 7 game carts)
This was my first Switch-related print, and it's a belter!
A nice, easy first print to get started, with no complications such as adding supports or any of that nonsense. This controller holder includes the warp pipe itself along with a smart little insert which can manage a grand total of seven of your precious Switch carts.
I had no green filament left when I printed this off, so I've gone with an orange one, but I will be painting it gold very shortly with some acrylic paint! Yessir. SPECIAL PIPE.
Time To Print: 1 hour 48 minutes
Filament Cost: 64g
Creator/Creation Link: Nintendo Switch 2 Pro Controller Stand Warp by @Dave_D_W -
Nintendo Switch 2 Joy-Con 2 Snap Lock Grip
I actually wanted one of these, and so instead of stumping up a wad of cash-cash-money, I've quickly knocked out this very impressive alternative.
There's not much that can go wrong with this sort of design, except perhaps the smaller attachments that keep the Joy-Con in place, but there were zero issues and it's a great fit. In terms of toughness and look/feel, it's also just as good as anything I'd likely find in a store.
To use, you hook on the left and right locking grip, by attaching to the top and bottom of your Joy-Con, then insert the controller into the main body of the grip to push the lock in there permanently. You can now easily click your Joy-Con in and out. Also, it's really light grip, so bonus points for comfort.
Time To Print: Main Body takes 1.2 hours, whilst the left and right locking grips are 10 minutes each
Filament Cost: 25g for the main body, and 10g per grip lock, for a total of 45g
Creator/Creation Link: Nintendo Switch 2 Joy-Con Snap Lock Grip By Manabun Lab
Nintendo Switch 1 & 2 Game Display Storage - 10 Slot Version
This very useful display storage is well worth printing out for any serious (and very professional) Switch gamer, such as myself, as not only can it hold lots of lovely game cases and some carts at the front (with gaps so you can see their stickers!), it can also be added to a clever wall-mounted system - for which you print off a few extra parts.
Also, the size can be adjusted from a 4-case holder all the way up to a big 18 model. So there's lots of choice here, and you can add to the storage over time. I've gone with the 10 slot version for this print, and I'll be honest, I should have gone with the 4 because I'm a very futuristic man who is almost 100% digital on the Switch game front these days. Physical media is Dickensian in my eyes. That's right, take your 'cartridges' out of my sight.
Time To Print: 2hrs 50mins
Filament Cost: 92g
Creator/Creation Link: Nintendo Switch 1 & 2 Game Display Storage By AkiPrint
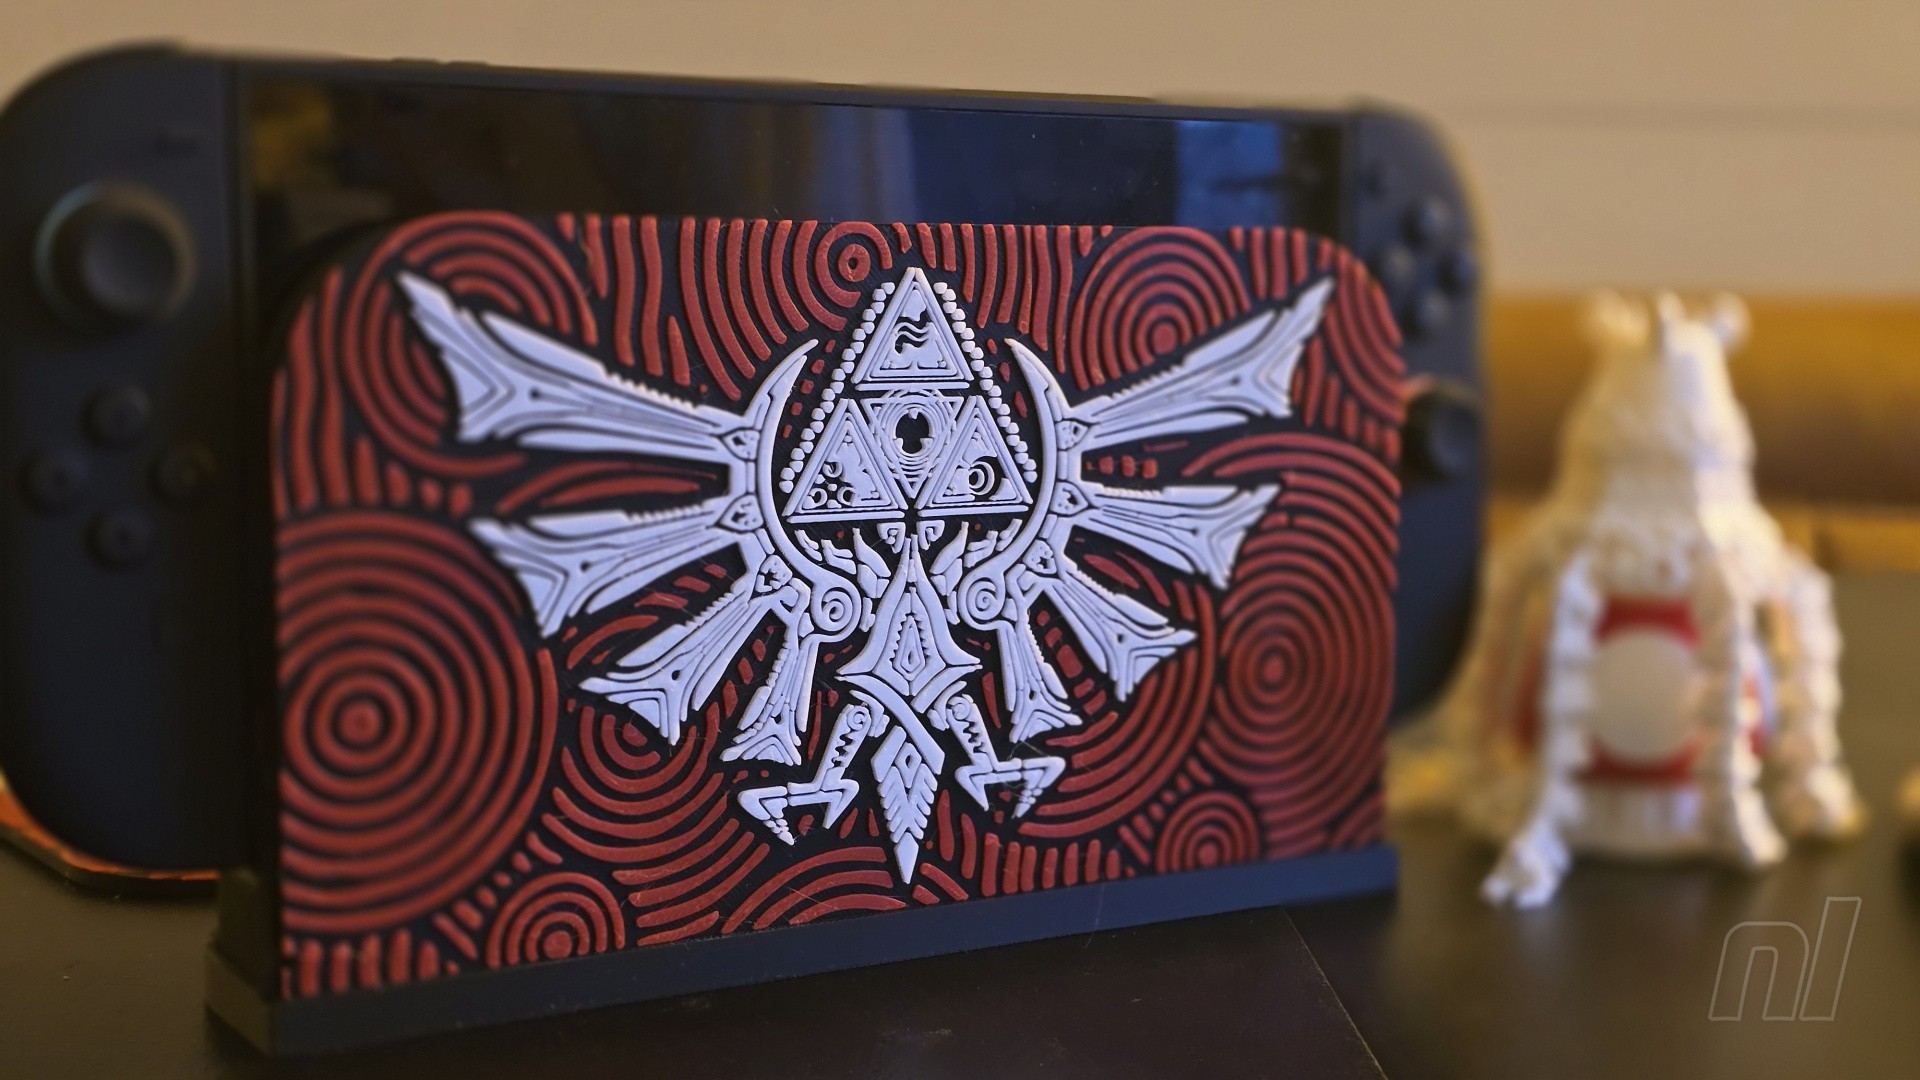
Nintendo Switch 2 Zelda 'Royal Crest' Dock Cover
Why waste time printing off an entire dock when you can just make a faceplate to hide the unrelenting grim blackness (looks dark grey to me, to be honest) of Nintendo's vanilla offering? This is my biggest print thus far, clocking in at 6.5 hours and costing 204g of tasty filament, but the result, especially if you choose a snazzy filament or paint the result, is well worth it!
There are tons of cool Nintendo-themed plates and docks to choose from out there, and you could go crazy with fancy filaments such as gun metal and realistically shiny gold to really make this Zelda one pop off. Also, the design I've printed off here, which I've linked to below, has a whole bunch of other covers to choose from once you click into its printing screen.
As you can see, I've been a right bore and gone with the classic option, but you can be damn sure I'll be firing up 'Auld Betsy' later to print myself off a Yiga Clan one.
Time To Print: 6hrs 30mins
Filament Cost: 204g
Creator/Creation Link: Nintendo Switch 2 Zelda Dock Cover By Nana.Printland
Nintendo Switch 1 & 2 Mini Game Cases
What's better than having a whole bunch of Switch or Switch 2 game cases on your shelves? I'll tell you what, having a whole bunch of mini Switch or Switch 2 game cases on your shelves. Mate, that's what.
These may, at first glance, seem as though they are meant to be more for fun than anything else. However, they do also provide some much-needed protection. In fact, they are actually a great space-saving idea if you usually cart your cases around when going mobile.
One thing with these: the basic PLA I used seemed a little brittle at first, but the edges do soften up when you bend them, then you're free to add any covers you want to print off and add.
As you can see, I ran out of time on decorating this one, but jump to the link below to see how amazing a printed cover makes them look. Oh, and that all-important click as you snap the cat into place is reassuringly present.
Time To Print: 19 minutes per case
Filament Cost: 8g per case
Creator/Creation Link: Nintendo Switch 1 & 2 Mini Game Case By Rudi
SwitchRest Car Headrest Mount For Switch 2
When I'm out and about and being driven around by either my wife or children, I like to recline fully in the back seat and make full use of my time by playing my beloved video games whilst yodelling loudly. No talking when daddy is playing his games and yodelling, please. Not unless you're offering me a snack. Thanks.
So, given my life preferences, it seems obvious that I might want an in-car Switch console holder. Of course I do. And this one is nice and quick and very straightforward to print, too!
There are lots of designs for car holders out there, and some of them get very fancy with retro NES looks and so on. However, the way this one hooks on is, perhaps, one of the better designs. It's very solid and secure as it hooks onto the fully extended kickstand, holding the console firmly in place. Oh, and it just happens to take way less time and materials than most of the rest.
Now I can combat boredom as my wife drives me to the local sweet shop by indulging in a little Race With Ryan in the car. Hey, it feels like I'm really driving!
Time To Print: 51 minutes
Filament Cost: 31g
Creator/Creation Link: SwitchRest! By Kedde3D
Nintendo Switch Multi-Game Case (Mario Mushroom Edition)
These delightful little containers hold four game carts and are absolutely fantastic quality when you see them finished off. The twisting mechanism on the top here actually surprised me with how robust and smooth it is. These will 100% properly protect and take care of your carts.
What's more, as with anything else you 3D print, you can change the size, so you could have a giant version, a 50% scaled-up version or whatever you fancy. There is also, of course, the opportunity to go wild with colours, matching all in-game types and maybe doing some weird trippy ones while you're at it. Hey, they are mushrooms, amirite? Hello? Mario?
Time To Print: 3 hours per mushroom
Filament Cost: 38g
Creator/Creation Link: Nintendo Switch Game Case by TuTu
Articulated Ancient Guardian
Okay, so I cracked and decided to do some less useful items, one of which is an articulated Guardian that, I'm not gonna lie, I might actually be fully in love with.
Articulated figures such as this, I want to point out, are one of the best things to print for instant fun I've found, as some of them really go to town with giving you loads of posing options.
So whether it's this big guy (which you could scale up to make even larger) or any of the many other characters out there, get stuck into articulated stuff. Put the word 'articulated' into every search. Change your name to Articulated. It's your life!
Time To Print: 3hrs 20mins
Filament Cost: 41g
Creator/Creation Link: Ancient Guardian Articulated From Zelda, By Crafty Sven
Kirby Mouse Mode Joy-Con 2 Adapter
Oh Kirby, you quietly violent little blob. How I adore your ways. So much so, in fact, that I just had to choose a Kirby design for my first Mouse Mode controller adapter. I mean, just look at him!
I didn't, as it turns out, have any pink filament to go classic Kirby colours here, but all that means is I got to experiment with something a little different instead. Remember with this print, if you choose to go with it, that you'll need a total of 6 hours and 20 minutes for both left and right adapters, so you might need to plan a little in advance, and this one uses lots of colours by default
So, if you want the classic Kirby look for a primo finish, make sure to stock up on pink, blue, black, white, and red PLA.
Time To Print: 3 hours 10 minutes per adapter
Filament Cost: 84g per adapter
Creator/Creation Link: Kirby Switch 2 Mouse By Gamesandtoys64
...and a few random fun things to finish!
It's-A-Mario!
I couldn't finish up without adding this chap, could I? Oh, and in searching for this model, I discovered you can put pretty much any character you can think of into a search and something will turn up to print off!
Creator/Creation Link: Mini Super Mario By TheLightning
Iron Fist Alexander from Elden Ring
One of the most adorable things I've ever owned, my tiny pot hero sits on my windowsill, and I LOVE HIM.
Creator/Creation Link: Pot Planter Flexi Articulated Legs and Lid By ONI.FORGE
Got a 3D printer? Printed any exquisite Nintendo-related goodies you'd like to tell us about? Make sure to let us know in the comments, and if anyone has any questions for me about anything here, feel free to ask!