
With six dungeons looted for their instruments and Link upgrading his power bracelet in part seven of our guide, we’re closing in on the Link’s Awakening endgame. In part seven, we will gather songs and allies necessary for accessing the tower in the Eastern Tal Tal Mountain Range, before tackling the twisting paths of the intriguing seventh dungeon.
Preparing for and Travelling to the Mountain Tower
Learning the Frog’s Song of Soul from Mamu
As you exit the Face Shrine, the Owl arrives with a warning, and a tip on your next destination:
Hoot! The many monsters of this island fear that the Wind Fish is about to awaken!
The monsters’ power is real! They may conquer the island and destroy their foes! That day may come soon!
Now, go to the Mountain Tower! Fly like a bird! Hoot! Hoot!
As it happens, the ‘fly like a bird’ isn’t just a figure of speech – if you head to the mountains at this point you will eventually find that your lack of wings will block your progress.

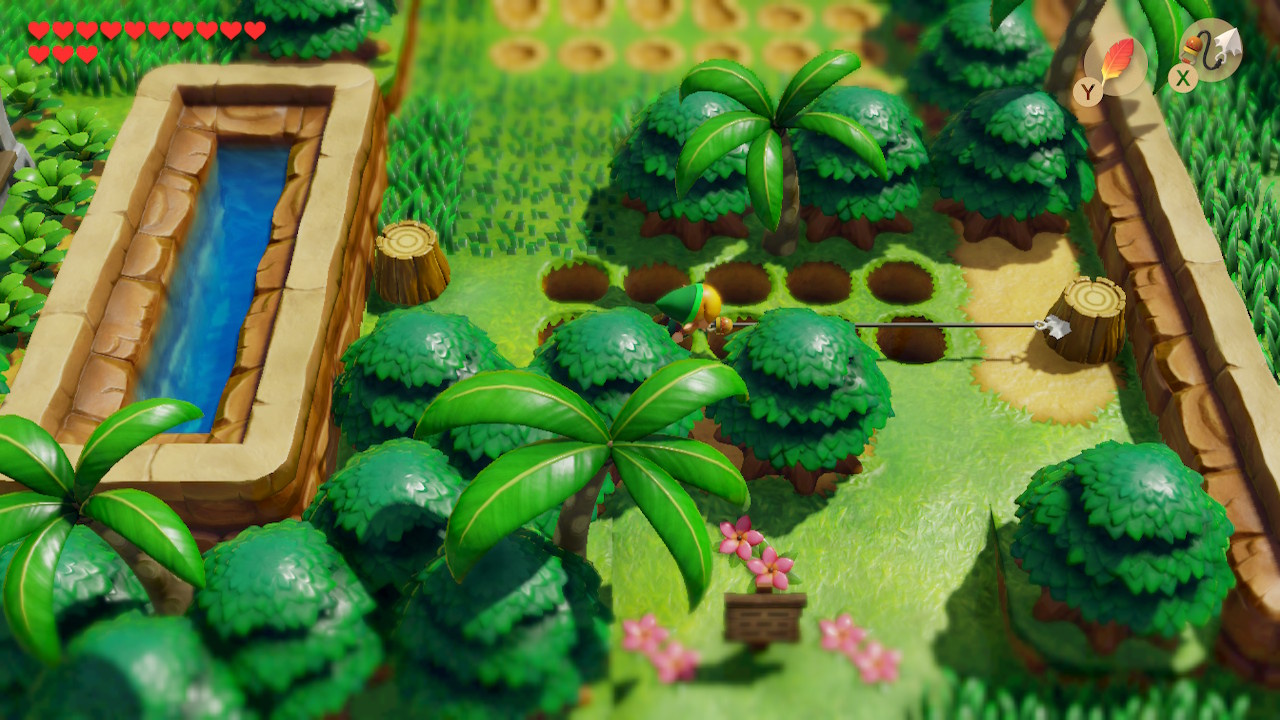
Rather than wasting a trip out to the Tal Tal Mountain Range, you should head to the south of Ukuku Prairie – there, you will find a series of pits that your Hookshot will help you cross.

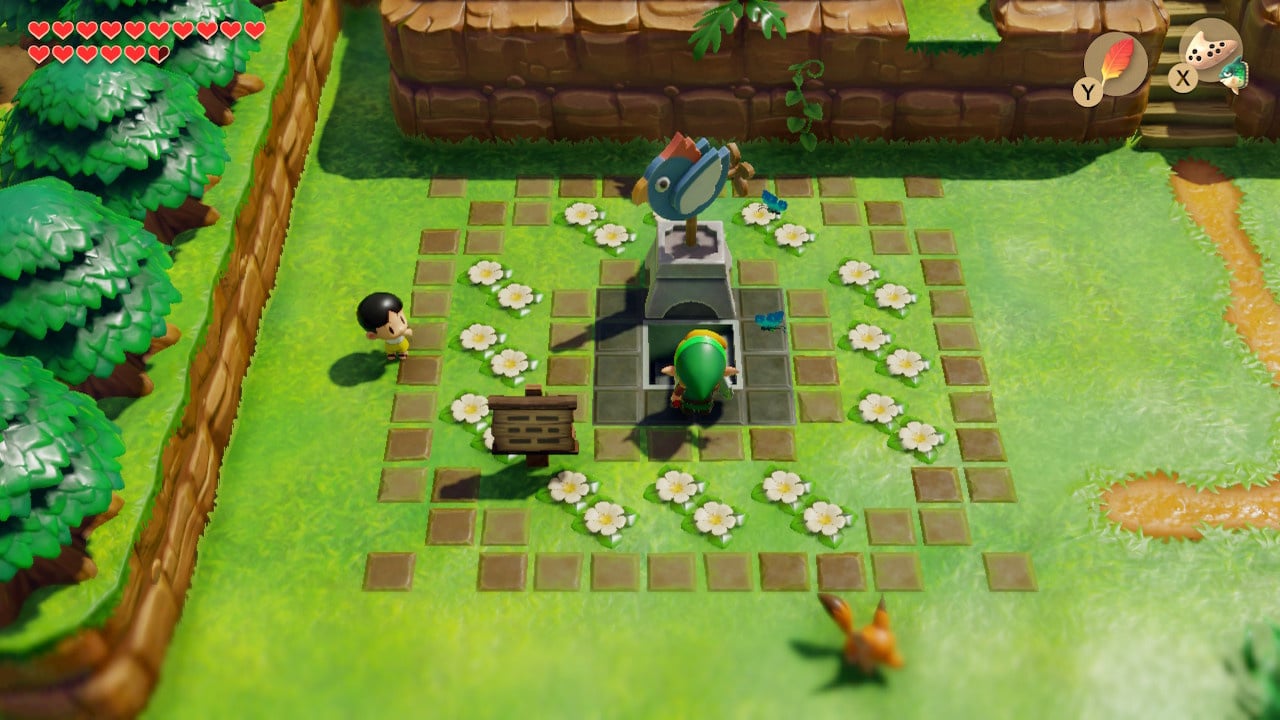
Head south and you will find a field full of signposts. These signposts point you in one of four directions, looping round the field several times. The posts are easy enough to follow, if long-winded.

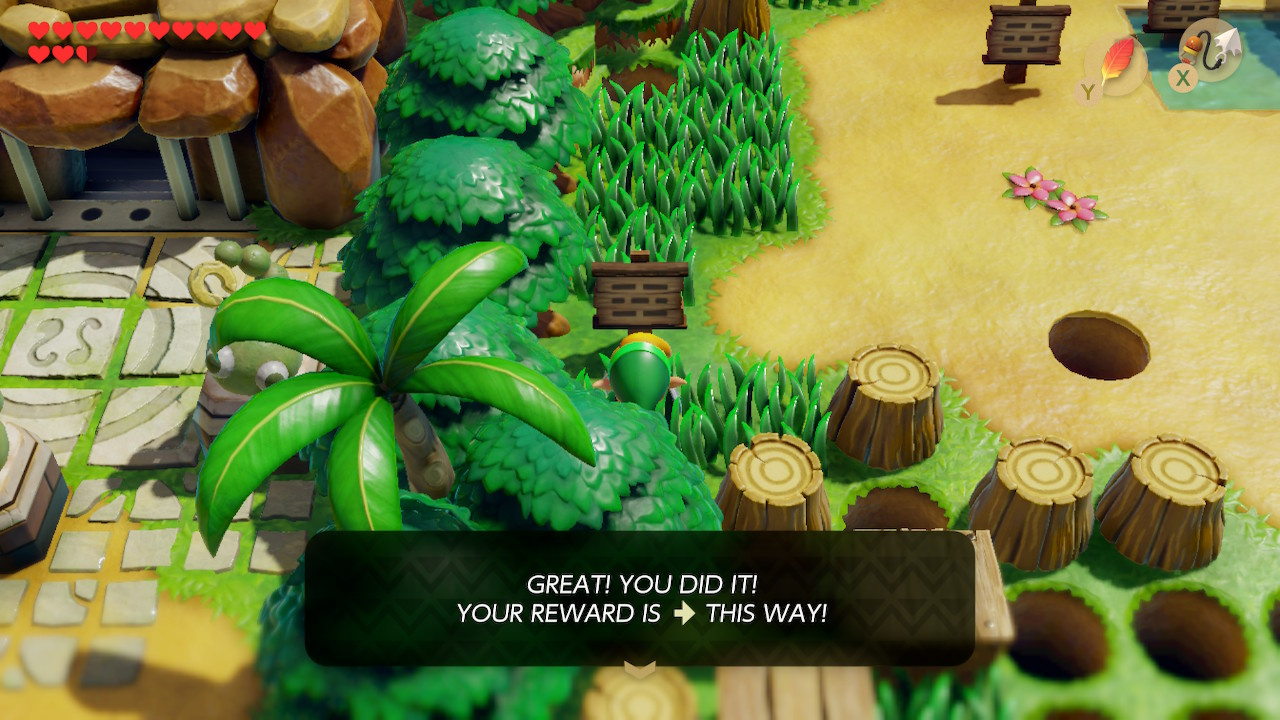
Eventually, you should come to one final signpost in the southwest corner of the field. Read it and it will indicate that your reward can be found to the right.

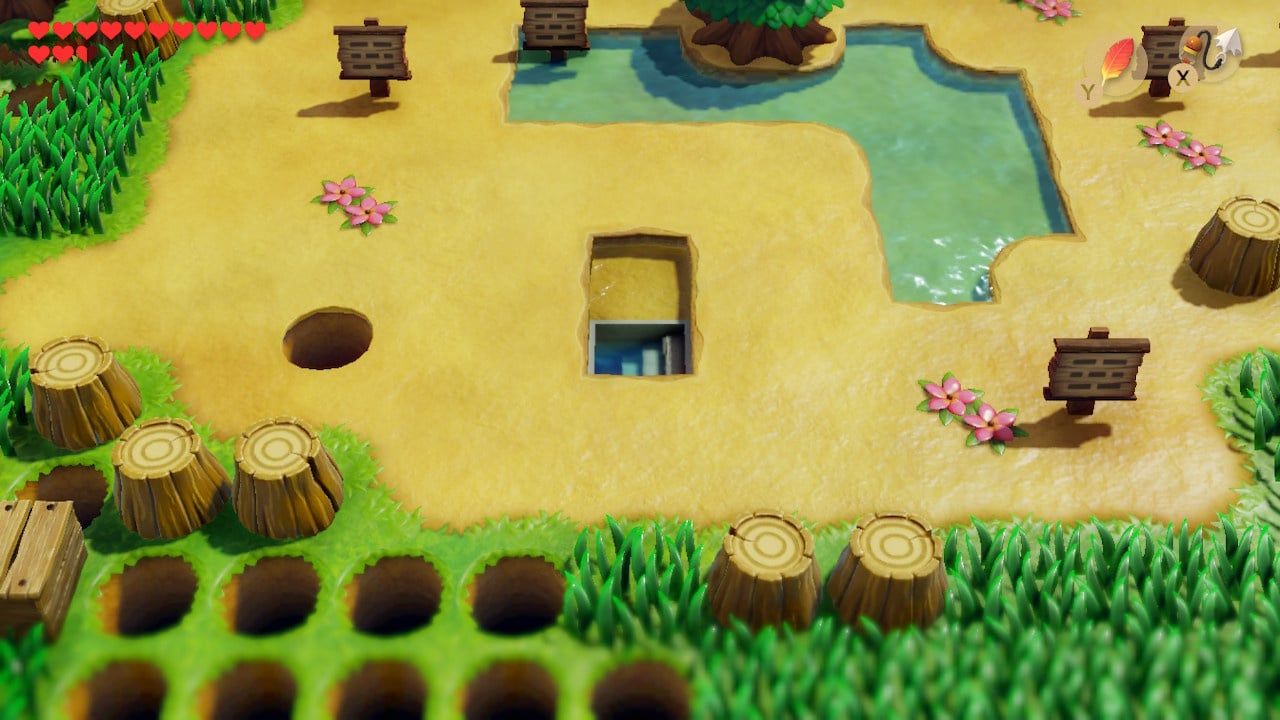
The camera will pan, showing a staircase appearing in a shallow trench in the soil – head down.

Looking uncannily like Wart from Super Mario Bros. 2, (“Mamu” is his Japanese name), you’ll find a frog offering to sing you a song for 300 rupees:
Ribbit! Ribbit! I’m Mamu, on vocals! But I don’t need to tell you that, do I? Everybody knows me!
What to hang out and listen to us jam?
For 300 rupees, we’ll let you listen to a previously unreleased cut!
Hand over the cash and watch the performance:
You’ve been a wonderful audience! No encores! Croak!

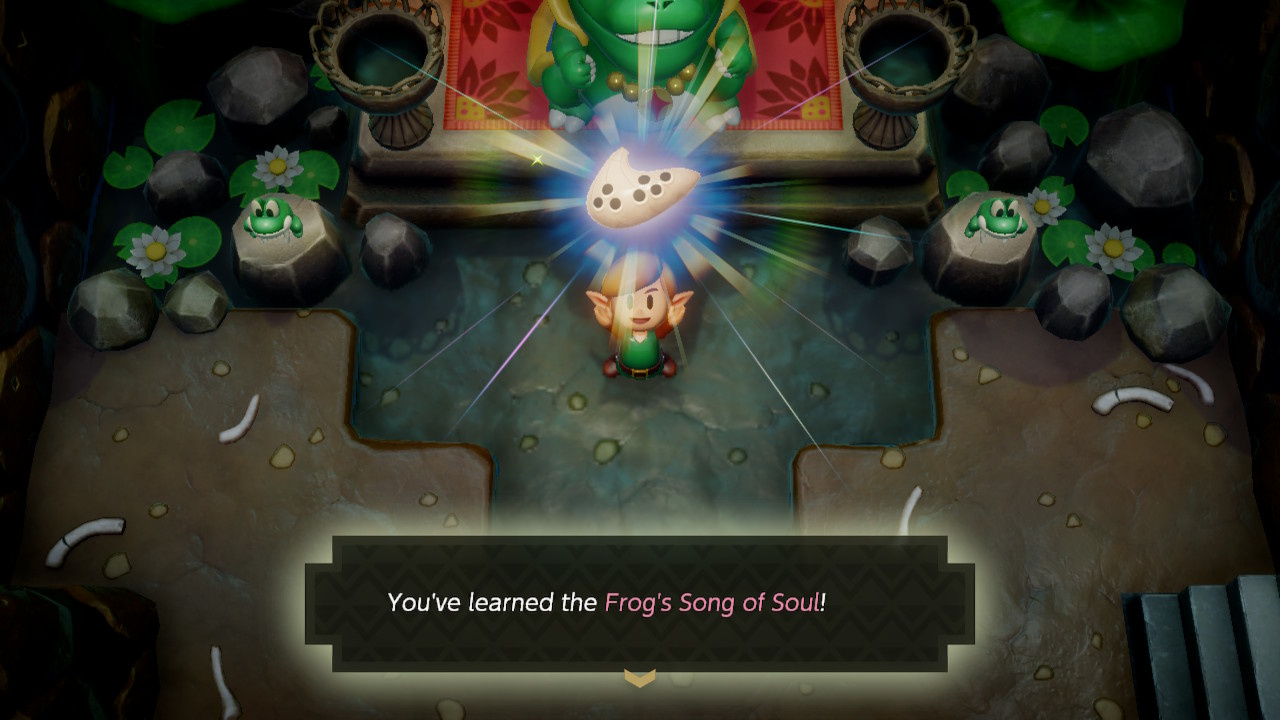
Link’s considerable musical skill means that he only needs to hear a song the once to be able to play a serviceable version of it on the Ocarina:
You’ve learned the Frog’s Song of Soul!
It’s a very moving tune… It can even liven up unliving things!
Mamu expands on this later point:
If you play this song, you’ll make everything around you feel more alive!
Resurrecting the Rooster

If you’re the type to poke around at every part of the world, you may have noticed that the weather vane in Mabe Village mentions how currently un-pushable it is (or if you’ve been there since the Face Shrine, you may have pushed it already). With your current strength you can nudge the weather vane aside to discover a secret tomb.

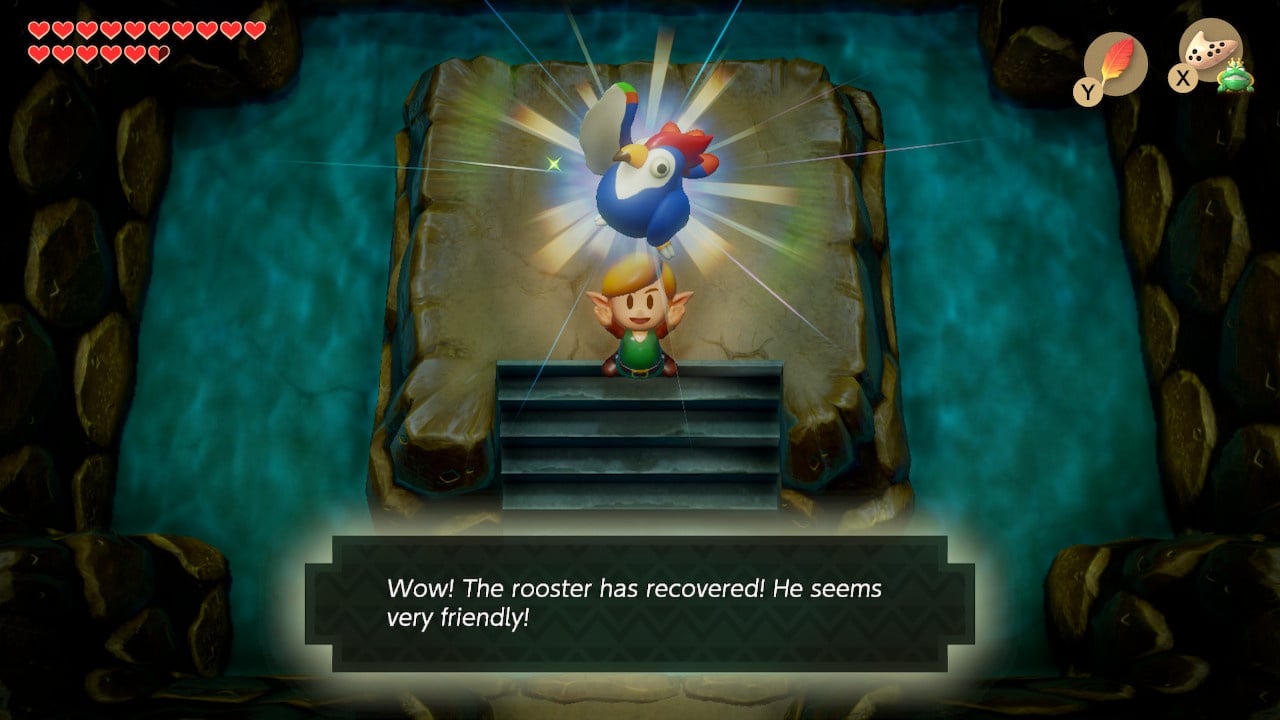
Go inside the tomb and you will find a pile of ancient chicken bones – it’s time to test out the revivifying properties of the Frog’s Song of Soul. Play the song on your Ocarina, and the Rooster will come alive once more. He’ll follow you for the next section of the game, and can be held to give Link the ability to hover above the ground.
Locating the Bird Key in the Eastern Tal Tal Mountain Range

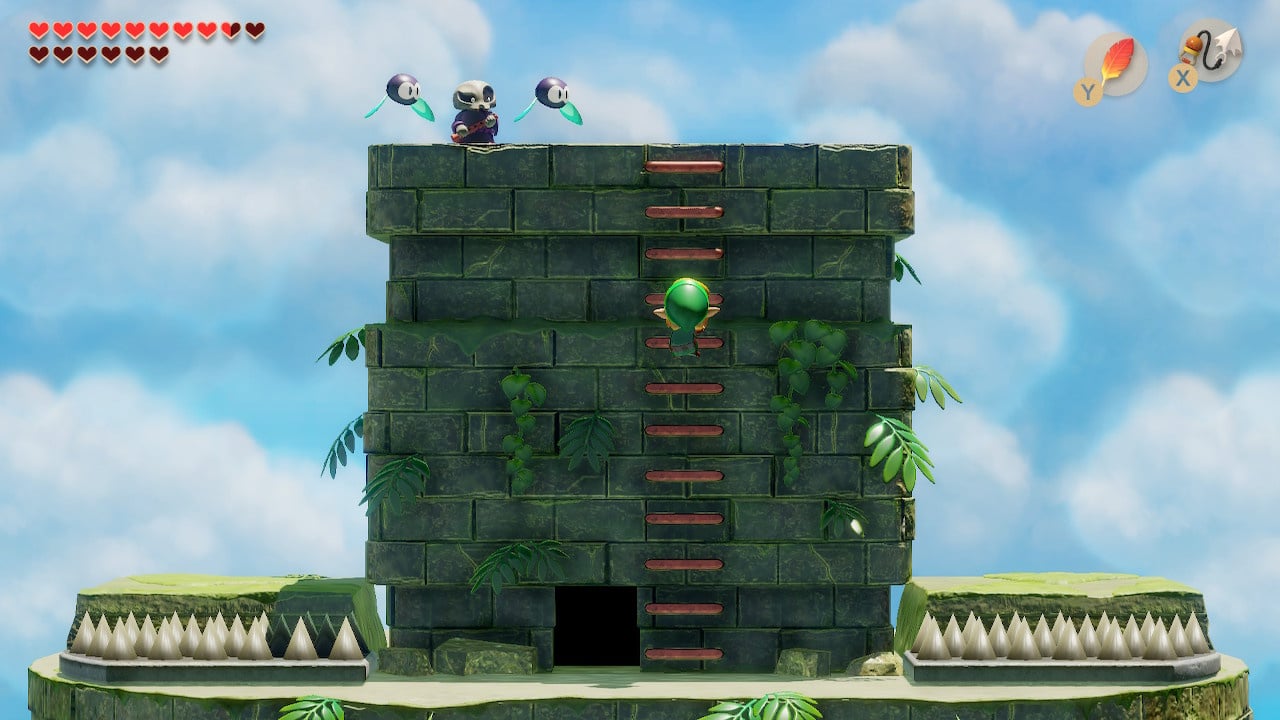
Warp to either Manbo’s Pond (all versions) or Danpe’s shack (Switch only) and head to the Tal Tal Mountain Range cave system you took when locating the Angler’s Tunnel (take the second ladder from the right). The Owl will swoop in to confirm that you’re on the right track:
Hoot hoot! Your path is not easy, but you are almost there. Go east.
The Wind Fish is getting restless
Continue through the caves as before, and head east of the drop down to the Angler’s Tunnel.

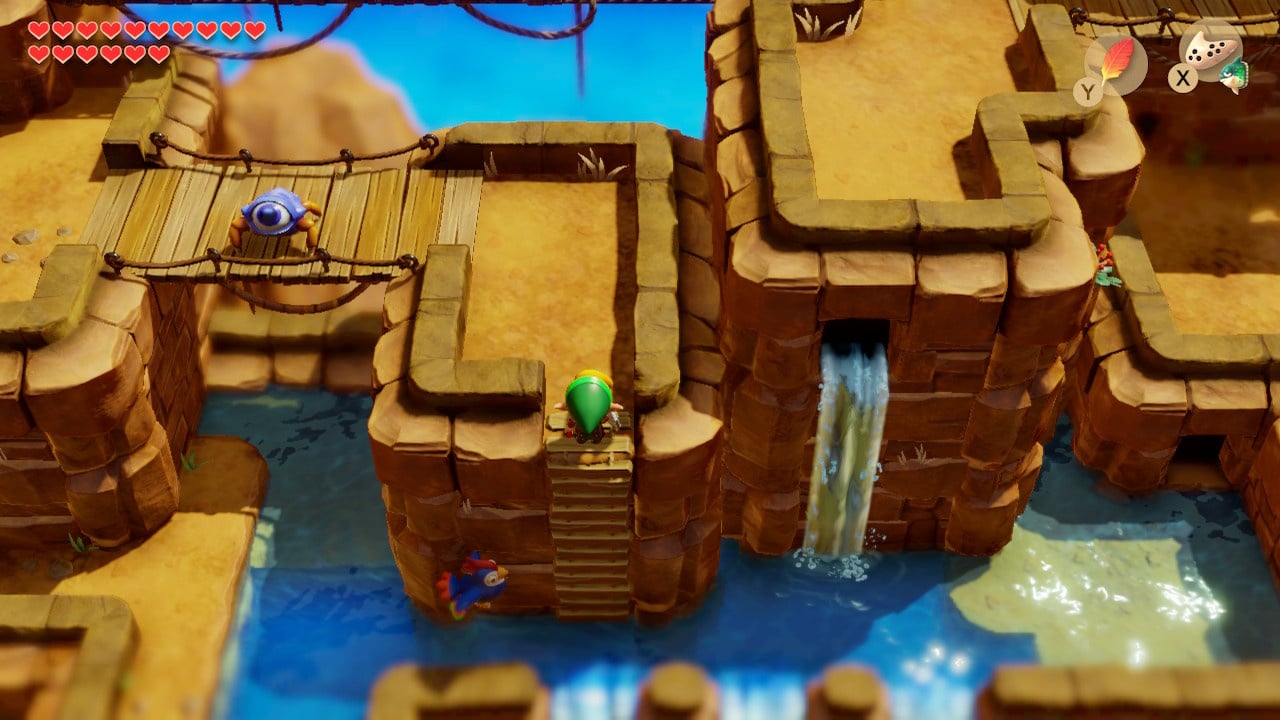
Beyond the water here is a ladder to the upper level. Head west.

Shortly, you and your rooster friend will come across a cave – take a look inside.
(If you arrive without the rooster, the guy in the shack north of here will mention that Ancient Chickens used to be able to fly – you are meant to intuit from this remark that you need to find and resurrect one).

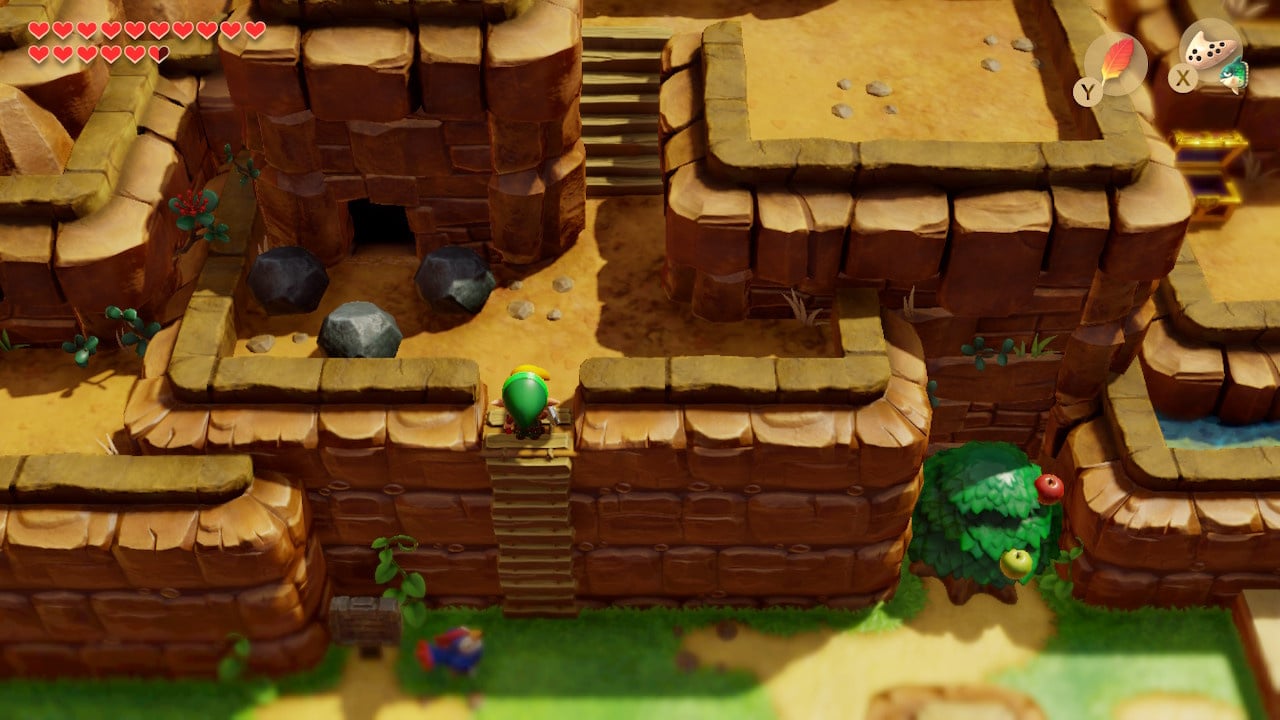
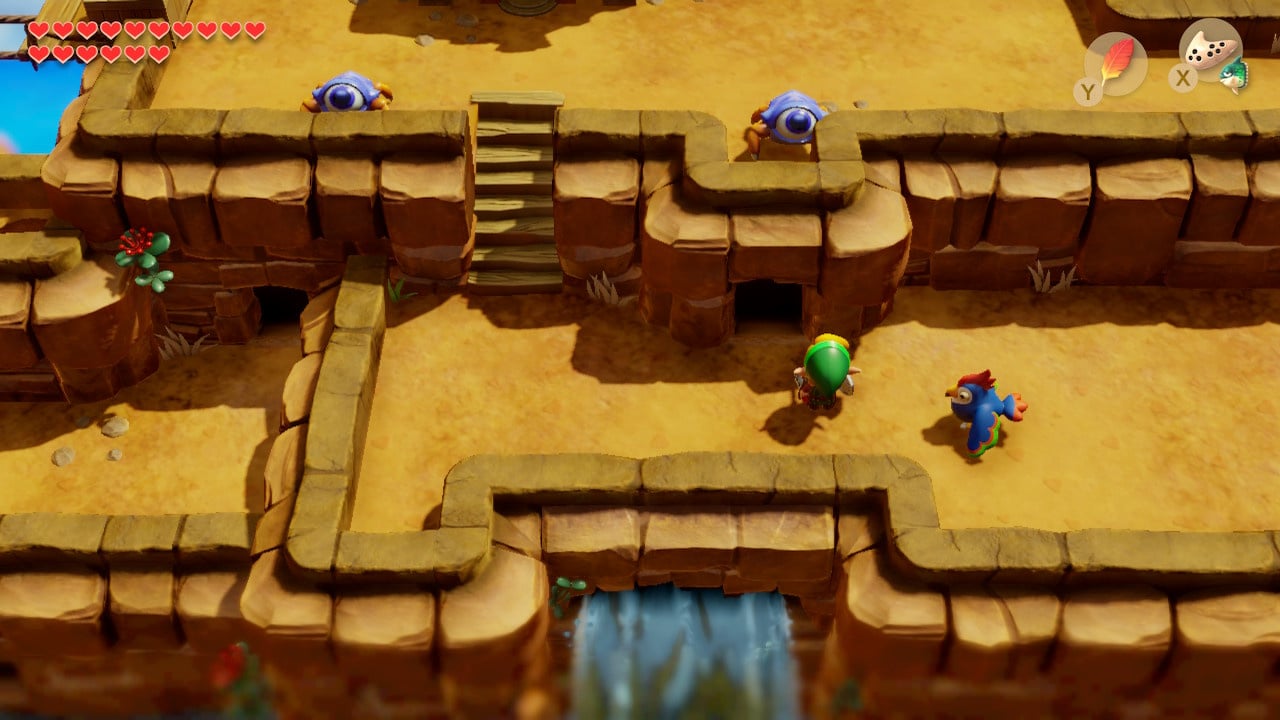
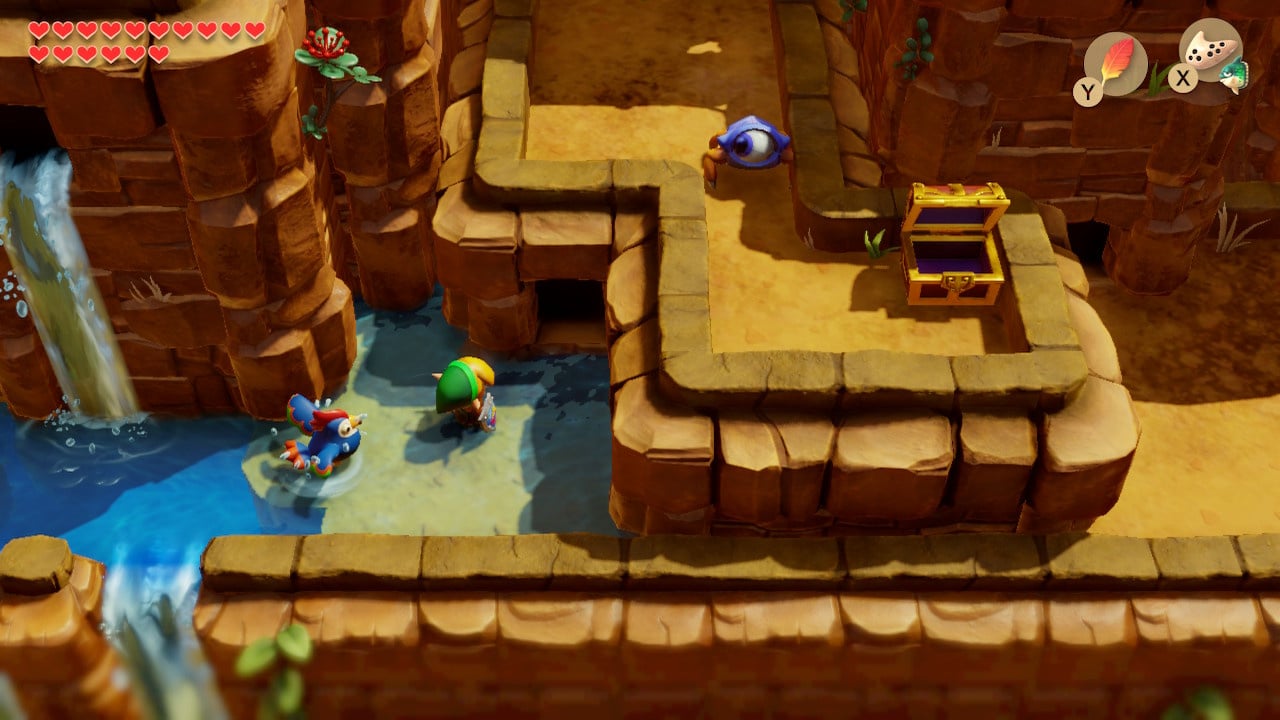
Walk through the cave until you find a room filled with round push-able stones. Push them into the nearby pits to uncover the path in the upper left, then jump or fly over the gap to take the north exit.

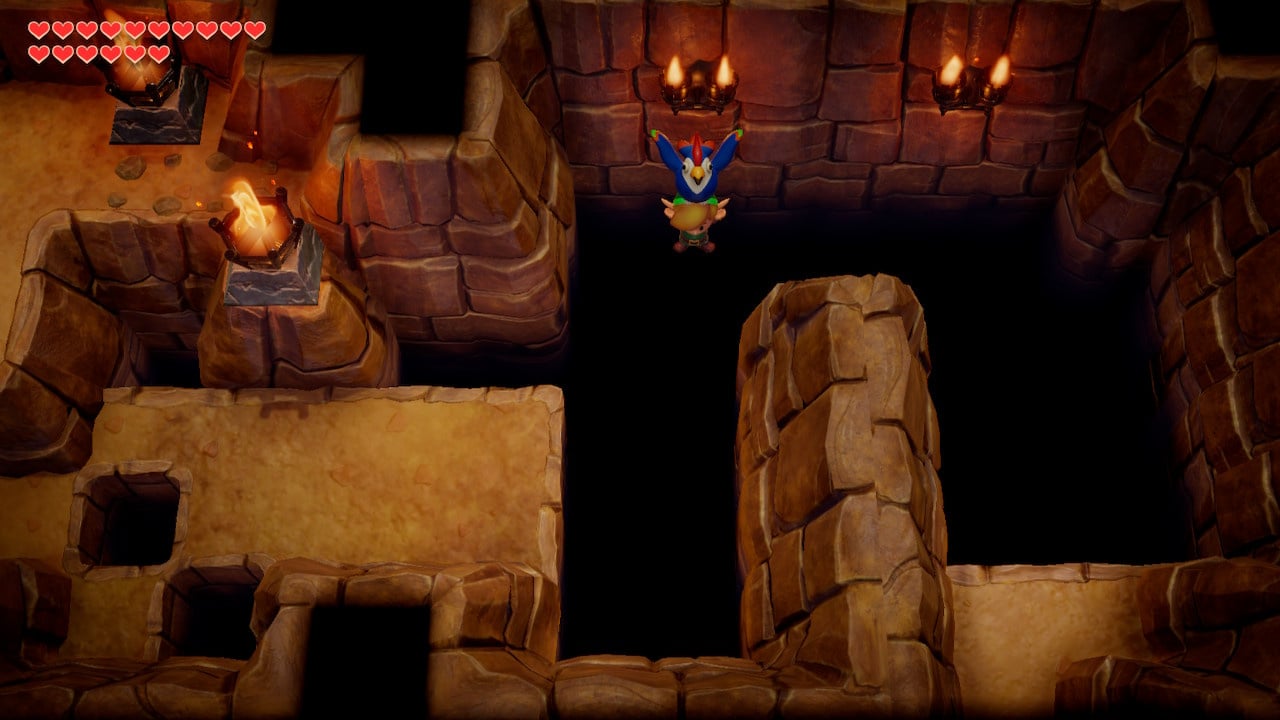
The next room contains an impassable abyss – pick up the Chicken and fly to the land to the left.

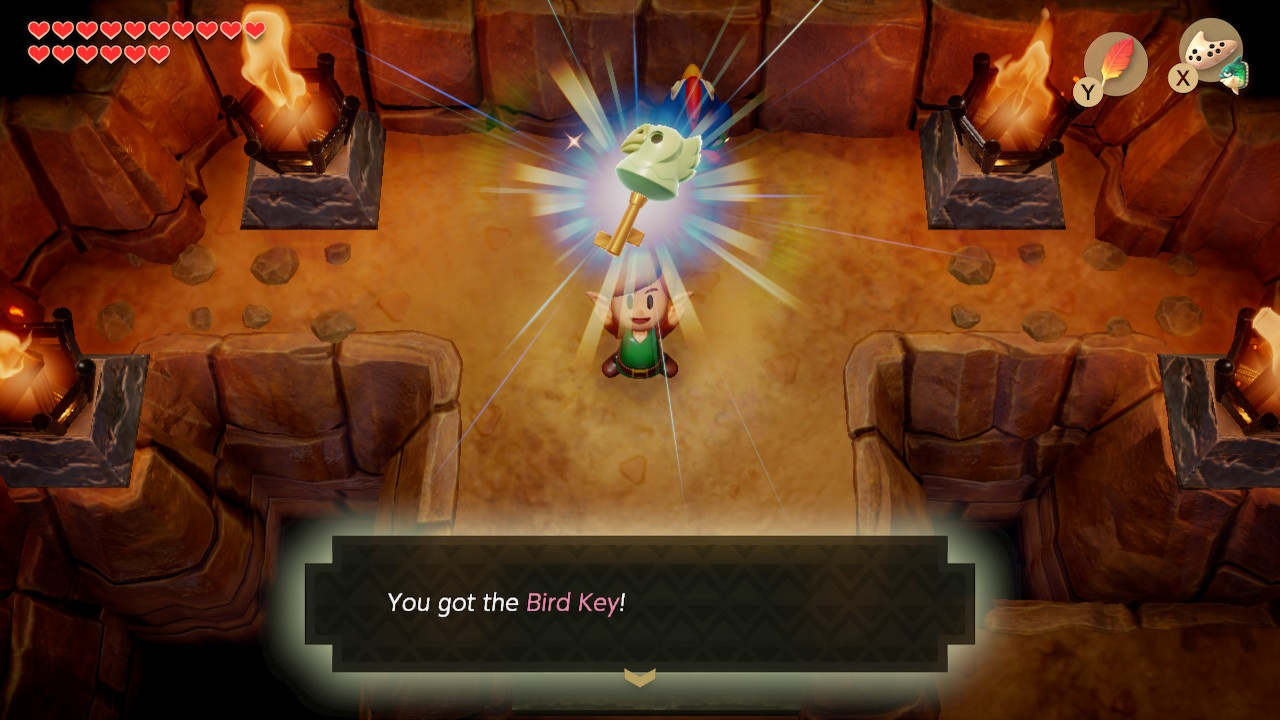
Climb the nearby steps and claim the Bird Key – now nothing stands in the way of your goal of entering the Mountain (Eagle) Tower.

Return all the way back to where you climbed the ladder to get to the cave’s level. Head east across the water and enter the cave you find there.

From this point the route is fairly straightforward, largely featuring single exits. There are a couple of cracked walls leading to a secret seashell and a fairy fountain to look out for, but the obvious path is generally the right path. Climb the ladder in the first outdoor area. The Owl Statue has the following message for you:
YOU ARE NEAR THE EAGLE’S TOWER. BEWARE OF THE BIRD!
Continue following the path as it snakes in and out of the mountainside.

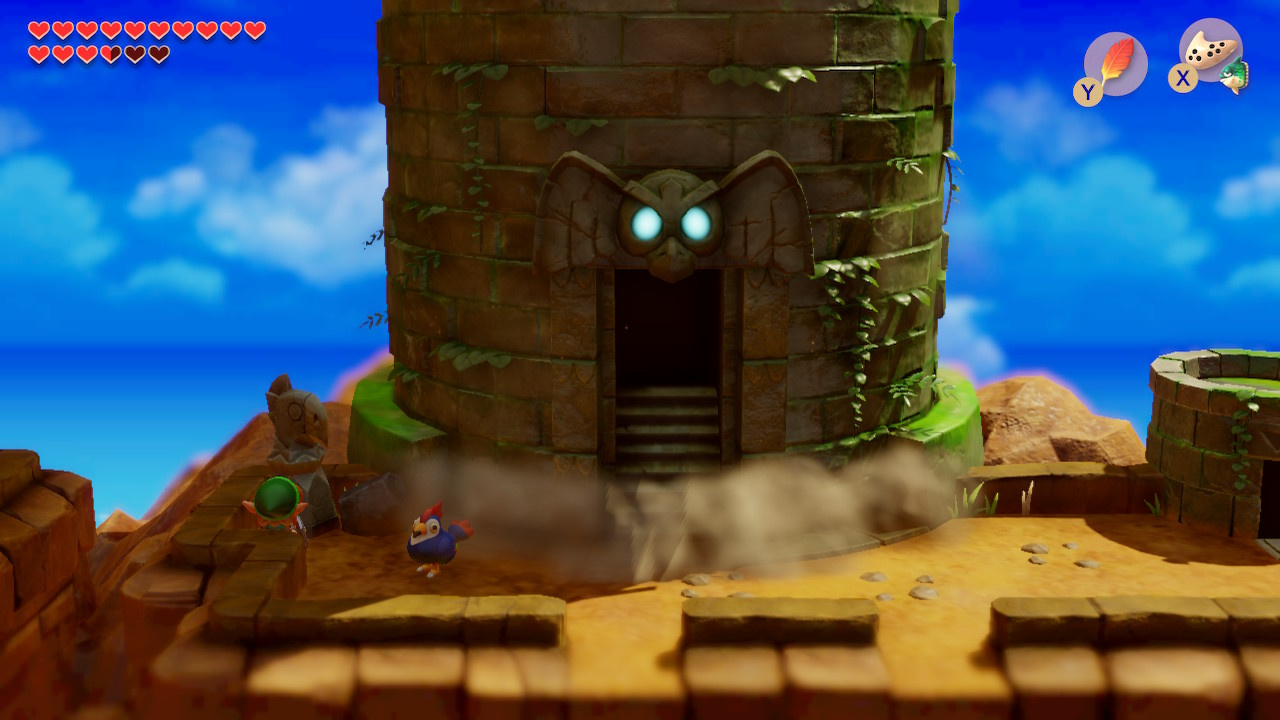
Eventually you will reach the Tower – the keyhole for the Bird Key can be found to the left of the tower. Insert it and watch as the Tower rotates to reveal the entrance.
Eagle’s Tower Walkthrough
Eagle’s Tower: Acquiring the Compass and Dungeon Map

Step inside the Eagle’s Tower, a four floor dungeon and the most complex you’ve encountered up to now. A left turn will bring you immediately into a dead end, so head right instead. Dodge the traps and jump the spikes in the next room and continue heading right.

The next room contains two Like Likes (roaming mouth enemies) and a Bubble (the bouncing enemy like a flaming skull). Throw the boomerang at the Bubble to take care of it, and kill both Like Likes for a Small Key. Use this immediately on the locked door and head up until you reach a staircase.

You emerge in a room half-filled with blue barriers, containing a chest and a currently unreachable gem switch. This room will be important later, but head up the narrow corridor for the time being.

The next room contains a moving lever switch connected to two moving blocks covering the left exit. The large metal ball on the raised area is important, but we will deal with it later. Instead, pull the lever down and quickly leave via the left exit.

You enter a room with a pillar – again, this will be an important element later, but we will ignore it for a while. The barriers in this room may appear discouraging, but they are in the direction we’re going to take. It’s easy enough to diagonally jump from the corner here to the passage on the lower right. Do so, and take the lower exit in the next pillared room as well (while avoiding the pits – because this is a tower, you will fall to the level below and have to walk all the way back).

Hit the gem switch in the enclosed area to lower all blue barriers and raise the orange ones. Head up two screens

Back in the first pillar room, push the block covering the narrow passage on the left either up or down, then head through. Follow the upward path in the next room (which yes, contains another pillar).

You will enter a blue-tiled room with a familiar but long-absent enemy.

Once you have successfully stopped all Three-of-a-Kinds on the same symbol by hitting them with your sword, a chest will appear – it contains the dungeon’s compass.

Backtrack to the first pillar room and take the north exit. You will find a knight-piece puzzle to solve – throw the white piece out of the way for the time being, and stand on the right receptacle – throw the black knight from here and it will land in the left receptacle.

Pick up the white knight and stand at the left of the upper doorway. Throw the white knight piece down and it should plant itself in the right receptacle.

The chess piece puzzle solved, a chest will spawn in the upper right containing the Dungeon Map.
Eagle’s Tower: Moving Towards the Mirror Shield
Exit the chess piece room via the top door and you will return to the first floor. Head right and then down in the next room, taking care to avoid the Beamos lasers and to not get too star-struck at the Anti-Kirby (boomerang/bomb it if it’s causing you problems).

You come next to a room with a gem switch surrounded by spikes. Don’t touch this right now (but remember it for later, as it will be useful. Head instead left, then down, then right, and finally down again – you’re back in the corner with the Like Likes and the door you opened. Head again through that door and back to the floor above.

You’ve arrived back at the room that was half-filled with blue barriers. With those barriers down, you can open the chest.
(Note the pit in the lower right corner – you can drop through this to reach the upper level in the floor below, and head north for a small key. However, note that this key is not used in the solution presented here).

Opening the chest you will find that the dungeon’s key item, the Mirror Shield is inside. A key use in this dungeon will be reflecting Beamos lasers (to take them out). However, it works on lots of projectile types, so be sure to try it out.
Eagle’s Tower: Locating the Stone Beak

Head all the way back to the gem switch we previously left alone on the lower level. Hit it to raise the blue platforms and lower the orange ones, and leave via the available corridor on the left.

The orange barriers you’ve lowered form a convenient track to your next treasure chest. Follow them left through the large central room and head through the narrow passage they enter.

Head down along the line of orange barriers you’ve been following to find a chest.

This one contains the Stone Beak, completing our tour of early dungeon items.
Eagle’s Tower: Fighting the Grim Creeper Miniboss and Finding the Nightmare Key

The next staircase you need to take is right next to the chest you’ve just opened – however, the barriers will need to be cycled first. Follow the lowered orange barriers all the way back to the central room and go and hit the gem switch you hit to achieve the last barrier swap.
From there, head back to the start of the dungeon (use Manbo’s Mambo if you don’t want to risk getting lost) and take the left exit you haven’t taken yet. Head up and you will find yourself back at the Compass chest. Take the stairs.

The next room contains some Zol (blob enemies) and some sparks to rid yourself of. Exit via the narrow passage at the bottom (we’ll return for the one-way door later).

Without much fanfare, it’s a surprise miniboss. This Red Hinox is much the same as the Orange one you fought before. Avoid getting grabbed or bombed (it has difficulty with the right side of the room) and hit it with your sword until it croaks. A Small Key will drop as a reward.
Post fight, you can also drop down the lefthand pits here to reach the upper level in the room below. Head north for a Secret Seashell. Navigate back to this room and take the right exit.
The next room contains another set of Three-of-a-Kinds – feel free to deal with these now, but we will be back for them later (they give us a currently inaccessible chest). Continue heading right.

You emerge into the room with the very first gem switch we encountered. Ensure that the orange platforms are down (throw a bomb into the enclosure if necessary) and head up the stairs to the third floor.

With the orange barriers down, you will be able to walk around freely in the next room. Head through the narrow path at the top and follow the walkway to its end.

The next doorway you enter leads to the main miniboss encounter for the Eagle’s Tower. This skeletal foe shouts down at you as the doors slam shut:
Hey, runt! You think you can take me?!
All right, boys, get this punk out of my face!
This delightful fellow is the Grim Creeper, and he summons a team of six Battle Bats. These pests surround you in a series of formations and must be killed as they charge at Link. If one or more bats is left alive, the Grim Creeper will helpfully explain where you’re going wrong:
Ha! You’re gonna have to do better than that!
If you leave even one alive, I can keep bringing more buddies to help! Here goes, short stuff!
The most effective strategy for taking them all out will vary slightly depending on the formation the bats get into, but the basic principle is the same – back yourself against a wall with as much distance to them as possible, and swipe with your sword as each approaches. Take out all six and you’ll outrage the Grim Creeper:
You lousy so-and-so! Those creeps were some of my best friends!
You’ll pay! I’ll never forget you!
This is all he has for you right now, however. Head through the upper right exit.

Head into the next room and take out the Sparks using your boomerang (otherwise they will make things a little difficult). Push the two wooden blocks towards each other and a chest will appear in the upper right.

This chest will contain the Nightmare Key – but there’s more to do on the lower levels before you get there.
Eagle’s Tower: Collapsing the Upper Level

Explore any more of the third floor and you’ll soon find that there isn’t much else to see up there. Instead, it is time to head to the second floor to use the large metal ball for its intended purpose.
Return to the first floor (consider using Manbo’s Mambo) and ensure that the blue barriers are raised and the orange ones are lowered (use the gem switch in the northeast if necessary). Once in the room with the metal ball, approach the Owl Statue to learn about your next task:
The riddle is solved when the pillars fall!
Try bombing the pillars you’ve encountered (or using any other item) and they won’t budge. The Metal Ball is the key here – you can move anywhere on the second floor with it, it will stay put where you drop it, but you cannot take it to another floor (you can’t climb stairs while carrying it, and if it falls into a hole it will respawn back in its starting room).
Use the lever and take the ball out via the left exit.

Throw the ball at the pillar in the first pillar room and it will fall apart. Your next move will be to throw the ball to either of the exits on the lower part of the screen – either over the blue barriers on the left or the low fence on the right. Jump the gap on the right and retrieve the ball, then head down a screen.

Take out the second pillar once you have thrown the ball to the main section of floor. Before taking the ball upwards, you should visit the gem switch in the room down the narrow corridor and cycle this so that orange barriers are raised.
Once you have the ball back in the first pillar room, take the left exit.

In the third pillar room you will find that you cannot get the ball over the wooden blocks. Link will have to leave the ball in this room and find another way round (either leave it in the passage or head round to the left and throw it over the low wall).

Find your way back to the second floor room with the one-way door (this is one room up from where you fought the Hinox – the quickest route is to use Manbo’s Mambo, head left then up and take the stairs).

Through the one-way door you will find a room where a series of orange tiles will be flung at you. It’s quite easy to dodge these if you get yourself in the corner and jump each tile as it reaches you. Once all tiles have been thrown, the exit on the right opens up.

Retrieve the ball from where you left it (the lower wooden block can be pushed into the pit if you stowed it on the right) and throw it at the Pillar. There’s one more pillar to take out, and it’s in an area you haven’t yet reached.

Travel with the Metal Ball back to the enclosed Gem Switch. Throw the ball over the low wall, and find your way back to it (with blue barriers lowered, use Manbo’s Mambo, head to the room with the one-way door, head down, then right twice).

Once you have the ball, head left. We’ve brushed over this room previously, but there are several things to note/do:
- If you haven’t already, the Three-of-a-Kinds should be stopped on the same suit in order to spawn the chest on the right
- The Metal Ball can be thrown across the trench via the low wall
- There is a cracked wall next to the Owl Statue
Once the ball and the chest are in position, let’s go in search of the other side of that cracked wall.

Head back to the room where you destroyed the third pillar (via the one-way door and the tile throwing room) and look for a cracked wall on the lower left. Bomb it and go through, then follow the path down and bomb the cracked wall there.

You’re back in the same room as the metal ball. The owl statue doesn’t have anything particularly useful to say (it only hints at the fact that you can throw the ball over low walls), so hookshot across the trench using the chest and head up with the ball.

Here’s pillar number four at last – chuck it at the pillar and watch the fireworks.

You will be shown an external view of the top of the tower as it crumbles, bringing the ladder on the outside within reach of the floor below. Cleverly, the effects are felt in the dungeon too – the fourth floor has collapsed into the third floor, altering the layout there.
Eagle’s Tower: Defeating the Nightmare/Dungeon Boss – Evil Eagle

You should now return to the third floor. By far the easiest way of doing this is to play Manbo’s Mambo to return to the start of the dungeon, and then step into the blue portal taking you to the room where you fought the Grim Creeper. Head out of the left-hand door.

Instead of the walkway you may have been expecting, you emerge into a large two-level room. In the upper left you will find the Nightmare door – you have the key, so open it up.
The boss is actually a few rooms away at this point. Optionally, you can head up, then right to access another chess piece puzzle – the reward is a secret medicine (the lotion you get from Crazy Tracey), so if you’re not interested, skip over the solution.

Firstly, you will want to use your mirror shield to disable the Beamos. Then, throw the white knight piece from the floor tile above the right receptacle.

Throw the black knight piece from the floor tile above the left receptacle.

A chest containing the secret medicine will spawn in the upper right of the room. Return back to the room above the Nightmare door.

Climb the steps in this room and shoot your hookshot across the gap. Head south and then take the open door to the right. You will be outside in a sidescrolling area – climb the ladder and stand on the top of the Tower.

The Grim Creeper is here, and he’s not happy:
BAH! I’m not going to hold back!
I’m going to make you wish you were never born!
He calls the tower’s nightmare, the Evil Eagle, and jumps on its back.

The Eagle will take various diving bombs at you – jump and swing your sword at it to do damage. It will also hit you with gusts of wind while throwing razor-sharp feathers at you – put your shield up to deflect the feathers and run towards the gusts to avoid getting swept away (you will have to jump at least once to avoid falling from the tower). After enough damage is dealt the Grim Creeper laments:
My energy…gone… I…lost!
But you will be lost too, if the Wind Fish wakes!
Same as me… You…are…in…his…dream…

Head back indoors and drop off the ledge to access the newly opened door to the treasure room.

Step up to the altar and accept your seventh instrument – the Organ of Evening Calm. As its music fills the room, the screen turns white and you receive another mysterious message:
…OCARINA…
The music of the ocarina leads…
In part nine, Link nears the end of his adventure and heads to the western Tal Tal Mountain Range to enter (and fight!) the Turtle Rock
Comments (9)
These articles were motivation to keep me going and completing the puzzles in this game. Had to stay ahead of these walkthroughs to avoid spoilers. I beat the game this morning! Never beat the game on the Gameboy so this was another game from my childhood I had to conquer
ugh...and still mucking around with DQXI S....these new releases are not giving me enough time here.
F U Eagle Tower! Be dreaded!
Without question the most frustrating dungeon of my playthrough.
Such a frustrating dungeon.
@ummyeahnintendo I had never beaten it on the Gameboy either...I started playing in February, then in April found out it was going to be released again, so I tried to "hurry up" and finally beat it on 9/19, the day before the Switch release. Needless to say, I beat the Switch version quite a bit faster, ha ha.
Thank you for the spoilers in the subtitle.
@ummyeahnintendo I was just thinking, I can't read this they've overtaken me now!
@SwitchForce I'm trying to finish Link's Awakening before the cash price at CEX drops below the price that I just paid for Dragon Quest!
Tap here to load 9 comments
Leave A Comment
Hold on there, you need to login to post a comment...