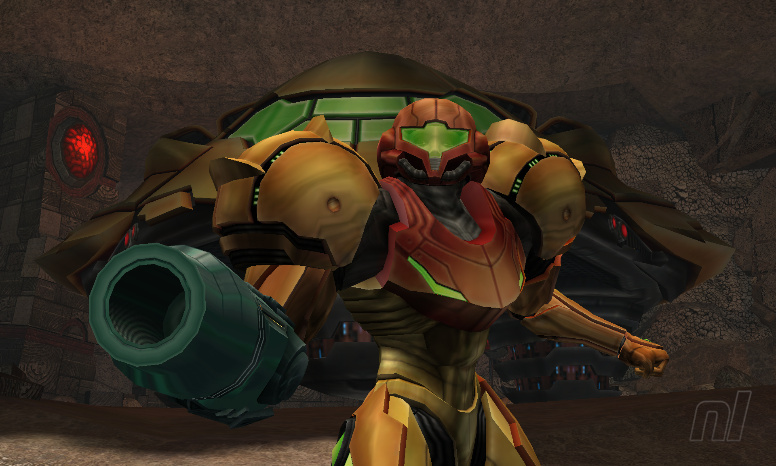
Welcome all to our Metroid Prime 2: Echoes walkthrough! We'll be starting at the crash landing prologue just before the Temple Grounds area on the planet Aether.
Now, there aren't any necessary collectibles for this first section of the game; instead, in true Metroid Prime fashion, you get a tease at most of the groovy gadgets Samus wields, only to lose them so you can earn them back. However, there are various logbook entries that you need to keep an eye out for.
Starting the Adventure
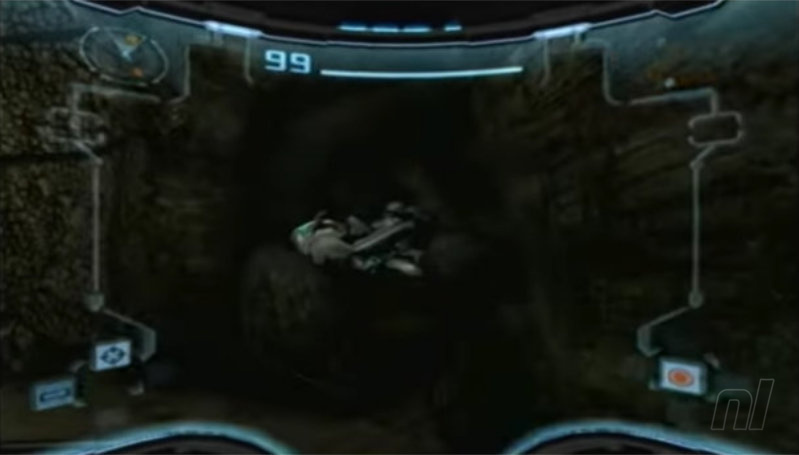
After getting caught in a lightning storm, crash landing, and somersaulting into action, you'll find yourself in the prologue area. Also, seemingly trapped in a room.
Holding the Left Shoulder button ('L' on GameCube) will allow you to lock onto targets automatically, and holding the Right Shoulder button ('R' on GameCube) will allow free movement, but you can't move while it's held down.
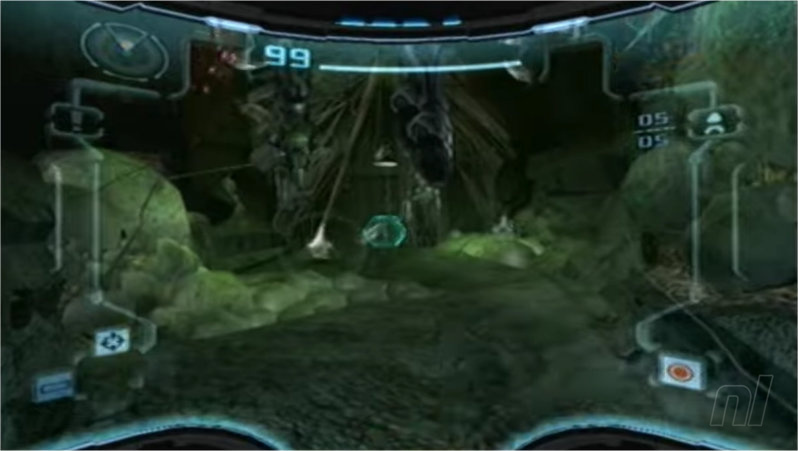
Scan Entry - Samus's Gunship
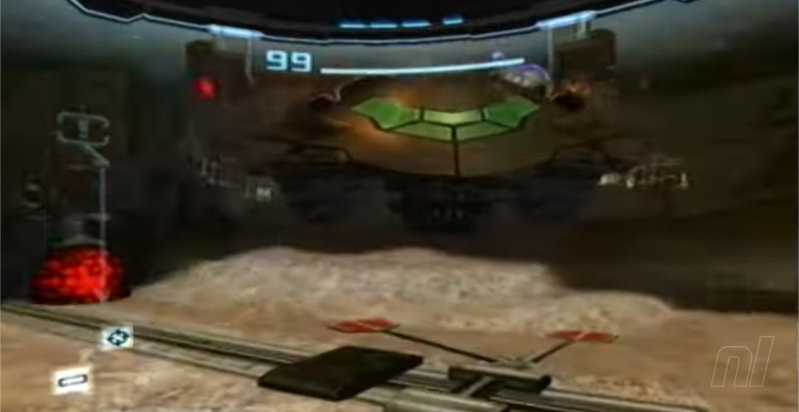
While in this room, you'll find Samus's Gunship; this is your first logbook entry of the game. Pushing left on the direction arrow pad will bring up Samus' scan visor, then holding the Left Shoulder button while the scan visor is activated will scan objects of interest, giving tips on certain puzzles.
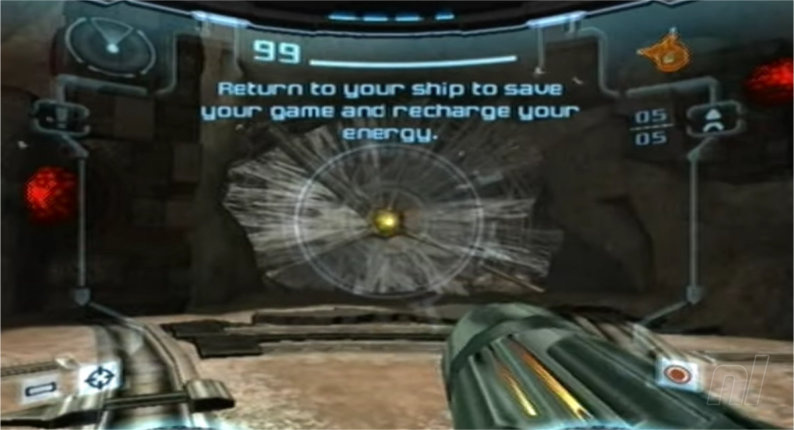
Any object or creature worth scanning in Metroid Prime 2: Echoes will appear a distinct blue, and any Lore entries that set the scene will appear red. Both will turn green after being scanned.
Aiming for the webbed-up walls with a green button and shooting them will allow you to escape and be underway with your new adventure. Small blue energy doors typically separate areas, but you can simply shoot them to open and walk through.
Proceed forward, and you'll come across a fork in the road. On the left will be a door which you cannot open. We'll return to this later. Turn right at the fork, and Samus will take a short drop into a lab with a locked door and a blue control panel nearby.
Scan Entry - GF Gate Mk VI
Scan the control panel, aim at the contraptions keeping the door locked, and proceed onward. In the following room, scan the control panel on the right-hand side of the room to open the locked door, also known as the GF Gate Mk VI.
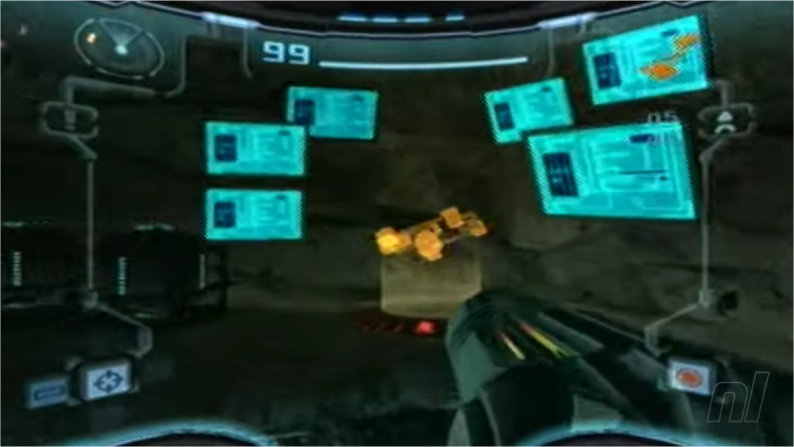
At the back of the room, behind the locked door, will be an orange hologram - this is the map for this area and the path forward. Simply walk over and touch the hologram to obtain it.
Scan Entry - Worker Splinter
Shoot through the webbed wall and proceed. You'll see the bodies of soldiers hanging from the ceiling (yes, the same soldiers Samus was sent here to help) being served as some Worker Splinters dinner. Make sure you scan one of them before you proceed.
Scan Entry - GSGT C. Benet
Onward, you'll come to a stop in a heavily damaged room with a dead soldier resting against a panel. Scan GSGT C. Benet to add a lore entry to your logbook.
Scan Entry - SPC B. Reeves
There is another dead trooper just left of the mechanism you aim to roll under. Remember to scan the trooper, SPC B. Reeves, for a new lore entry.
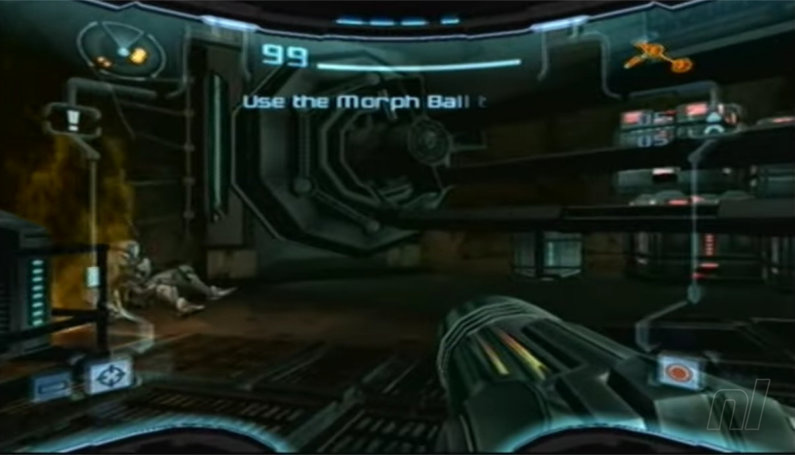
The area will be blocked with a small opening near the floor. Morph Samus into a ball, while in this form, you'll have full control rolling around and are able to drop rechargeable bombs. There is also a danger meter, letting you know what will harm Samus throughout the game. This stays present when in ball form, as well as your health and ammo count for your bombs.
Scan Entry - Bomb Slot
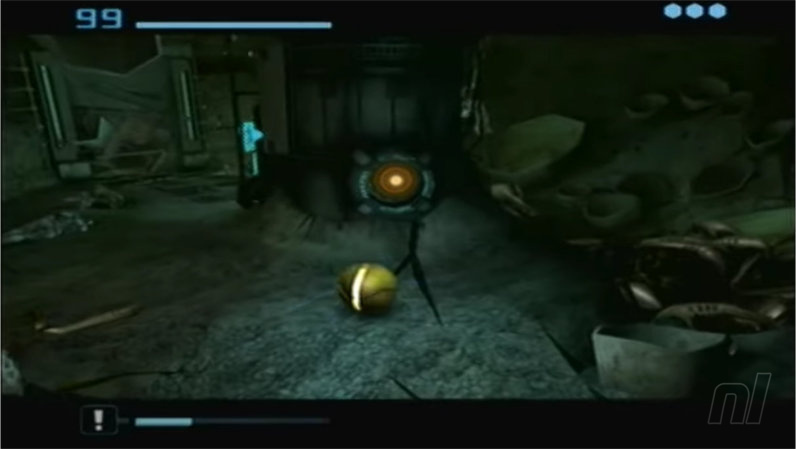
Turn into a ball and roll under the mechanism blocking your way and into a nearby vent, blowing up any debris on your way with bombs. On the right-hand side of the computer, you'll find an open slot, known as a "bomb slot," that's the source of what's blocking your progress. Make sure you scan it for a logbook entry.
Turn into a ball and place a bomb, letting it explode while near you will cause you to jump as a ball! We'll refer to these as "Bomb jumps" going forward. Bomb jump into the bomb slot and use another bomb to activate the control panel in the previous room.
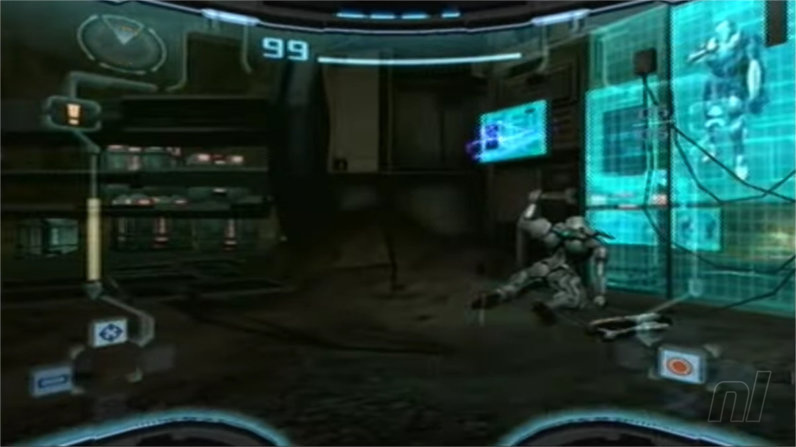
Scan Entry - Dark Trooper
Unfortunately, this will awaken several enemies possessing the bodies of the soldiers! These are known as Dark Troopers. Be sure to scan at least one of them for their logbook entry. Aim true with your trusty arm cannon to defeat them.
After the fight, head back to the starting point of the room and scan the newly accessible panel where you found the first dead soldier. You’ll gain access to a corridor previously blocked by the mechanism you rolled under. Progress through this tunnel until you come across a large room with a spooky portal.
Following a cutscene where Samus encounters a new enemy, Dark Samus, and a group of strange black creatures, you'll lose a lot of gear and the abilities they grant. Morph ball form, morph ball bombs, double jumping booster, every grapple, and even your missiles are gone. All will need to be obtained again.
Clearly undeterred by this setback, you'll continue onwards. Blast away some local vegetation, turn into a ball, and roll through a vent into a new room. After clearing the room of enemies, there's a save point hidden behind some boxes on the right side of the room - most objects can be destroyed either with a missile or a trusty charged shot. Upon saving, all of your energy will be fully recharged.
Continuing onwards, you'll discover an elevator, scan the control panel, and touch the hologram to use the elevator to proceed. At the following fork in the road, you'll see another locked red door. Again, we'll return to this when relevant, head left and scan the control panel to unlock and destroy the mechanism on the gate to gain access to an industrial area on the surface.
Scan Entry - Splinter
Dropping down, you'll see a large container blocking your way. On the left side of the area is the control panel, which will raise it out of the way, scan it, and move onward. Moving past the large red door, be wary of the Splinters who will not respect your personal bubble. I'm sure a quick blast will resolve the situation; just make sure you scan one of them first.
Scan Entry - Green Kralee
Jump up and follow the path along until you're stopped by a large gap where a bridge should be. On the way up, look for a Green Kralee, a friendly bug just going about his business. If you scan it, you unlock another logbook entry.
Scan Entry - Splinter Cocoon
While on the path, look up with your scan visor and scan the small blobs on the walls the Splinters leapt from to attack you, these are Splinter Cocoons. Scanning them will gain you a new entry in the research section of your logbook.
Scan Entry - GF Bridge
Heading up the path, you’ll find a suspended bridge being held up by the same mechanism you’ve seen with the locked gates. Scanning the control panel will reveal the mechanism holding it up. If you shoot them both, it will release the bridge, allowing you to proceed. Be sure to scan the GF Bridge itself for its logbook entry.
Scan Entry - PFC M. Veroni
Following the door in front of you, there will be the dead soldier, PFC M. Veroni, scan them for a new lore entry, roll through a bug hole (it's a hole the bugs made, what else could it be called?) and you'll arrive at the main area known as the Temple Grounds. Feel free to take a moment to take in the lavishing sights.
Check out our full walkthrough of Metroid Prime 2 Echoes if you need any to jump ahead to the area or boss you need help with.


Comments 0
Wow, no comments yet... why not be the first?
Leave A Comment
Hold on there, you need to login to post a comment...