Pirate Headquarters cover
Image: Nintendo Life

In the next stage of our full Metroid Prime 2: Echoes walkthrough we’ll be exploring the Pirate Headquarters. It's really a mining facility but we'll be calling it the Pirate Headquarters in our walkthrough. Be prepared to scan a lot of entries in this place, mainly the pirate logs.

The Pirate Headquarters

into the pirate headquarters
Image: Nintendo Life

Upon entering the Pirate Headquarters, you’ll notice you won’t be able to proceed through the door. On the ground, there are some damaged grates, blast them with a ball bomb, and you’ll be able to roll down under the grates and head through a slimy hole to progress.

On the other side, you’ll keep rolling under the feet of pirates heading into a dark portal; carefully time your rolls past the pulsing electric barriers in this section as they’ll give you a nasty shock.

Collectible - Missile Expansion Pack

Taking a quick detour right and down in this small tunnel maze will grant you an additional Missile Expansion Pack.

Getting back on track, take a page out of Limp Bizkit’s book and keep rolling, rolling, rolling (what!) left until you drop into a room where a brief cutscene will show a room full of pirates closing an important-looking gate. Yep, we’re going to need to fight these fellas.

Scan Entry - Aether

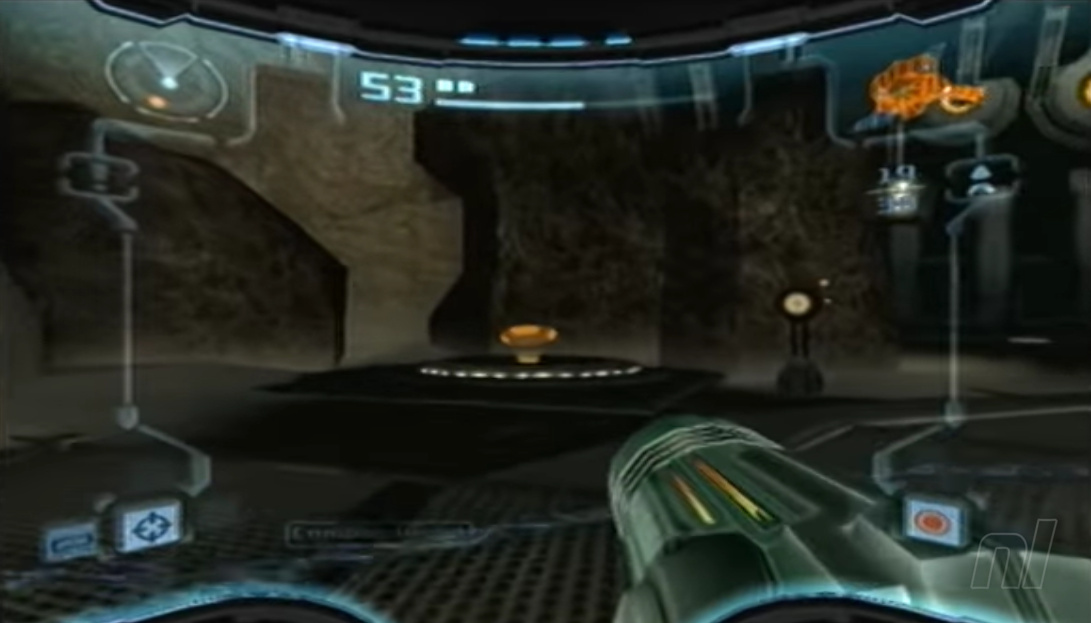
After defeating the pirates, you’ll see a large orange hologram of the Planet Aether on top of a computer. Scan it for a new logbook entry.

Scan Entry - Dark Aether

Just opposite the previous entry there is another hologram, this time a large red one of Dark Aether, scan it for another logbook entry.

In this room are a lot of logs, all of which need scanning for their lore entry in the logbooks. These appear on the terminals inside this room. Again, important objects will appear as RED on your scan visor prior to scanning them. So flick it on and get to scanning those computers for their lore logs.

logbook consoles
Image: Nintendo Life

Scan Entry - Log #62217

Scan Entry - Log #48853

Scan Entry - Log #44681

Scan Entry - Log #54421

Scan Entry - Log #50086

After you’ve absorbed a lot of lore, there is a control panel that will activate the elevator in the room that will be close to the hologram you scanned to gain the Aether logbook entry. Head up the elevator and make your way across the rafters in the room, keeping an eye out for the odd pirates, of course.

elevator
Image: Nintendo Life

Keep walking, and you’ll come across a pirate shooting at you through the glass of a control room. After dealing with them, head on through the door nearby, and you’ll witness Dark Samus crashing onto the scene.

Scan Entry - Log #70136

After Dark Samus floats away, peek through the security gate with your scan visor until you see a console - scanning it will give you a new logbook entry for Log #70136.

Logbook entry control panel
Image: Nintendo Life

After you’ve done that, follow the tunnel right and use a missile to blast through the red blast door to gain access to the control room. Scanning the main computer will open the large gate in the main room; head back in there, and make your way through that door.

Scan Entry - Humility Class Turret

Inside, you’ll find a corridor full of lasers and turrets, just lovely. Remember to scan at least one of the turrets to gain the Humility Class Turret logbook entry. I wonder if they’ve been given that namesake to teach you some humility. Thread the needle past the laser grid and head into a new room behind a red blast door.

Scan Entry - Tallon Metroid

Inside a pirate will roam around this room riding a skiff. There will be an elevator accessible via its control panel, so you can keep up with the pirate and eliminate it. After defeating them, you’ll find a familiar face behind a cage all Metroid fans know. Scan the Tallon Metroid for its logbook entry.

Scan Entry - Log #63622

Heading up towards the exit of this room, just before you aim to leave, turn around and scan the console in front of the Metroid cage to obtain the Log #63622 lore logbook entry. Because we haven’t scanned enough logs, have we? Anyway, head through the exit, and you’ll find a bomb slot. Use it to turn the room’s walls around and proceed onward until you reach a large aircraft hangar.

Scan Entry - Pirate Aerotrooper

Hangar
Image: Nintendo Life

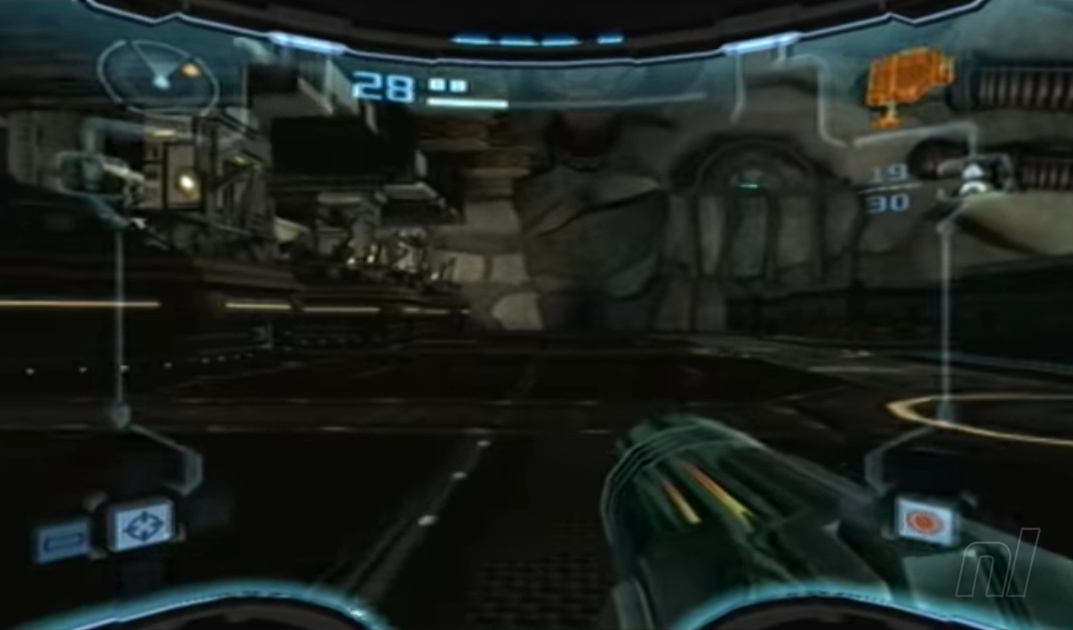
Up in the sky! It’s a bird! It’s a plane! Nope, it’s just a Pirate Aerotrooper. A flying variant of your run-of-the-mill Pirate Trooper. Quickly scan it to gain its logbook entry, then shoot it back down to Earth, or in this case, Aether.

Control for lift
Image: Nintendo Life

Beating the Pirate Aerotroopers will gain you access to the main control panel in the room; activating it will cause some pillars to rise from the floor. Using the small control panels in the hangar, two on each side of each main console per pillar. These will allow you to change the elevation of these pillars, one raising and the other lowering accordingly, with the goal being to make stairs jump across to reach the exit.

Collectible - Energy Tank

Energy Tank Pirate HQ
Image: Nintendo Life

While making stairs that aim towards the exit is the goal. If you aim them the opposite way and jump up them, your curiosity will be rewarded with another Energy Tank. Return to the control panels and make it so the pillars are aiming upwards towards the exit. It’s time to move on.

Next up, bomb jump into a tunnel behind the door, and you’ll roll into a Morph Ball puzzle. There’s not a lot to say about this section. Destroy what’s blocking your way with ball bombs while timing your jumps and rolls carefully to avoid the obstacles.

After the puzzle, shoot the red blast door with a Missle and proceed onward.

Scan Entry - Log #67135

Behind the door will be a room with a much-appreciated save point and also Log #67135 on the console behind it. Scan the console to gain the logbook entry, have a rest, and prepare to move on.

]

You’ll enter into a room with a pair of turrets blocking a seemingly out-of-reach door, but you’re not licked yet. Make short work of the turrets with your beam cannon, and scan the glass just left of the large door - it’s breakable! Fire a missile and walk onward through a corridor. You’ll see a large room through a window. We need to get in there, so head left and drop down into the room.

Scan Entry - Dark Samus 1

In the room, we’ll watch a cutscene of Dark Samus getting up to no good firing energy at a large crystal. Let’s interrupt her impersonating Emperor Palpatine with a good old-fashioned standoff. As the fight begins, quickly scan Dark Samus for their first logbook entry.

dark samus charge
Image: Nintendo Life

After defeating them, Dark Samus will explode in a burst of dark energy, causing normal Samus to flee before collapsing into a pile of dark goo. All about the dark stuff, aren’t they?

Scan Entry - Phazon

Before taking the elevator to leave, look up at one of the blue structures atop a pedestal. Scan one to gain the Phazon logbook entry. Now take the elevator out of this place, it’s dingy even by pirate standards.

Scan Entry - Log #69898

After taking the elevator, head through the door and scan the console directly in front of you to gain the logbook entry for Log #69898.

Suit Upgrade - Dark Beam

Just left of the log is the Dark Beam Suit Upgrade, which, as you can guess, fires beams of dark energy and, more importantly, allows you to open any doors covered in black energy.

Using the Dark Beam, exit the room and head right, continue to use it to open the gates to finally escape the Pirates Headquarters, or at least this version of it.

Scan Entry - Pirate Grenadier

Okay, there’s one more thing: when heading back through the main room with the Planet Aether holograms, you’ll encounter the Pirate Grenadier, which is a pirate trooper that can fire grenades at you. Methinks it’s time to try out the Dark Beam in combat.

Dark Pirate Headquarters

portal
Image: Nintendo Life

After the fight, use the Dark Beam on the area of the room with a lot of black dimensional goo around it. This will fire up a portal and transport you to the Dark Aether version of the Pirate Headquarters.

As soon as you enter a room with three exits, you’ll notice the Dark Temple Key above the middle door. This is what we’re aiming for in this area; now let’s crack on.

Scan Entry - Nullified Beacon

In the middle of the room, towards the middle door, will be a covered in dark energy, a Nullified Beacon. Give it a quick scan for its logbook entry before firing a few quick shots at it, freeing the Light Beacon inside, gaining a life-saving light bubble.

Scan Entry - Nullified Crystal

Inside the room also are Nullified Crystals. It's the same situation as with the beacon: shoot it to get rid of the dark energy, and a new light bubble is yours. Be sure to scan it before shooting, though.

Scan Entry - Light Lift Crystal

lift crystal
Image: Nintendo Life

Firing a missile at an odd object on the wall will reveal the Light Lift Crystal, scan it for its logbook entry, then fire a Dark Energy Beam to lower the platform.

Scan Entry - Dark Preed

Jumping up and looking towards the Dark Temple Key, you’ll see a Dark Preed floating in the air. Scanning it will reveal it gives a buff to nearby enemies. Shoot it down for good measure.

Collectible - Dark Temple Key

dark temple key Pirate HQ
Image: Nintendo Life

Jump across the gap up the platforms, and you’ll easily be able to finally grab that Dark Temple Key that’s been mocking us since arriving. Before going forward, jump back over the gap towards another door covered in dark energy and proceed through it.

Continuing through the tunnel, you’ll come across a Warrior Ing, stand your ground in the light bubbles and hit it with everything you’ve got, then continue through the tunnel.

Scan Entry - Dark Lift Crystal

lift crystal
Image: Nintendo Life

Hug the right-hand side of the wall and head through a door. Inside the room will be a large tower in the middle. Look up on the other side of it to find a Dark Lift Crystal, another logbook entry down. Speaking of down, shoot it with a dark energy beam to lower the tower and use it as a platform to progress upwards until you find a red blast shield door. Behind the door will be a save point you’ll be very sorry to miss.

Leave the room with the opposing door to the one you entered, roll through a tunnel, and use a bomb jump to hop over the hole. Take the elevator down and enter a very messy room. In here, you’ll have to scan three control panels to unlock the door. The first one is on the side with a raised edge to jump on the platforms.

Large room floating platforms
Image: Nintendo Life

The second will be at the top of the platforms, jump up. The third will be back on the ground, hidden behind some boxes. Destroy them, and you’ll be able to scan the panel and leave the room.

Scan Entry - Ingclaw

In the next room will be a handful of large barnacle-looking creatures; these are Ingclaws. Scan them, shoot them, and move on. In-laws are scarier than Ingclaws. Head through the red blast door to continue.

Continuing, you’ll enter a room with some towers with Dark Lift Crystals; it’ll take a bit of looking around, but when you find them, fire a dark beam at the crystals to progress.

another lift crystal
Image: Nintendo Life

Suit Upgrade - Light Beam

At the top of the room, behind a dark energy door, you’ll find the Light Beam Suit Upgrade. This allows you to access doors blocked by Light Energy.

light energy door
A light energy door, now accessible with the light beam — Image: Nintendo Life

Scan Entry - Webling

Heading straight through the area, proceeding through light energy doors will be a Webling. Scan it before shooting it away with your newly acquired Light Beam.

Scan Entry - Energised Crystal

Before moving on, shooting the Light Crystal with the light beam will infuse it with energy, becoming an Energised Crystal. Scan it for its logbook entry and learn that this will make the bubbles damage enemies that enter the area and increase the rate of health replenishment.

Scan Entry - Energised Beacon

Heading into the next room and shooting the closest Light Beacon with a Light Beam will energise it. It's the same situation as an Energised Crystal for its upgraded capabilities.

Jump up onto the highest platform, turn left, and head through the Dark Energy door ahead of you. Proceed through the corridor into the next large room, and you’ll see another Dark Temple Key, only for a Warrior Ing to steal it right in front of you.

Scan Entry - Ing Webtrap

After the cutscene plays, quickly scan the Ing Webtrap creature that blocks the door. You’ll have to take down all of the Warrior Ings in the room for it to vanish.

Collectible - Dark Temple Key

After the battle, the Dark Temple Key will reappear in the middle of the area. Collect it and head towards the Light energy door to proceed.

Scan Entry - Darkling Tentacle

As you continue on the path, you see a Darkling Tentacle protrude from the wall; scan it for a logbook entry, then blast it away. Head on into the following room, jump up a platform, and proceed from a dark energy door.

light portal
Image: Nintendo Life

Follow the tunnel until you come across a dark portal, hit it with a Light Beam blast, and you’ll be able to take it back to the Pirate Headquarters in the Light Aether. Make your way back to the hangar by following the tunnel past the save point. You’ll be attacked by some Tallon Metroids here - just hit them with a Dark Beam to take them down.

Collectible - Missile Expansion Pack

Proceed through the base, following the catwalk above the area of the main room, and head through the dark energy door. Behind the door will be another Missile Expansion pack.

Scan Entry - Metroid Cocoon

As you head back into the main room, Metroid Cocoons will appear on the ceiling. Scan one of them for a logbook entry, then get to blasting the little guys it produces.

Scan Entry - Infant Tallon Metroid

Speak of the devil and he shall appear, Infant Tallon Metroids will spawn out of their cocoons. Blasting them with Dark Beams will cause them to mature into Tallon Metroids. Like we said, get to blasting.

When blasting has commenced, head to the corridor where you passed through a laser grid; continue down that path, and you arrive in the control room with the holograms of Planet Aether. Head up the elevator in the room and go through the door that is blocked with light energy.

Following the path, you’ll end up back outside but will be ambushed by pirates again! Luckily, to the right of you, as you enter the area, there’s a turret that you can use to gun them all down and destroy anything in your way. Make sure to shoot down a platform on the left side of the area so you can use it to jump up over the gap and proceed.

Scan Entry - Log #71599

Up here, you’ll find Log #71599, another lore entry for the logbook secured.

Collectible - Beam Ammo Expansion

Staying up here, follow the path left, it’ll take you outside, overlooking the whole area. A small hole will be on the left-hand side of a large ray shield, roll on in to receive the Beam Ammo Expansion, which will increase your Beam Ammo capacity by 50 shots.

Scan Entry - J-Stl’s Testament

Just next to the recently acquired Beam Ammo Expansion, there will be an alien body on the ground. Scan it to retrieve the J-Stl’s Testament logbook entry.

Jump down to the ground, turning away from the base, and head out through the door. We are finally done with the Pirates Headquarters, for now anyway.

To the Dark Temple!

It's time to head back into Agon Wastes and take on the Dark Temple inside this region of planet Aether.

Scan Entry - Dark Portal

Now that you’ve arrived back in the Agon Wastes, quickly go back to the initial portal gate you took to get into the Dark Aether. Activate it and give it a scan to receive the Dark Portal logbook entry.

Pop into the portal and make your way through the Dark Aether to the area where we initially were ambushed by pirates in the Light Aether. Jumping up and through a dark energy door will reveal a save point, have a quick kip, and be ready to move on.

Head straight for the arena where you fought the Jump Guardian; as you enter the area, scan the hologram in front of you. Now that you have all three Dark Temple Keys, the door will unlock, and into the Dark Temple you go.

entering the dark temple
Image: Nintendo Life

You’ll be welcomed by Amorbis, a group of giant space worms who are the boss of the area. Just terrific.

Scan Entry - Amorbis 1

Scan Entry - Amorbis 2

Occasionally the creatures will jump slowly in the air, and you can use this opportunity to scan them to receive both the Amorbis 1 and Amorbis 2 logbook entry.

Suit Upgrade - Dark Suit

After defeating Amorbis, you’ll be rewarded with the Dark Suit Suit Upgrade, which grants you more defence against the hostile atmosphere of the Dark Aether.

Proceed to the back of the arena, use the bomb slot to move the room around, and continue to the heart of the Dark Temple. Inside, you’ll see a cutscene where Samus takes the energy from the Dark Aether and must take it back to the Light Aether. Of course, this means heading back all the way to the portal where you entered the area - off you pop!

Scan Entry - Saving Aether

hidden lore entry
Image: Nintendo Life

Head to the arena where you found the Jump Guardian and proceed to the Energy Controller in the Agon Temple. You’ll transfer the energy back into the temple and give it a much-needed jump start. Also, check behind the large structure in the room, and you’ll find the Saving Aether lore entry for your logbook. Now it’s time to head all the way back to Temple Grounds.

When you’ve returned, you’ll see a purple crystal on the wall of the cave you went through to initially enter the Temple Grounds from the prologue area; shoot it with a Light Beam to access the portal behind it. We’ll leave this be for now, but it’s good to get out of the way.

Collectible - Missile Expansion

As you enter the area, jump on top of the crates in the middle of the clearing close to the tunnel that leads towards the starting area. Jump over the gap and head left, roll through an opening in a fallen statue. Follow the tube, and you’ll gain another Missile Expansion pack.

missile expansion
Image: Nintendo Life

Collectible - Missile Expansion

Now, take the nearby lift in Temple Grounds that leads to the Great Temple and follow the path until you notice an opening in the wall that’s suspiciously Morph Ball Size.

missile expansion on the way to torvus
Image: Nintendo Life

Following the tube will grant you an additional Missile Expansion pack. Head on into the main junction area, take the door on your left, and go up in the elevator to progress.

After a cutscene with U-mos, who tells you what a good job you’ve done, we’ll start heading for the big area, the Torvus Bog. Head back into the junction and take the left door, firing a Light Beam at the crystal to open the path. Time to head to the Torvus Bog!


If you need to jump ahead to — or go back through — an area, check the hub of our Metroid Prime 2: Echoes Full Walkthrough and navigate to where you need to go.