It's almost time — the final challenge awaits Link in The Legend of Zelda: Tears of the Kingdom, and we have one last obstacle standing in our way — the final dungeon.
The last dungeon is a bit different to the elemental temples you've already taken on throughout your adventure and is much closer to the many cave systems dotted across Hyrule. But you shouldn't just go charging in — there are a few things you need to to do prepare yourself.
As with all of our "end game" guides, there are unavoidable spoilers in this walkthrough, so if you haven't beaten Regional Phenomena, Crisis at Hyrule Castle, Secret of the Ring Ruins, and Guidance from Ages Past, this is your last warning.
Subscribe to Nintendo Life on YouTube848k
With that, here's how to prepare for Tears of the Kingdom's final dungeon, how to get through it, and what to expect.
Zelda: Tears Of The Kingdom: Where To Find The Demon King - Final Dungeon Walkthrough
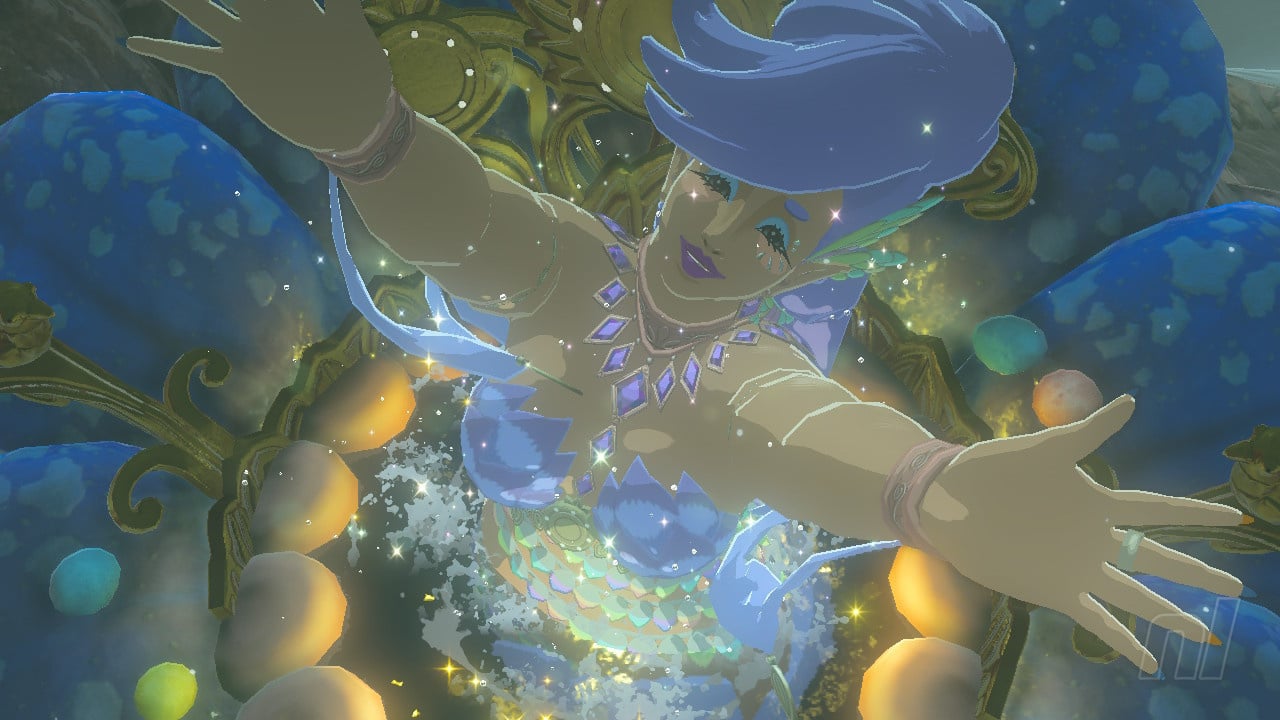
Once you've acquired Mineru's Construct and visited the Spirit Temple, you're basically ready to take on the final dungeon. Technically, you can go to the final dungeon whenever you want — but getting Mineru is the moment that tells you you're ready.
You can head back to Lookout Landing and speak to Purah to hear her thoughts, but you may already have a new Main Quest-- Trail of the Master Sword. There's a lot of prep work to make your time in the final dungeon, and against the final boss, much easier, so we're going to tell you what you should do before diving headfirst
How to prepare for the final dungeon
Get the Master Sword
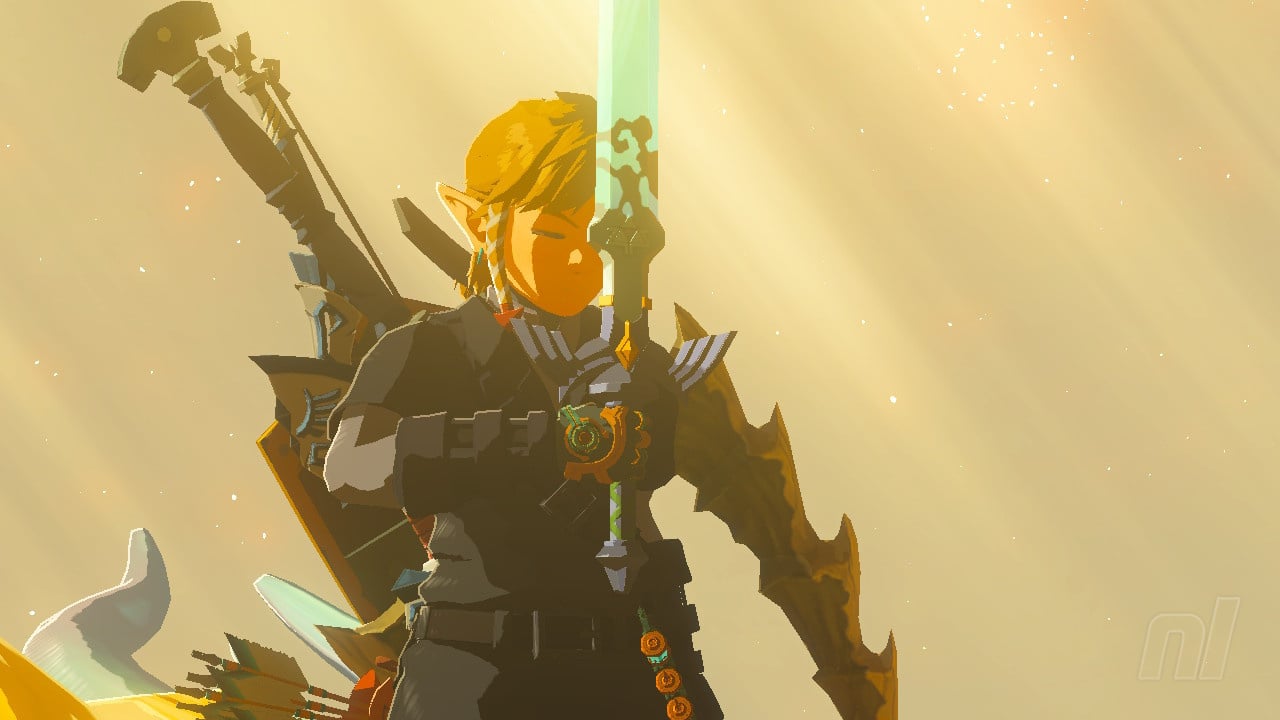
You don't technically need the Master Sword, even if the game pushes you to get it. And we agree — the Master Sword is well worth your time to get. You may already have the Master Sword, as you can technically get it at any point during the game (as long as you have two full wheels of stamina). If you do, ignore this! But if you don't, you can find out how to get the Master Sword in our guide.
The Master Sword is especially effective against gloom-infected enemies — including the final boss. You'll know this because the sword glows whenever you're in the Depths or when you're fighting gloom-infected monsters. You can also Fuse materials to it to increase its attack power further.
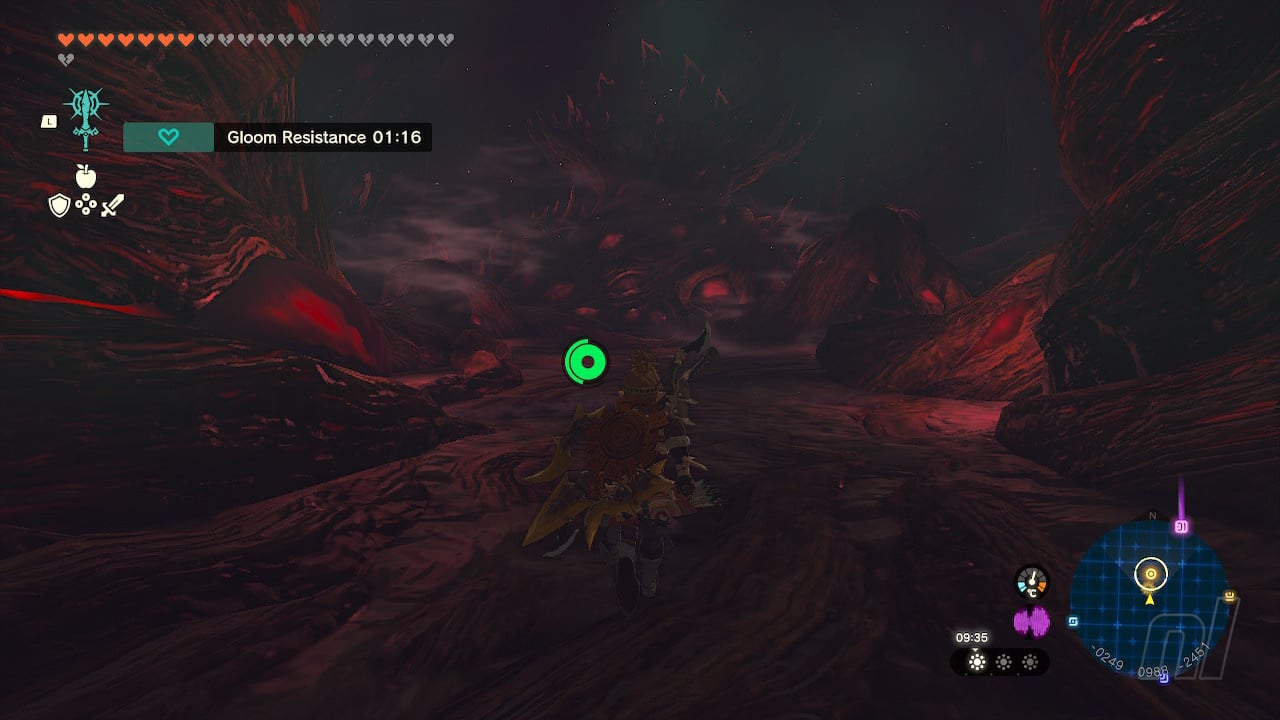
Make lots of gloom-healing and -resisting food
The final dungeon is covered in gloom and every single monster (along with the final boss) will do gloom damage, which reduces your maximum hearts temporarily. We say "temporarily", but as the final dungeon is underground and there are no Lightroots (besides one at the start) if you don't have any way of combating the gloom, you will have a permanently-reduced heart count for the entire dungeon.
You can get around this by preparing some gloom-healing and gloom-resisting foods. For healing, you'll need to use Sundelions in your cooking, which you can get from the Sky and near Zonai ruins dotted around the world. Yiga Clan members can also drop Sundelions when you defeat them. We have a list of the best recipes to help you create some excellent healing and gloom-banishing meals.
For gloom resistance, you need to use Dark Clumps. You can get these from the Bargainer Statues by spending your Poes. These will allow you to resist gloom for a few "hearts", depending on how many Clumps you use in the recipe. Again, check that best recipe list for more help on that. And for where to find the Bargainer Statues, check out our guide on all Bargainer Statue locations.
Fuse (and bring) the best weapons
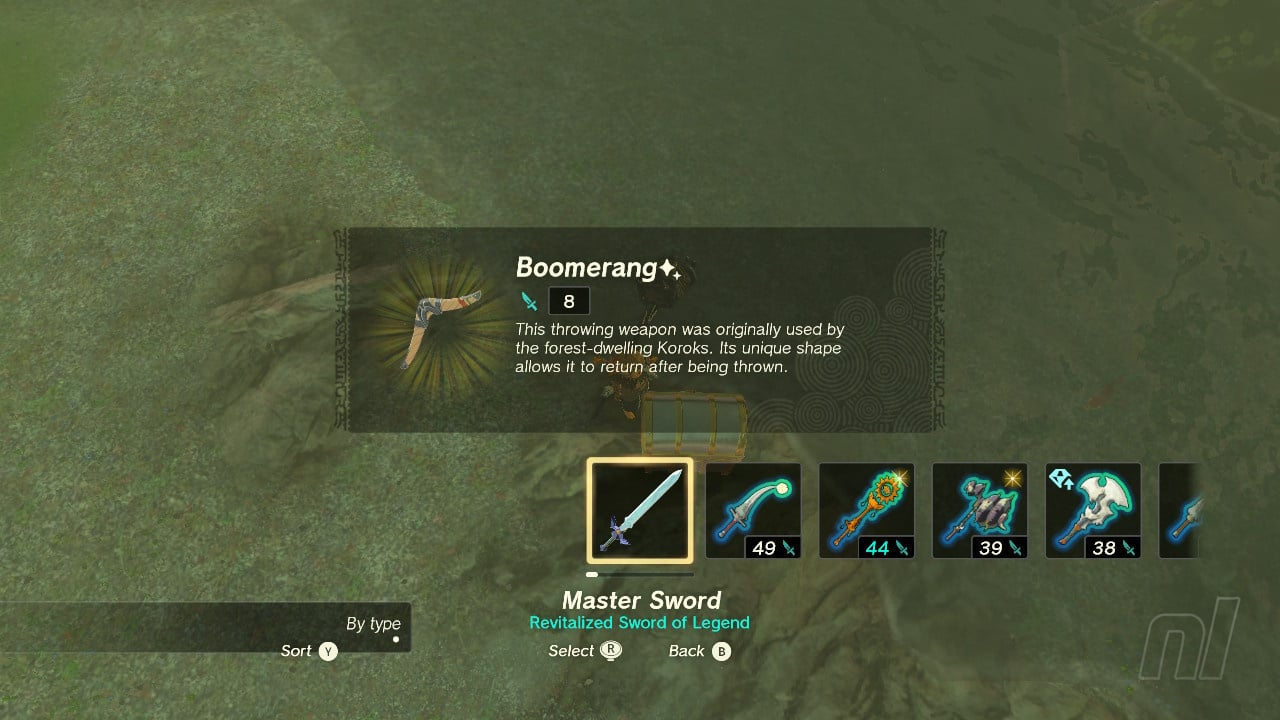
This is Tears of the Kingdom's biggest (story) challenge, so don't be shy about creating the best weapons you can get your hands on.
If you have Light Dragon Shards from the Light Dragon, those make brilliant weapons to combat the gloom-infected foes down below. Pair it with a strong spear or sword and you have one extremely powerful weapon. You've probably also accrued some 'Black' monster parts from the game's second-strongest enemy tier, such as Black Lizalfos Horns, Black Horriblin Horns, and more. Even Construct Level IVs drop some powerful materials for Fusing. Use these for a big boost to your attack power.
If you've been adventurous, you may even have some 'Silver'-tier materials. These are the strongest monster parts you can get from normal enemies (ignoring Gleeoks, Flux Constructs, etc.). Use them. Check out our Best Weapons guide for more advice.
For arrows, Gibdo Bones are excellent for quick, high-damage shots. As they break after one hit, they're not particularly useful on weapons, but given that arrows are one-use (unless you miss), Gibdo Bones' fragility makes them the ideal accompaniment for archery.
Upgrade your armour
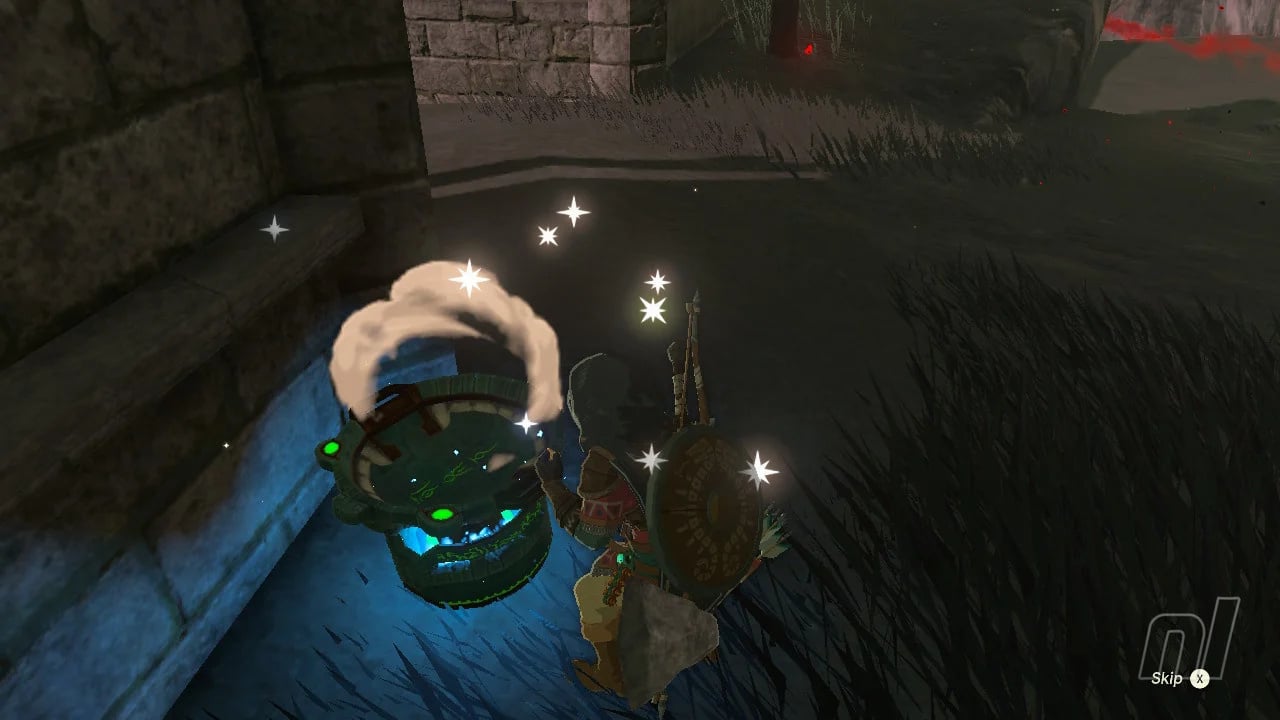
If you've been unlocking the Fairy Fountains during your adventure, then you should use them to upgrade your armour. You can upgrade most of your armour up to four times, and while it can get a little expensive (in terms of Rupees and materials), it's worth it.
The Fountain locations have changed since Breath of the Wild, and they're now each near a stable. However, you'll have to unlock them via the Potential Princess Sightings! Side Adventure and multiple other Side Adventures involving the Stable Trotters.
If you have the Depths set (which you get from the Bargainer Statues), then this is a good one to upgrade as it gives you gloom resistance.
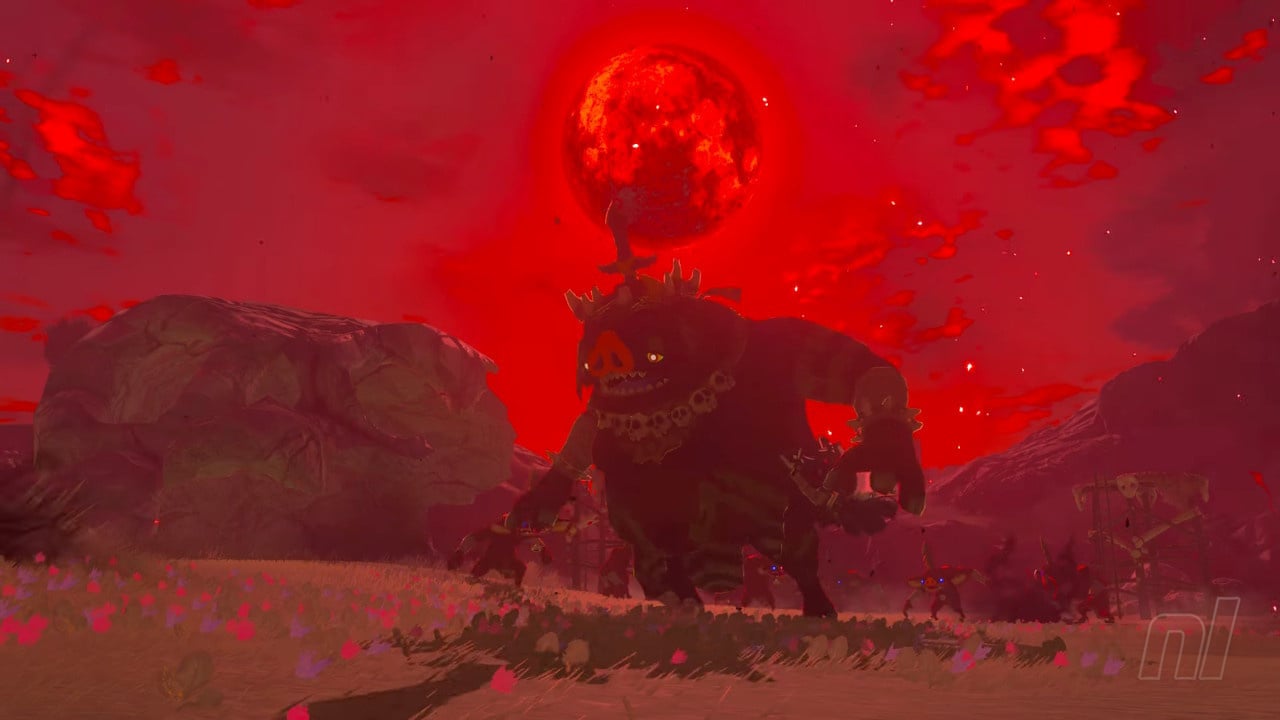
Where is the Demon King? Final dungeon location
Once you're ready to take on the Demon King and go to the final dungeon, you need to find where he is. But when you speak to Purah, she isn't sure where you need to go. If you've followed through on the Camera Work in the Depths quest and also completed the A Mystery in the Depths quest, you'll have another Side Adventure that — if you complete — will tell you where the Demon King is hiding.
Kohga of the Yiga Clan is a great Side Adventure that will net you multiple schematics for your Autobuild skill and give you an entertaining storyline about the leader of the Yiga Clan. However, at the end of the quest, Kohga will tell you where the Demon King is hiding — underneath Hyrule Castle.

Of course, you don't need to do this Side Adventure, even if it's worth your time. You can just head straight to the dungeon. And you need to head to Hyrule Castle Chasm to get there.
The easiest route to the final dungeon is to warp to Serutabomac Shrine at Hyrule Castle. From there, dive off the side of the castle and then glide underneath the floating island to see gloom seeping out of a huge hole. This is Hyrule Castle Chasm.
Dive down, keeping to the southeast corner where you should see a lightroot. Land here and activate Camobatures Lightroot. This is the only Lightroot in the area and will act as a good fast travel point if you get stuck.
How to get through the final dungeon
The final dungeon is fairly linear, but there are lots of enemies blocking your path. Everything does gloom damage here, and some of the game's most-difficult enemies reside here, including the Silver Lynel. If you don't want to fight stuff, you absolutely do not have to — reserve that energy for the game's final challenges.
From the Lightroot you want to glide south towards a chasm with lots of Like Likes. Move through to another chamber with some Lightning Keese and then you'll come into a large room with the aforementioned Silver Lynel. If you want to fight it, go ahead and check out our tips on how to beat these fearsome creatures — the Silver Lynel drops some incredible materials and weapons.
Otherwise, run to the left and use Ascend under the broken staircase and walk forward. Let the floor collapse beneath you and you'll fall into a new room, where blocks are falling down on the right. Use Recall on the right block to ride it up to the next level.
Follow the path around then head left through a path of Ice Likes and Ice Keese. Walk through this corridor and then drop down a shaft with broken staircases and Black and Silver Lizalfos to reach more solid ground.
From this point on, your allies will not be able to help you and your Vows have been disabled. You will not be able to resummon them while you're this far into the dungeon. Head through the door, drop down into the next room, head left, and use Ascend to reach a new pathway. Keep walking down and when you reach breakable rocks, turn left and keep walking ahead. Eventually, you'll reach the Forgotten Foundation.
Things are starting to look familiar, aren't they? Down the narrow corridor, you'll spot a Silver Bokoblin, and then ahead of that, you'll find a small chamber with Gibdos. Break the cracked wall at the other end of the chamber wall with a hammer or bomb. Keep walking down and you'll end up in a large room with a mural on the wall — the same mural from the beginning of the game. You can break the rocks on the mural to finally reveal those last two panels if you want to know what's on them.
Break the boulders on the far right to reveal a path and follow it down. This is your last chance to make any preparations, so if you need to leave, now is a good time, although you will need to make your way back through the whole dungeon again.
When you reach the Imprisoning Chamber, take a leap of faith and dive down to Gloom's Lair. When you land, run to the end. The music will swell as you reach the end. Dive off of the platform, and you'll approach an ominous-looking platform. Land there, and the final gauntlet awaits.
How to defeat The Demon King's Army
When you land, a swarm of Bokoblins and Boss Bokoblins will appear. Fortunately, your sage allies will all join you in person for this mammoth "miniboss" against The Demon King's Army.
This fight mimics a lot of the Monster Forces battles you may have encountered on your adventure, although there are four phases to this one, each one being harder than the last.
The Bokoblins are fairly easy, but given how many there are, you might get overwhelmed by them. Don't be afraid to use area-of-effect attacks like bombs, Riju's lightning, or anything elemental to deal with the big groups. Letting the Boss Bokoblins group the smaller ones together is a really easy way to deal a lot of damage to a large group of enemies.
The Lizalfos are smaller in numbers but they're much faster. Bow and arrows aren't always the best tools, so exploit each Lizalfos' elemental weaknesses with your companions and your items. And be ready to dodge for a powerful Flurry Rush.
Gibdos will also require elemental attacks to make them vulnerable to physical attacks. Both the flying and crawling variants are here, making them hard to group. Riju's Lightning is perfect for this, once again.
The last phase is Moblins and these hit hard. Headshots make dealing with these much more manageable, and we recommend trying to take these out one at a time rather than group them. their swings are wide and they can also run pretty fast.
Once you've defeated all four mobs, you'll finish this gauntlet — unless you've rushed straight to the final boss after the tutorial section on the Great Sky Island and Lookout Landing. If you're here with none of your allies, then things will play out a little differently. Check out our guide on what happens if you rush to the final boss for what to expect.
The final boss - last preparations
After defeating the army, you'll be trapped behind a door with no allies to help you. This is it — the final boss awaits. You can do some last-minute preparation here if you've run out of food or need to make some better weapons, or maybe wait for your Master Sword to restore its energy, but you cannot leave this room. If you want to leave the dungeon, you have to reload your last autosave.
If you have any Cooking Pot Zonai devices, use them to make some last-minute gloom-healing food, and make sure you're fully stocked up on healing meals and gloom resistance. When you're ready, head into the final chamber and come face to face with Tears of the Kingdom's final boss.
We've put this encounter into its own guide because it's a biggie, plus we're sure some of you will want to give it a crack yourselves, so we hope it's a nice surprise. If you want to know what's waiting for you, head on over to our final boss strategy and tips guide.
You stand at the end of a very long road — congratulations on making it to the end of this incredible adventure. But one final challenge awaits. If you're not quite ready to take on the final boss, head on over to our Zelda: Tears of the Kingdom walkthrough for all of the maps, hints, and tips you need.


Comments 1
One real quick addition:
I'd recommend using a Travel Medallion in the Mural Room, just in case. The travel down drained my wits and resources, but a quick warp set up from the Mural Room to Lookout Landing was great for recovery!
Show Comments
Leave A Comment
Hold on there, you need to login to post a comment...