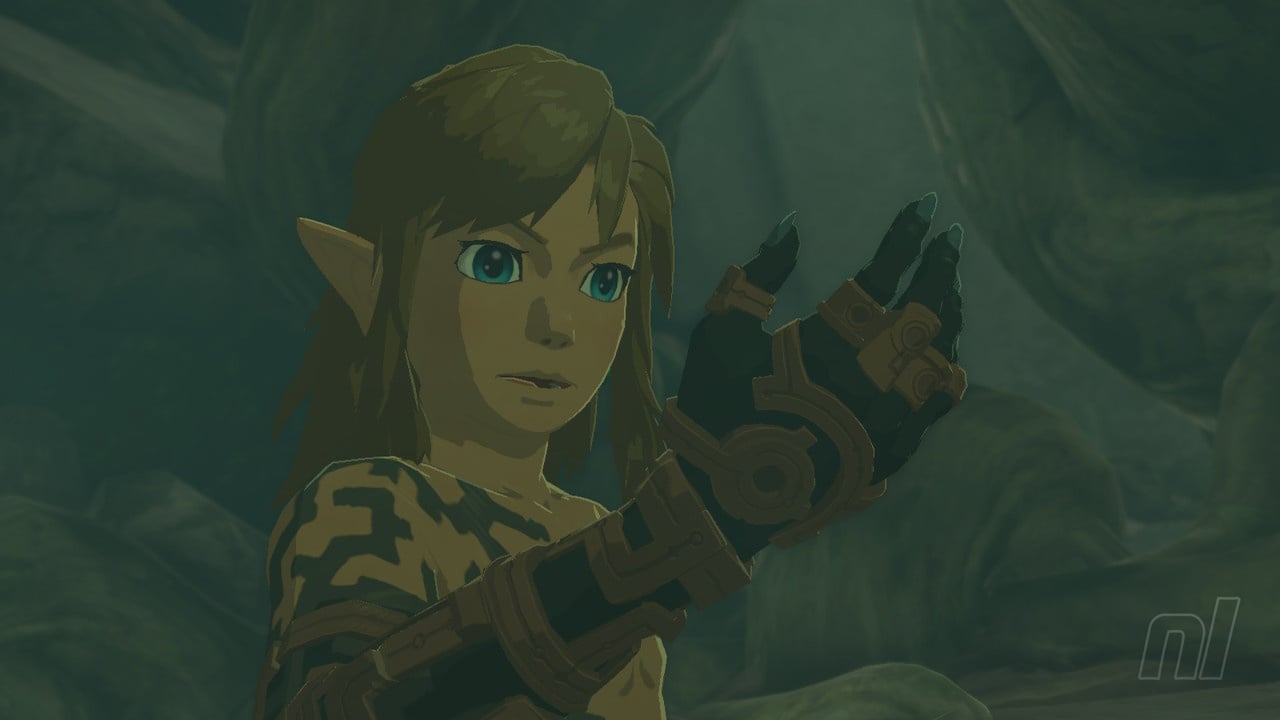
The wait is finally over — The Legend of Zelda: Tears of the Kingdom is finally here, and your brand new adventure starts off in a rather unfamiliar place — the Great Sky Island.
This area acts as a tutorial for all four of Link's new abilities and is the perfect setting to get you reaccustomed to the open-world nature of Hyrule.
We'll be showing you how to make it through the tutorial section of the game. We'll keep this as spoiler-free as possible, though this guide will include a few location names, so keep that in mind.
Subscribe to Nintendo Life on YouTube845k
Zelda: Tears Of The Kingdom: Great Sky Island - Tutorial Area
Room of Awakening
After an intro sequence (where you don't really do much), Link will wake up in the appropriately-named Room of Awakening with a brand new arm and a rather funky-looking Master Sword. Pick up the Decayed Master Sword, and then investigate the ring in the centre of the room to open the doors.
Follow the path through, where you be taught all of the basics — just as a refresher, it's been six years since BOTW, of course! You'll pick up some Archaic Legwear armour for Link (put it on — we don't want him exposed!). Once you see the sunlight, you're almost out. Dive down to the surface of the Great Sky Island.
The Great Sky Island - Find Princess Zelda Main Quest
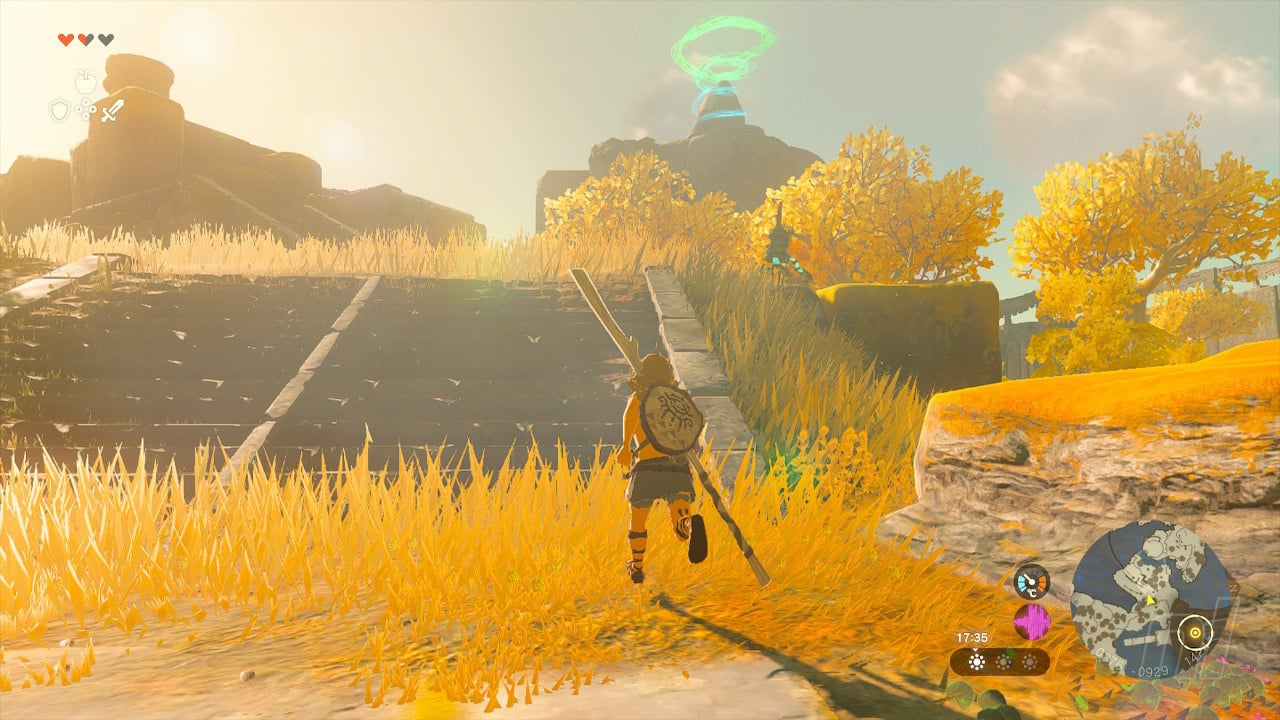
Now that you're out in the open, you'll spot some hostile-looking robot-type creatures called Constructs. You can retaliate if you want by picking up some of the branches on the floor — although they'll break pretty quickly. Or you can completely ignore them.
Make your way to the end of the island and interact with what looks like a sleeping Construct. When you touch it, it will wake up, tell you that Zelda is waiting for you at the Temple of Time, and hand you the Purah Pad.
Getting to the Temple of Time is easy enough. You just need to follow the Sky Islands north towards the large structure. When you get there, attempt to open the door, and then, the voice which you've been hearing since you acquired your new hand will reveal itself.
The Closed Door - How to open the doors
After speaking with your new friend, you'll have another new objective — to open the closed door. To do this, you need to restore power to your hand. To do that, you'll be taking a tour around the island and taking on four different trials. Yep, Shrines are back.
This is where you will acquire and learn about three of your main skills in Tears of the Kingdom — Ultrahand, Fuse, and Ascend.
Ultrahand - Ukouh Shrine
The first shrine is situated at the top of a staircase just to the west of the Temple of Time. There's a small pond next to the staircase with an enemy Construct and a lily pad on the surface. You can swim across the pond or hop onto the lily pad to make it to the broken stairs.
As you walk up, you'll need to climb along parts of the wall thanks to the decrepit state of the stairs. However, it won't take long to reach Ukouh Shrine, your very first Zonai Shrine in Tears of the Kingdom.
In the Shrine, you'll get Ultrahand, your first new ability. This ability is like a souped-up version of Magnesis, except you can now pick up almost anything — it doesn't need to be metal. You can also stick some objects to other objects, and use it to create elaborate bridges and even vehicles.
The shrine is fairly straightforward — just build a bridge to get across the first two gaps, and then stick a hook onto a wooden plank to create a ski lift-type of platform. Climb onto the wood, ride it down, and claim a Light of Blessing.
Fuse - In-Isa Shrine
The next Shrine is a lot further away than your first one, but luckily, you've got a brand new ability to help you get around a bit quicker. First thing, drop down the west side of the platform where you'll find a pile of wooden slats. Build a bridge and position it across the gap. On the next island, build a log bridge to get across the next island. Follow the path south towards a large lake.
When you get there, you'll spot some logs and a sail. You can grab some more logs by chopping the trees down with the wood if you need to, but with these resources, you can build a humble raft to sail across the water. Then, head to the left and up the stairs on your right to reach In-Isa Shrine.
Here you'll learn about Fuse, which lets you fuse one material to your weapon, shield, or arrow. The shrine teaches you the basics of all three of these uses. First, Fuse a boulder to your weapon and use it to smash the rocky wall down.
In the next room, pick up the fire fruit, aim your arrow, fuse a fire fruit to your arrow and fire it at the leaves to make a chest drop down. The chest has a key. Use the key on the door in the previous room.
Lastly, you can fuse something to your shield to boost your defense. It's worth doing against this Construct, which itself fuses a rock to its weapon. Beat it and you can finish the Shrine.
Ascend - Gutanbac Shrine
After the second shrine, you'll get an Energy Cell, which will come in handy soon. Head southeast from the shrine, back down the stairs, and past the enemies to a new location — the Pondside Cave. Pick up any Brightbloom Seeds you see, and if you defeat the Keese, make sure you pick up their wings and eyeballs, which make great early Fuse items for arrows.
Once you come out the other side of the cave, you'll see some Constructs, logs, and what look like fans. Using those items, you can build a fan-powered raft to get you across the water much quicker than sails would. On the other side, head up the mountain path, build a minecart, pop it on the tracks, and ride it into the Mining Cave. Inside, a Construct will tell you about Brightbloom Seeds, which you can throw at the ground to light the way.
Follow the path around to the Forge Construct. You'll also be given some usable Zonai devices. Use the fan, stick it to a mine cart, and ride out of the cave. Eventually, you'll come across the Pit Cave, and a Construct will warn you about the cold weather. Now is a good time to use any spicy peppers you've picked up, along with the apples, to create a warming dish which increases your resistance to the cold.
Make your way through the pit cave to the top of the snowy mountain, and you'll finally be at Gutanbac Shrine, where you'll get your third ability — Ascend. Ascend allows you to travel upwards through solid matter, and that's what you need to do in this shrine. Do it twice, defeat the Construct, and then you'll finish the shrine.
Return to the Temple of Time
When you leave the shrine, you'll find out that you should have enough strength to open the doors at the temple. Using the WIng Zondai device, glide towards the temple and then examine the glyph on the door to head inside. Walk up to the pedestal to get a cutscene, and get your final ability — Recall.
How to get past the Goddess Statue
Using Recall, you can now reverse the movement of certain objects. You need to get to the back of the temple, so use Recall on the water wheels at the back of the room to get across and out the back.
You'll come across another door that you can't open, and speaking to the Goddess Statue reveals that you don't have enough Blessings of Light to get an extra heart — you need four for an extra heart container. Then you're told where your last destination is — back to the Room of Awakening.
Recall - Nachoyah Shrine
Now you can fast travel, head back to the Room of Awakening and you'll be in a room with more cogs and waterwheels. Use Recall on these to get to the room in the top left corner of the room.
Follow the path around to the last shrine, Nachoyah Shrine, which will test your skills with Recall. You've already got a lot of practice in already, so this should be a breeze.
Once again, use Recall on the waterwheels in the shrine to get across the first section, which is gated off. then, in the last room, you need to manipulate the clock hands to make sure they are on top of each other and going in the same direction. Do this, and you're done.
How to leave Great Sky Island
Now that you've played around with all four abilities and you have four Blessing of Light, return to the Temple of Time (again, with the Wings) and go back to the Goddess Statue. She'll give you a Heart Container, and you'll have four hearts, which lets you open the door at the back.
Make your way through the doors, follow the path (which you'll need to use Ascend to make progress in), and then watch the cutscene. After that, you can finally return home to Hyrule, where things are a bit different than you might remember.
Very Great Plateau, right? That's a beefy tutorial, but now the world is your oyster. Kind of. If you want to know where to go next in Tears of the Kingdom, you can check out our full walkthrough for more hints, tips, and tricks.


Comments 0
Wow, no comments yet... why not be the first?
Leave A Comment
Hold on there, you need to login to post a comment...