Welcome to our complete story walkthrough of Super Mario RPG on Nintendo Switch and SNES.
You’ve just saved the Mushroom Kingdom from a Shyster invasion and defeated Claymorton, but there's no time to rest in Super Mario RPG. Now it’s time to head underground to find Mallow’s grandpa to ask for help against this new enemy. For that, you’ll need to head into the Kero Sewers from the world map.
Here’s our guide on your trip through Kero Sewers, all of its items, and the boss battle that awaits you at the very end.
Subscribe to Nintendo Life on YouTube848k
Kero Sewers Enemies
Cheep Cheep / Goby
The original version of Super Mario RPG calls these Gobys, but they’re most certainly the Cheep Cheeps we all know — and that was corrected in the remake. They’re quite weak and can be picked off by just one of Mario’s attacks.
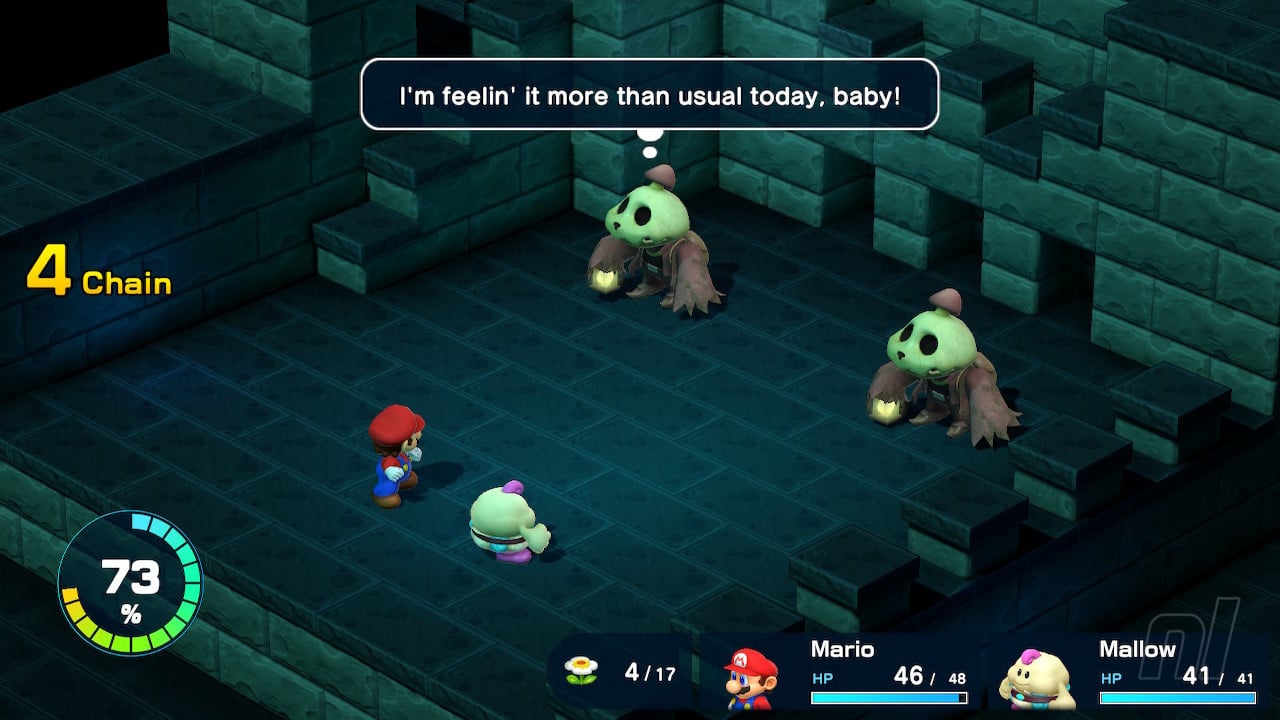
Boo
These guys are called “The Big Boo” in the original version of the game, but just like with Cheep Cheeps, they’re definitely the normal Boo enemies we all know. They’re extremely weak and usually go down in just one hit.
Shadow
These ghost-like enemies can inflict Fear on your party, which reduces their stats. Focus on taking them out first if you encounter them in a group of mixed enemies.
Rat Funk
Quick and annoying, these little mice can inflict your party members with Poison. They also have a chance to randomly flee the battle. Bring some status-curing items from the shop before you leave.
Huhwhat / Pandorite
These appear from treasure boxes. It can inflict Fear on party members and it’s completely immune to special attacks, so strike it with physical moves or Mario's Jump over and over until it goes down.
Hobgoblin
These nasty enemies can inflict both Fear and Mute, the latter of which renders a party member unable to use special attacks. Strike it with Mallow’s Thunderbolt to get rid of it quickly.
Kero Sewers Walkthrough
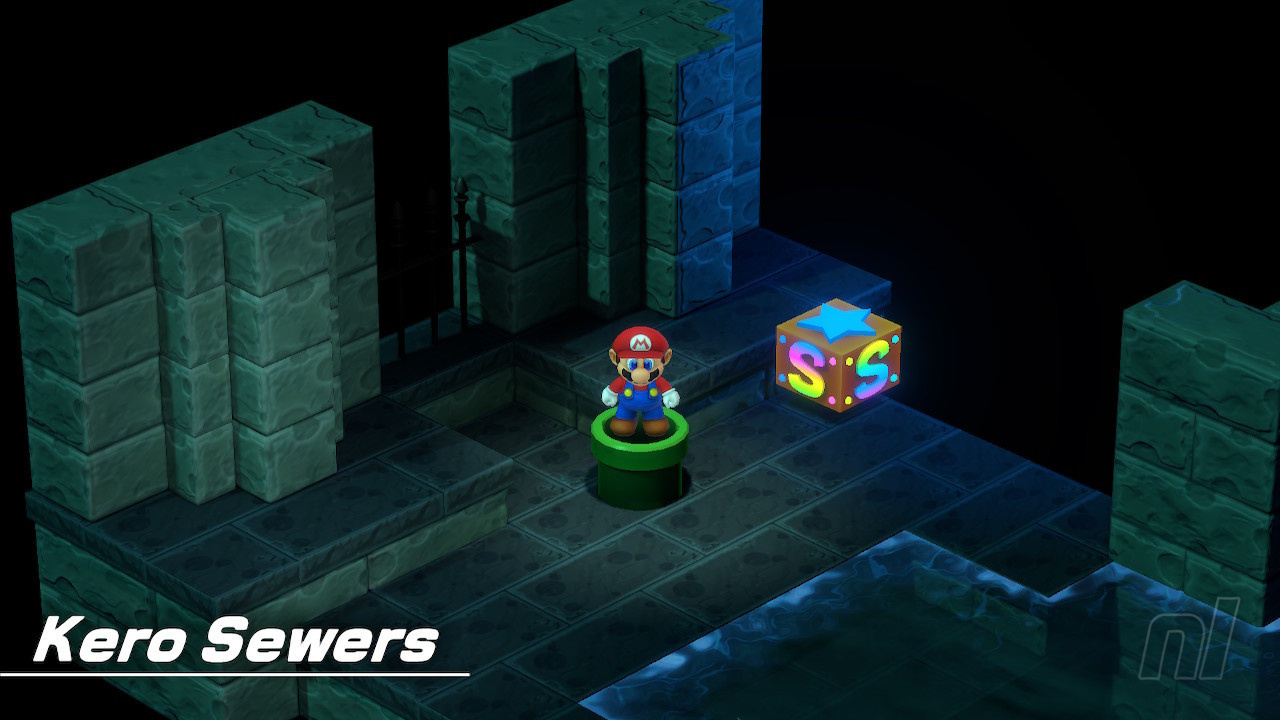
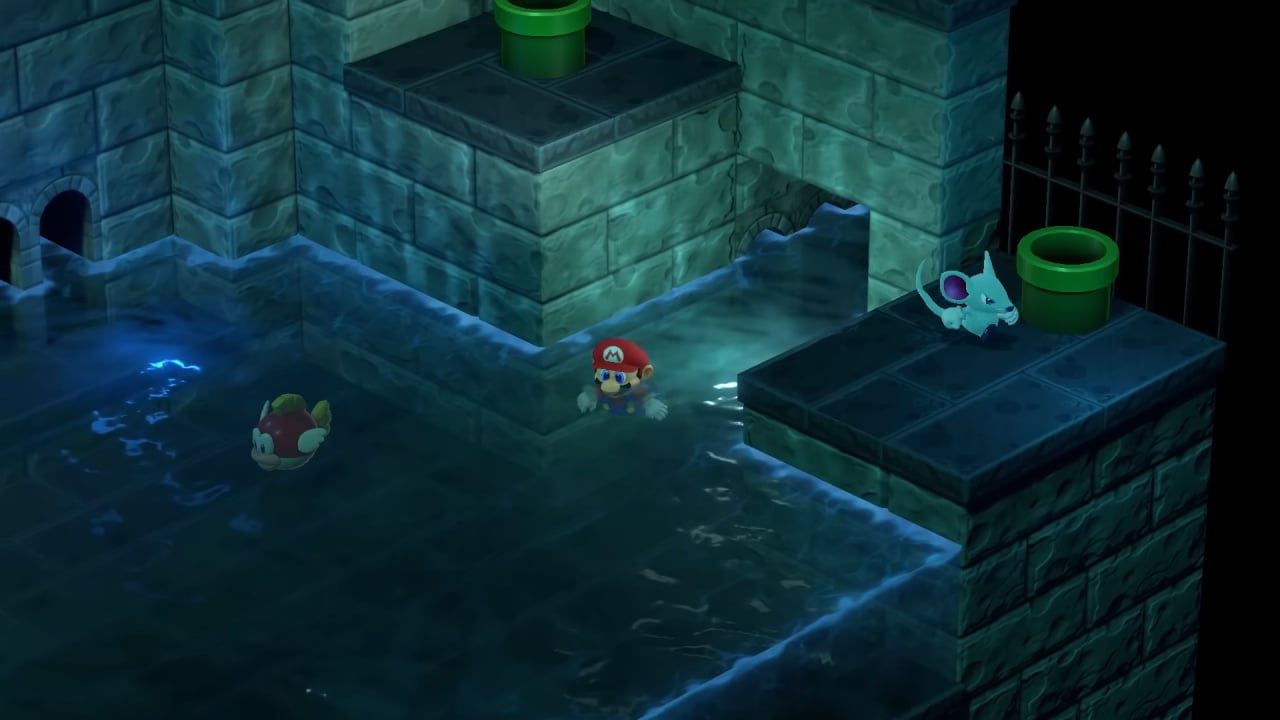
Drop down into the sewers and you’ll immediately find a save block — save it if you need to. There aren't any Hidden Treasures to worry about here, so you can explore without any worries of missing anything.
Hop into the water and swim to the other side of the giant puddle, and you’ll find a pipe. Head down it, and then enter the next pipe you see at the bottom-right of your screen. There are some Cheep Cheep enemies in a pool nearby if you want to earn some experience points.
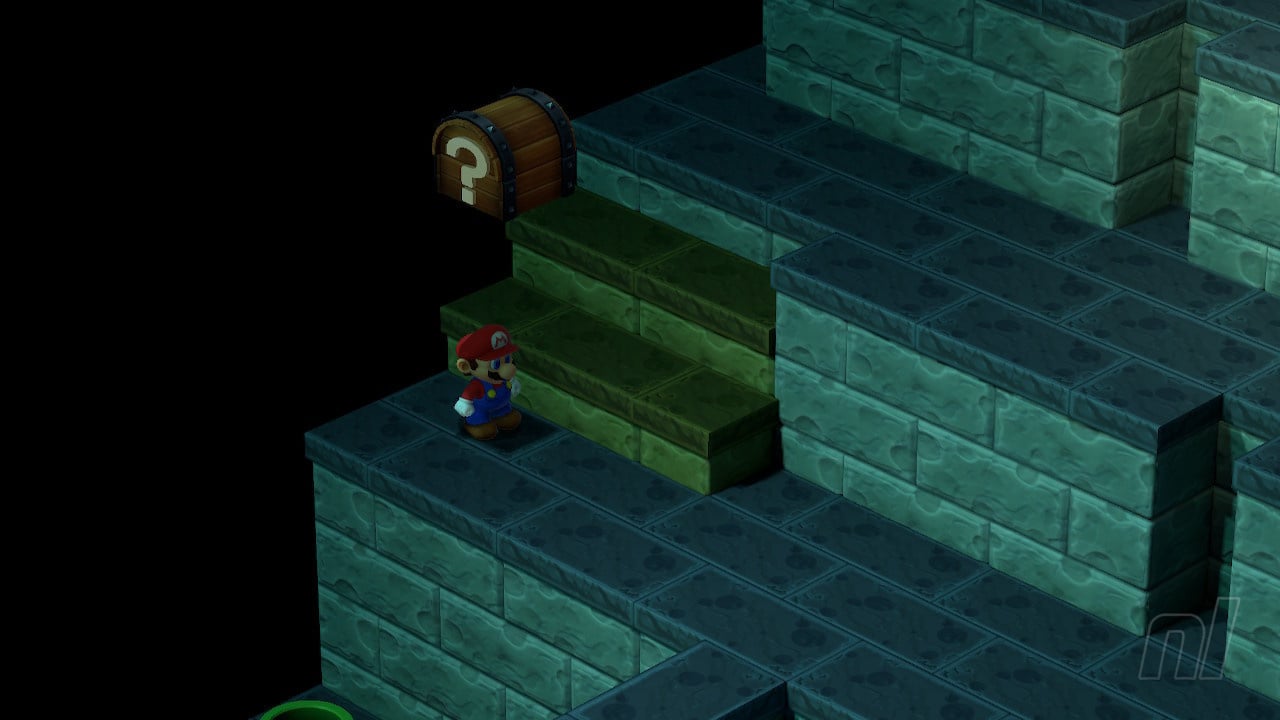
Continue along the path and enter the pipe at the other side of the room. Hit the box to find a Flower, and then drop down to the area below and head to the right up the stairs. There’s another treasure box here, but when you hit it, you’re in for a rather unpleasant surprise: a battle!
The Huhwhat is quite troublesome, as it inflicts Fear and deals decent damage over time. It’s also immune to every special move except for Mario’s Jump. A few well-timed jumps will take it down. If you’re having trouble with this enemy, you might want to level up on the lesser foes a little bit first.
When Huhwhat has been defeated, you’ll receive a Flower Jar and a Trueform Pin. This accessory makes its wearer immune to a status condition we haven’t seen yet, so it’ll come in handy later.
You want to get back to the upper portion of this area, so backtrack through the pipes until you reach the staircase where the treasure box containing the Flower was. Continue scaling the stairs and enter the pipe at the top. You’ll find a treasure box containing a Super Star, so use it to plough through as many rats as possible, but take care not to fall down to the lower area!
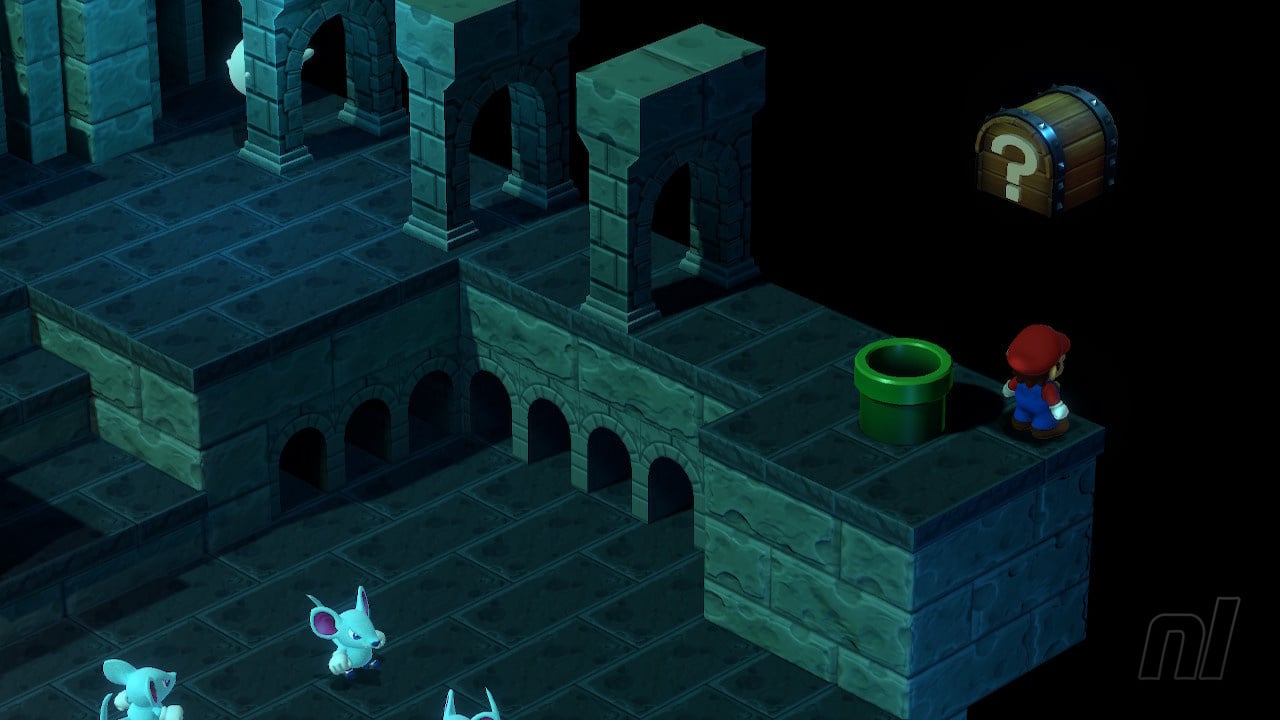
Take the next pipe to the left. You’ll need to weave your way past three rat enemies before reaching and entering the next pipe. In this new room, hop onto the middle staircase and then jump to the right. You’ll see a rat enemy facing northwest, but not walking anywhere. Defeat it and then drop down to enter the pipe.
There are lots of Boos in this room, so climb up the stairs while taking care to avoid them. Press the switch to drain the water and then go back through the pipe you came from. Hop down into the now-dry area and then enter the pipe at the lowest part of the room.
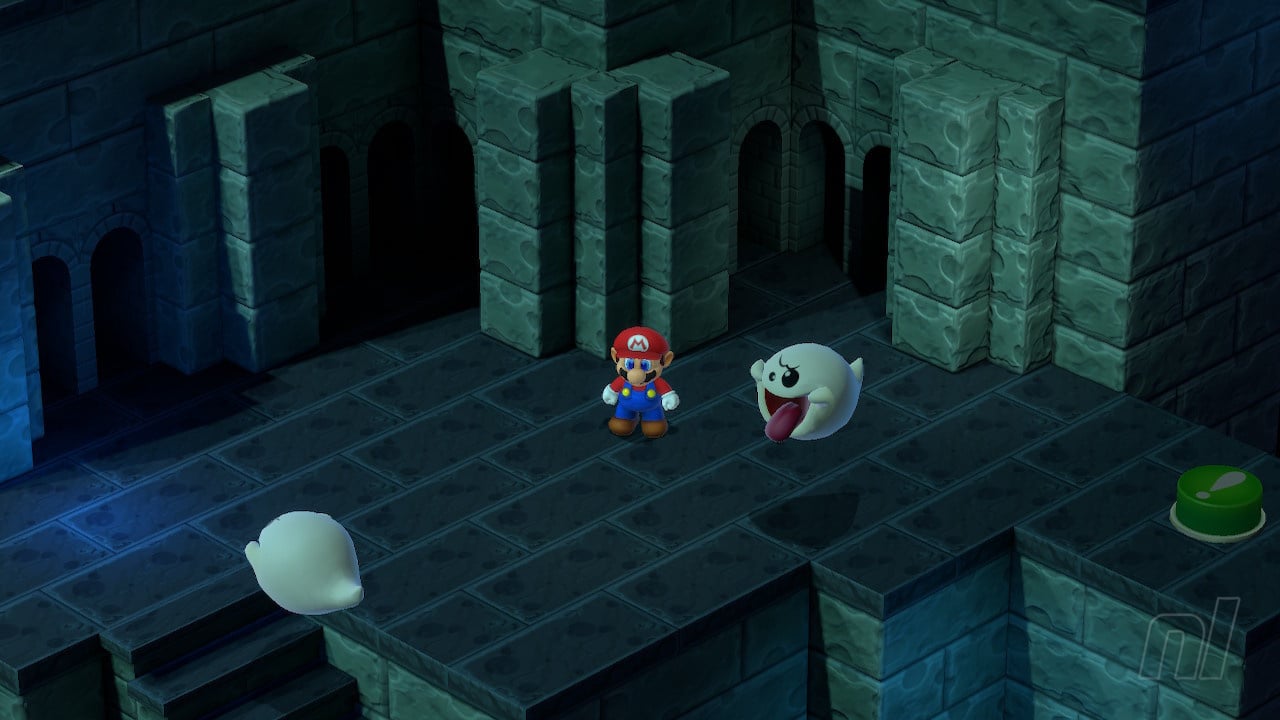
There’s a boss fight coming up in a moment — remember the Trueform Pin you obtained earlier? It will come in handy for the next boss fight. Make sure you’ve equipped it on Mario, then hit the box to heal yourself and then save your progress.
Note, there's a treasure chest above this pipe that you can't get to until much later in the game — if you're curious, you can find out what's in that treasure chest, and how to get it, in our guide.
When you're ready, enter the pipe to find a giant canine creature lurking in the depths below.
Boss - Belome
What is a dog doing down the sewers, anyway? Nevermind. Make sure you have that Trueform Pin equipped on Mario before you start this fight to make it a lot easier.
We've got some tips on How To Defeat Belome in a separate guide, so check that out if you need some extra help.
After the fight, Belome will tell you to beware of some sort of flood. It turns out he was standing on a switch keeping the water away! Mario and Mallow are swept away by a huge wave of water. From here, you’re headed toward the Midas River course, a new mini-game that’ll have you collecting lots and lots of coins.
For more help on getting through Super Mario RPG, check out our full Super Mario RPG guide for everything you need.


Comments 0
Wow, no comments yet... why not be the first?
Leave A Comment
Hold on there, you need to login to post a comment...