As is the case with every Mario RPG, Paper Mario: The Thousand-Year Door is home to its fair share of bosses – both weak and strong. You’ll encounter many of them along your adventure, and we’ve compiled a list of every major boss fight in the game and the best ways to go about each one.
There are two specific bosses too powerful to cover here – the game’s final boss and the game’s hidden superboss, and we have separate guides for those.
Without further ado, here’s a full list of every boss fight you’ll encounter during the story!
Subscribe to Nintendo Life on YouTube846k
Paper Mario: The Thousand-Year Door - All Bosses
Prologue bosses
Blooper
The first notable boss in the game is fought in Rogueport Sewers. To topple this Blooper, you’ll need to use Jump attacks on the tentacles. The Blooper will fall to the ground and leave itself vulnerable to any kind of attack. After a couple of turns, Blooper’s tentacles will regenerate and you’ll need to defeat them all again. Overall, not too tough!
Chapter 1 bosses
Gold Fuzzy
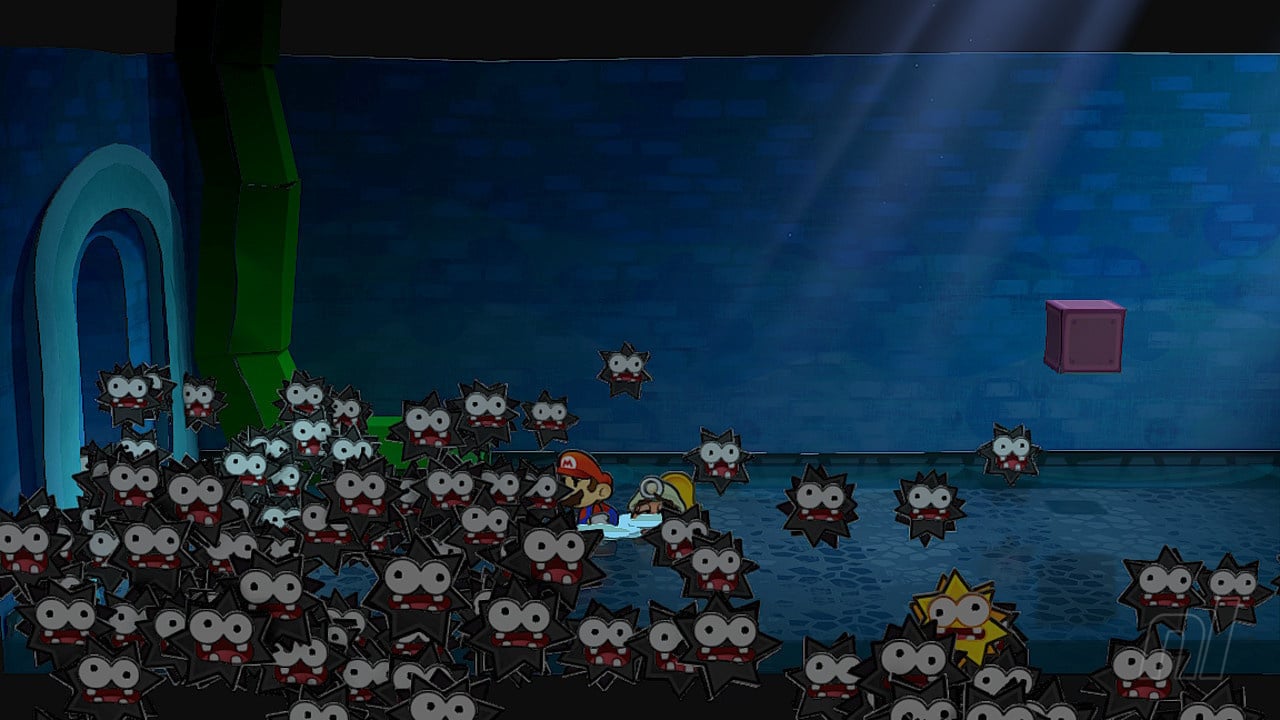
After collecting the Sun Stone and Moon Stone in Shhwonk Fortress, a Gold Fuzzy will appear and attack you. If you got the Power Smash badge earlier in the game, you can use this attack to quickly move on to the next phase of the fight. Otherwise, just use normal moves.
When Gold Fuzzy calls in an army of Fuzzies, use Jump attacks and make sure you’re targeting the Gold Fuzzy and not the Fuzzy Horde. Eventually, you’ll defeat it. It's an easy fight as long as your blocking skills are good!
Hooktail
Before you even attempt this boss fight, you’ll want to equip the Attack FX R Badge, which costs 0 BP to use. It turns Mario’s battle sounds into crickets, which Hooktail is afraid of. If you made it through Hooktail Castle and couldn’t find this Badge, check out our Badge location guide. Once you’ve equipped the Badge, this battle becomes much easier.
Fighting Hooktail is fairly self-explanatory: attack her claws with Hammer moves; eventually, she’ll try to convince you to spare her, but this is a trap. Continue to decline her offers and she’ll start eating the audience! Switch over to Jump attacks and she’ll spit out the audience members she ate. Keep it up and you’ll take her down before you know it!
Chapter 2 bosses
The Three Shadows
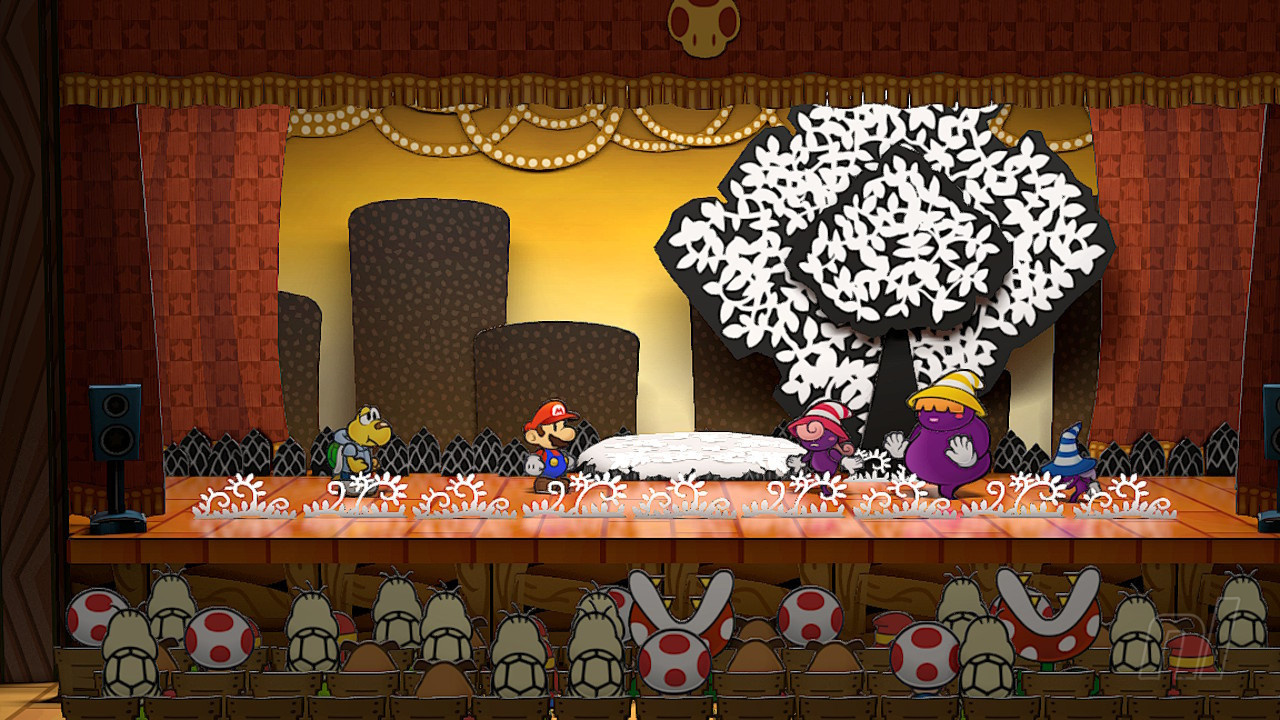
For this battle, you’ll need to take on the Three Shadows (known as the Shadow Sirens on GameCube) at once. As a result, attacks that strike multiple targets (Mario’s Earth Tremor, Koops’ Power Shell, etc.) work great here.
All three Shadows can hit both Mario and his partner at the same time, but Marilyn and Beldam’s multi-target spells are strongest. Once you run out of Earth Tremors, focus on those two first and foremost and you should be good to go.
Magnus von Grapple
This fight is fairly straightforward: use your strongest attacks! Pull off Stylish Moves to increase your Star Gauge and then attack with well-timed Earth Tremors. If you run out of Star Power, Mario’s standard Jump or Spin Jump are fine to use instead.
After Magnus von Grapple takes a few hits, he will summon flying fists that serve as separate targets. Flurrie’s Gale Force works well here; otherwise, standard Jump attacks will do the trick. After a few turns, Magnus von Grapple will summon another set of flying fists. Otherwise, this boss fight shouldn’t give you much trouble.
Chapter 3 bosses
Rawk Hawk
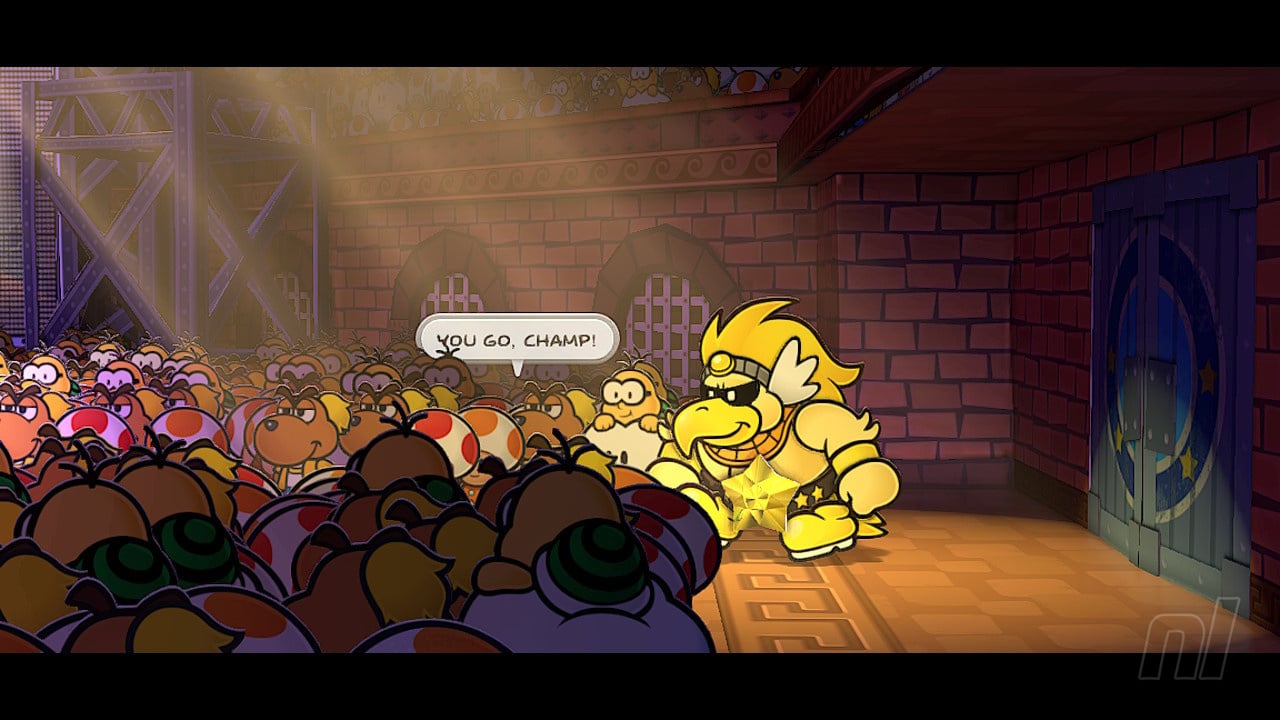
After making your way through the Glitz Pit’s many challenges, you’ll have to take on Rawk Hawk, the champion of the ring. For the most part, this fight isn’t too bad. Hit him with Stylish Moves to fill up your Star Gauge. That way if you run out of items, you can use Sweet Treat to easily restore some health.
When Rawk Hawk starts hanging from the ceiling, use Mario’s Quake Hammer move to knock him down. Otherwise, keep attacking with your strongest moves and you shouldn’t have much trouble.
Macho Grubba
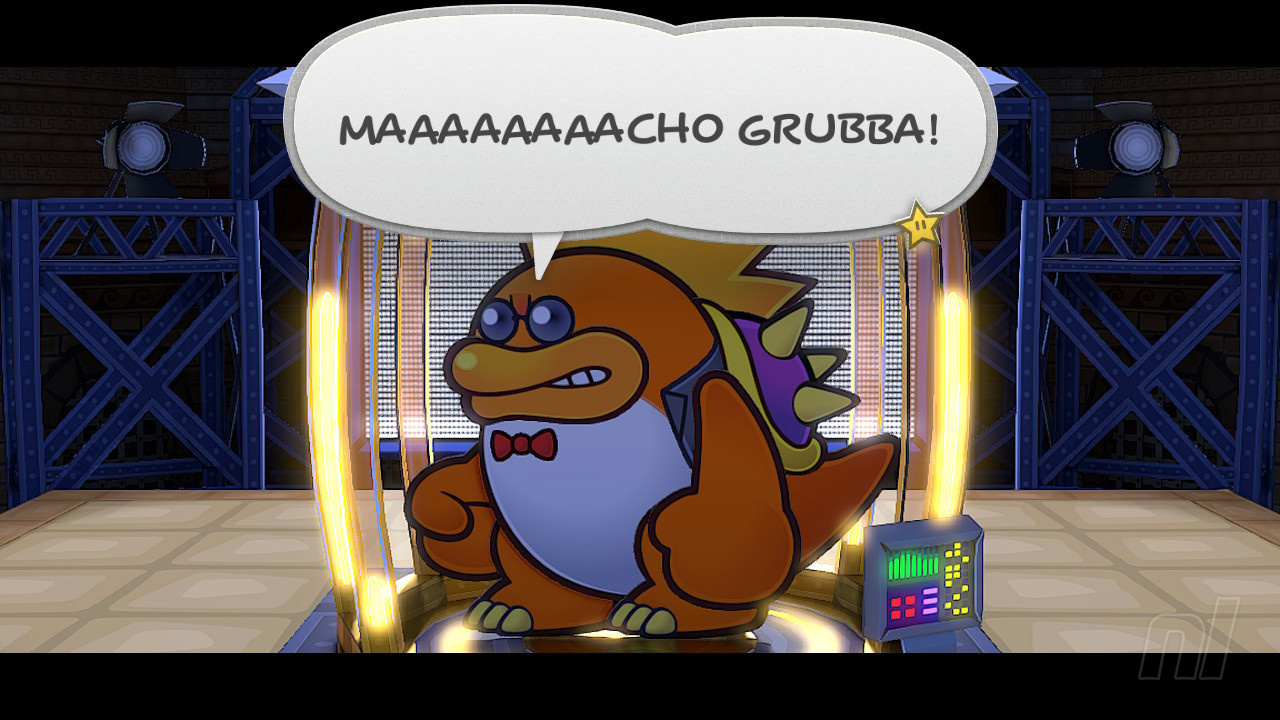
This boss is a good deal more difficult than the ones you’ve faced before. Macho Grubba can raise his stats and start dealing tons of damage to your party, so make sure you’ve got plenty of healing items and are healed up at the start of the battle.
Attack him with your strongest moves and he’ll eventually grow even larger. It’s at this time when his attacks really start hurting. There’s no special trick to taking down Macho Grubba like there was with Rawk Hawk – balance your turns between healing with items or Sweet Treat and attacking with Mario’s FP and Special Moves to finish this fight as fast as you can.
Chapter 4 bosses
Atomic Boo
This is an optional boss fight in the Creepy Steeple. After releasing the Boos, use your Super Hammer to dispel them a few times and then Atomic Boo will challenge you.
This is the first boss where you have access to Power Lift, so use it to boost your Attack and Defense and then hit Atomic Boo with your strongest moves. Every few turns, he’ll unleash a scare attack that has a chance of confusing your party. Make sure you deal as much damage as possible and you’ll take him out before he can cause too much harm.
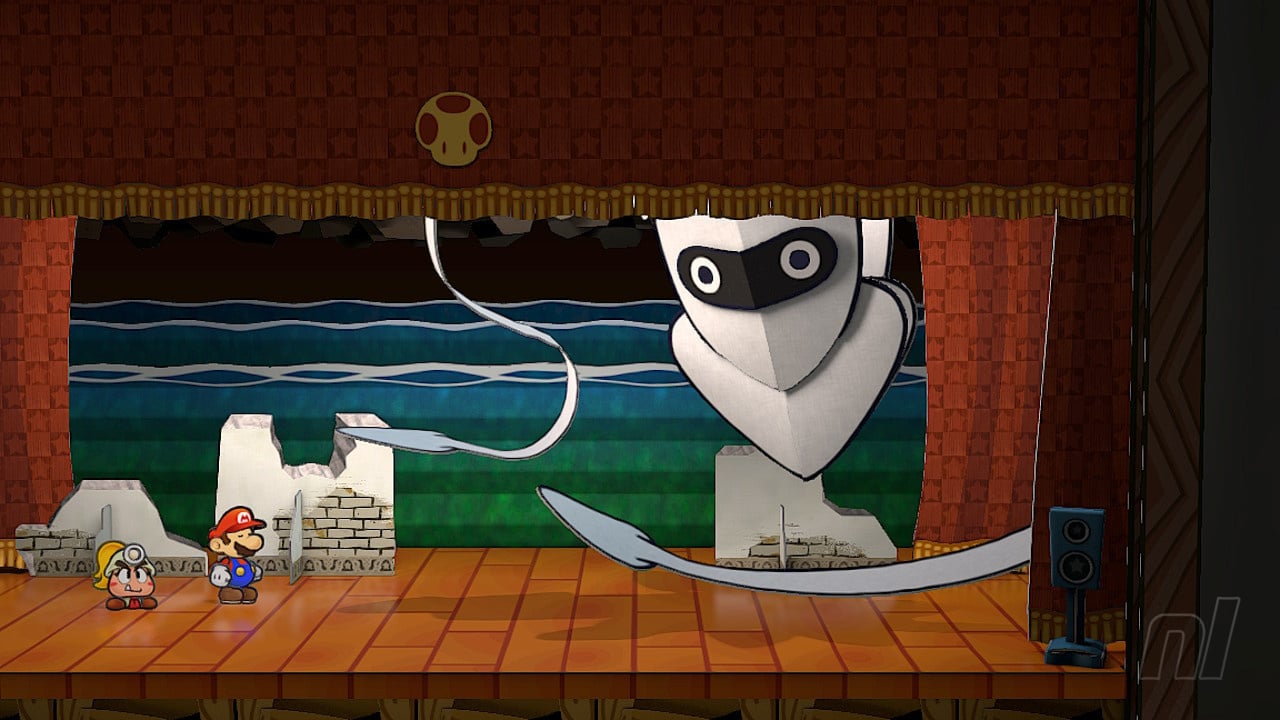
Doopliss

The first fight with Doopliss is super easy – even standard attacks will do the trick. Things are a bit tougher during your second encounter, though!
Doopliss uses your own party members against you. Now that you have Power Lift, use it to boost your stats and then start firing off attacks at Doopliss. After a few turns, Vivian will join your side and help you fight Doopliss. From there, continue focusing your attacks on Doopliss to get your body and partners back!
Chapter 5 bosses
Cortez
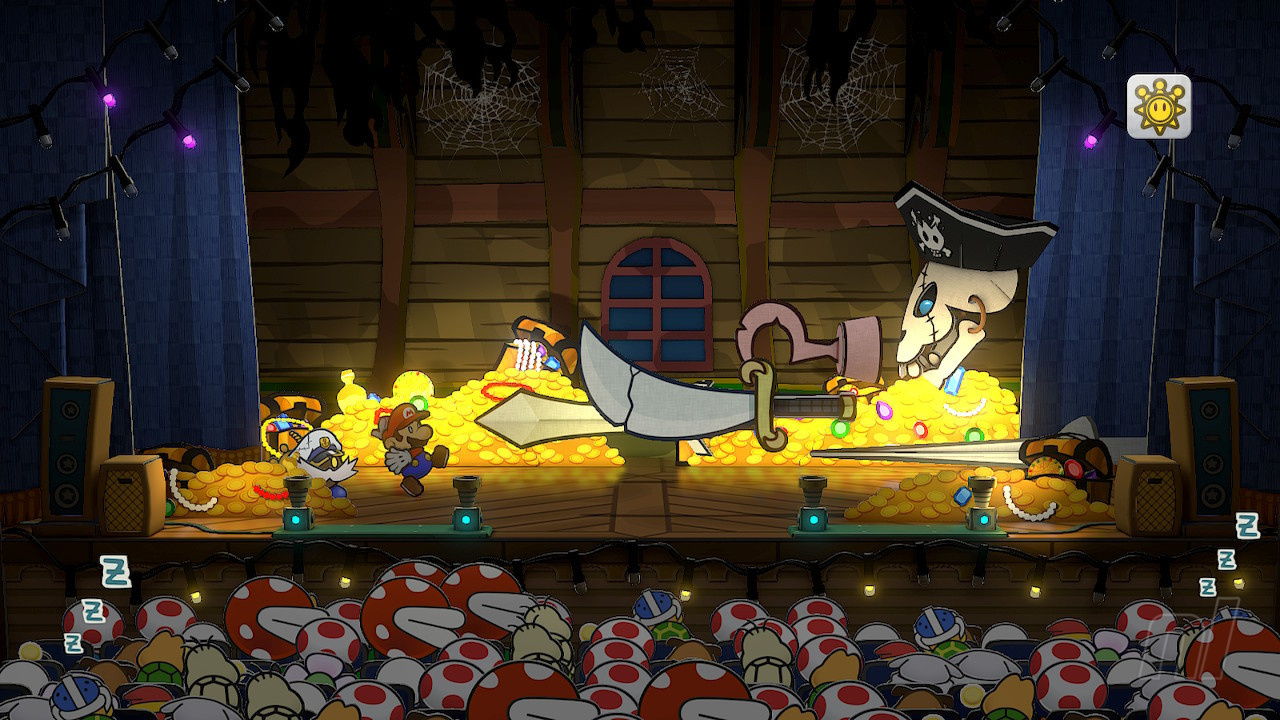
Make sure you bring a Mushroom or two to this fight! as Cortez does a lot of damage! For the first form, use Mario’s normal Jump attack and a partner who can hit flying opponents (Goombella and Vivian are good options). Eventually, he’ll change form. Damage him some more and he’ll take out all of his weapons as separate targets. You’ll want to use one of your Special Moves now – preferably one like Art Attack that can hit them all at once.
When you’ve dealt enough damage, Cortez will absorb the souls of half the audience and completely restore his health. Fortunately, he only does this once – but it does mean the battle will take a little while, which is why it’s good to stock up on healing items. Once you’ve defeated him, remember to heal up – there’s a second boss battle incoming!
Lord Crump
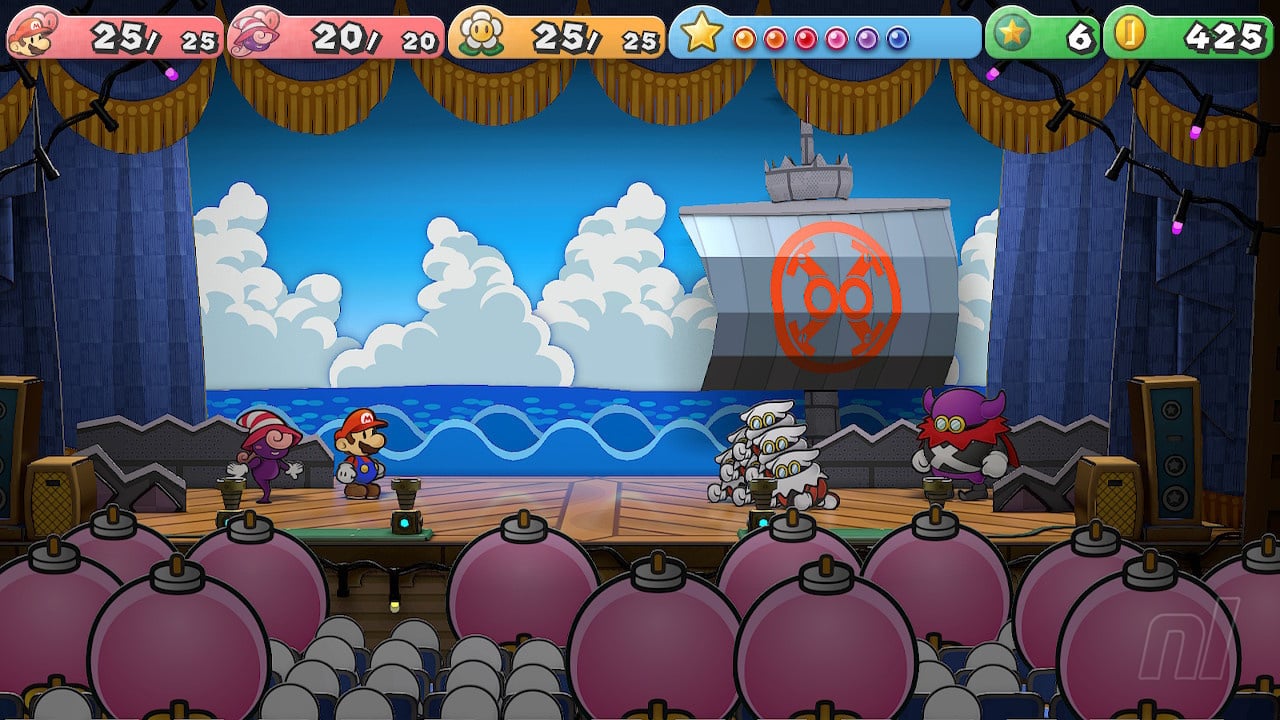
Lord Crump starts the battle with a couple of X-Naut minions by his side. Focus your attacks on Crump, and when he summons a big row of X-Nauts you can use Quake Hammer to deal damage to all of them at once.
When you’ve dealt enough damage to Lord Crump, he’ll hop off-screen and recover health. This makes the battle even longer, so make sure you’ve got plenty of Mushrooms on hand. Defeat him with your strongest moves once more and you’re in the clear!
Chapter 6 bosses
Smorg
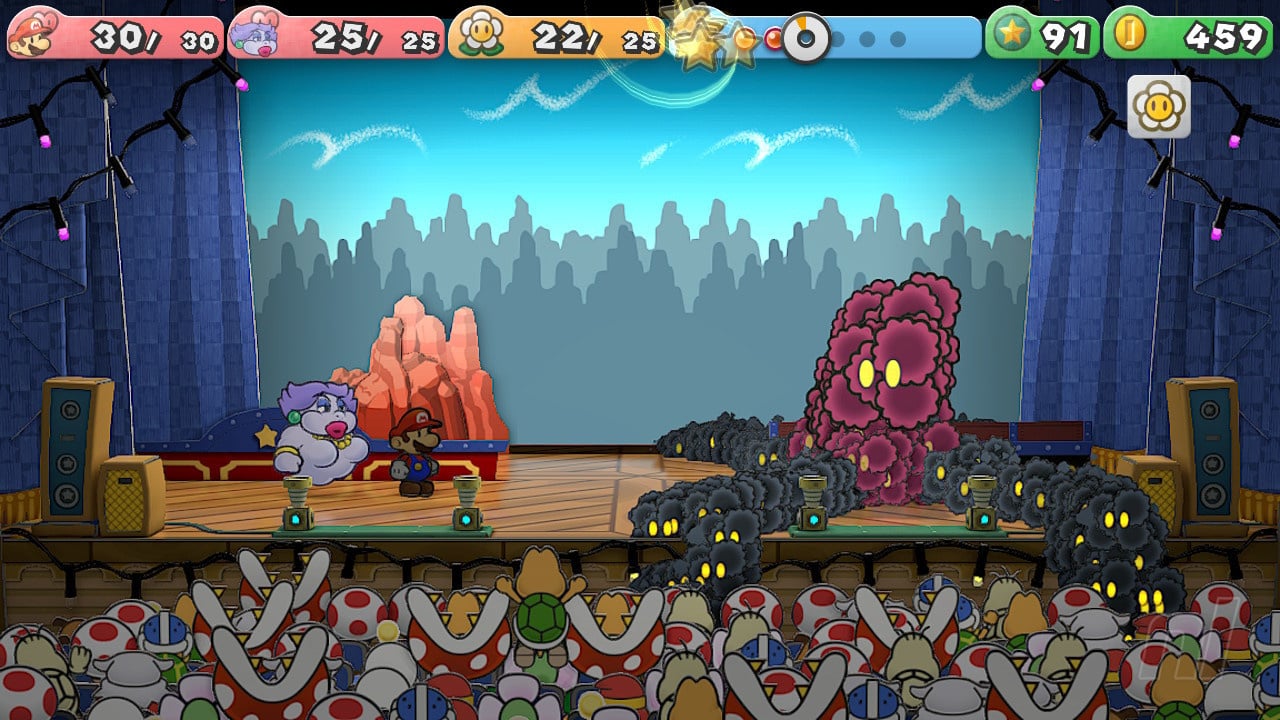
This boss’ tentacles are separate targets, so make sure to bring a partner who can attack several floating enemies at once – Vivian is a great pick for this fight. Once the tentacles have retracted, use your strongest attacks on Smorg’s core.
Power Lift is a solid choice here, as it increases your Attack and Defense and helps prepare you for the incoming onslaught. The tentacles will soon regenerate again, and they’ll eventually form a claw that deals lots of damage if it hits you. Use a Power Lift-boosted Fiery Jinx to take out all the tentacles at once and prevent this from happening. If the claw does wind up forming, make sure you have plenty of healing items to offset the damage.
Chapter 7 bosses
Magnus von Grapple 2.0
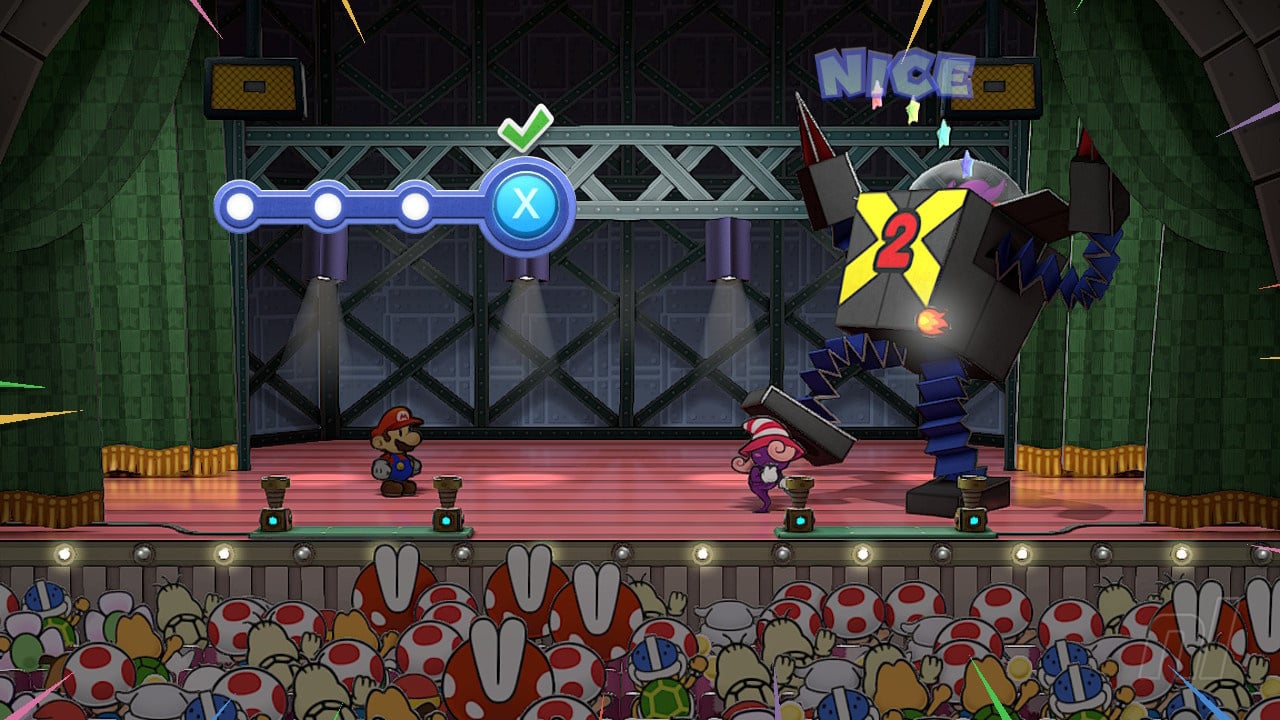
It’s time to fight Magnus von Grapple again! For this boss fight, we’d recommend bringing a partner who can target multiple hovering enemies at once – Vivian is still a good choice, particularly if she’s been upgraded. After a few turns of fighting, Magnus von Grapple 2.0 will launch X-Punches. This is when you’ll want to unleash a multi-target attack to destroy them all at once. Make absolutely certain you keep Mario healthy with Mushrooms and healing items.
After dealing enough damage, Magnus von Grapple will absorb and then fire members of the audience at you, which can easily pick you off if you don’t have much health left. If you’re all out of items, remember to use your Special Moves too! This attack can easily bring you from 20 HP to zero, so be careful. If you’re really having trouble, try using Power Lift to boost your Attack and Defense. Otherwise, keep attacking and Magnus von Grapple 2.0 will eventually go down.
Chapter 8 bosses
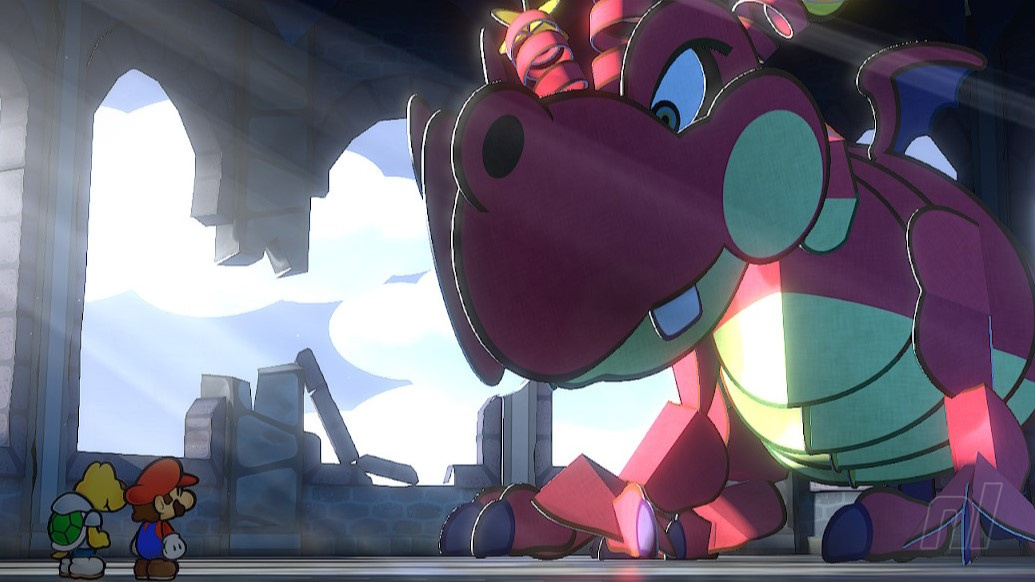
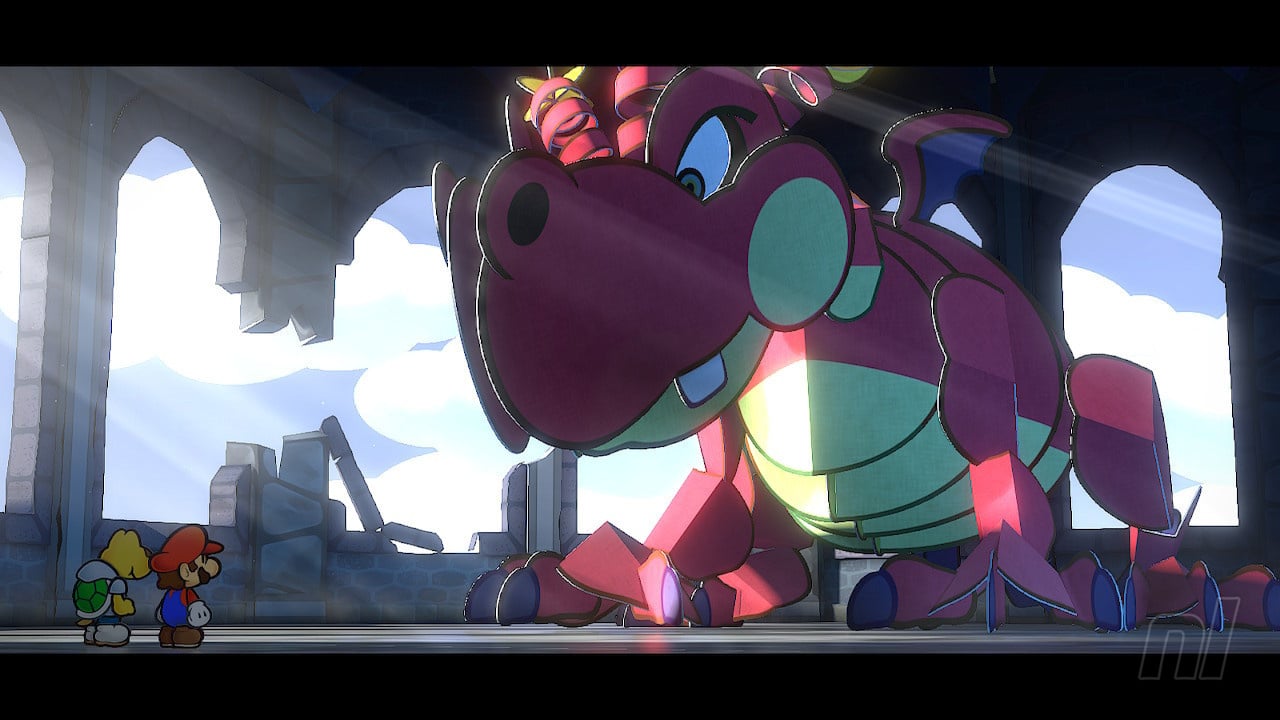
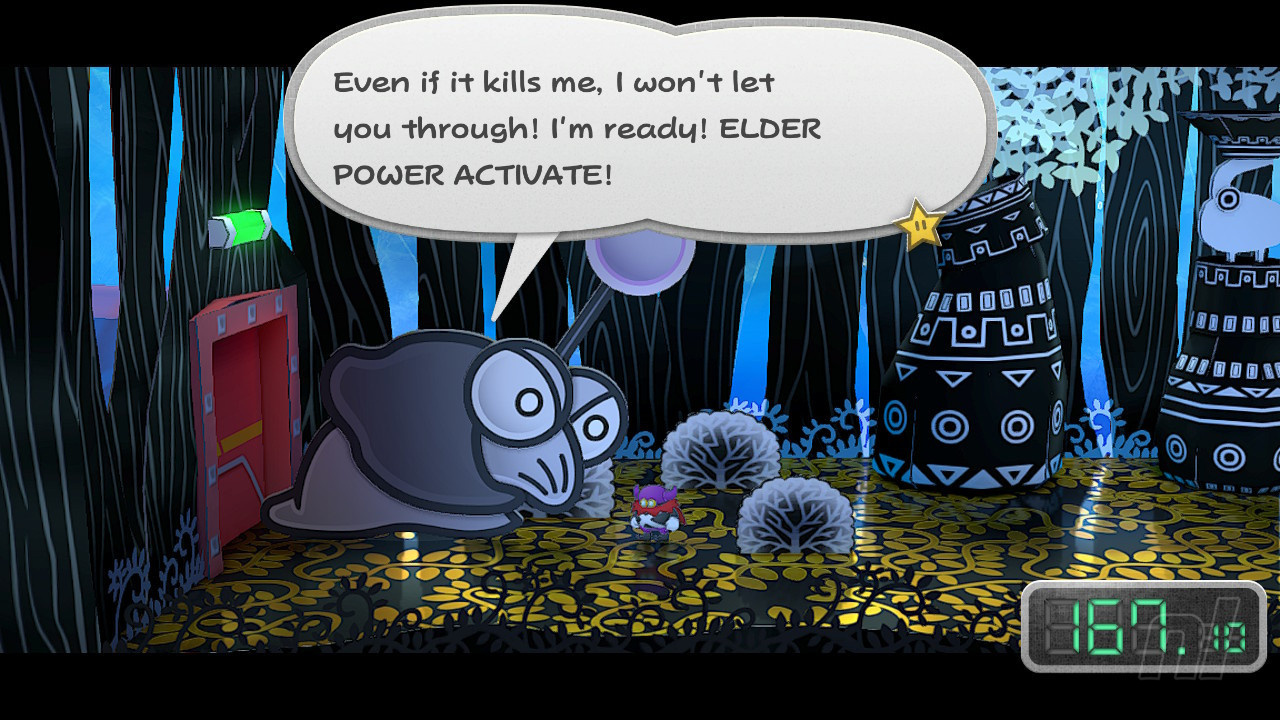
Gloomtail
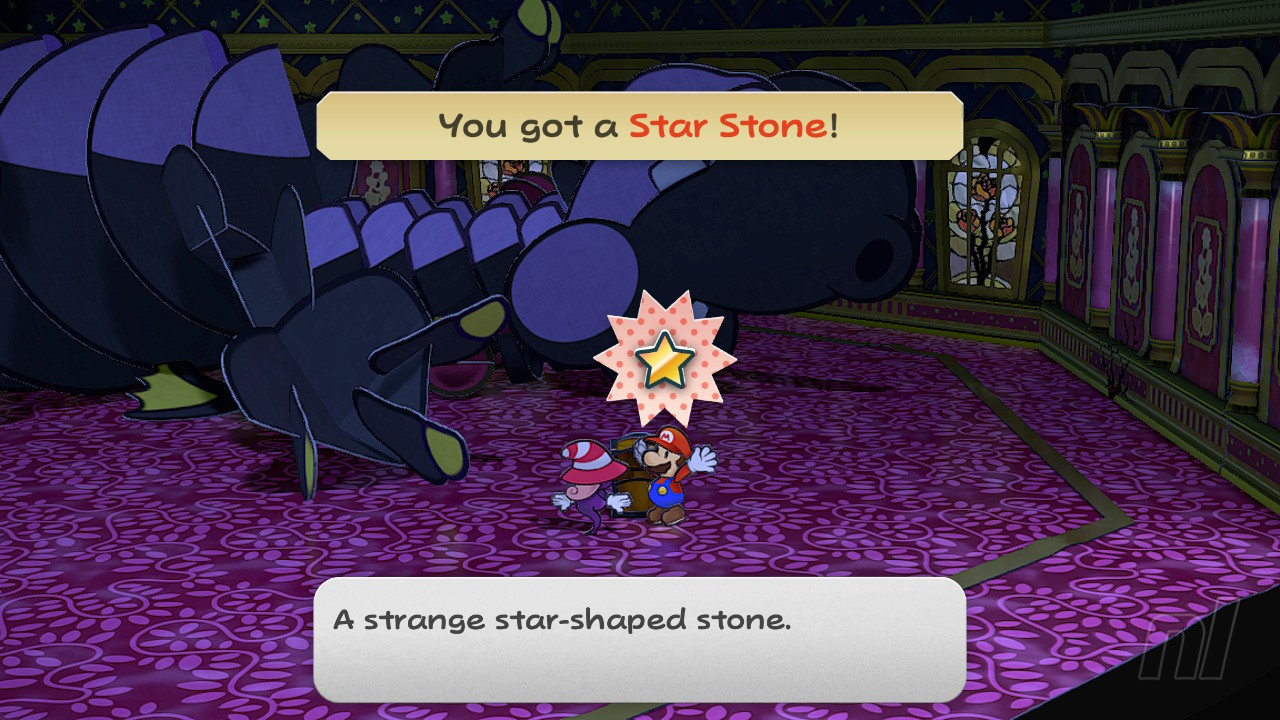
Hidden in the depths of the Palace of Shadow is your next big boss fight, Gloomtail, and this one’s tough. Start attacking and, after a while, Gloomtail will charge up and boost his attack power. When he does this, he’s actually about to unleash a devastating move that can easily wipe you out. We’d recommend either using a Boo Cloak to become invisible for a turn or using Vivian’s Veil move to hide in the shadows and avoid the attack altogether. Other than the charge, Gloomtail is fairly straightforward if tricky – keep attacking and he’ll eventually be defeated.
The Three Shadows (Rematch)
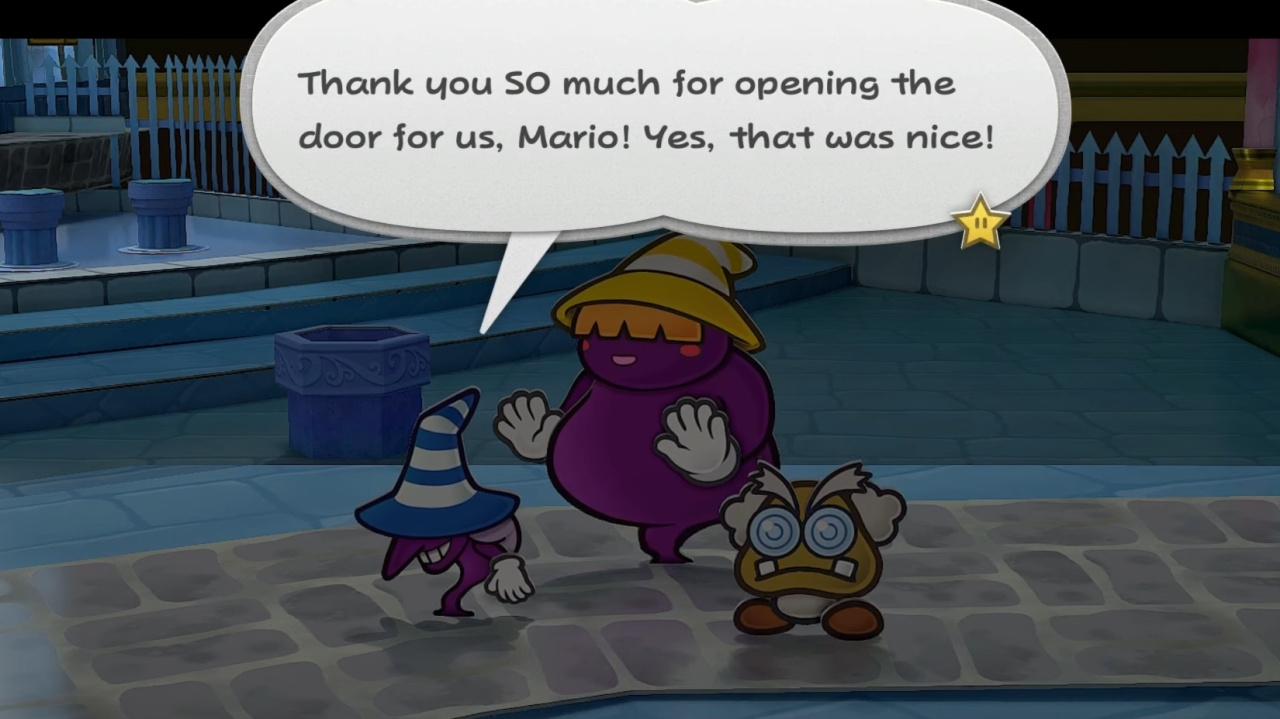
After Vivian’s betrayal, the Three Shadows (Shadow Sirens) have found a new third member. They’ll challenge you in the game’s very last Chapter. We’d recommend starting with Power Lift to boost your Attack and Defense and then using multi-target moves like Vivian’s Fiery Jinx to deal damage to all of your opponents at once. Art Attack works great too – we’d recommend targeting Beldam and Marilyn over Doopliss, as they’re both capable of casting powerful spells that strike both Mario and his partner at once. Earth Tremor is another solid move that costs less Star Power, if you’re looking to conserve it.
Grodus
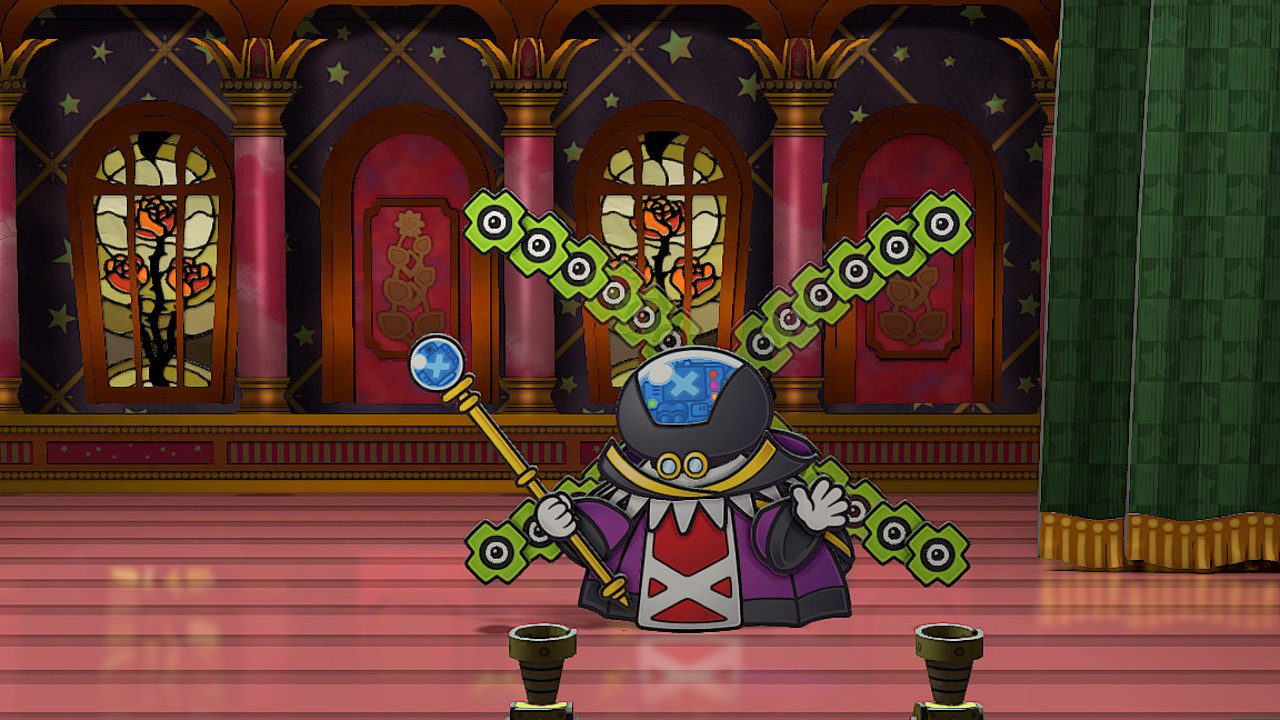
One of the last fights before the final boss is against Grodus, the leader of the X-Nauts. We’d recommend bringing Vivian, as her Fiery Jinx attack lets her target multiple opponents at once, and you’ll definitely be needing that here.
At the end of each turn, Grodus will summon small shields that you’ll have to destroy all at once. Items like Thunder Rage and Shooting Star work here too! Continue shattering them with multi-target moves and Grodus will go down. He shouldn’t give you too much trouble as long as you take care of his shield.
Bowser & Kammy Koopa
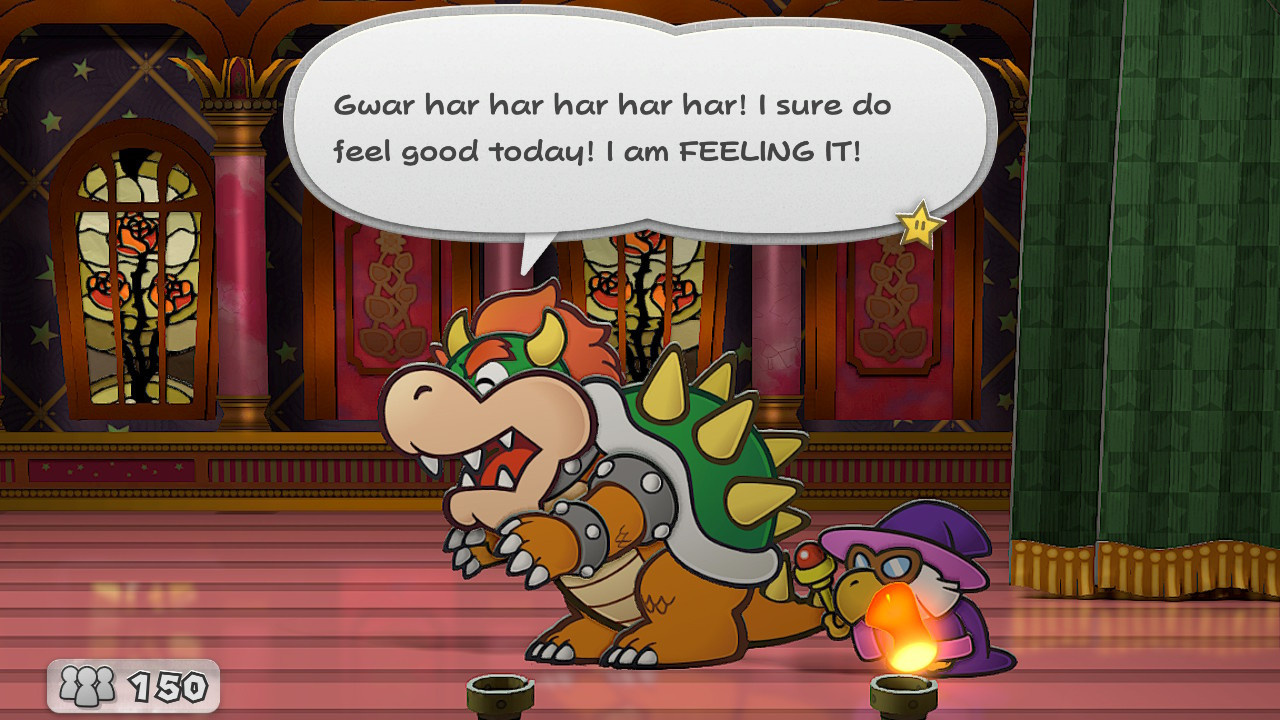
Right after defeating Grodus, both Bowser and Kammy Koopa appear to fight Mario in one last showdown! Bowser is the duo’s attacker, and Kammy can cast spells and increase Bowser’s attack power. This means you’ll want to focus everything you’ve got on taking out Kammy first.
Use your strongest moves, because you’ll have the chance to heal up after this. Art Attack works great to deal damage to Kammy quickly, while Sweet Feast works if you’re low on health after the previous battle.
The final boss
There’s only one boss left after Bowser and Kammy Koopa – the game’s final boss, the Shadow Queen. It can be rather challenging, and it’s definitely something you’ll want to make some small preparations for.
If you’re ready to finish Paper Mario: The Thousand-Year Door, go ahead and continue to our final boss guide. Best of luck!