Welcome to our full walkthrough for Metroid Prime Remastered. This is it; we're almost at the end, folks.
We're going to be covering the final area in the game known as the Impact Crater. Here, you'll face off against two major boss characters, but there are also a few scan entries we'll need to add. Let's get to it.
Subscribe to Nintendo Life on YouTube846k
Metroid Prime Remastered: Walkthrough - Phendrana Drifts Research Core
First of all, you'll want to head to Tallon Overworld and save your game at your ship in the Landing Site. From there, head through the southern door and into the Temple Hall. Move through this and into the Temple Security Station.
Scan Entry - Pirate Log - Temple Security Station
As you move through, you'll see a holographic Artifact floating in the middle of the corridor. Scan it.

Scan Entry - Chozo Lore #1 - Artifact Temple
On one side of the branching corridor is a Chozo Lore entry - scan it!
Scan Entry - Chozo Lore #2 - Artifact Temple
Now head back to the other branching path and scan the other Chozo Lore.
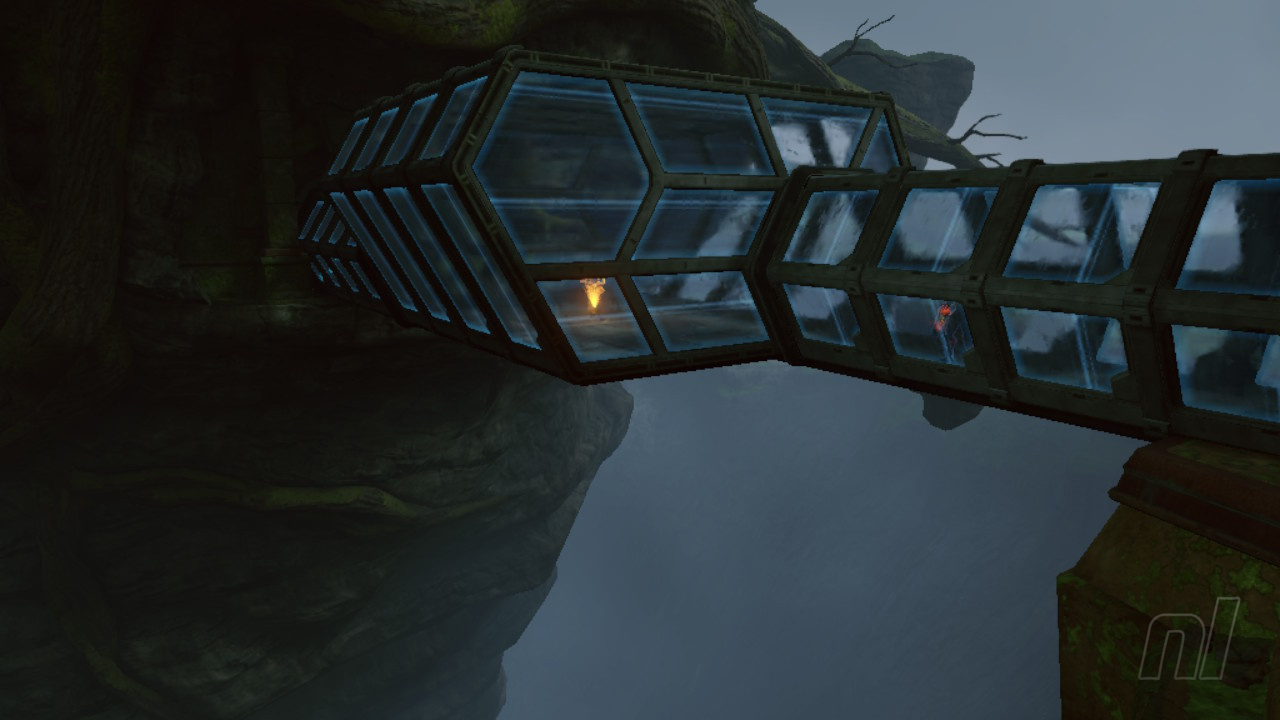
Move down the walkway until you emerge outside. A group of pillars await, and it's here that you'll need to insert the Artifacts collected on your journey.
If you haven't picked up all of the Artifacts, then simply head to our guide on All Artifact Locations for the lowdown. Once you've gathered them all, return to this location.
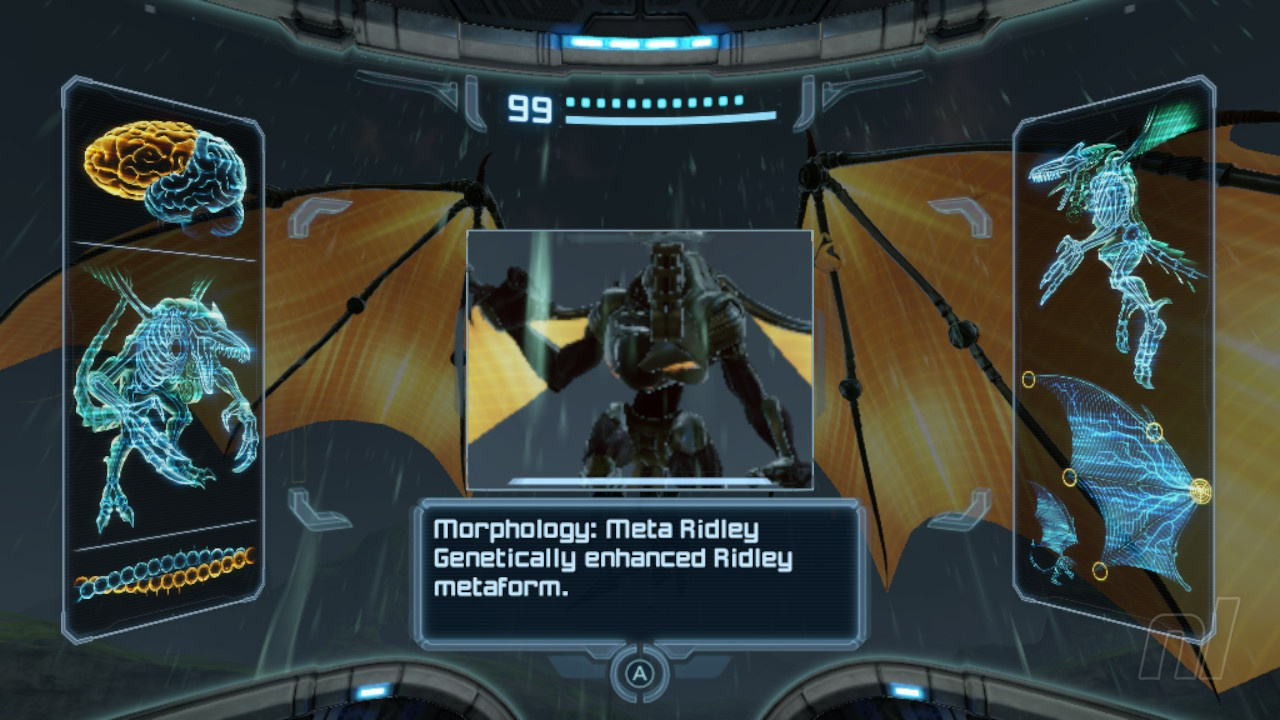
Pick up the last remaining Artifact in the centre of the structure. A cutscene will now play introducing the formidable Meta Ridley.
Scan Entry - Meta Ridley
Before you get to grips with beating this formidable moss, make sure you scan Meta Ridley before taking it on.
If you need help in defeating Samus' nemesis, then be sure to check out our full guide on How to Defeat Meta Ridley.
Once the boss is down, walk into the glowing light in the centre of the platform to descend into the Impact Crater.
Turn to your immediate left and you'll see a Save Station before you. Save your game here. Now head through the Plasma door to your left.
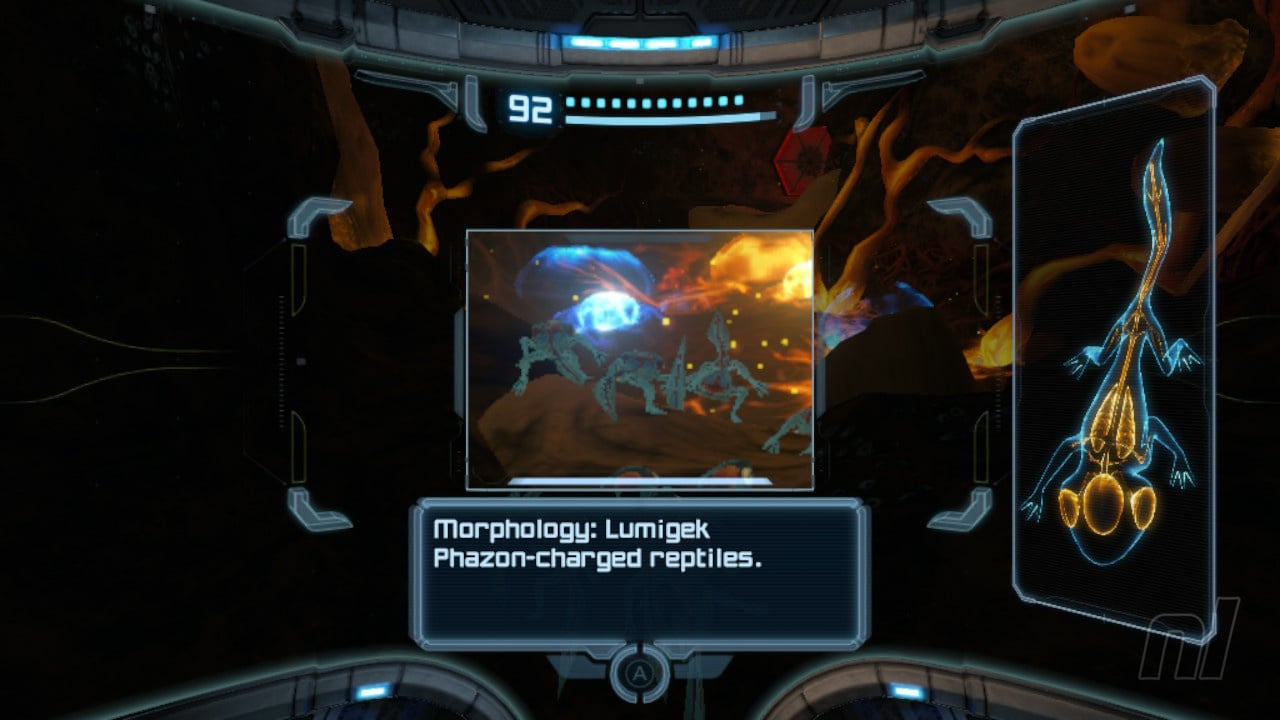
Scan Entry - Lumigek
Hop over the short gap where you'll then see a group of small salamander-like creatures waddling over the ground. Scan them to add them to your log.
Now head through the door and into the Phazon Core.
Scan Entry - Fission Metroid
Ahead, you'll see a Metroid floating about. It may look familiar, but it's actually very different from the standard Metroids you've already seen - it's a Fission Metroid, so scan it.
These are very annoying because once you fire at them a few times, they'll actually split into two more Metroids. The two will be designated a colour aligning with one of your beams. So you'll need to switch beams quickly to attack each one. If you're in a bind, you can drop a Power Bomb to destroy any Metroids within its blast radius immediately.

Head up the platforms to the top of the room. Along the way, stop off at the Missile Station to replenish your ammo supply.
The room at the top will contain an elaborate set of Spider Tracks. Simply make your way across carefully to avoid dropping into the Phazon below (your Phazon suit won't protect you here).
When you reach the end, head into the next room to face off against the final boss... sort of.
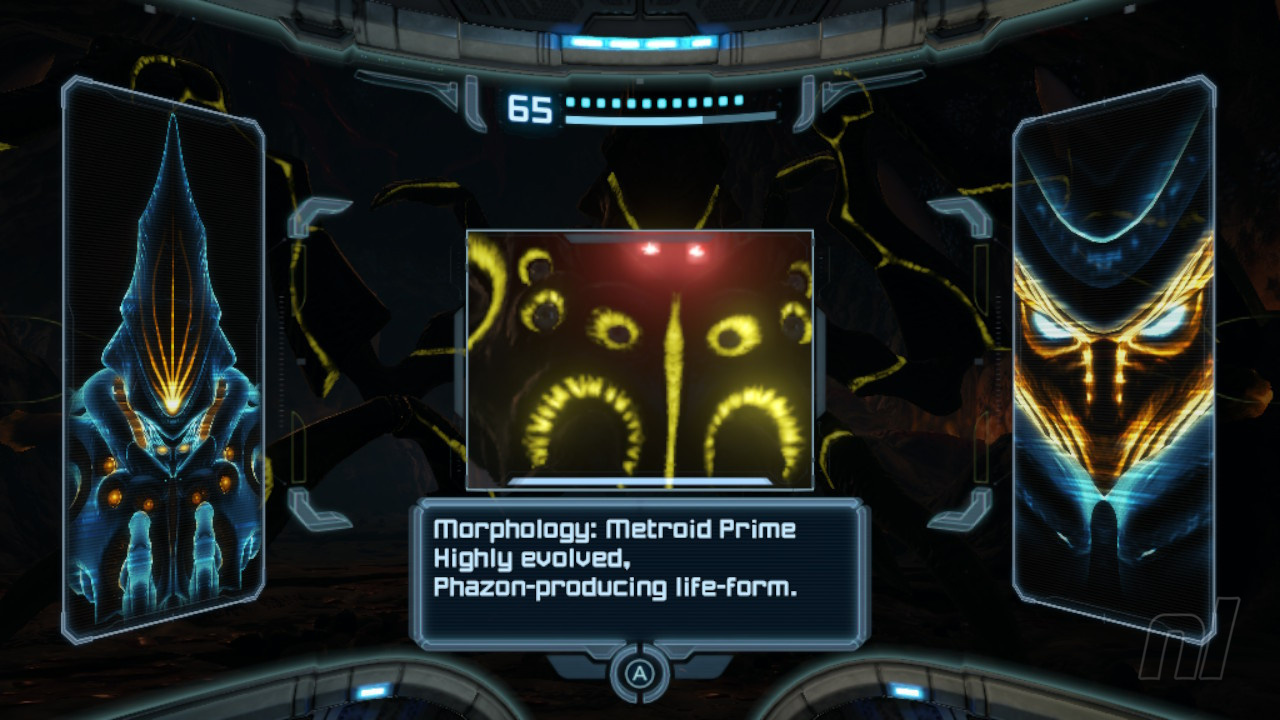
Scan Entry - Metroid Prime
Metroid Prime will immediately retreat down to the lower level, so follow it. When you regain control, whip out your scan visor and add it to your log.
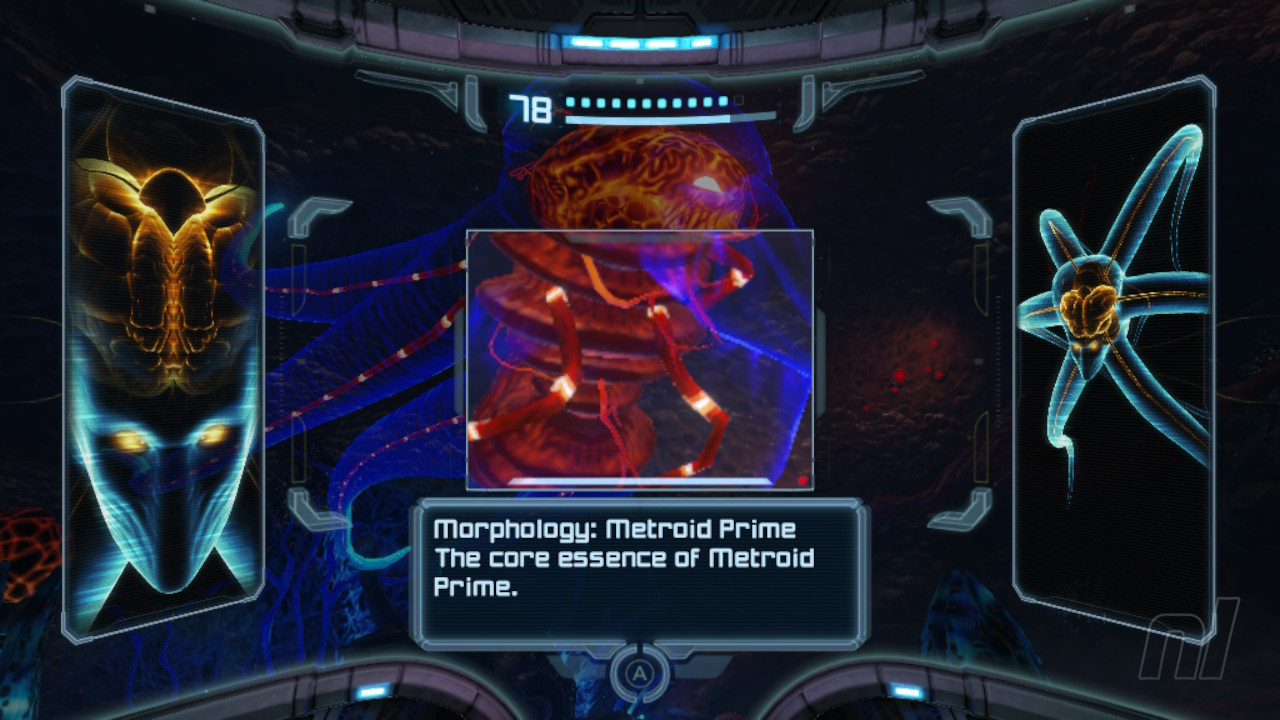
Scan Entry - Metroid Prime (Core)
If you need help beating this boss, then be sure to check out our full guide on How to Defeat Metroid Prime.
Once it's down, Samus will lose her Phazon Suit before legging it out of the impact Crater. Well done - you've beaten Metroid Prime!
Check out our full Metroid Prime Remastered walkthrough for more tips and tricks.


Comments 0
Wow, no comments yet... why not be the first?
Leave A Comment
Hold on there, you need to login to post a comment...